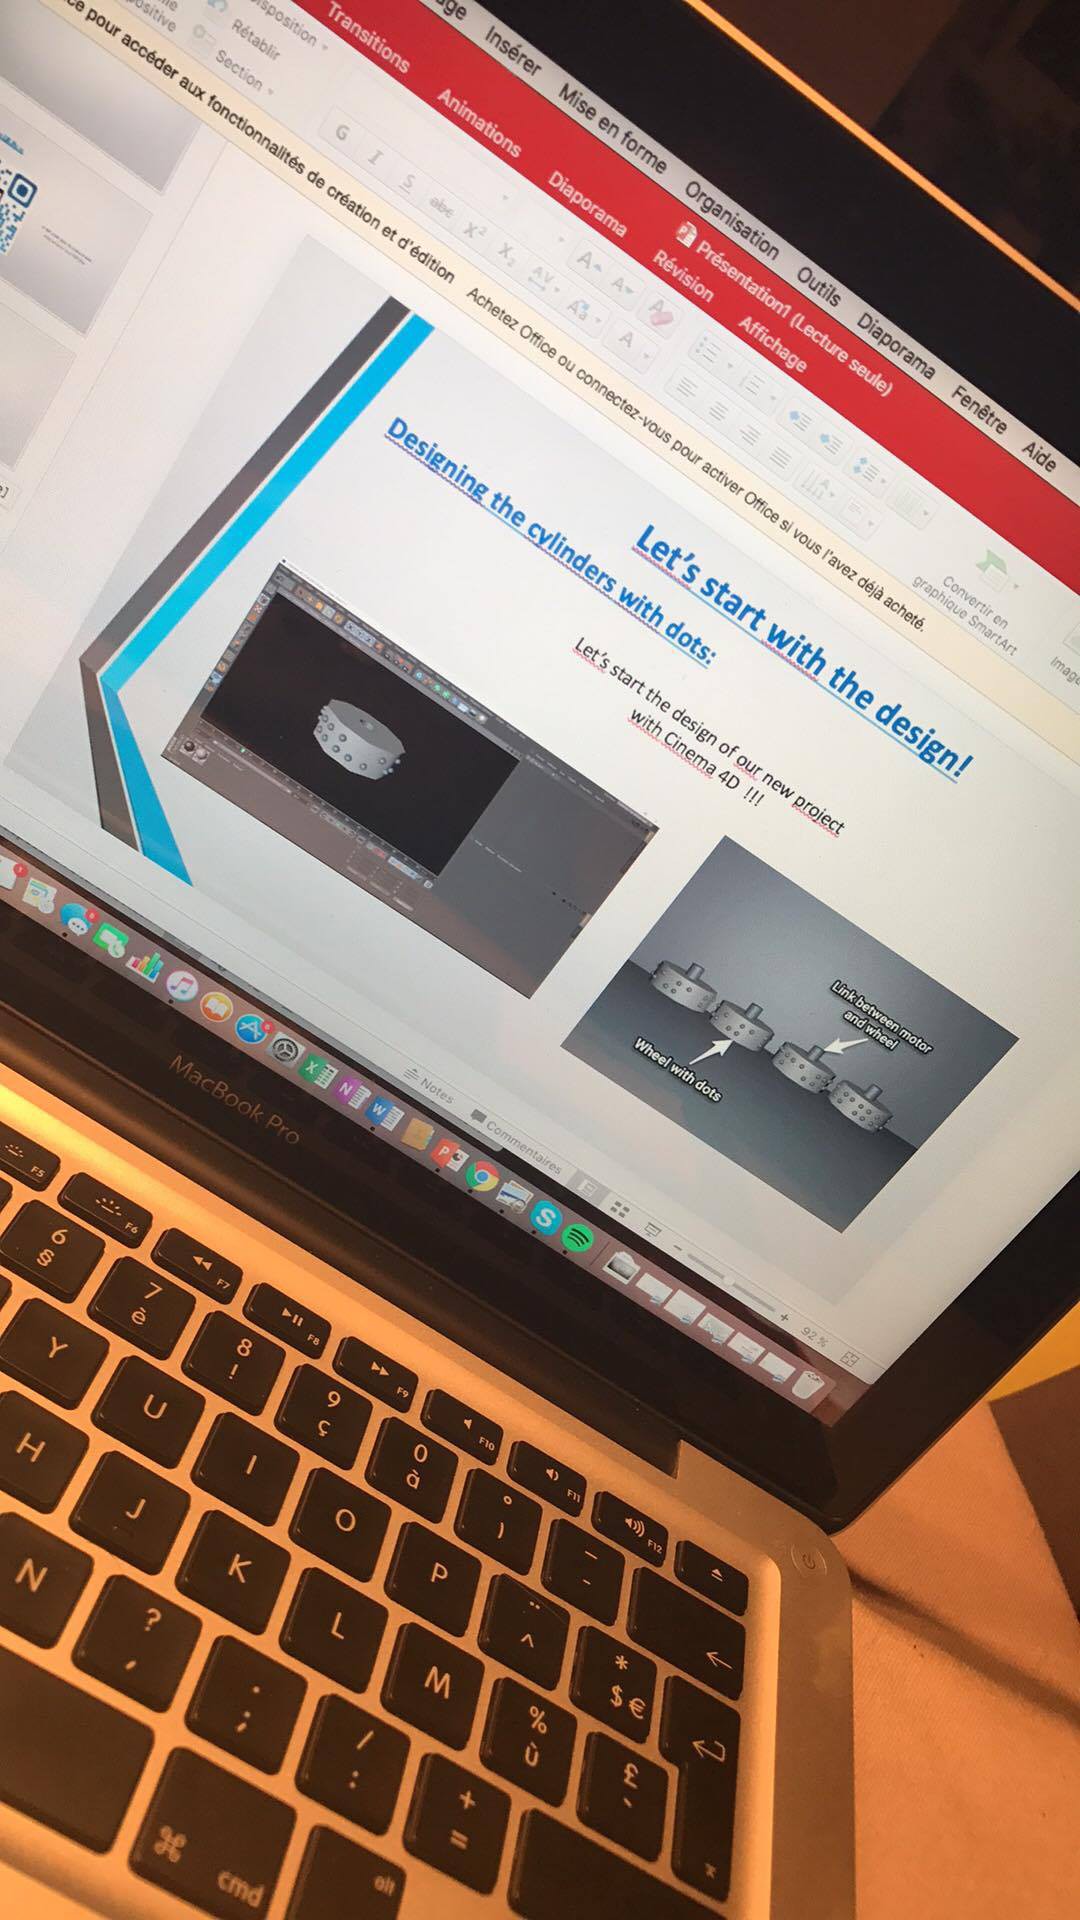
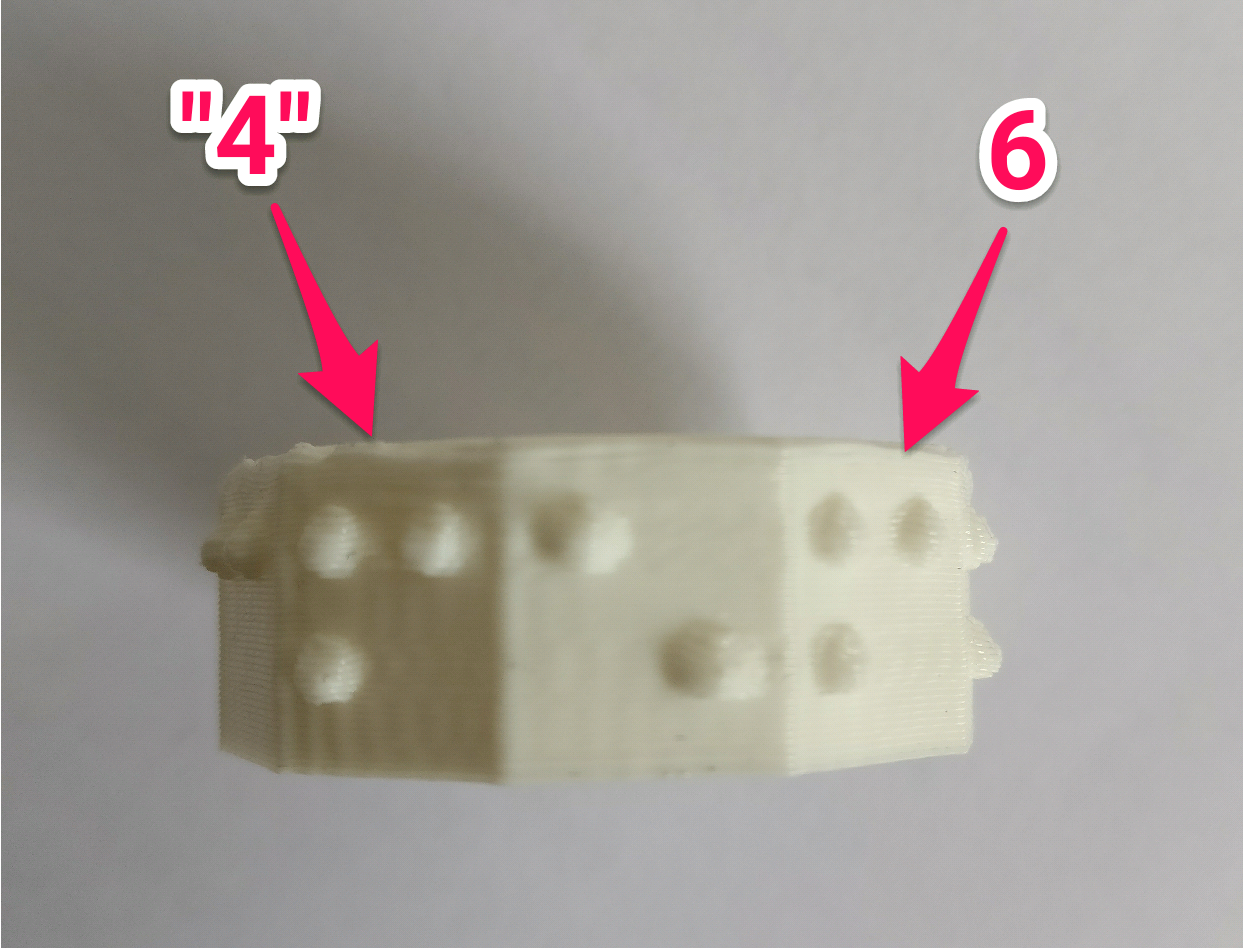
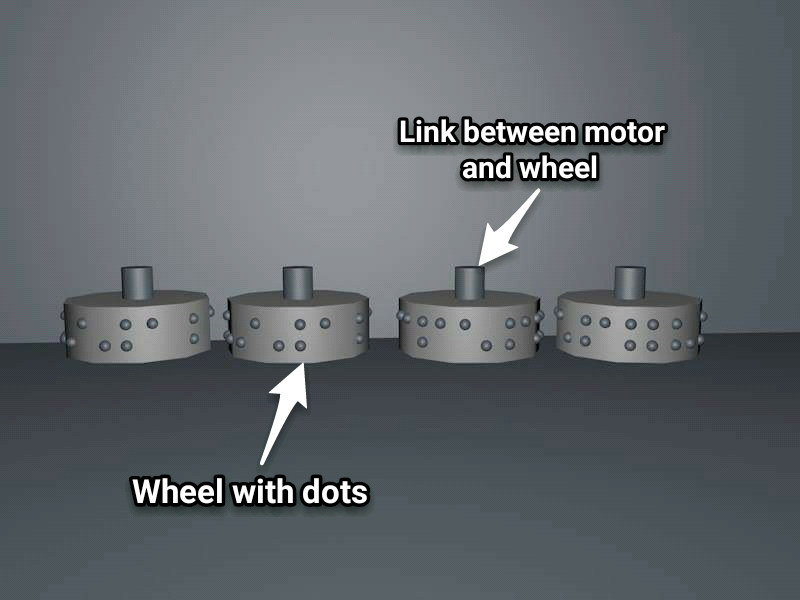
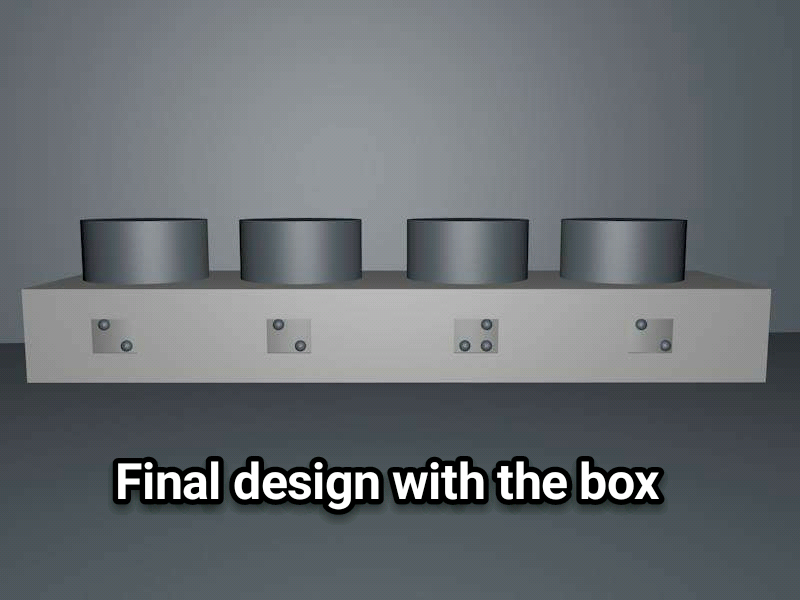
 Braille Clock
Our goal is to help blind people getting more autonomy and be more discrete by feeling dots rather then earing the time by a voice. It's way less embarassing.
The idea came from this video
You can reproduce it and give it to someone you know who's blind since those persons obviously won't be able to do it by themselves.


 mariz92
 Juan Sandubete
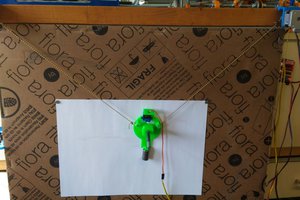
 lukasgdanietz
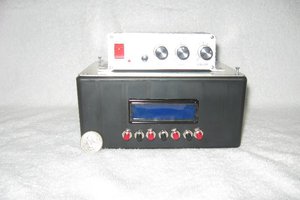
 Bobby Feather
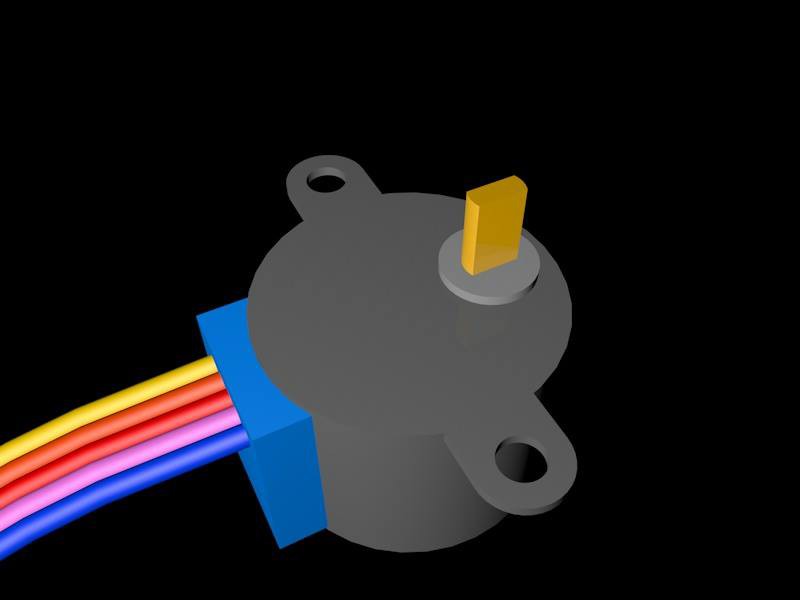
i think it would be easier to do with little solenoids like this:
https://www.ebay.com/itm/3-Pieces-Linear-Motion-tiny-Miniature-Solenoid-valve-small-x-Pull-Micro-push-c21-/264106029536