 Ashley
-
We Have the Parts
04/05/2017 at 06:24 • 0 commentsThe parts have been acquired from a closing Radio Shack in Pasadena. Total cost for the electronics components was around $3.75. This circuit design and build was done by twoducky.
Here is the schematic layout. We are keeping it simple for the sake of prototyping:
![]()
More details on what we did:
3.6/6 = 0.6
60% Ratio
3.6 V = 40 ma R
Our 3 Resistors:
R1 = 40Ω
R2 = 54Ω
R3 = 36Ω
![]()
![]()
The finished prototype design is nice! Switch the switch and the light turns on. Switch it back and it turns off.
![]()
![]()
Next steps will be making a 3D printing a case for the electronics. But first, we must plan and design such case. It will be a square case with a lip for the board to sit on. There will be a protective area that will surround the LEDS and a place to mount the switch. Oh, and the top will slide off so that the batteries can be changed. Otherwise we have forever batteries.
-
Sketch Time
03/28/2017 at 05:37 • 0 commentsSo I've been sketching some ideas for what this light can look like in a perfect world. Ideally, it would be either a flush and smooth form, or something fun and funky. I've also collected some parts that I'm going to use to create the light part. The printed circuit board may be larger that I had intended, but Radio Shack was having a closeout sale so I decided to give it a try.
![]()
-
Revealing A Secret
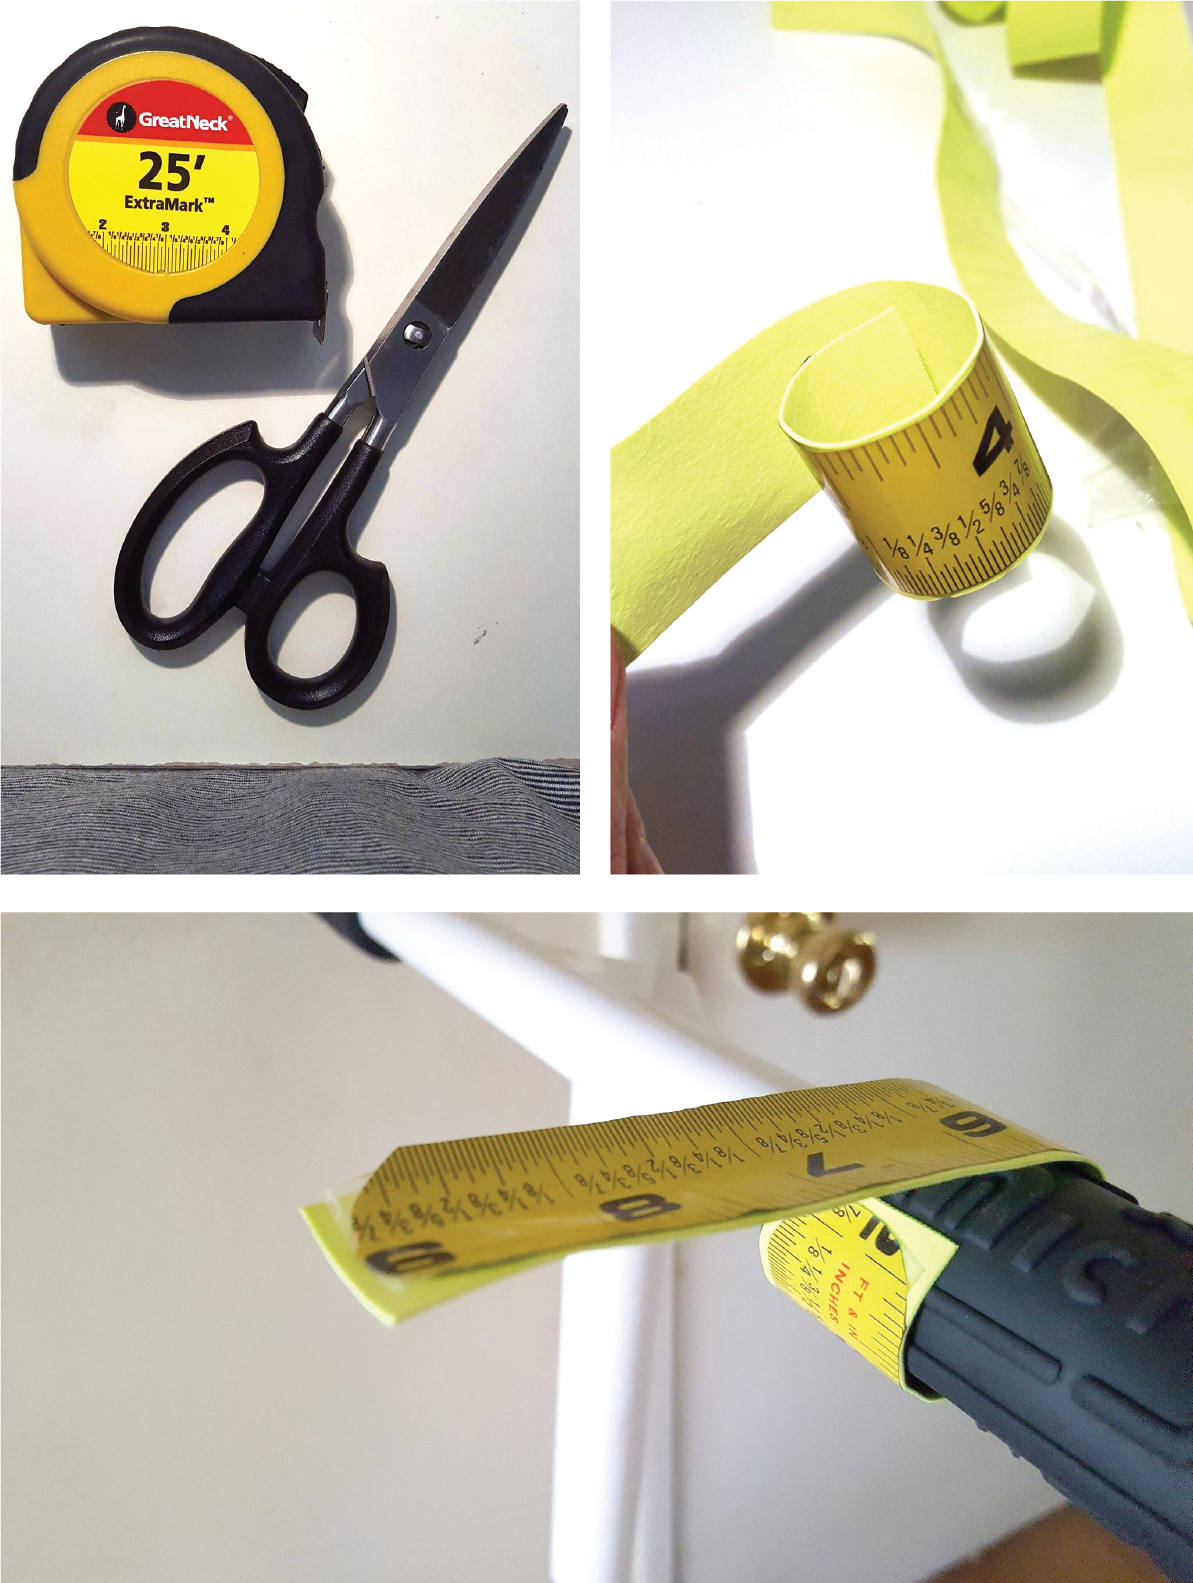
03/18/2017 at 02:06 • 0 commentsI've been excitedly thinking about this for a good portion of today's free time. I found a BuzzFeed article that spoiled the secret of what is actually inside a slap bracelet. I thought "curved piece of metal" only to find out that some actually use recycled tape measuring tape!
I went on an adventure to find a tape measure so that I could make a slap bracelet for my bicycle handlebars to wear. By the third store I found the very last tape measure hidden in a pile of tools. Who knew tape measures would be in such high demand? Over the course of a couple of hours I tested the tape measure tape to create my own slap bracelet. It is mediocre and difficult to get the circumference small enough to stay on a bicycle handle bar. But it is a good start.
![]()
For now, I have left the section of tape measure tape in a tightly curled coil to see if it will behave better next time. Otherwise, I'll be buying a traditional slap bracelet to try. In the meantime, I've ordered a mouse pad. This seems random, but I have a plan.
-
Getting Started
03/17/2017 at 05:03 • 0 commentsWhere should we start? Back in my sketching class, I found the problem: attaching a bicycle lamp to a bike can be much easier than it is. Several years later and several minutes ago I found a solution. BAM..or slap? Something quick and something simple that we can all make.
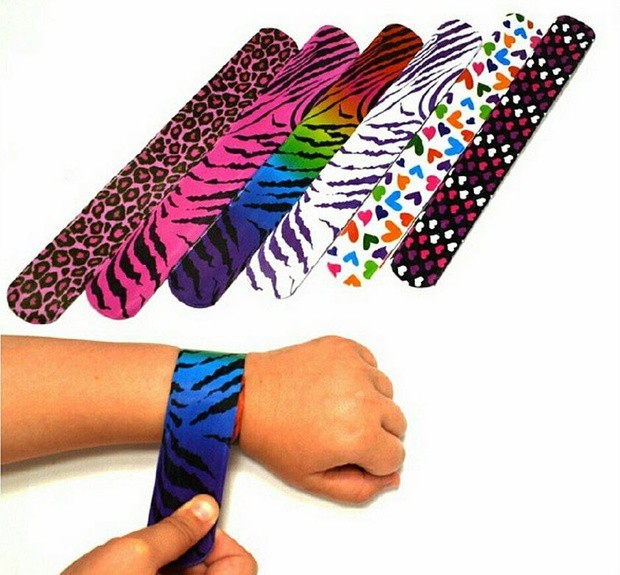
Does anyone remember these?
![]()
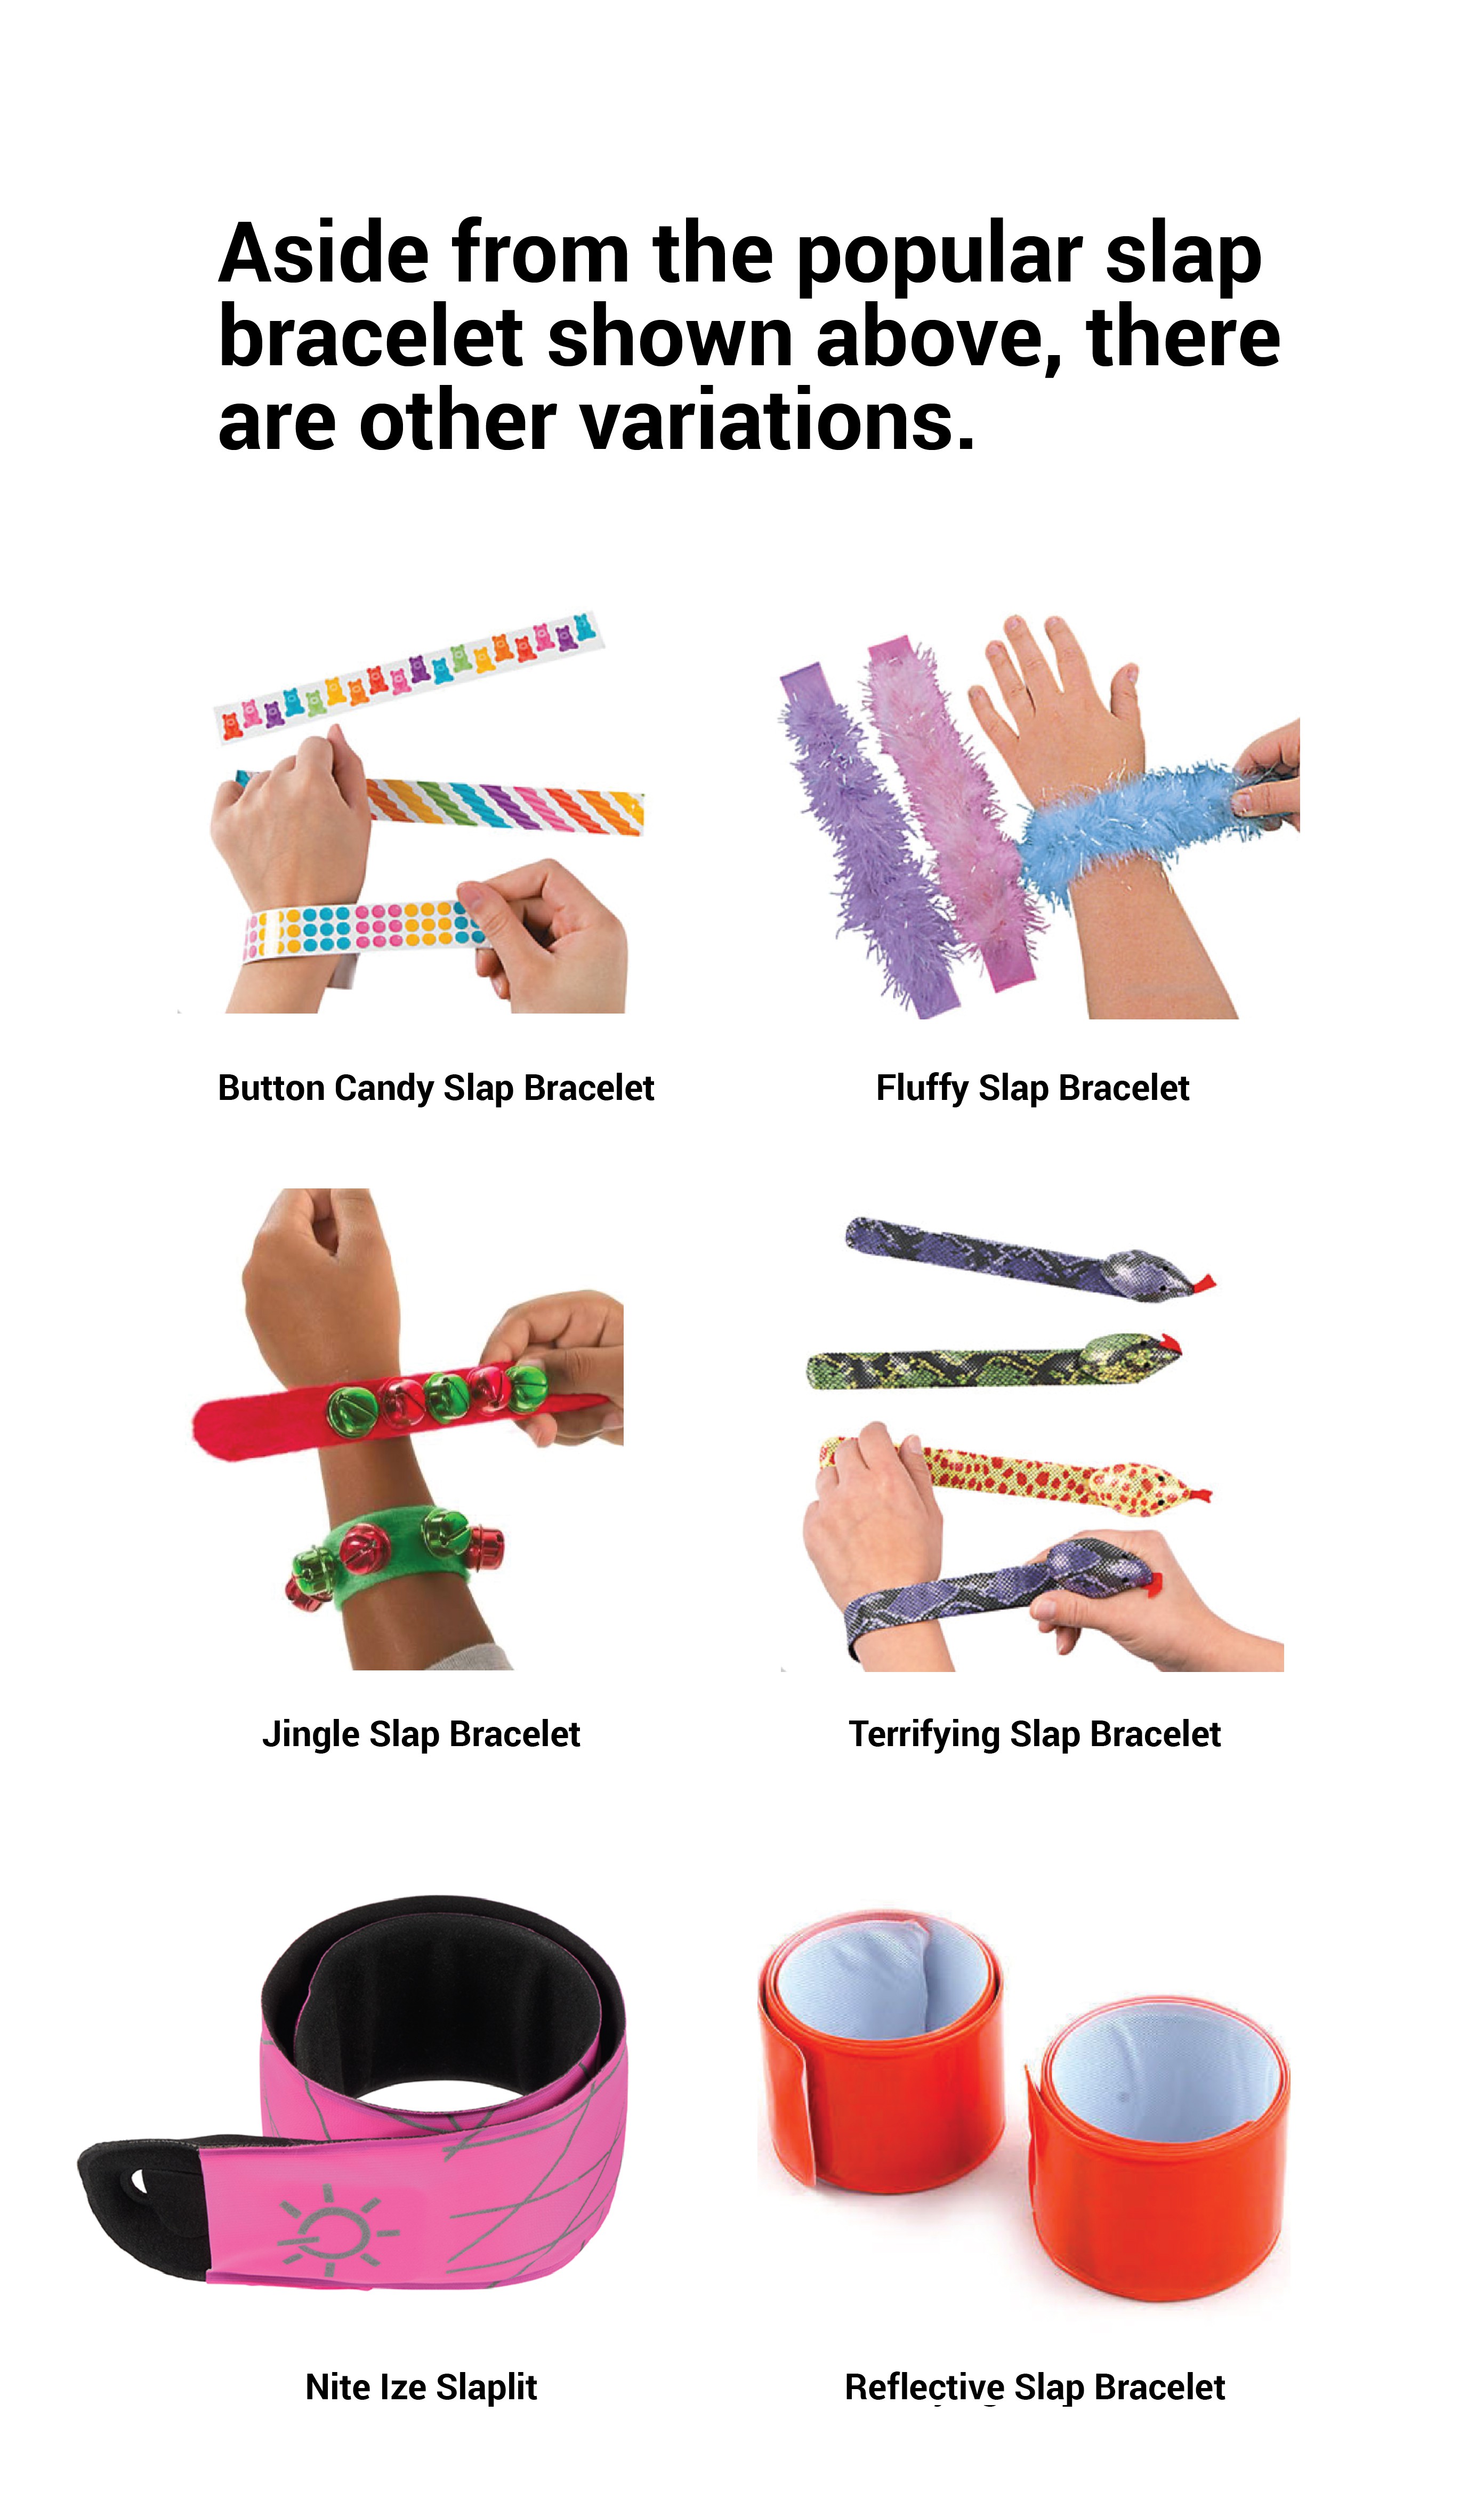
Aside from making an interesting sound and occasionally causing a sting to my wrist, I don't know what made me acquire one into my possession. But now I have a reason to acquire slap bracelets. To begin, I'd like to do a survey of all my options when it comes to purchasing a slap bracelet online.
![]()
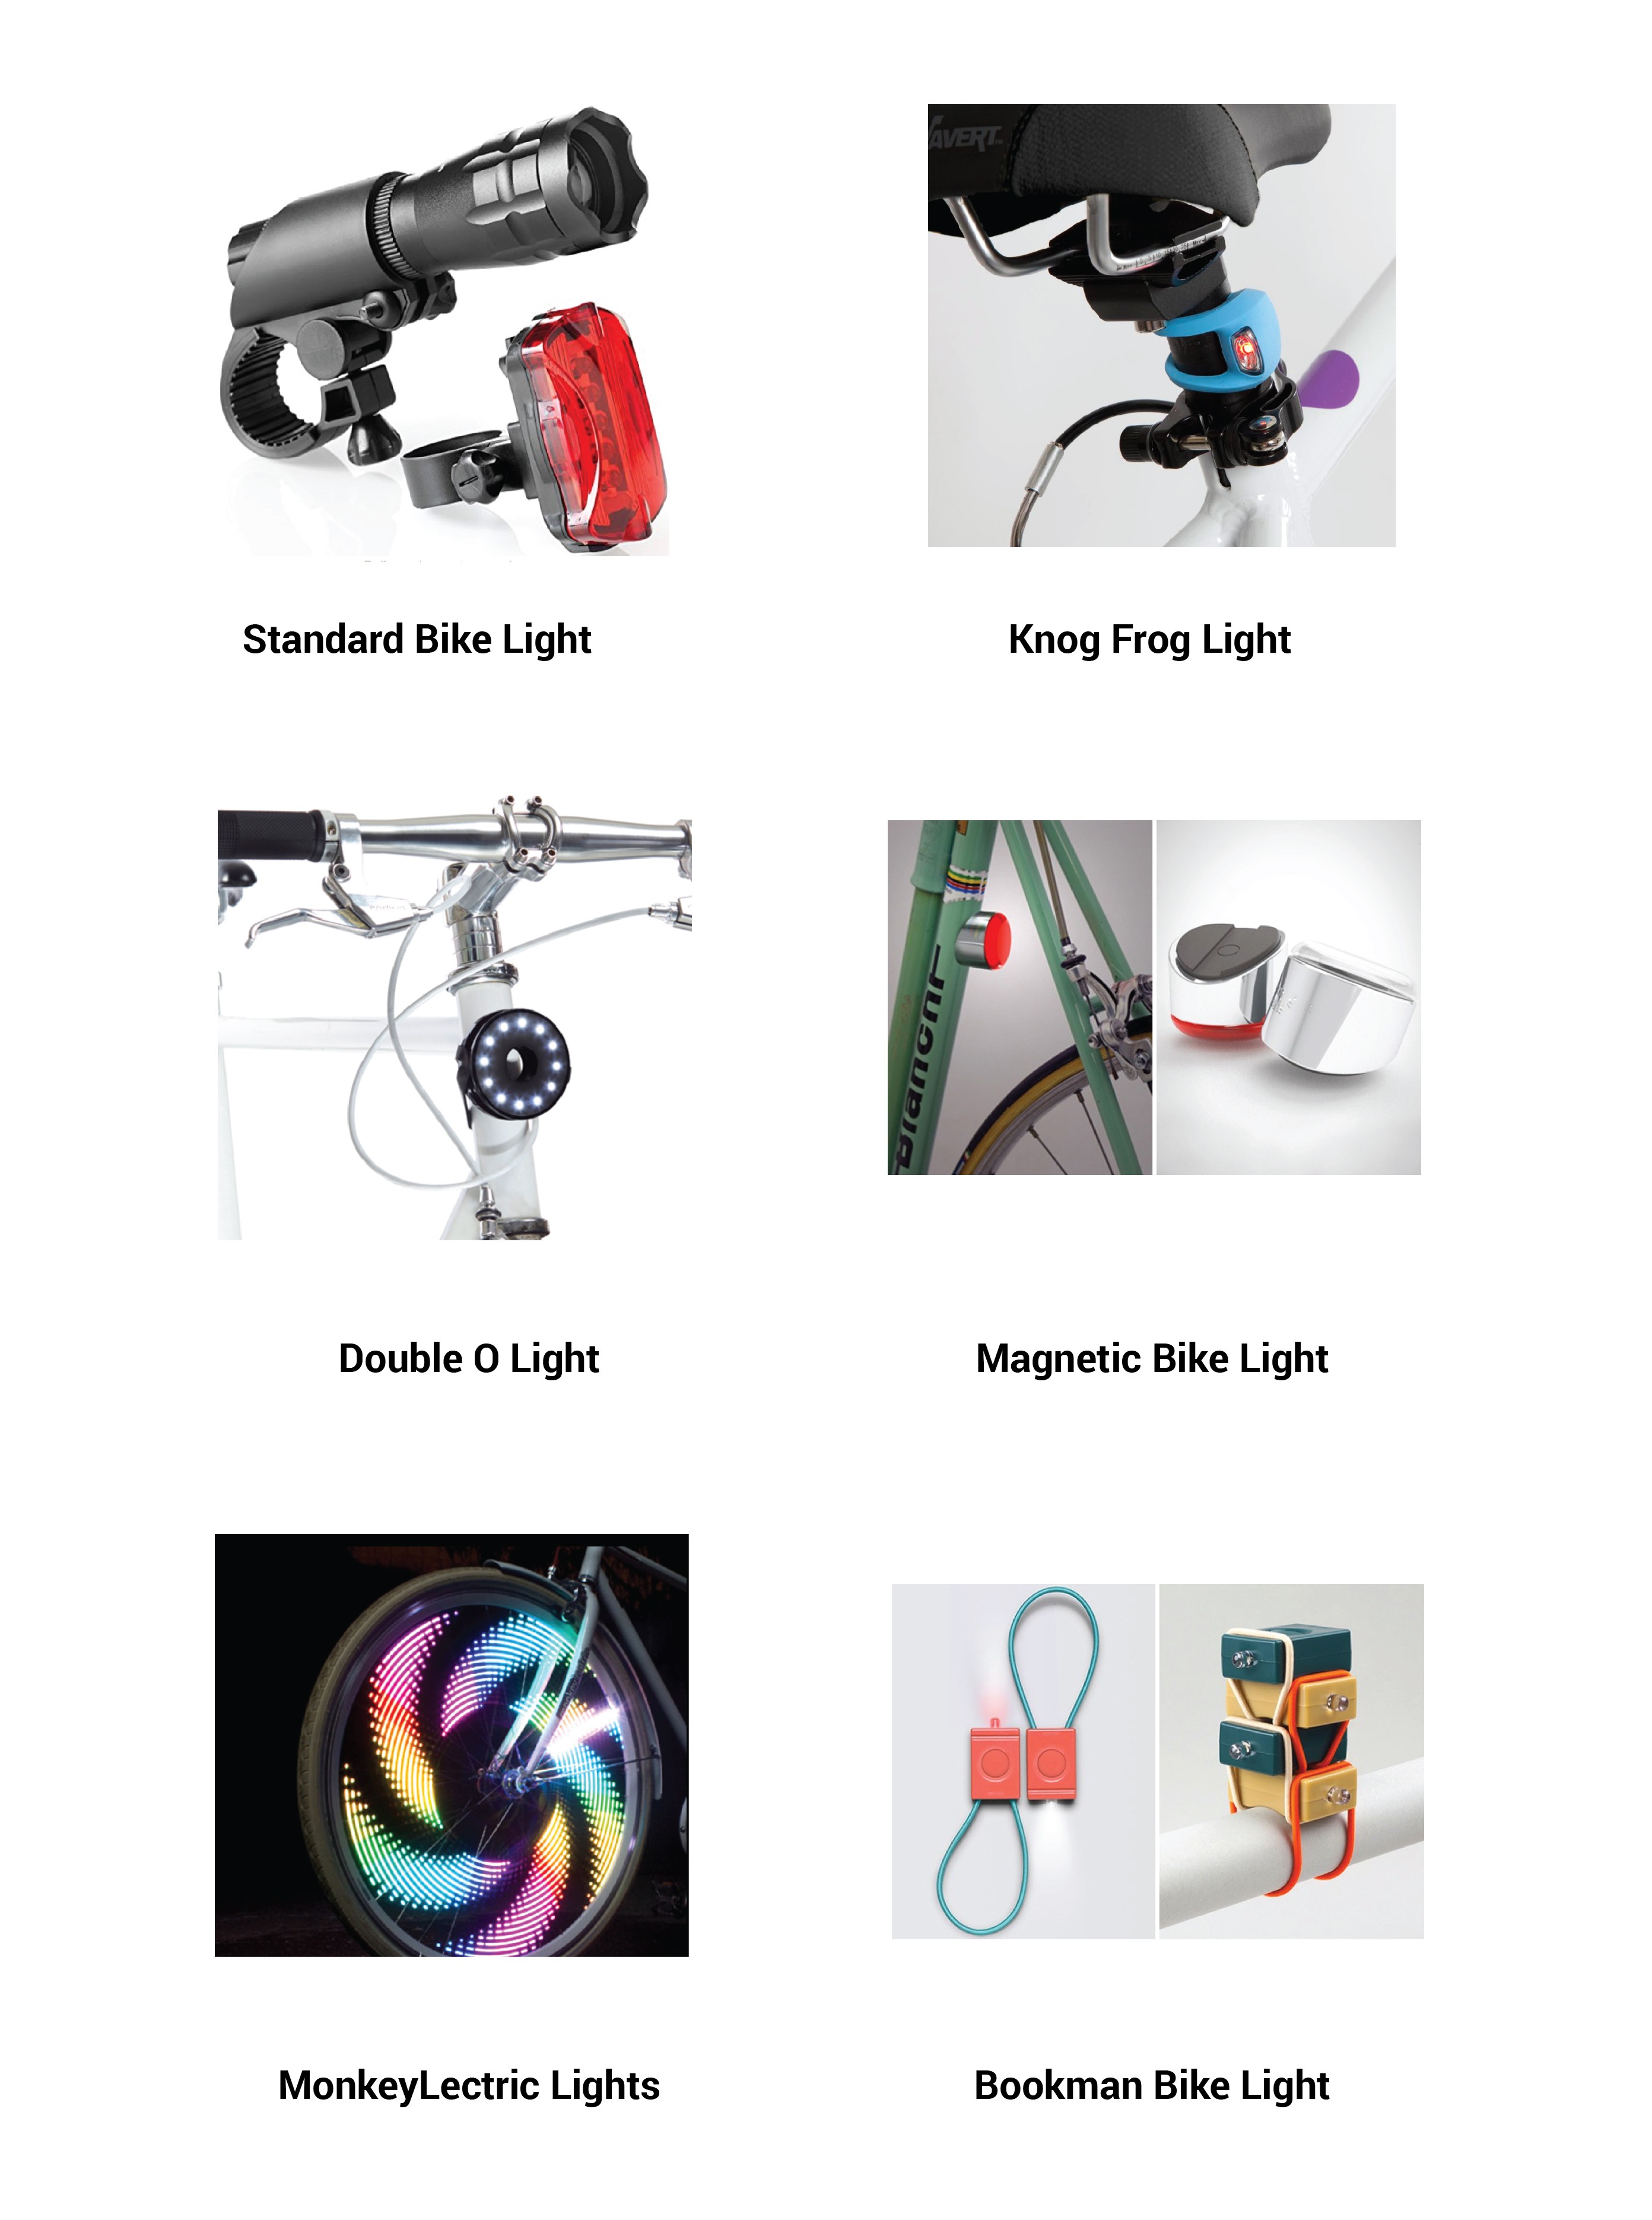
I also looked into unusual bicycle lamps to see if something like this exists. I've researched more, but here are a few of the unique products.
![]() The next step is going to be for me to think about this, do some sketching, and decide on some parts to start prototyping.
The next step is going to be for me to think about this, do some sketching, and decide on some parts to start prototyping.


 The next step is going to be for me to think about this, do some sketching, and decide on some parts to start prototyping.