 anfroholic
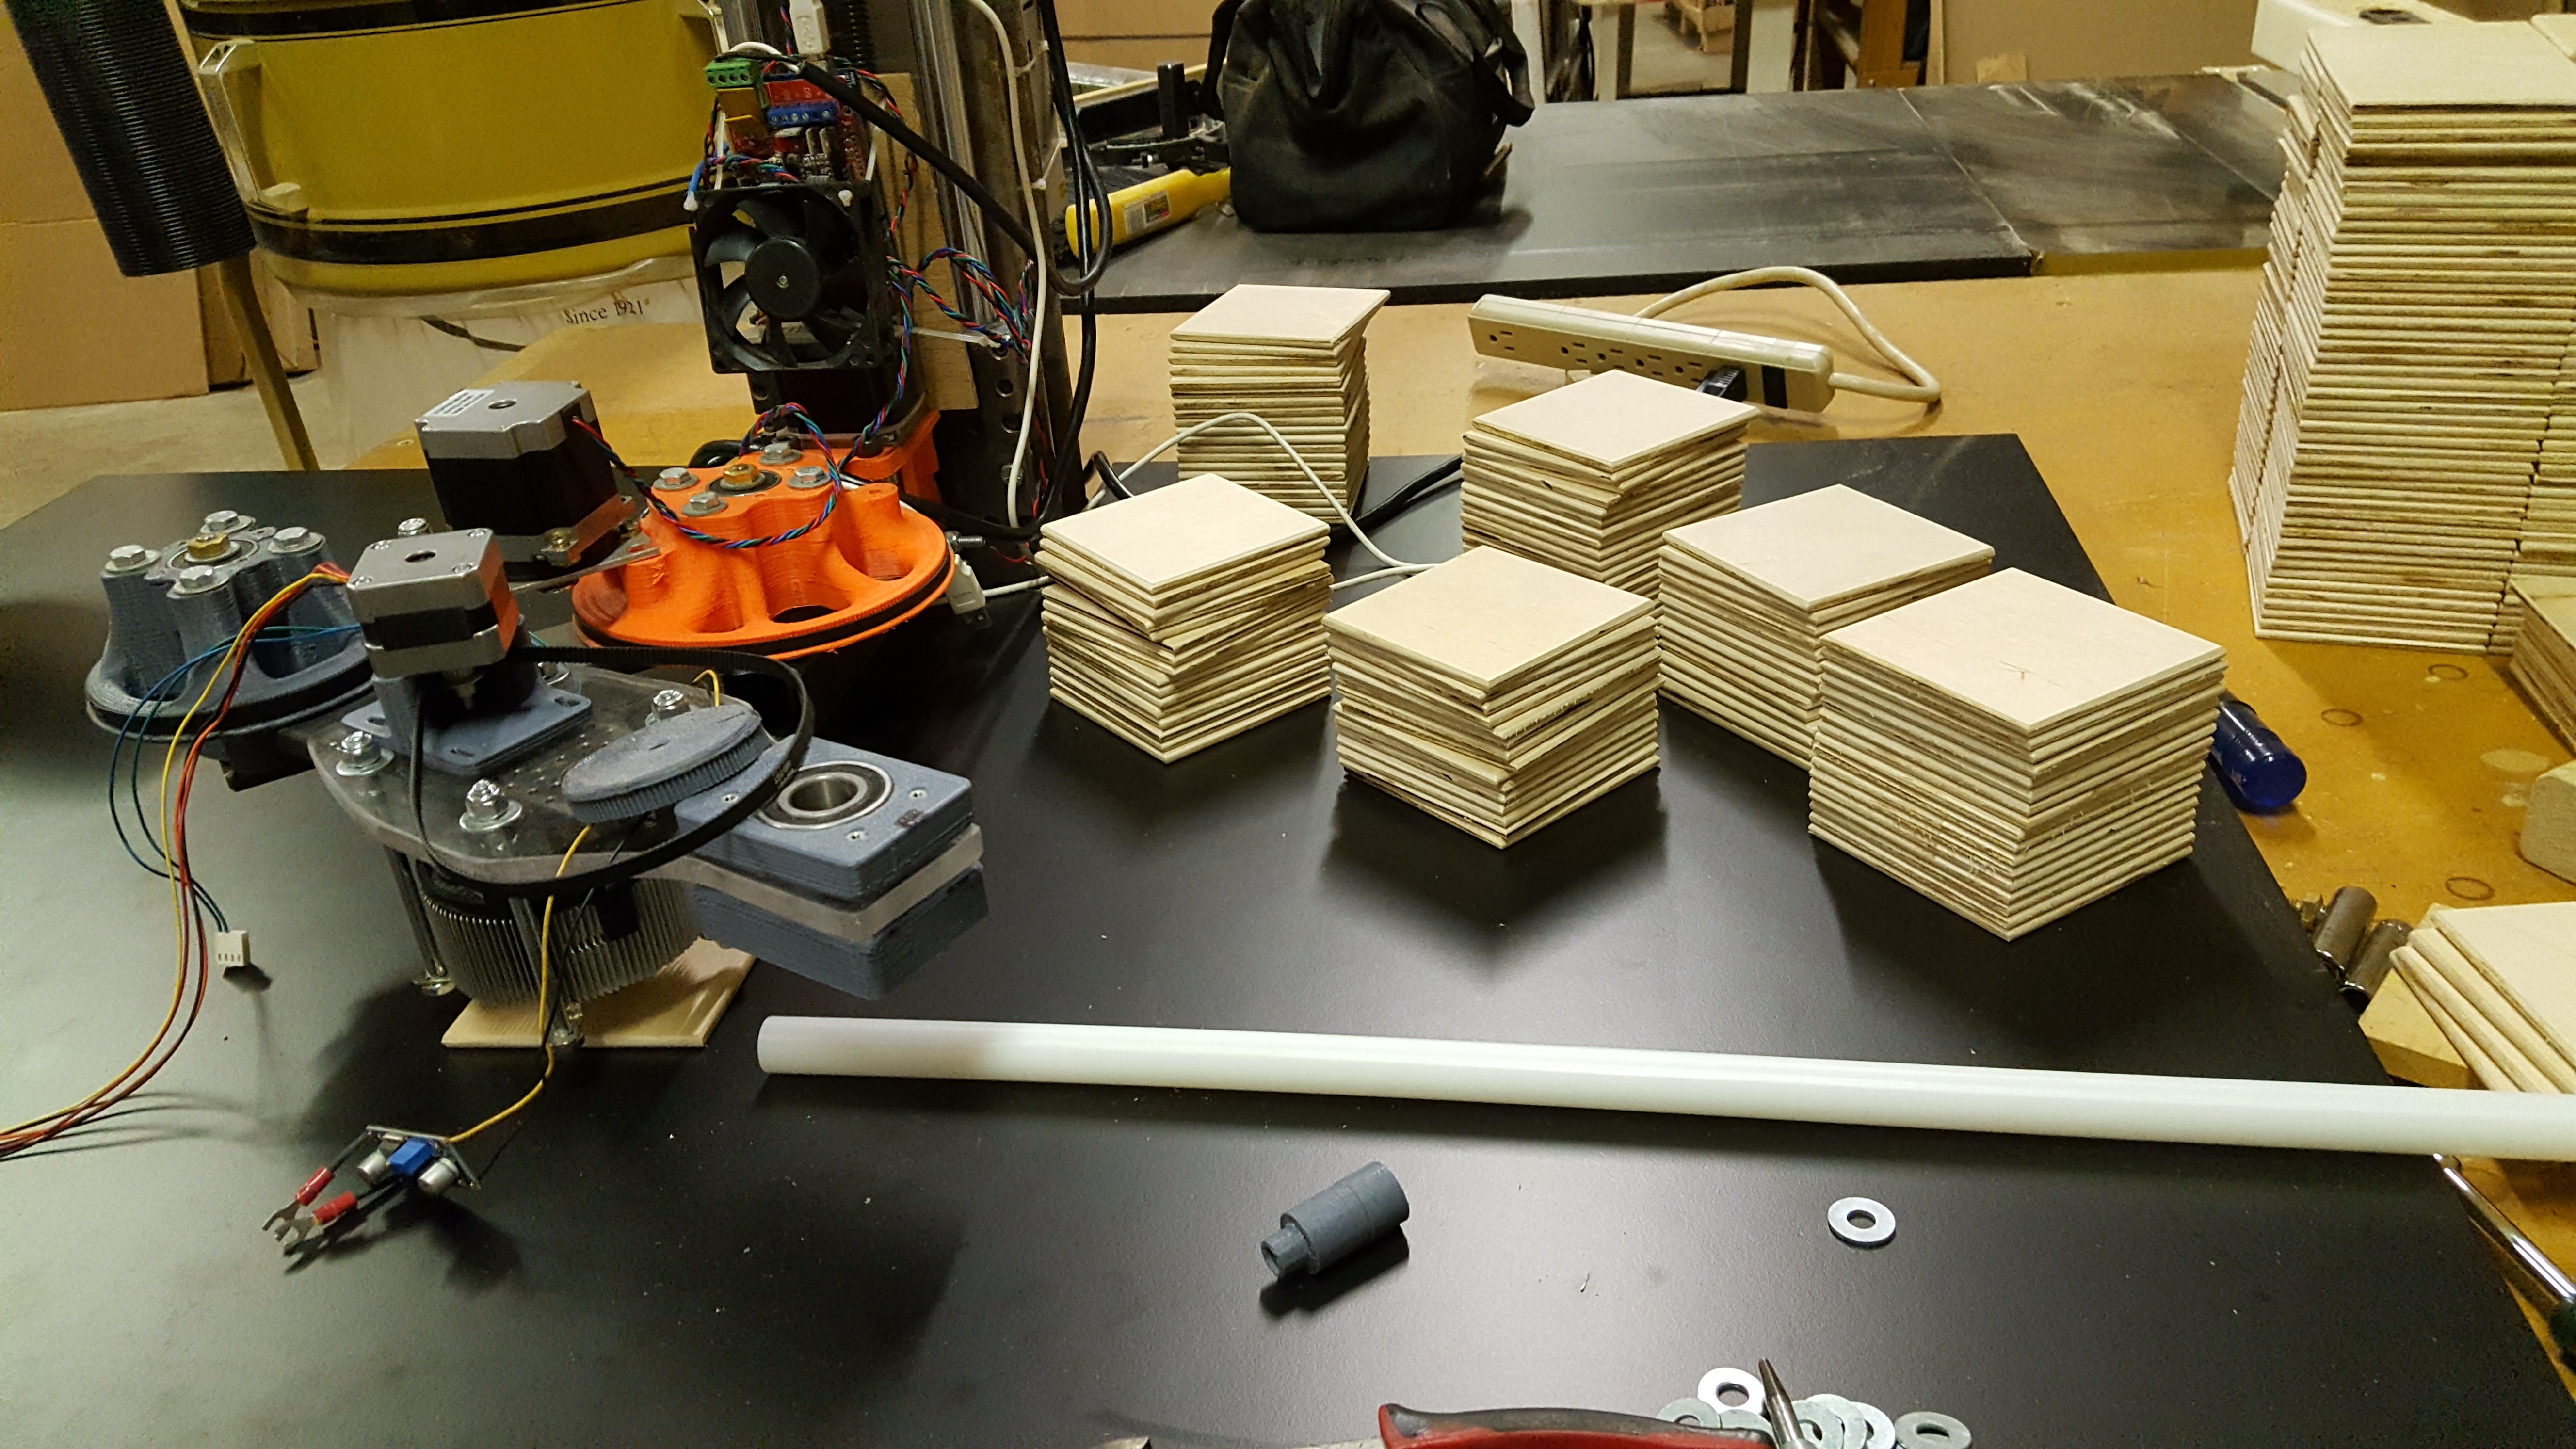
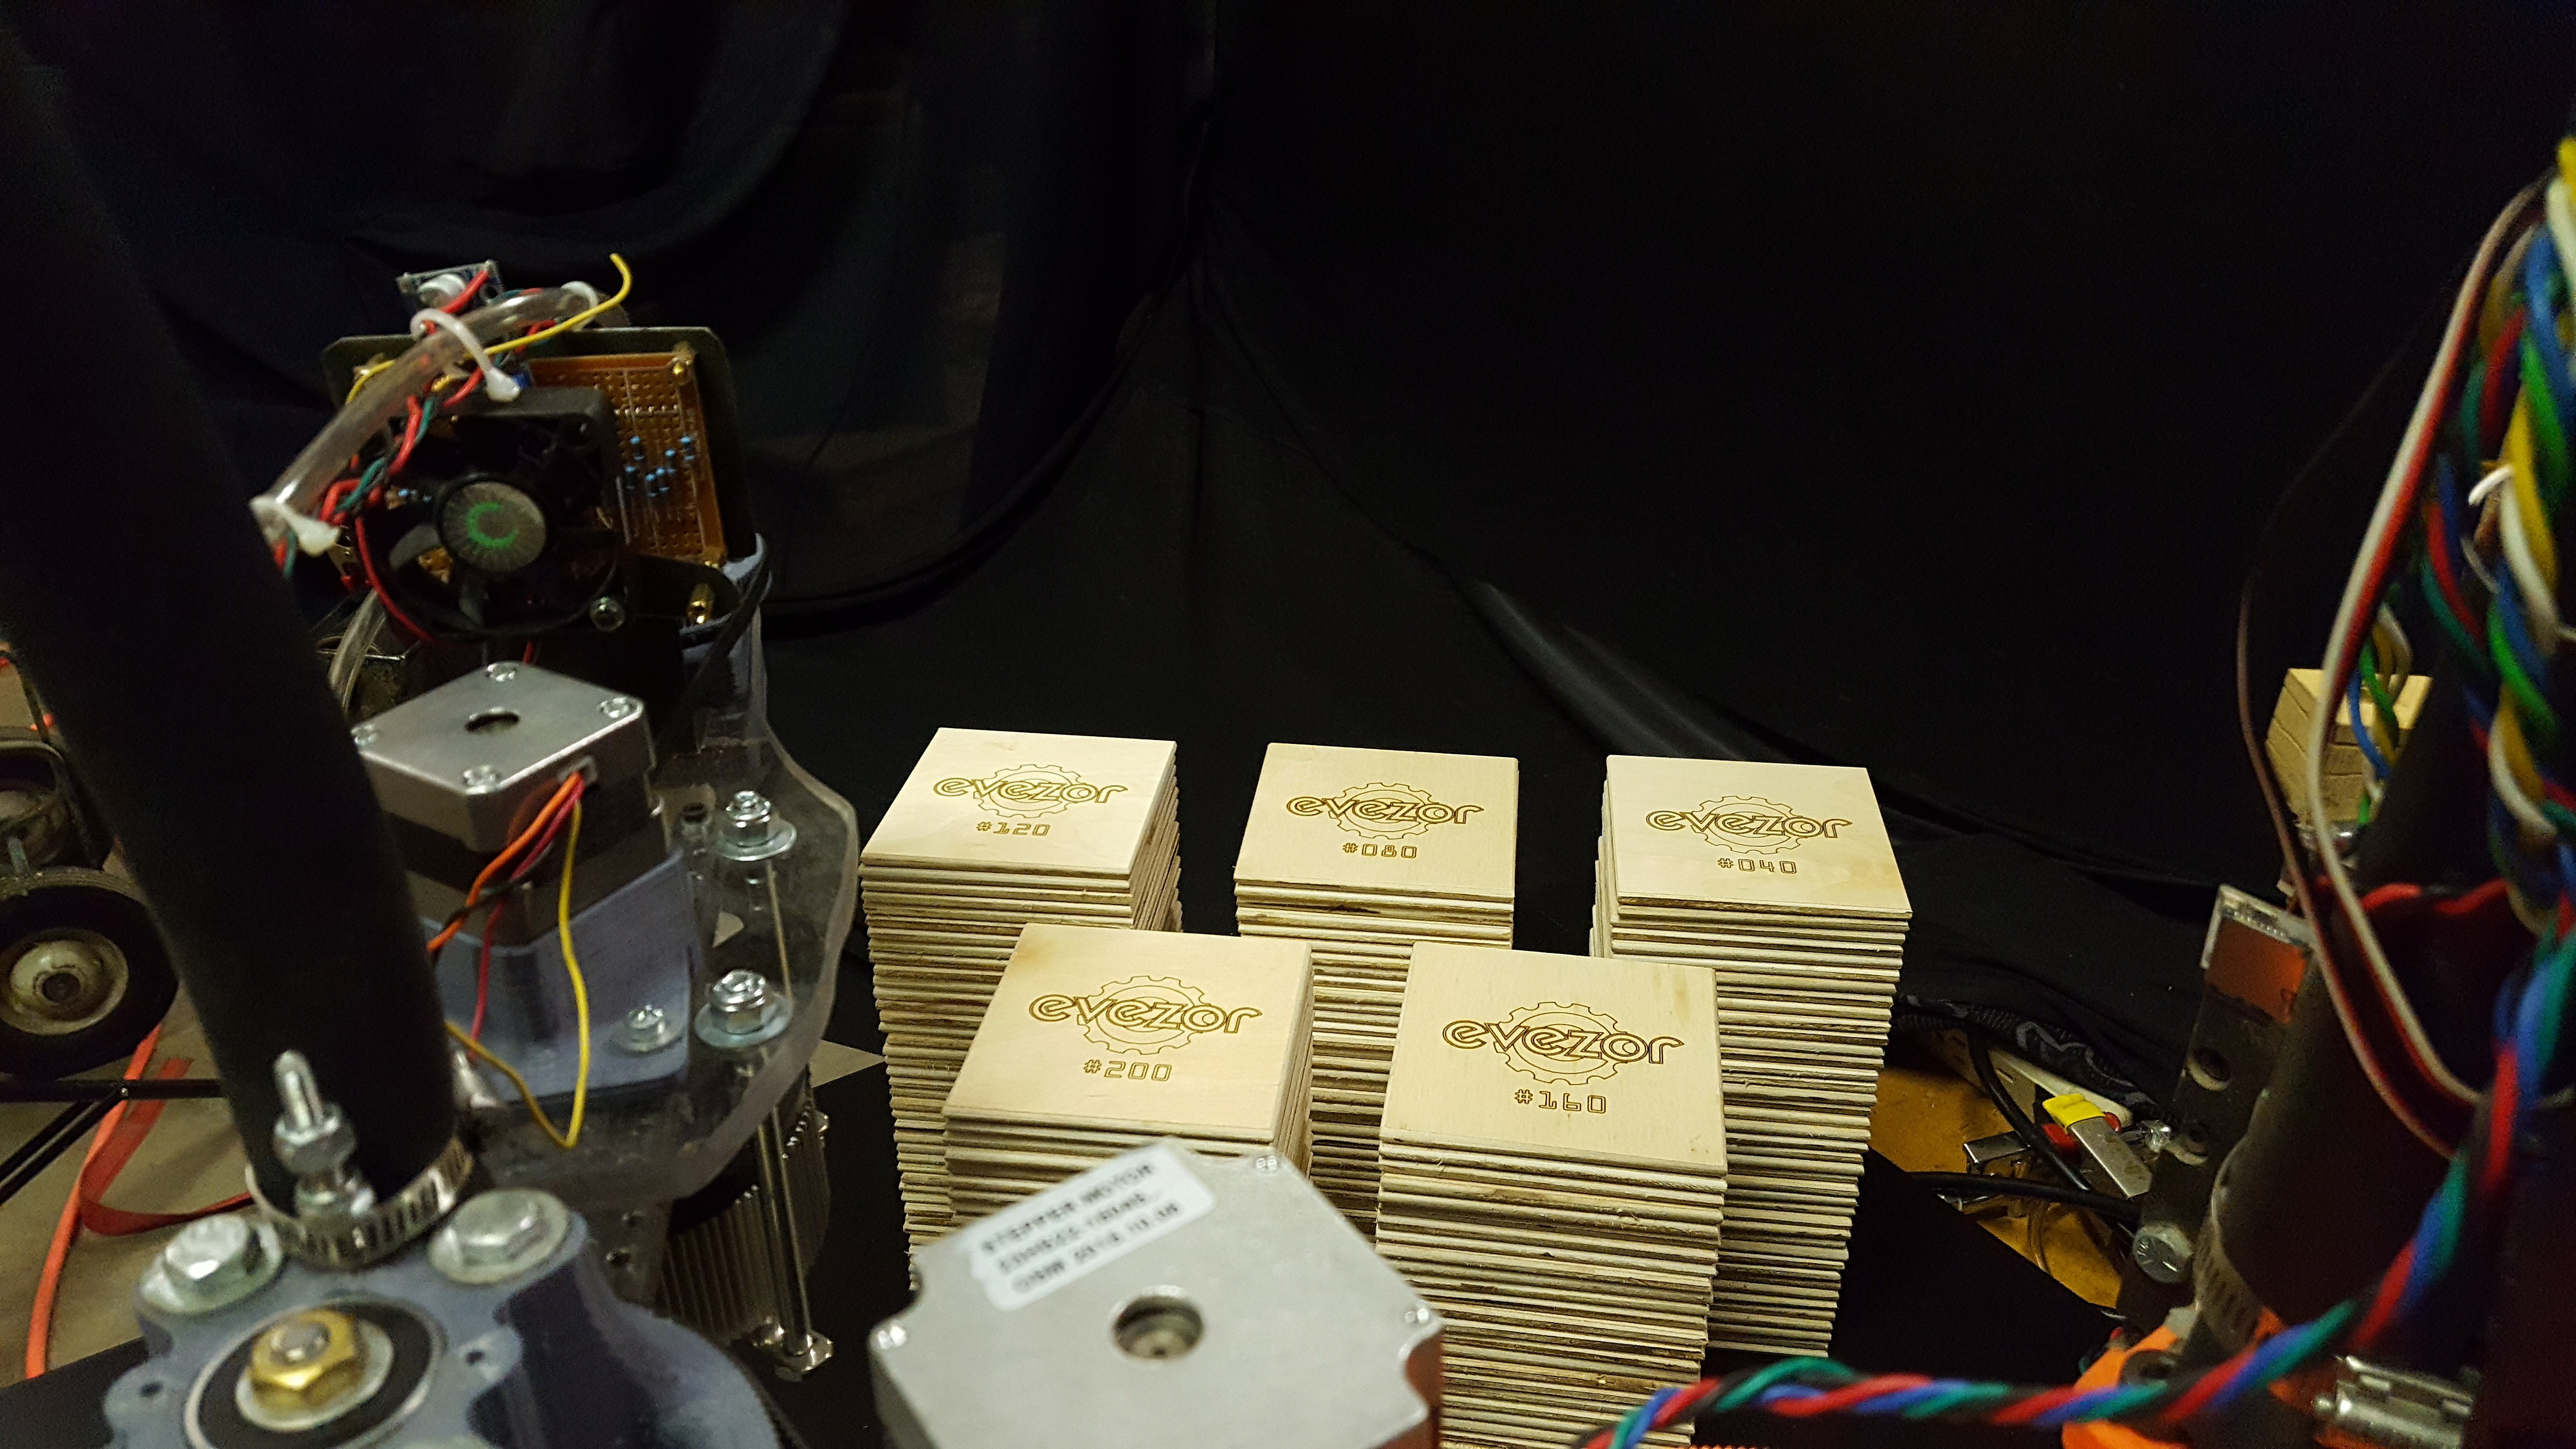
Let's automate the production of 200 coasters with no human intervention.
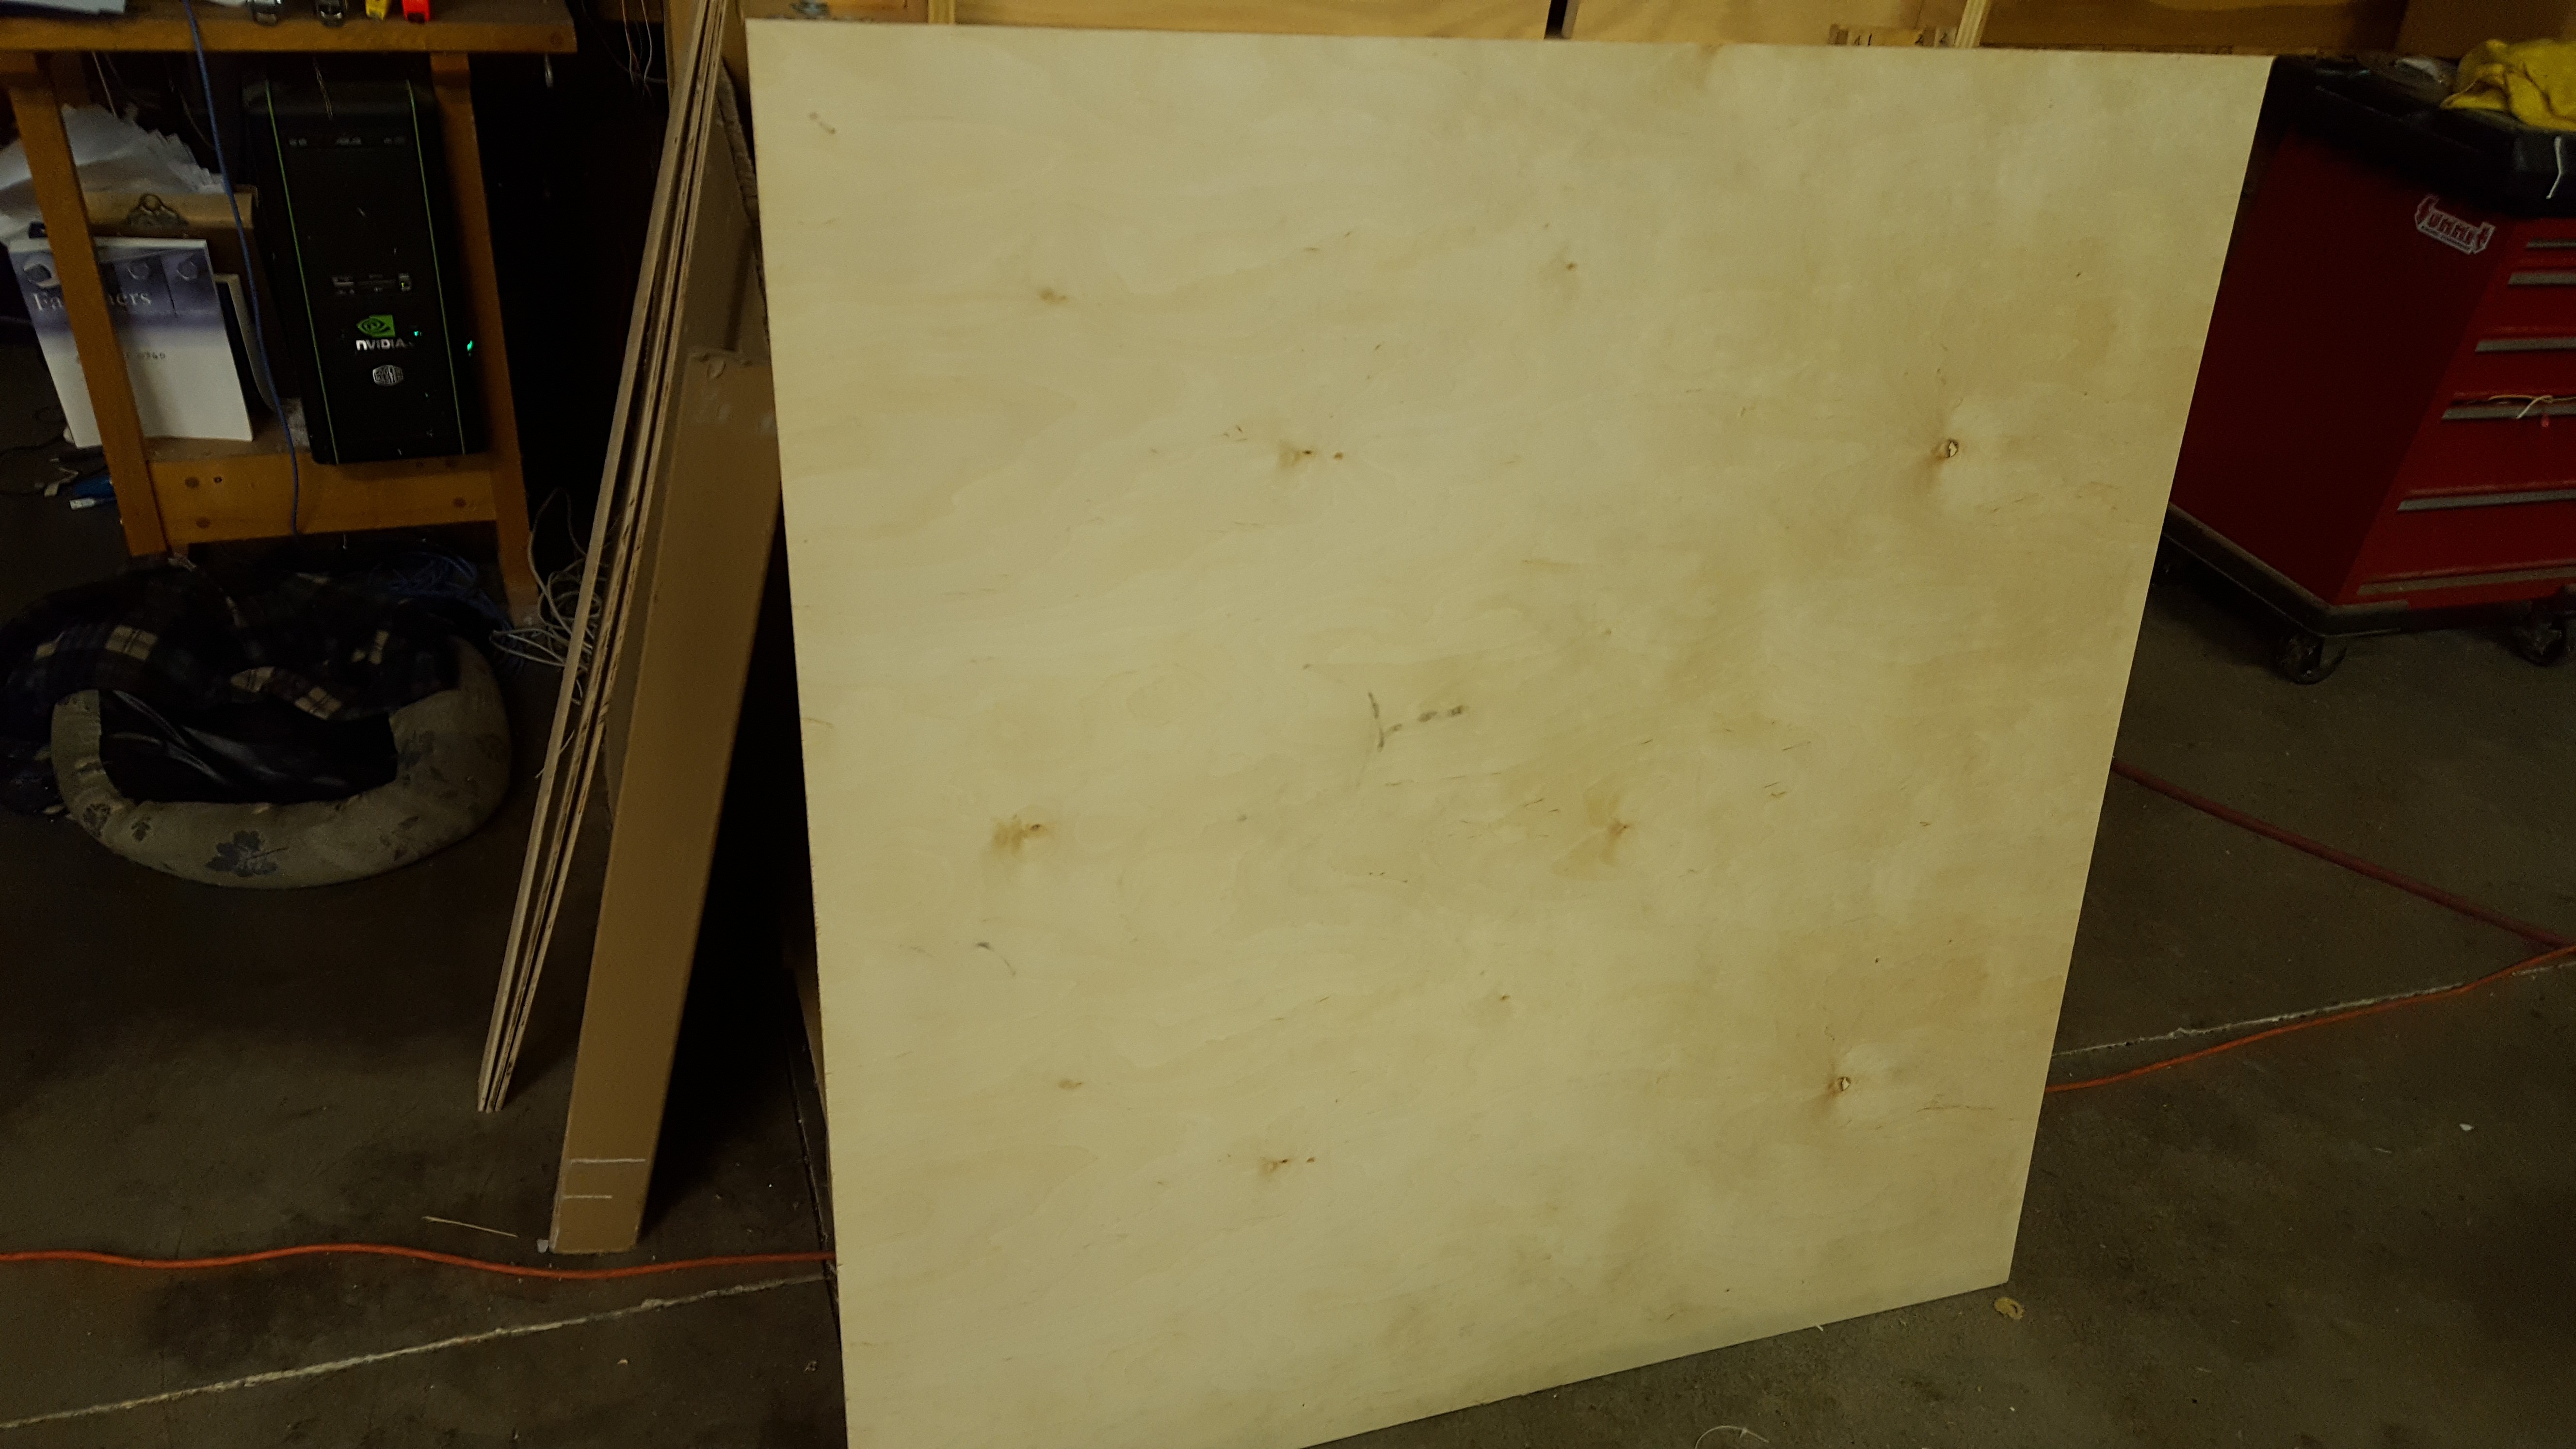
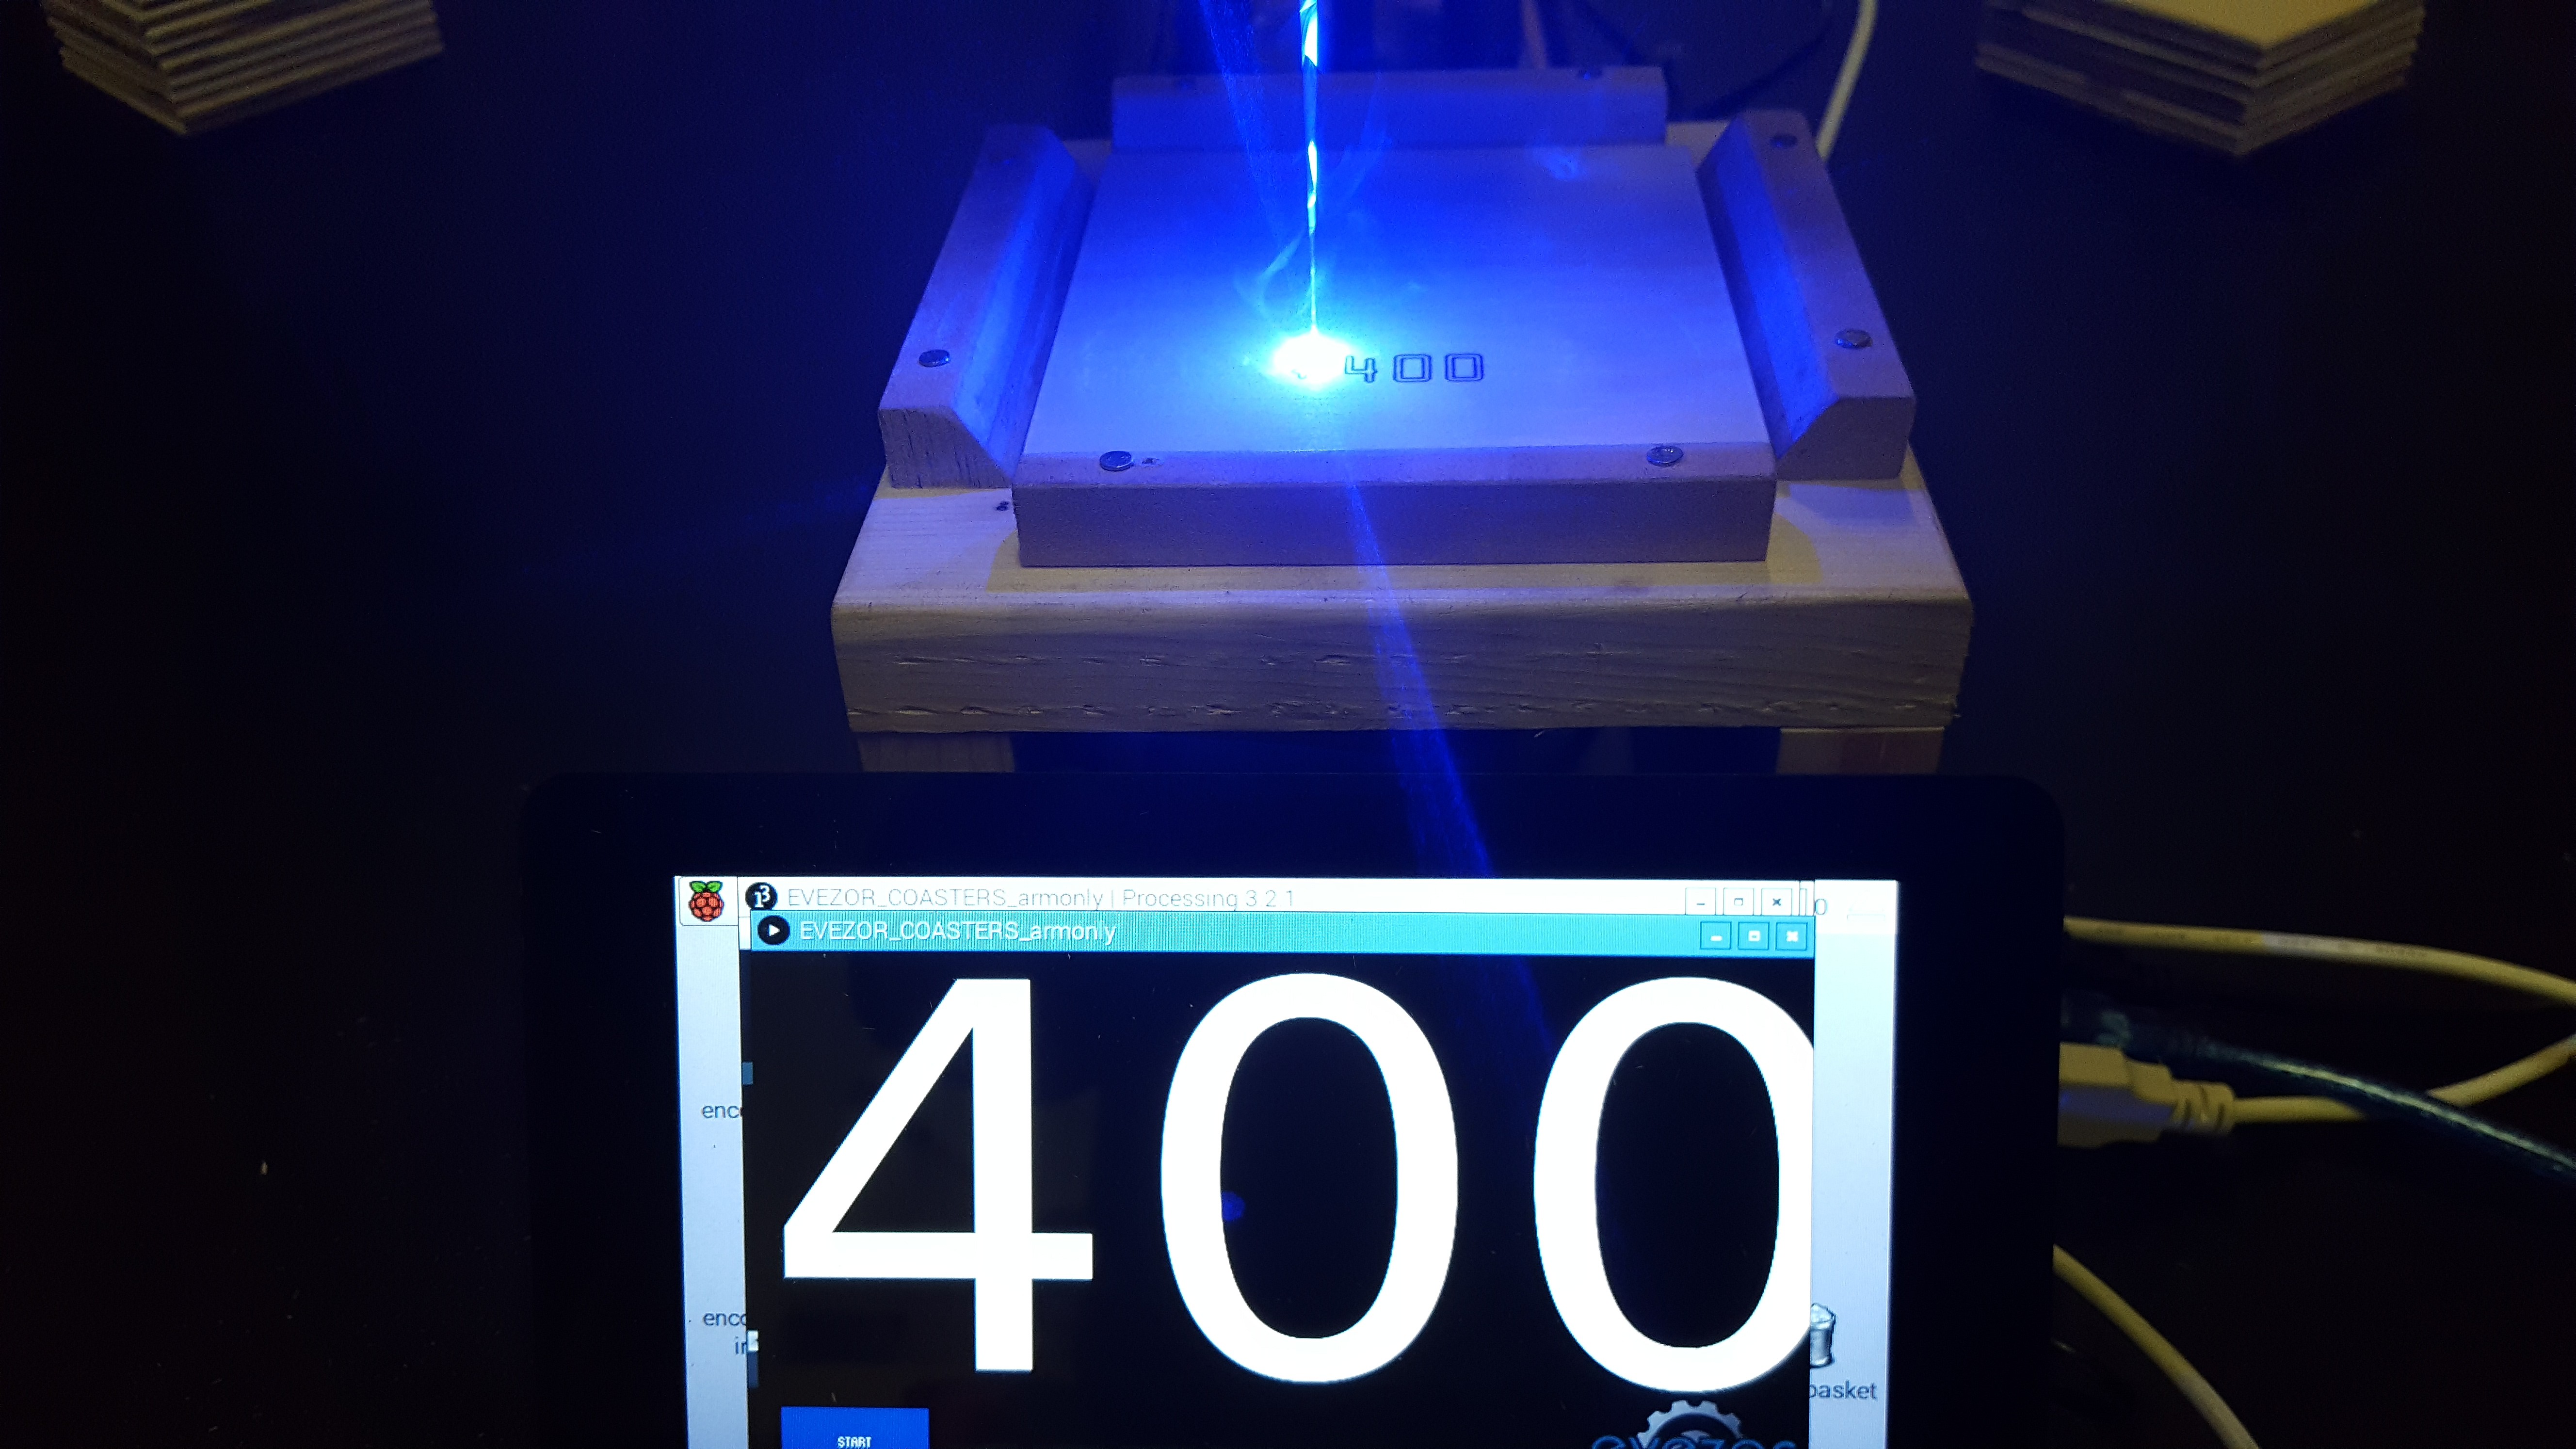
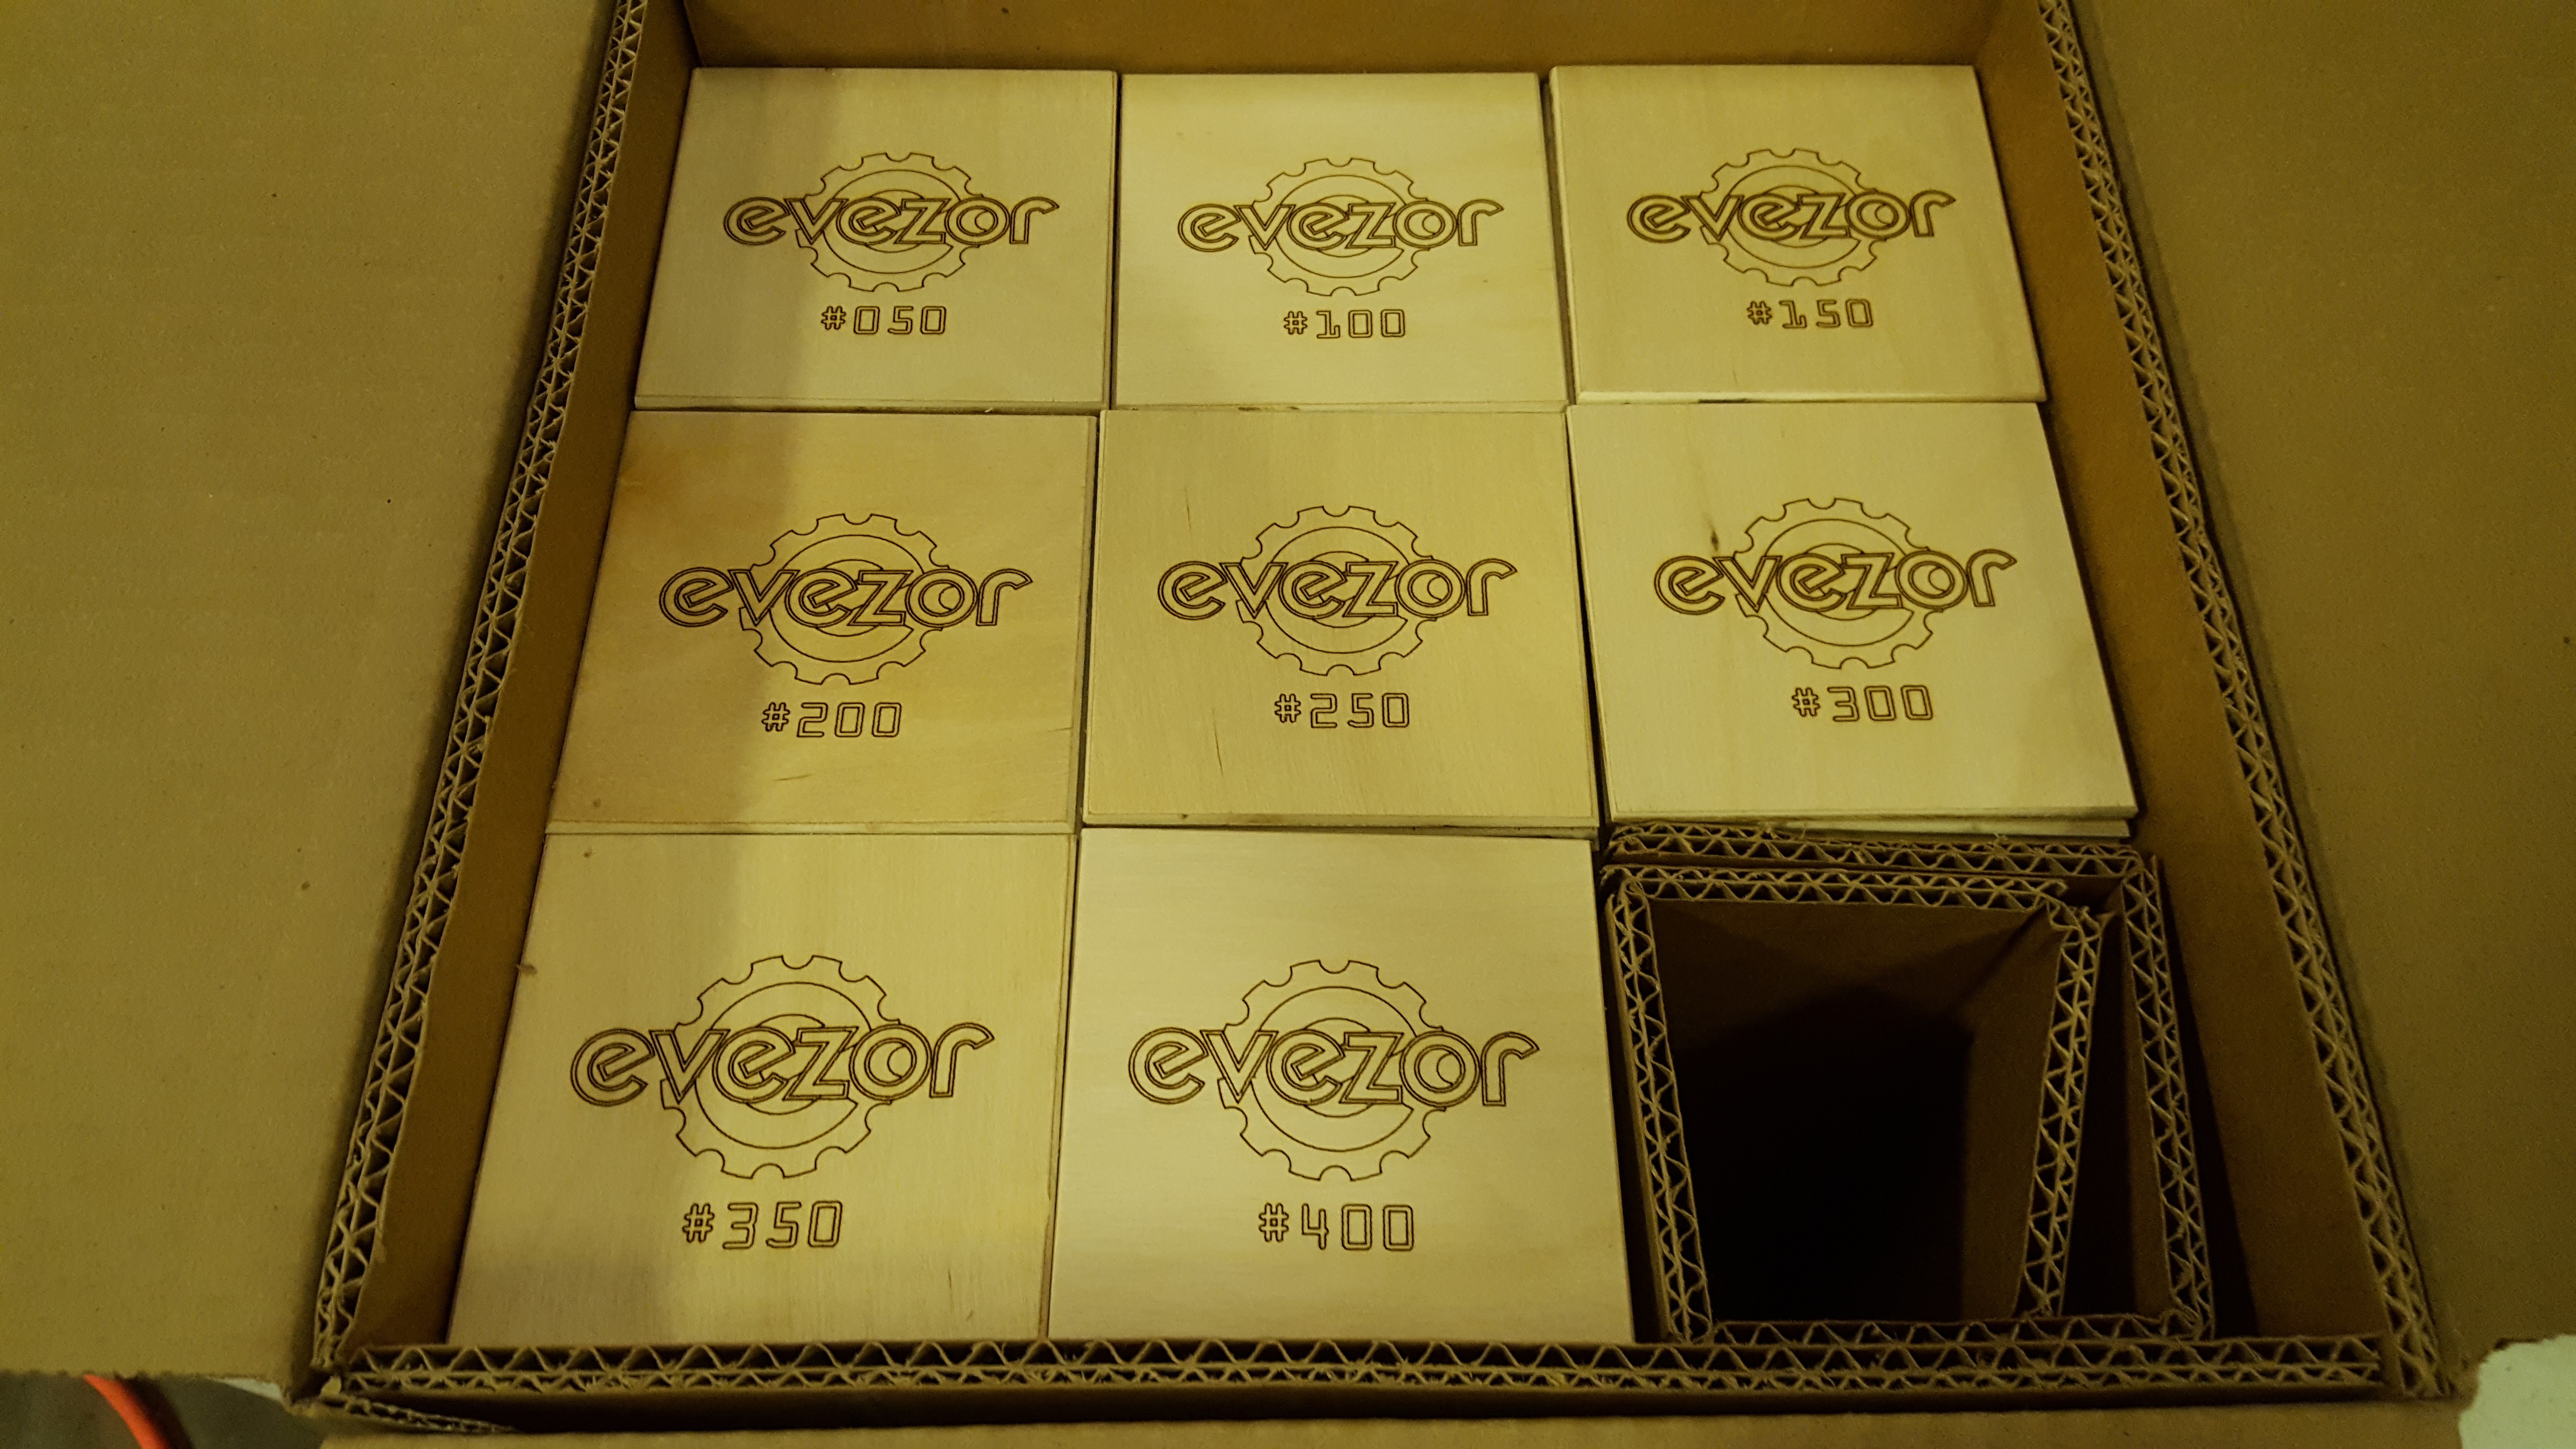
Coasters were cut from a standard sheet of 1/8" birch plywood.

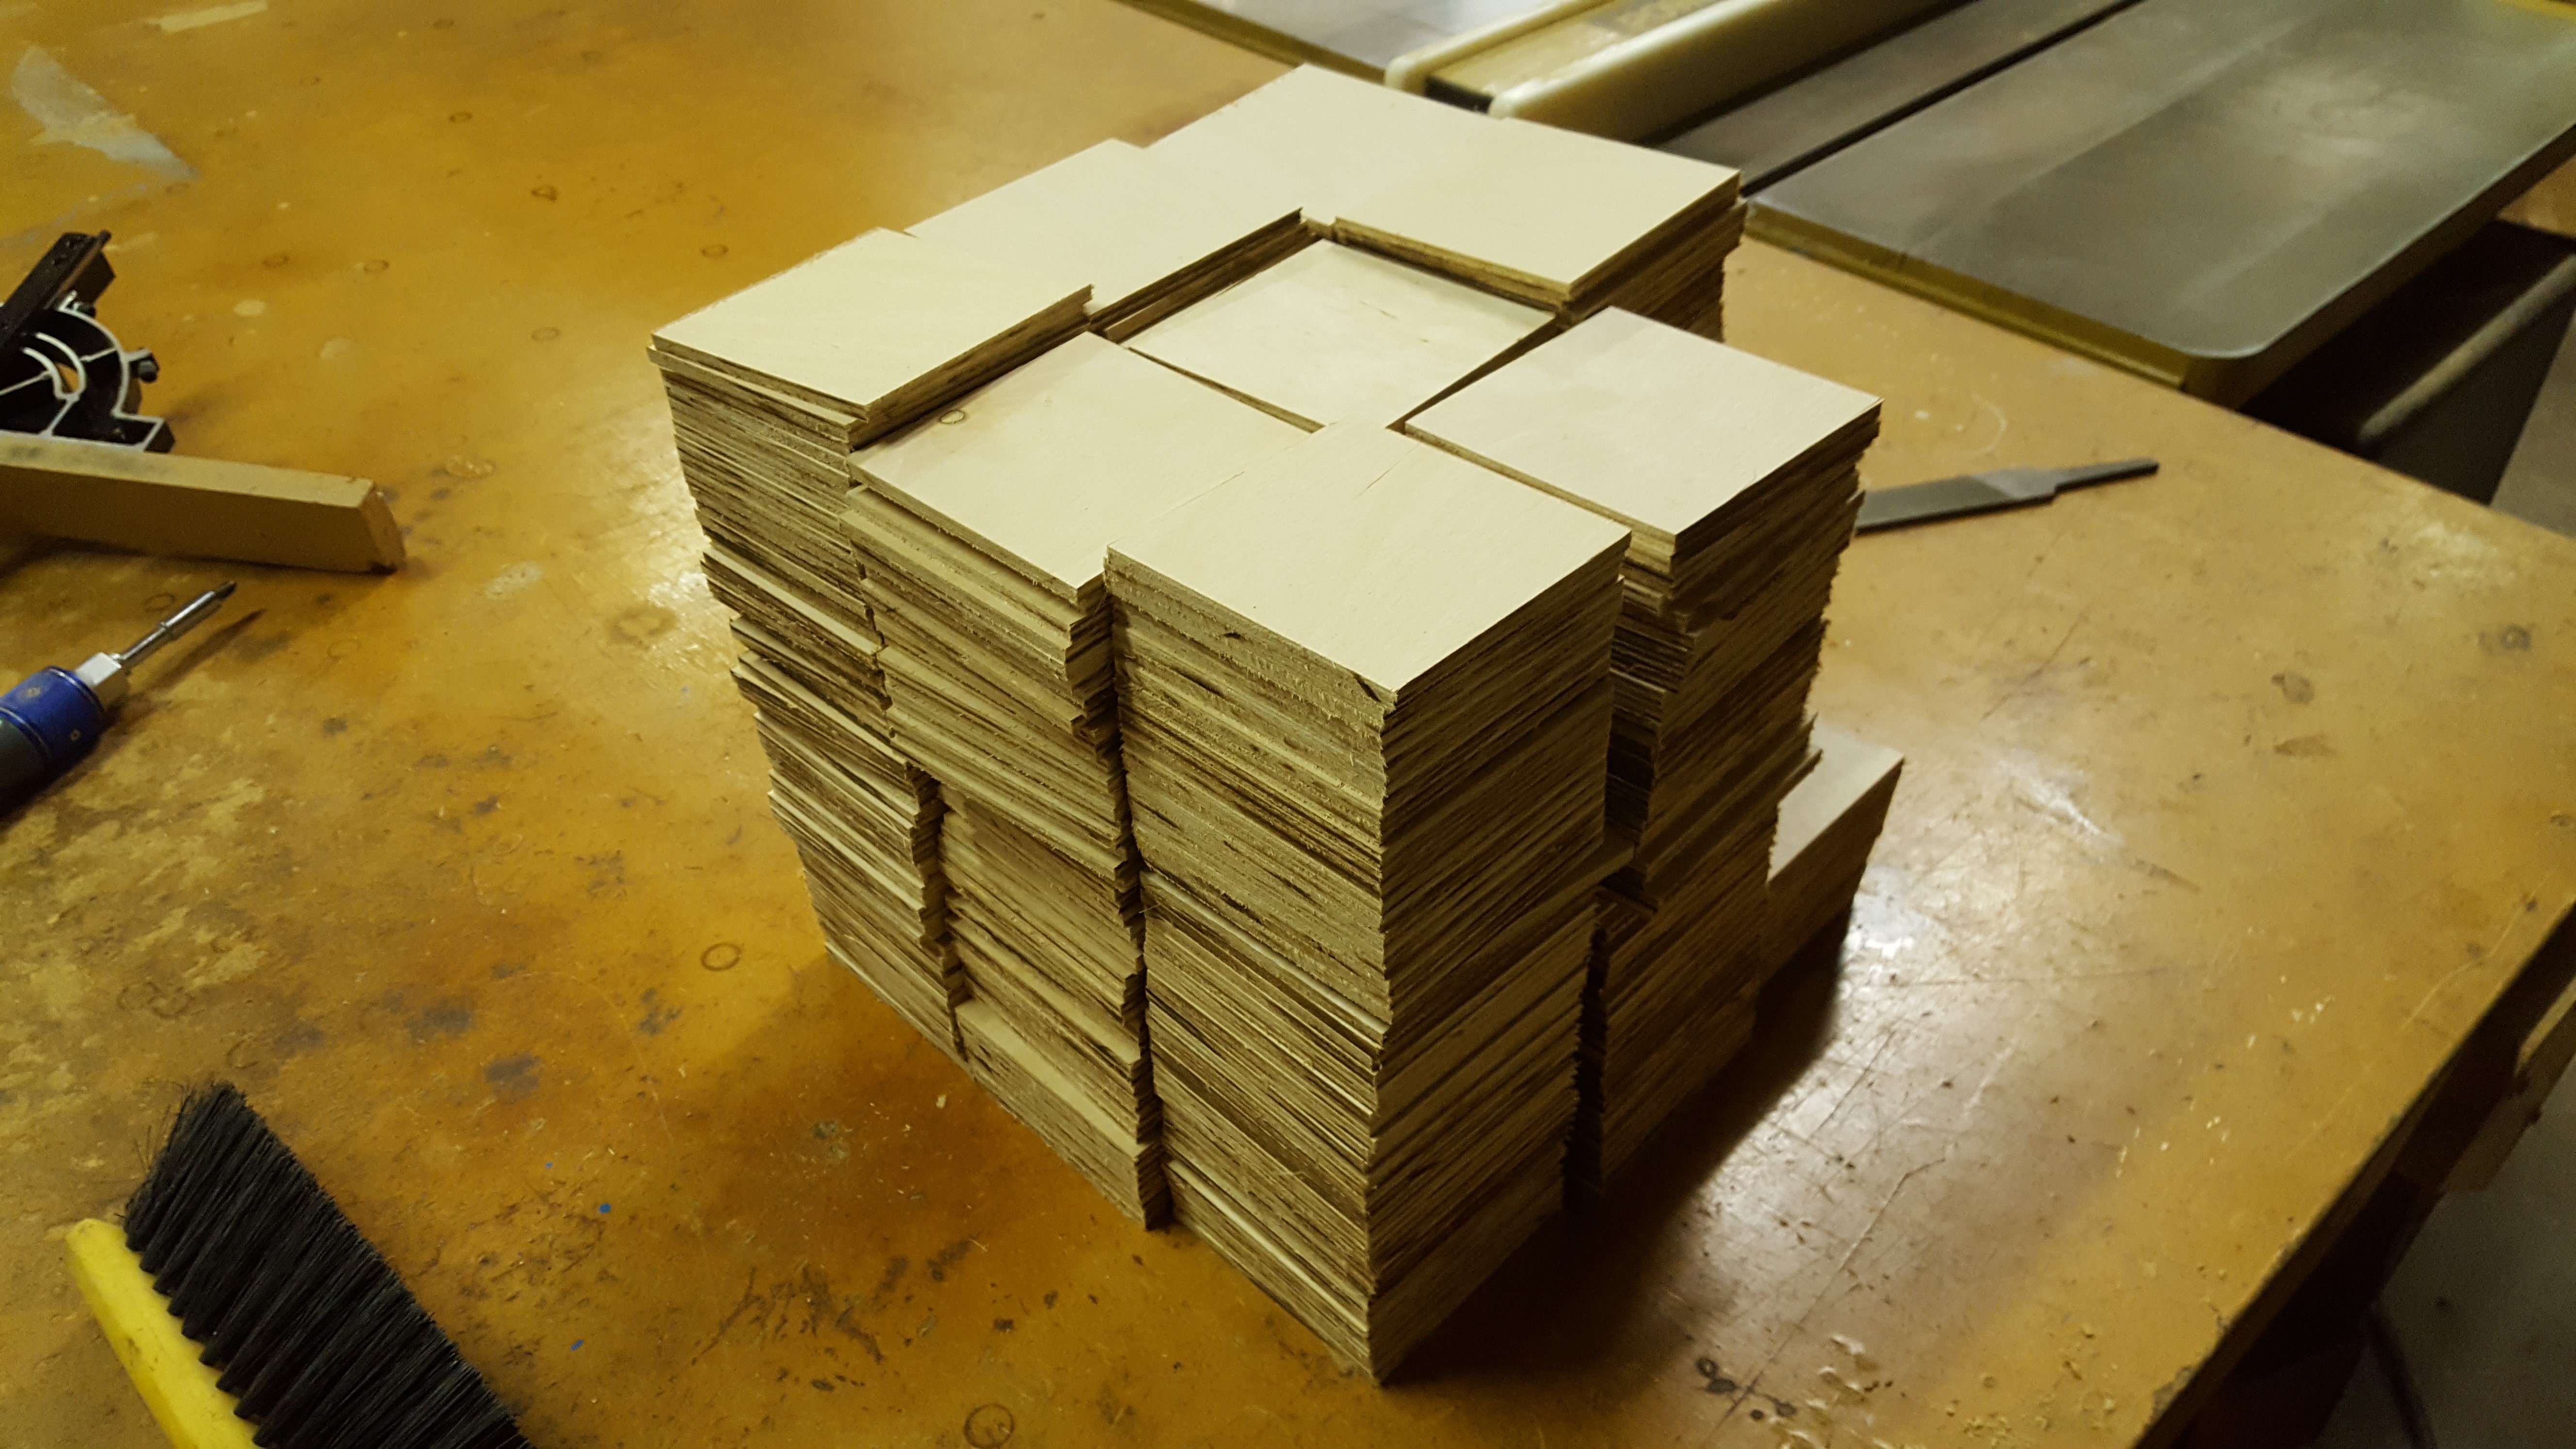
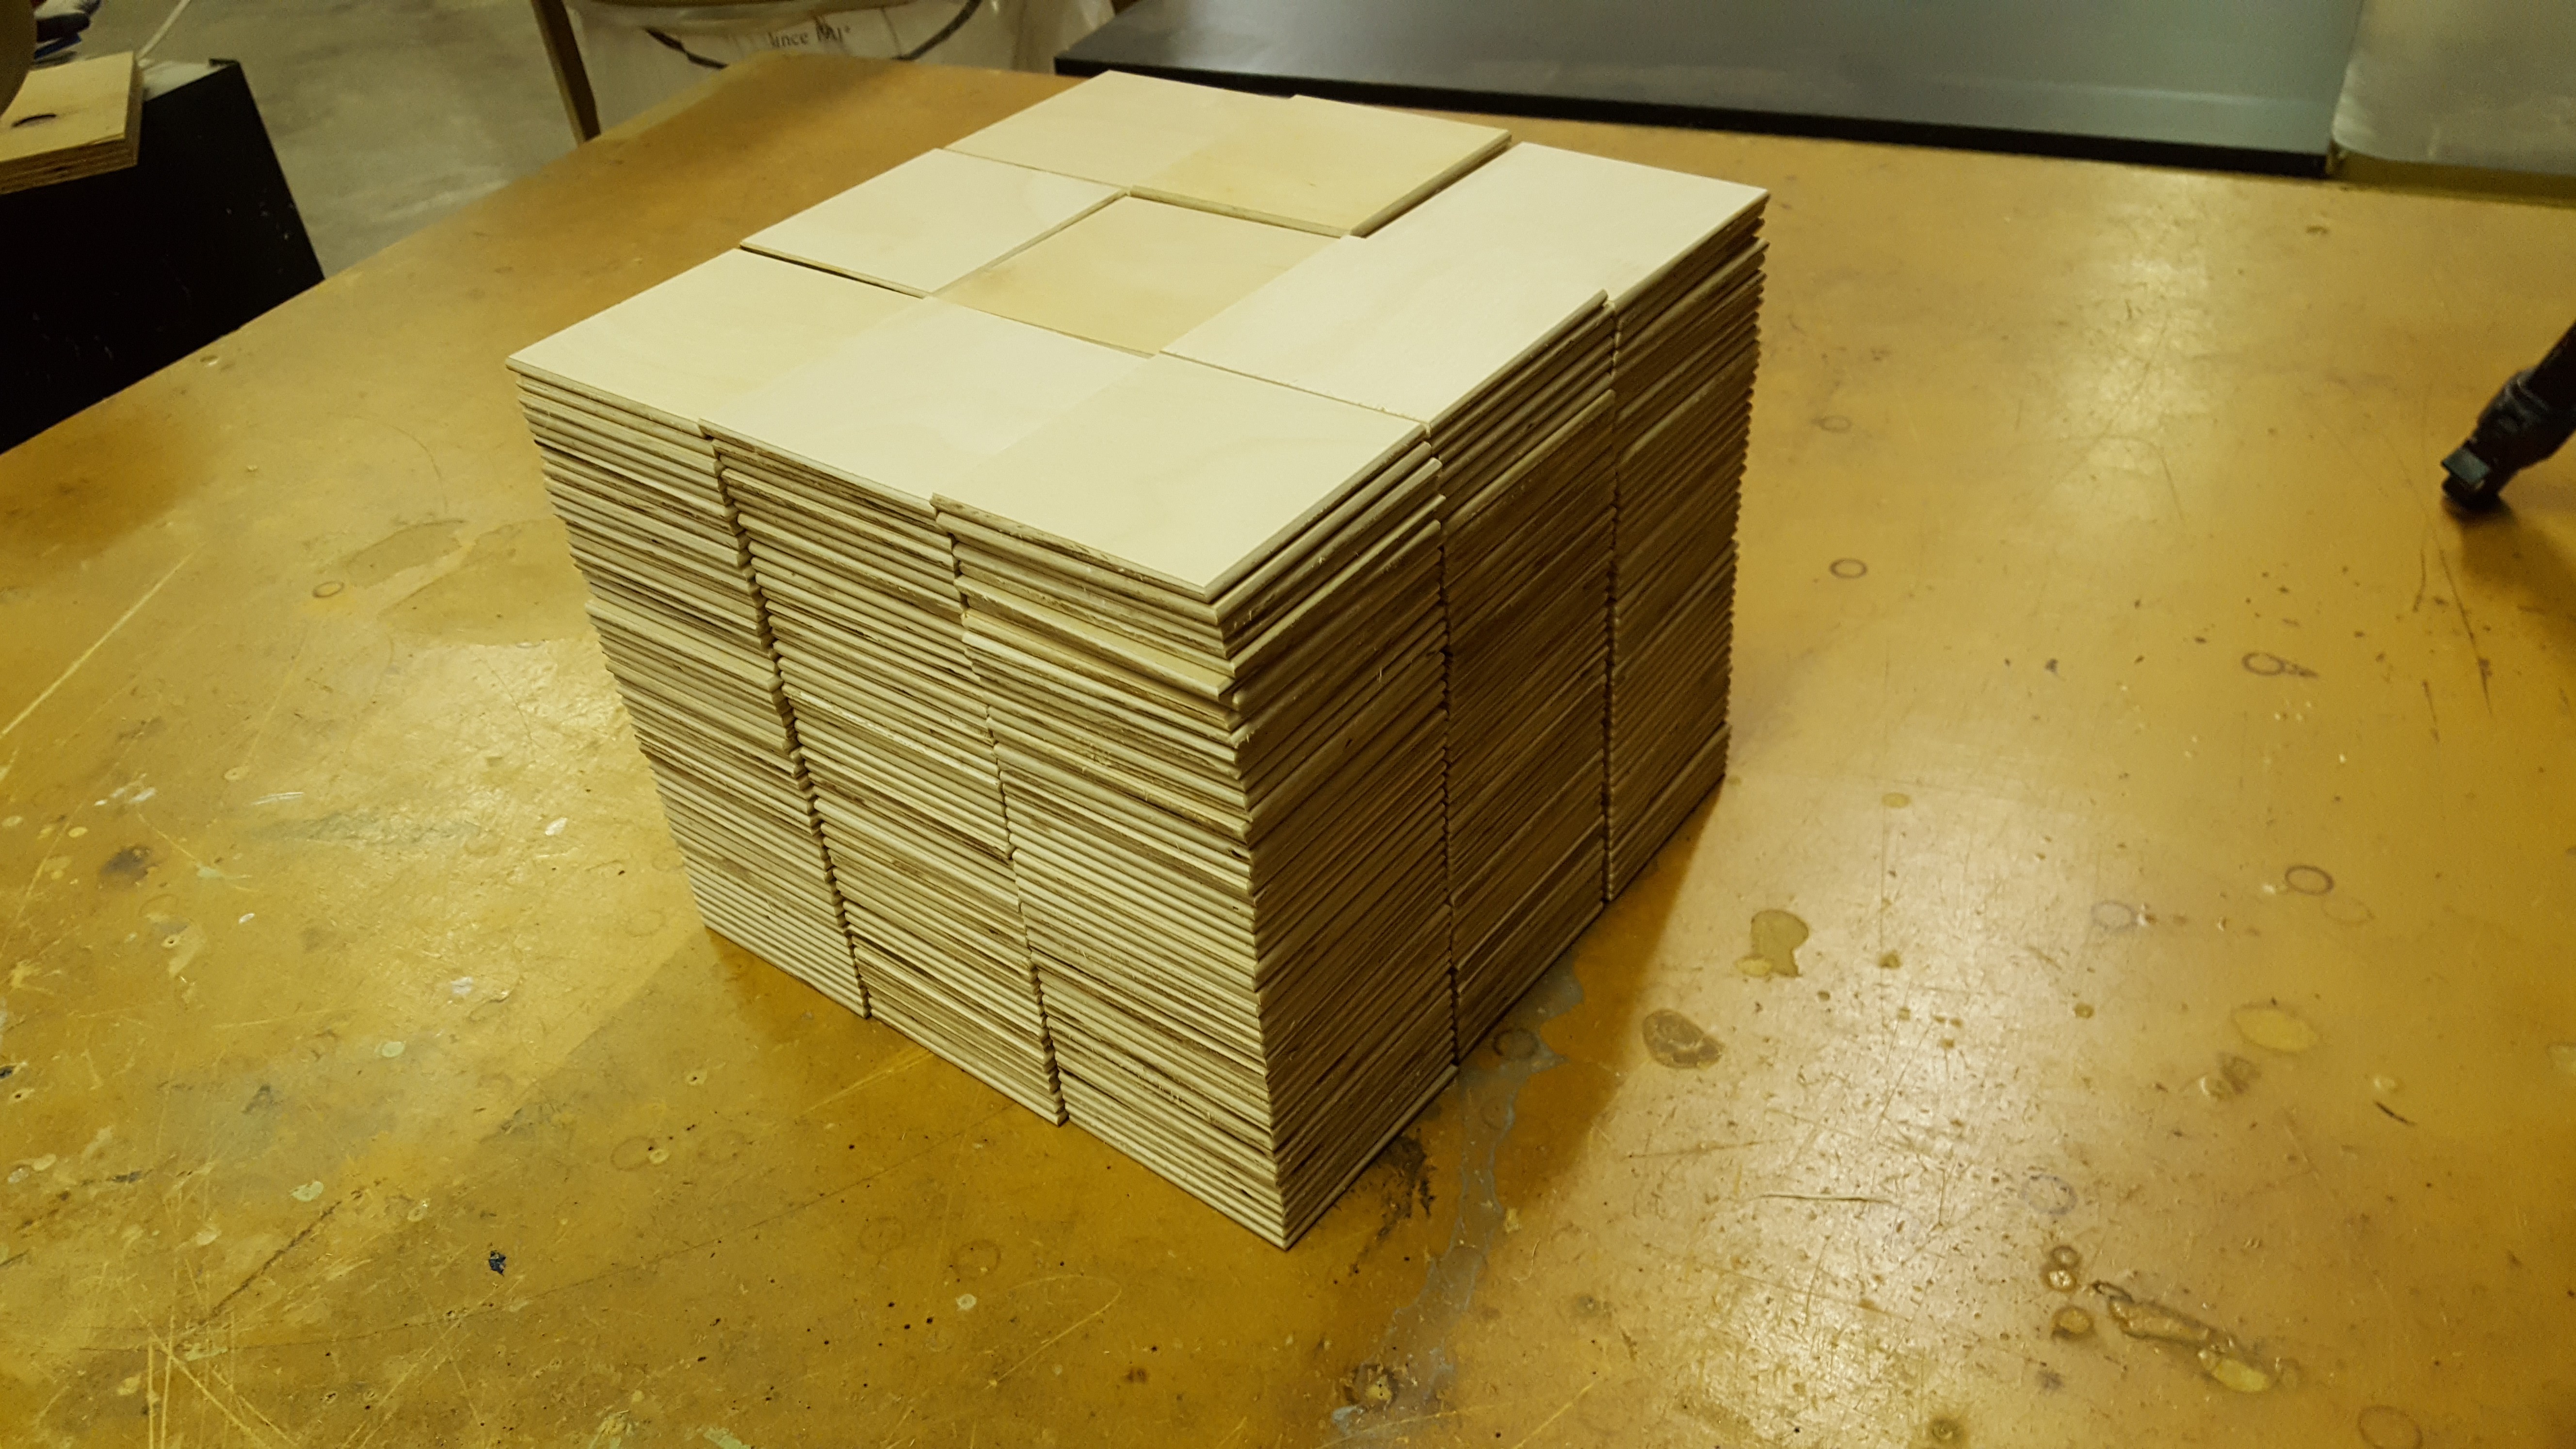
All cut. That was a lot more coasters than I expected when I started.


accidentally broke the smaller pulley you see above and behind. In the
end it was a good thing, I had to use the other pulley anyway.
pile. Whenever possible I like to program my robots like a drunk
walking down a hallway ;)


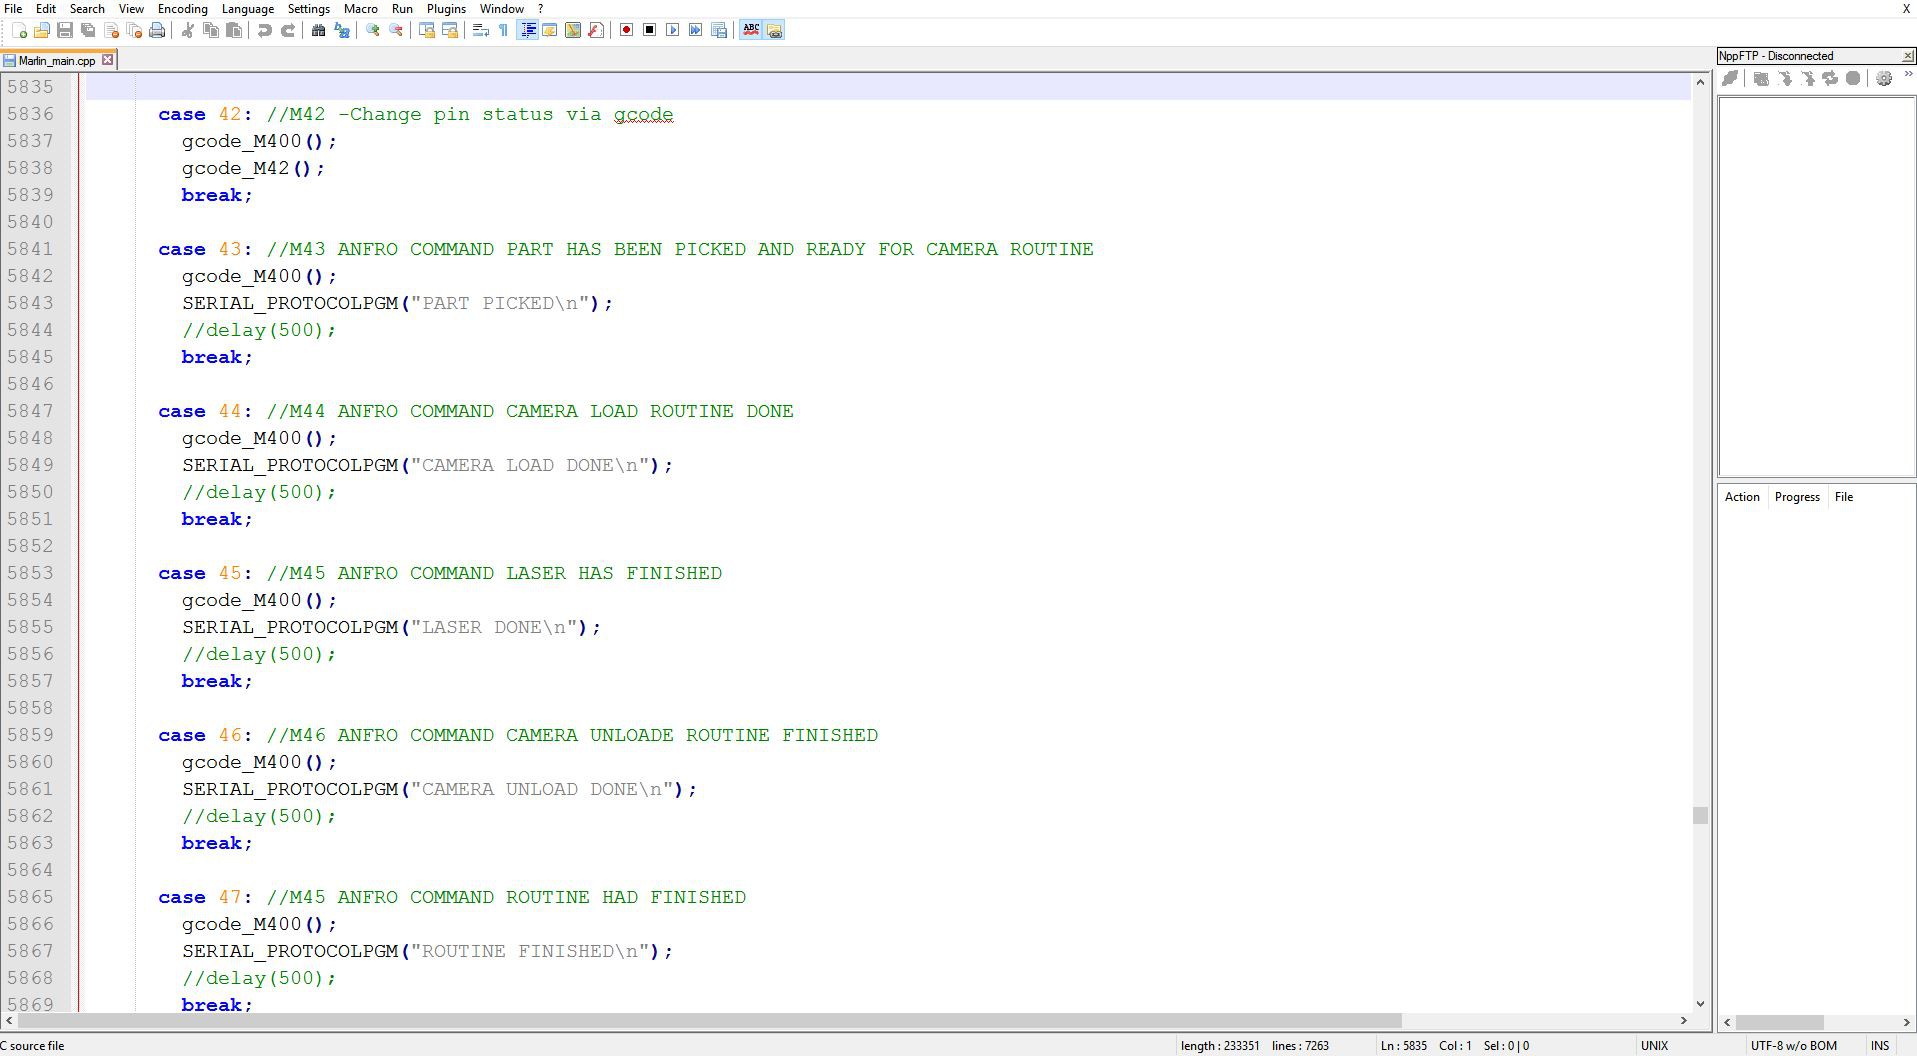
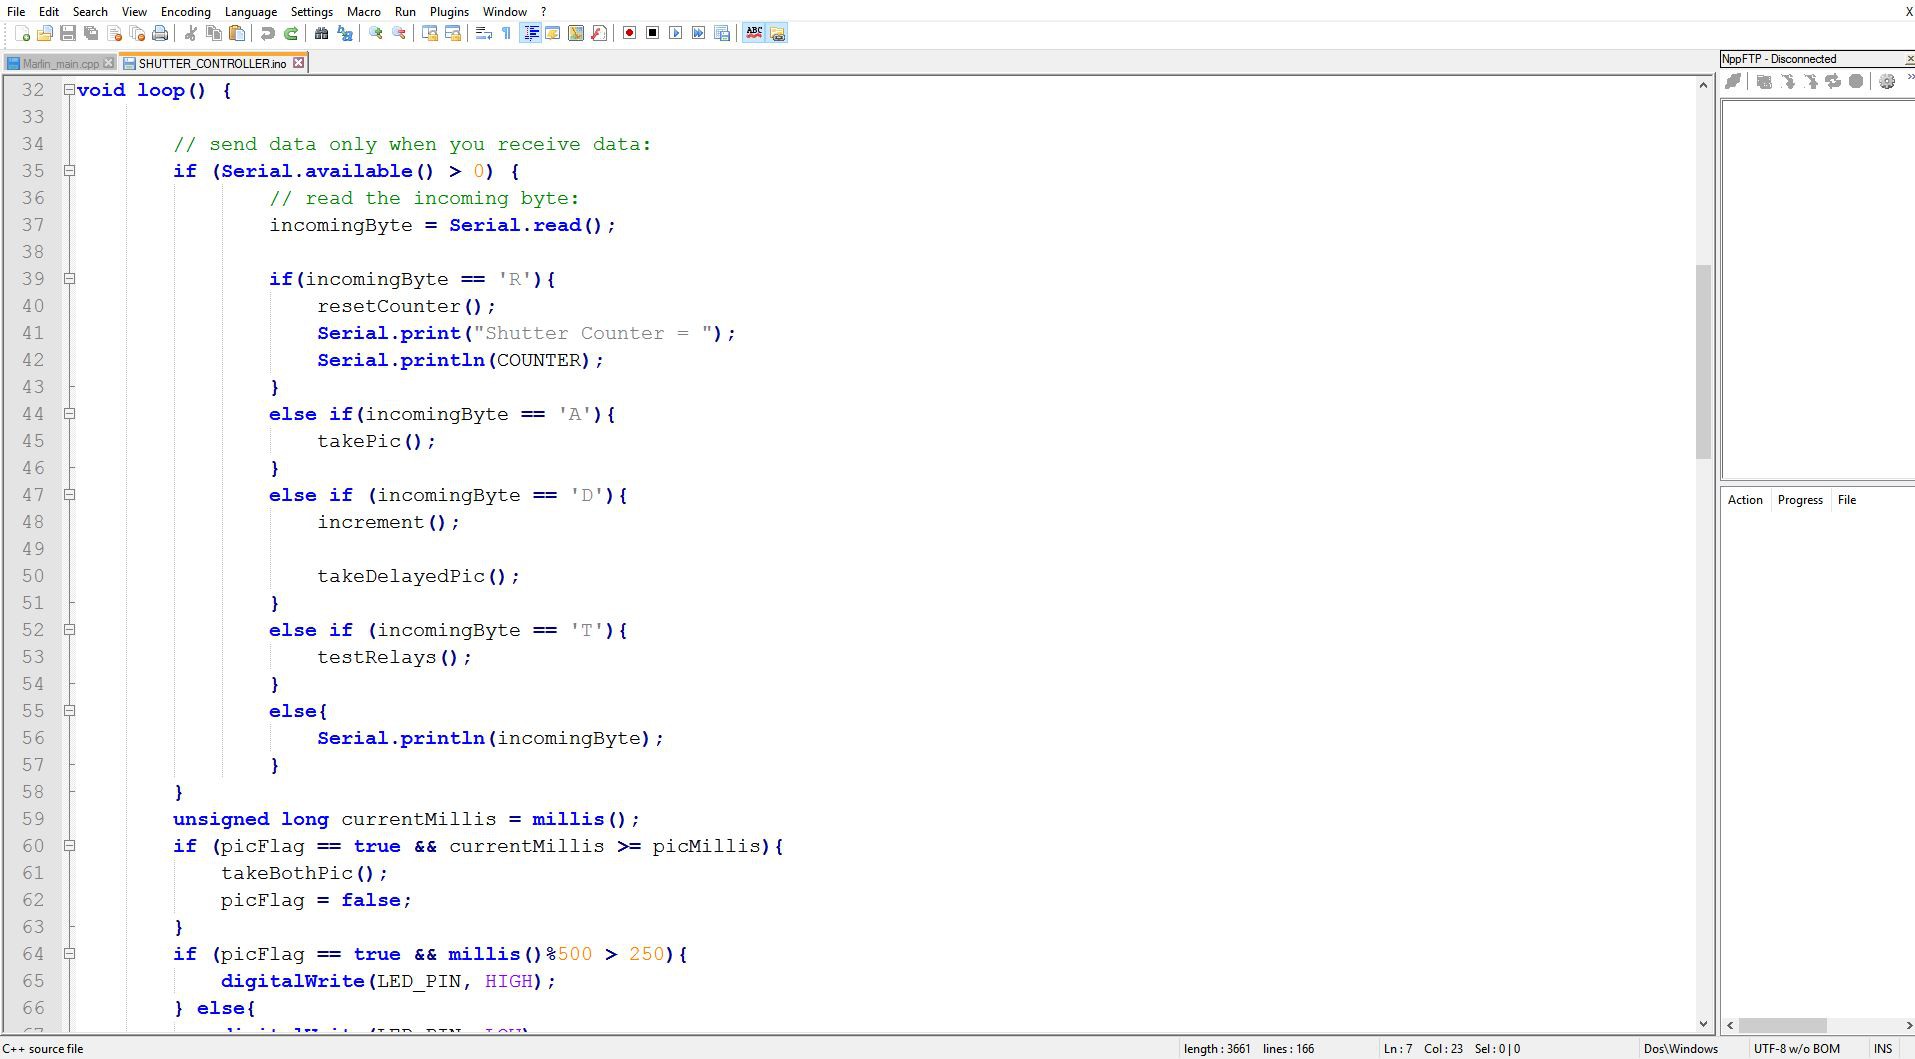
codes that would send strings out the serial port on command. The
M400() calls finish every move that's in the buffer and the
SERIAL_PROTOCOLPGM("XXXXX") commands send a string to the Raspberry Pi
which is running the whole job.
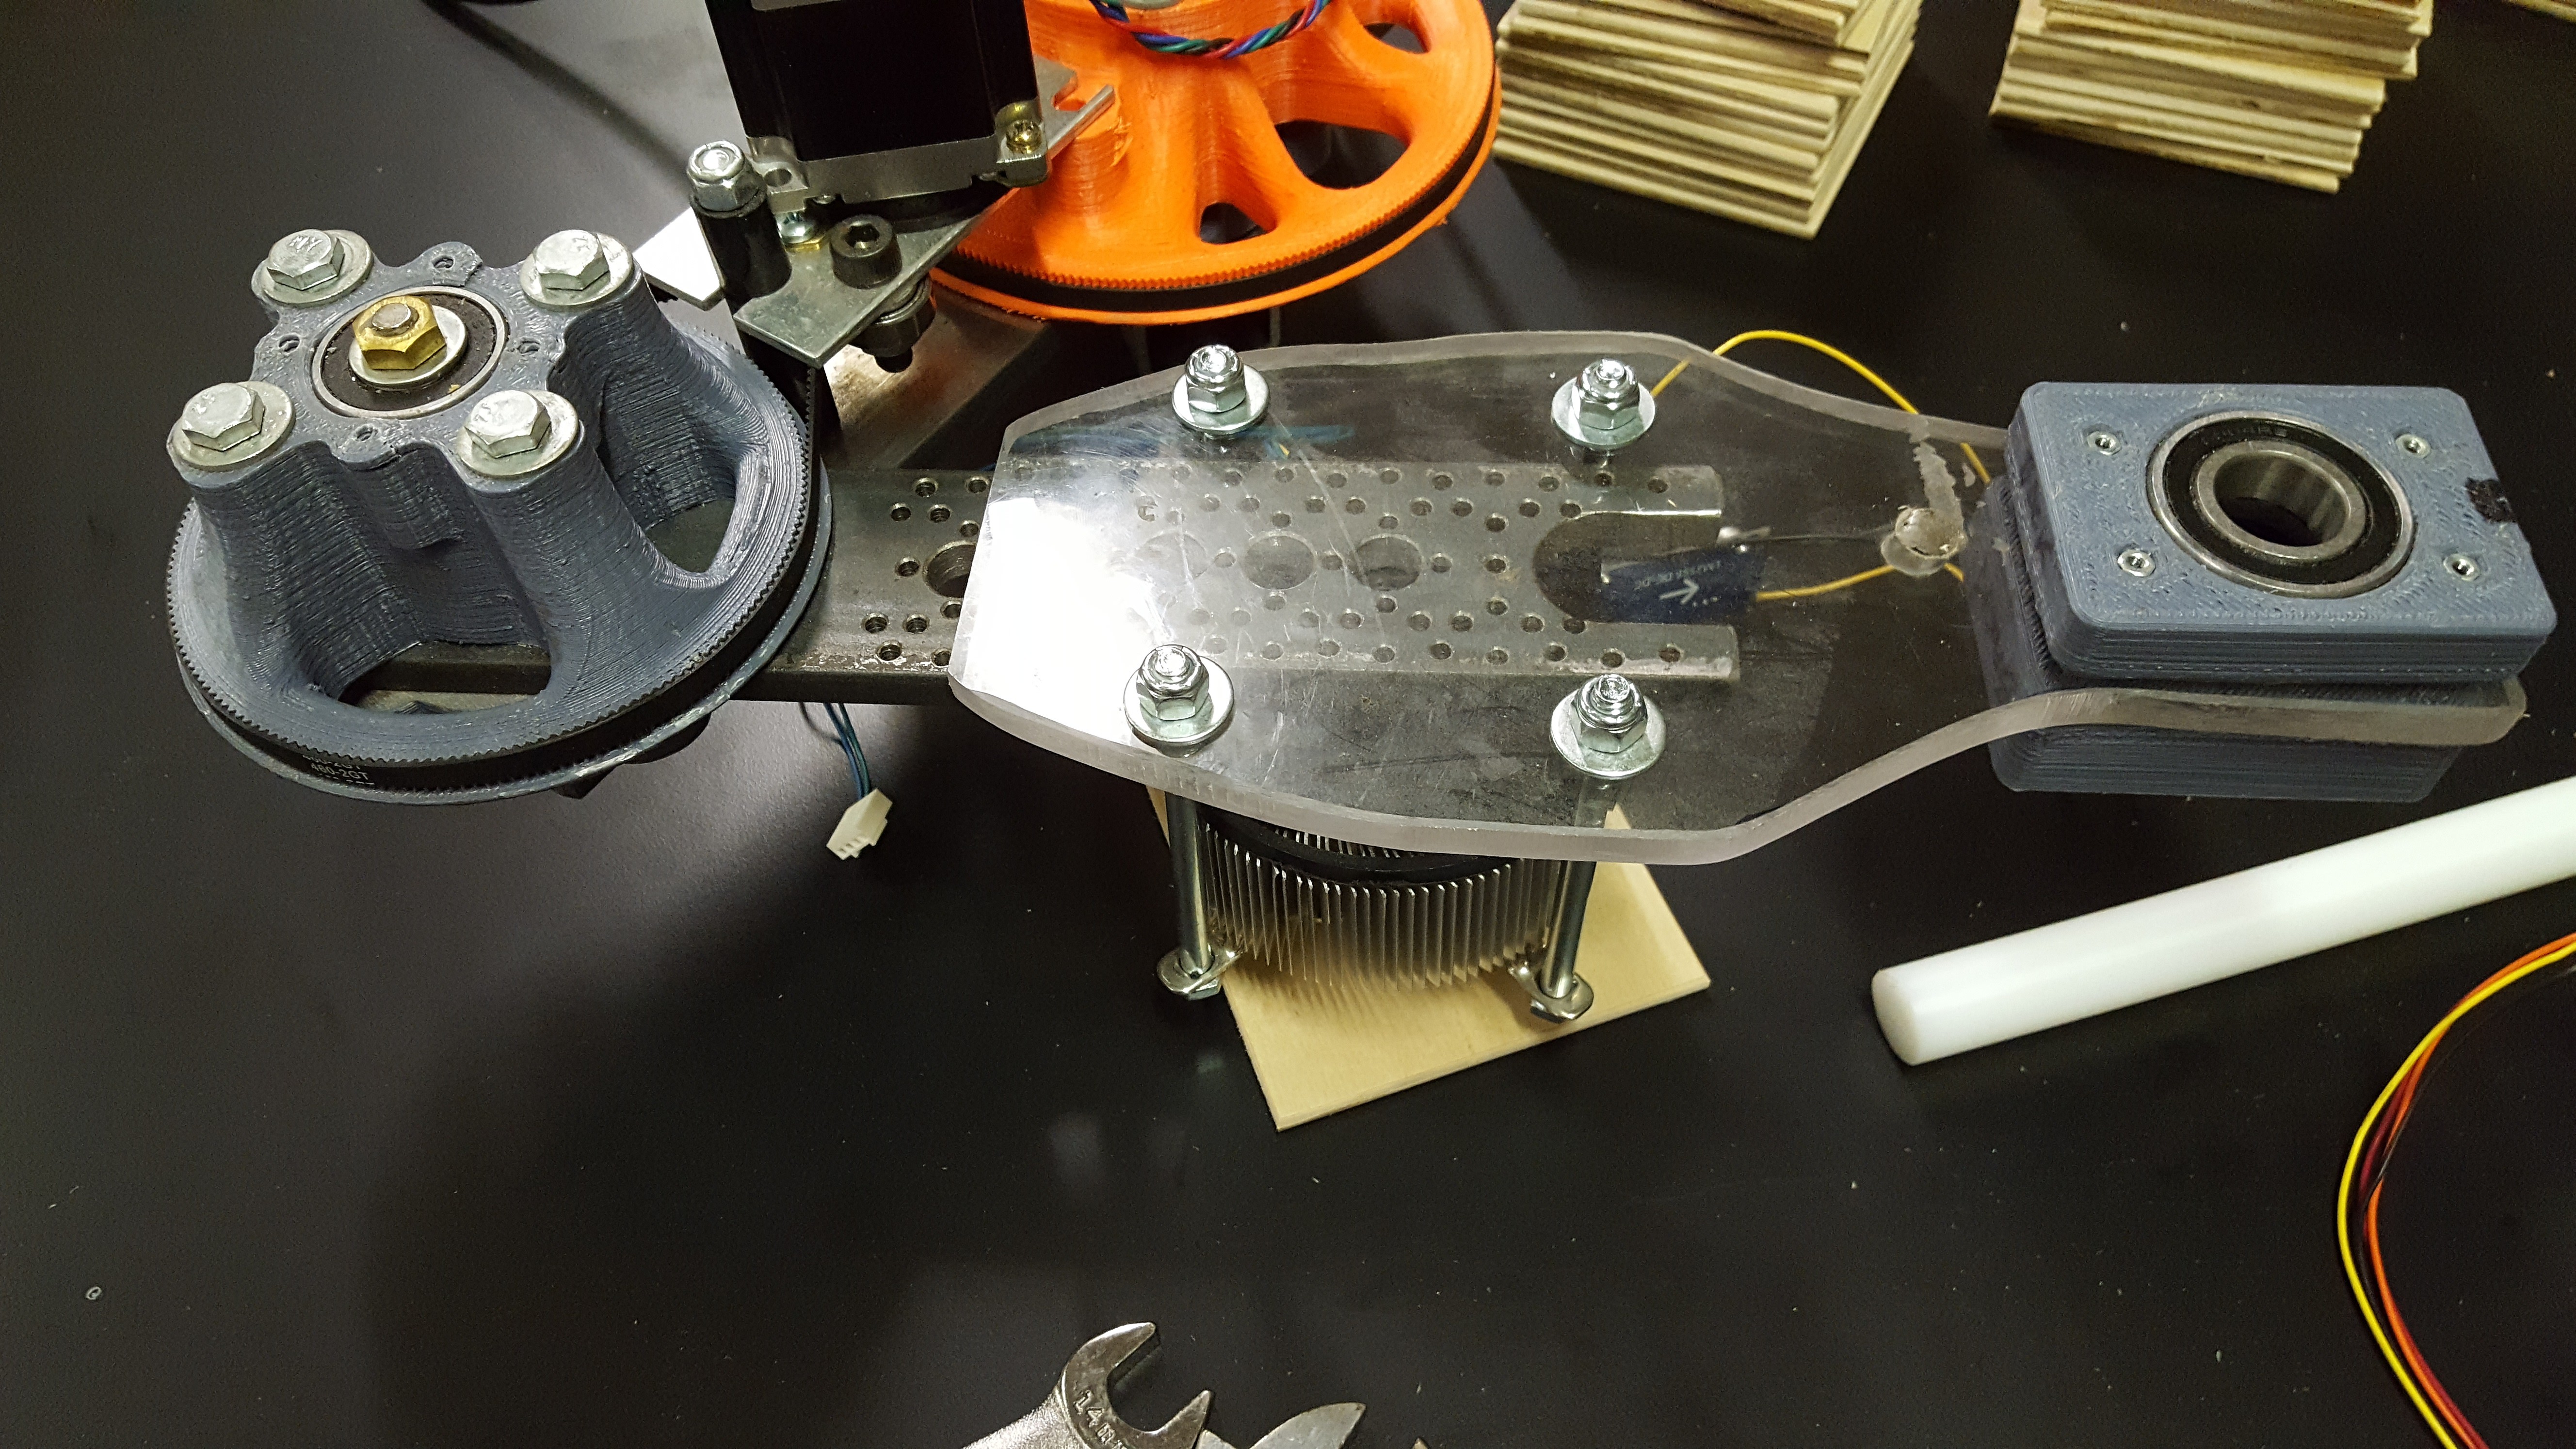
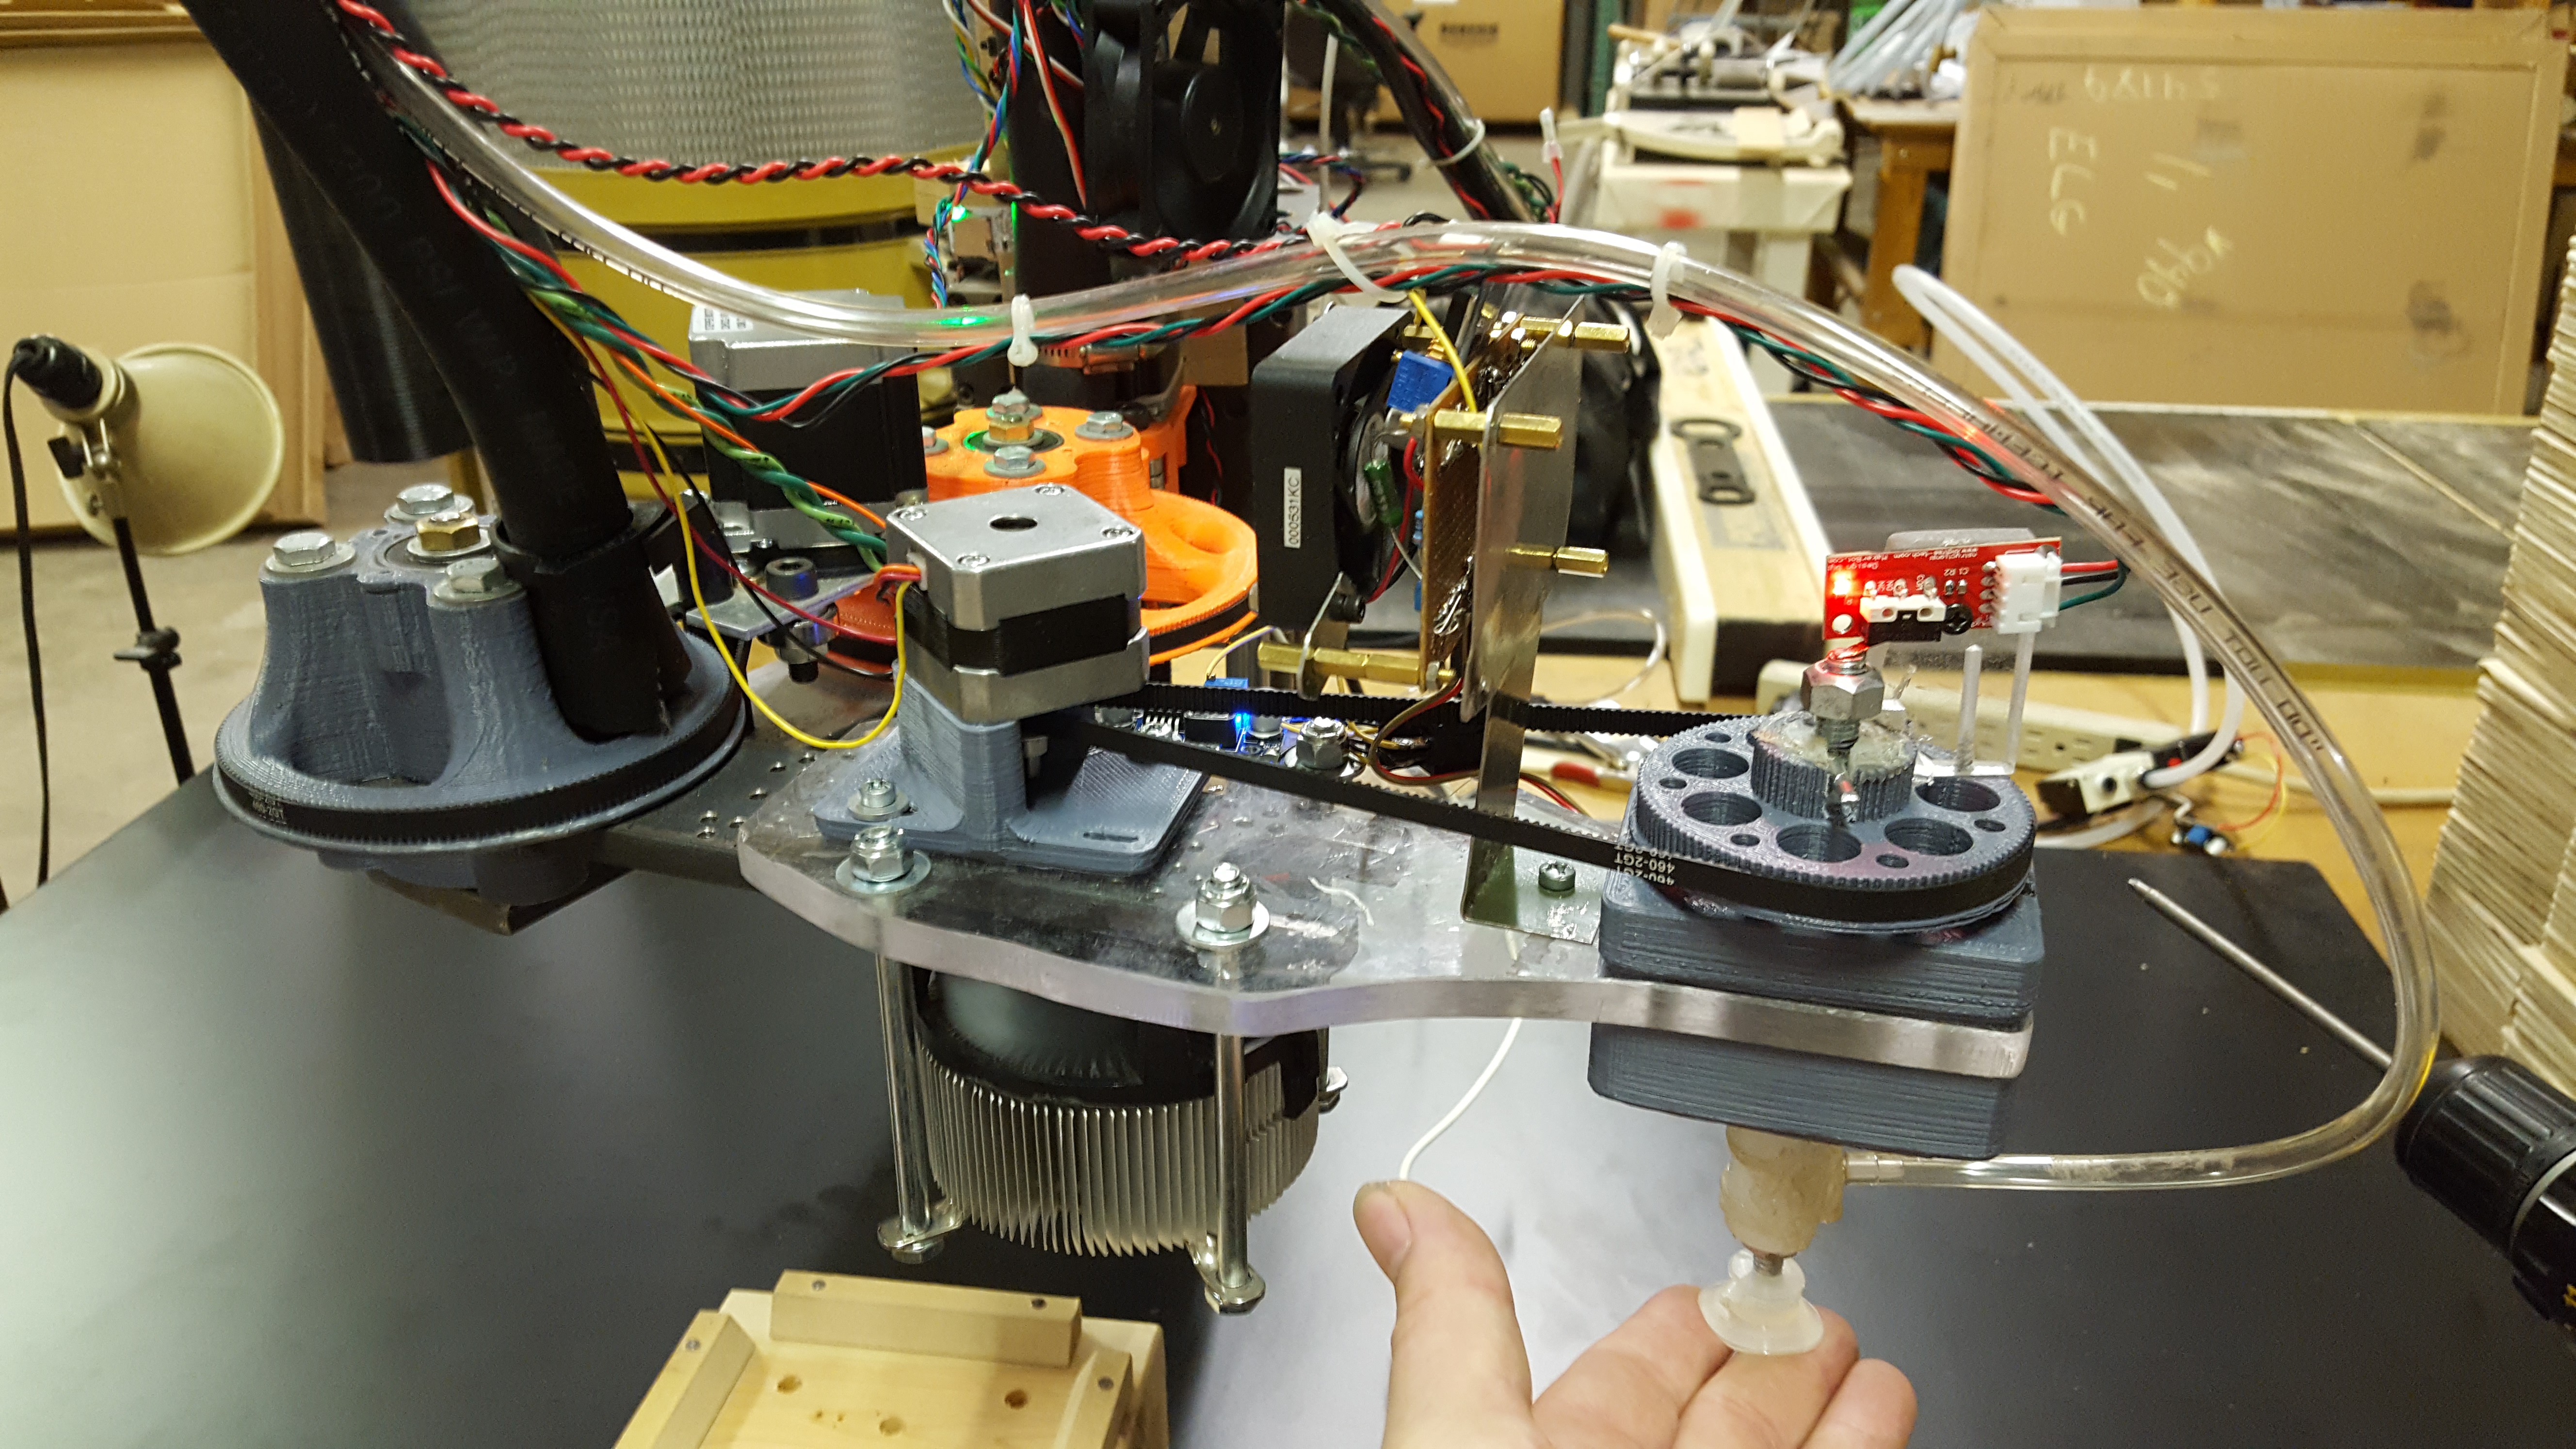
This was actually the first prototype for the evezor arm. I call
them NOtotypes (the minimum viable prototype that will test critical
aspects of a part) It failed miserably but I learned what I needed to
look for when designing the next iteration.
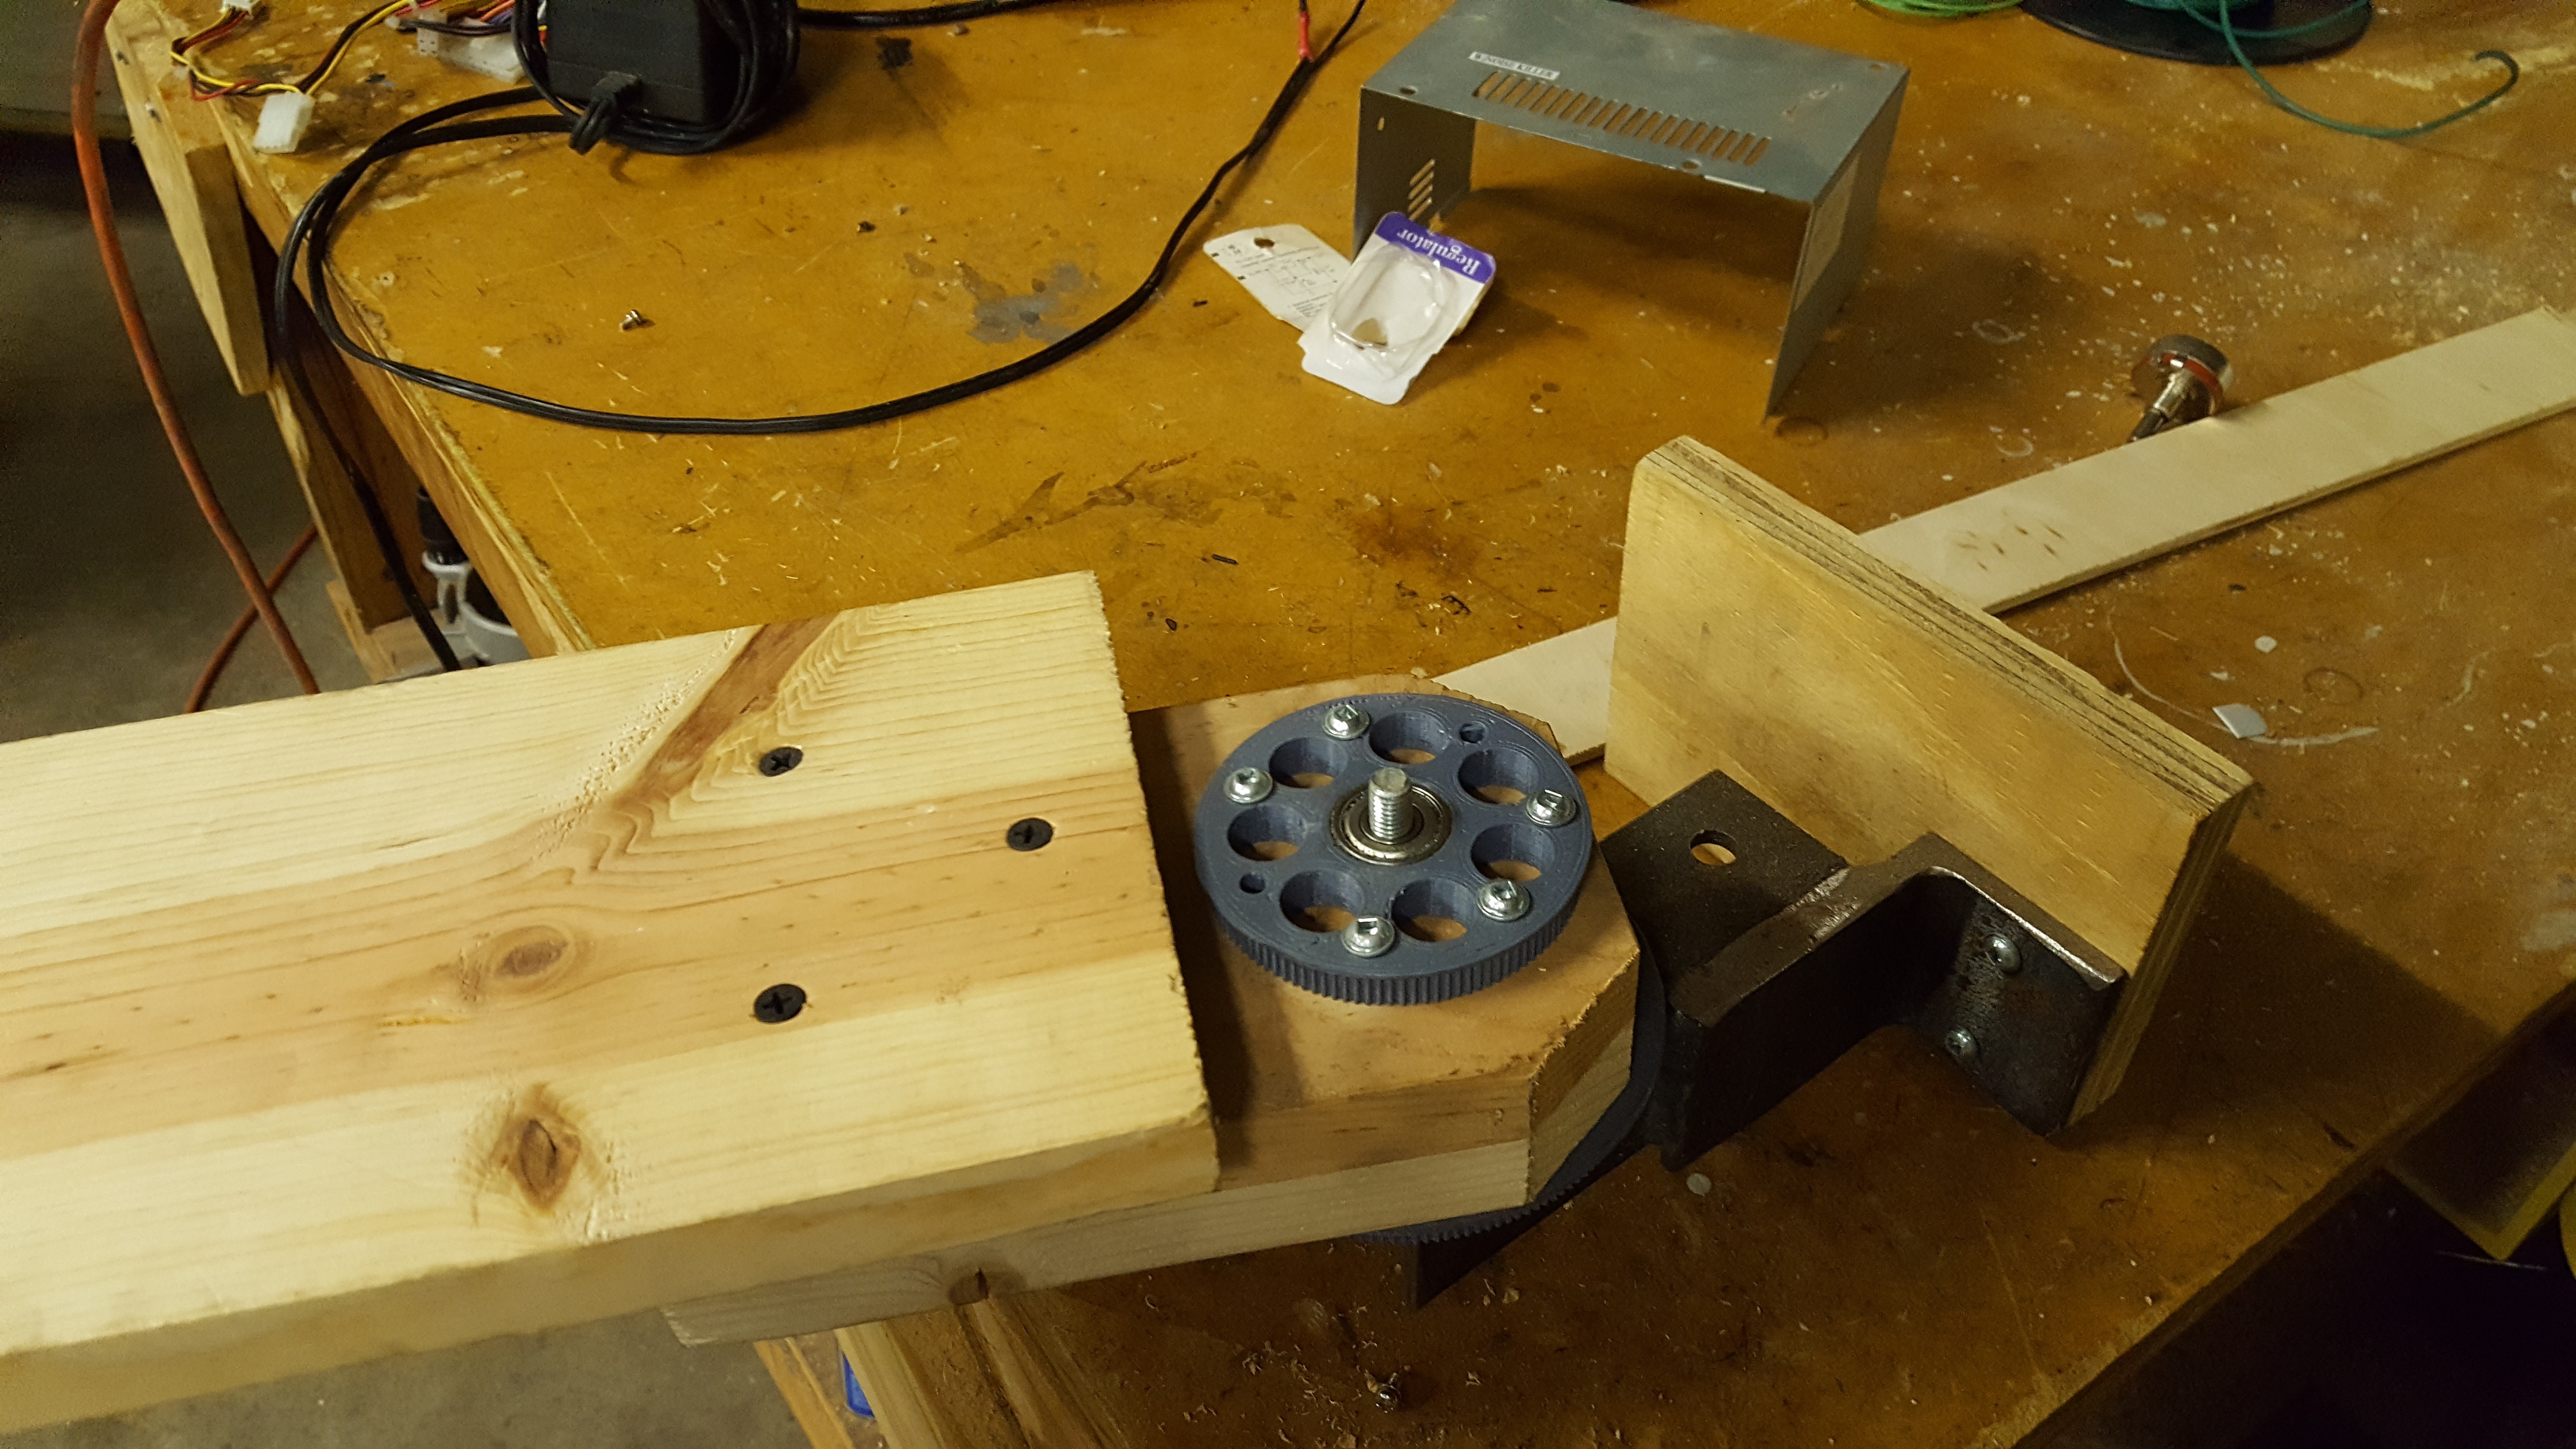


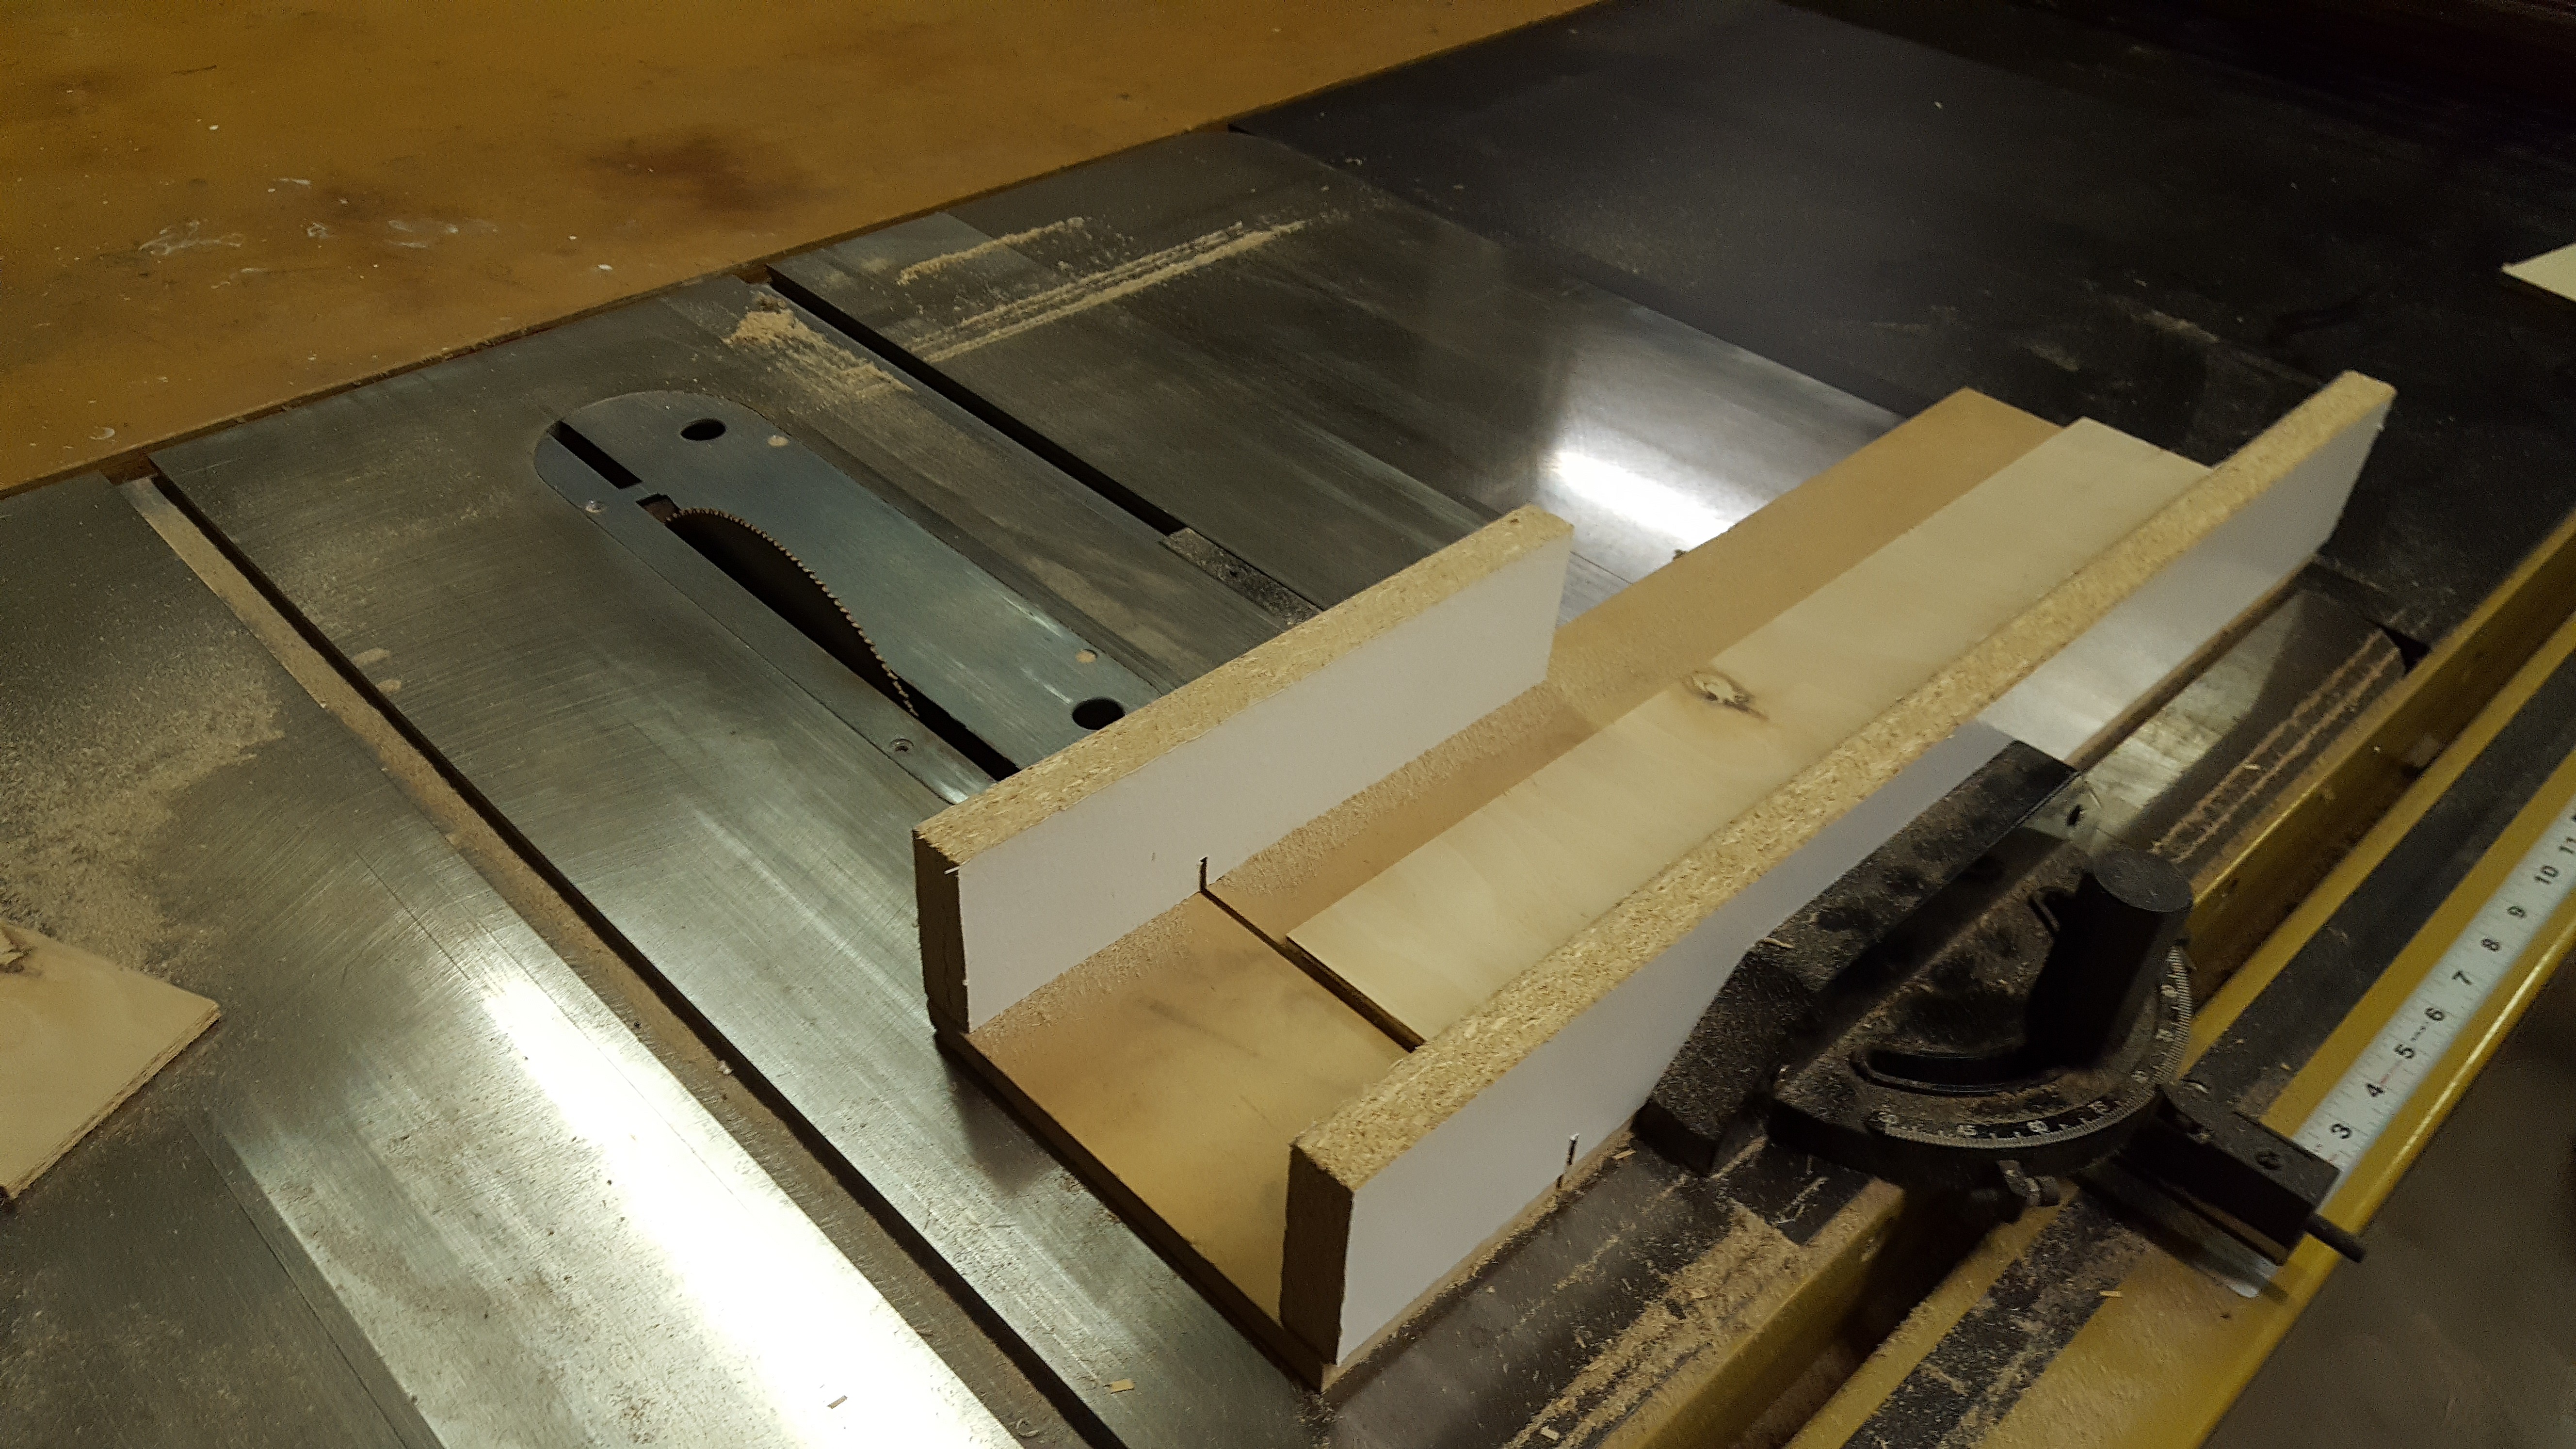
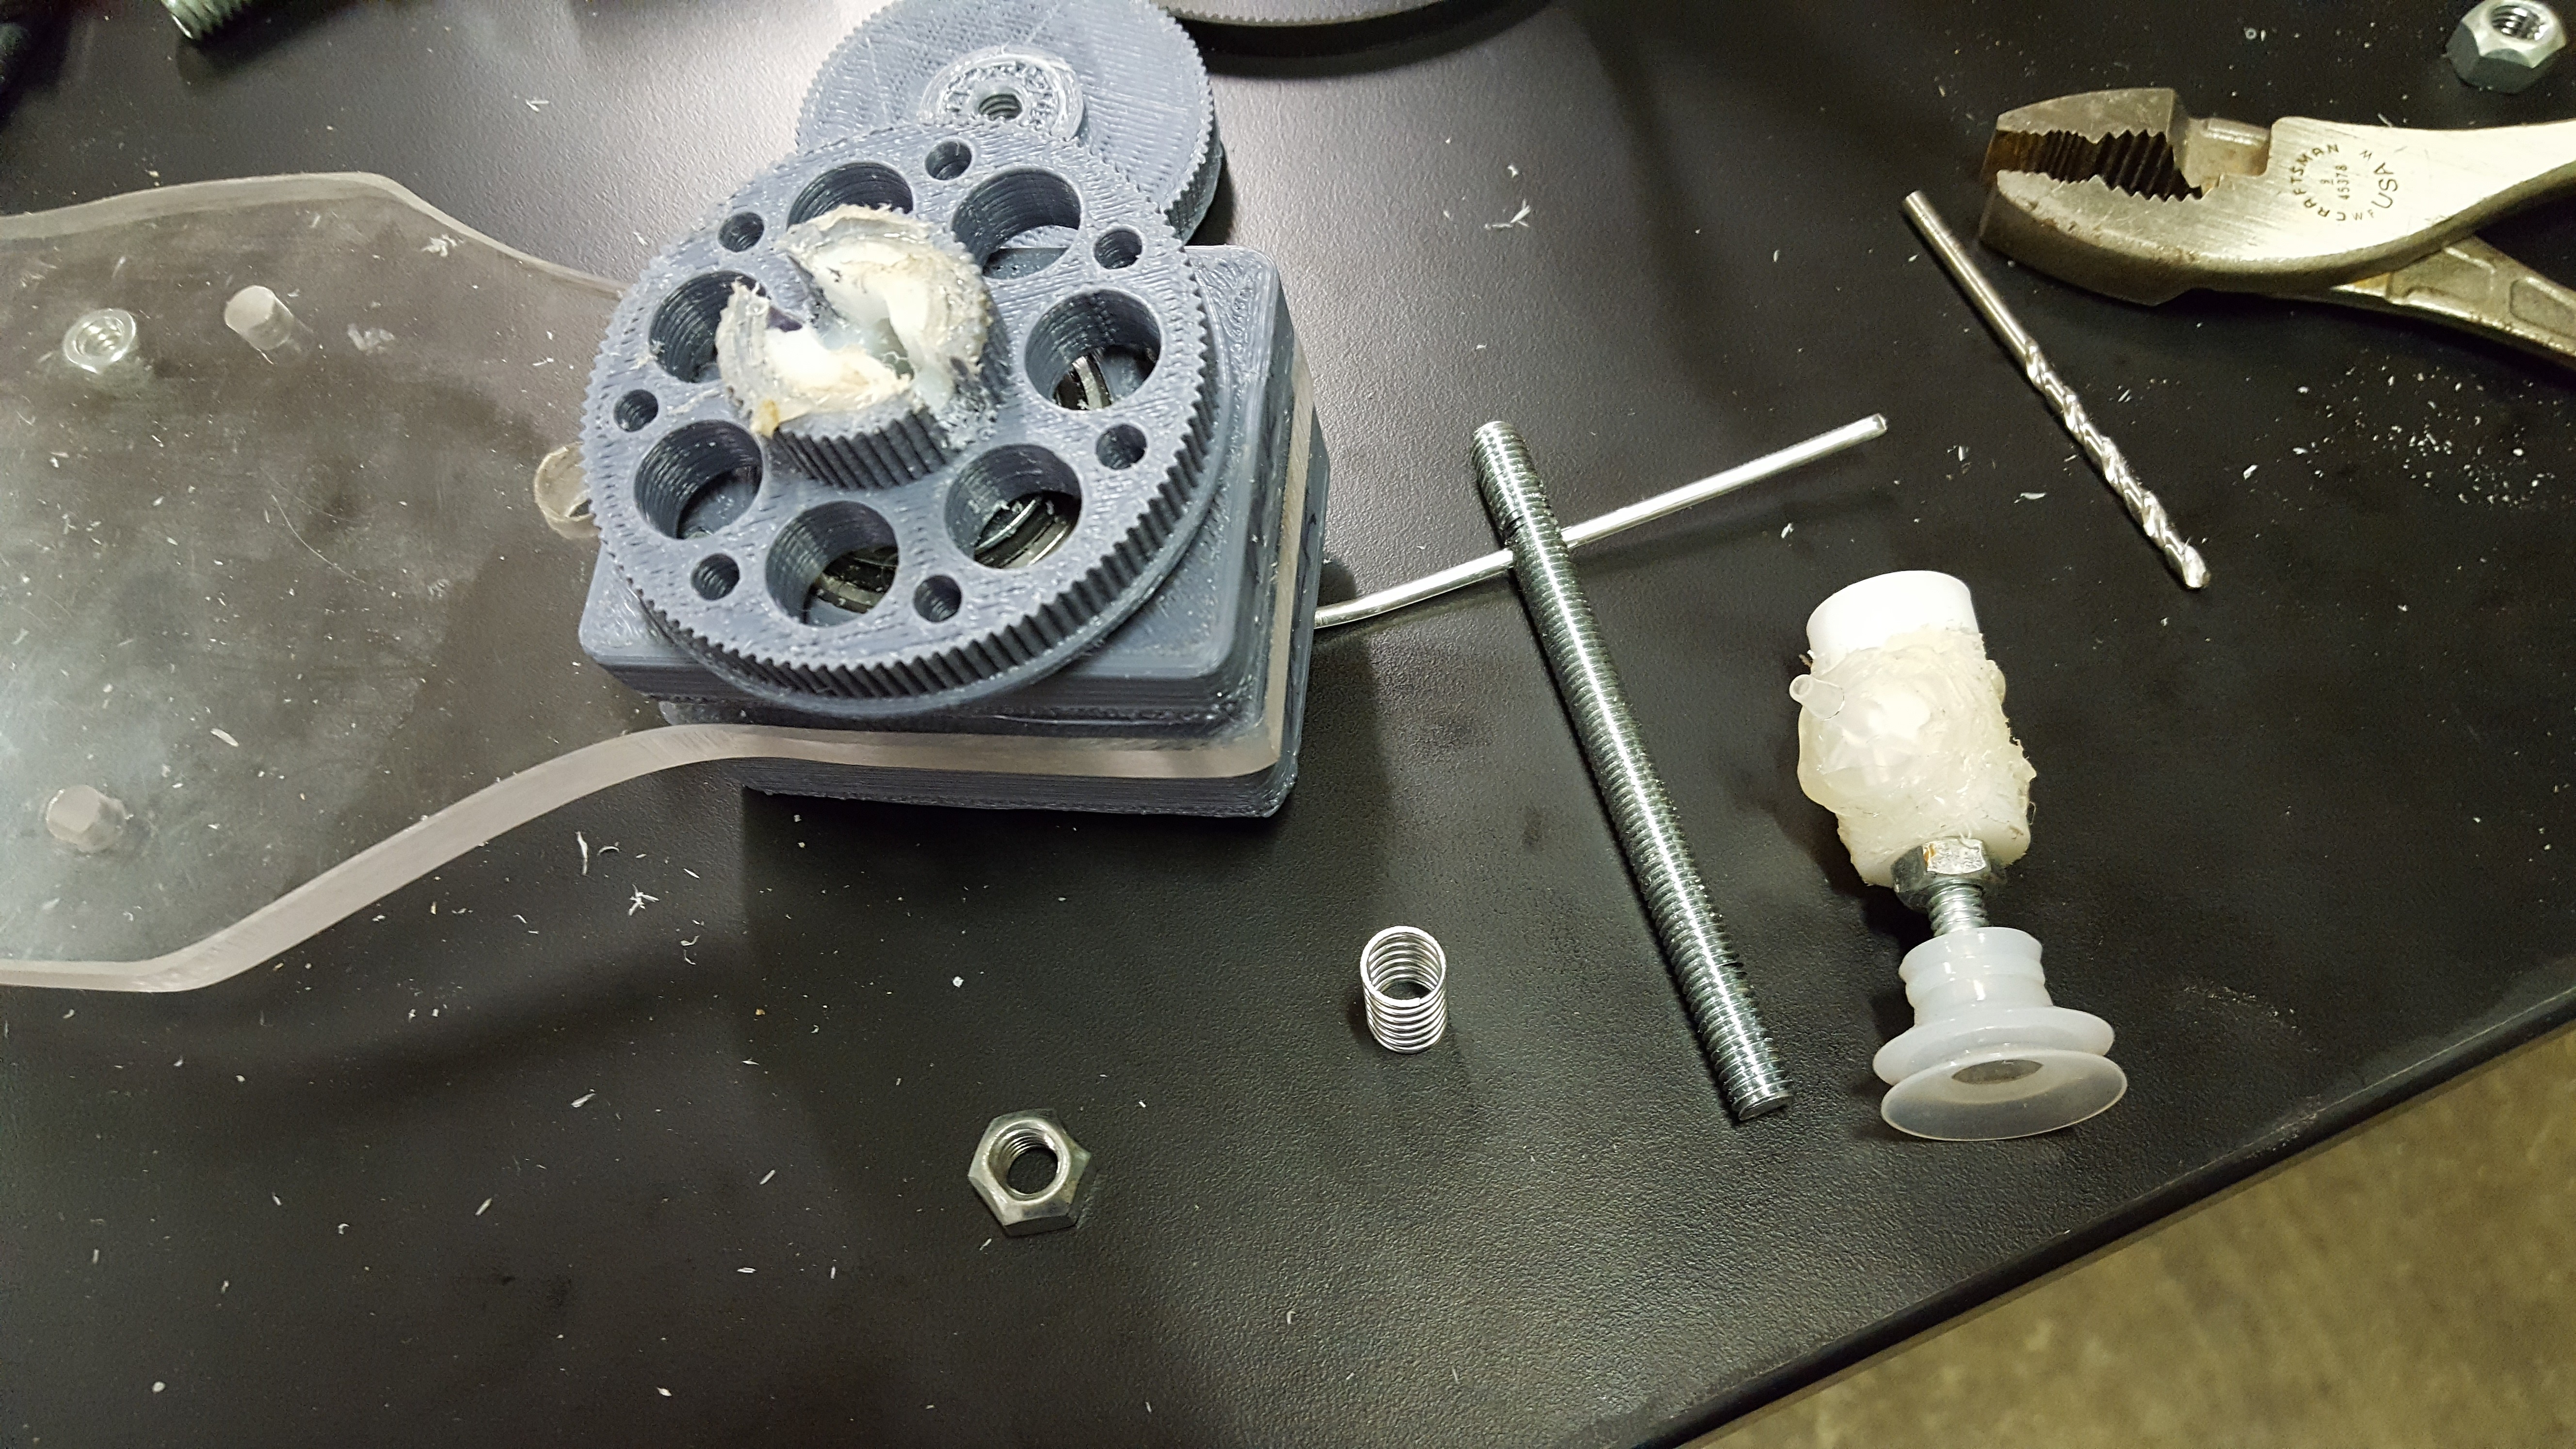
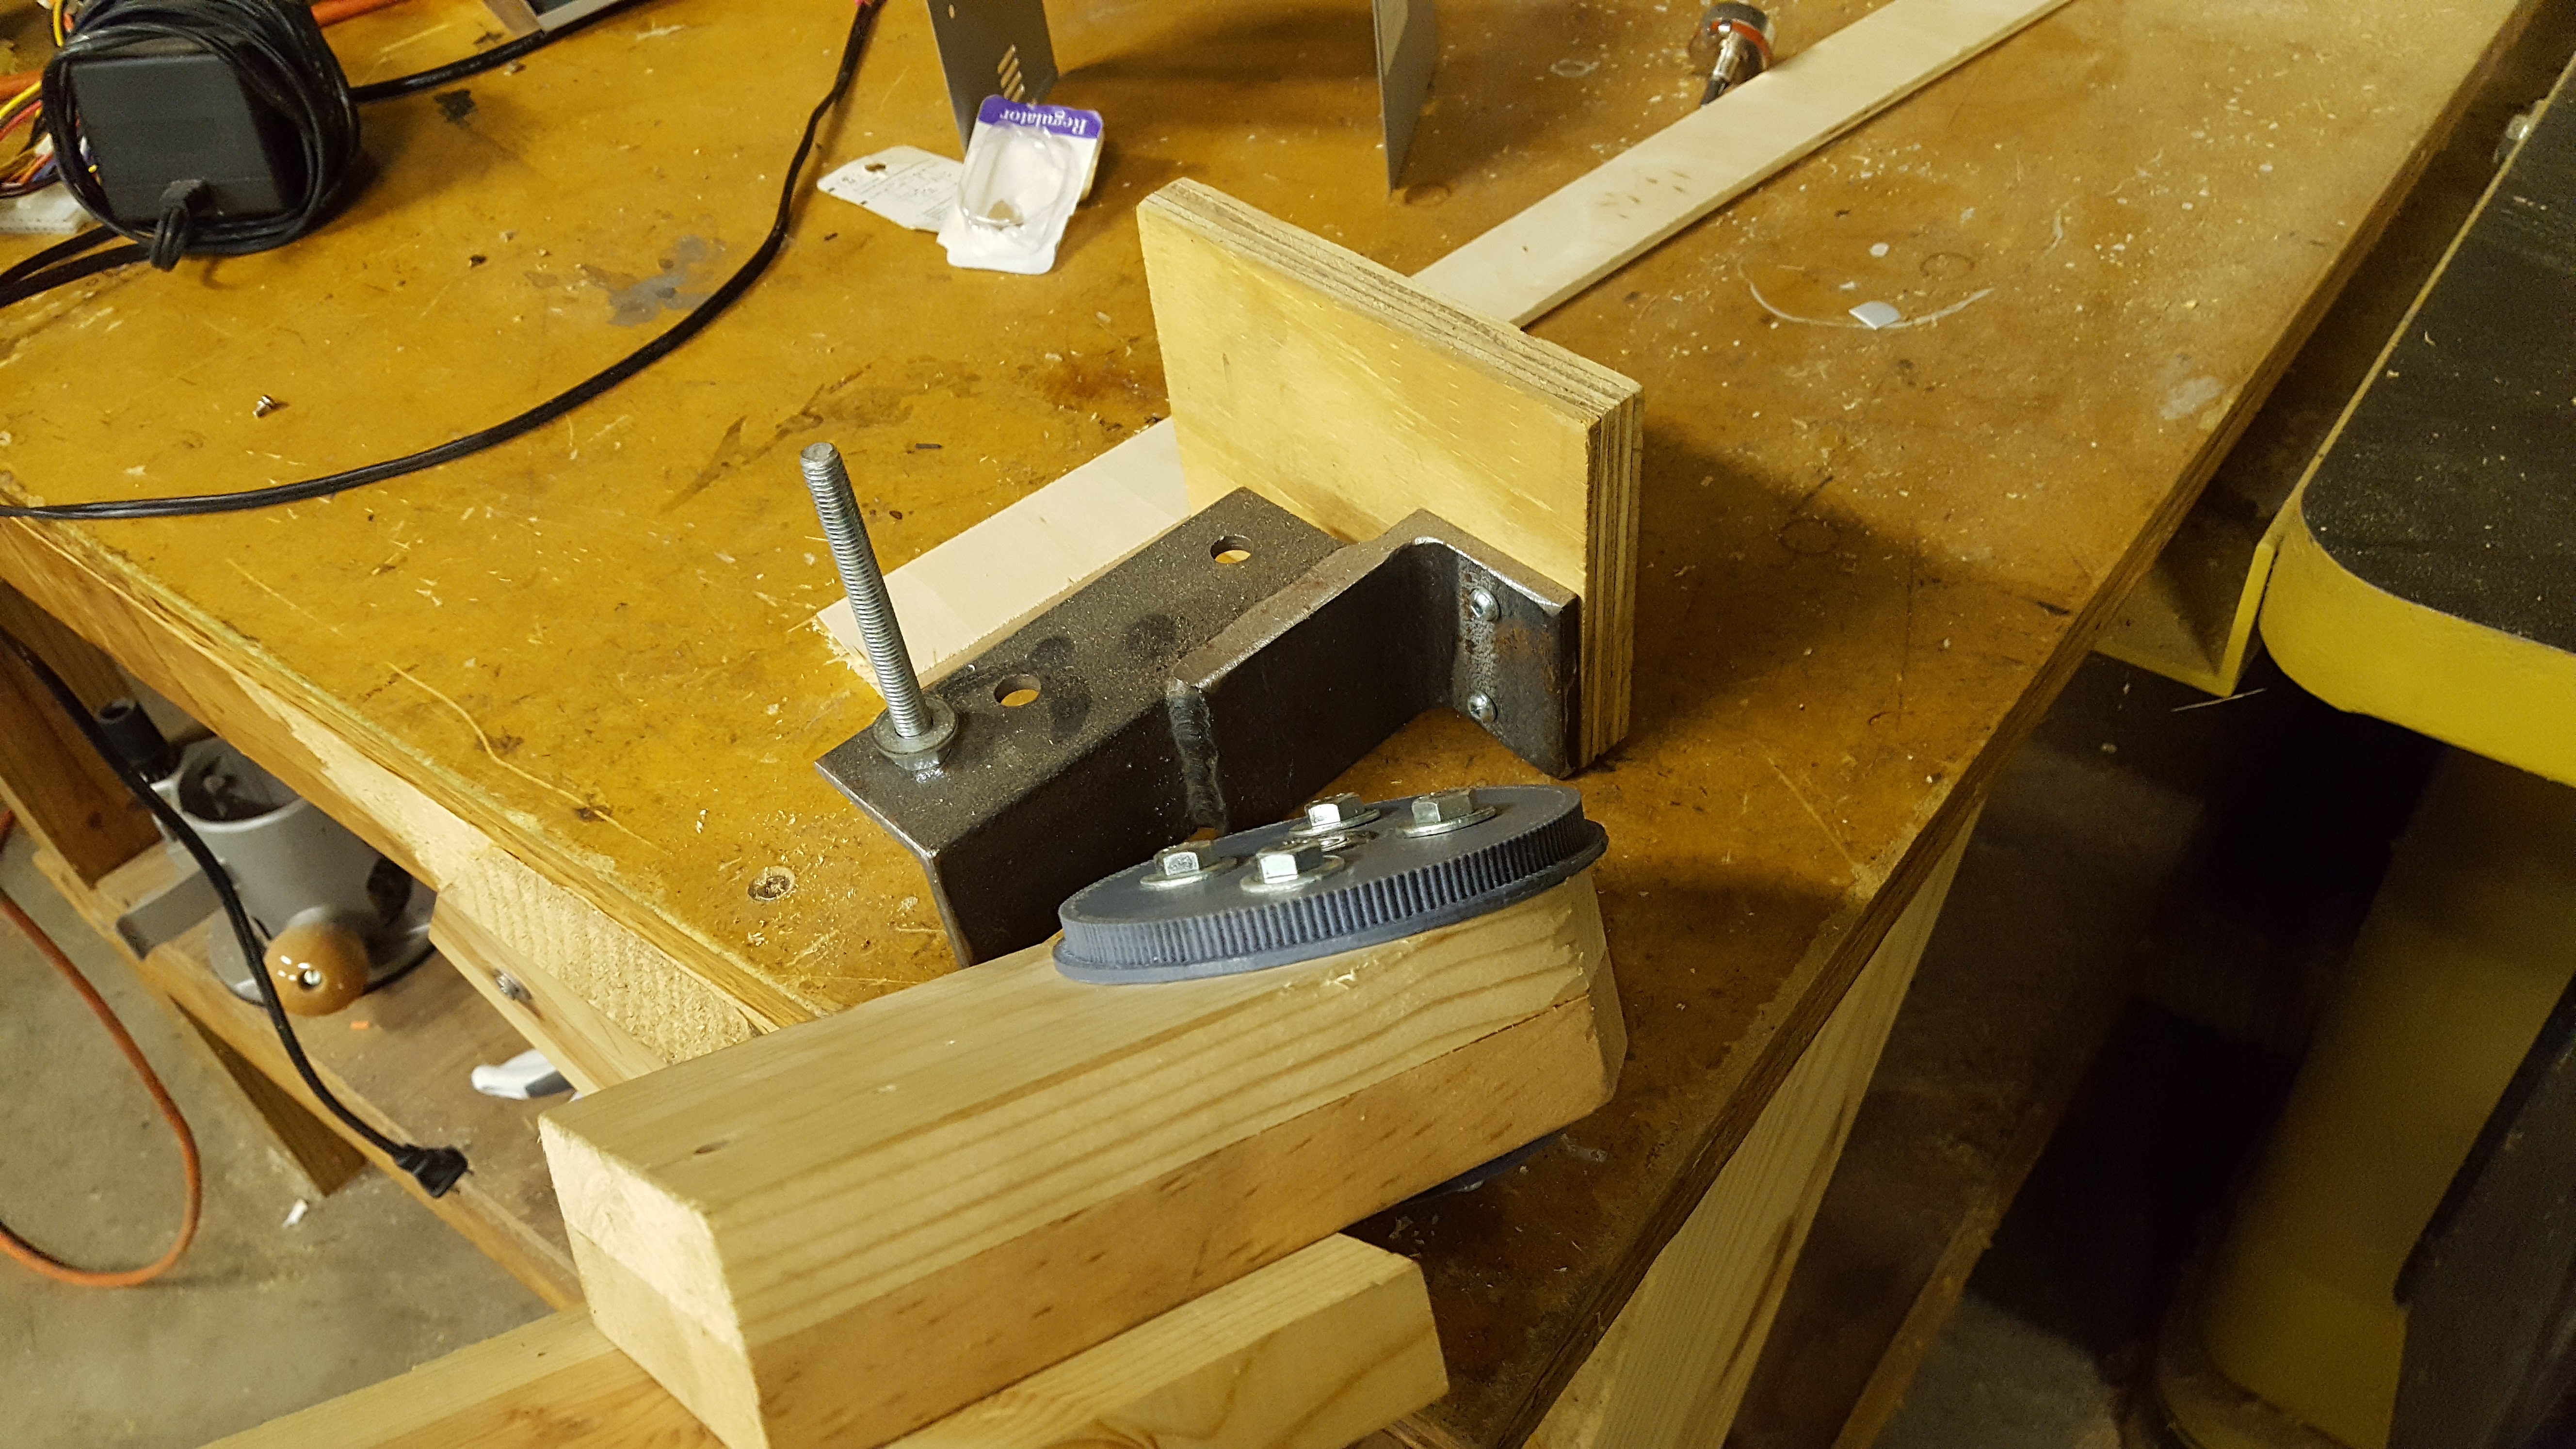
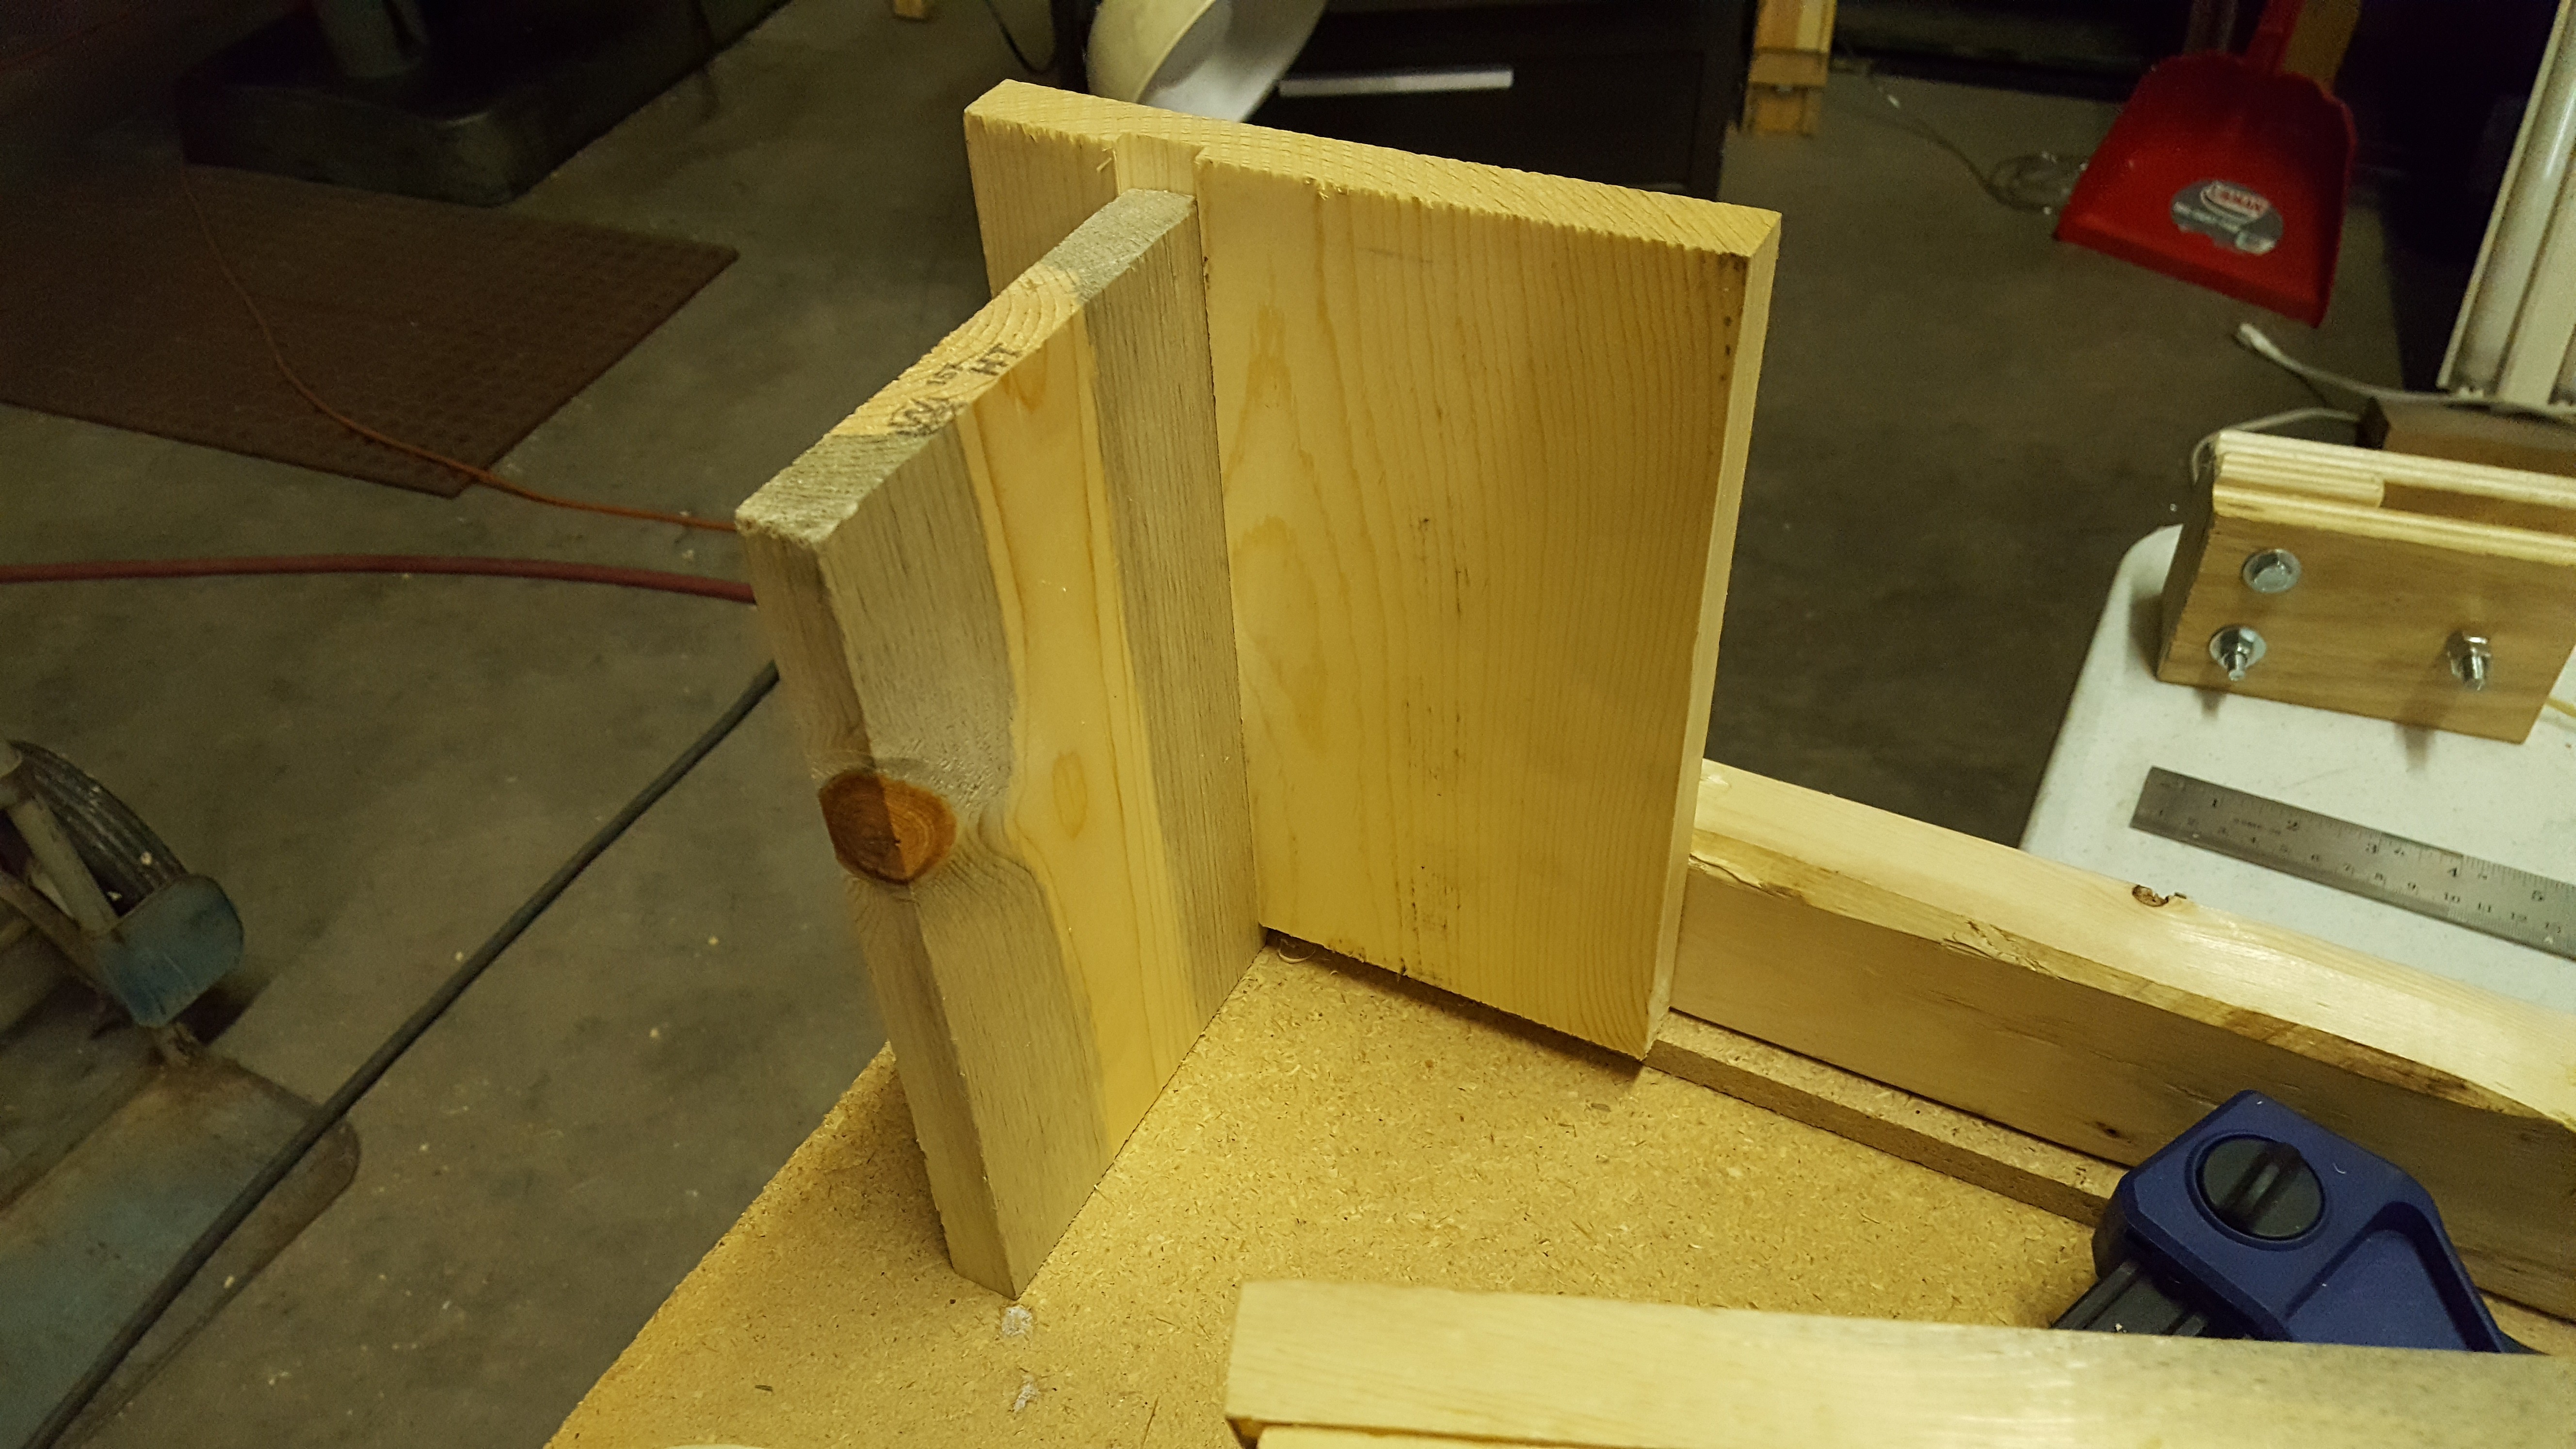 The sled would be actuated with a belt so the mounts had to be fairly strong, so I made a dado joint.
Such class ;)
The sled would be actuated with a belt so the mounts had to be fairly strong, so I made a dado joint.
Such class ;)
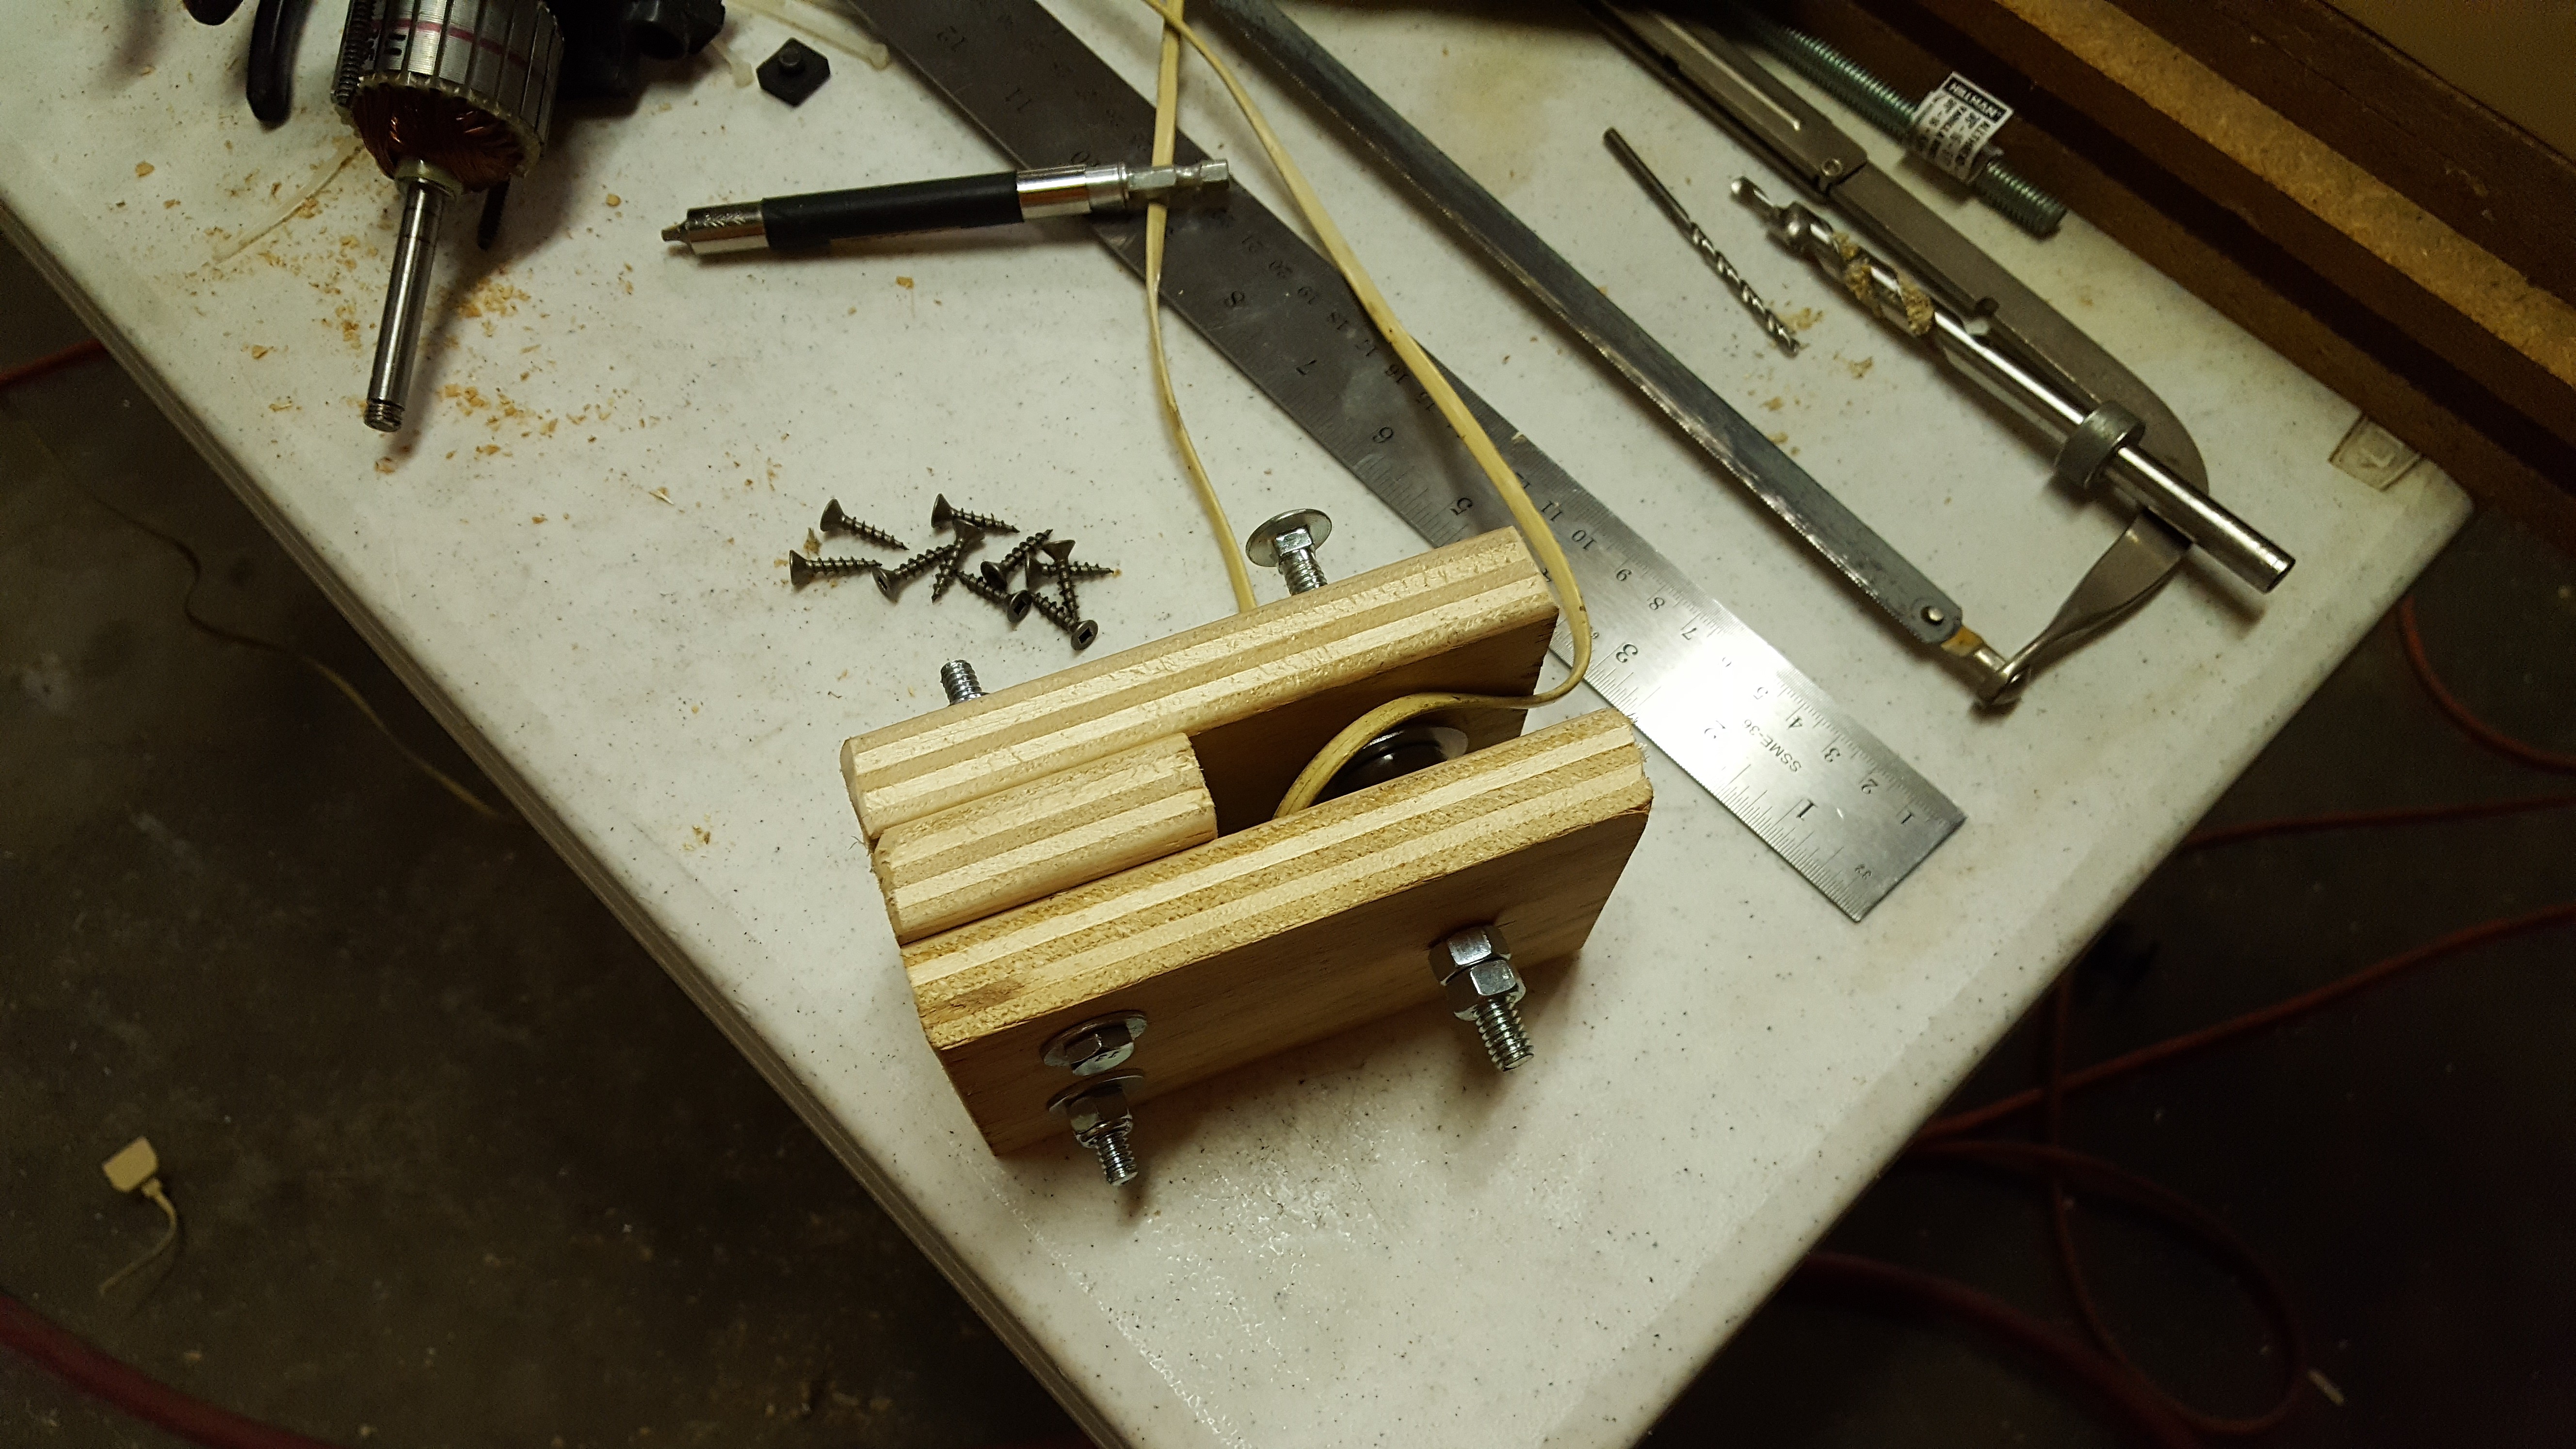
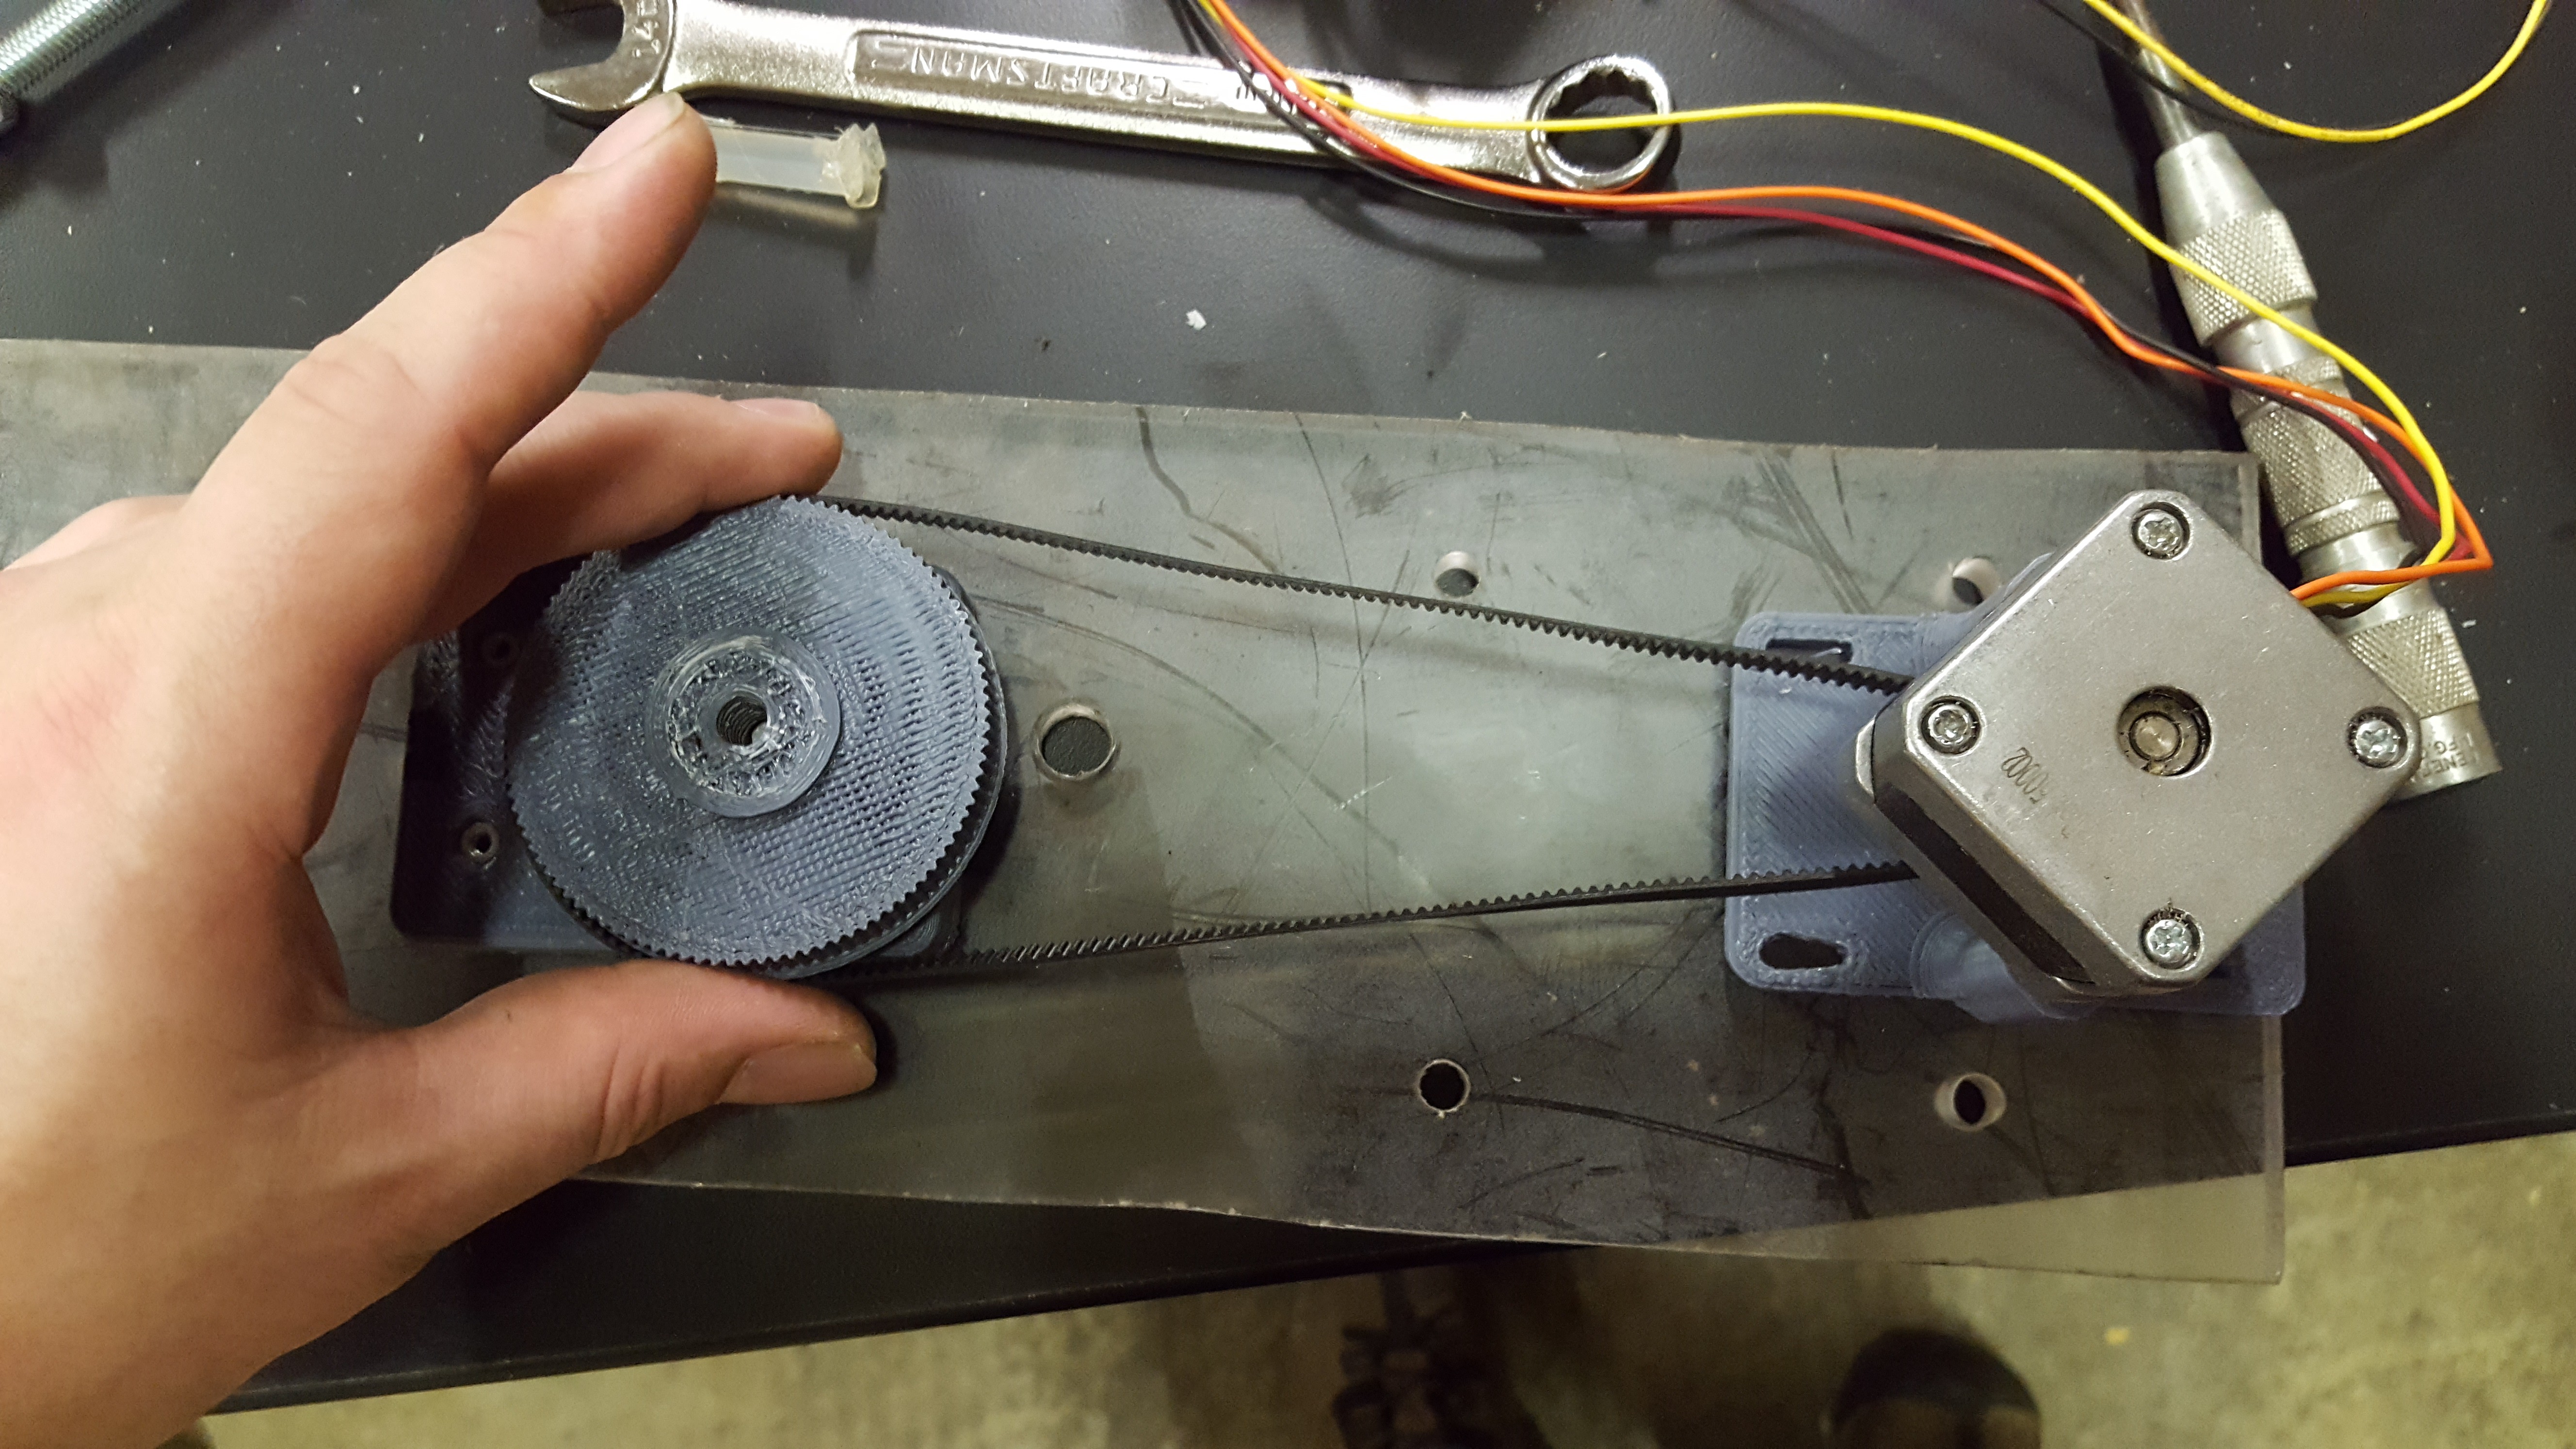
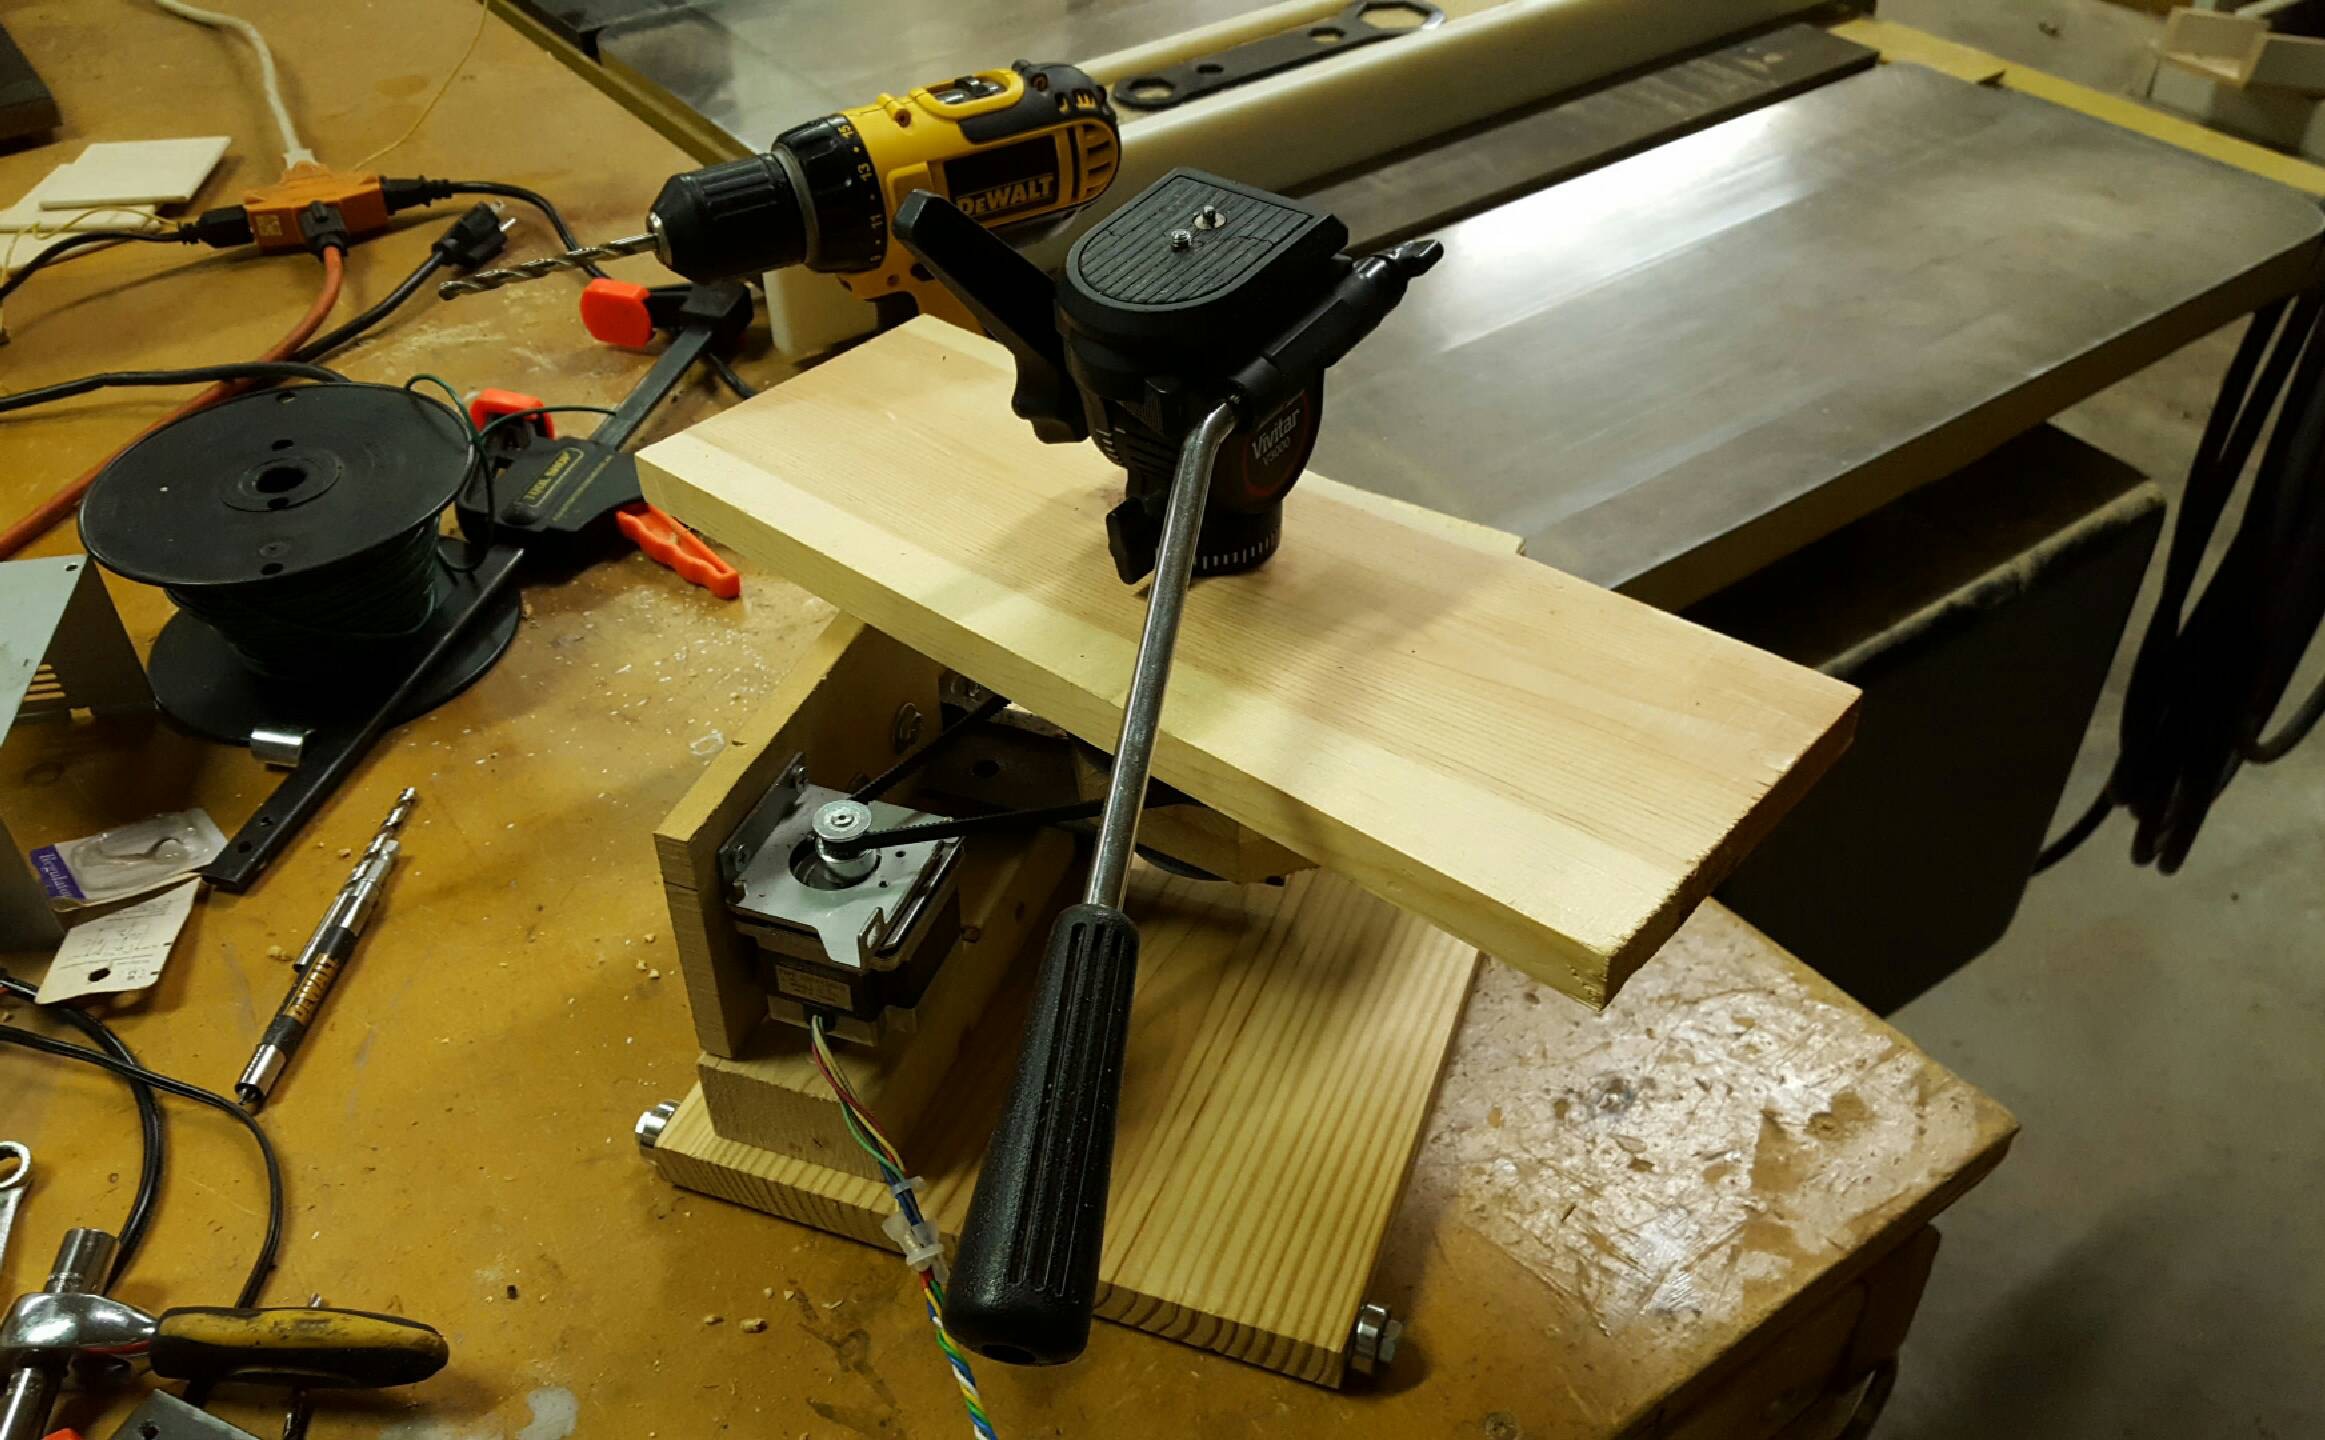
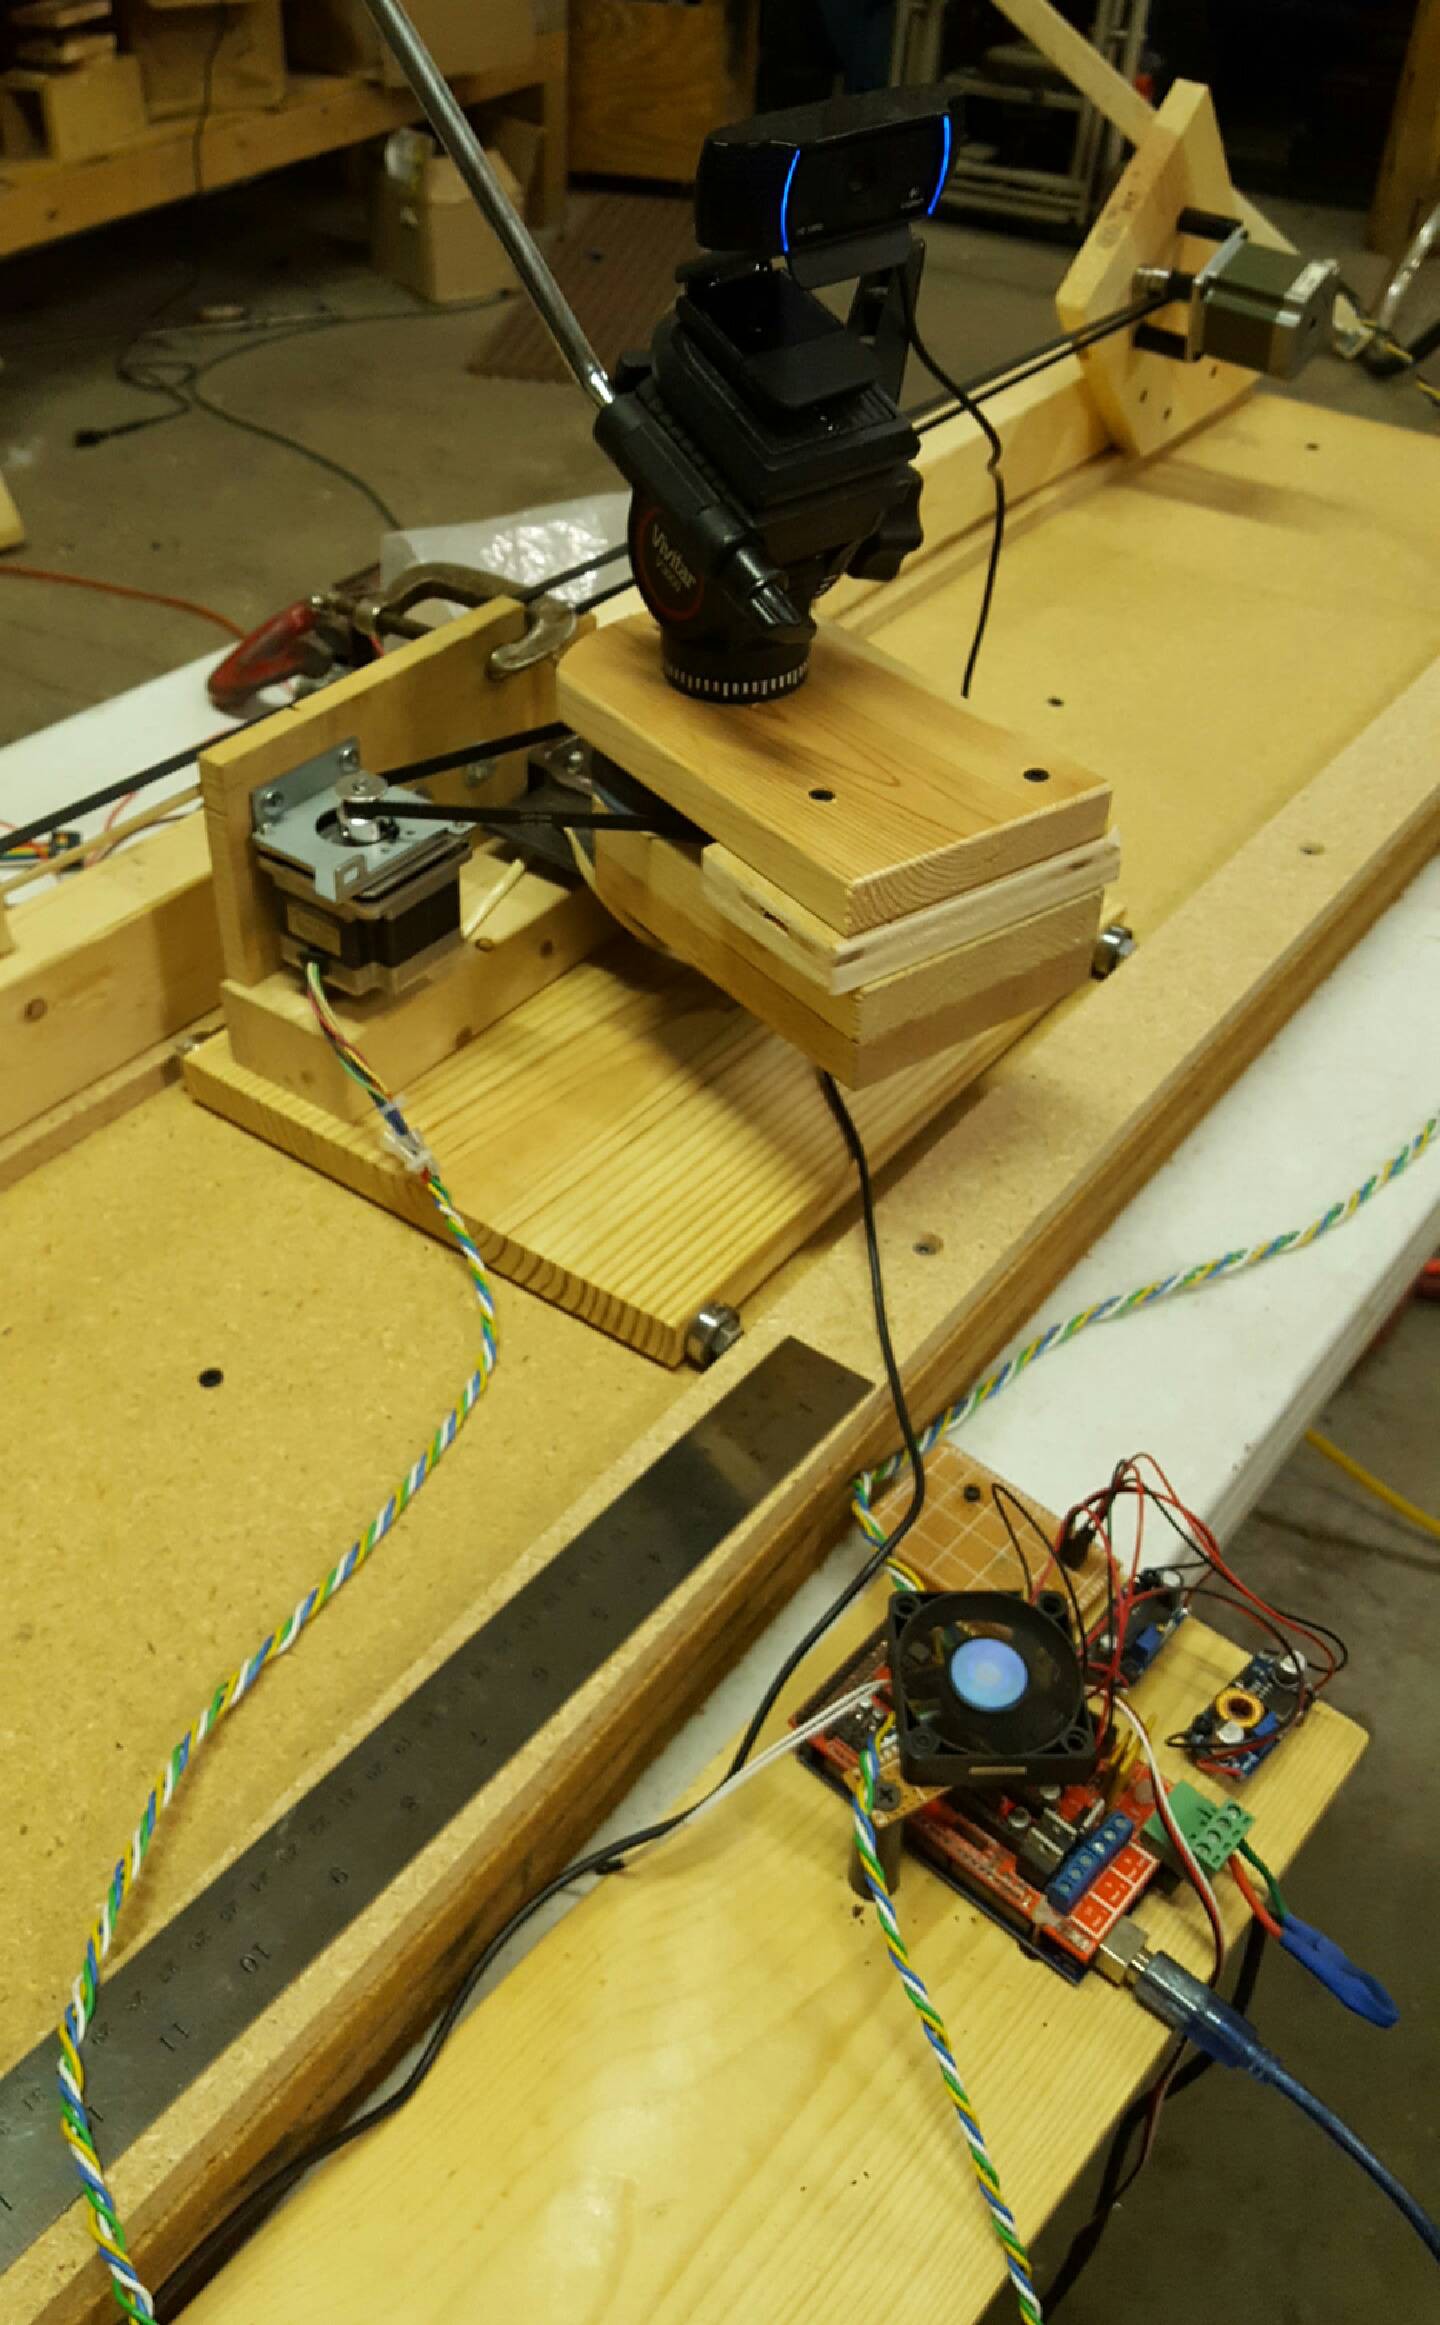
This is the idler pulley. I looked around the shop for different
materials for the belt and it turned out telephone wire performed the
best. Who would have thought?
materials for the belt and it turned out telephone wire performed the
best. Who would have thought?

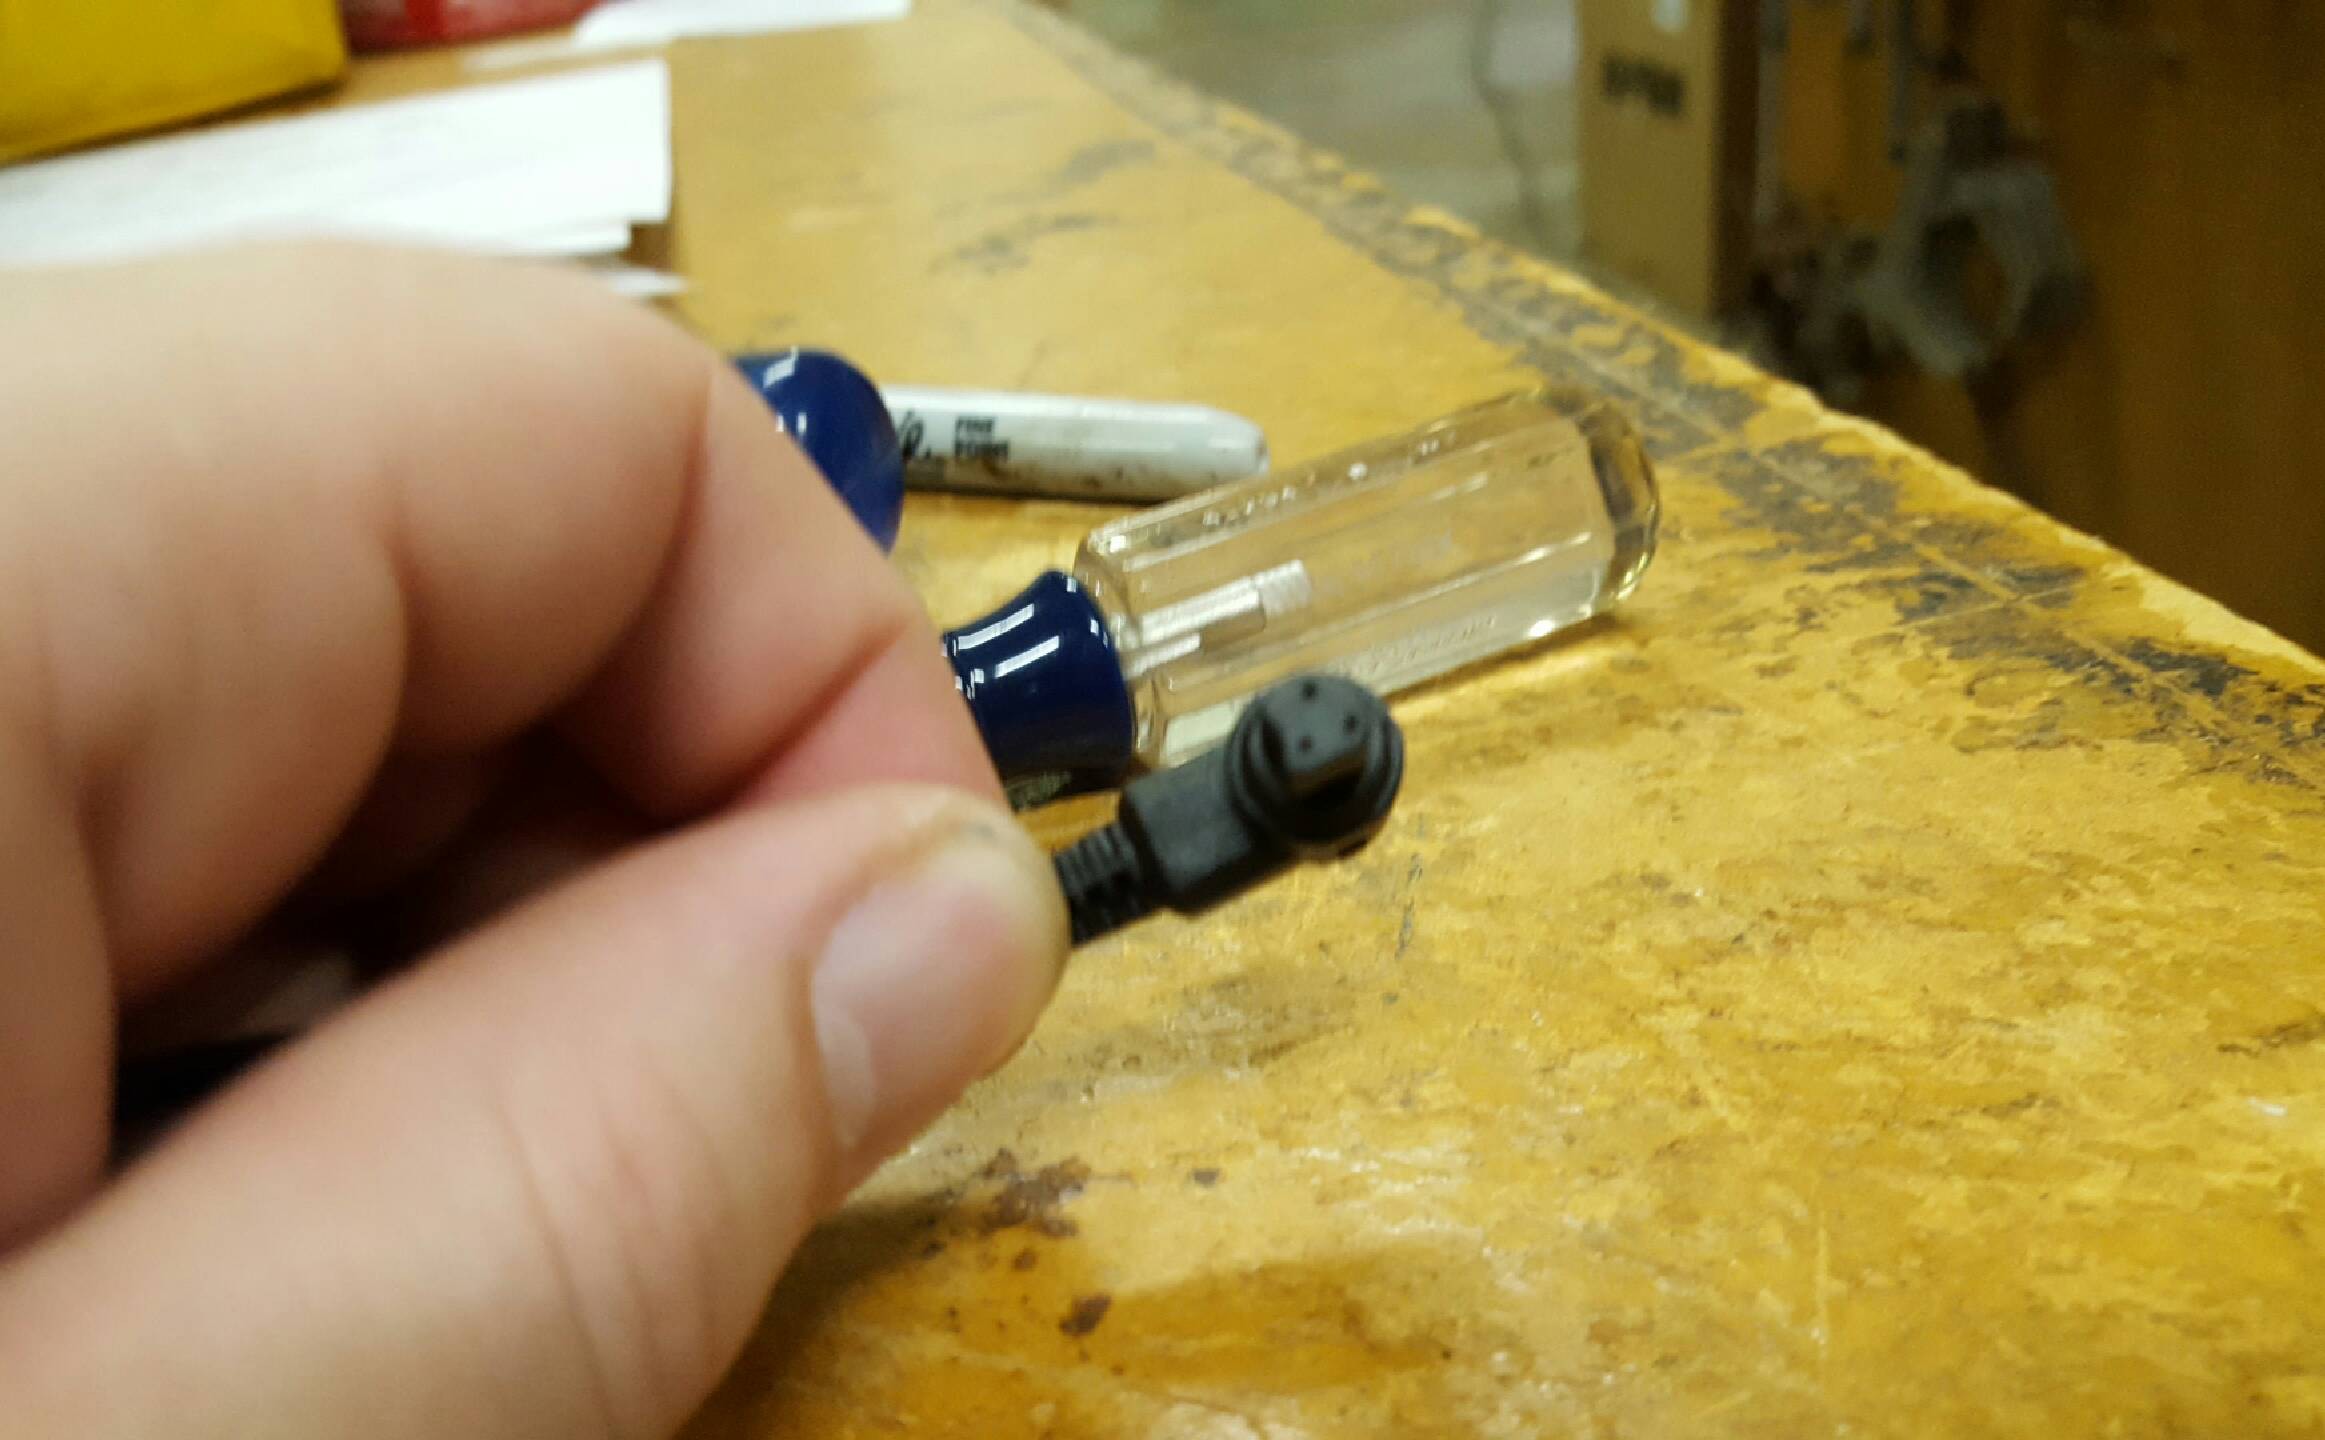
Photographer (Thank you World Touch Productions for all your help!!) to
make sure I got the right connectors for the shutter controllers.
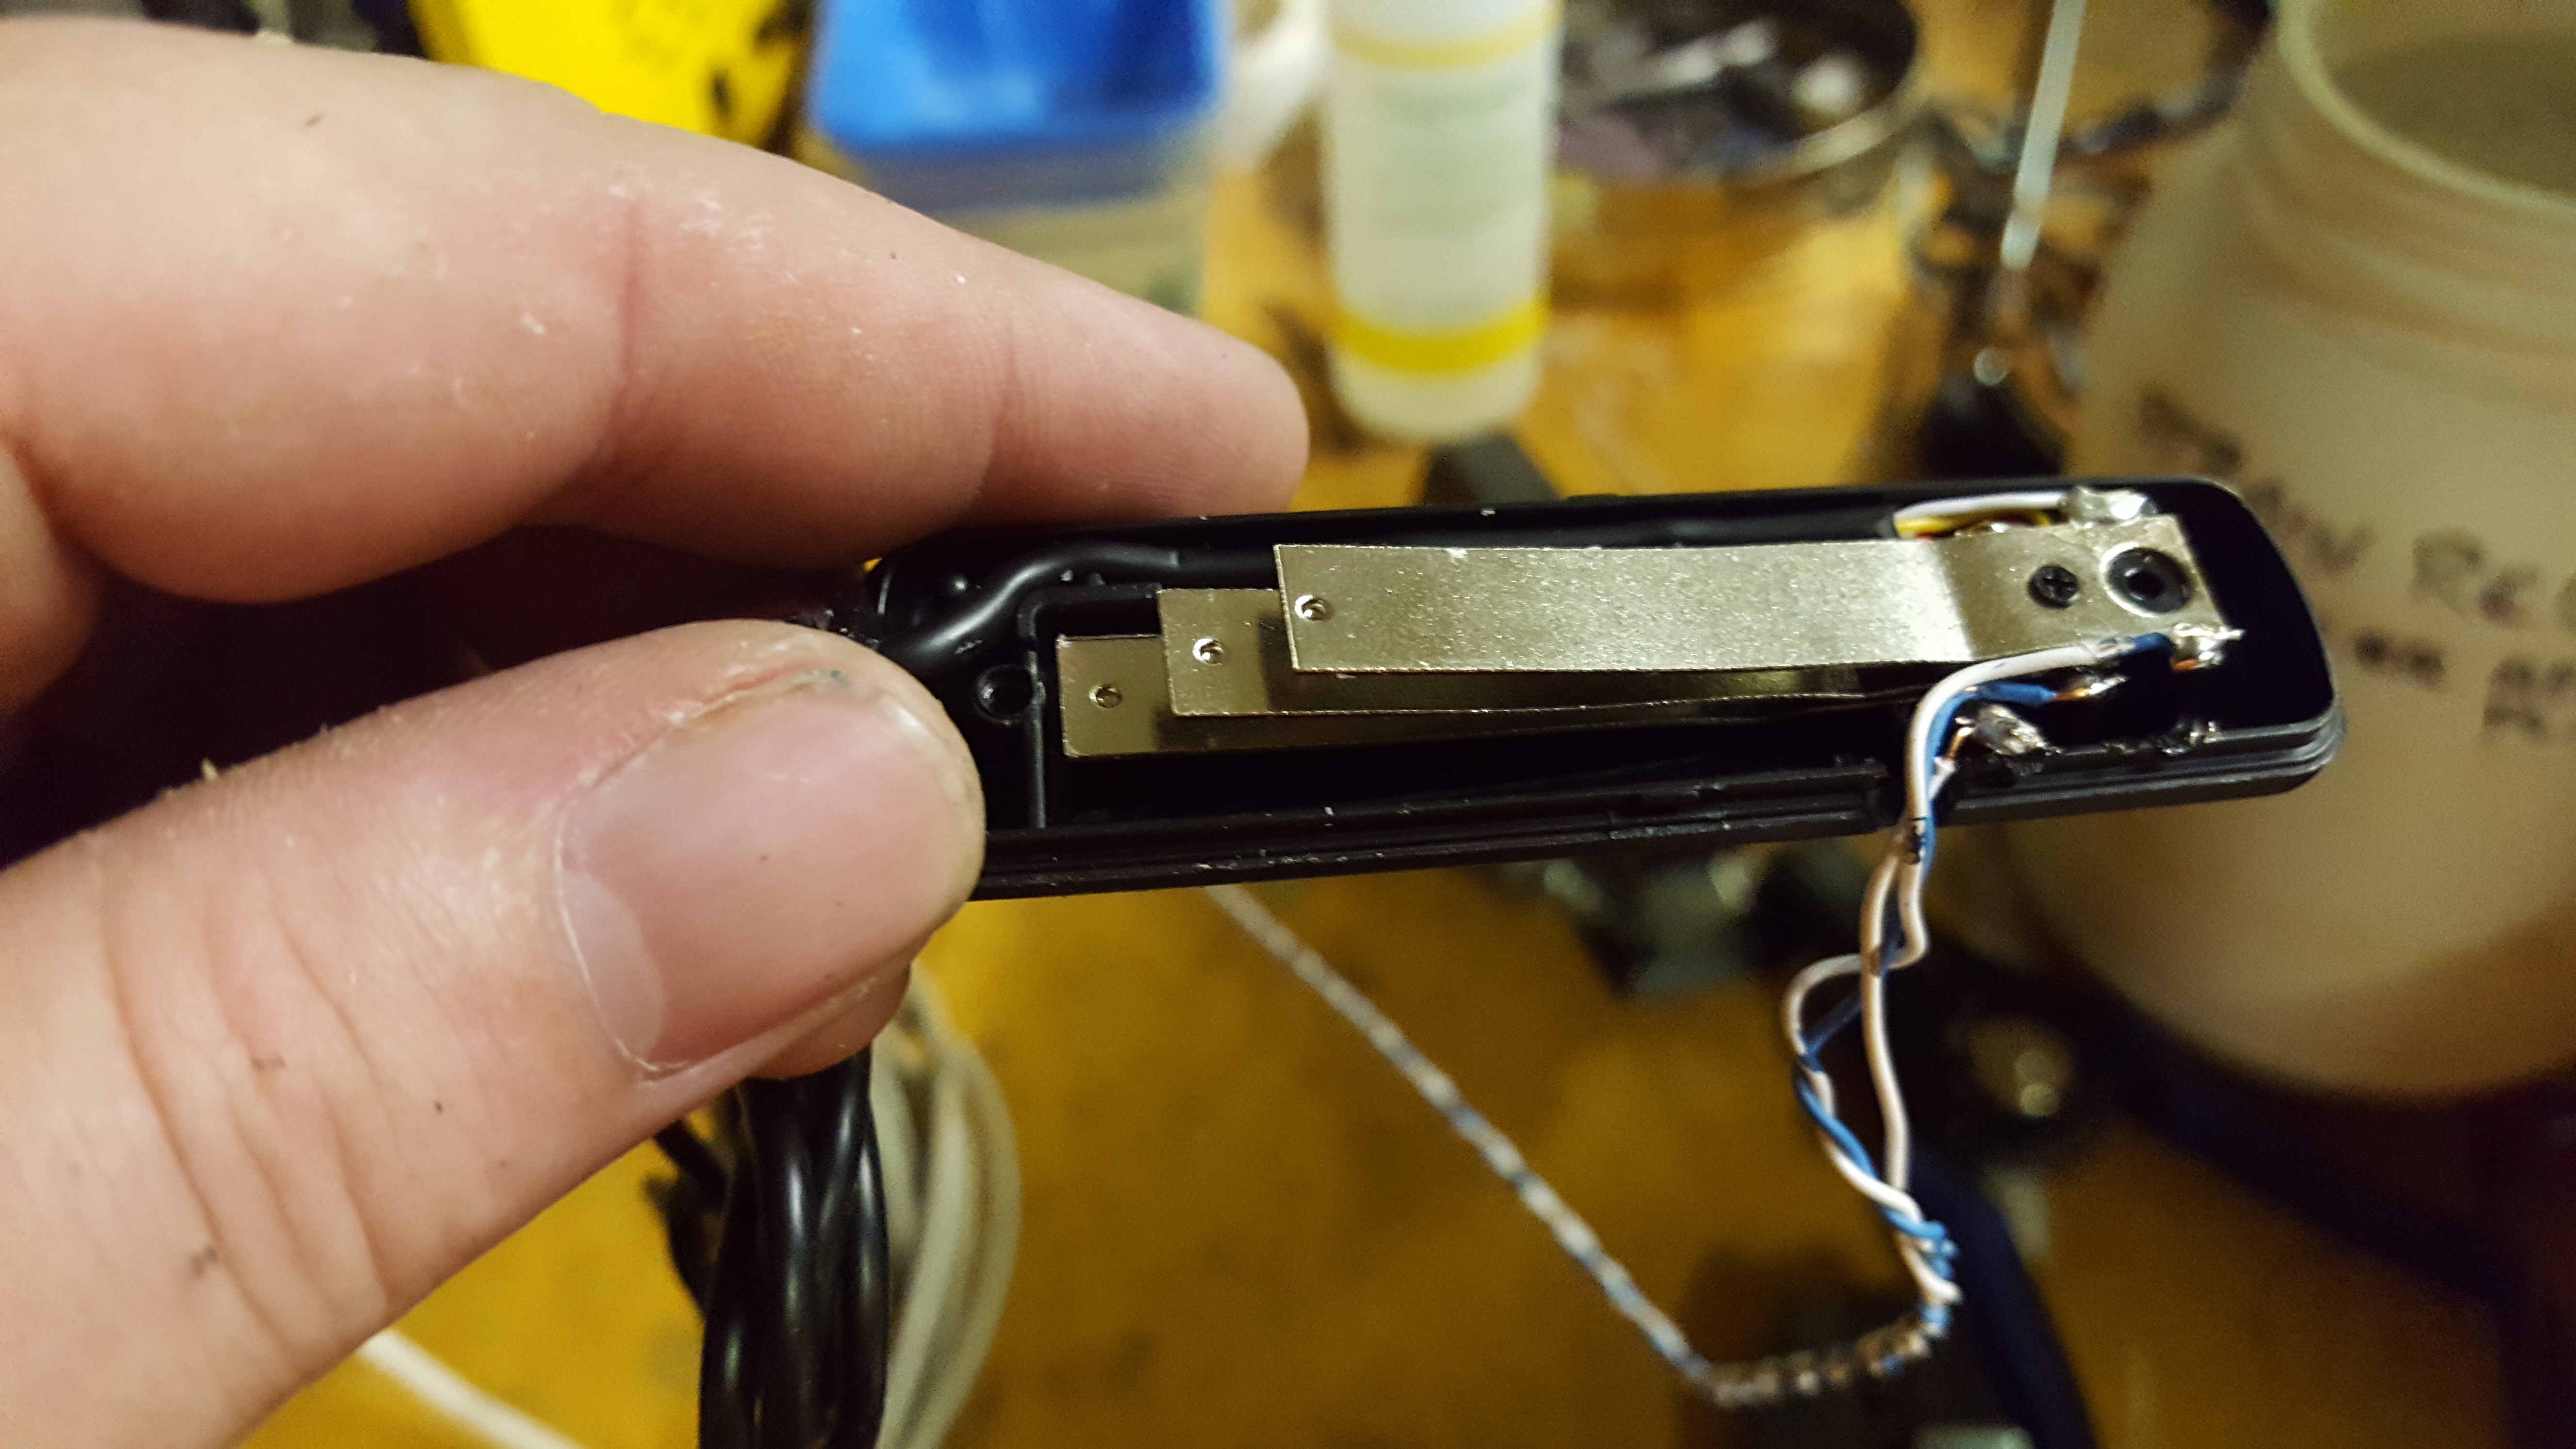
Whenever possible I prefer not to cut wires. So I soldered the
wires directly to the switches. The top contact is ground, the middle
contact is for the auto-focus and the bottom contact is for the shutter.
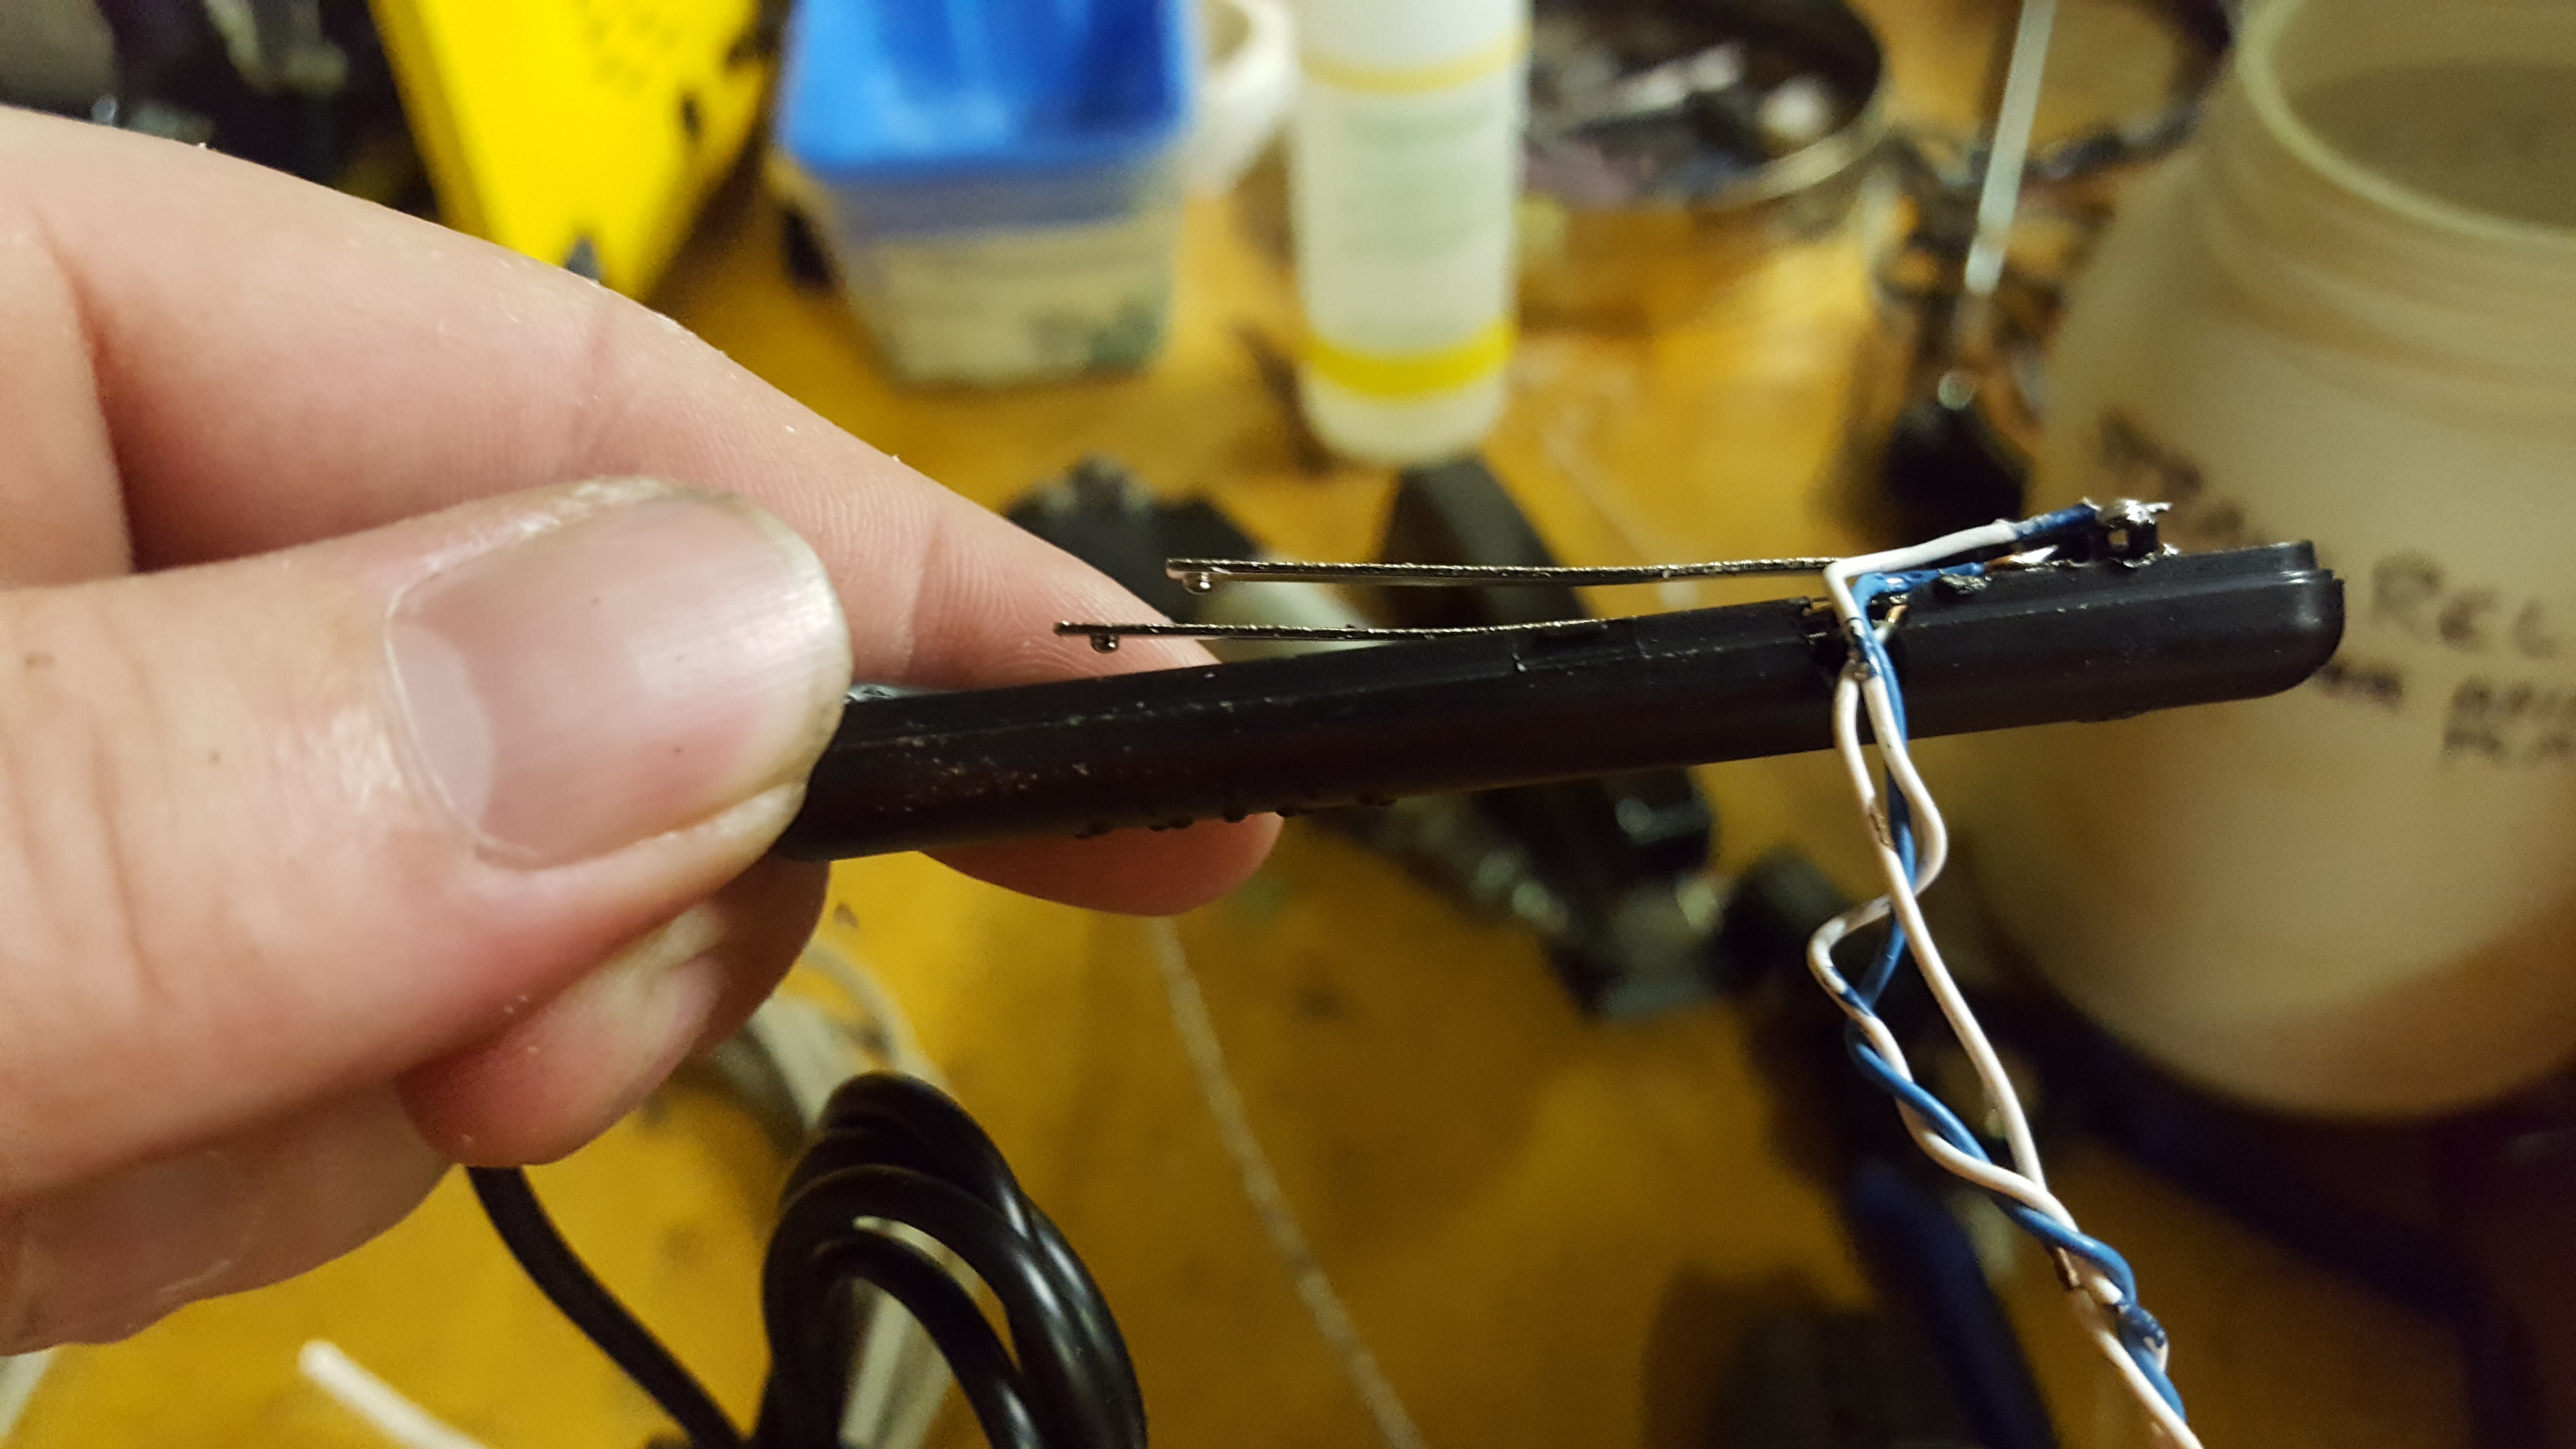 I carved out the side so the wires could fit through and I could reattach the tops.

 LIGHTS!
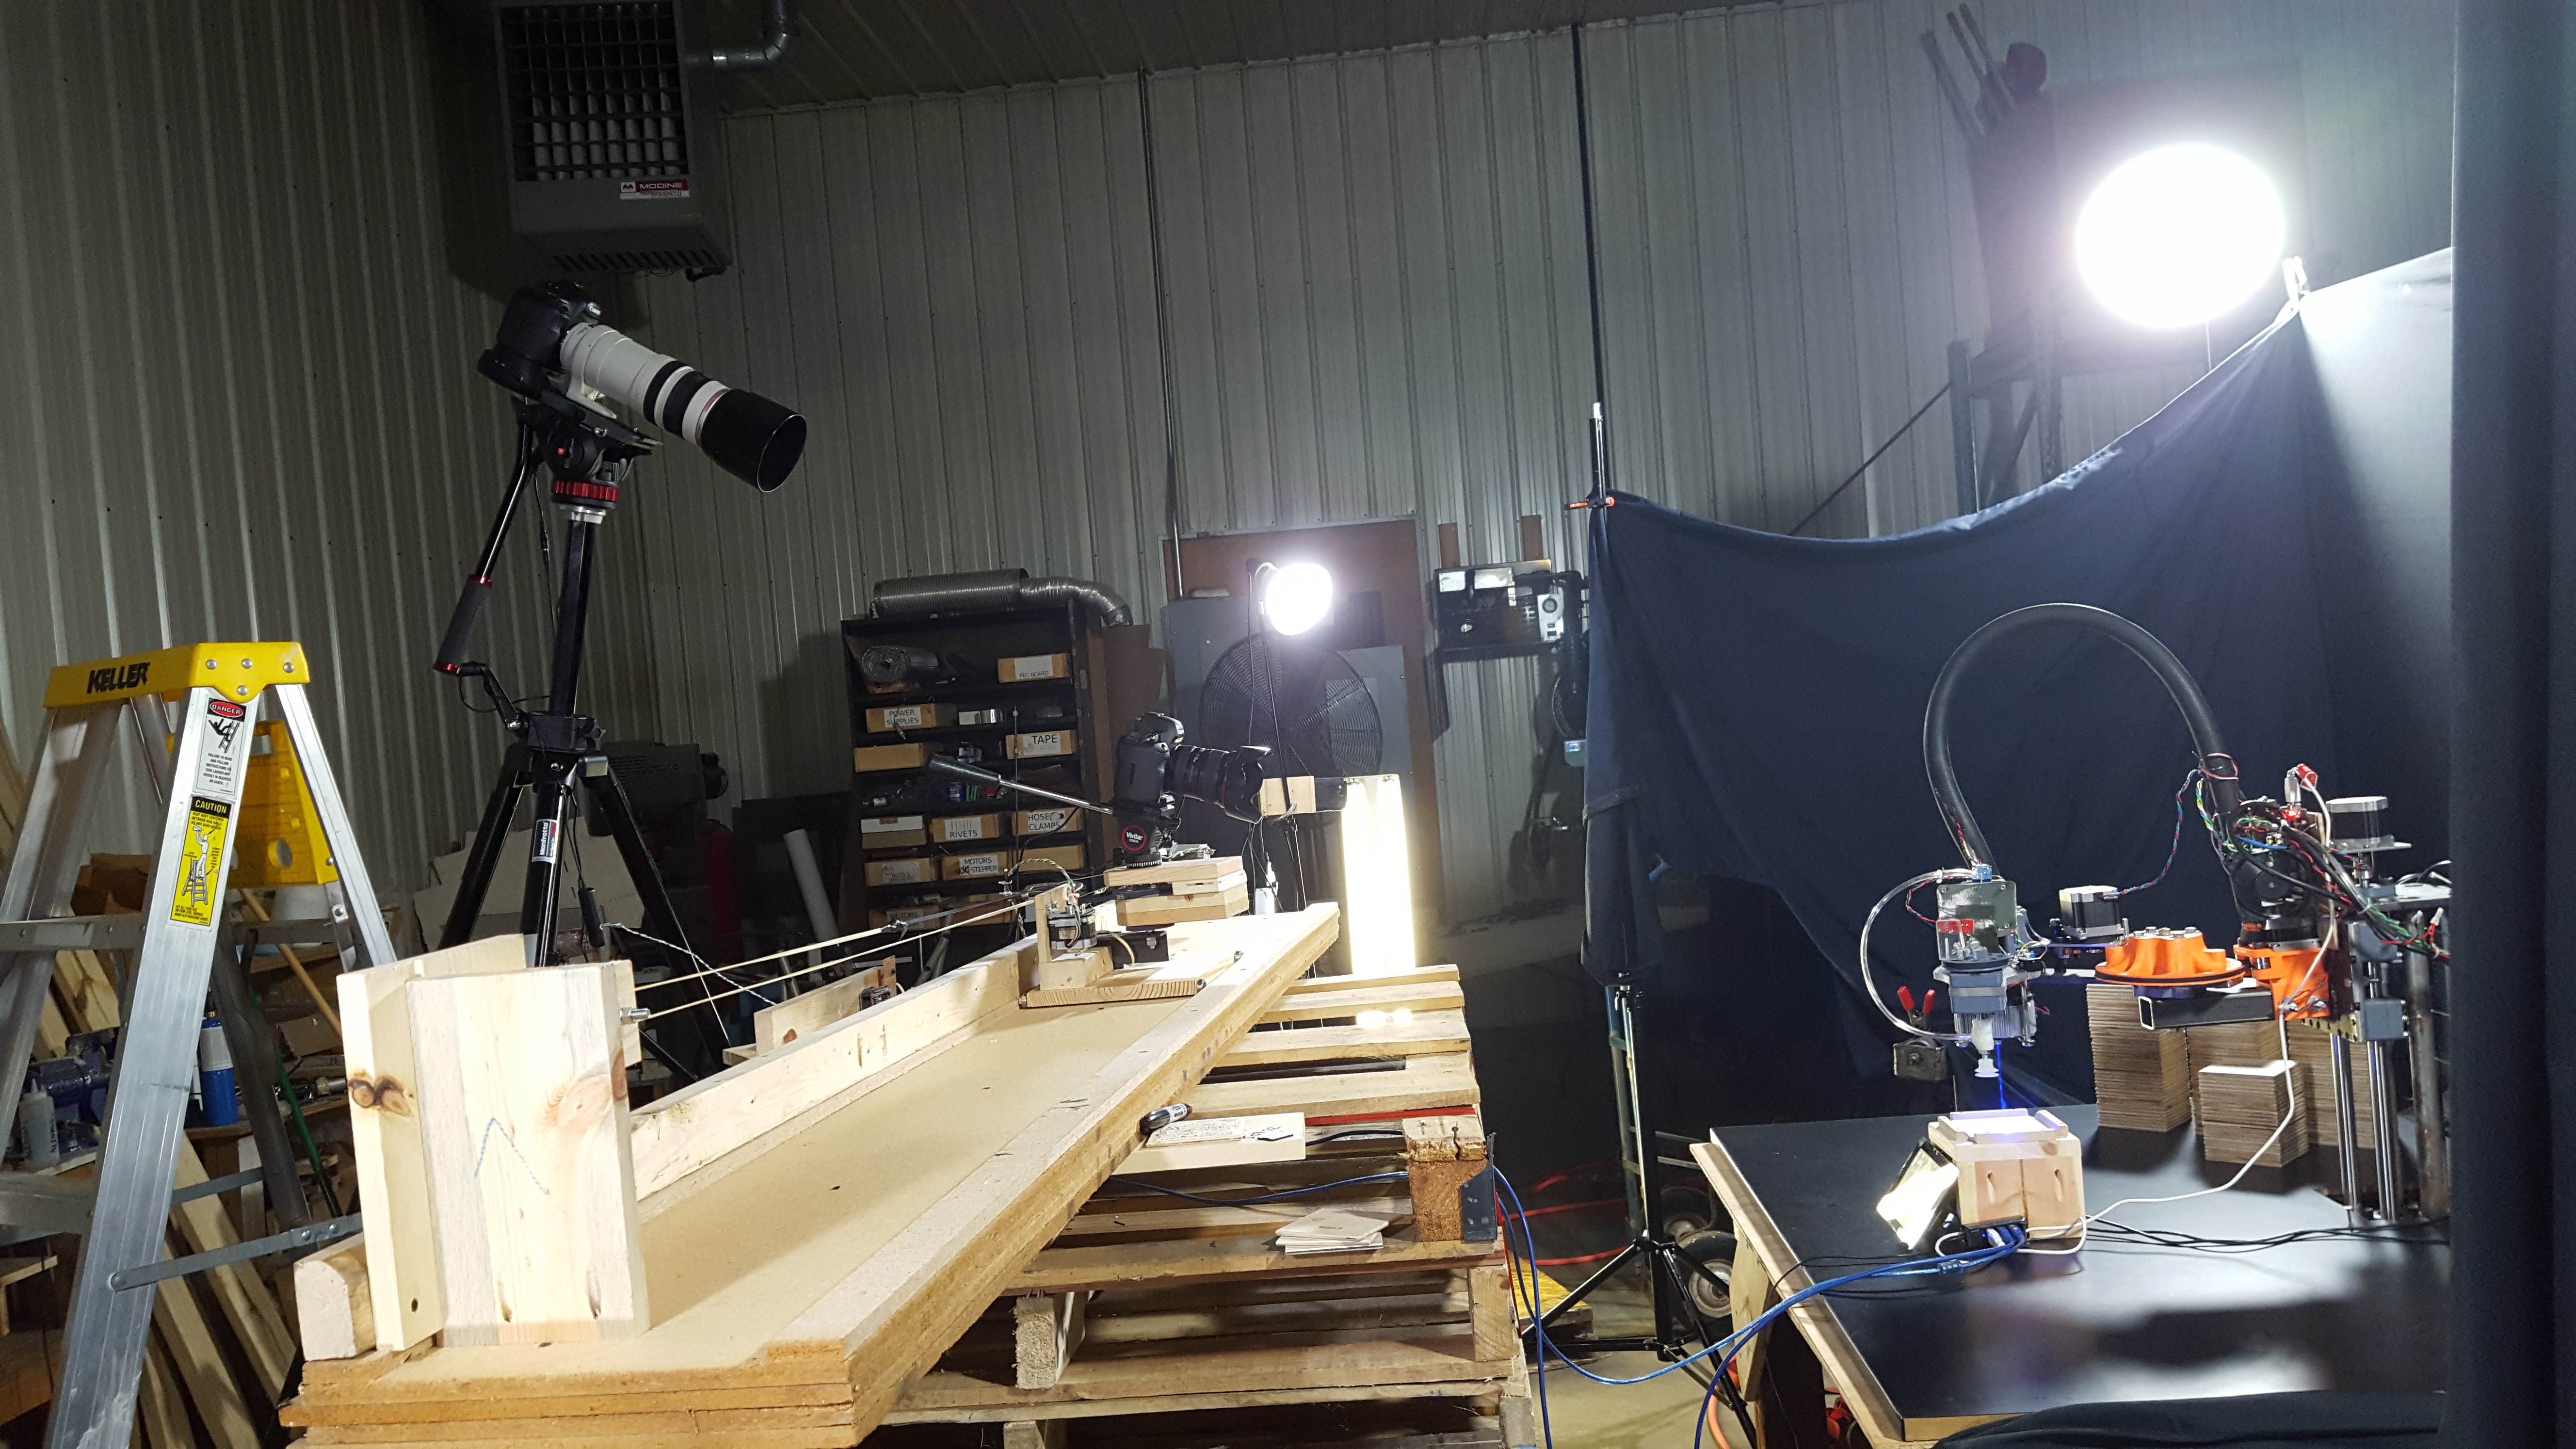
 CAMERA!!
ACTION!!


 Now we're really done!!
Discussions
Become a Hackaday.io Member
Create an account to leave a comment. Already have an account? Log In.