 Marcelo G de Andrade
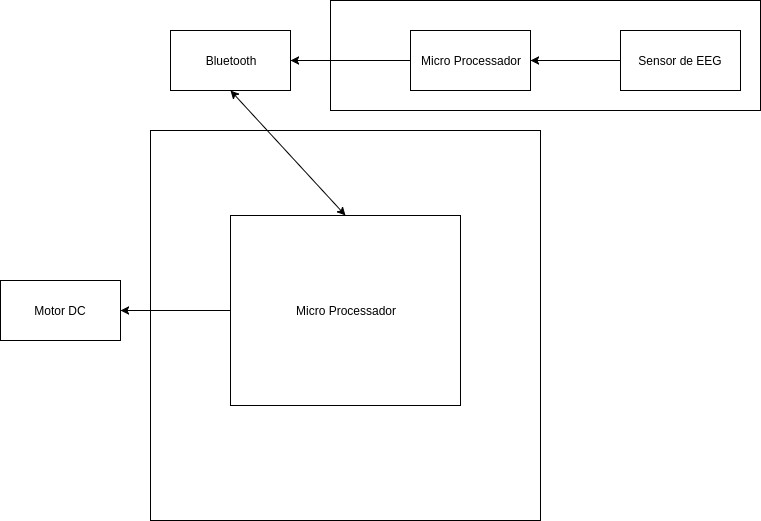
Project's block diagram:
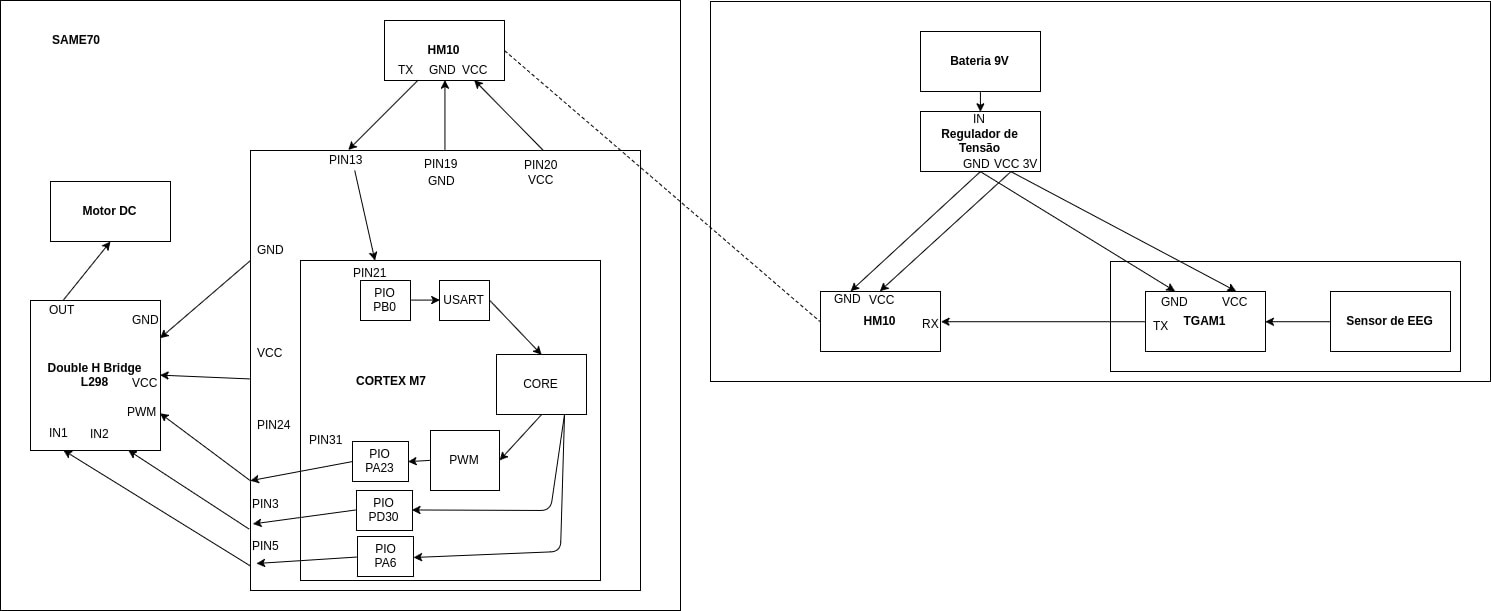
Project's detailed block diagram:
This project aims to construct an embedded computer system controlled by brain activity.
Already have an account? Log in.
To make the experience fit your profile, pick a username and tell us what interests you.
Project's block diagram:
Project's detailed block diagram:
diagrama_geral.jpgProject's Simplified Block DiagramJPEG Image - 20.19 kB - 06/05/2017 at 02:54 |
|
|
detailed_diagram.jpgProject's Detailed Block DiagramJPEG Image - 58.30 kB - 06/05/2017 at 02:54 |
|
|
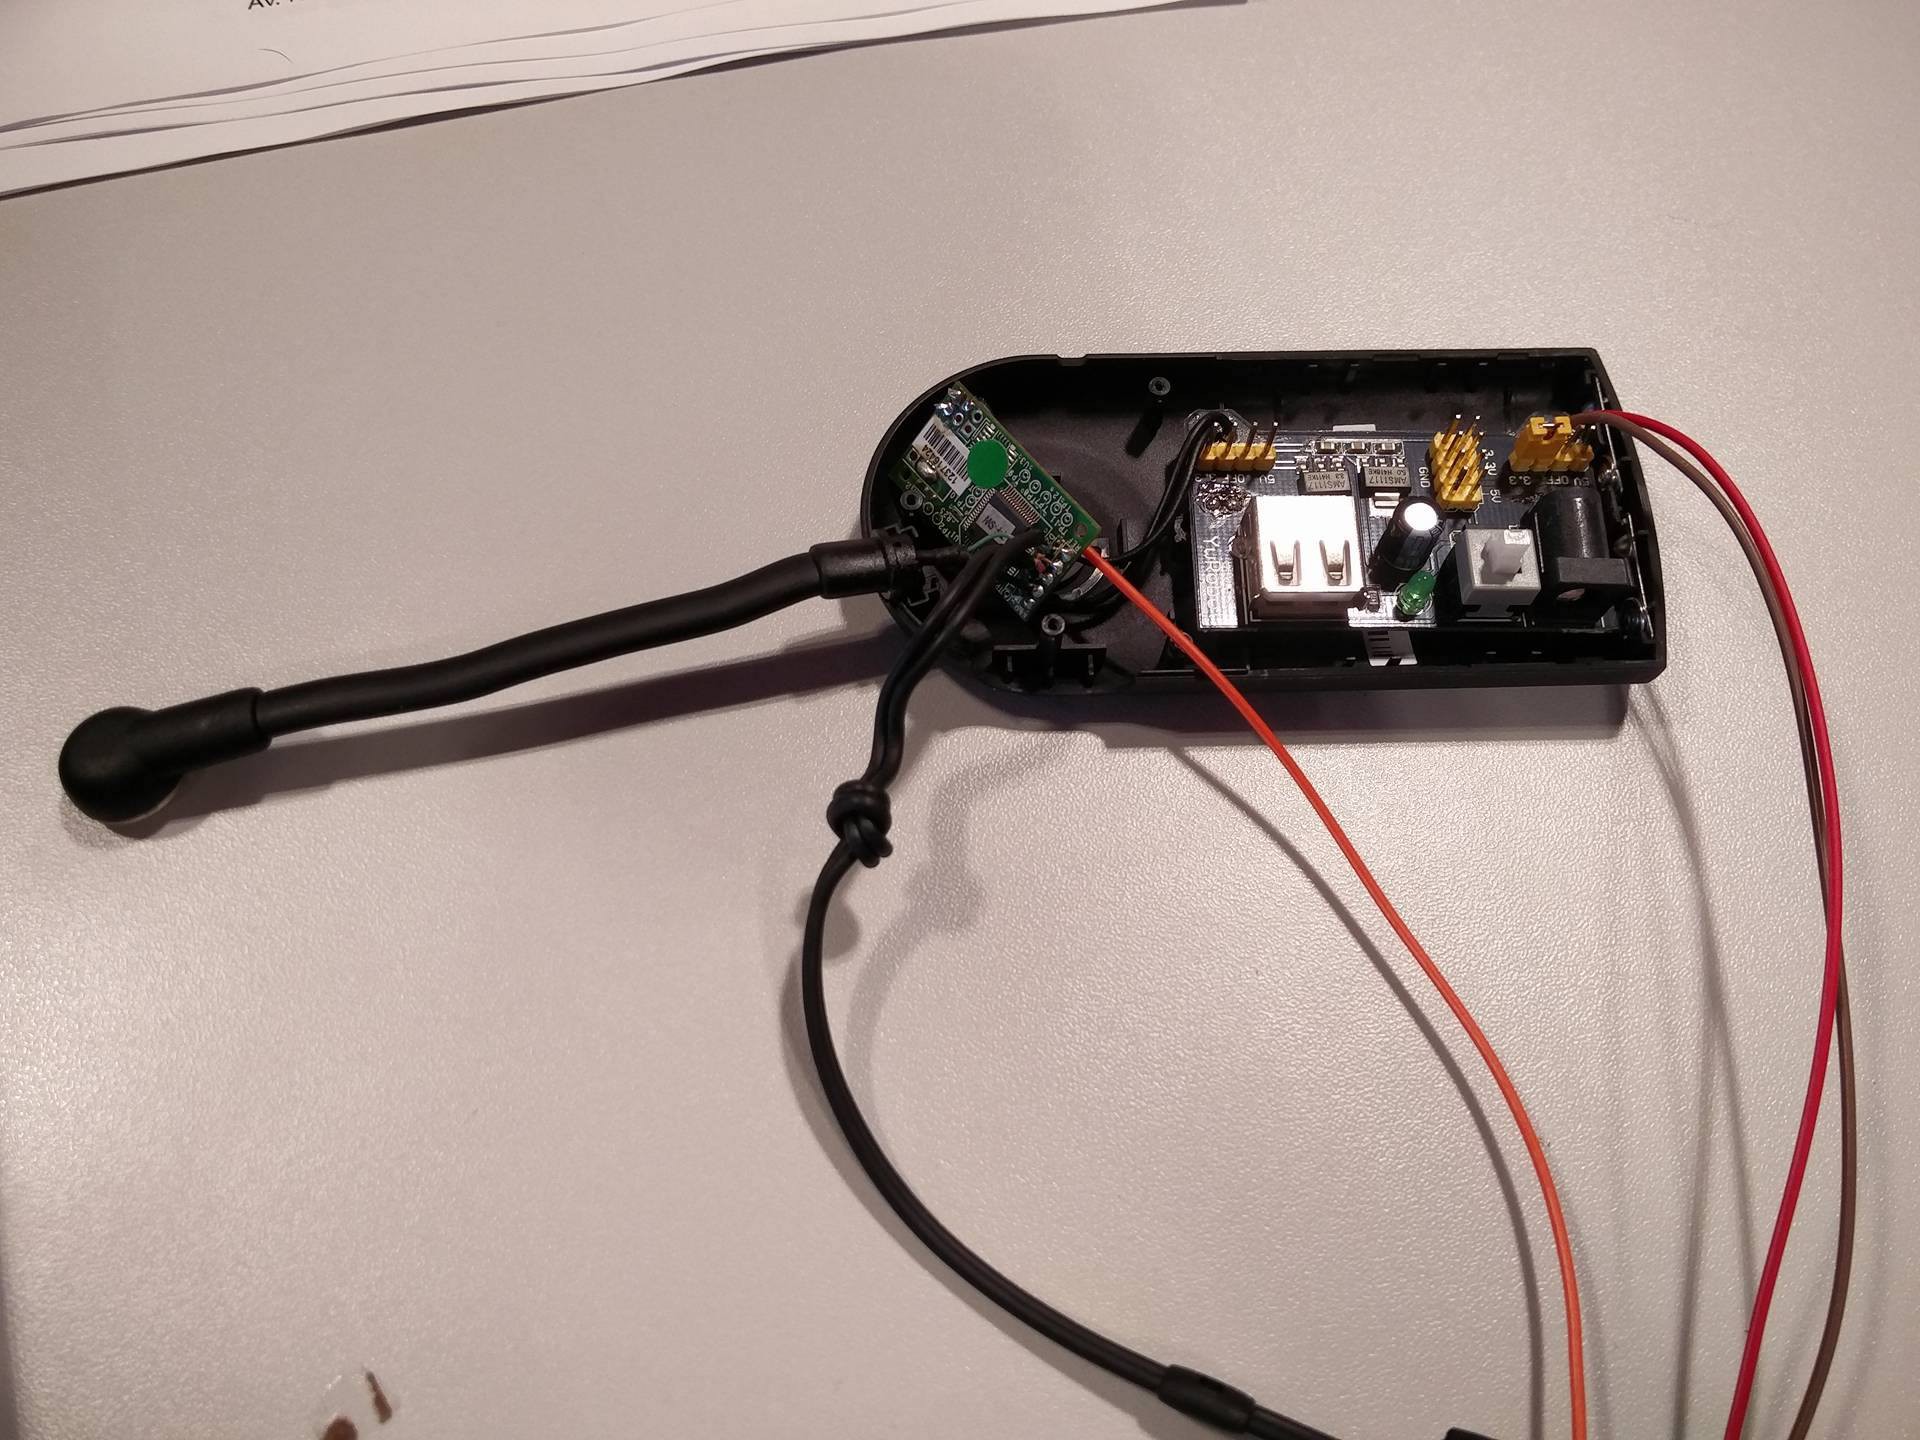
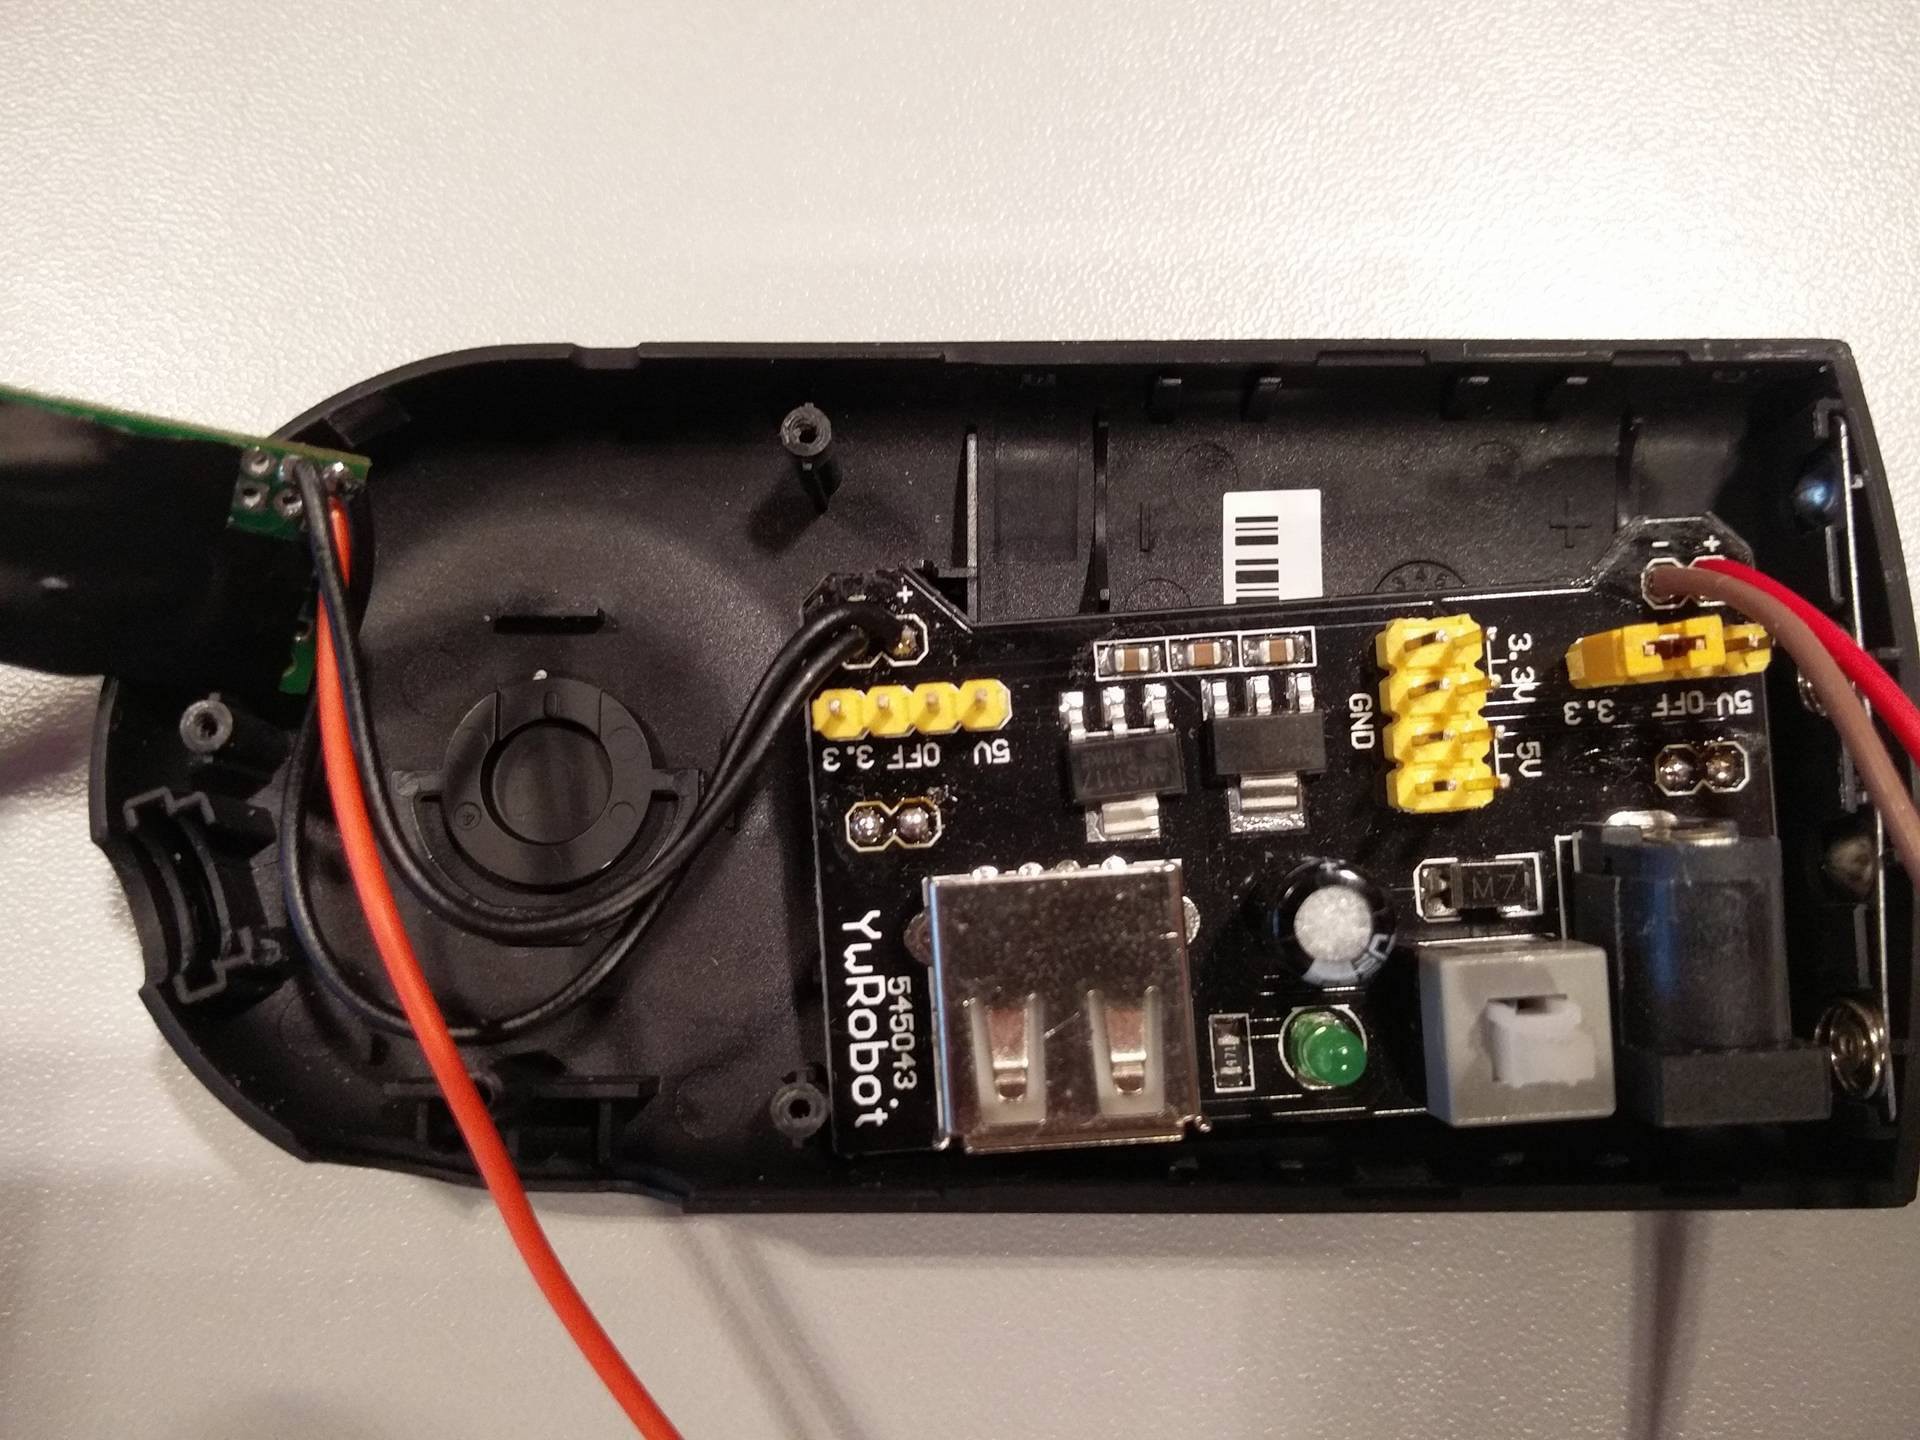
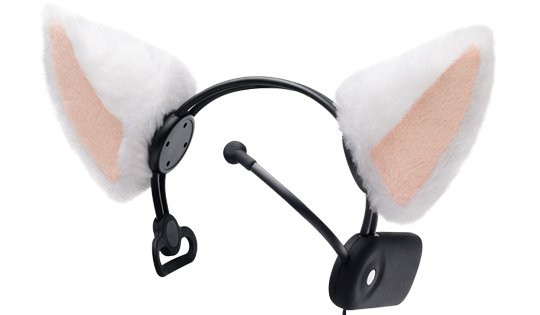
Hacking Necomimi Ears
We followed the instructions documented here to transform Necomimi toy into a bluetooth EEG sensor.
PS: The Neurosky TGAM chip transmits with 57600 baud rate, configure the receiver to this baud rate.
5. Configure the HM10 module to Slave mode and to the desired baud rate using the following AT+COMMANDS (more information here)
Slave mode: AT+ROLE1
Baud Rate: AT+BAUD3
Understanding TGAM1 Serial Protocol
The TGAM1 has two configurations to send EEG signal through USART. The first one, and the default one in the Necomimi Ears, is the Raw Value Mode. It sends a signal every 2ms using the following pattern: (more details can be seen here)
8 byte package.
1 byte - 0x04 (Size of the package)
2 byte - 0x80 (Information about configuration)
3 byte - 0x02 (Raw Value size package)
4 byte - ? (First byte raw value)
5 byte - ? (Second byte raw value)
6 byte - ? (Checksum)
7 byte - 0xAA(First byte End package)
8 byte - 0xAA(Second byte End package)
To get the Raw value from this package, you have to parse this whole package and get the two Raw Value Bytes (4 and 5 byte), then do the following operation:
(byte1_raw_value << 8) | byte1_raw_value2
To create a 16 bit Raw Value.
There is a second configuration to this chip, we won't go any further on it, but you can check all the details about this configuration here.
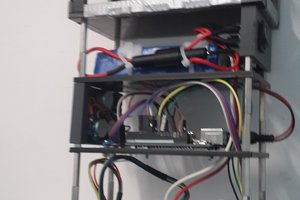
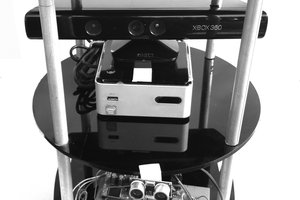
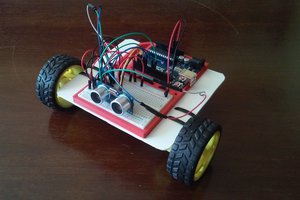
Building the Car
We used a SAME70 development board to program our ARM microprocessor and to select our peripherals, but the final version can be constructed using any ARM microprocessor and all peripherals listed on the detailed block diagram showed on project details.
1. Configuring the Bluetooth Module: connect your HM10 on your SAME70 using the pins described on the detailed block diagram. Set it to Master role using AT+COMMANDS.
Master mode: AT+ROLE0
2. Connecting the robot to the sensor: Using AT+COMMANDS, you can connect the Bluetooth Module from the SAME70 Board to the one connected on the Hacked Necomimi Ears. First of all, find out what is the Mac Address of the HM10 on the Ears using the following AT+COMMAND:
Get Mac Address: AT+ADDR?
After acquiring this address, use it on the SAME70 HM10 to connect to your Slave module, using the following AT+COMMAND:
Connect to bluetooth module: AT+CON[address]
3. Getting data from EEG Sensor: After connecting the two bluetooth modules, get the data from USART and parse it using the protocol described above. Use the data collected to interpret any behavior you wish, or change the configuration from TGAM1 chip and get directly behavior values from the sensor.
4. Connect the Double H Bridge and DC Motors to the SAME70 board:
Connect the Double H Bridge L298 as followed.
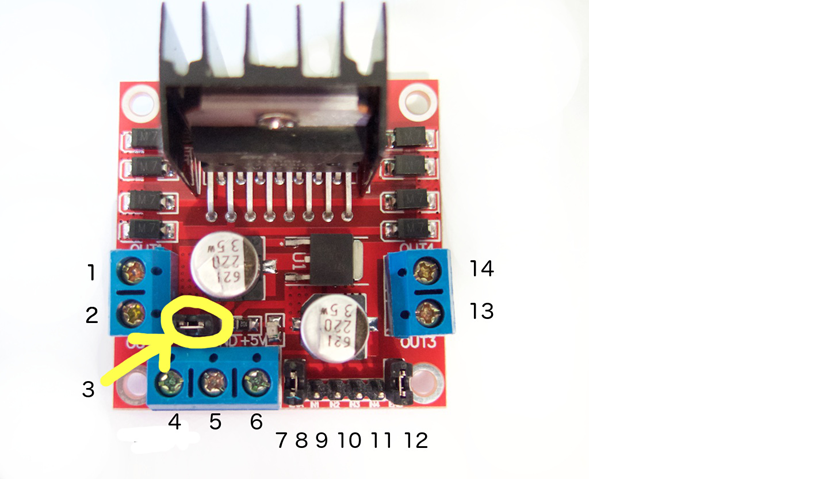
Pin 1 - DC motor 1 "+" or stepper motor A+
Pin 2 - DC motor 1 "-" or stepper motor A-
Pin 3 - 12V jumper - remove this if using a supply voltage greater than 12V DC. This enables power to the onboard 5V regulator
Pin 4 - VCC - Connect your motor supply voltage here, maximum of 35V DC. Remove 12V jumper if >12V DC
Pin 5 - GND
Pin 6 - 5V output IF 12V jumper in place, ideal for powering your board for example
Pin 7 - If desired, connect to PWM output for DC motor speed control - to DC motor 1
Pin 8 - IN1
Pin 9 - IN2
Pin 10 - IN3
Pin 11 - IN4
Pin 12 - If desired, connect to PWM output for DC motor speed control - to DC motor 1
Pin 13 - DC motor 2 "+" or stepper motor B+
Pin 14 - DC motor 2 "-" or stepper motor B-
IN1 and IN2 - Set HIGH in one and LOW to the other to have the motor rotate in one direction, set the opposite for the motor to rotate in the other direction. The same is applied to IN3 and IN4.
IN1 and IN2 to control DC motor 1, IN3 and IN4 to control DC motor 2.
In this project we used the PWM outputs of the SAME70 to control the speed of the DC motors according to the data received from the EEG sensor.
 Lentin Joseph
 Toni Paunovic