 Jon Buford
OK, looks like we are done here, at least for the core layout work. The boards still need some additional graphics, but everything else is pretty well ready to roll.
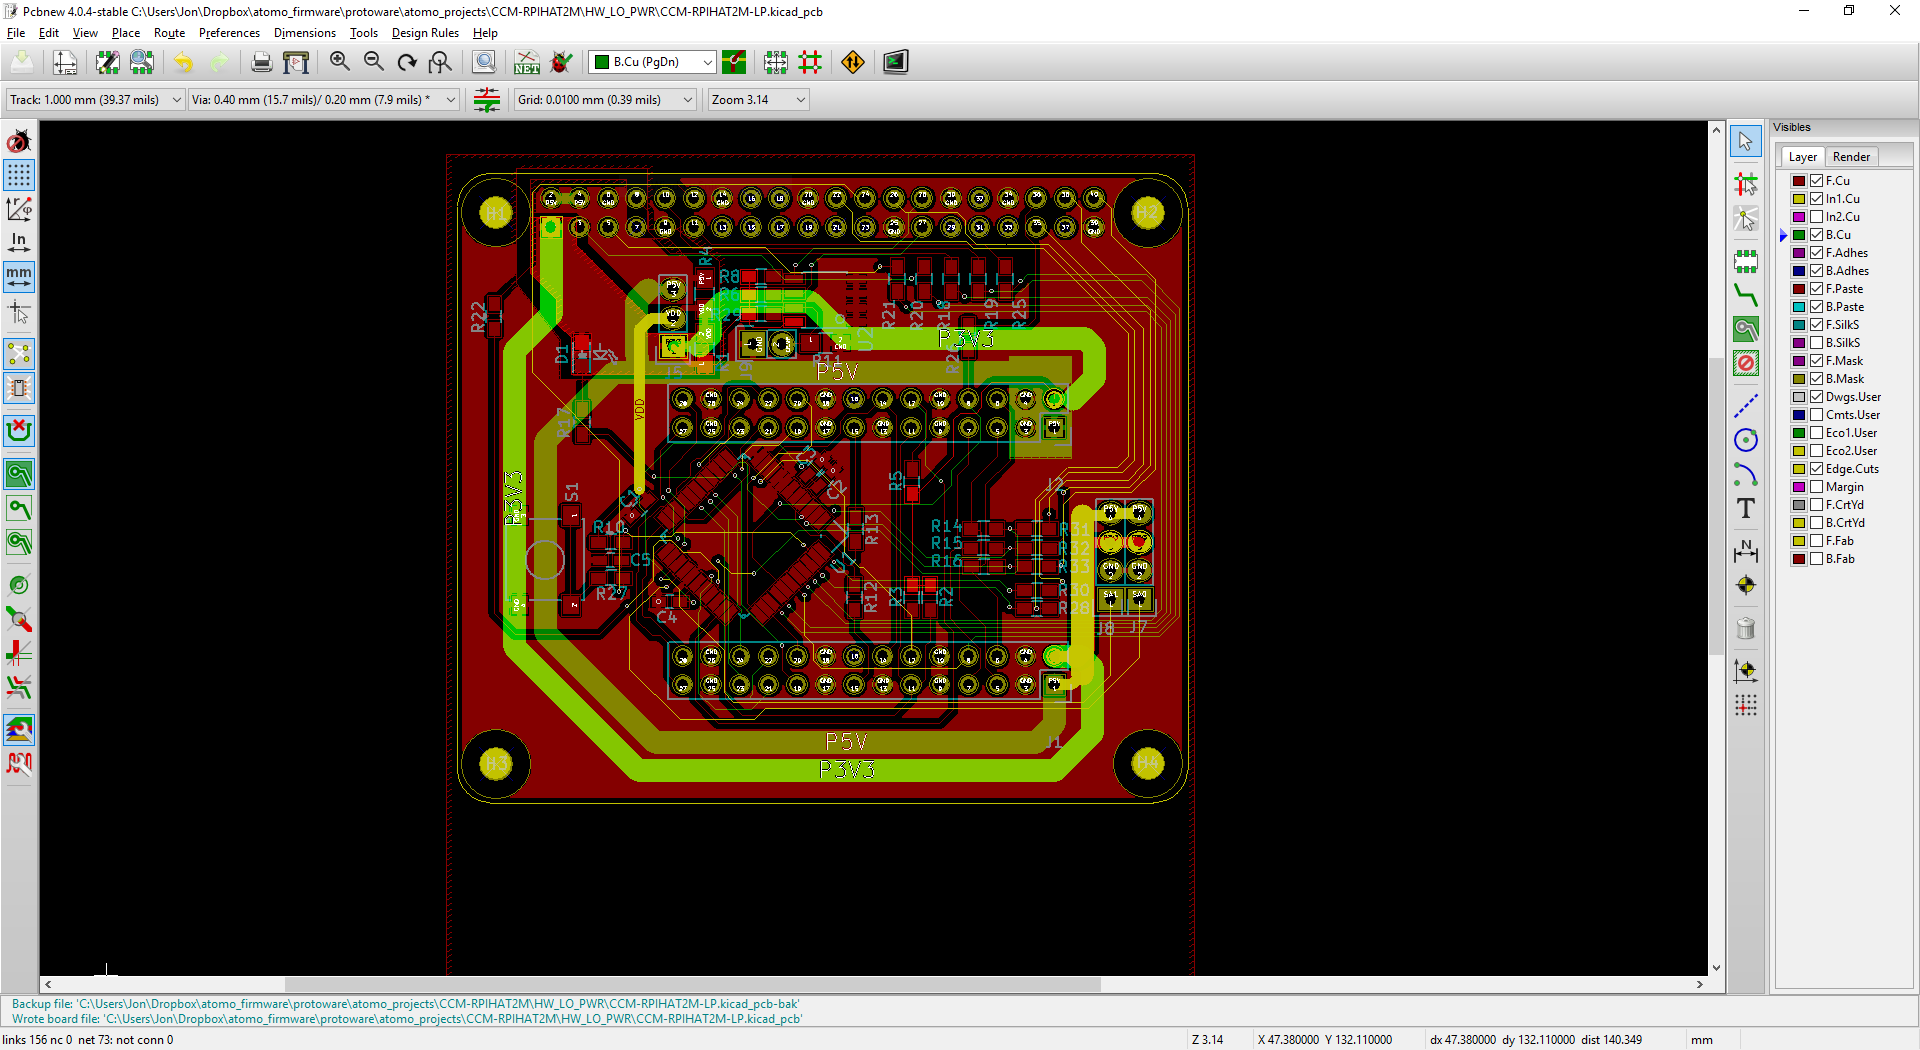
We've got two versions, one with the 34-pin connector for the Power module and the other only has 3.3V and 5V on board. The low power version does not have the additional components needed to protect the Pi for powering the 5V from the board if there is a power conflict when the USB is plugged in.
Next up, do some quick graphics, send the boards out for production, and post up the files and a writeup for the project.
Discussions
Become a Hackaday.io Member
Create an account to leave a comment. Already have an account? Log In.