 Arkadi
The first MCU iteration i have tested out was a simple bar, (simple mcu) but after exploring the additional shapes. I have decided to make the MCU as the hexagon shape, since its the repetitive shape of 6 Triangles.
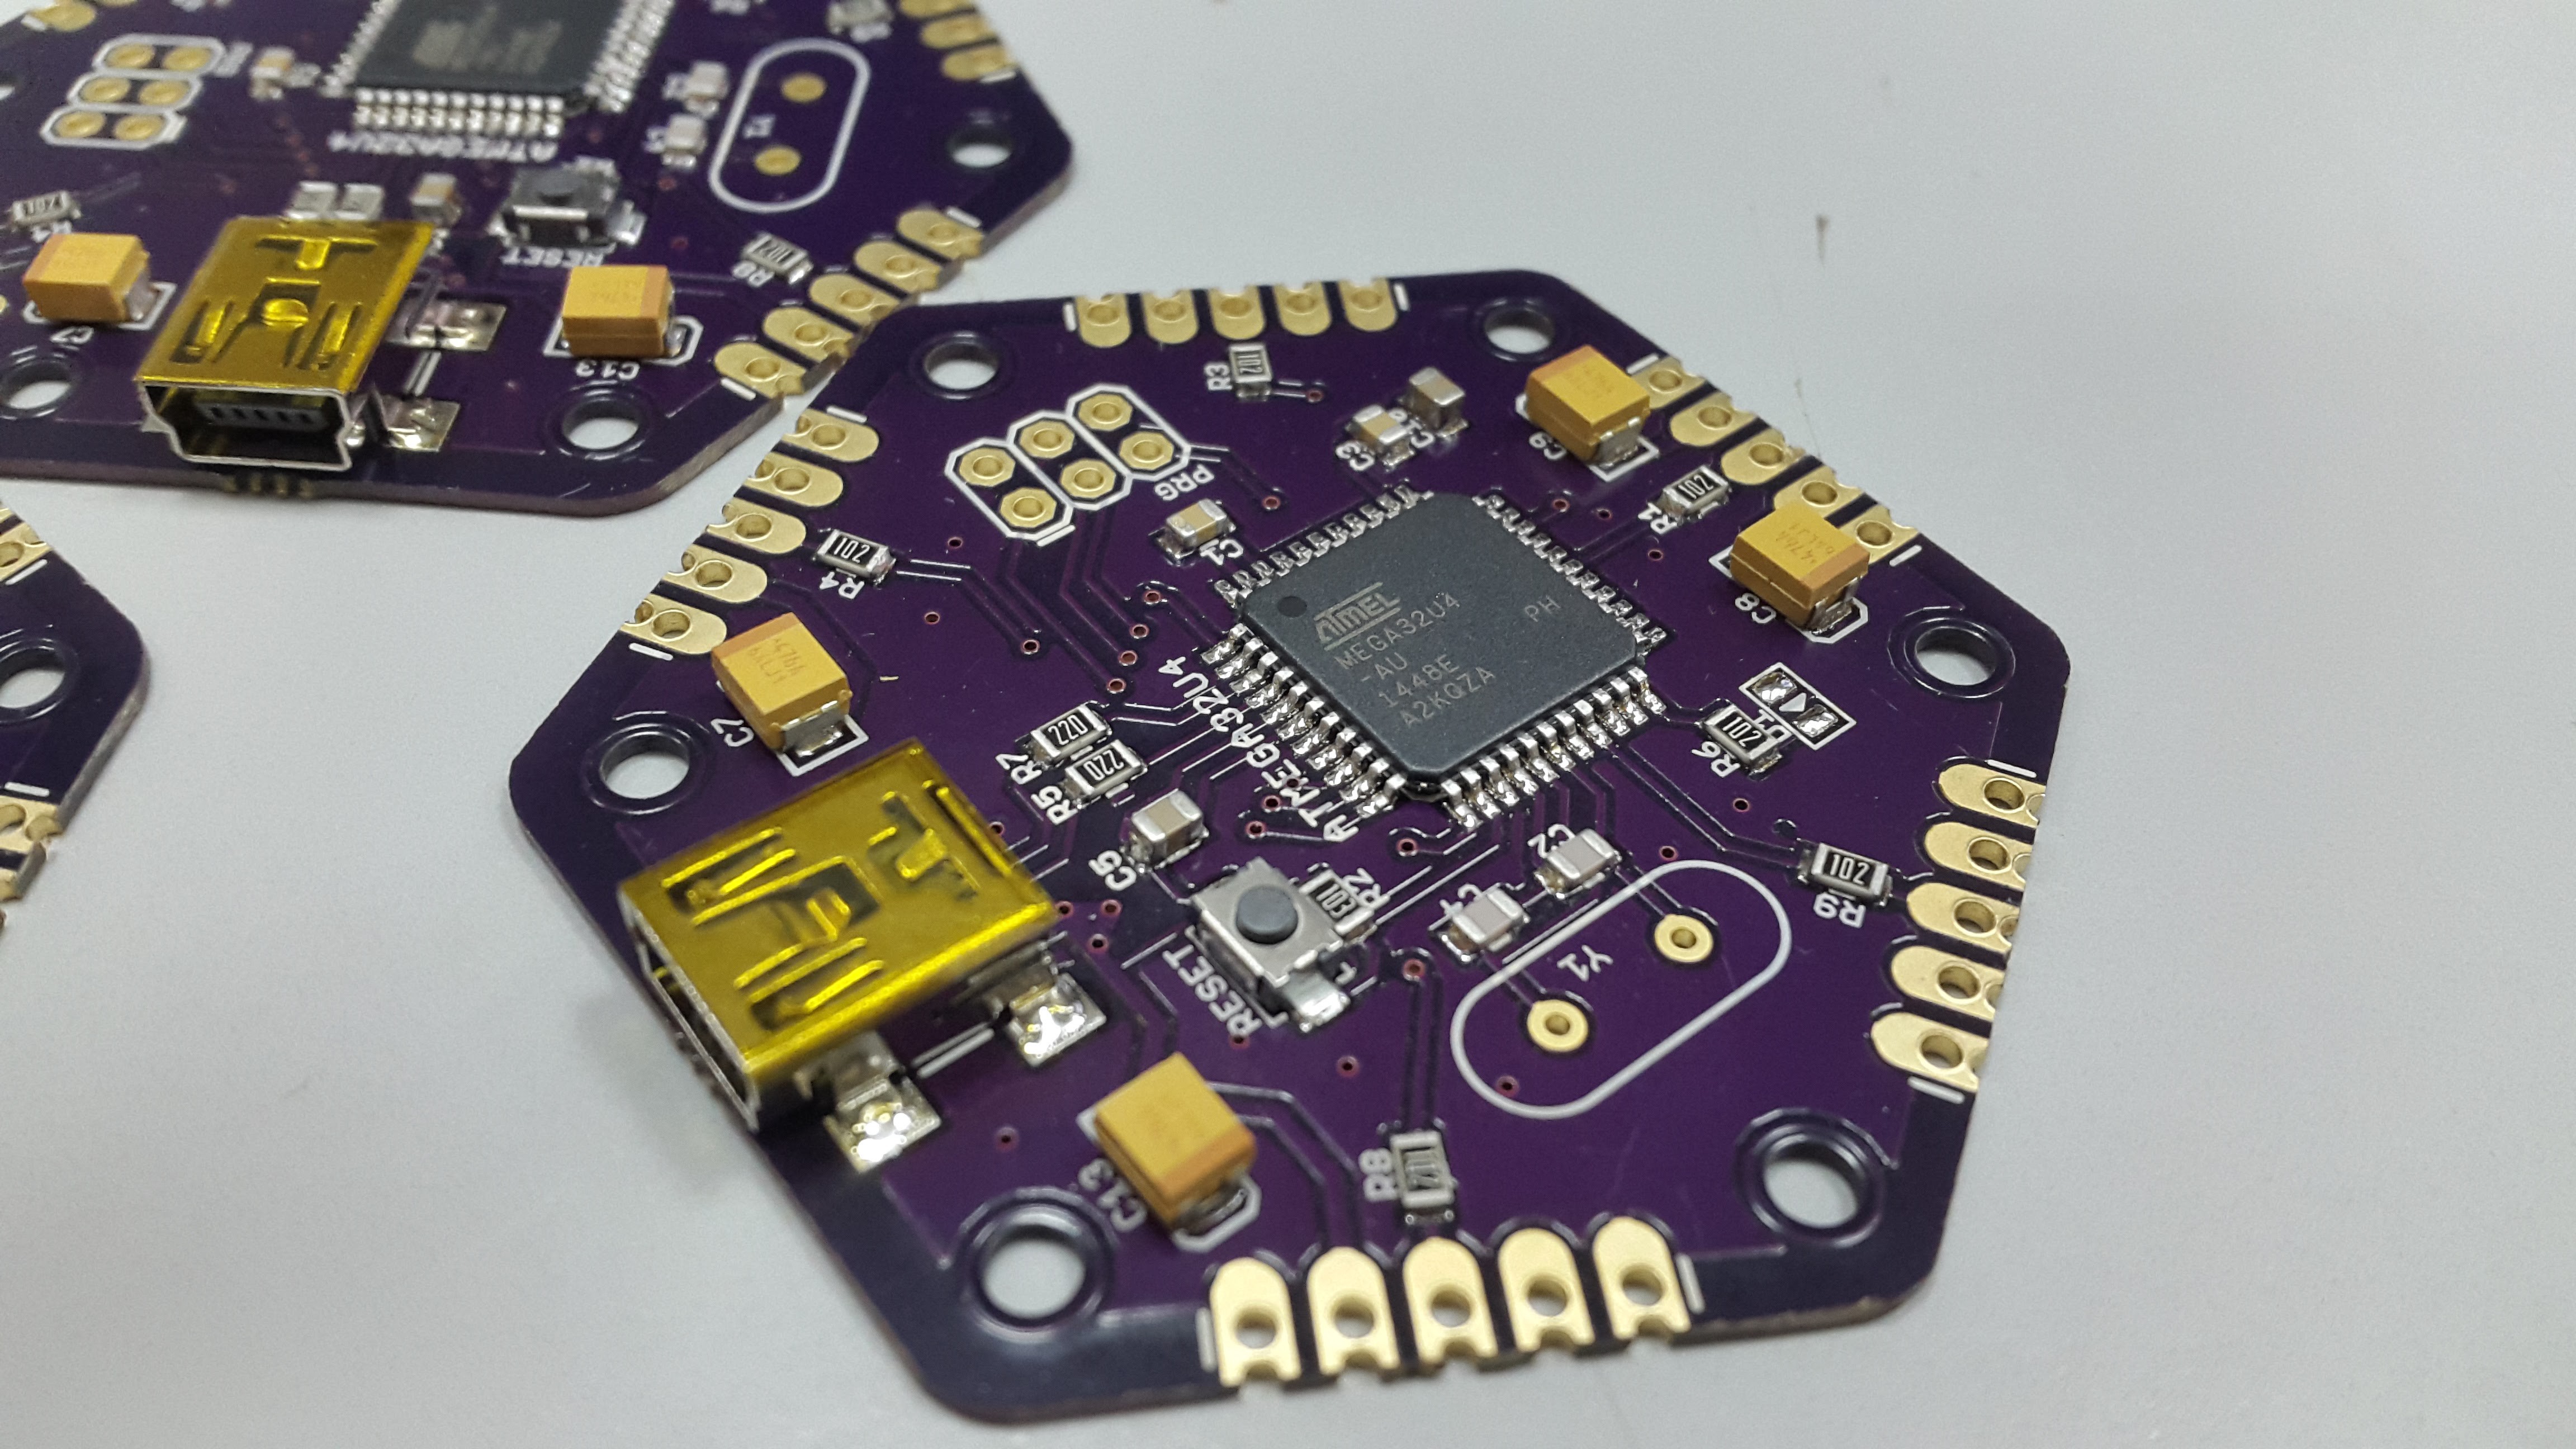
As you can notice I have ordered the pcb`s from OSHPARK (Perfect Purple PCB) , and since discovering how easy it is to assemble boards with a reflow oven, I have added the little bit for a stencil from OSH Stencils.
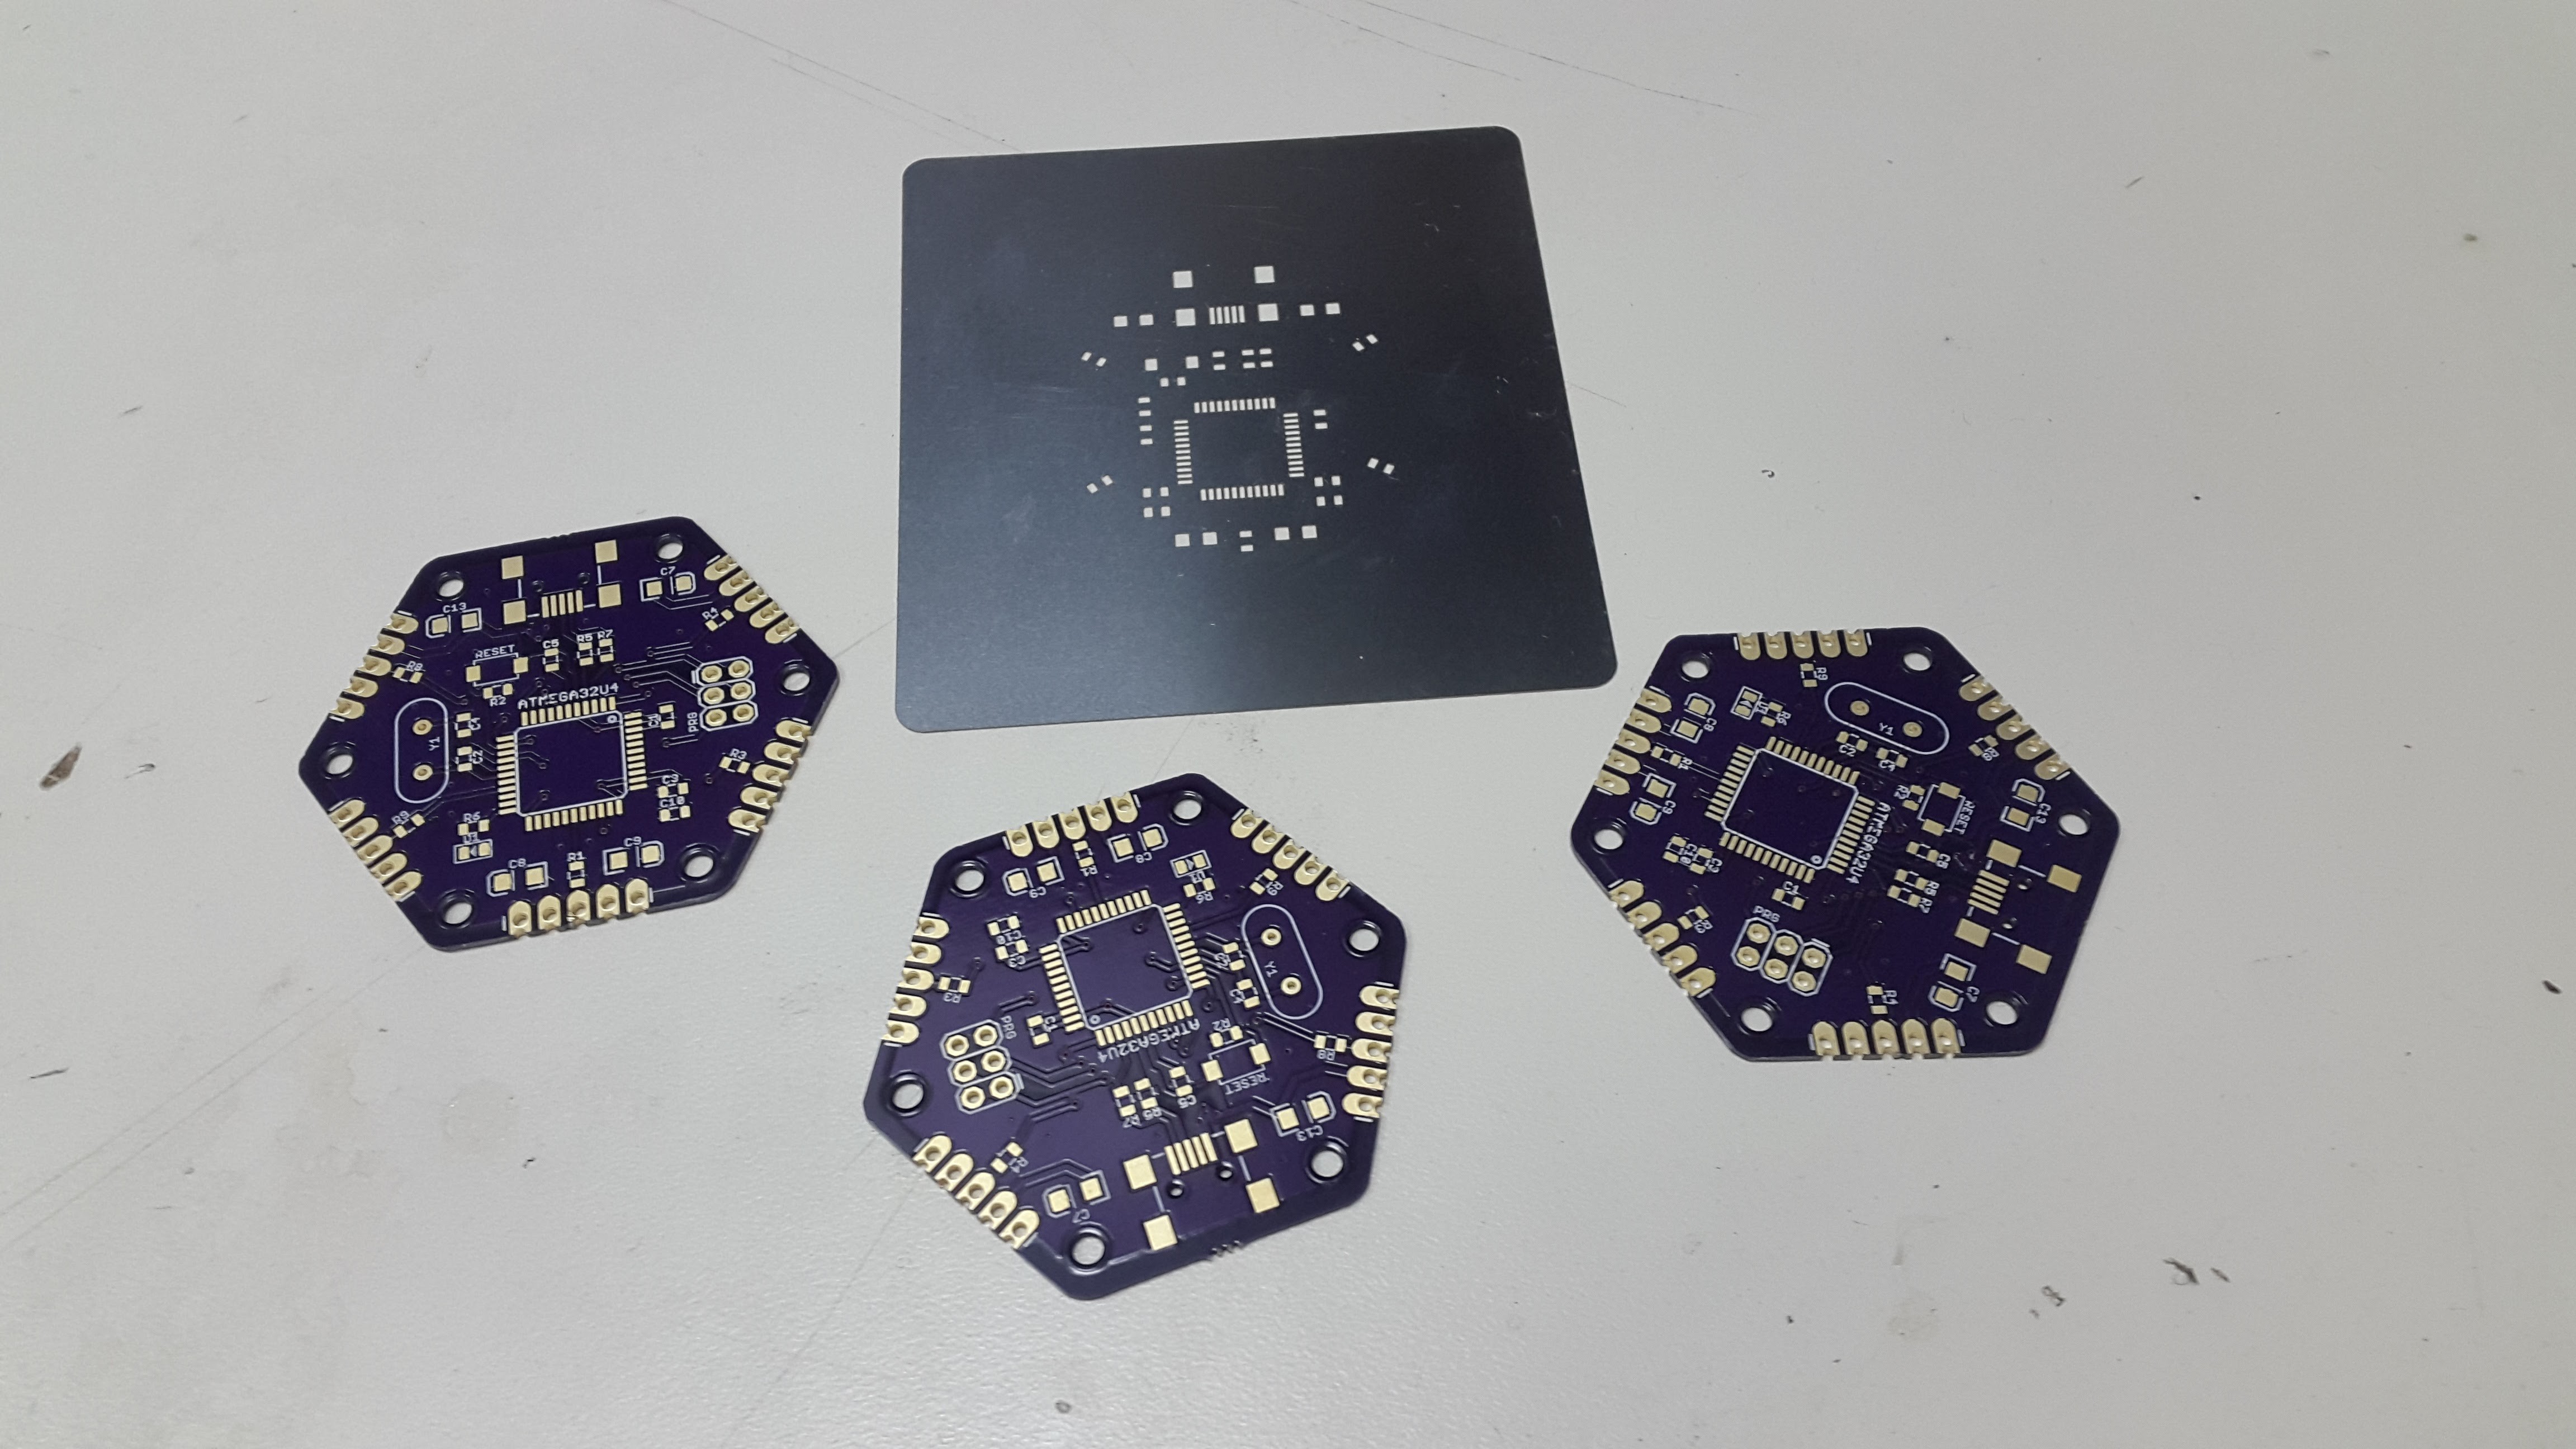
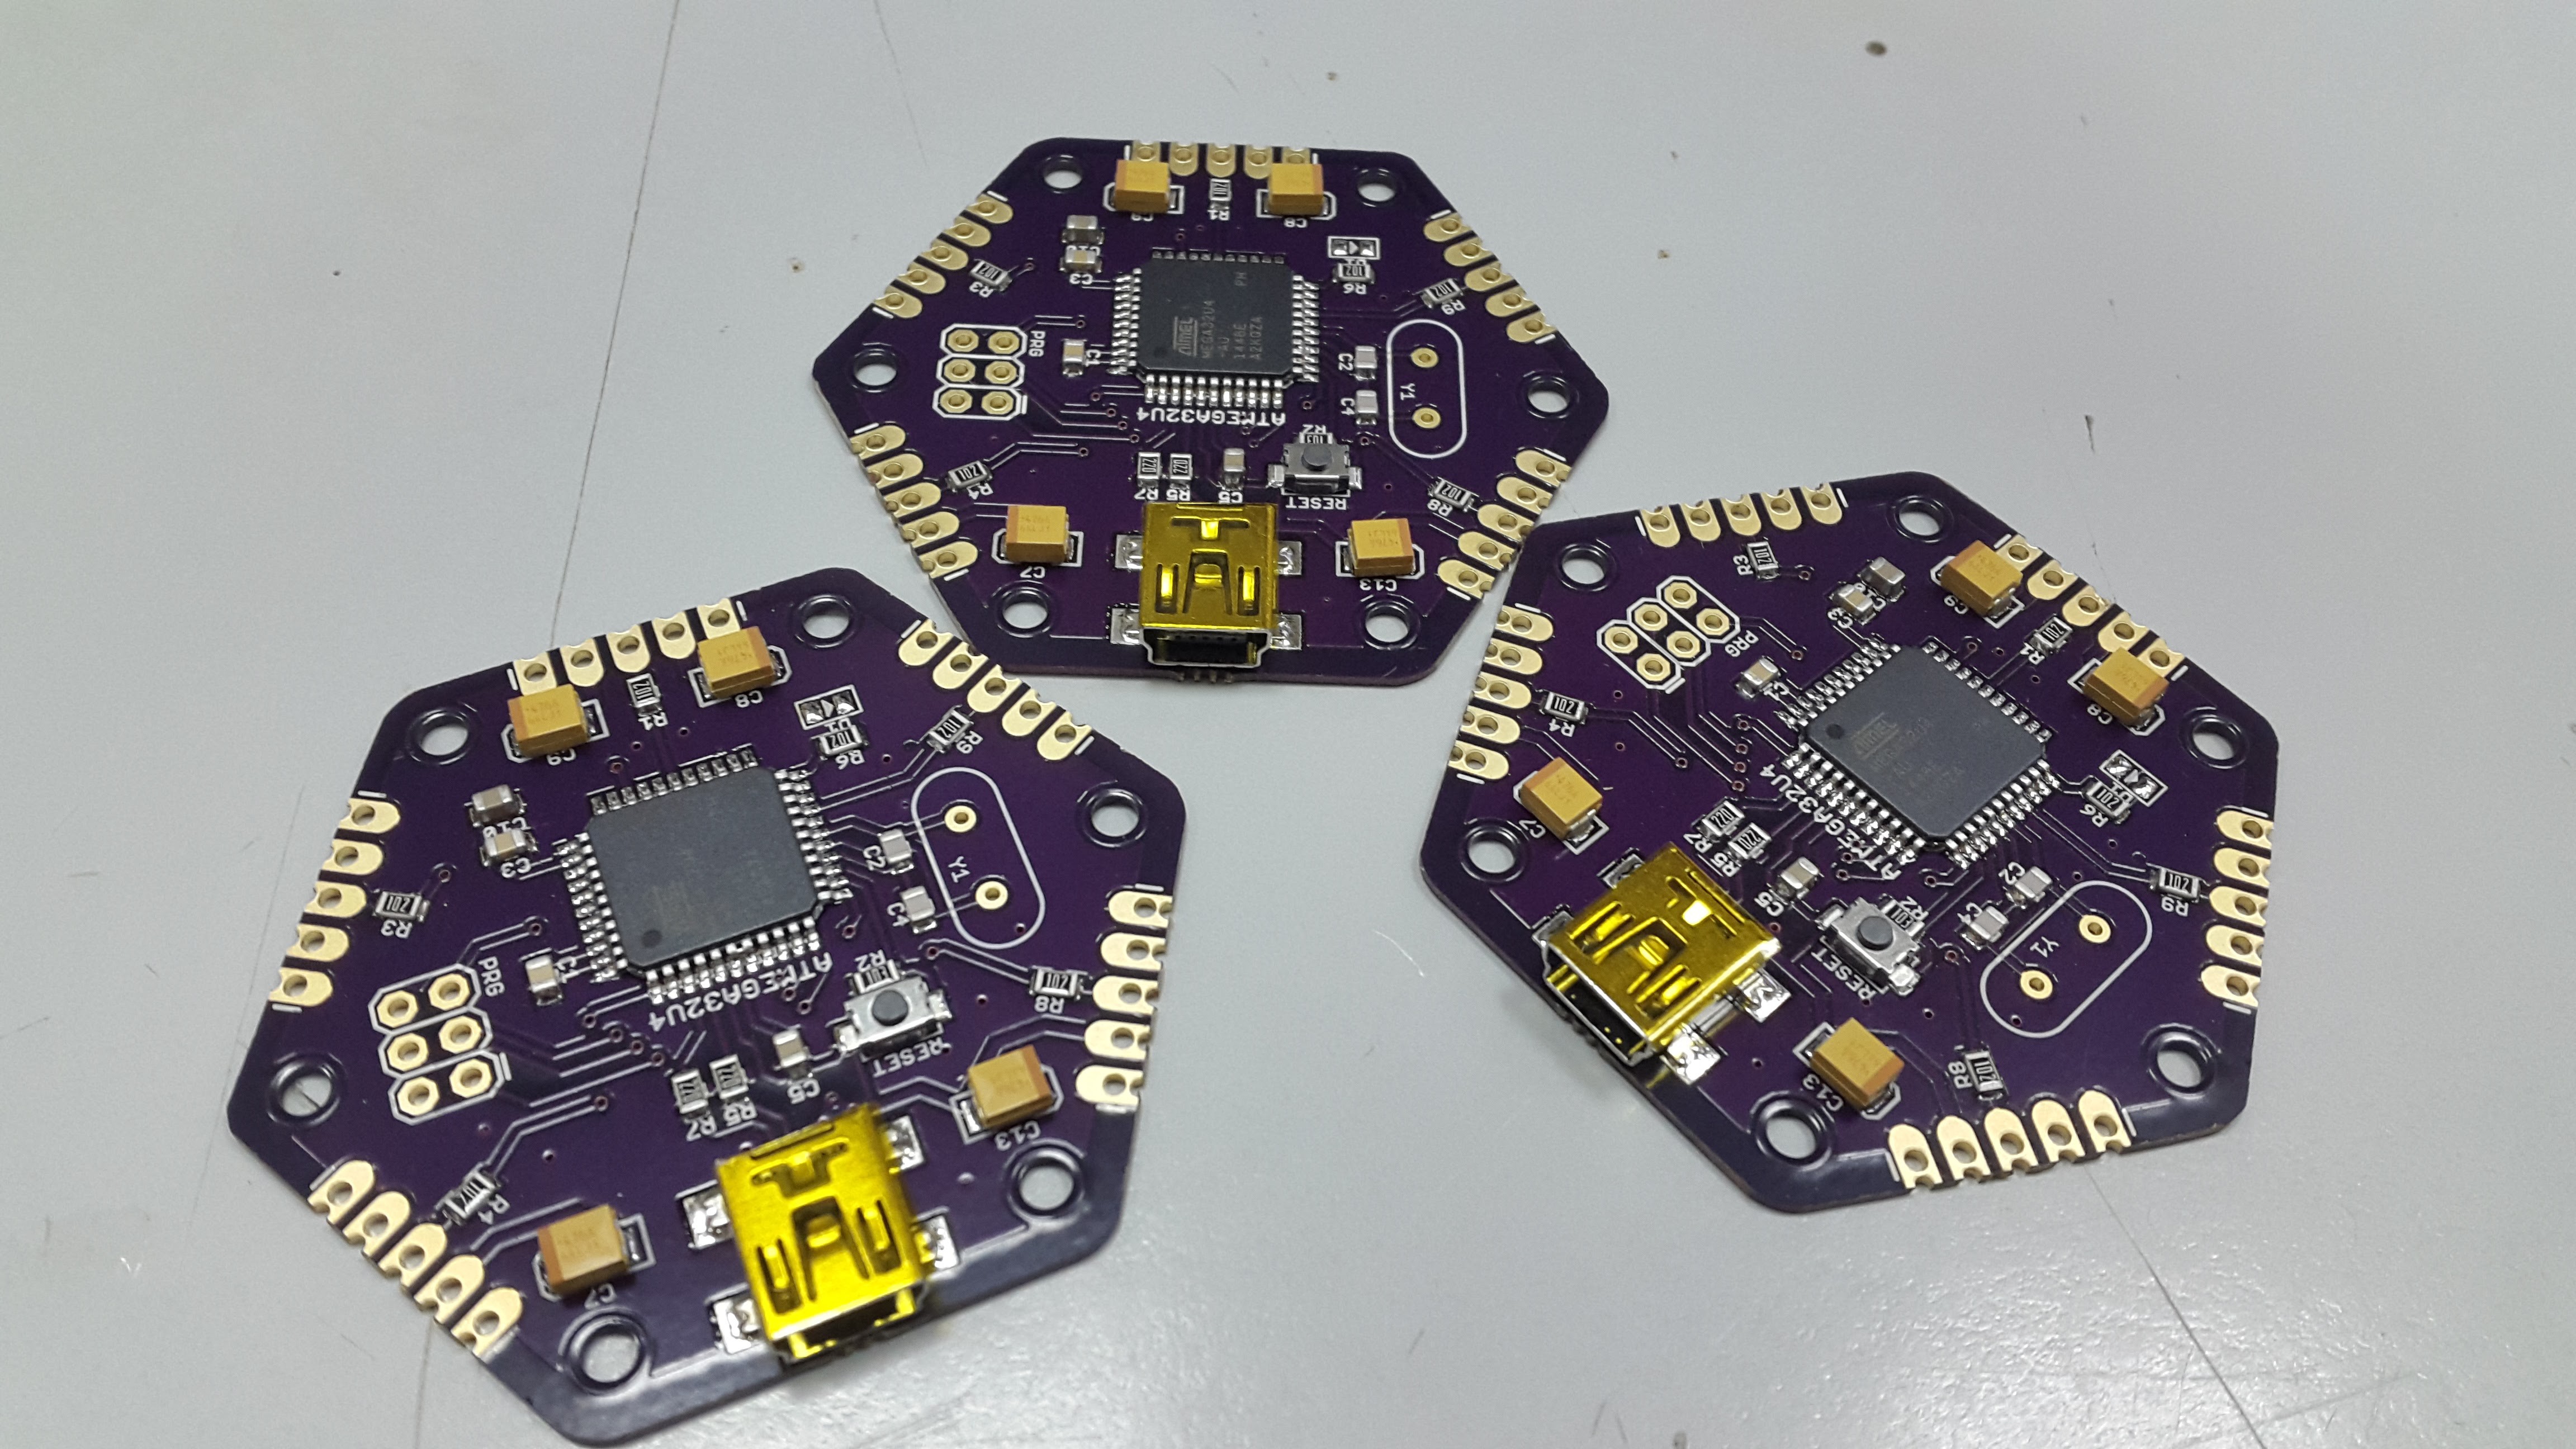
From there it is as easy as baking a sponge cake. Apply some solder through the stencil, populate the components, 7 minutes in a reflow oven, adding the through hole components by hand ( the crystal ).
And wallha, you have 3 beautiful custom made boards to play with.
Since it is an open source project, and i am using one of the most popular MCU`s at the DIY market, The atmega32u4, I have allowed myself to flash the arduino micro bootloader on the mcu. With the help of the avrisp mk2 programmer and a small adapter board by sparkfun - ISP Pogo Adapter. The pogo pins are very helpful when you don`t want to add unnecessary headers which don`t have any use besides a one time flash of the bootloader.
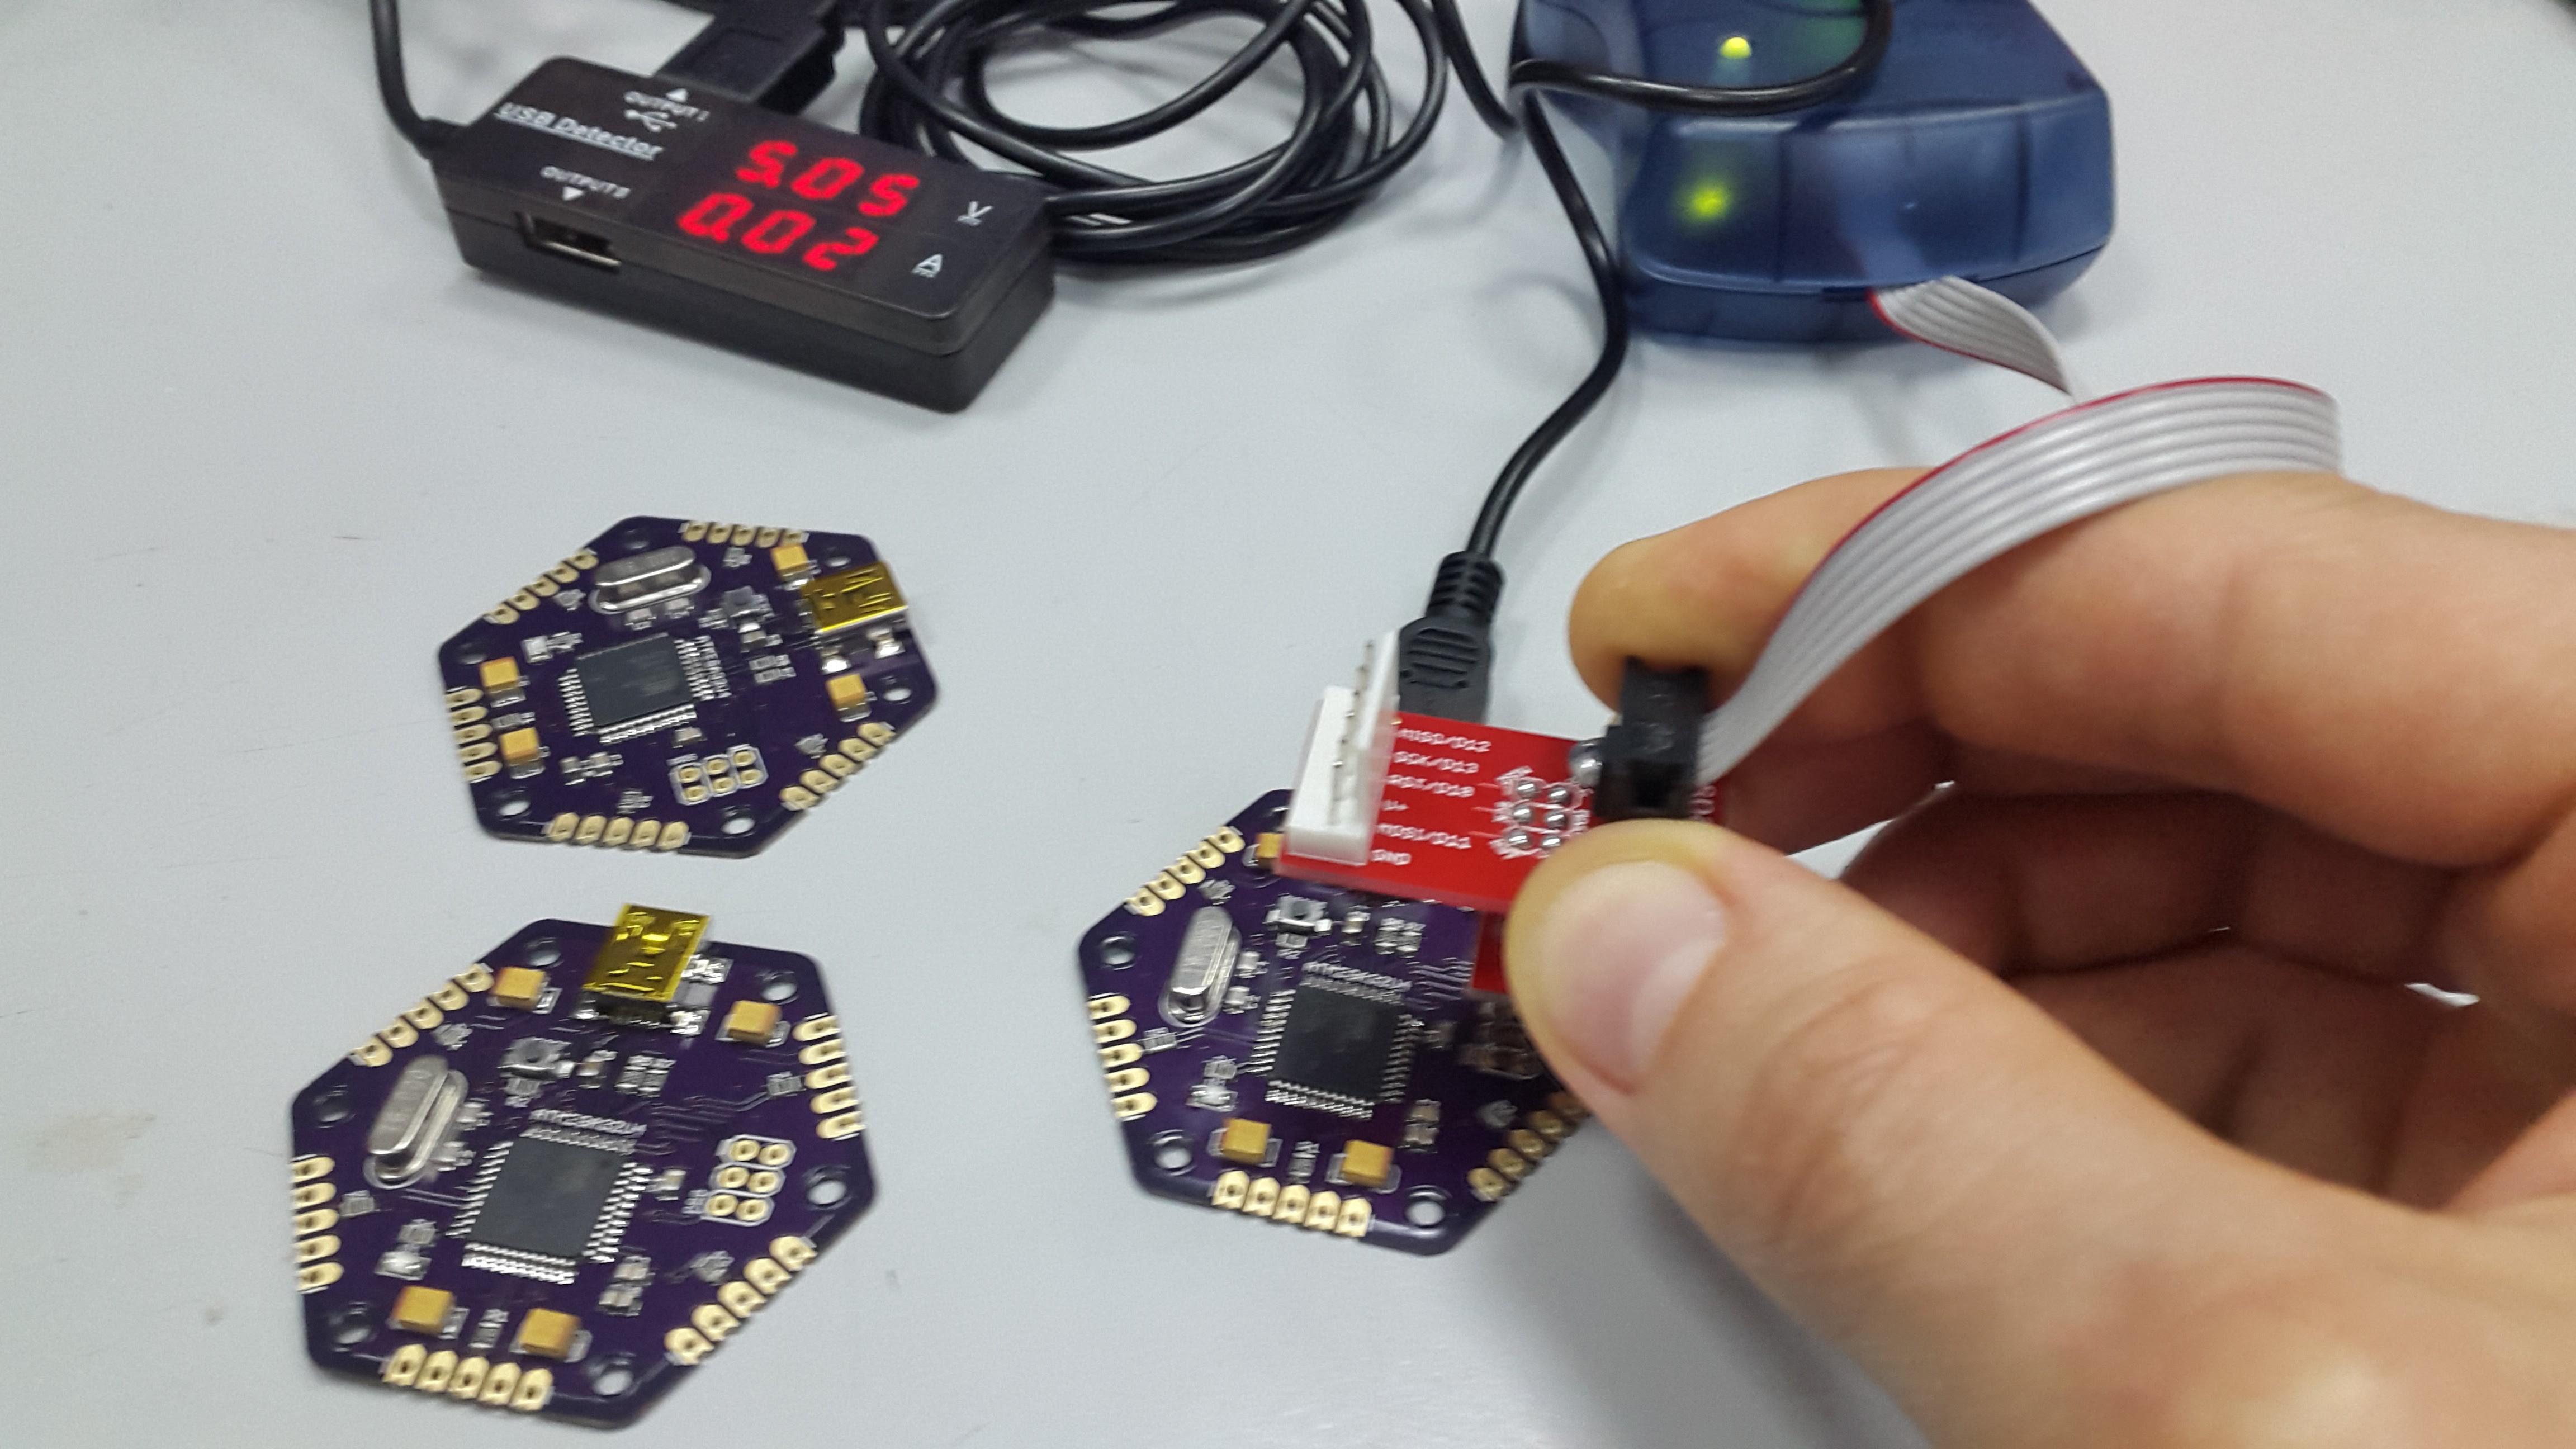
The boards are ready.... Arduino compatible, and programmed as any arduino pro micro compatible board out there, but in your custom favorite shape.
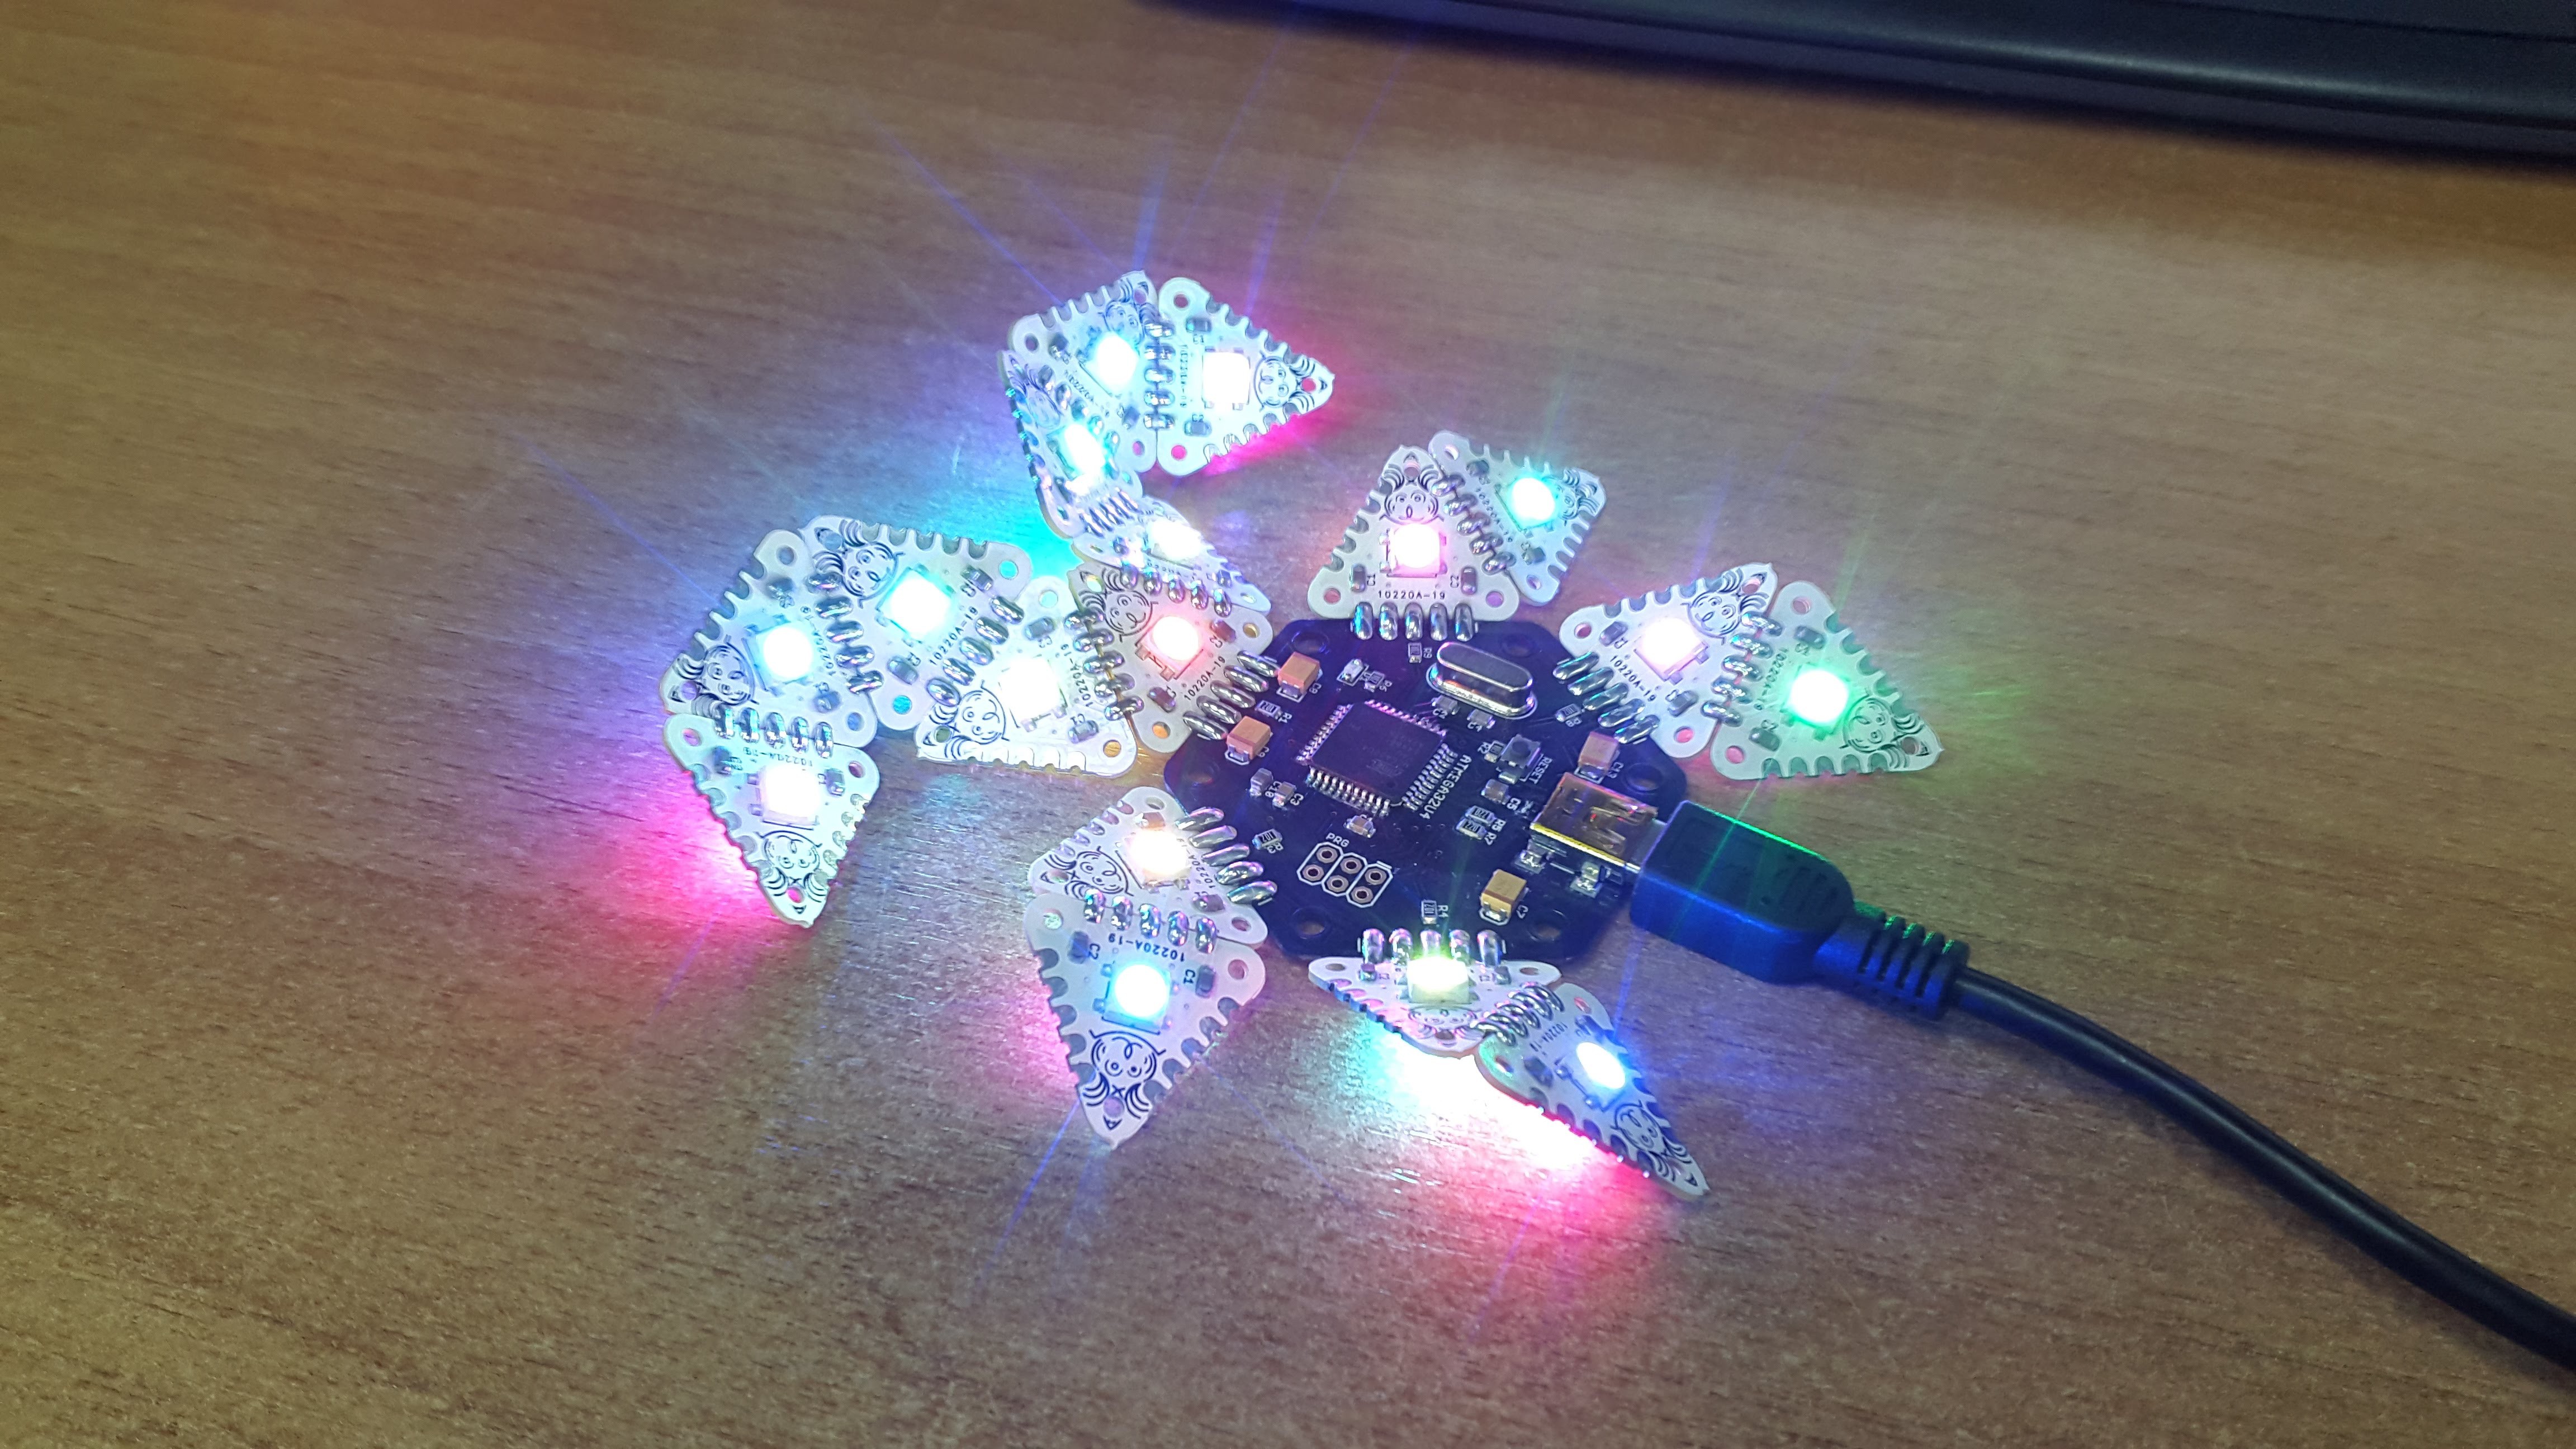
To test the new boards i have modified a bit the sample code by adafruit ( neoPixels - strandtest ) to work with 5 strands with the addition of some comments to the bootloader and fuses used - strandtest.
After soldering some triangle shaped leds you get a highly satisfying, custom made 3d light fixture :)
Discussions
Become a Hackaday.io Member
Create an account to leave a comment. Already have an account? Log In.