Close
0%
0%

Portable Video Microscope

A folding high resolution video microscope for soldering and inspection
Similar projects worth following
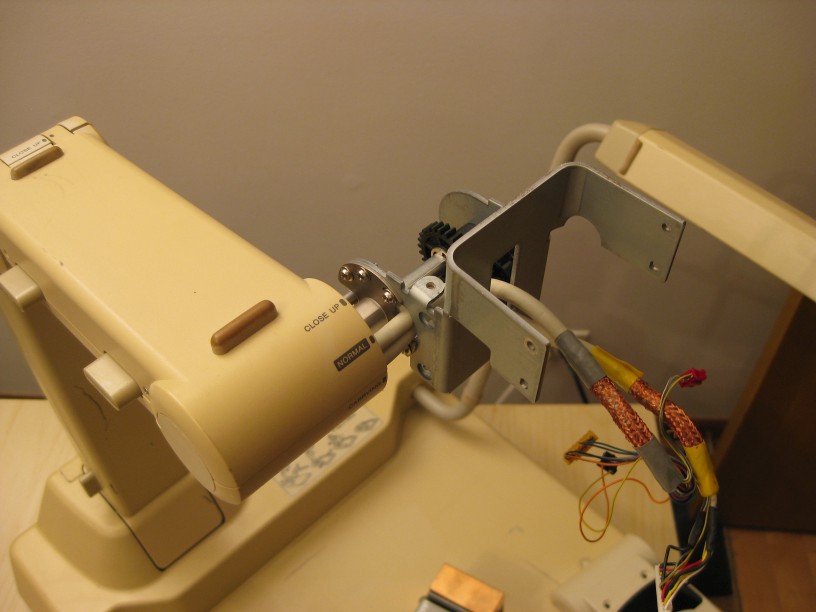
This quick project converts a Canon RE-650 Video Visualizer for use as a video microscope with large working distance for soldering and other electronics work. It also supports a digital camera for use as a photo platform. The final project is collapsible and portable to free up bench space when not in use.

The details and steps taken are in the project logs. For easy access, please use this index:

  • Sample pictures

    Quinn04/16/2017 at 22:05 0 comments

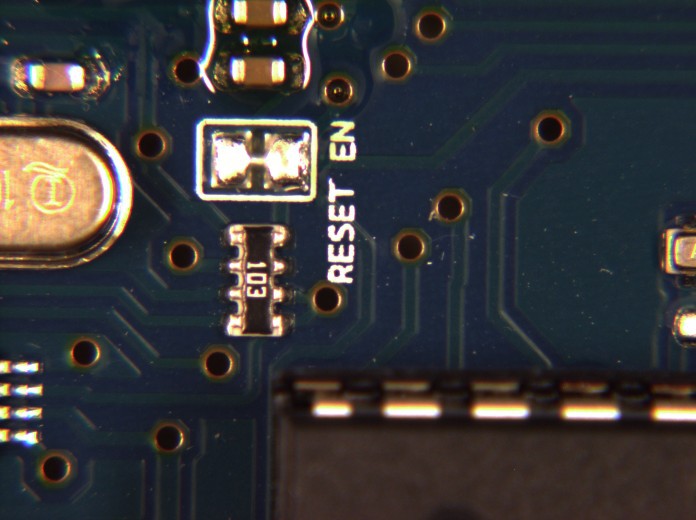
    Here are some sample images from the video microscope. All of these images are one quarter resolution of the camera for web viewing. The setup I was using:

    An Arduino Uno at minimum zoom(18mm):

    At maximum zoom (108mm) with the board directly on the work surface(13" working distance):

    At maximum zoom (108mm) with the board propped up to 5" away from the camera:

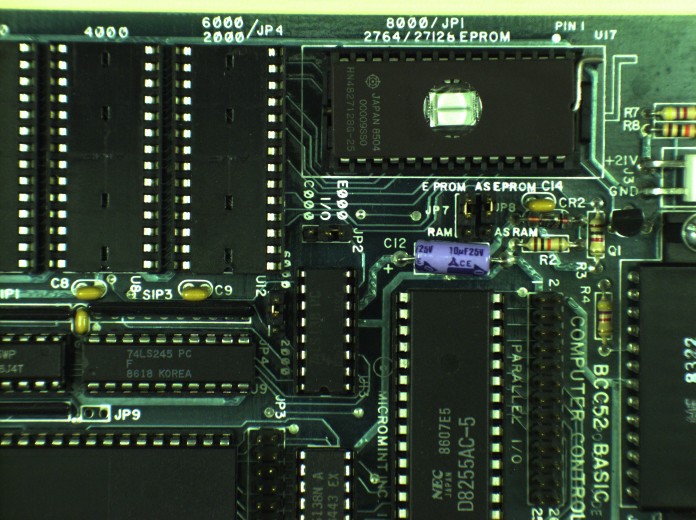
    An older 8052 computer board with UV EPROM minimum zoom:

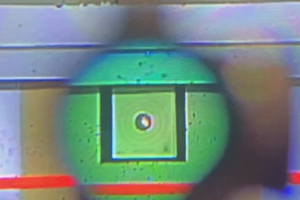
    The EPROM at maximum zoom (The distortion in this image is from the window of the EPROM which is not flat)

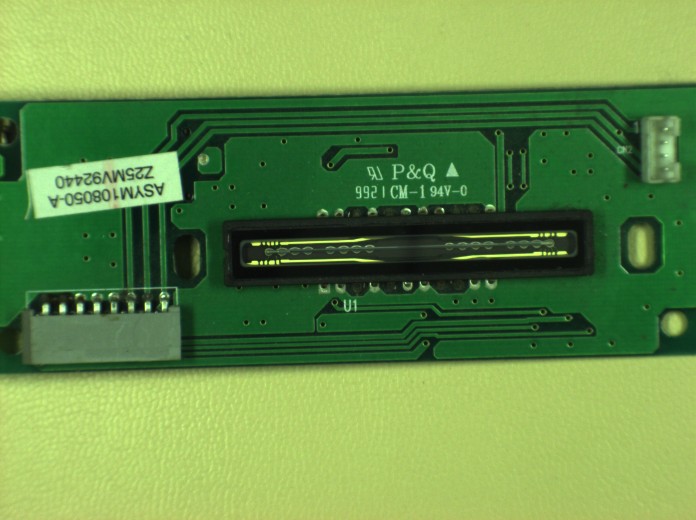
    A line sensor from a scanner:

    A board on the work surface with an SO-8(center), a SOT-23(lower right), 0402 passives and smaller parts at maximum zoom:

    The system has been very usable this is as a soldering microscope, providing plenty of magnification, and a large work area due to the 13" working distance. While not easy to show here, the update rate of the camera depends on the exposure, but easily supports 30fps with no visible delay.

  • Finished system

    Quinn04/16/2017 at 21:34 0 comments

    The final project came together quite well. In use, it is clean and functional, both with a digital still camera and with the microscope camera. It folds down nicely into a compact package for storage to avoid taking up much space on my bench.

    Configured for the digital still camera:

    I used this setup recently for cataloging all of my sewing patterns. This is much quicker than a scanner, and supports objects which are not flat. In this configuration, the arm is in the upper, "normal," position. An 18-35mm lens on the Canon EOS 10D worked great. This is not using a macro adaptor. At 18mm it can cover the entire work surface, and at 35, about half of a page. A longer lens would enable more zoom if desired. In this setup, I have the camera shutter release wired into the front panel buttons, so one button is the focus, and another the shutter release. This made for very quick work, but also aided stability to not touch the camera on the end of the arm when shooting.

    Configured for the video microscope:

    In this configuration, the arm is in the lower, "close up," position. Using a 20" 4:3 monitor, this works out to an effective magnification of 3.6x to 20x, which I find is a perfect for soldering down to 0402 components. For higher magnification, I can prop the item up to be closer to the camera, for a maximum effective magnification of 75x. Having a board propped up that close is not really practical for soldering, but works fine for inspection of joints.

    Here is the final table from before:

    Working DistanceFocal lengthField of viewEffective Magnification
    13 inches18mm4.4 x 3.3 inches3.6x
    13 inches108mm0.78 x 0.59 inches20x
    4.5 inches18mm1.24 x 0.91 inches13x
    4.5 inches108mm0.20 x 0.16 inches75x

    I didn't want to do it initially because I wanted to finish the project, but it occurs to me that I could have cut new stops into the top two joints in order to have a lower camera mounting position which would have made higher magnification more convenient. I might do this in the future if I find that I want higher magnification.

    Configured for storage:

    I this position, it is quite compact. A pop out handle on the front makes for easy carrying, though the whole unit is pretty heavy with it's thick metal frame. The lens and camera can be left on the mount when folded up, though I took it off so it doesn't get bumped into anything.

  • ESD mat and grounding

    Quinn04/07/2017 at 03:31 0 comments

    As I am going to often use this for soldering work, the plastic platform is not an ESD safe working surface. Using some scrap rubber ESD mat, I custom cut and grounded a mat for the platform.

    Cutting the mat is quite simple with utility scissors. I added one of the puncture type ground snaps in a far corner where it will not get in the way

    Note that when I folded over the tabs on the back, I folded them outwards. I've seen installations folded inwards, and while it may make the protective cover stay on better, doing it that way tends to rip out of the mat over time. Folding outwards provides better support.

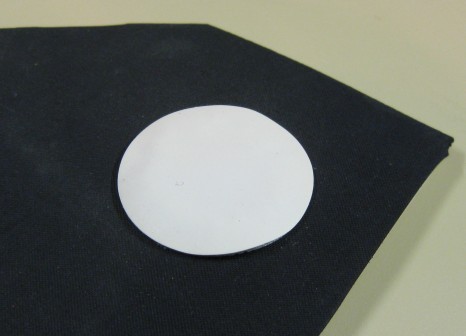
    It covers with a rubber "sticker"

    The grounding cable snapped on, and in place, you can see how it is out of the way. The arm just misses it.

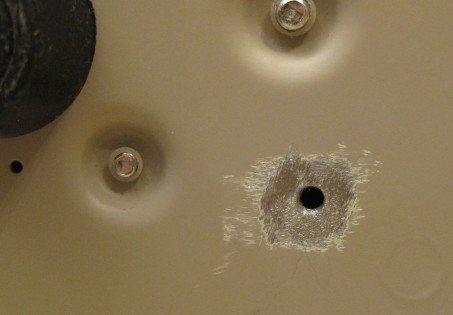
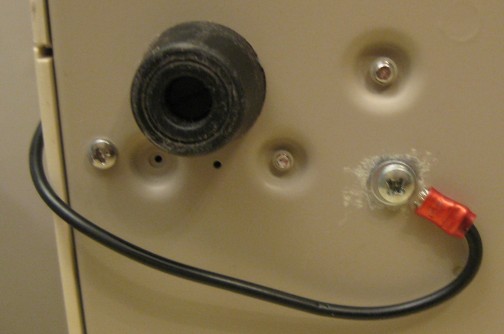
    To tie off the ground point, I drilled and tapped a hole on the bottom, and ran the wire right around the side.

    Before doing this, I did grind off the paint to make good contact, and I ensured this was well connected to the earth ground. The two nearby screws from the inside are the internal ground connection, the top one connected directly to the AC input ground.

  • Camera attachment

    Quinn04/07/2017 at 01:52 0 comments

    The metal bracket at the top of the arm was not very conducive for attaching the cameras I wanted, but it was a simple modification to make it work. The original bracket:

    To modify, the left tab I bent around backwards, and the right tab I bent straight. You can see this in pictures below.

    The pivot of the top arm has a friction gear system to resist the camera suddenly dropping if the release lever is pressed.(all the joints have these) This is great, but I was concerned about the cables getting caught in it. I made a protective shield with some packaging plastic, cut to fit, and folded. The shield:

    Installed:

    The original cable(in beige) I wanted to make available in case I want to work on the project more and motorize the focus and zoom, but I didn't want it hanging idol in the mean time. I bundled it carefully in the pivot area so it wouldn't get trapped or pinched:

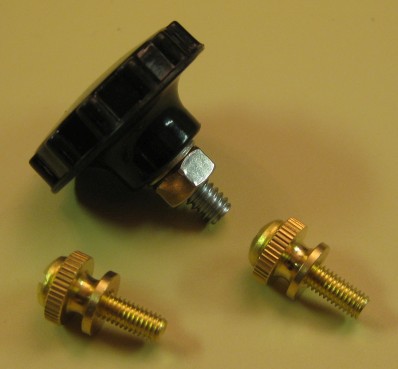
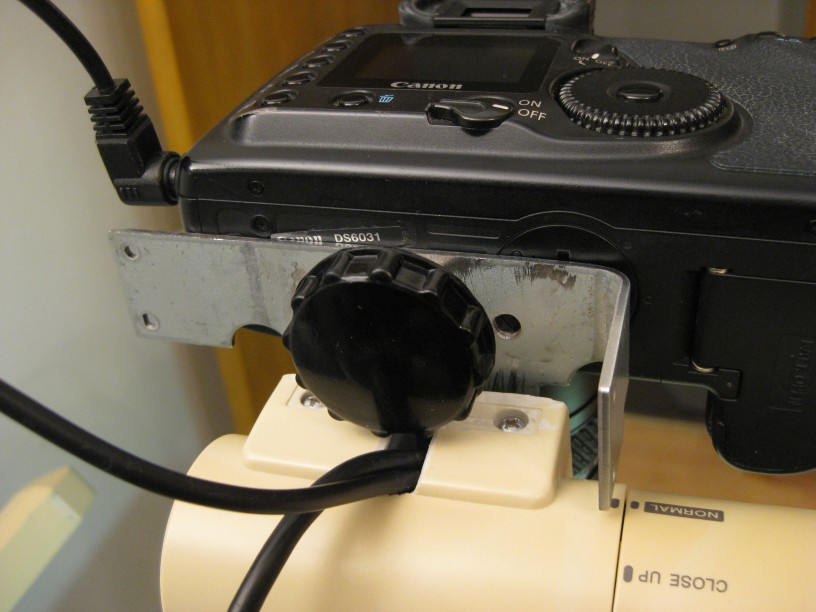
    To mount the different cameras, I picked up some thumb screws of appropriate thread to match the lens mount. For the still camera, a standard 1/2-20 knob bolt. For the video microscope lens, I couldn't find a knob bolt for 10-32, but could find some nice knurled nuts. Combined with a couple screws tightened in, it works great.

    With matching holes drilled into the bracket, they mount each camera nicely. Here's each camera installed(after installing the rest of the plastic shell on the pivot):

    Those pictures also clearly show how I bend the mounting frame.

  • New wiring and installation

    Quinn04/07/2017 at 01:38 0 comments

    One of my goals was to make the result usable. Part of this was to not have cables hanging all of the place, but instead wired nicely internally. My main use cases would be with the video microscope, which required just a USB cable to the camera, and for a still camera, which required just a remote shutter release. Easy enough, I would install a USB extension cable into the arm and terminating at the back, and I would install a shutter release cable and wire it to two of the unused buttons on the front panel.

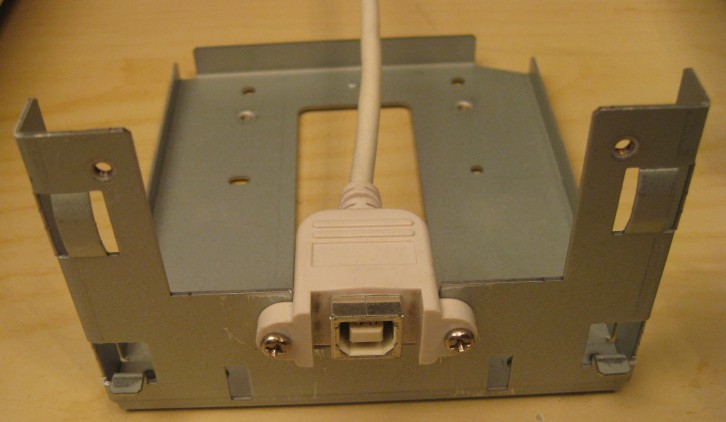
    For the USB extension, the camera has a USB-B socket, so I just neededa cable with male USB-B on one end, and a panel mount female USB-B on the other. I had one that was only 1ft long. I ordered a 3ft one, thinking it was long enough:

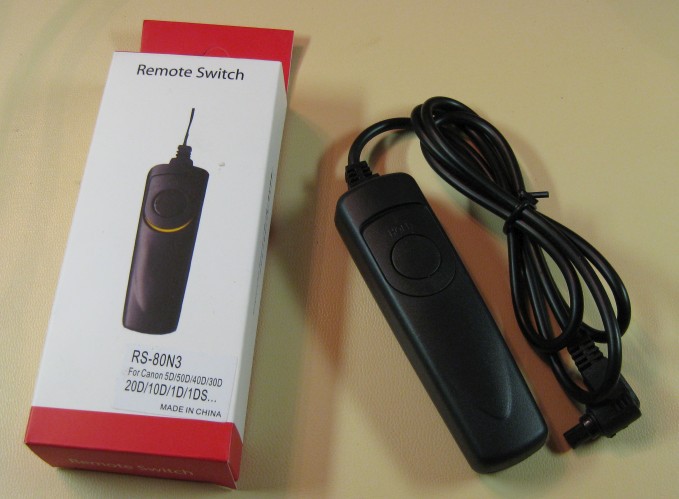
    For the shutter release, I am most likely to use my Canon EOS 10D, which uses the N3 connector. The easiest way to get this on a cable was to purchase a generic shutter release, and chop the cable off of it:

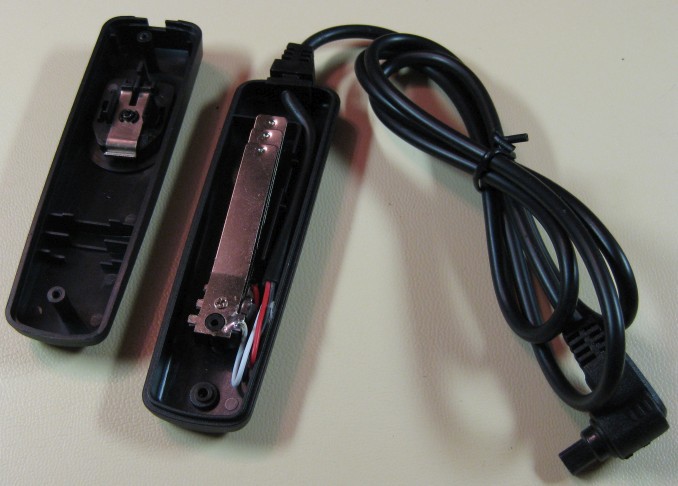
    The inside of the shutter release was amazingly basic, but not a surprise for $8:

    To add these, I found it easiest to remove the arm mechanism.

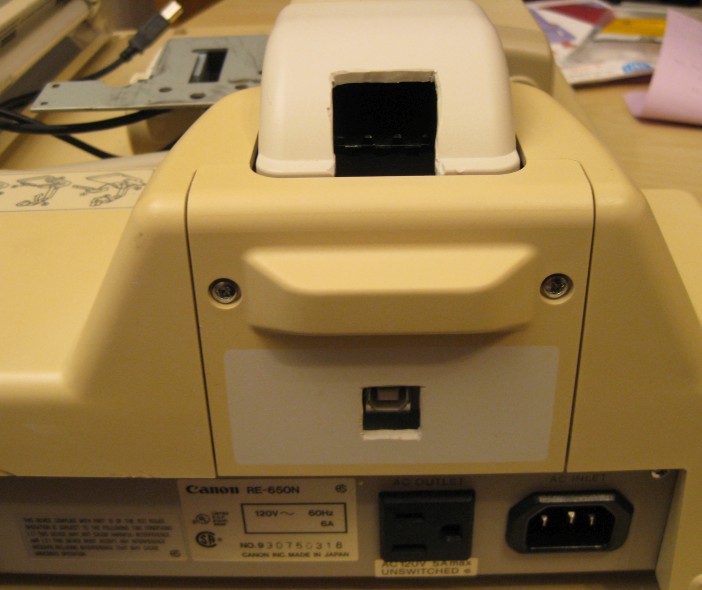
    I decided the easiest place to mount the USB socket was on the back side, where the arm comes into the base. This was mostly because it didn't require moving any of the other circuits, or difficult cutting in surprisingly thick metal. This turned out not to be ideal because I later found that the plastic shell for the arm would run into it, and had to cut out a piece to make it fit. I also found that 3ft was insufficient, but adding the extra 1ft piece I already had was perfect. If I had to do it again, I would have ordered a 5ft cable, and mounted it even lower. Mounting it lower would have been much harder to make the cuts, and required more disassembly, but would have looked better in the end.

    With the arm plastic in place, cut out, and arm up:

    With all the plastic shell in place, this is how it looks with the arm folded down. I don't like the hole I had to cut out in the arm and would do it differently if I did this project again. When the arm is up, that hole is not visible.

    The shutter release was much easier, as I simply cut the cable off, cut some switch traces on the front panel board, and wired it into them. One button is the focus(half press), and the other the shutter(full press).

    Both of those cables, along with one of the original cables were wired up the arm, and the plastic shell re-installed.

  • Fixing the broken light arm

    Quinn03/28/2017 at 20:30 0 comments

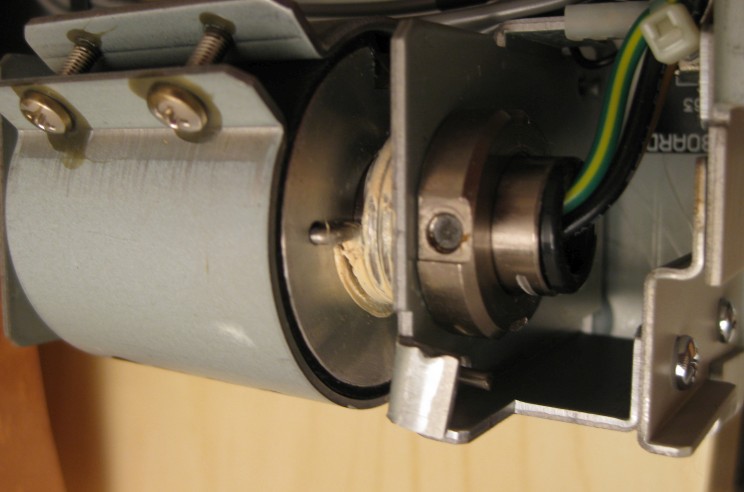
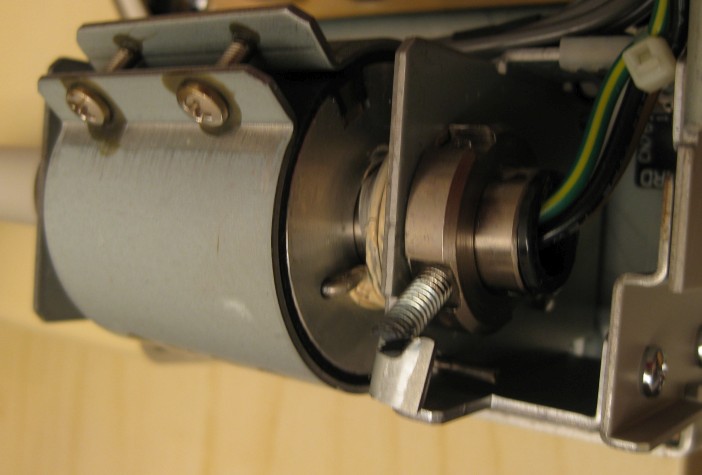
    The right side light arm has a stop which was broken off. The result is that the light tends to just fall flat. It was pretty apparent what had happened once I opened the lid.

    The left, working side:

    The right, broken side:

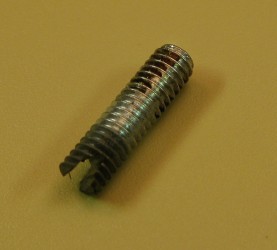
    The broken off stop was screwed into a tapped hole. It was a pain, but with a small screw extractor, came out. The threads were M4, so I had fewer options. I substituted a screw that I had lying around which worked, but the head hit into the plastic top cover when it was installed.

    Some work with a dremel, and the head was removed and replaced with a slot for tightening.

    This fixed it perfectly. I didn't bother trying to bend the metal tab back to straight as it didn't seem to have an visible difference.


  • Inside the RE-650

    Quinn03/28/2017 at 20:22 0 comments

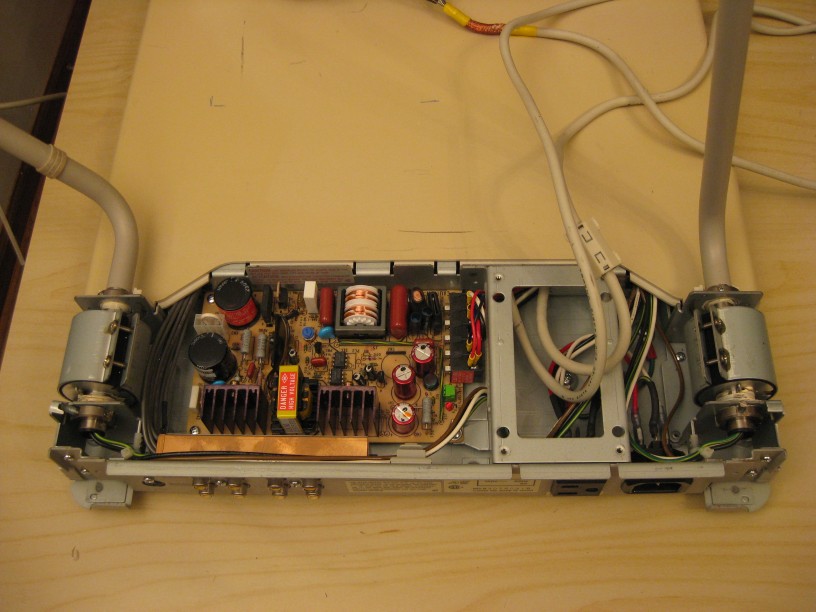
    To sort out what modifications were needed to this, I did some exploration of the RE-650 Video Visualizer. Here are some pictures:

    Camera removed:

    With the camera removed, we are left with a sturdy metal bracket I should be able to modify, and the original wiring that snakes through the arm. I'll likely replace the wiring with my own.

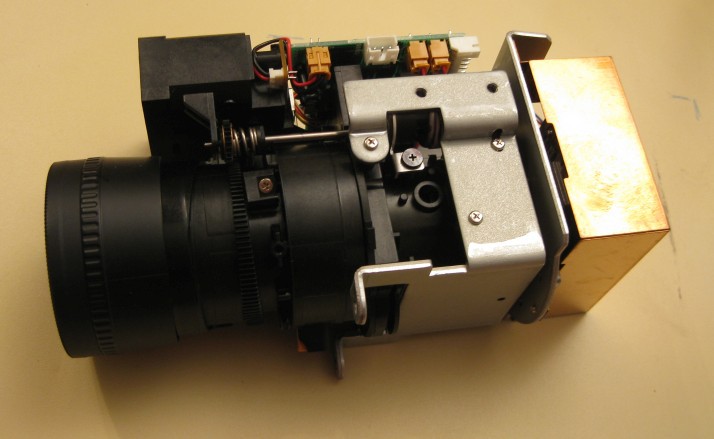
    Original camera:

    The original camera has a zoom lens, motorized control of both the zoom and focus, and a reflective autofocus system. While it is unlabeled, the lens is not a long enough focal length to work as a microscope, so I cannot use this simply by changing the sensor. It has a removable macro lens attachment which fits some of the other lenses I have, which is an option to consider. I might try to re-use the motors and motor controls on the lens I chose previously, but we'll see.

    Under the base:

    There is a surprising amount of electronics under here, which I think mostly reflects it's age. I couldn't find an age, but I expect it to be 1990's vintage.

    At far left is a modular 9VDC output power supply.

    Lower center is the driver for the two florescent lamps. This takes in 9VDC and only has a 2 pin connection to the main board.

    The main board in the center appears to do most of the camera management to take the image sensor output and create the NTSC video output.

    Upper center is a mux board, which switches between the camera video, and the two external video inputs. It also has a microphone amplifier, and muxes it with the two external audio inputs.

    The two boards on the right are the user panel I/O.(the top cover is flipped over to the right, so you are seeing the bottom side with the slide out handle) These are nicely independent circuits, with built on pull ups for the buttons, a divider circuit for the potentiometer, and a open collector driver chip to drive the LEDs. The connections are parallel, one line for each button, and each LED.(except power, which is driven from the 5V rail without control.

    I don't think I'll do much circuitry modifications except for tying into the I/O boards. I will probably just leave the rest of the circuits as-is, even though much of it I won't be using.

  • Camera and Lens testing

    Quinn03/27/2017 at 21:57 0 comments

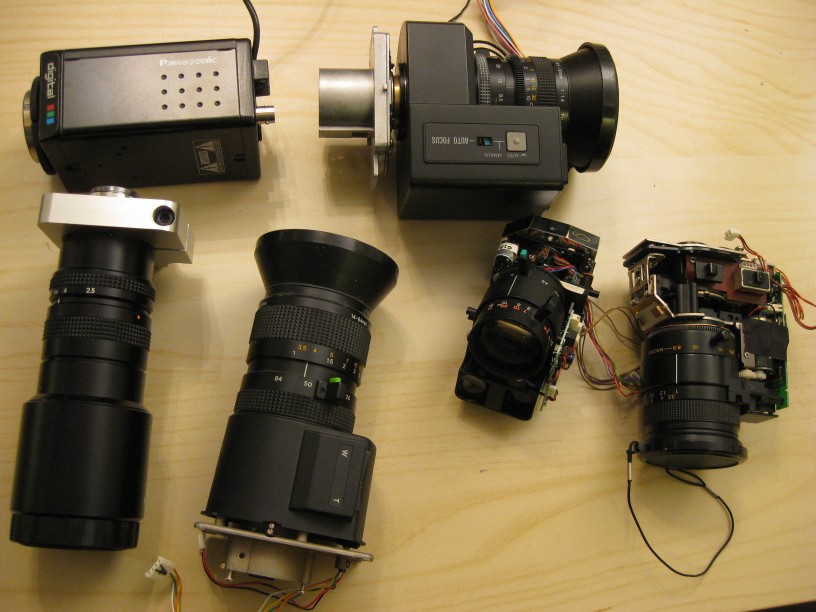
    Digging out the various camera's and lenses I had, I set about testing different combinations. I was testing for zoom range and the minimum and maximum focus distance. Some of the options would require making a custom mount to connect the camera to the lens, and others would require purchasing adapters for the macro lens to be attached.

    Here are some of the ones I tested:

    The lens that I ended up choosing was the 18-108mm F/2.5 lens with C-mount shown on the left. This was easy to mount to both the frame and the camera, and had the widest zoom range, as well as an easily adjustable iris. It's main downside is that it did not have a focus motor built in, so if I want to have that, I'll have to add this myself.

    I tried several camera, including an older webcam, and a laptop camera, but ended up with an older C-mount USB camera I had gotten awhile back for astrophotography use. It was just easiest to use and assemble, and it removable so I can still use it at the telescope. It is a 1400x1040 resolution camera, which works great with a 1080 monitor at 1:1 resolution.

    Using a HD web cam would have worked just as well, just taken a little more work in mounting. It's smaller sensor size would have worked great with some of the electric zoom/focus lenses. The smaller sensor would make for a higher magnification, combined with the shorter focal length lenses, such as the 14-84mm. This would have resulted in similar magnification and provided motor control. I might reconsider this in the future.

    This combination supported a focus distance range (in otherwords the working distance) of 4.5 inches to 13 inches. The 13 is perfect because it is the height that comes from mounting the camera low on the arm in the lower position. And I can use spacers to move an object closer to the camera for higher magnification use. It's also possible I could modify the arm to adjust to an even lower position as well.

    Here is how the magnification works out at the extremes, assuming the image is being displayed on a monitor with 12" vertical height. Values between these are continuously adjustable via zoom or working distance.

    Working DistanceFocal lengthField of viewEffective Magnification
    13 inches18mm4.4 x 3.3 inches3.6x
    13 inches108mm0.78 x 0.59 inches20x
    4.5 inches18mm1.24 x 0.91 inches13x
    4.5 inches108mm0.20 x 0.16 inches75x

    I expect to mostly be using it with the camera at the full 13 inch height. This results in a zoom of 3.6 to 20, which is excellent for soldering.

  • Video Visualizer

    Quinn03/27/2017 at 04:25 0 comments

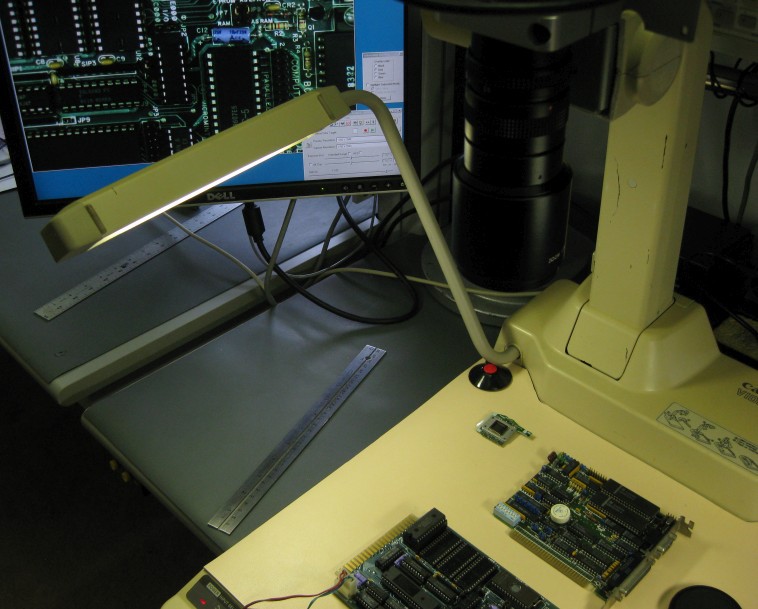
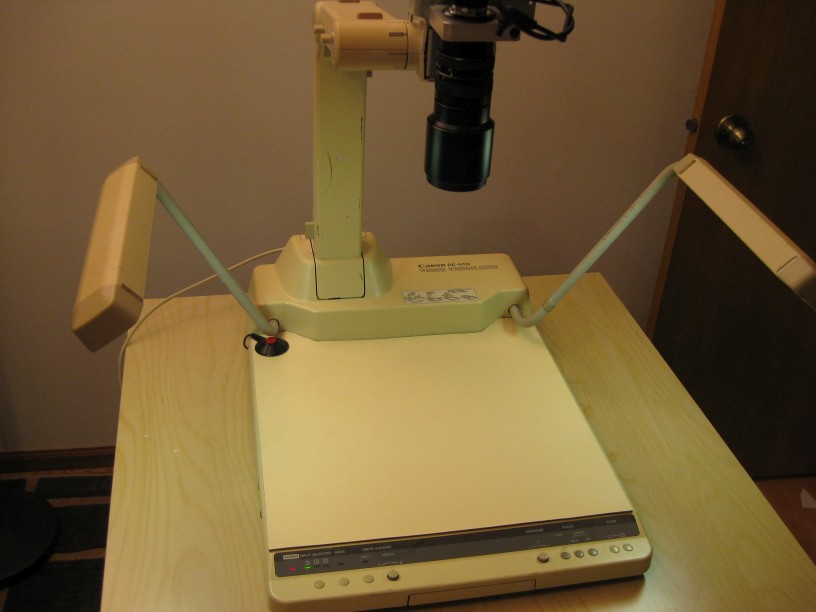
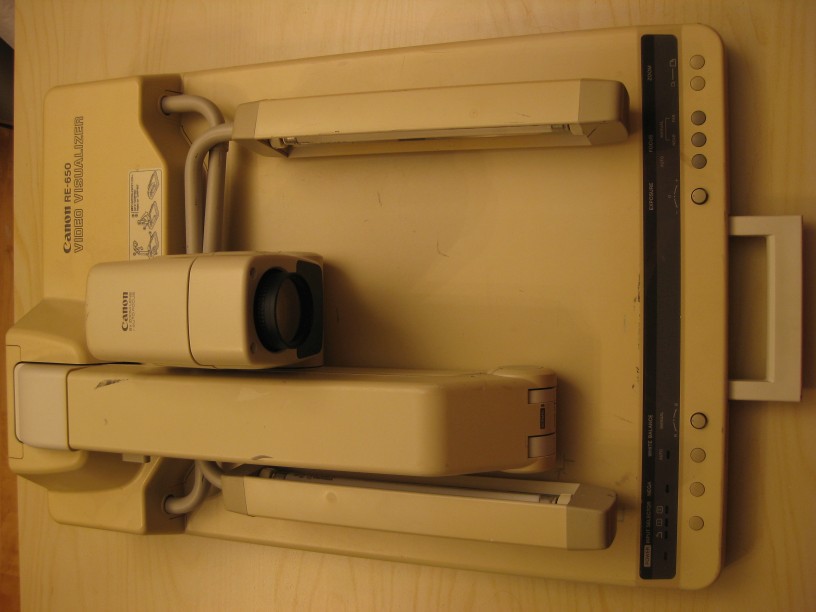
    The Canon RE-650 Video Visualizer is the core part that I wanted to use as it is a quality stand to hold an overhead camera as well as side lighting to avoid straight on reflections. A key point is that it also collapses to a much smaller size, though still pretty heavy.

    This unit was intended to be used in a lecture hall so that a presenter can place a printed page, a book, or a sheet of paper to make notes on, and have it's image projected via a digital projection system. At it's core, it is a video camera mounted above the table pointing down, and a set of lights. This is an older model, but these products are still sold and used. While I picked this up from scrap, they are available from ebay and other sources for not too much. Here's a look at it from the start:

    And folded up:

    The arm adjusts to a higher and lower position which should give some flexibility for working distance depending on what lens system I end up with.(The above picture shows the lower position) The head adjusts appropriately for both of those positions, but also a "rear" position and the folded up position. The rear position I think is intended to point the camera towards the audience, which I don't think will be useful here.

    This original system has two problem which make it not useful as a microscope. First is it's zoom, which at minimum covers the width of the base, and at is maximum is not very good for soldering. Second, is that it's camera only provides NTSC composite video output, much too low to use for these purposes. So I know that I need to replace the camera, and almost certainly the lens system. Ideally I'd like to keep the electric zoom and focus control for it's convenience.

  • Concept and goals

    Quinn03/27/2017 at 04:12 0 comments

    This project came from having a variety of scavenged parts laying around, and a desire for a video microscope for soldering and inspection.

    Goals:

    • The result should be portable so that it can be removed from my bench and put away when not in use.
    • The result should have a high level of usability without a lot of fiddling around or adjustments to get it going. In other words, it shouldn't take more work to use than it's worth.
    • A good range of available magnifications for soldering and inspections.
    • A long working distance to make it usable while soldering.
    • A high enough resolution to make it usable while soldering.
    • An ESD safe working surface.
    • The ability to mount other cameras for other needs.

    Main parts on hand (for possible use):

    • Canon RE-650 Video Visualizer.
    • Various zoom lenses from old video cameras and surplus. A couple macro lens adapters.
    • Various C-mount video and USB cameras.
    • Various old webcam, laptop and point and shoot cameras.

View all 10 project logs

Enjoy this project?

Share

Discussions

Does this project spark your interest?

Become a member to follow this project and never miss any updates