 ...
...I came up with this idea, because years ago I liked to play CS. Now it's impossible. So I decided to make my own adjustable gaming platform. It will simplify making graphic too(like Photoshop, After Effects or Cinema 4D). I will realize all the work in two projects: Disabled / Quadriplegic Mouse Concept and Adjustable Gaming Platform.
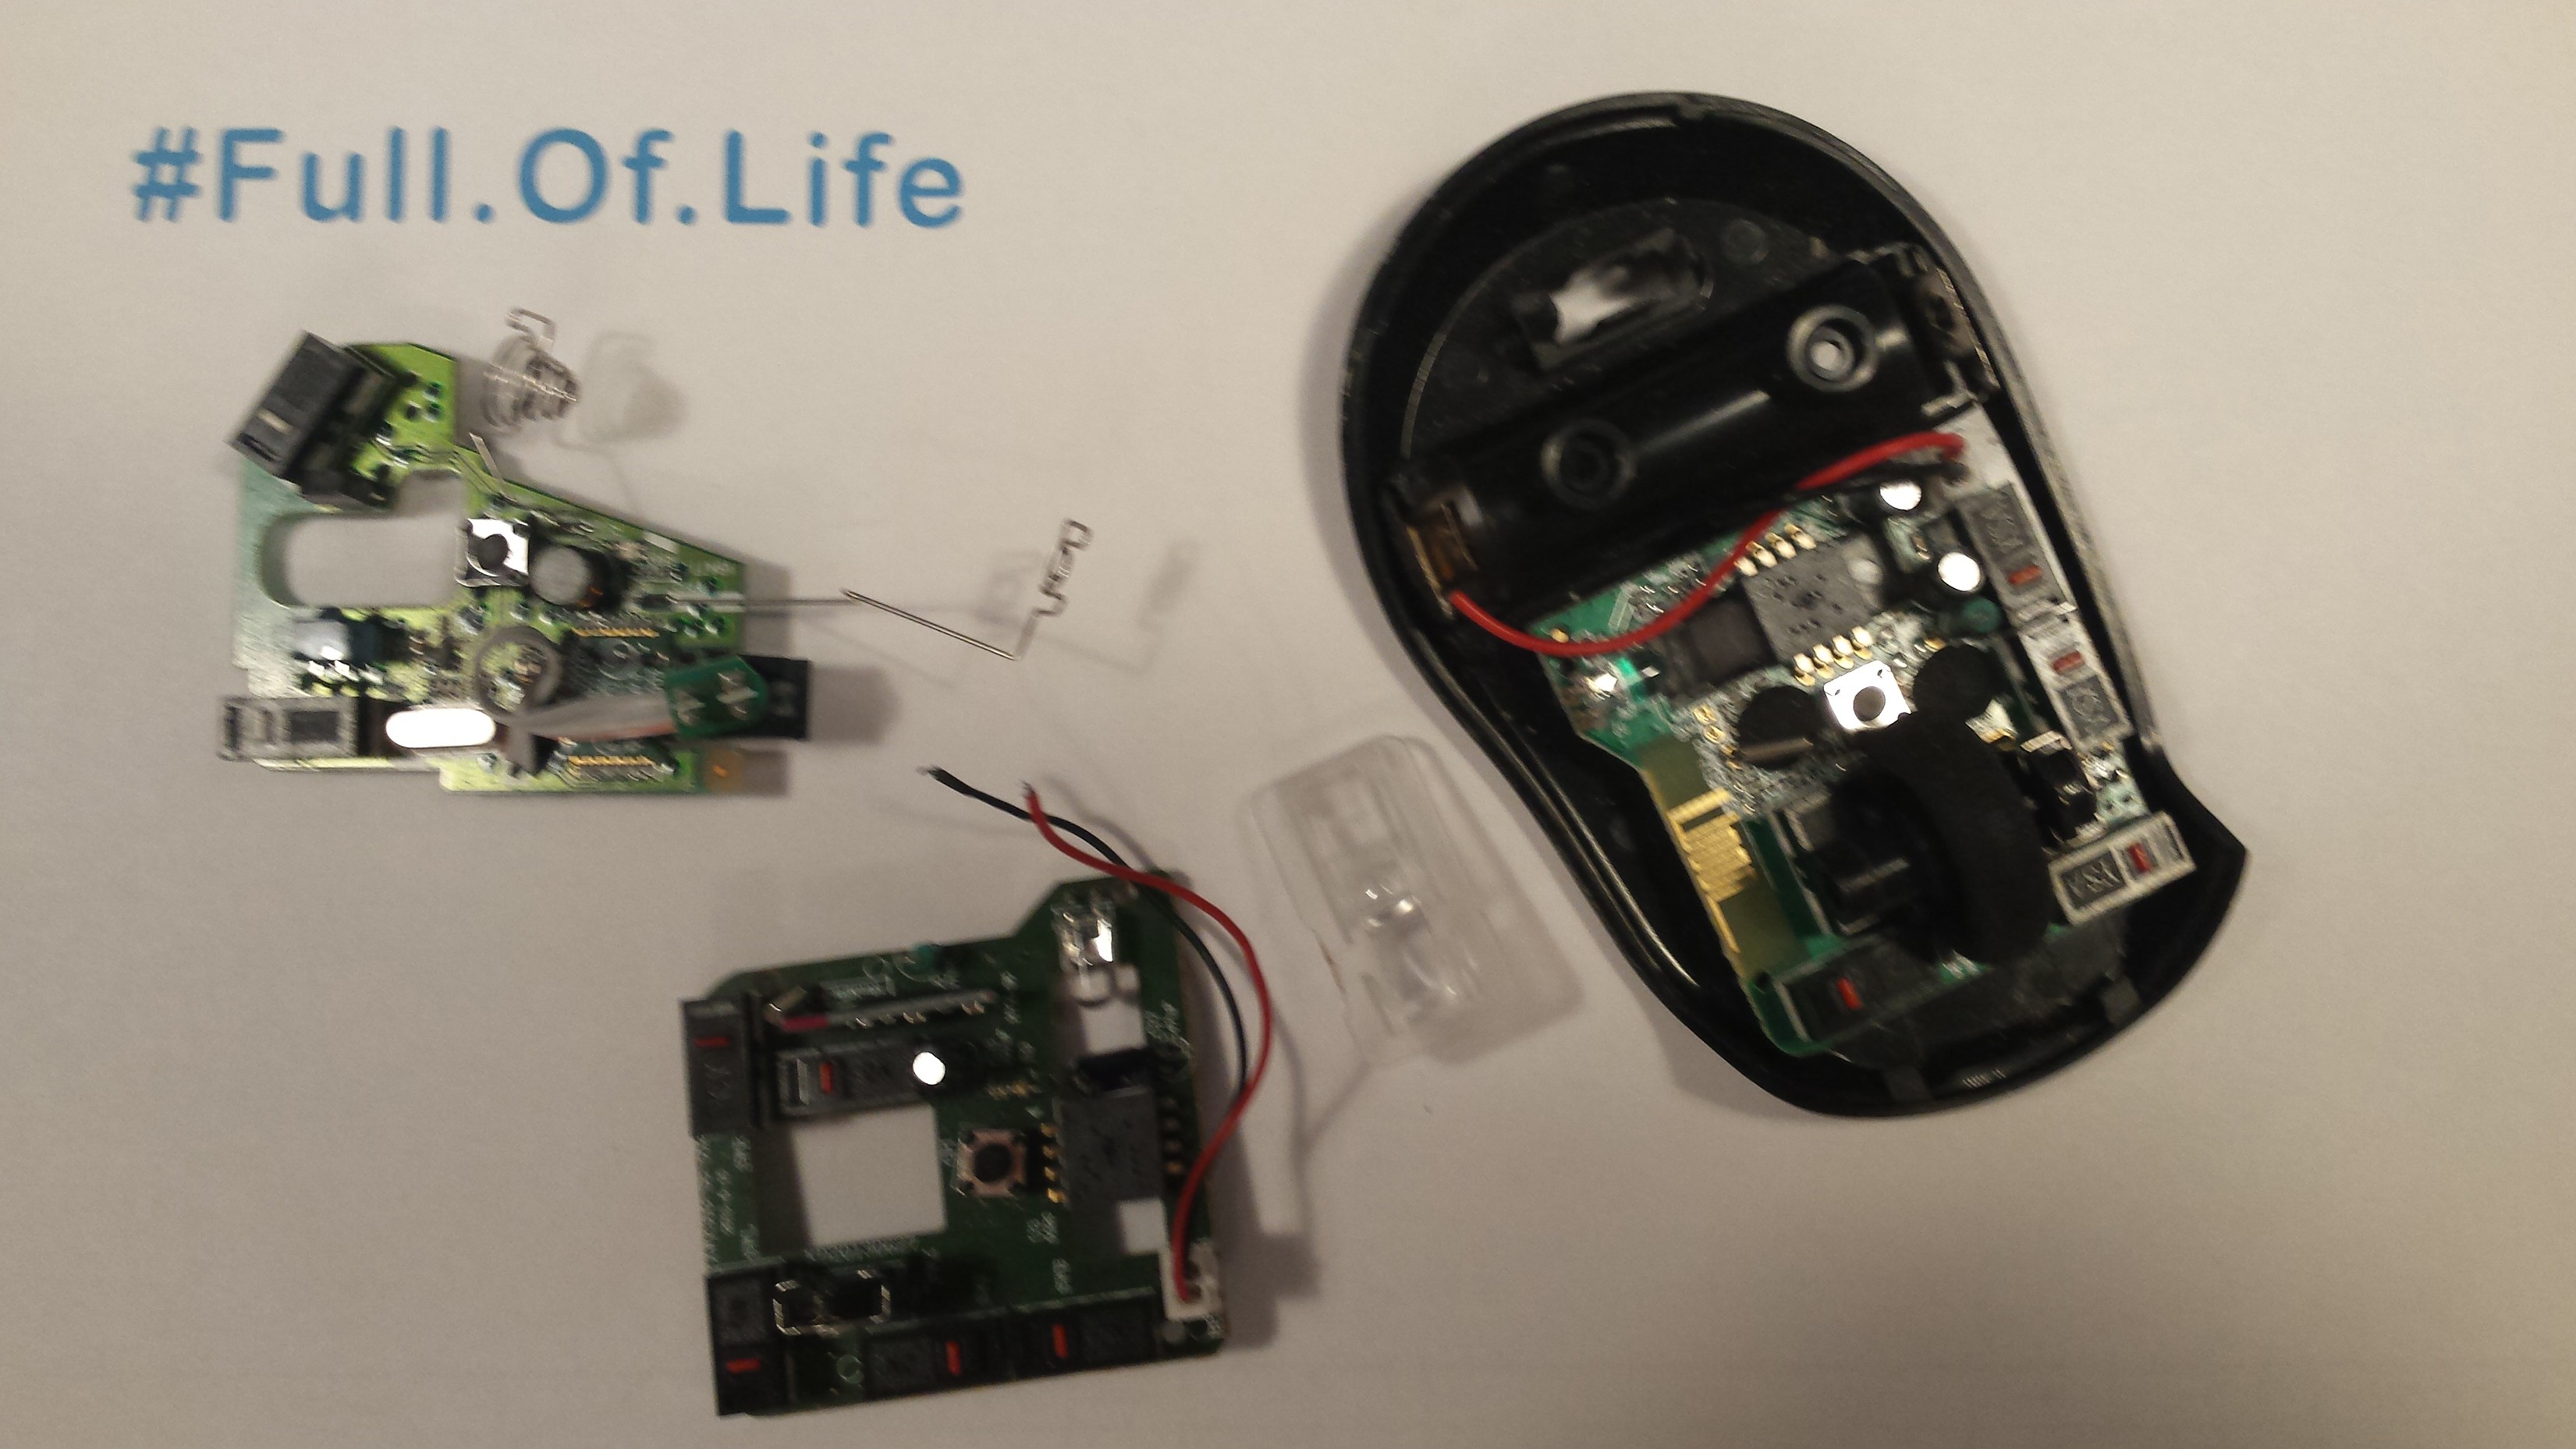
This one - The Mouse will:
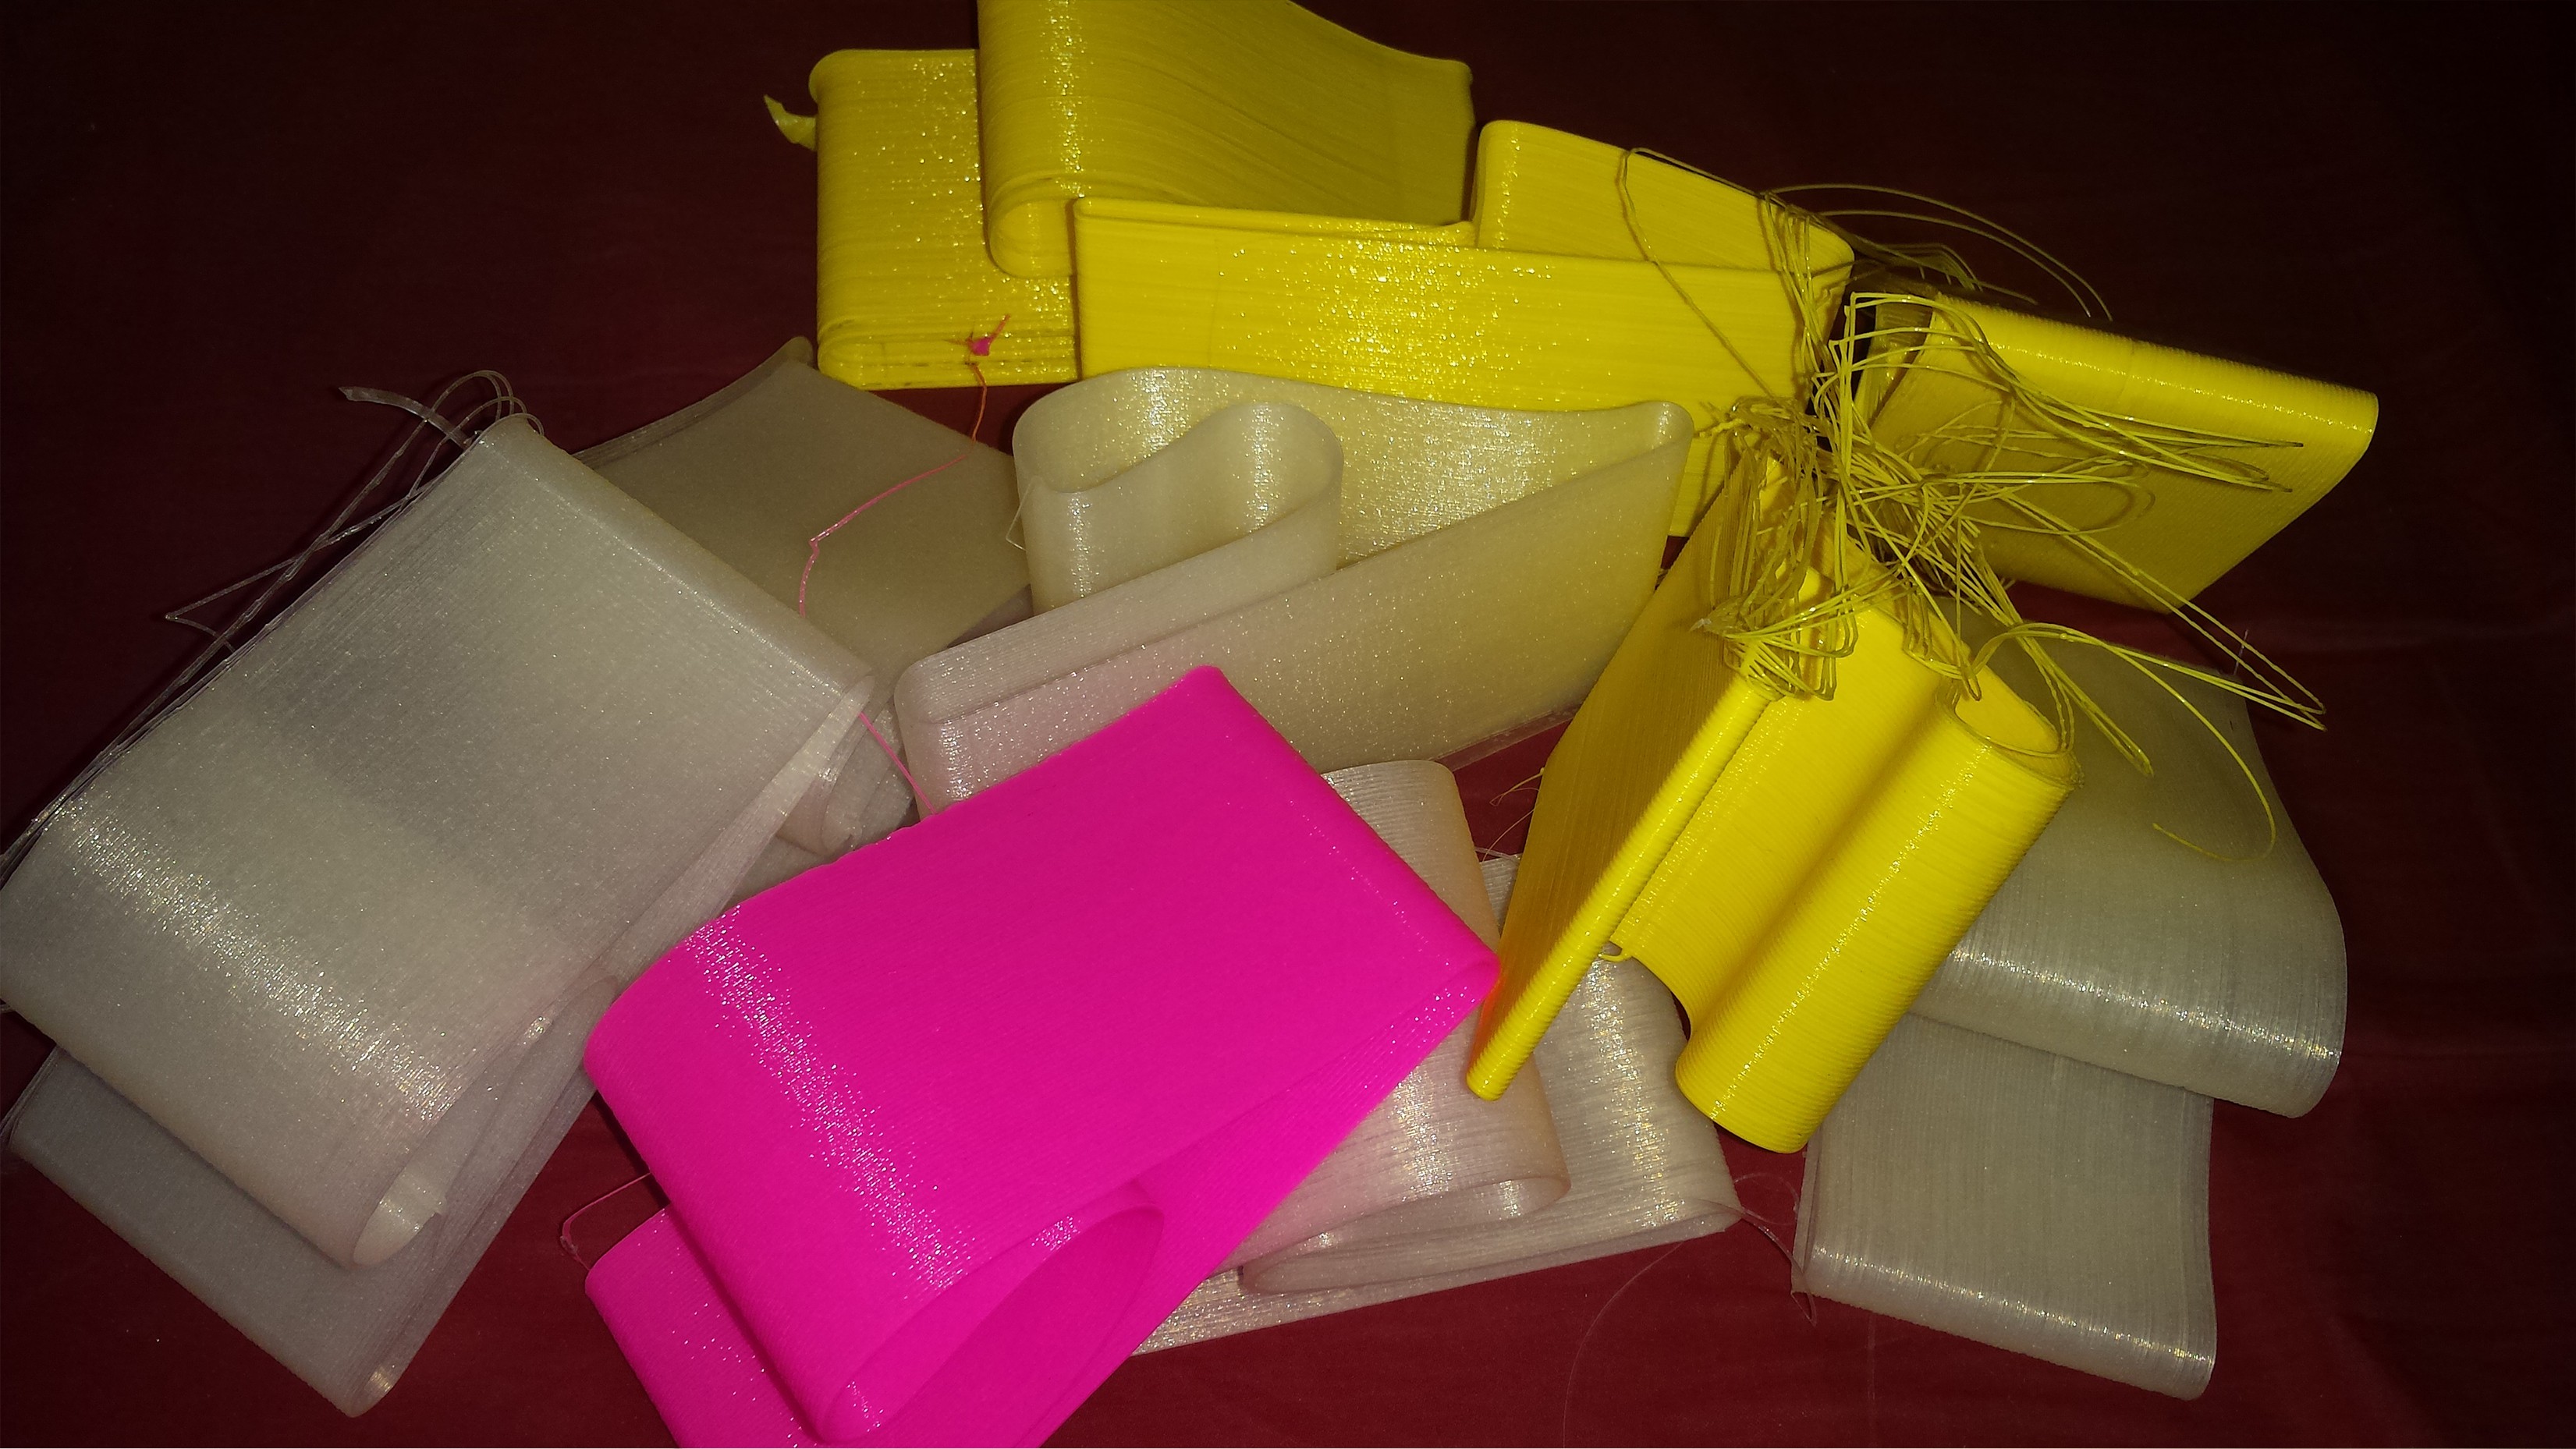
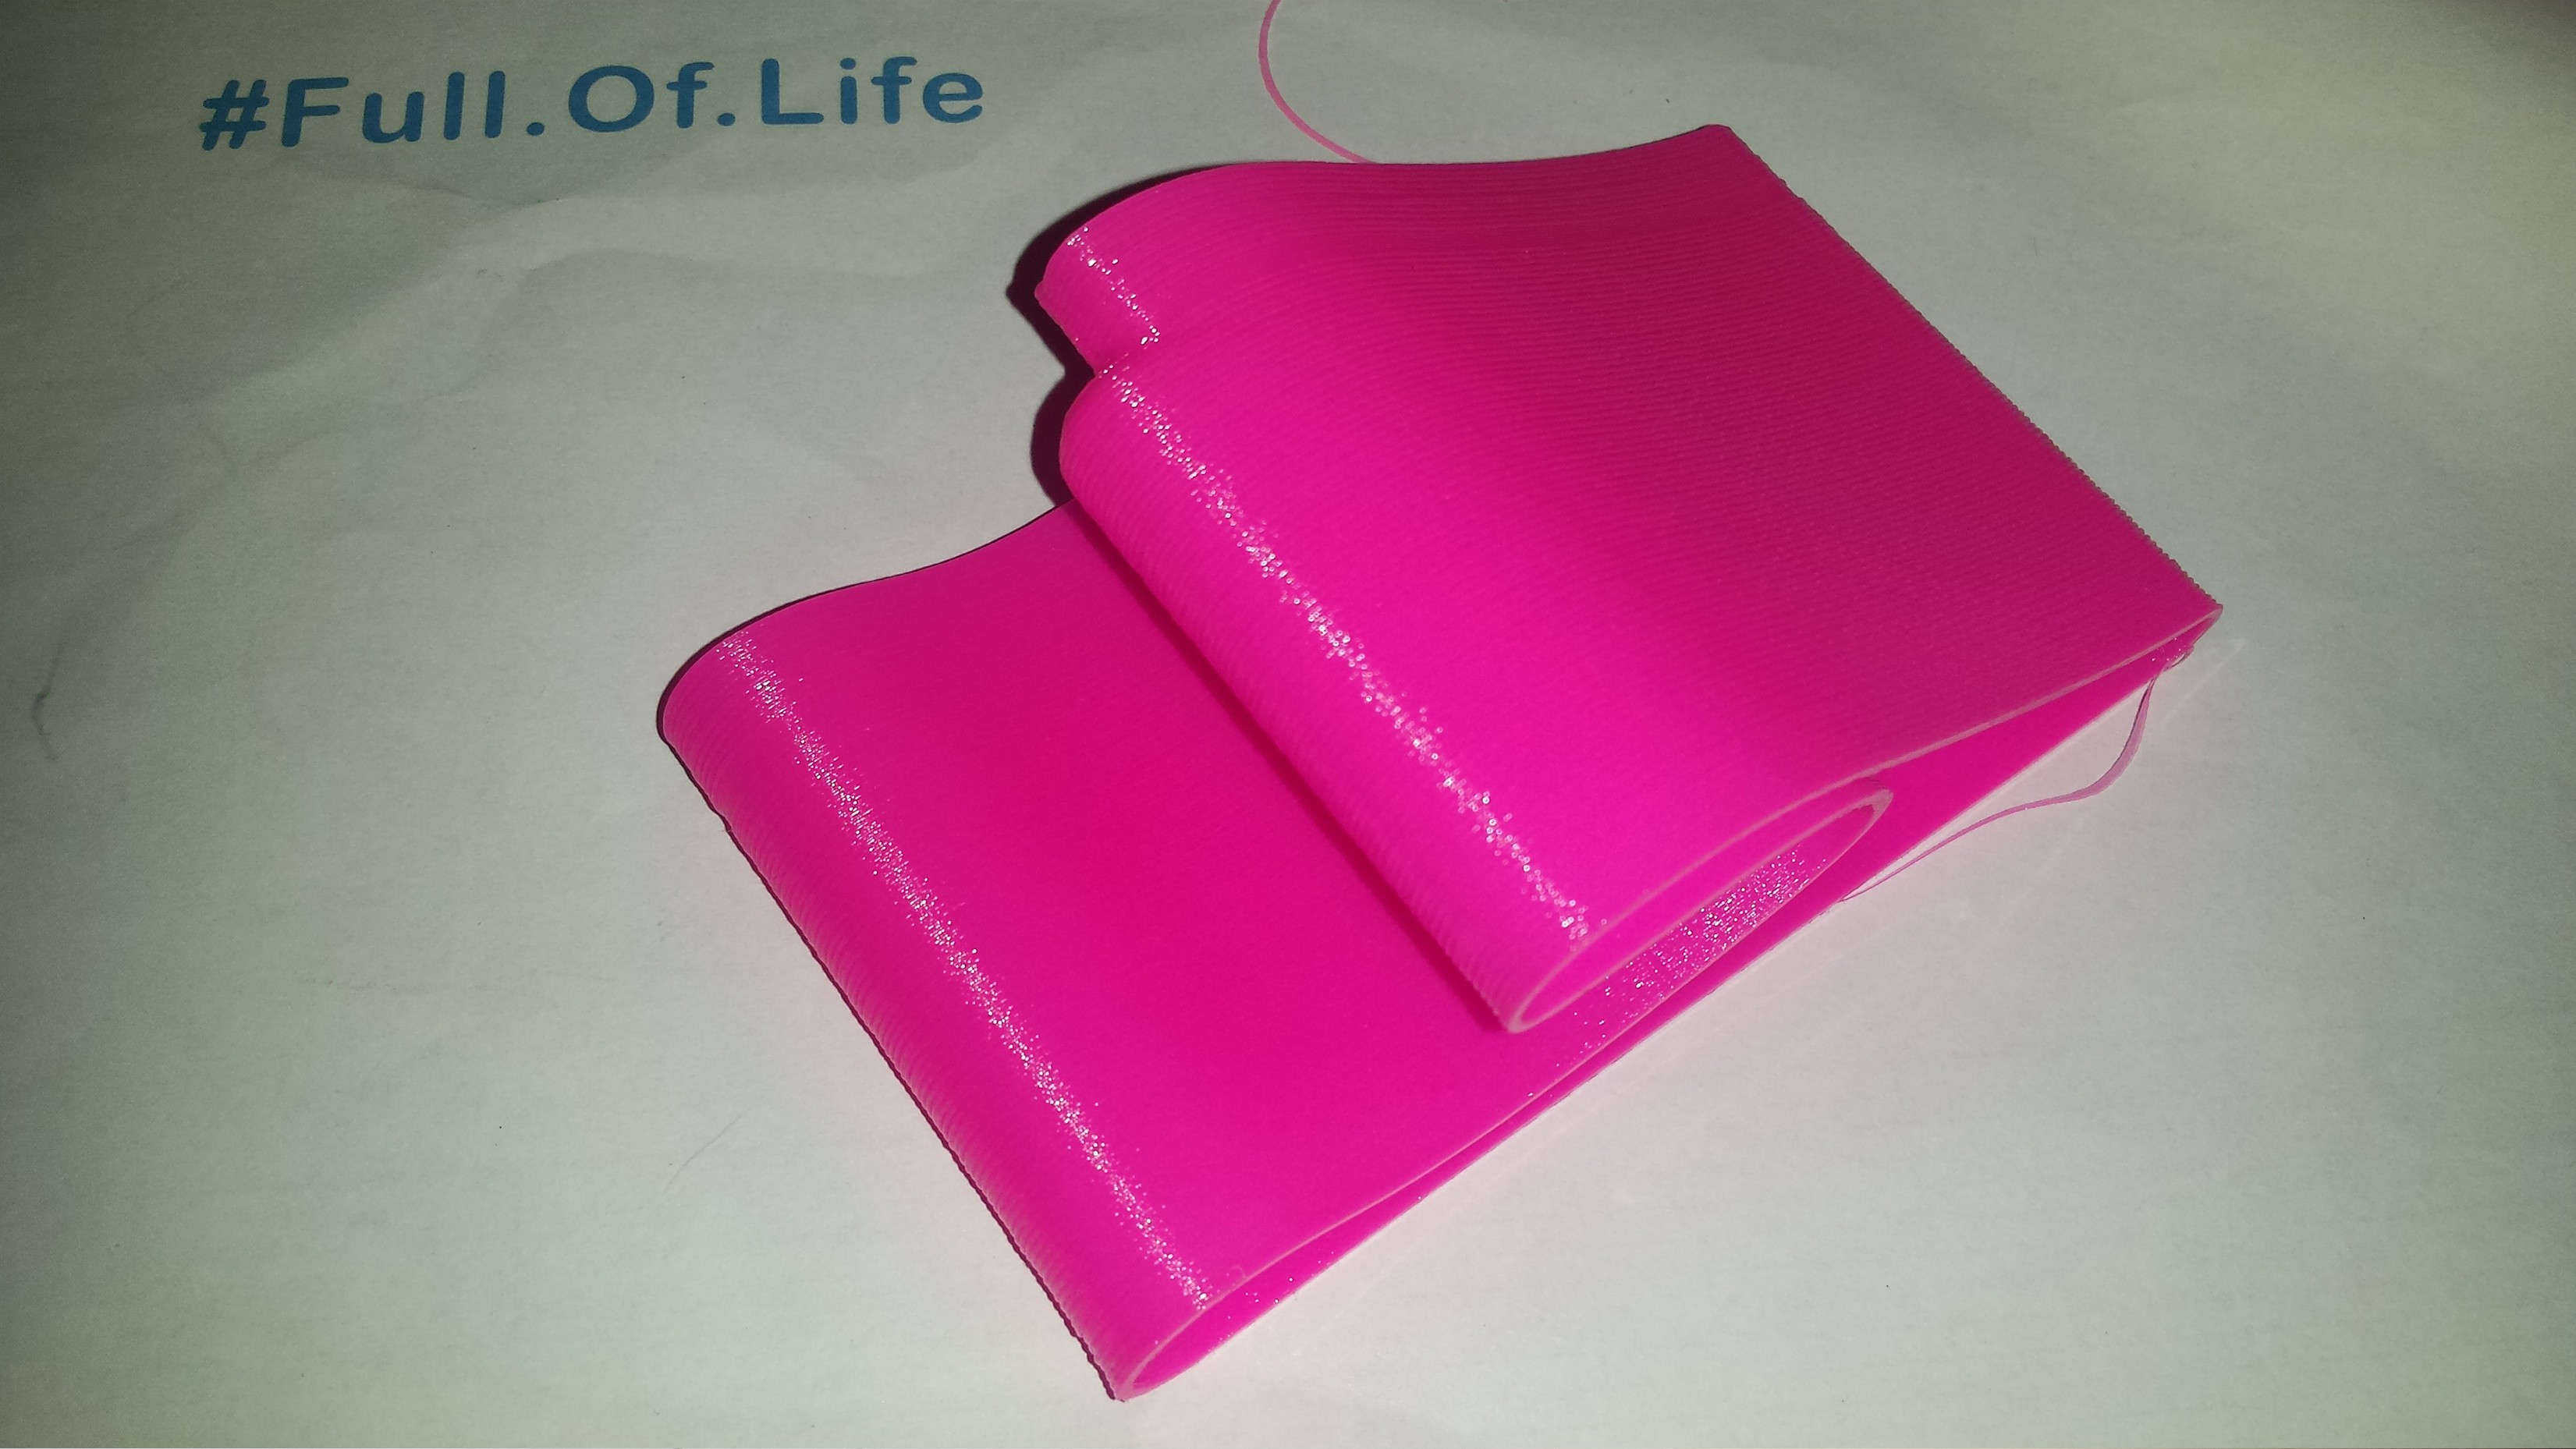
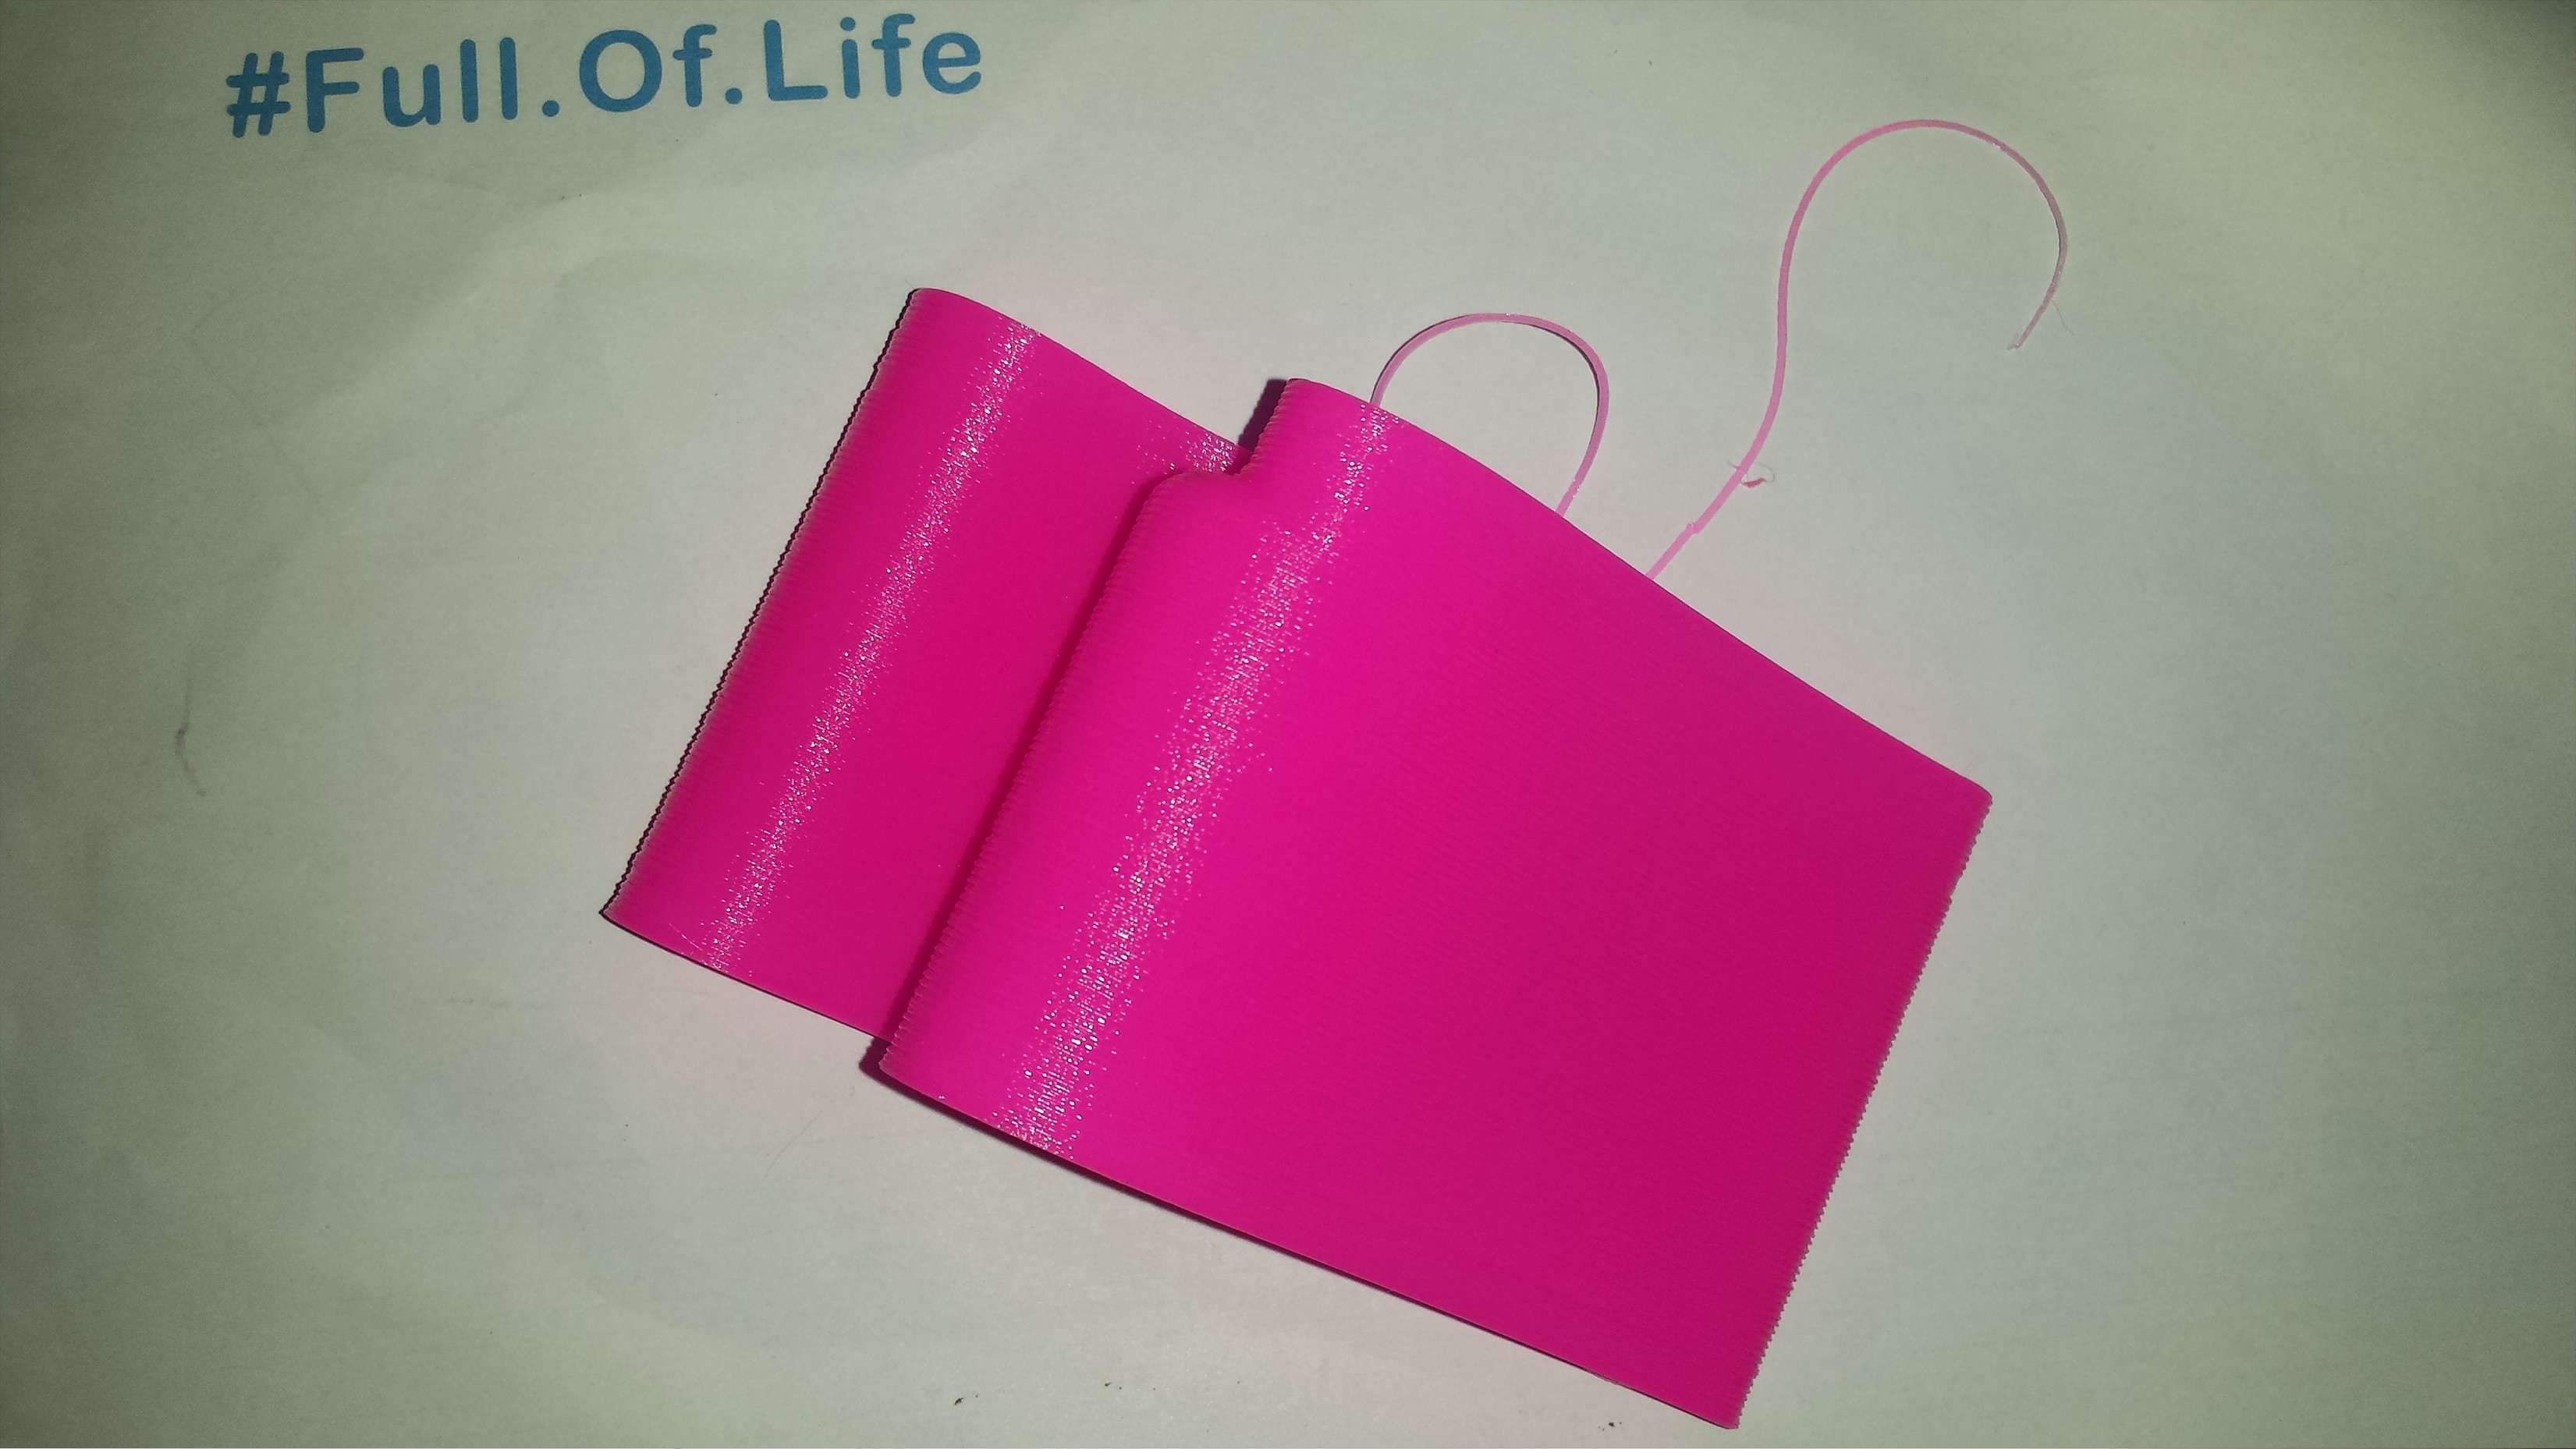
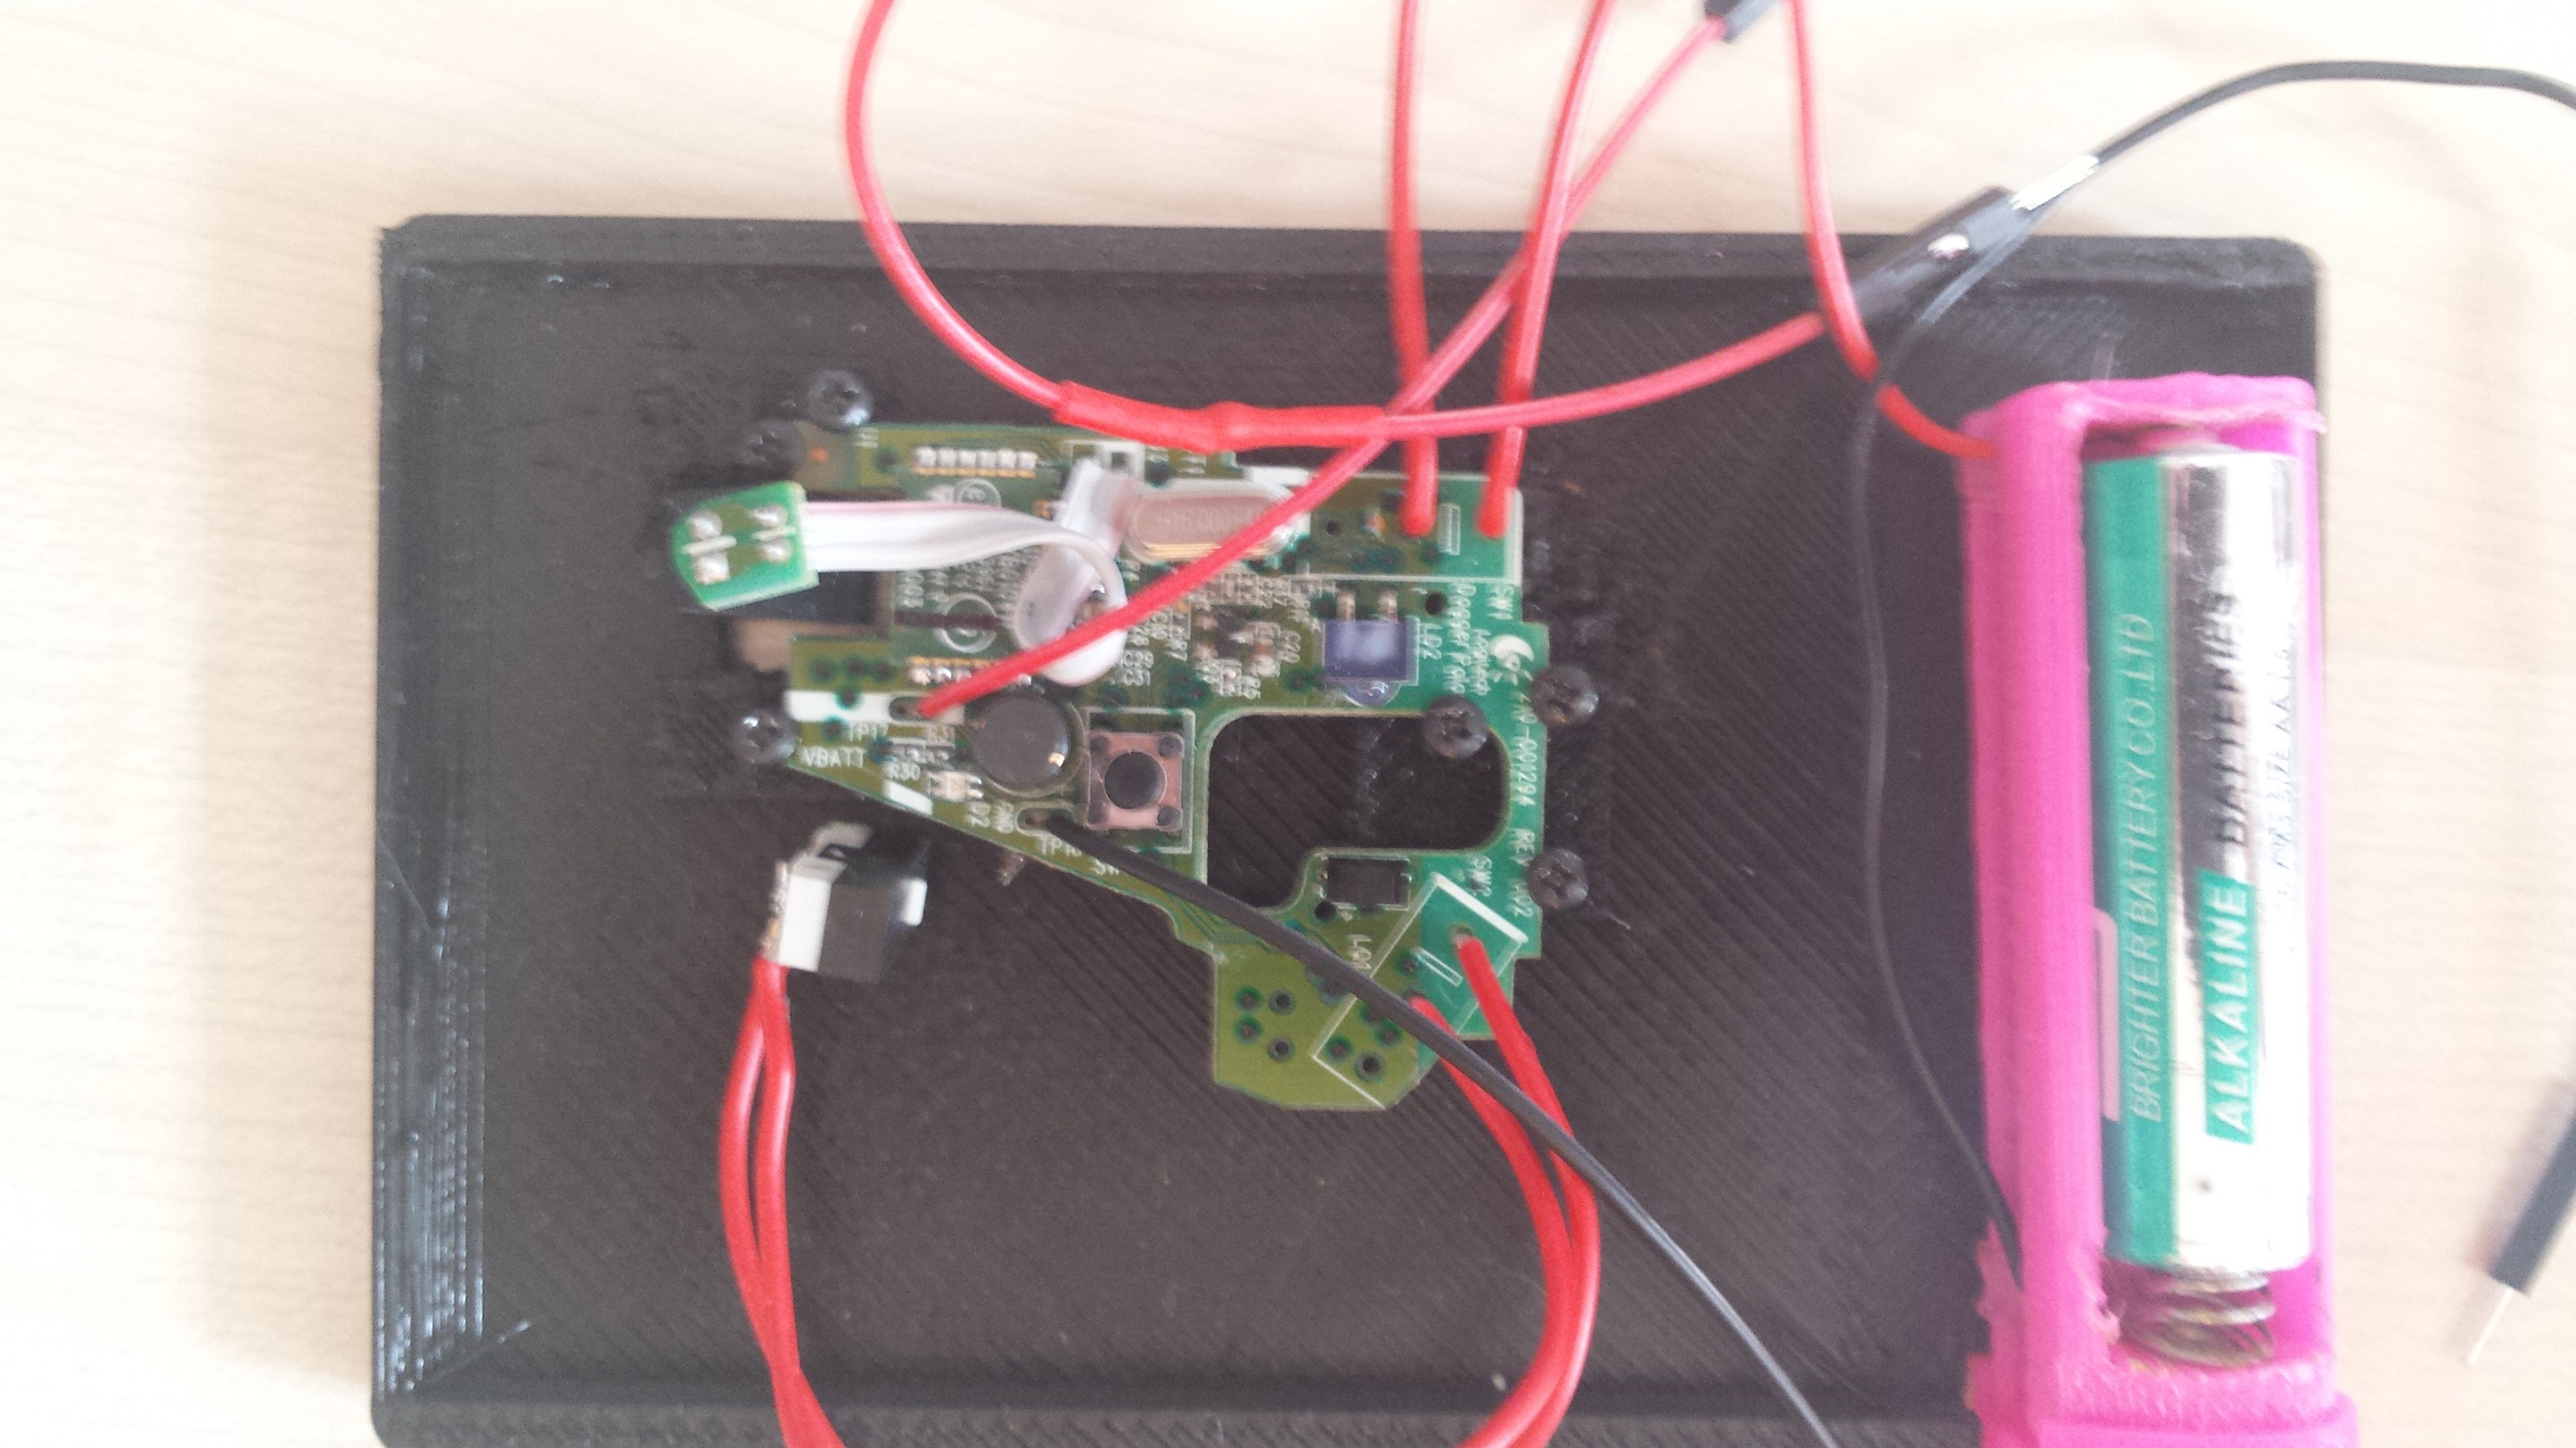
- be 3d printed,
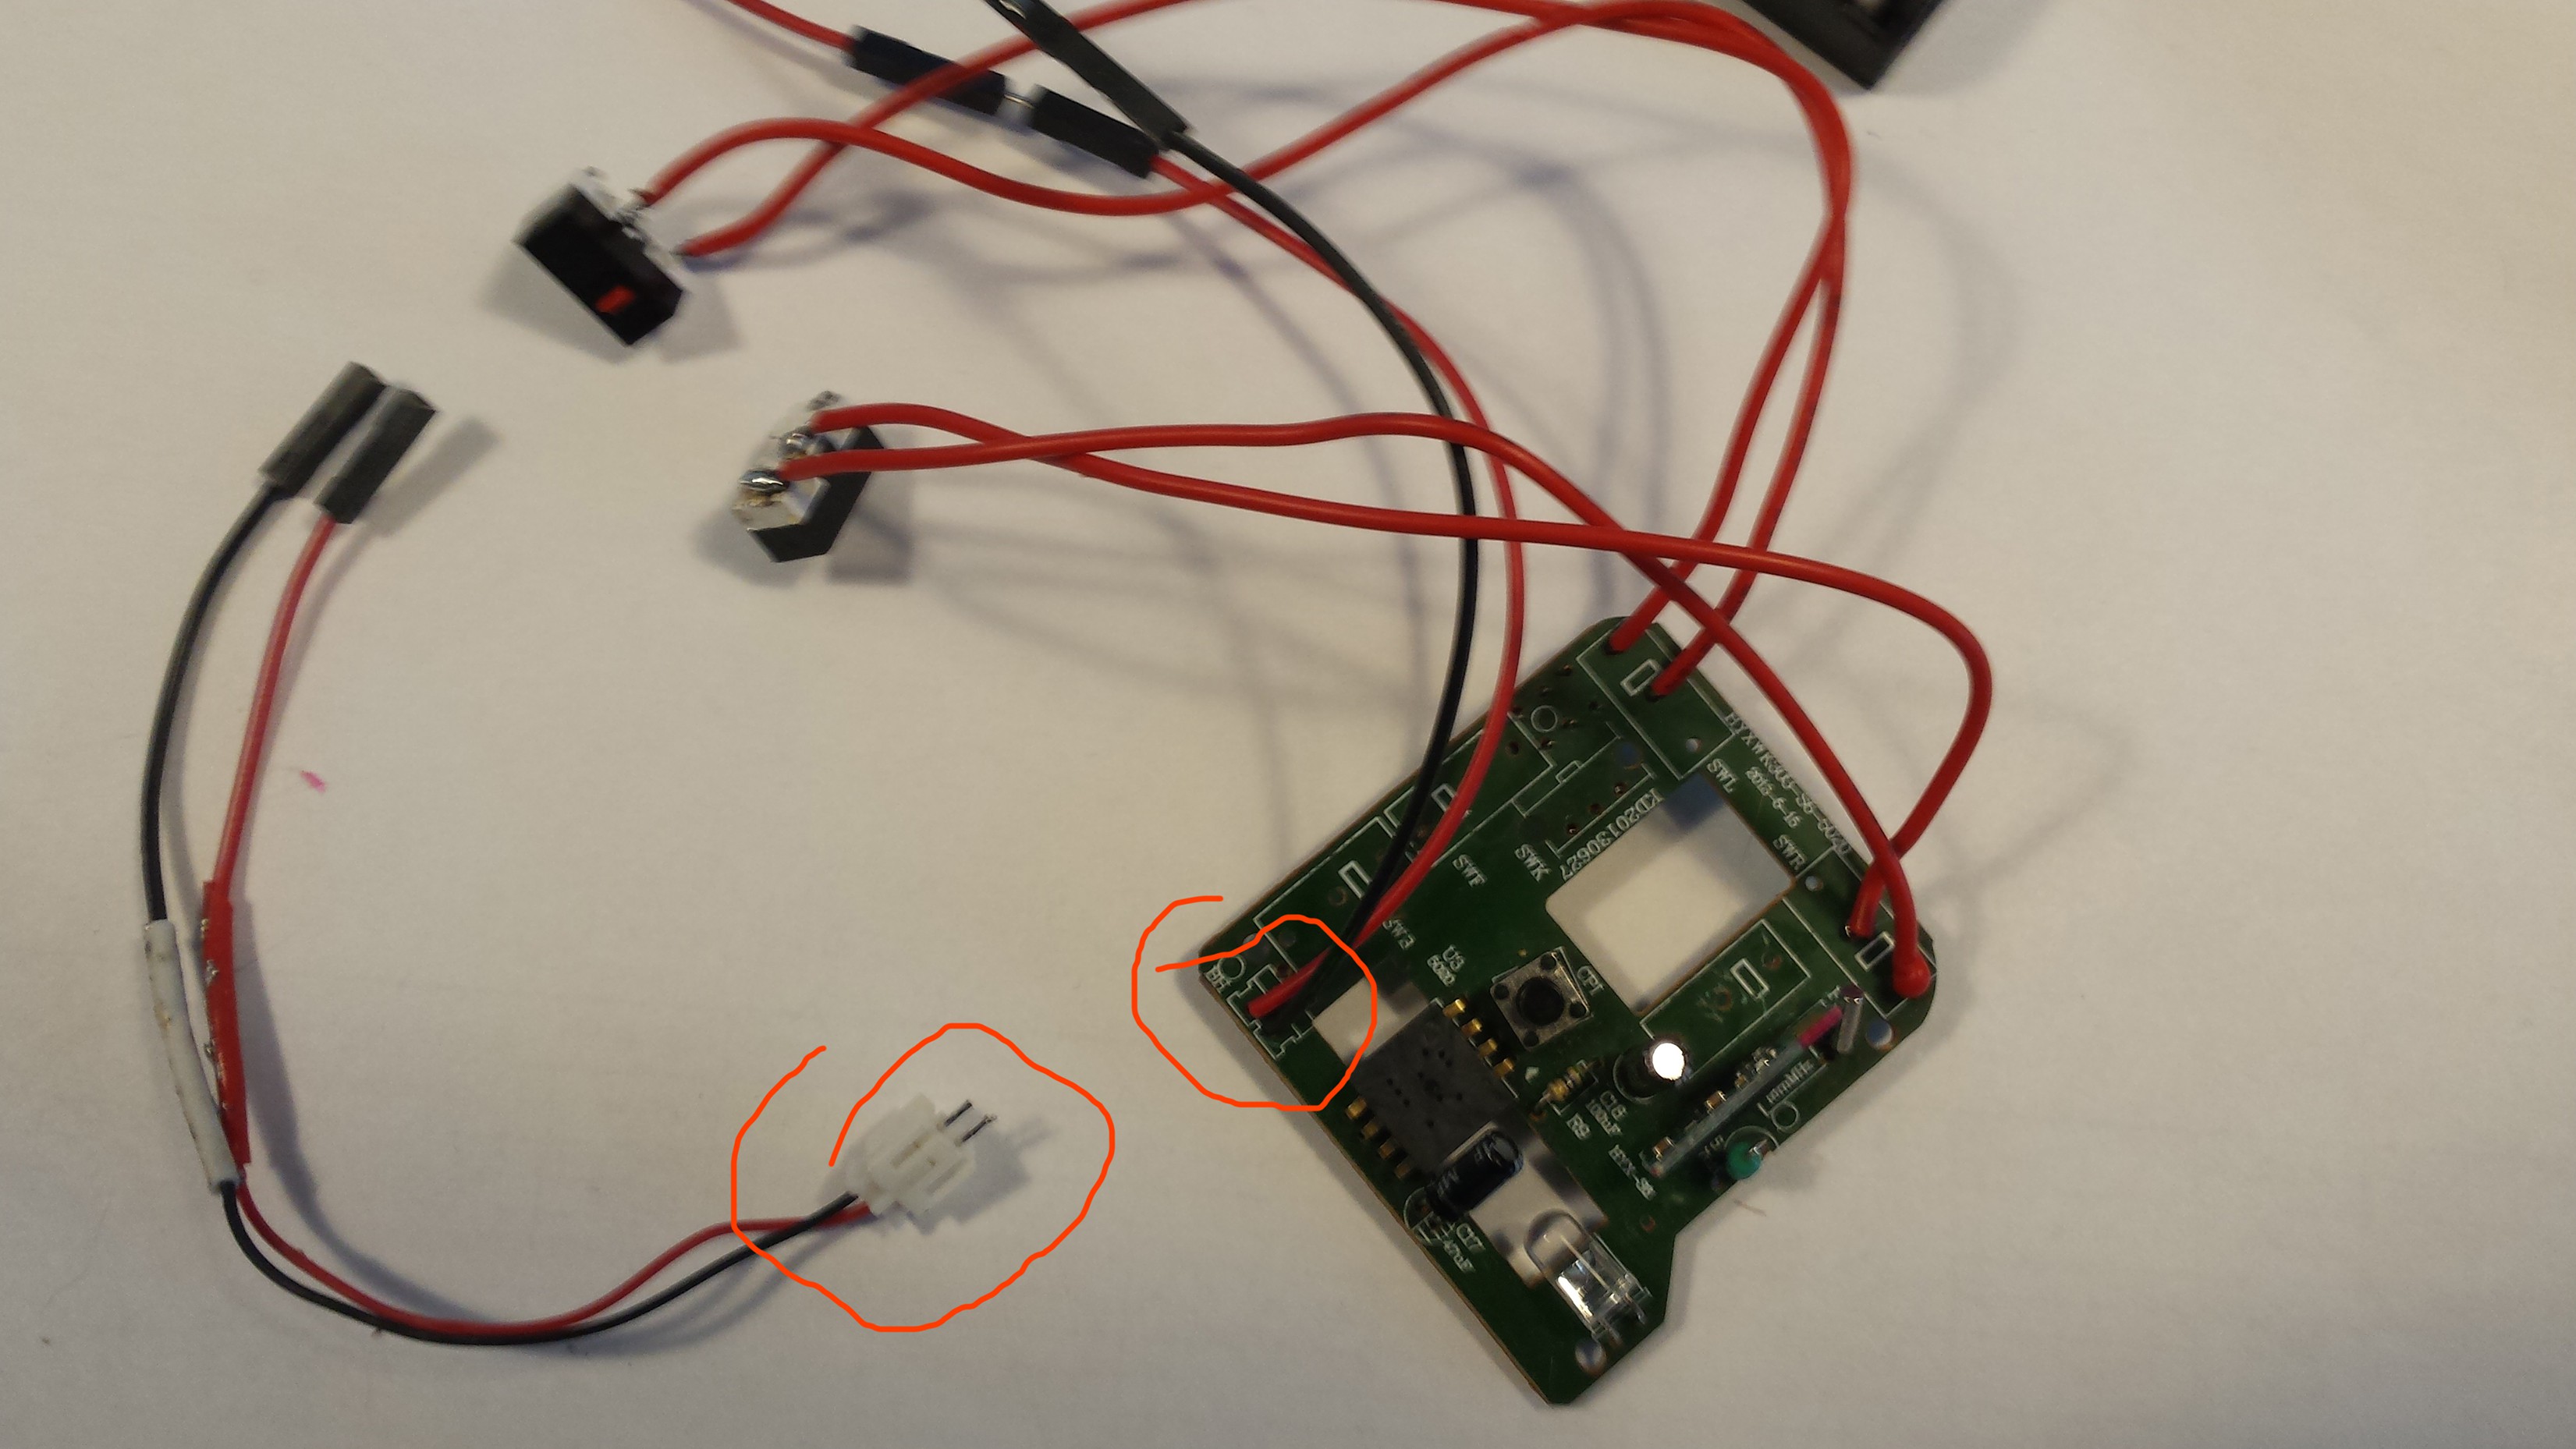
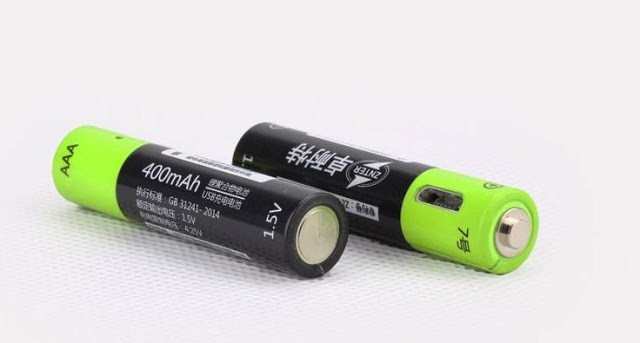
- using old hardware,
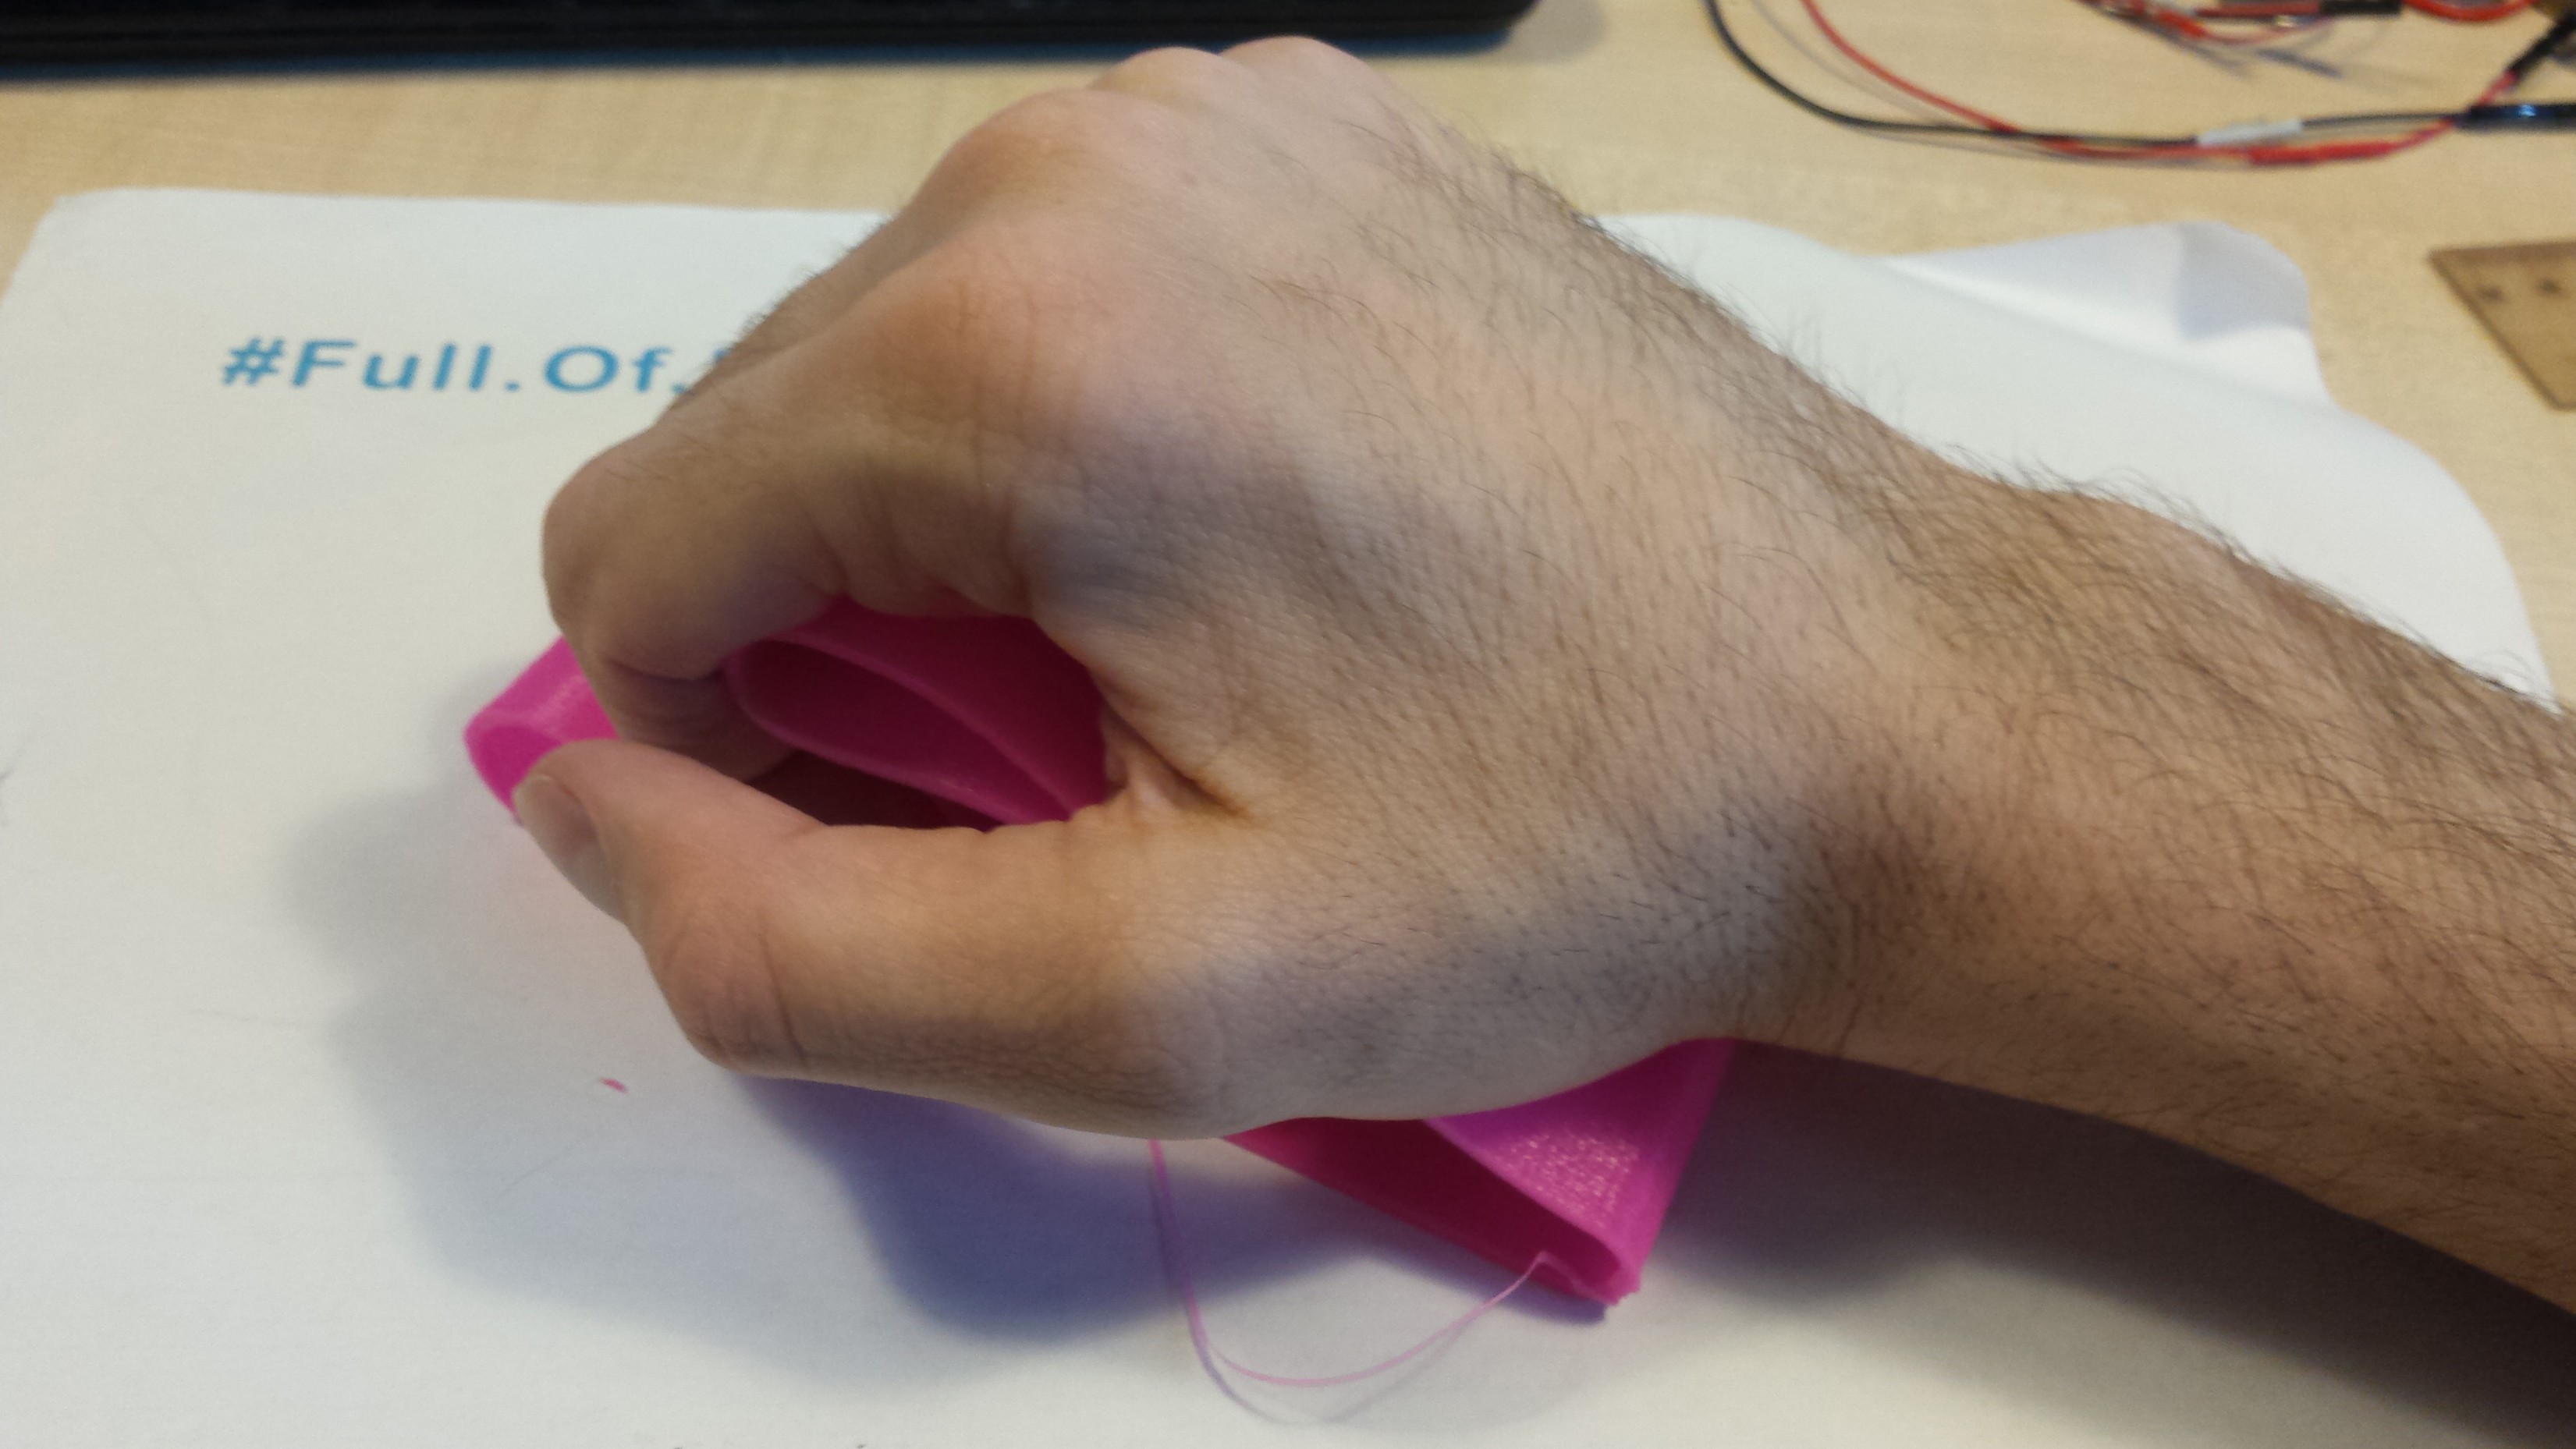
- have adjustable elements like handler or buttons levels,
- simple to make for everyone.
I will try to make as many versions as I can imagine.
=== What it gives to the world?: ===
- opportunity of fun for those, who dont have much,
- bigger productivity for disabled in computer work,
- TIME (Disabled are very slow, because every moment they fight with their body. Any saved second is very precious. ).
Assistive mouse 1.0 prototype on Thingiverse
https://www.thingiverse.com/thing:2515768
 to be continued...
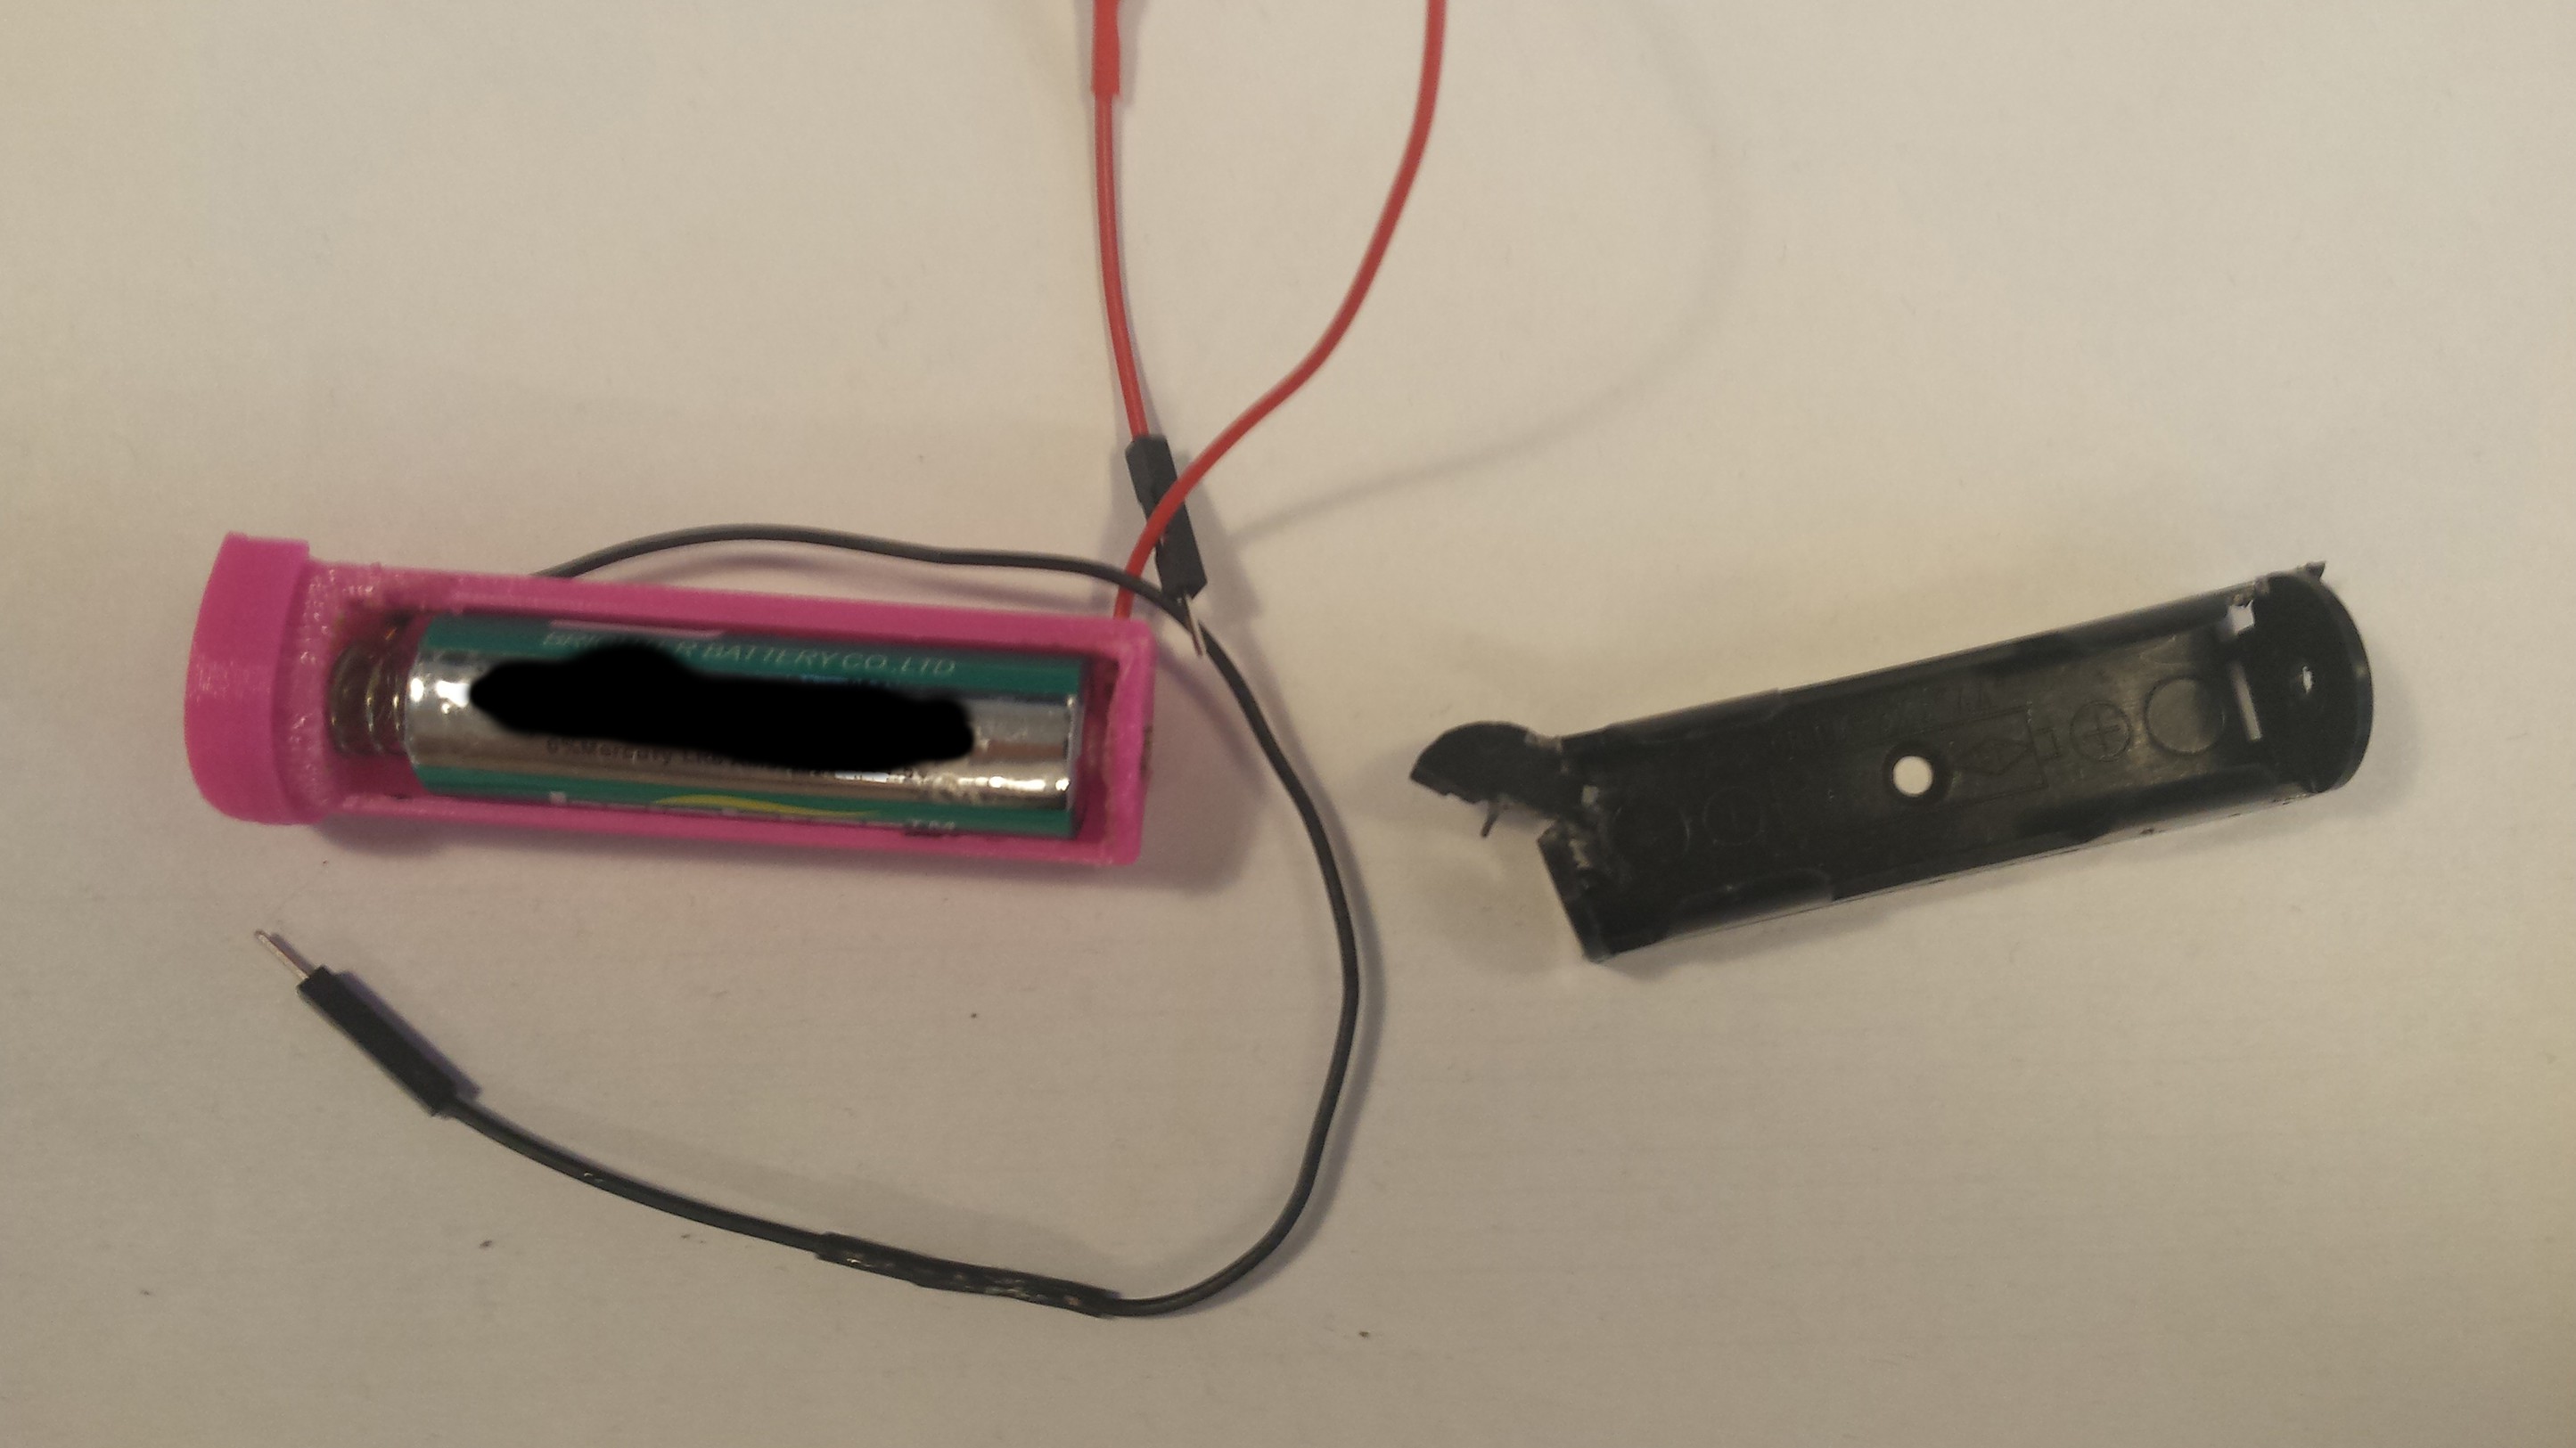
 kelvinA
 Christopher
 Alain Mauer
 ReidDye