Close
0%
0%

TORQNYA-S2 -- Your Pocket-Sized Maker Companion

A clever ESP32-S2 tool cat, that remembers usernames and passwords, supports FIDO2, generates TOTP codes, and runs MicroPython apps.

Similar projects worth following
A little mechanical tool cat with an ESP32-S2 inside. It can remember your usernames and passwords, generate TOTP codes, confirm FIDO2 logins, and run your own MicroPython programs. Connect a sensor, and it becomes a pocket-sized monitoring tool. Write a few lines of Python, and it can turn into something entirely different. But I never intended it to do so much in the first place.

TORQNYA-S2 

It's just started with a rather ordinary problem: 

I had more accounts than I could possibly remember. I wanted something I could carry between computers, use without depending on an online password service, and operate directly from its own screen.

So I built a rough ESP32-S2 prototype with a small OLED. It was not particularly comfortable to hold, but it could store and display account information. Before long, I added USB keyboard output and text-based scripts.

Then I ran into a familiar maker problem: 

Every time I wanted another tool—perhaps a UART logger, a sensor display, or an IR remote—I was going to have to change the firmware again. 

Oh, and even TOTP authentication and experimental FIDO2 support.

That's when the project changed direction. Rather than compile every little experiment into one increasingly complicated firmware image, I added a MicroPython Playground. On compatible firmware, an ordinary application is a `.py` file on a microSD card. Copy it to `playground/`, safely eject the card, choose it from the device menu, and run it.

And just like that, using it is as simple as it gets.

The device now combines a few built-in utilities with a way to make new ones. The little mechanical wrench-cat mascot reflects that mixed personality: 

Part pocket tool, part curious experiment.

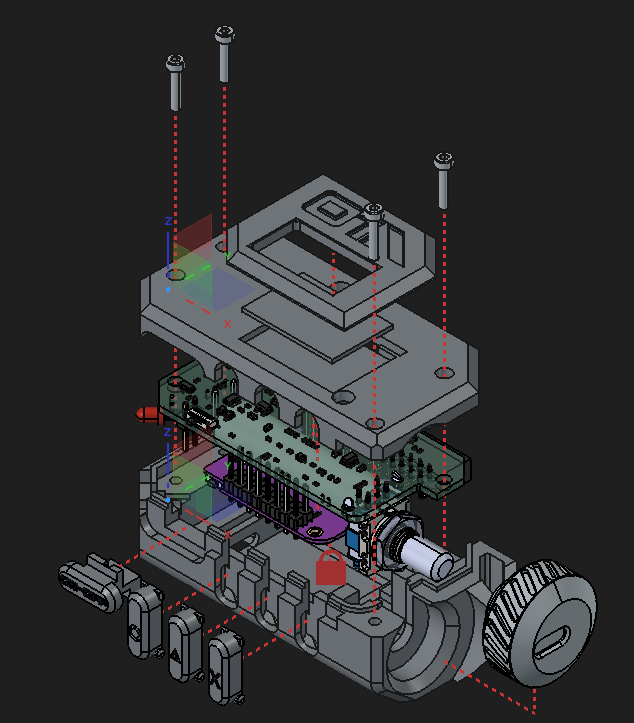
It consists of the following components:

  • ESP32-S2 mini board (Simply because I had a few lying around) and 128 × 64 monochrome OLED.
  • Rotary encoder with push action and three physical function buttons.
  • microSD/TF storage for apps and device data.
  • 14-pin expansion connector exposing selected GPIO, I²C, SPI, UART-capable pins, power, and ground. External signals use 3.3 V logic.
  • RTC, IR transmitter, white LED, 2.4 GHz Wi-Fi, and an internal 200 mAh Li-ion battery.
  • A 3d printed shell.
  • And, of course, the main board I designed myself.

Now, this little gadget can do all of the following:

  1. Password Manager & Auto-Typing Securely store account credentials and automatically type usernames and passwords by emulating a USB keyboard.
  2. TOTP Authenticator Store and view TOTP codes, with support for automatic typing.
  3. FIDO2 Authentication Register, authenticate, and manage FIDO2 credentials, including automatic credential handling.
  4. Script Automation Automatically type predefined scripts and text sequences.
  5. Encrypted Backup & Restore Export encrypted backups of everything—including passwords, TOTP secrets, and FIDO2 credentials—and restore them on a new device. No more worrying about losing your data! TF card contents are also managed with encryption.
  6. Built-in Web Interface, Fully Local Manage everything through a built-in web interface. All operations run locally, with no internet connection required.
  7. User-Developed MicroPython Apps Users can create their own MicroPython mini-apps. Complete development documentation and API references are open-source. Just feed them to ChatGPT, Claude, or another AI assistant, and you can quickly generate working apps with AI assistance.
  8. And More... Startup password protection, customizable clock widgets, and other handy features.

How an Ordinary Python App Gets onto the Device

  1. Give the AI the SDK API documentation and simply tell it what you want to build.
  2. Hit Send and let the AI do its thinking.
  3. Download the ZIP file generated by the AI, then follow its instructions to copy the required files to your TF card, usually into the "playground/" directory. You can do this using a card reader or the device's built-in USB SD mode.
  4. Safely eject the drive and wait for the device to regain access to the card.
  5. Open Playground, select your app, and run it!

That's it! Simple, convenient, and surprisingly powerful. What a time to be alive—thanks, AI!

And here's the best part: No firmware rebuild is needed for ordinary apps that use APIs already available in the installed firmware. Of course, adding new low-level drivers or modifying the firmware itself still requires...

Read more »
PXL_20261103_134712233 (Edited).jpg

JPEG Image - 1.53 MB - 11/03/2026 at 14:08

Preview

PXL_20261103_125629098.MACRO_FOCUS.jpg

the first version

JPEG Image - 1.65 MB - 11/03/2026 at 14:08

Preview

  • At Least, Give It a Case

    Jiamu • 14 hours ago • 0 comments

    Since I was already thinking about how the device felt to use, it at least needed a case — if only to keep it from getting too friendly with my keys in my pocket and catching fire.

    So I used the tool I know best, FreeCAD, and designed an enclosure around the PCB.

    I also happen to be a 3D printing enthusiast with my own printer, so I could go through several iterations to find a suitable design.

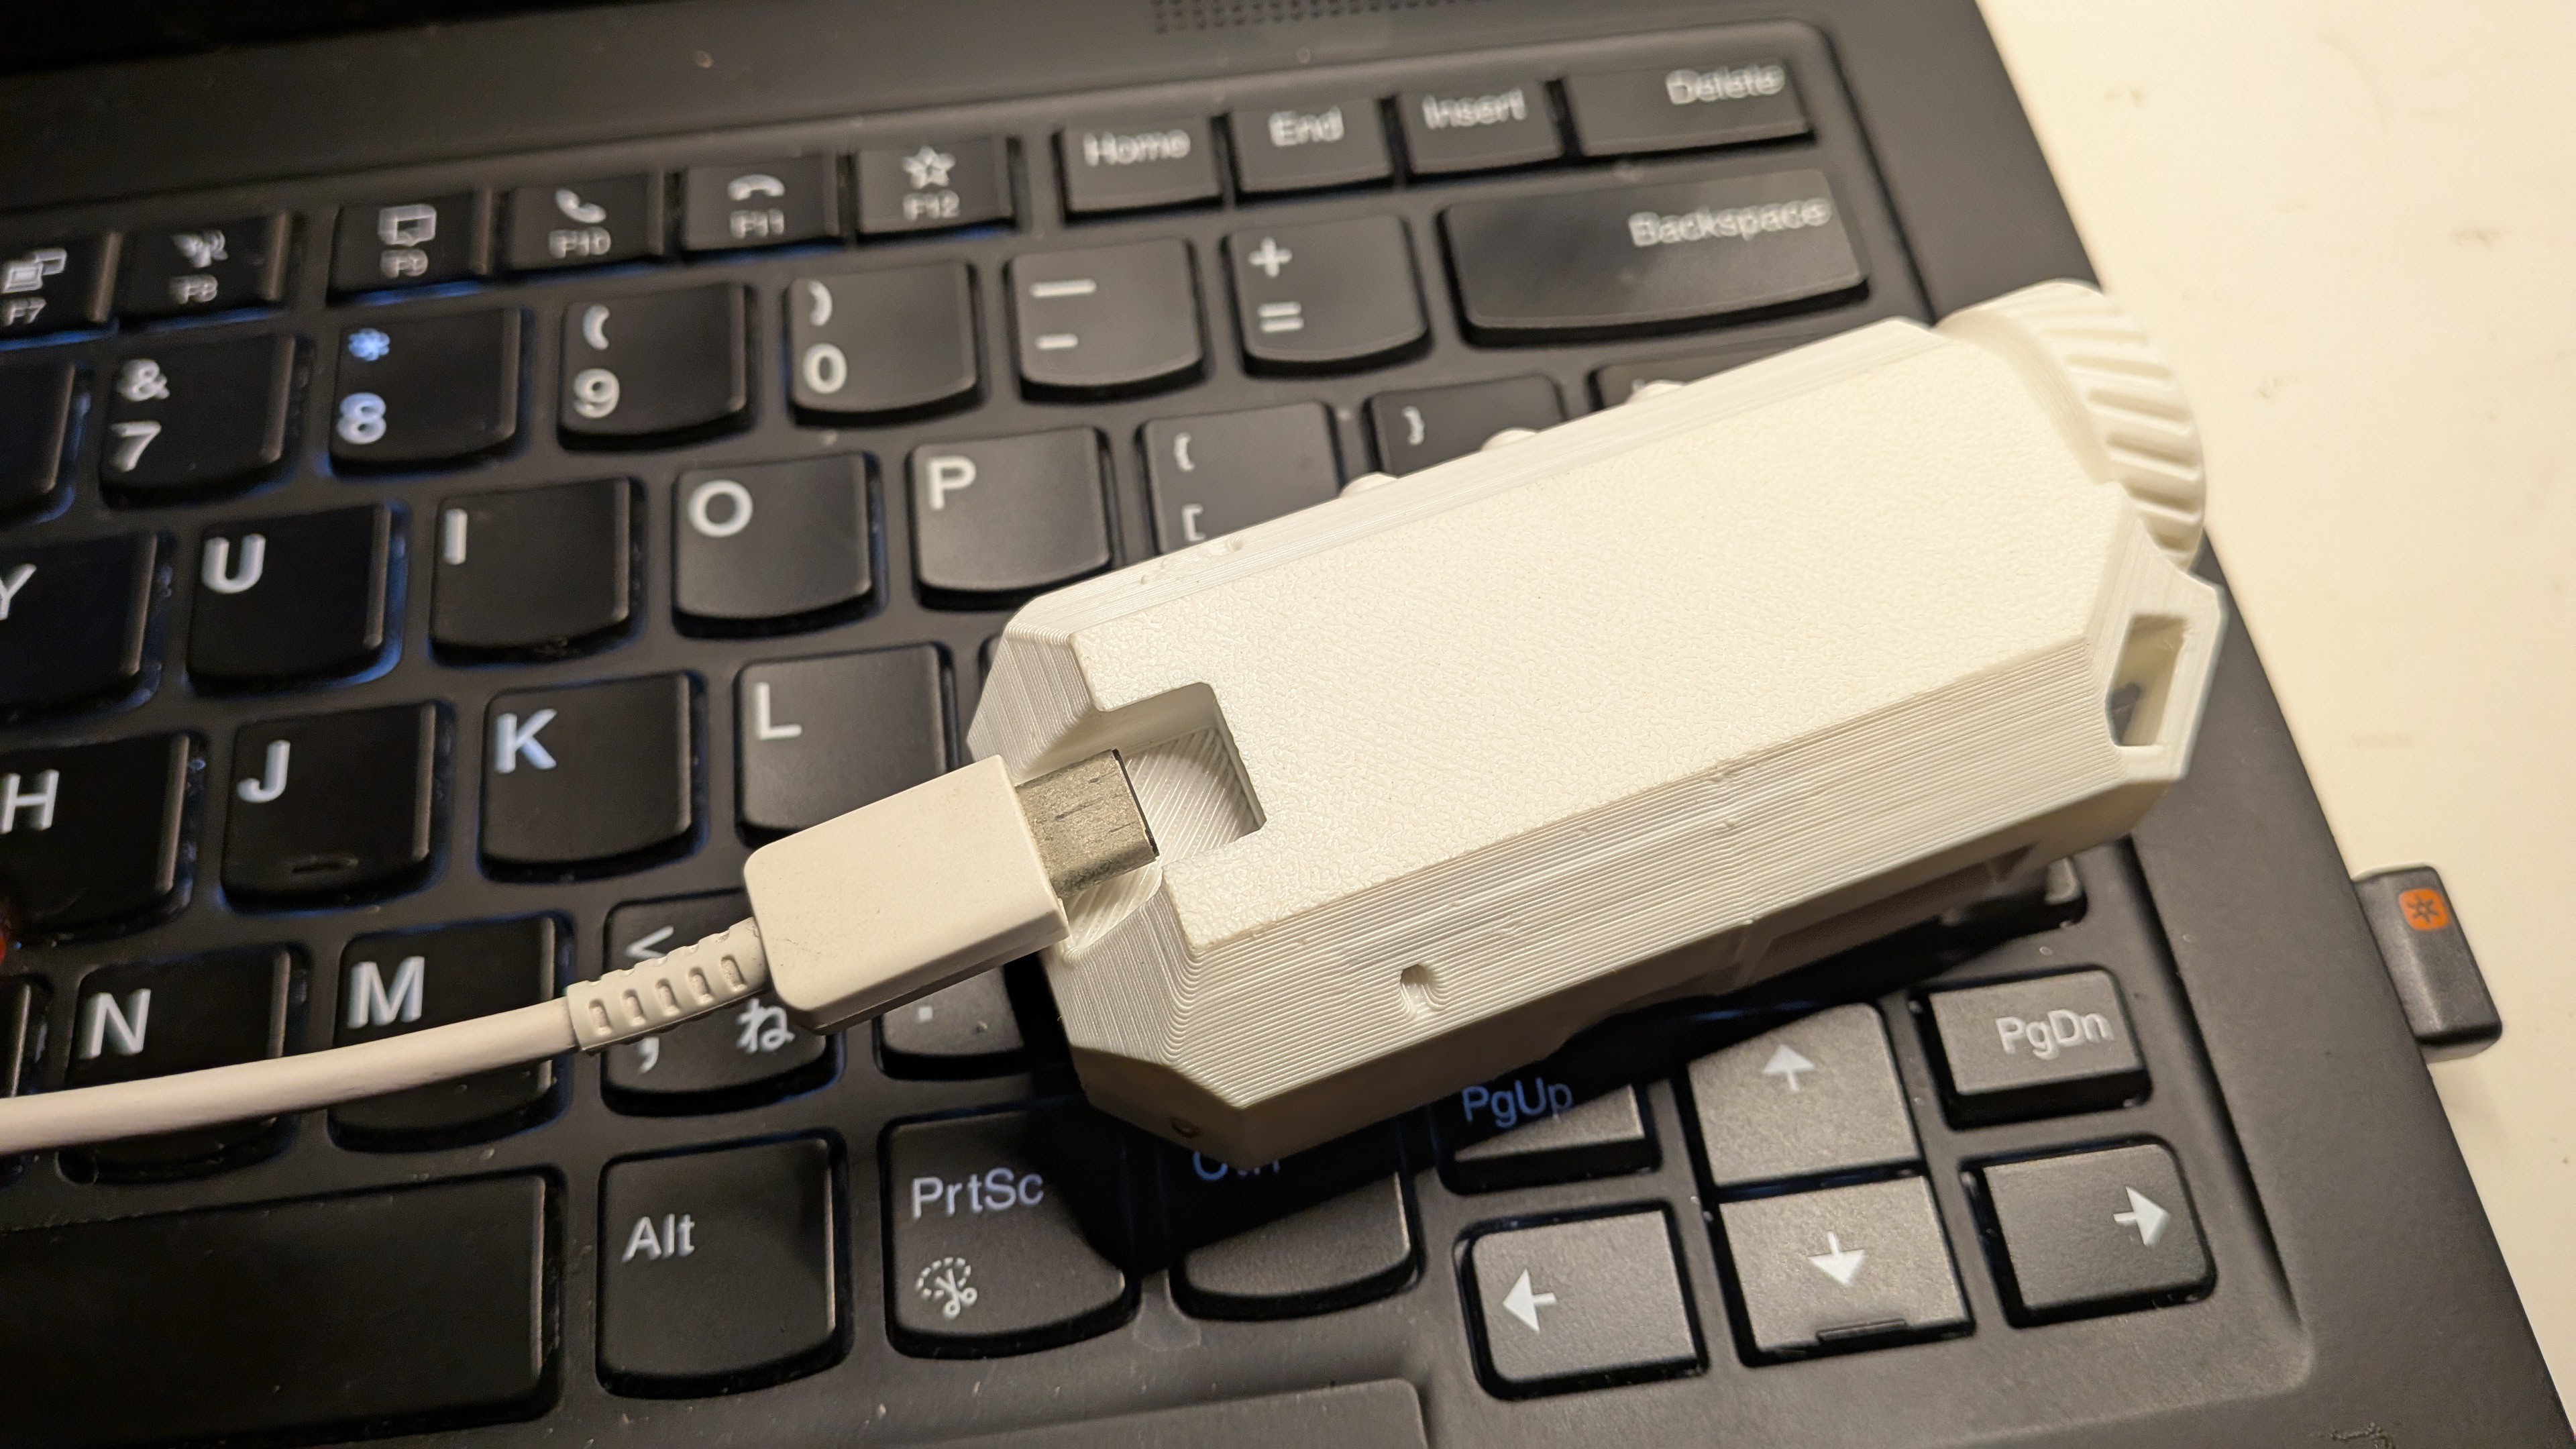
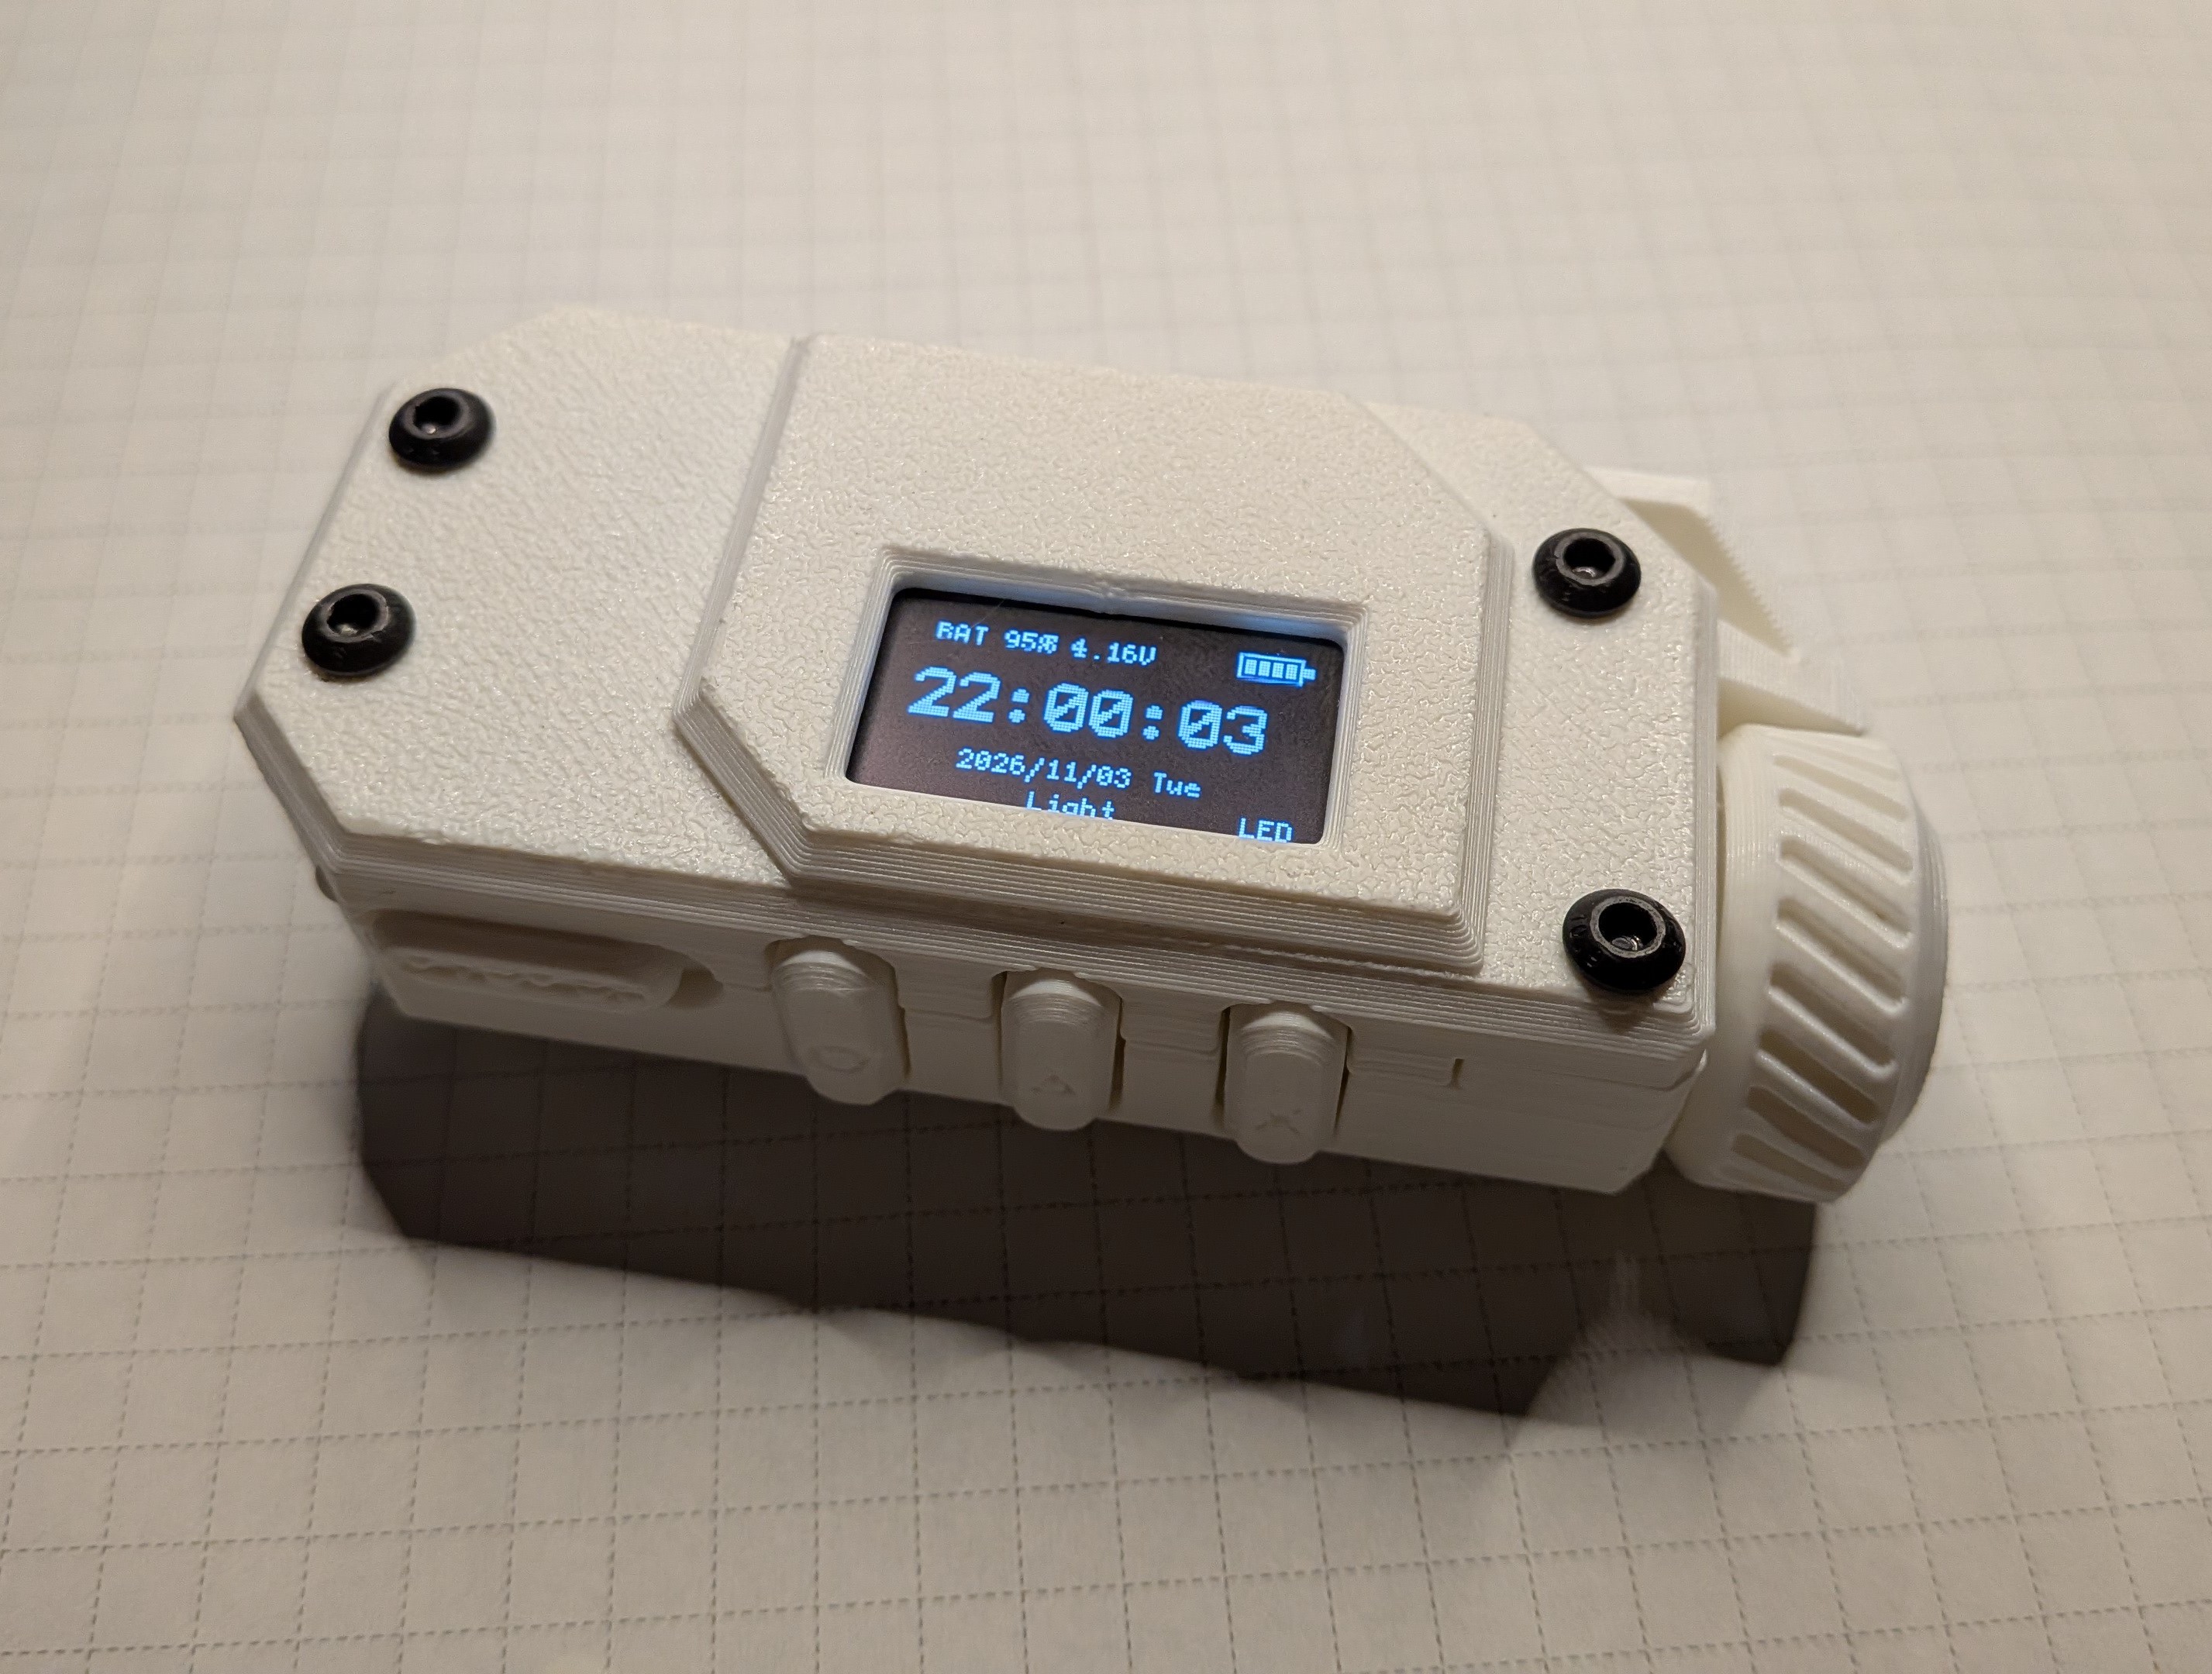
    And here's what I came up with:

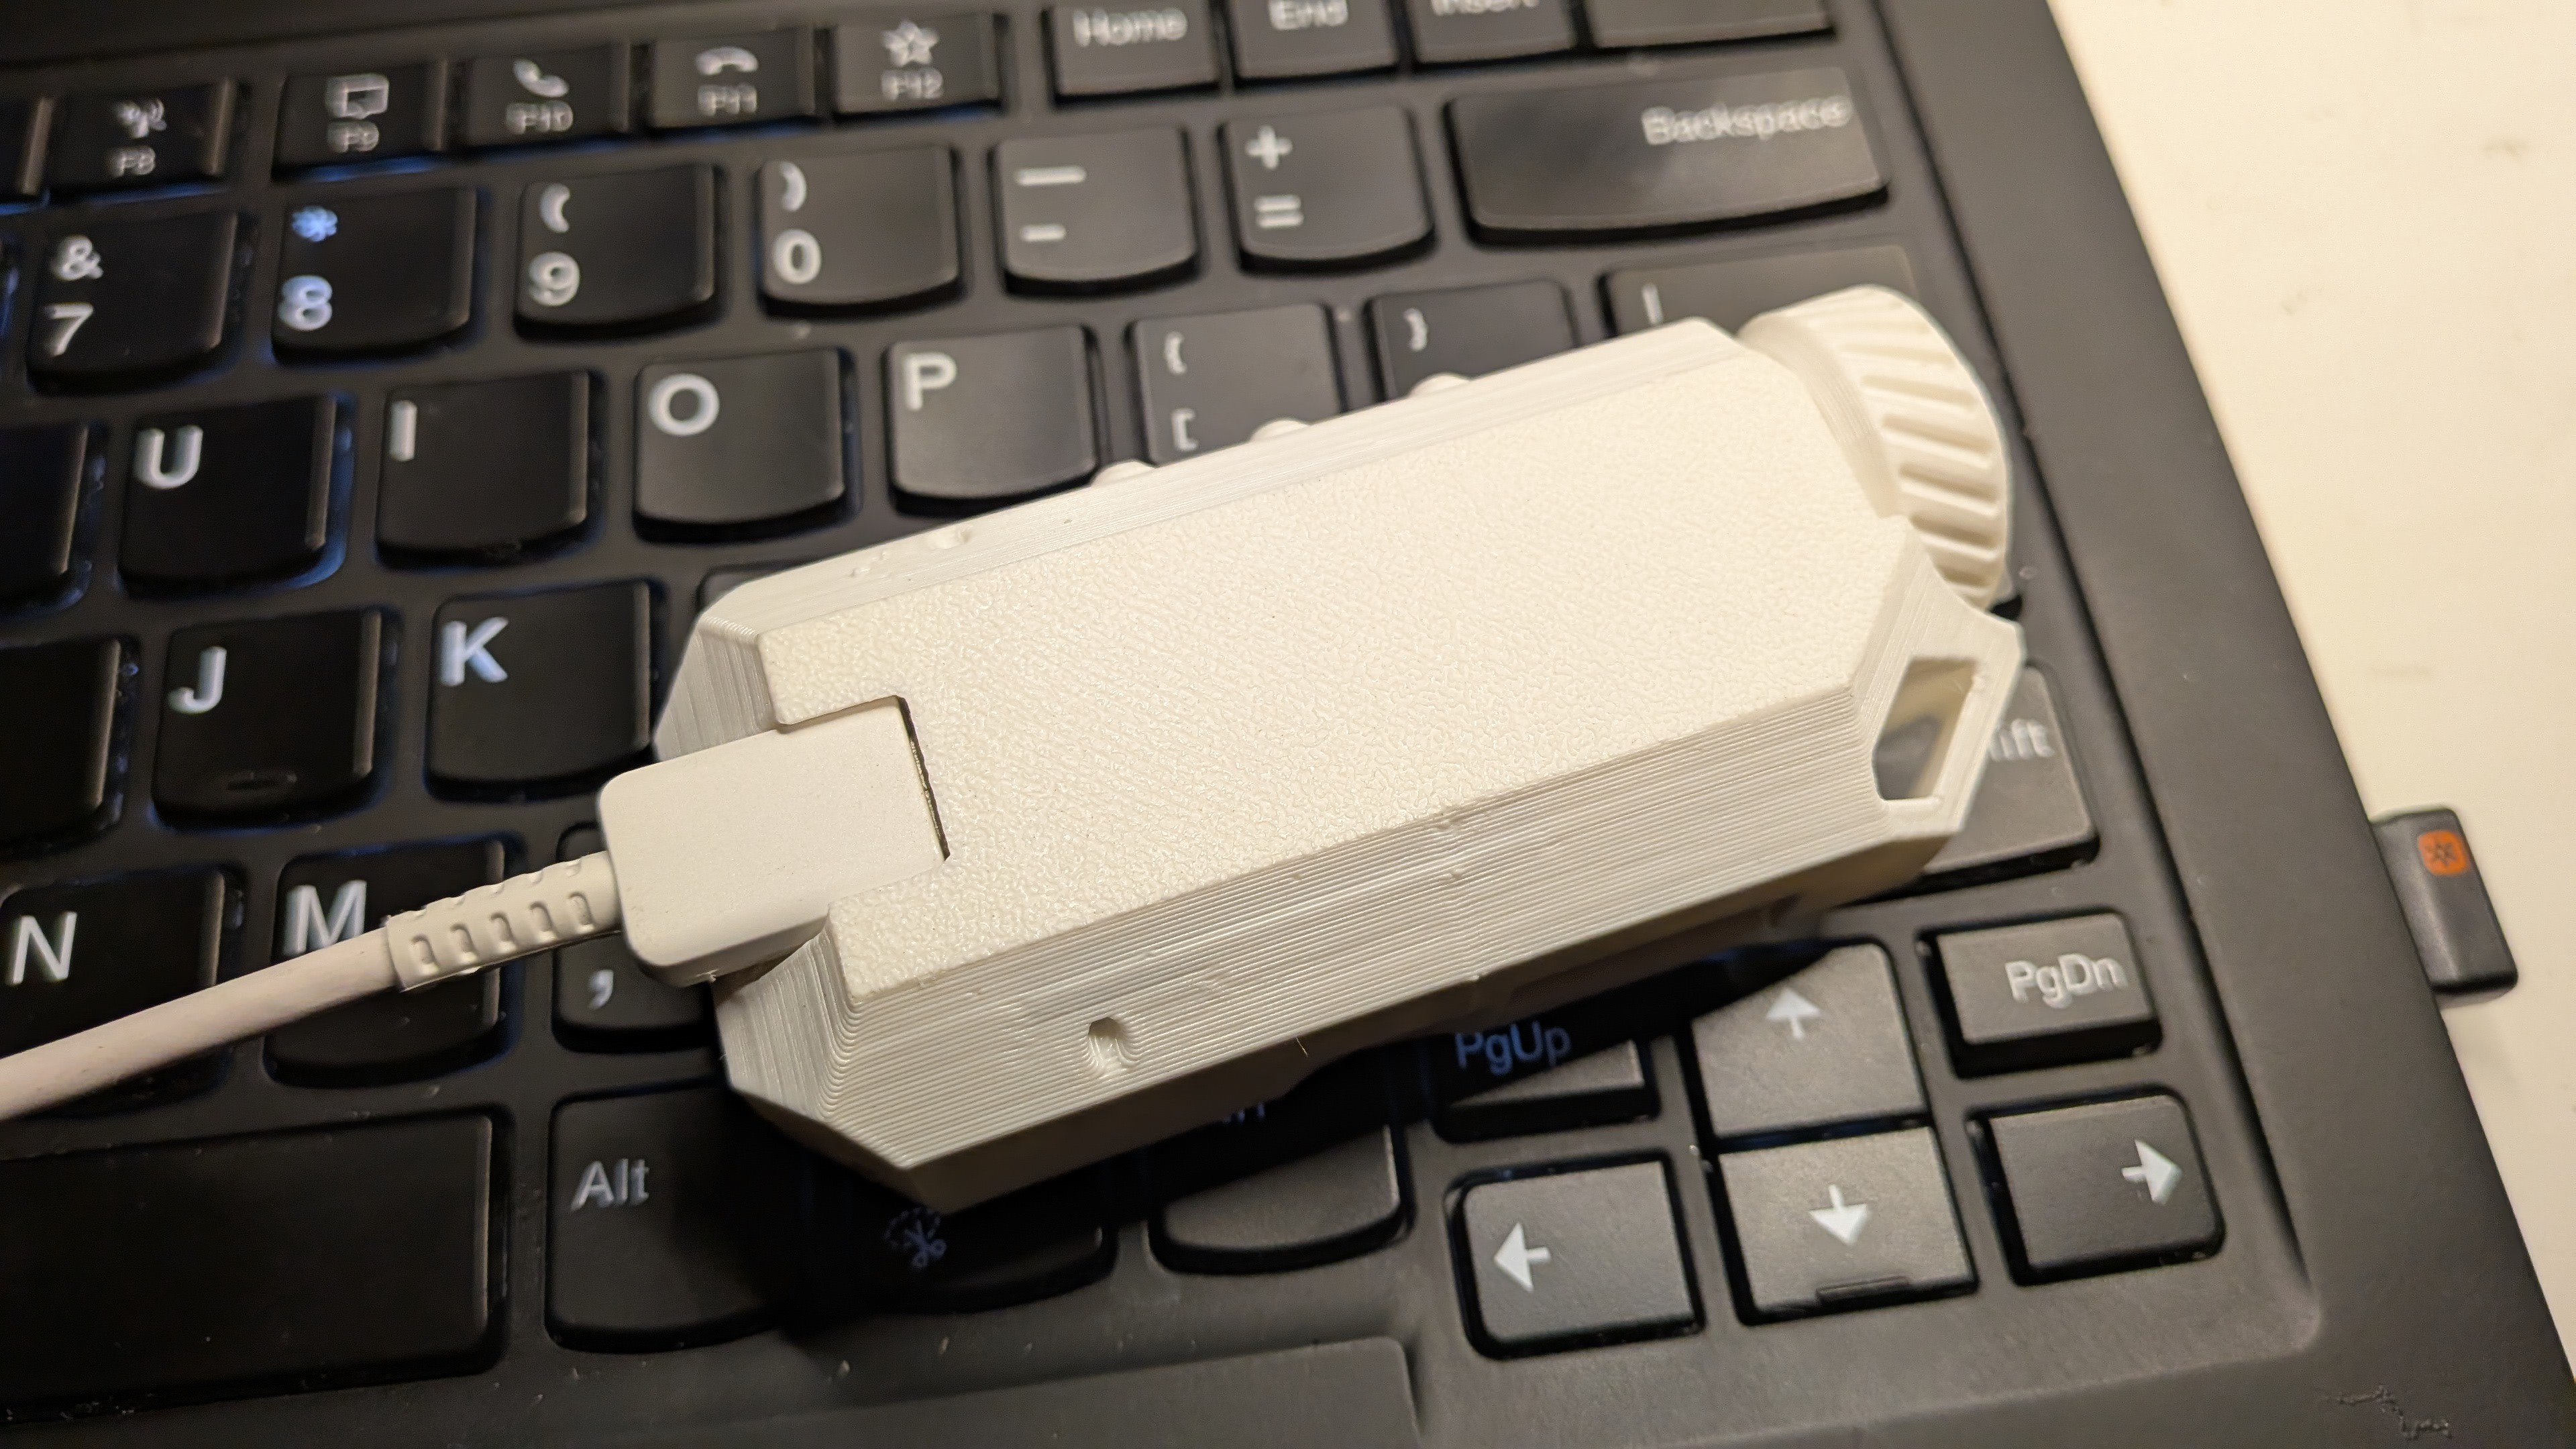
    To protect the USB port, I recessed it slightly into the case:

  • Requirements Rise Like Dough

    Jiamu • 2 days ago • 0 comments

    The original prototype didn't have an enclosure, and since it had no power supply, it certainly couldn't support TOTP codes.

    So another feature had to be added — an RTC clock chip. I went straight with the RX8010.

    Yes, the ESP32-S2 also has an RTC, but considering the additional crystal oscillator and higher power consumption, using a separate RTC chip was actually more cost-effective.

    OK, with TOTP taken care of, the next issue was the feel of the controls.

    After using it for a while, I noticed a problem: buttons are simple and take up very little space, but they have one major drawback — they're inconvenient. For example, if I needed to scroll down through 20+ items, I'd have to press a button 20 times, or add a feature to automatically scroll when holding it down. Neither option felt very comfortable to me.

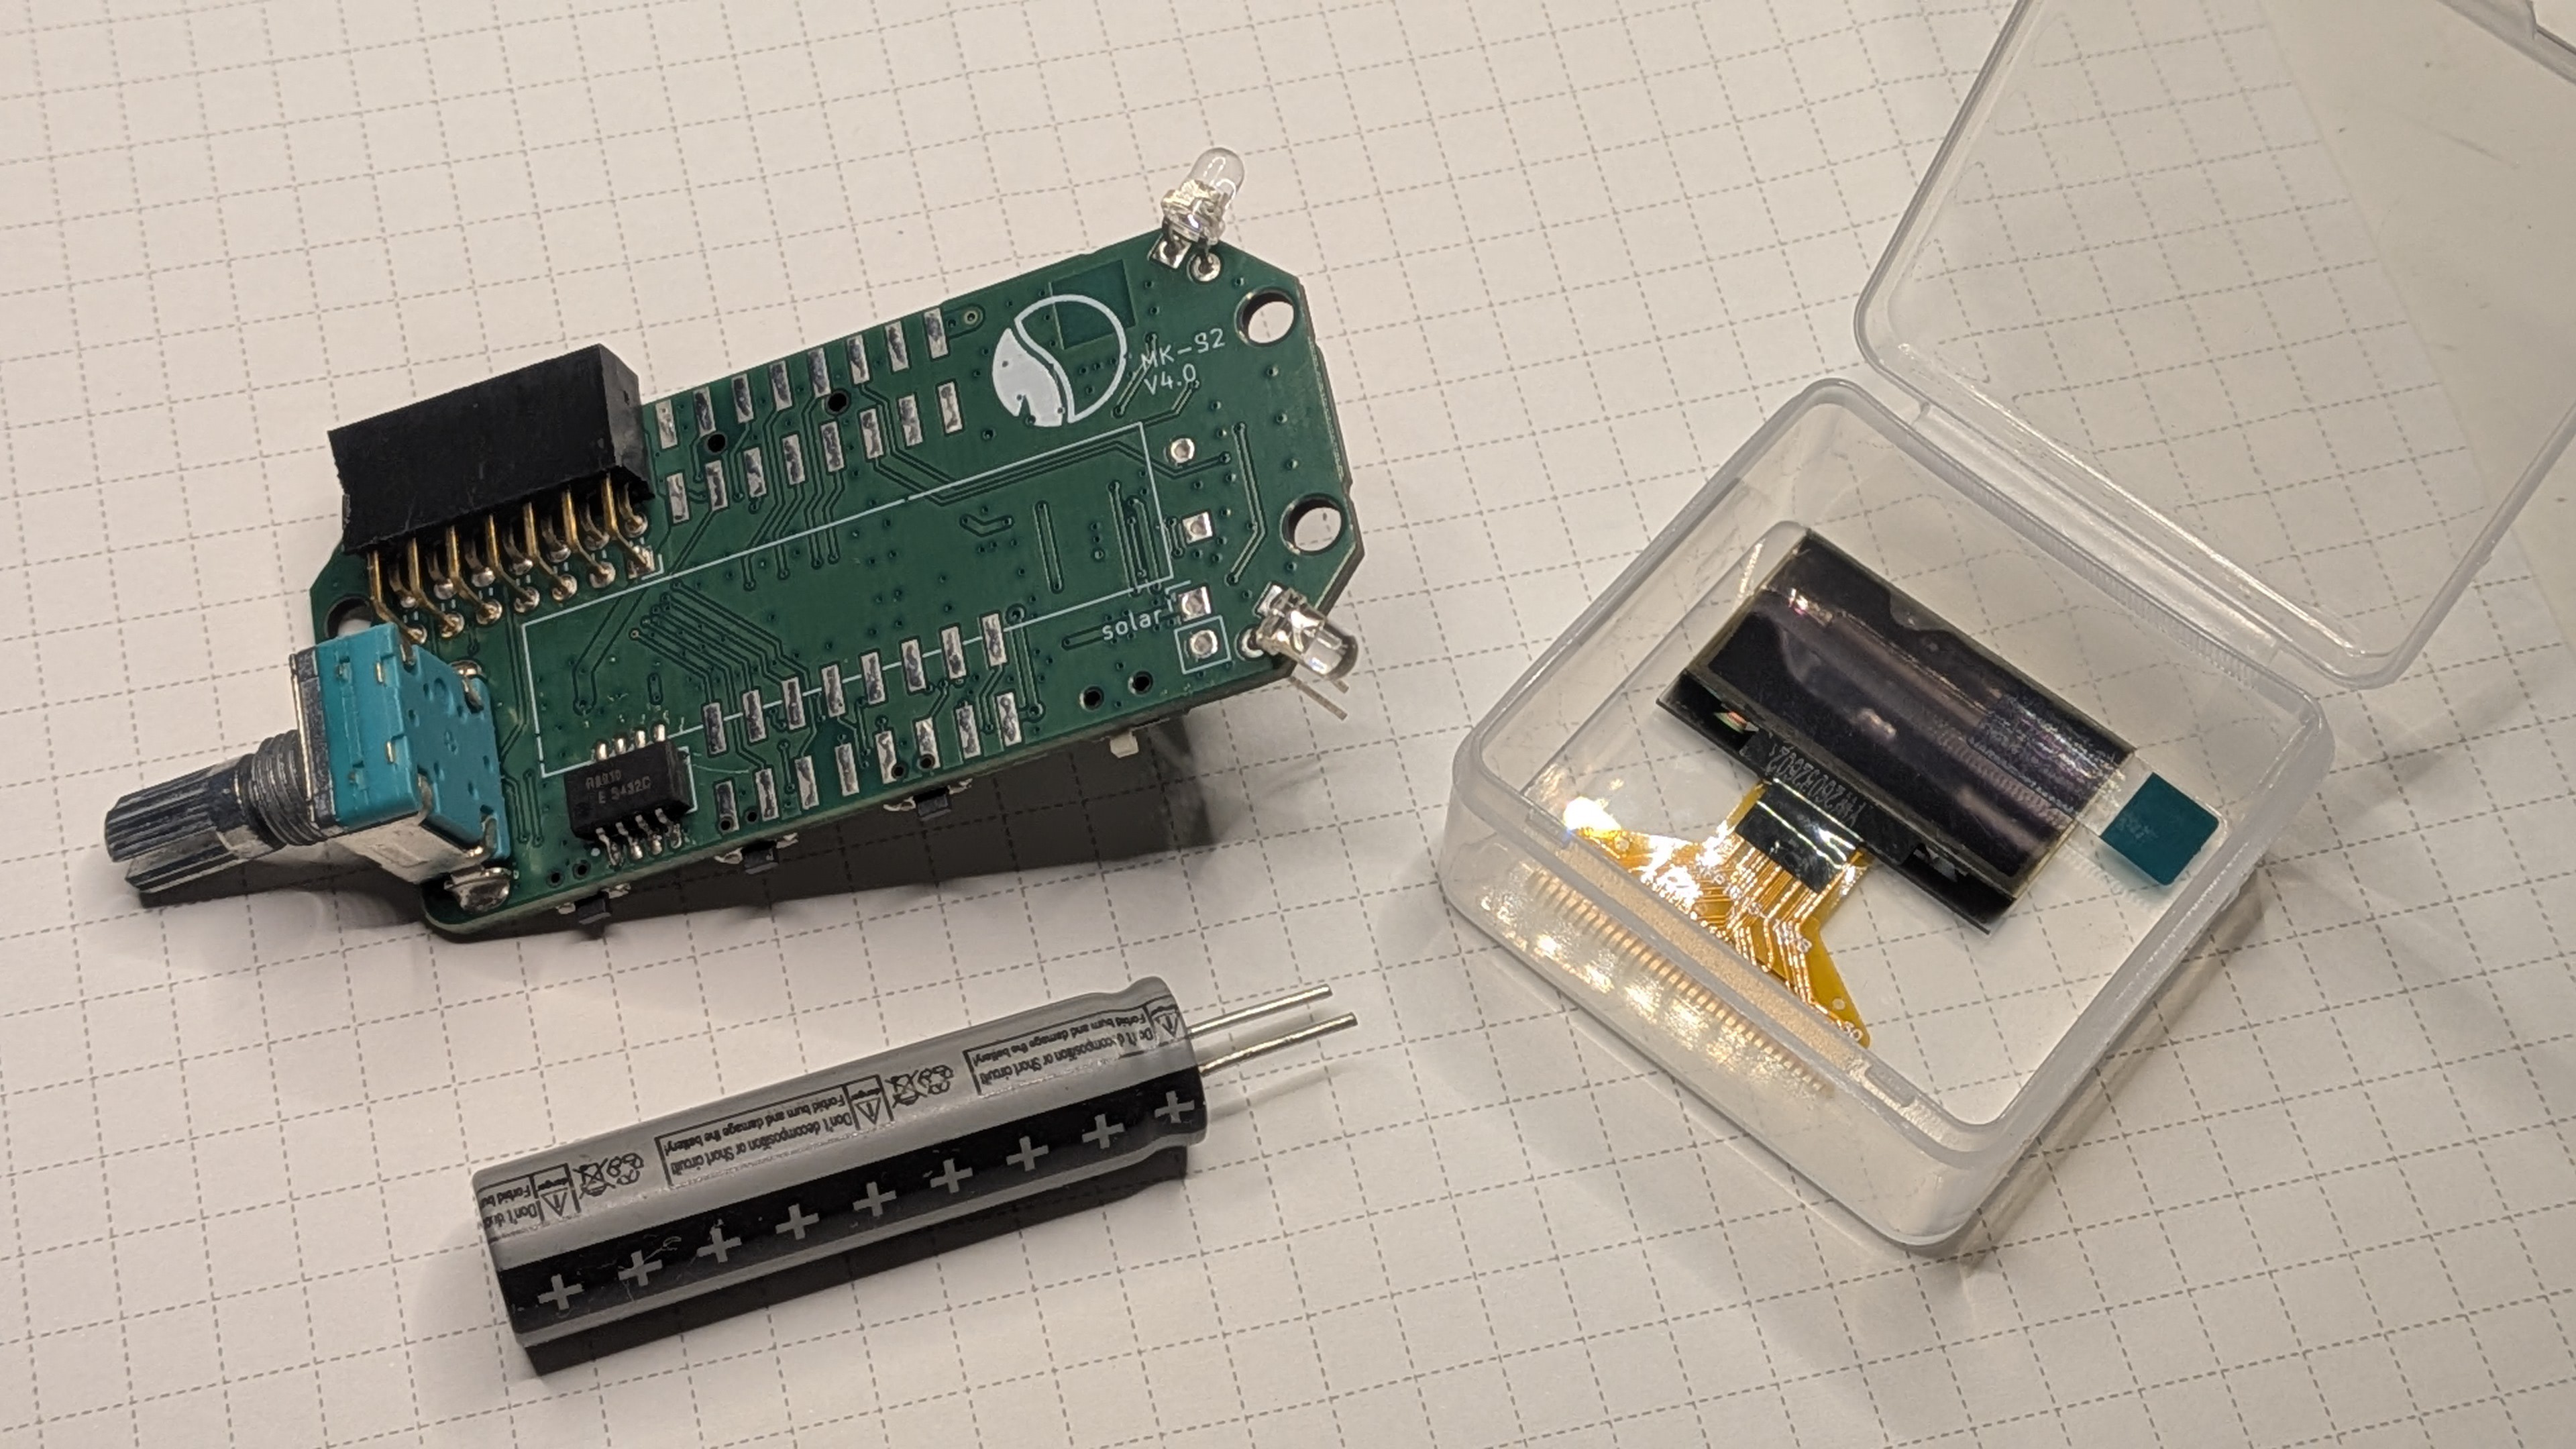
    Human fingers are naturally good at three actions: pressing, squeezing, and twisting. So another essential component appeared: a rotary encoder, and it had to be mounted sideways at 90 degrees.

    For the power supply, I used a 1040 lithium-ion battery left over from a previous project. It looks very much like a capacitor. Charging was handled by a TP4057, while a TPS631000 was used to boost the voltage to 5V. The power source switches automatically when external USB power is connected.

    For the display, I switched directly to a 128×64 OLED, which at least provided a slightly larger display area.

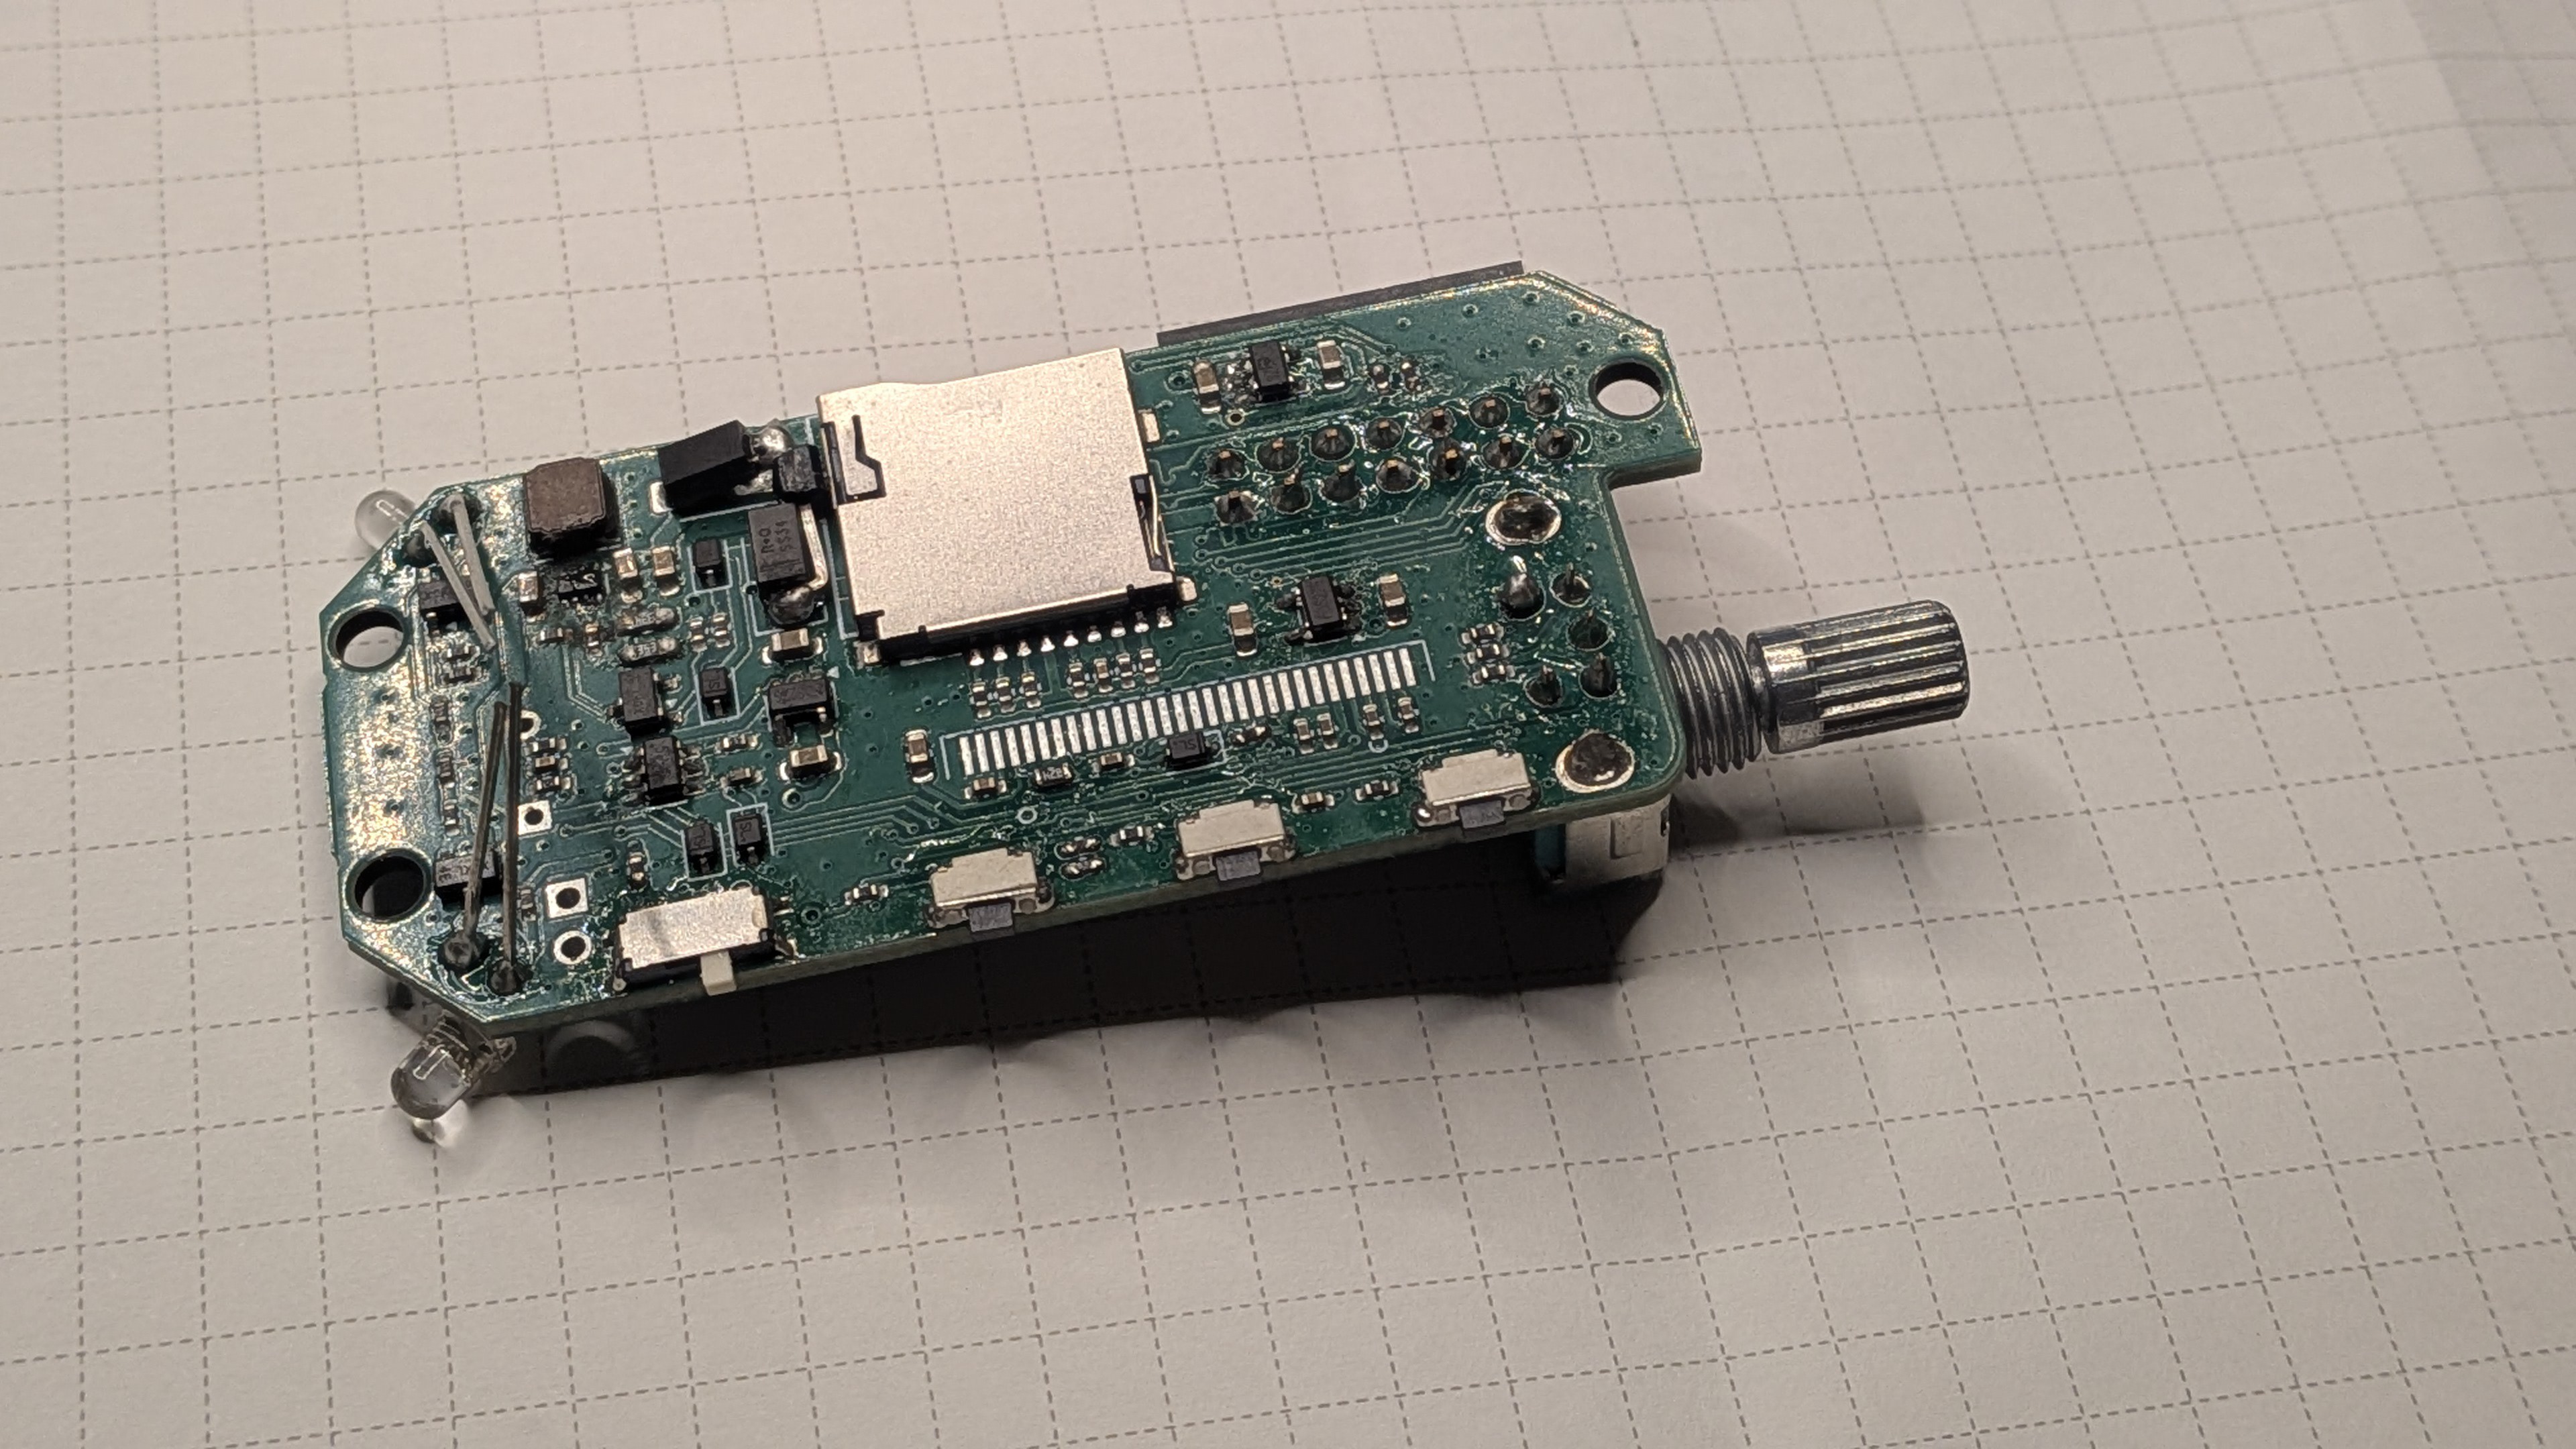
    So, following this idea, I designed the circuit and made a two-layer PCB (because it was cheap). And that resulted in the finished prototype shown below.

    Unfortunately, the I2C traces and the boost converter output were connected incorrectly on the first PCB revision, so I had to fix them with a few jumper wires.

  • How It Started: Too Many Passwords

    Jiamu • 4 days ago • 0 comments

    As more and more websites appeared, my brain finally ran out of room to remember a different username and password for every single one. So I decided to build something that could remember them for me.

    That's how the very first prototype came about.

    The First Hardware Prototype

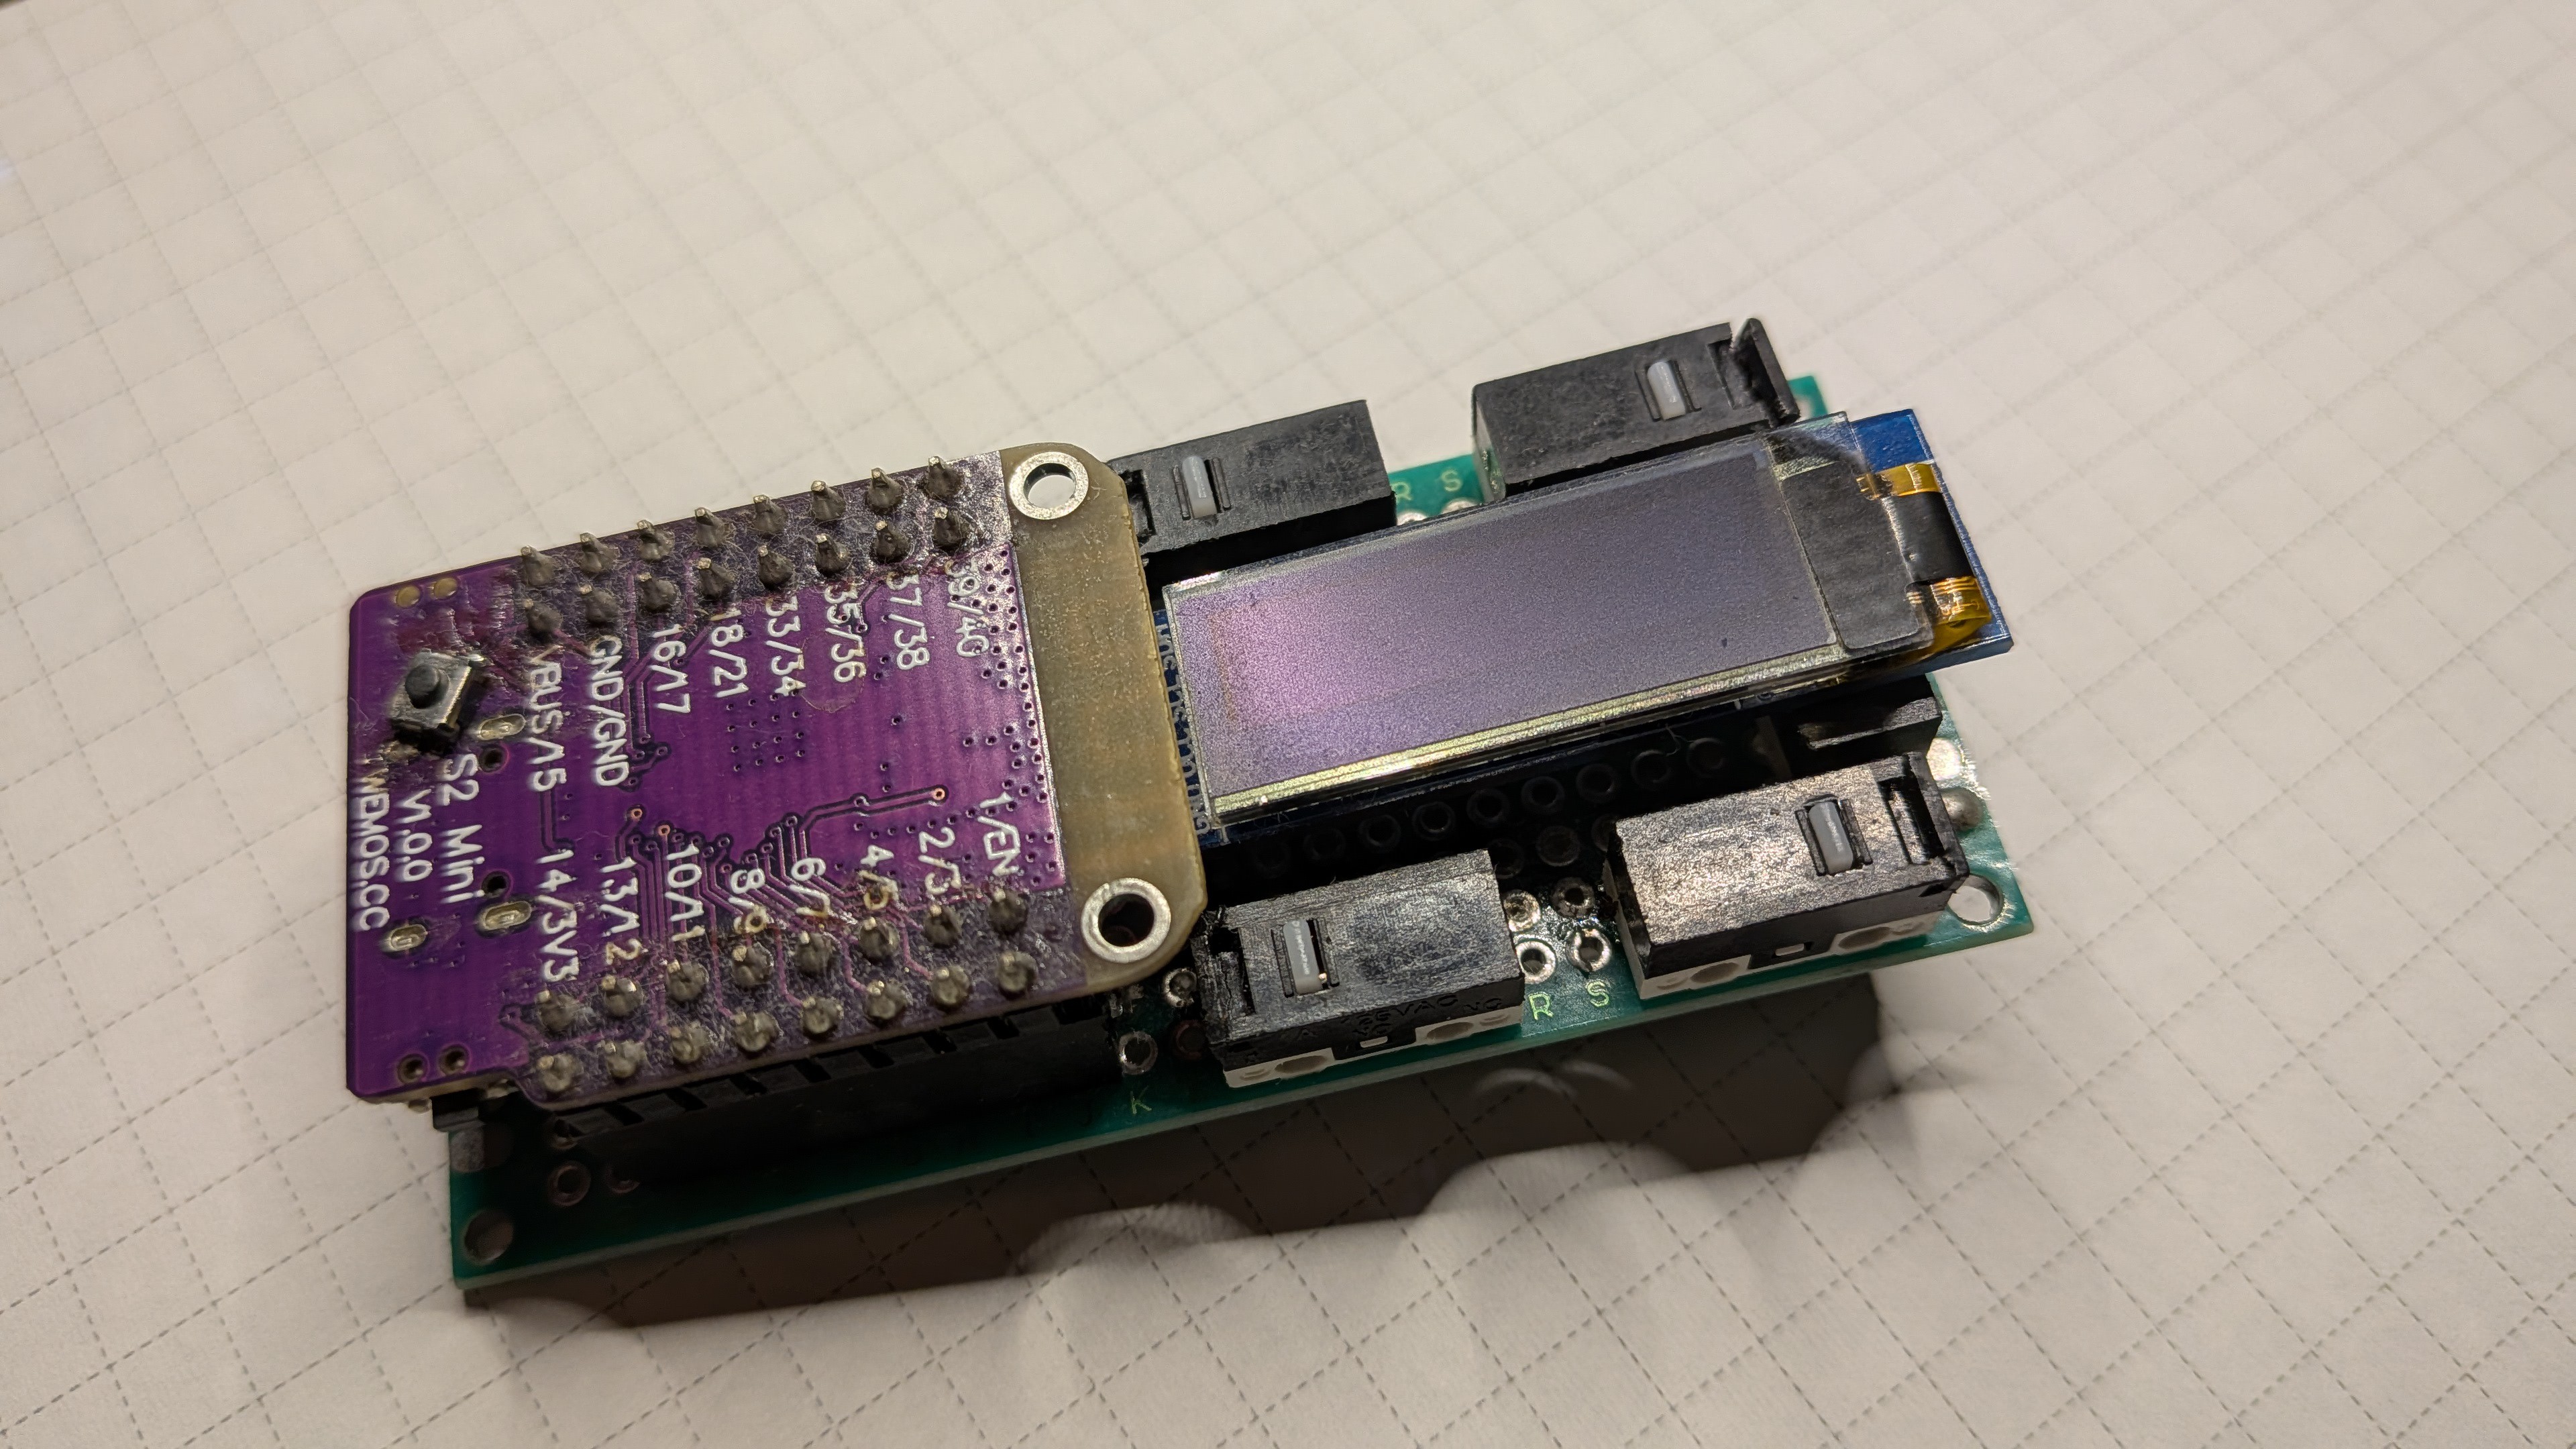
    The hardware was pretty simple — a completely DIY approach.

    I used an ESP32-S2 Mini as the main controller. It already had a USB Type-C port, which saved me quite a bit of trouble. The display was a tiny 128×32 monochrome OLED.

    For storage, I used a TF-to-SD card adapter that I soldered together by hand. It was a bit rough around the edges and didn't look particularly pretty, but it worked surprisingly well.

    For the buttons, I used mouse microswitches — two on each side. I also tucked another one underneath the OLED, so pressing down on the screen acted as a confirm button. That last one turned out to be a particularly nice touch. The tactile feedback was surprisingly satisfying.

    Why CircuitPython?

    At the time, the version of MicroPython I was using didn't support the USB HID functionality I needed. I wanted the device to act as a USB keyboard and type usernames and passwords directly into a computer, so I switched to CircuitPython.

    I also experimented with storing an SSH private key on the device's emulated USB flash drive. That way, my Linux login script could automatically copy the key from the device.

    This wasn't exactly secure: the private key wasn't encrypted, and it was sitting on a USB drive that anyone could read. My biggest security effort at the time was simply protecting the private key with a passphrase.

View all 3 project logs

Enjoy this project?

Share

Discussions

Similar Projects

Does this project spark your interest?

Become a member to follow this project and never miss any updates