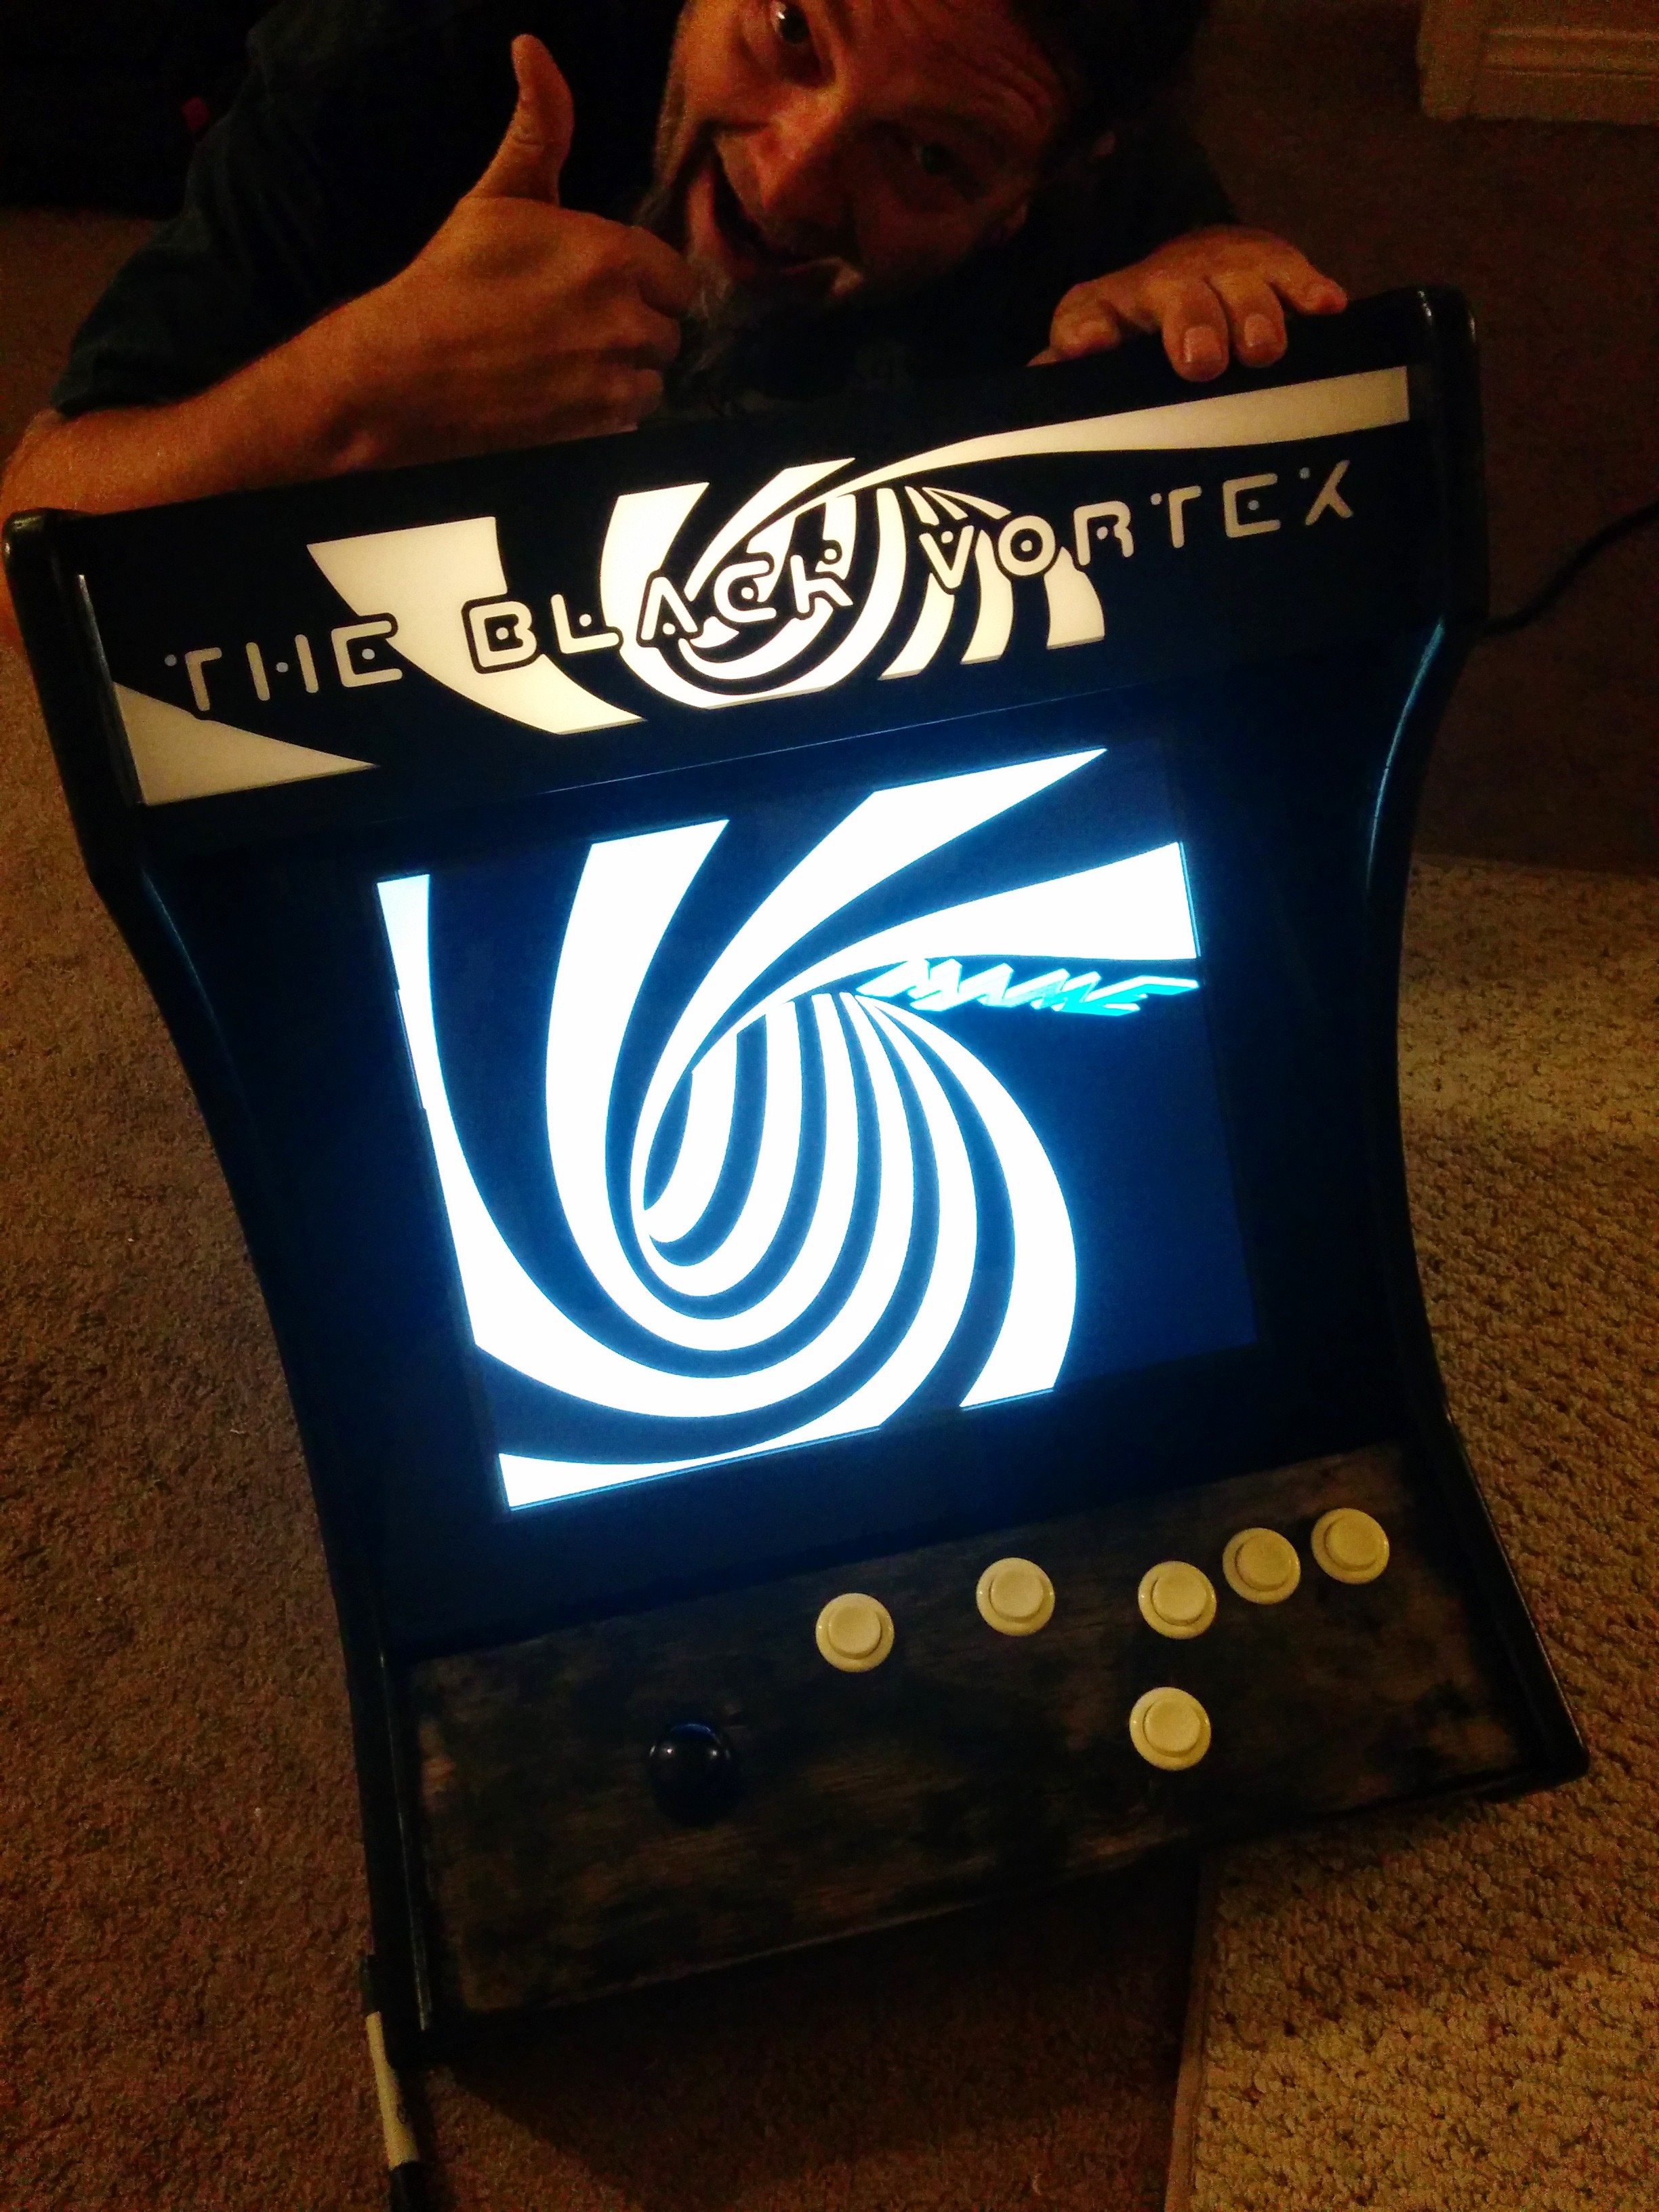
Close
0%
0%

Raspberry Pi Vintage Arcade

Classic yet original Arcade System built from the ground up, using a Raspberry Pi.

Similar projects worth following
Check out my new retro-gaming project: RASPICON!
https://hackaday.io/project/8439-raspicon-retro-gaming-and-media-center-platform

This is an Arcade Machine made completely from scratch to create an original yet classic system that will last forever! The brains of the operation is a Raspberry Pi Model B+, loaded with PiMame, an open source emulation OS loaded onto the SD card of the Pi. There are about 1200 games on the system all from the early 80's (The hey day of arcades!)

VIDEO OF THE COMPLETED ARCADE:
http://youtu.be/8E0t5BPGui4

http://youtu.be/eNhl2nolT7w?list=UU_k-AKFbtZOauq72ILYdeGQ

EASY WIRING SETUP:
http://youtu.be/lUm0hxbCKiU

With the support o

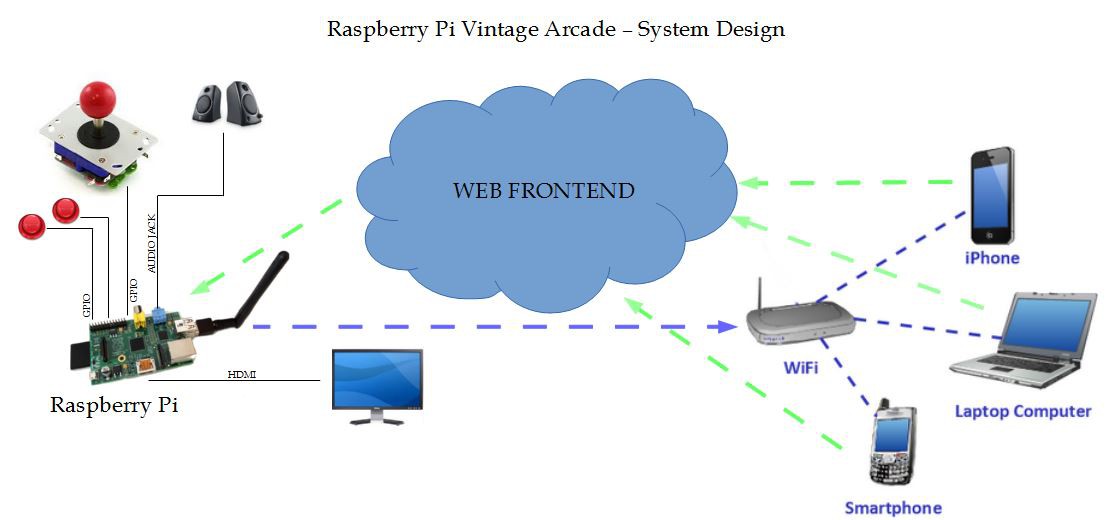
SYSTEM DESIGN OVERVIEW:
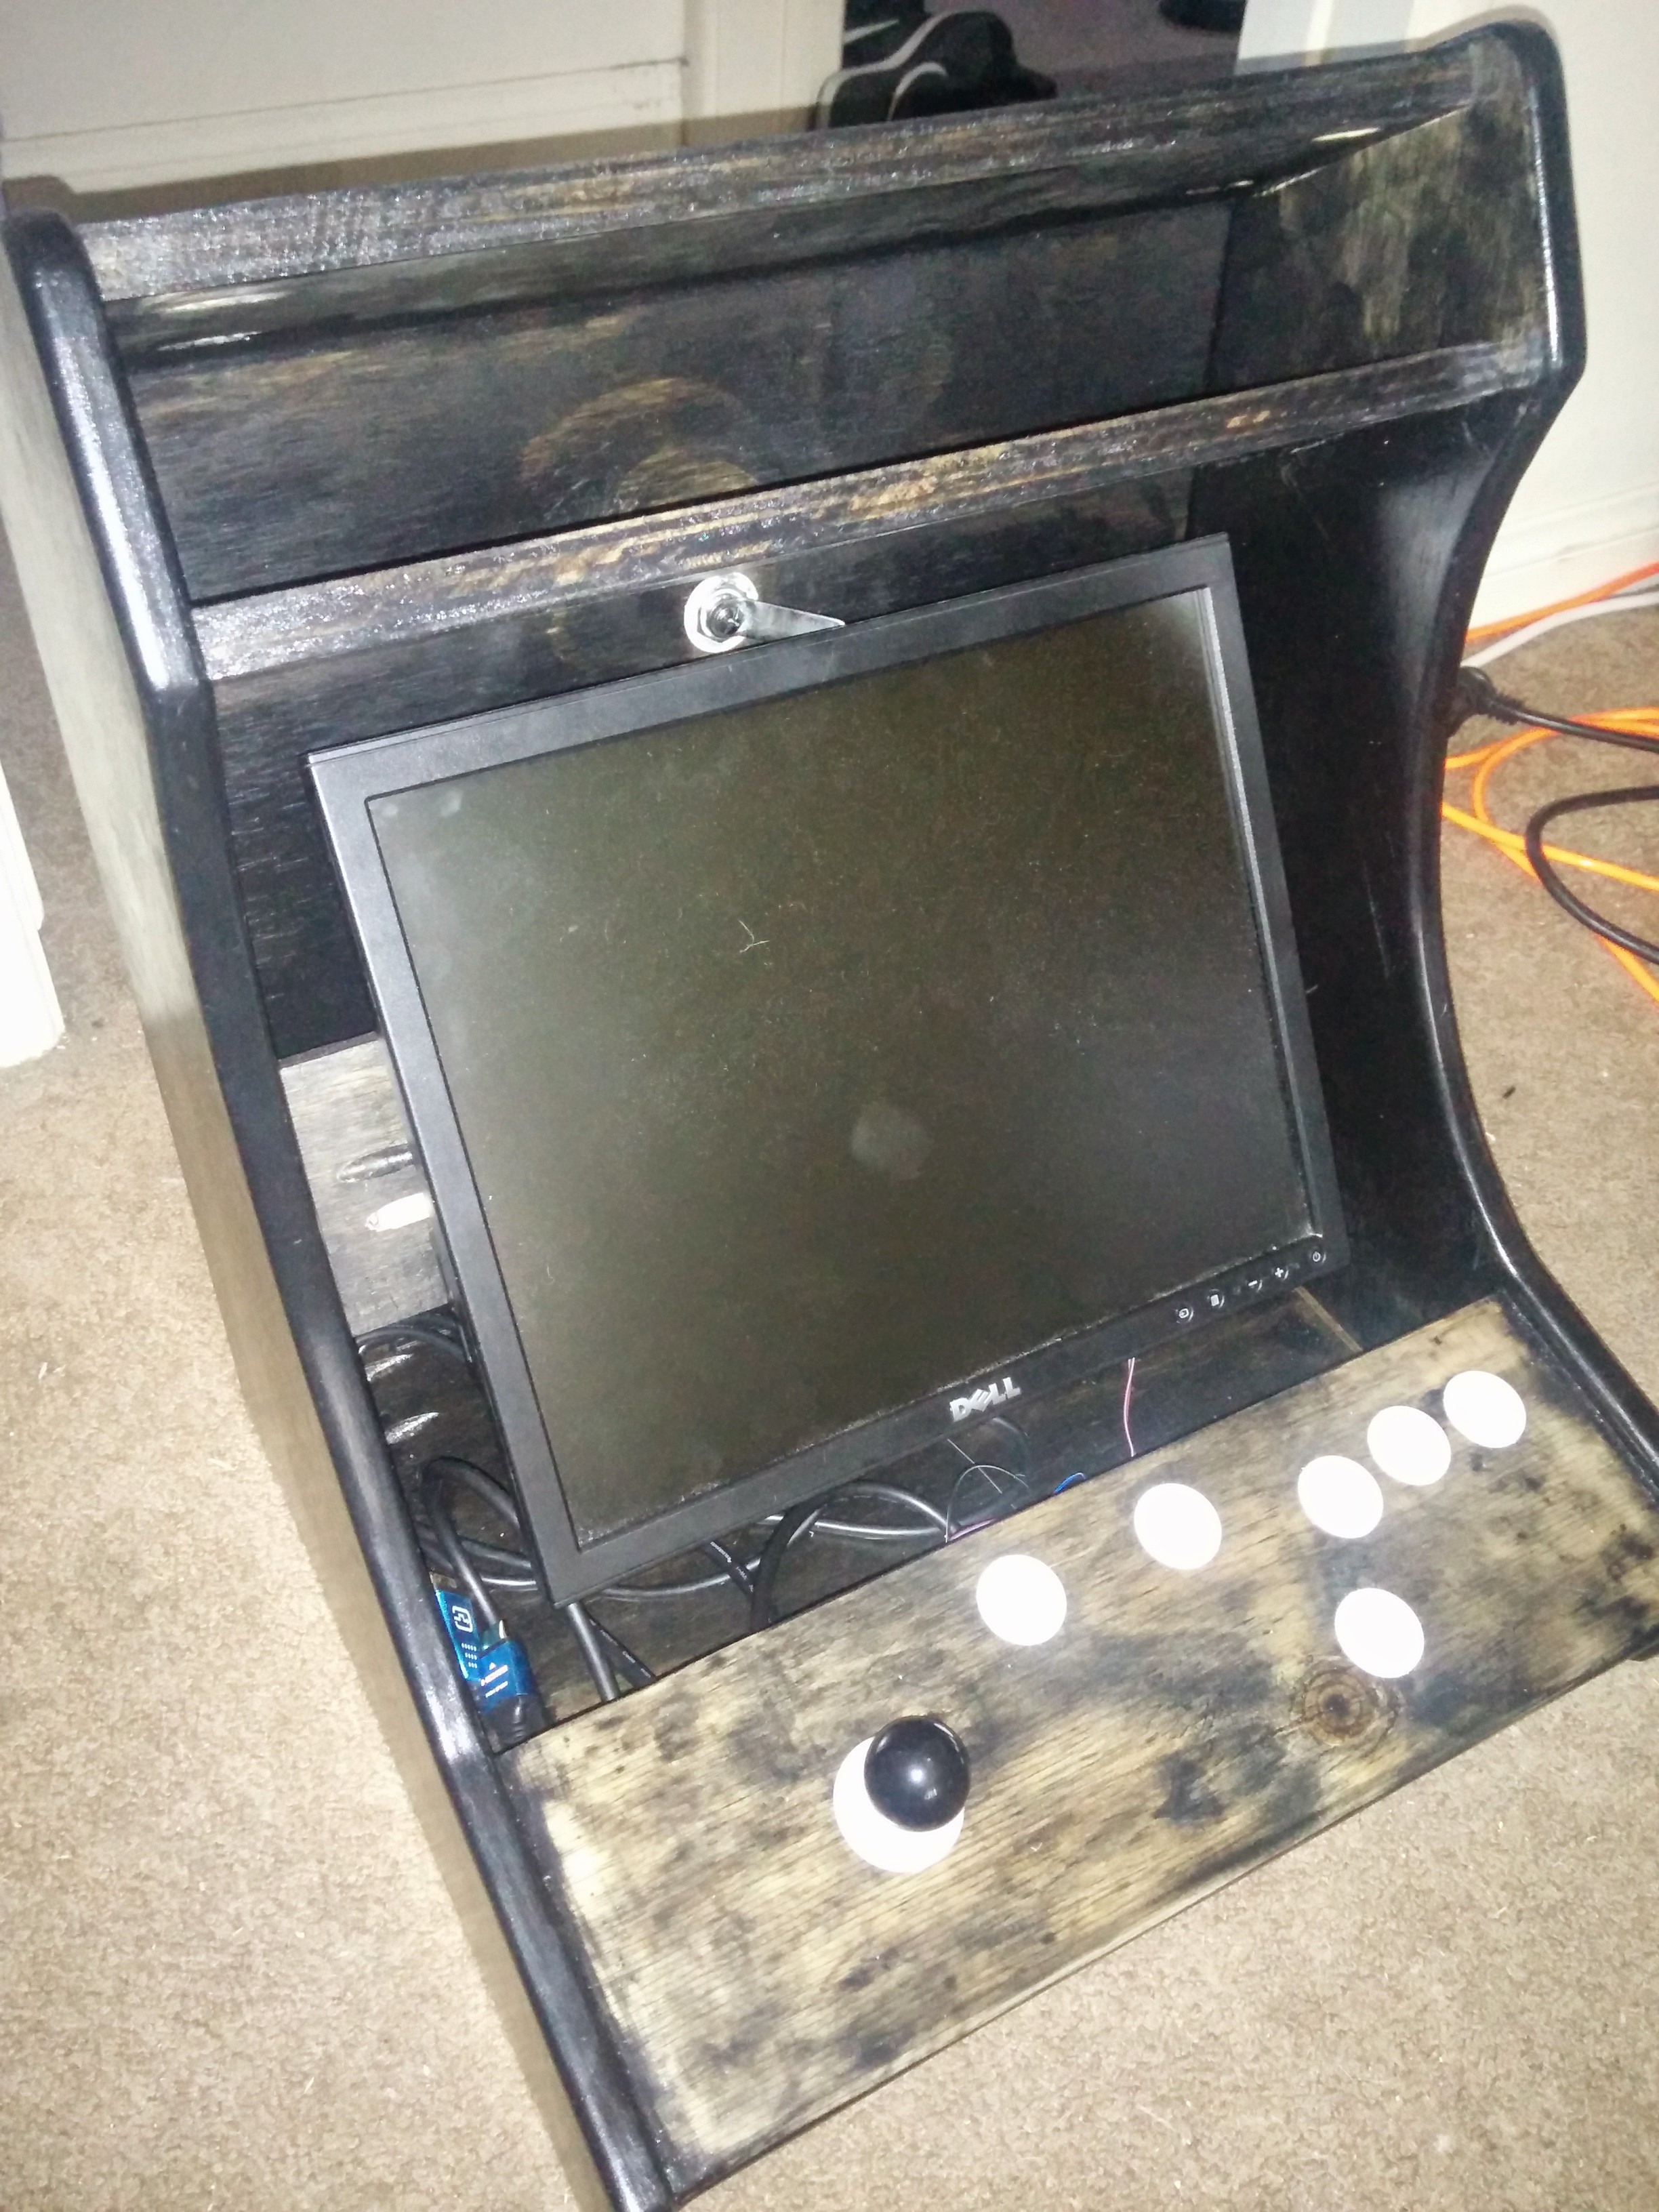
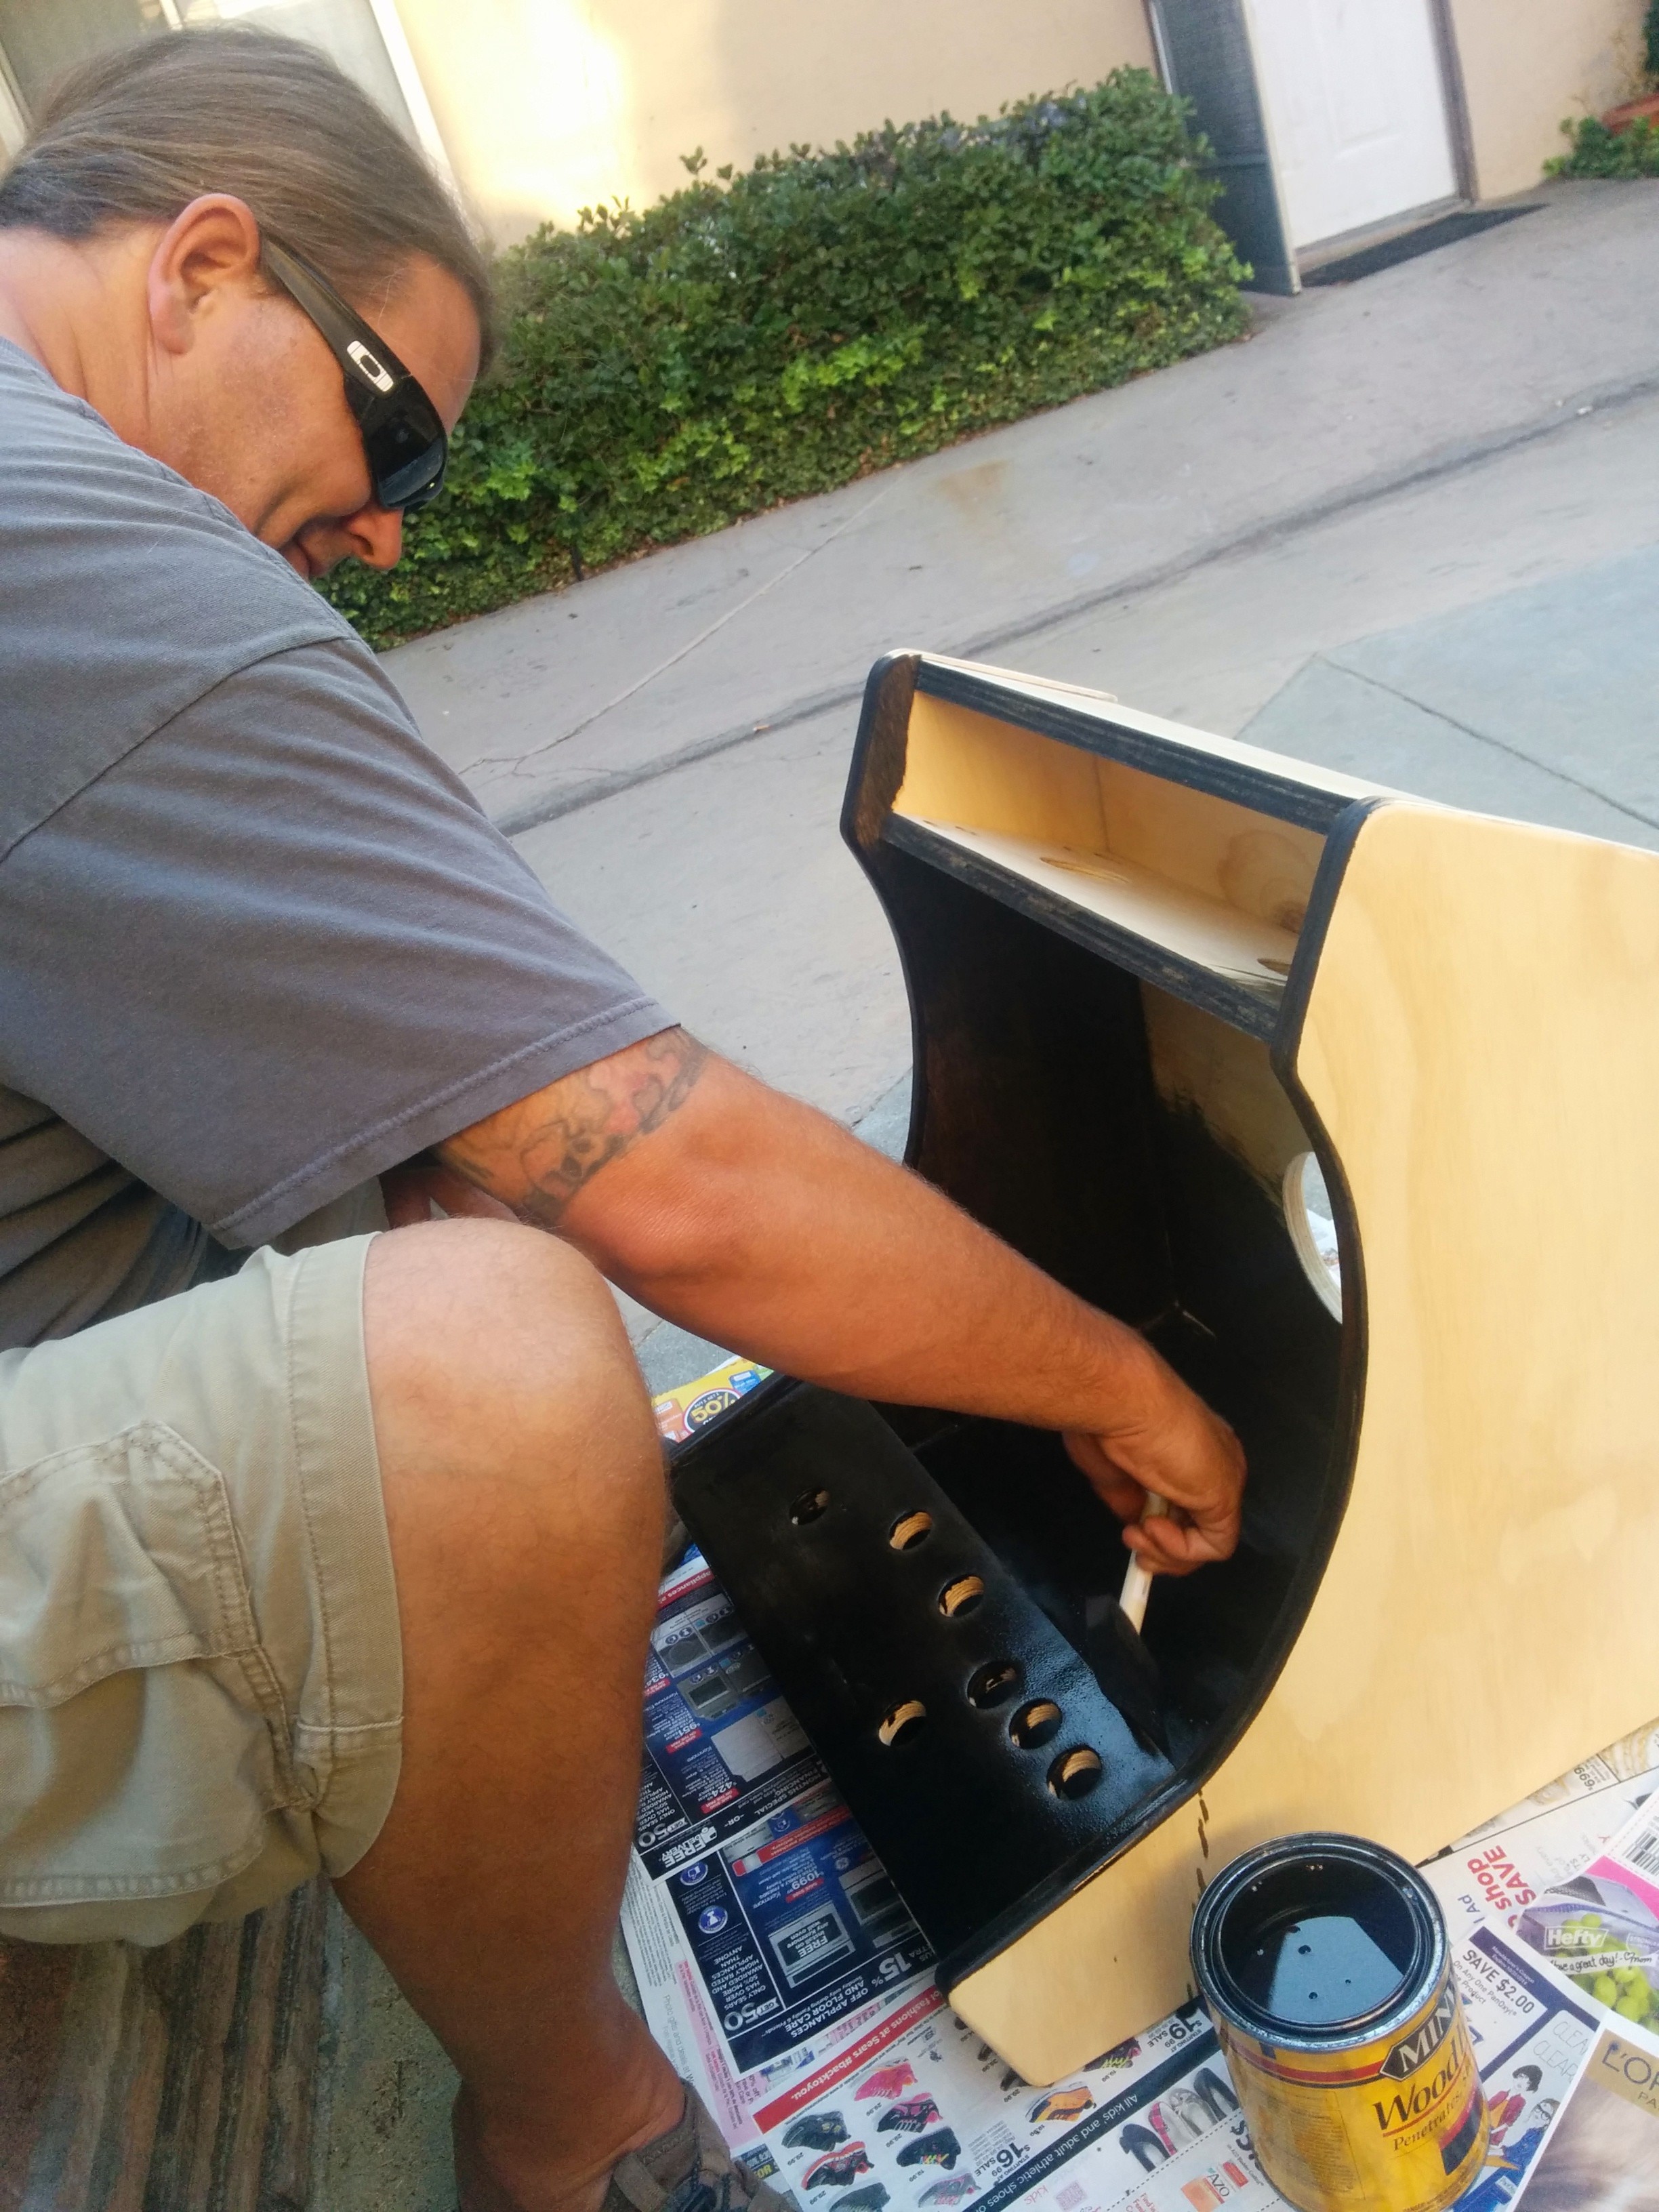
GETTING STARTED:

First you're going to want to start up your Raspberry Pi and play around with it. Whats next?

Install PiMame OS onto your Raspberry Pi of course!

---

Installing PiMame- an OS that handles arcade/gaming system emulation.

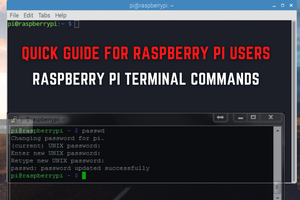
Open the Terminal and type the following commands.

sudo apt-get install git

(Sign up for GITHUB. Confirm E-Mail.)

git clone https://github.com/ssilverm/pimame_installer
cd pimame_installer
sudo ./install.sh

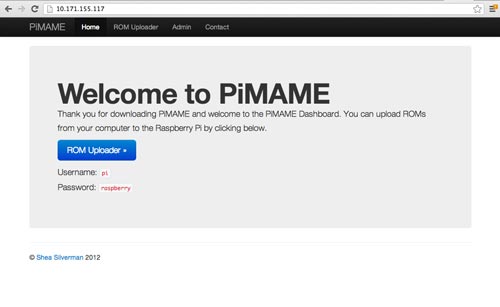
(Following these instructions will result in the installation of PiMAME, a Web Frontend, FTP server,

and other useful software.

After the installation process has completed, you'll need to restart the Raspberry Pi.)

sudo reboot

(Before installing ROMS onto your Raspberry Pi enter this into your terminal and restart the Pi once again)

sudo chown -R pi:pi emulators/
sudo chown -R pi:pi roms/

(This will fix the permissions, allowing you to drag and drop/FTP Upload ROMS into your Raspberry Pi

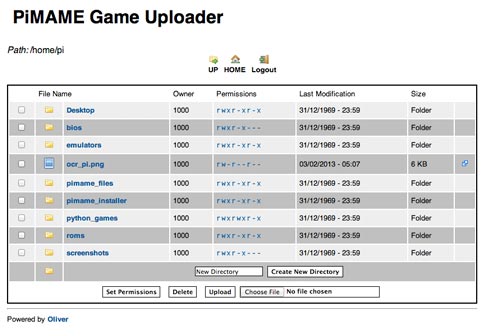
All roms will be stored in the following directory of your Raspberry Pi /home/pi/roms/)

Now that you have PiMame installed. Go find yourself some MAME Roms.

I've had the best luck with MAME4ALL as my emulator of choice for this arcade.

NOTE: MAME4ALL USES VERSION 0.35 ROMS

GET CONNECTED!:


  • FINDING OUT THE IP ADDRESS OF YOUR RASPBERRY PI:


Open up a LXTerminal window and type the following command:

sudo ifconfig

learn_raspberry_pi_ifconfig.png


Next to the wlan0 entry you will see inet addr. This is the IP address of the Raspberry Pi.

Write it down, you will need it for the next step.


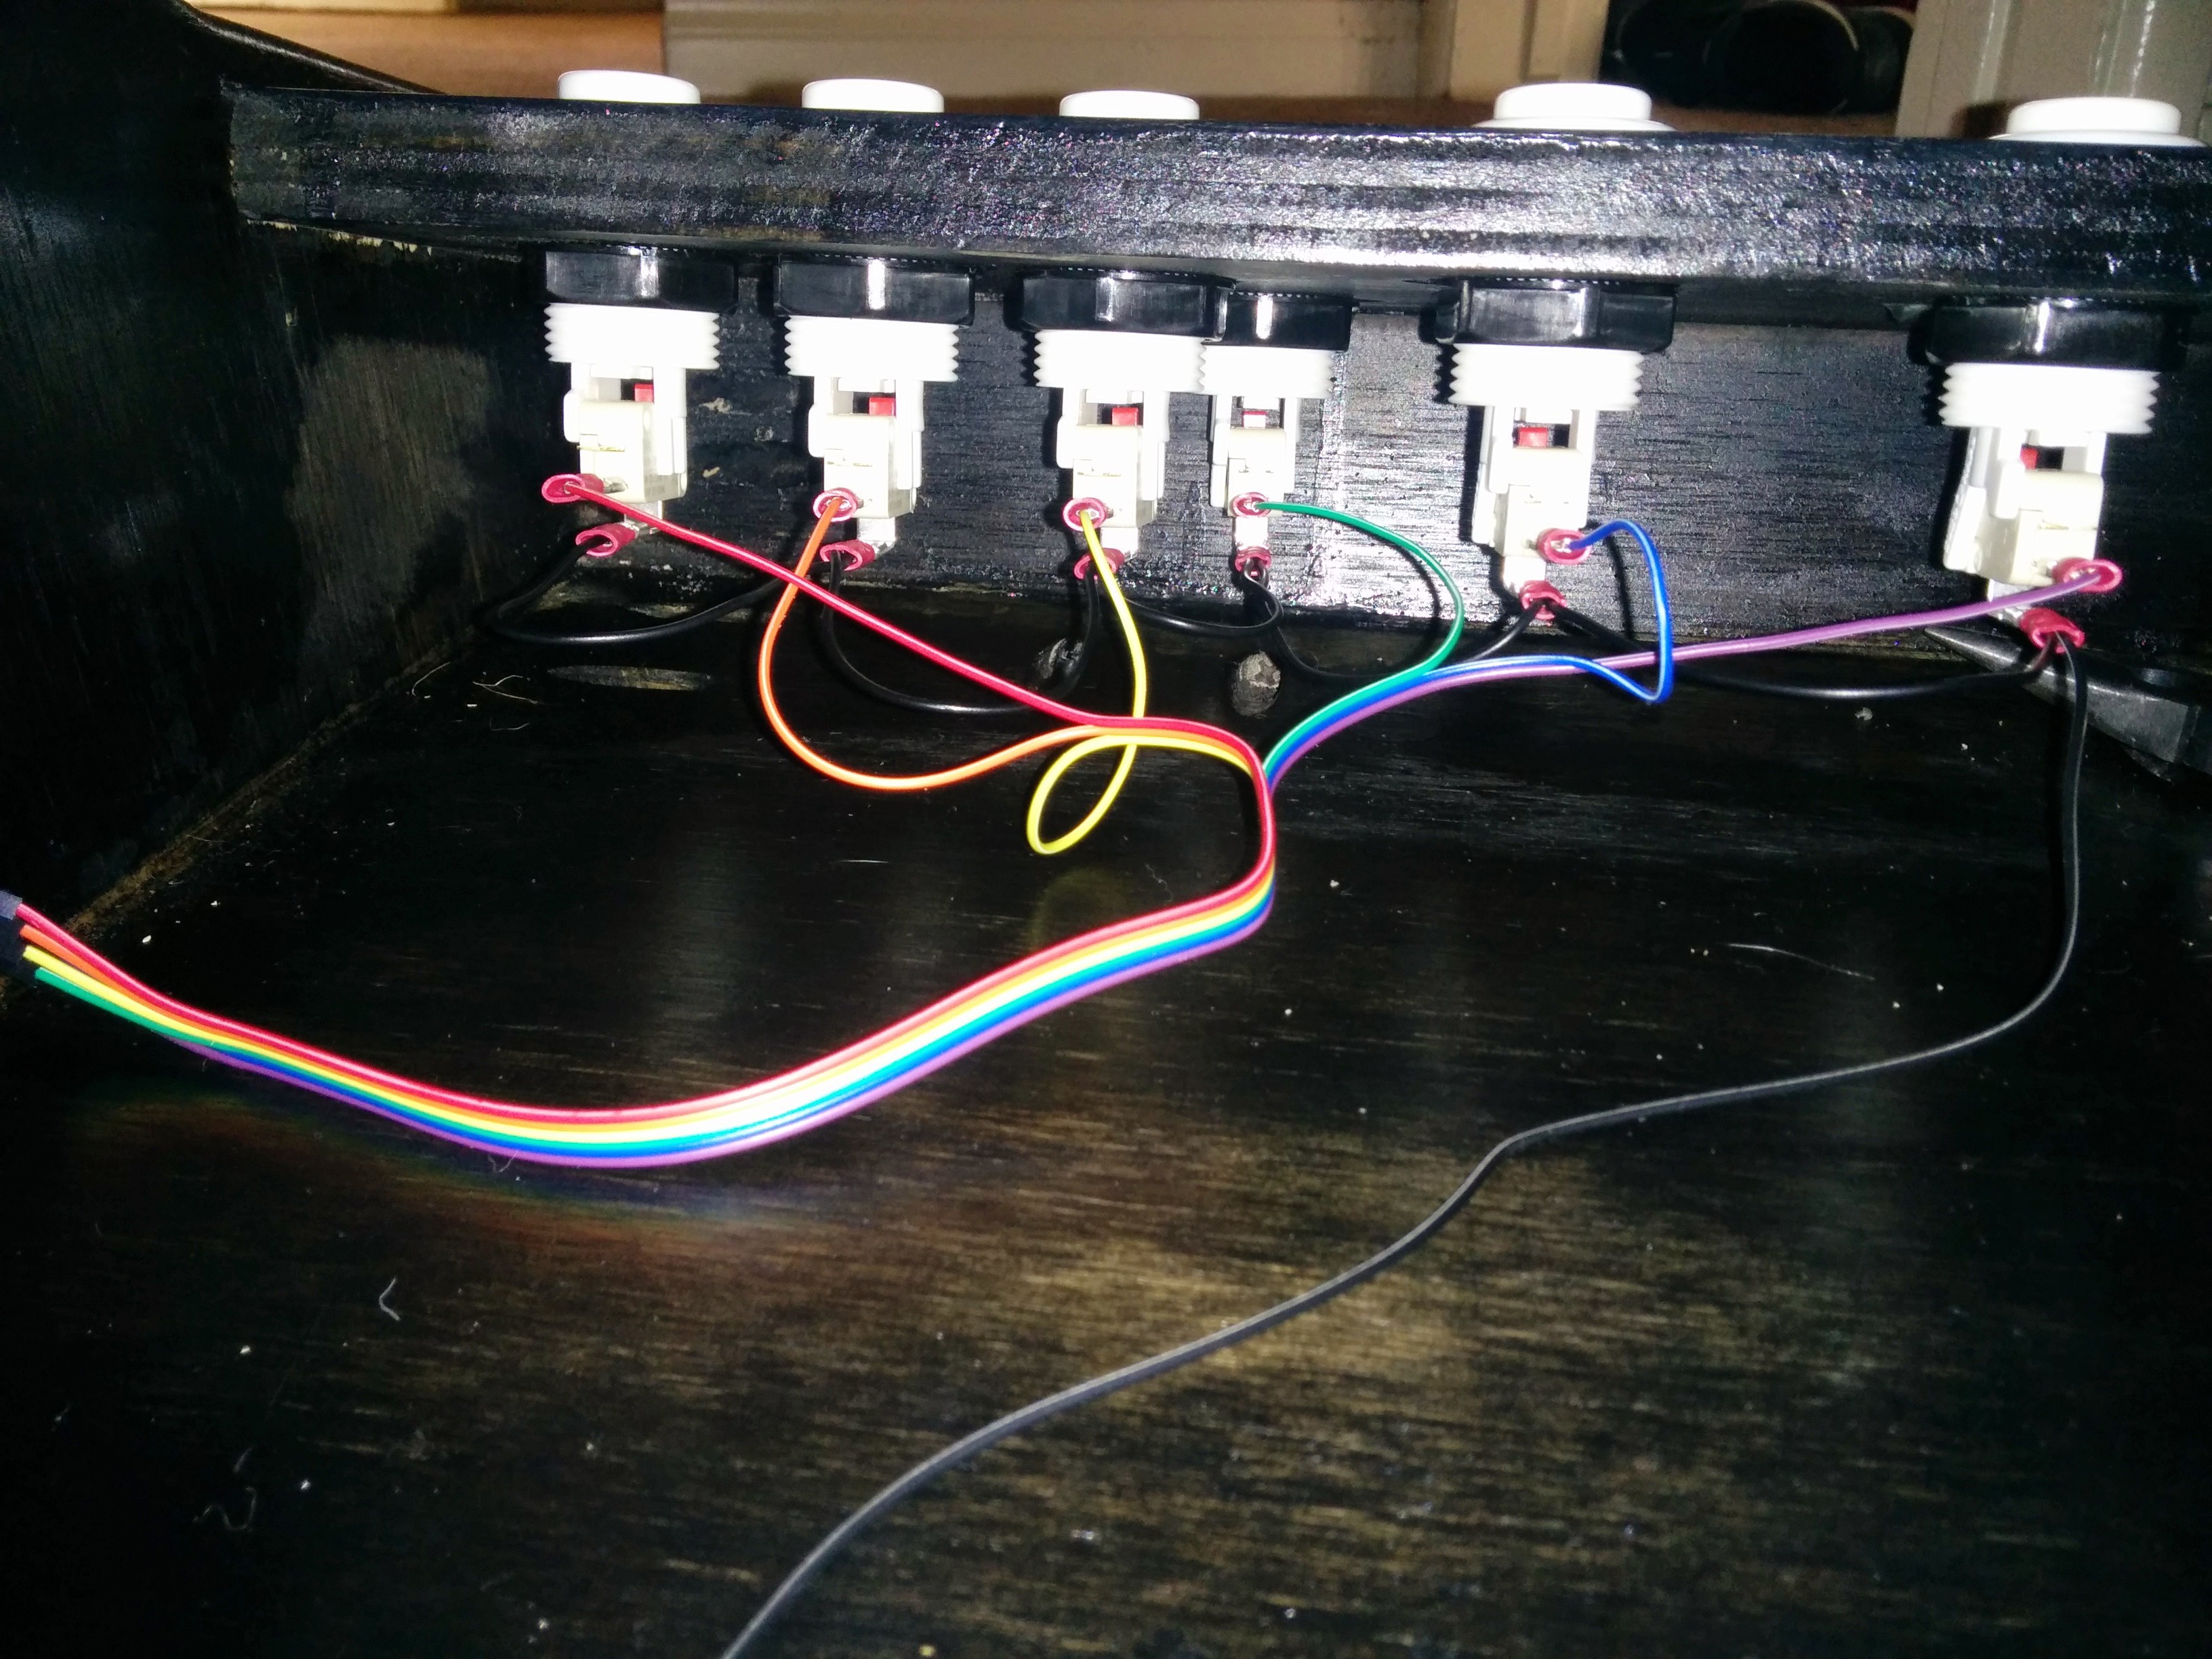
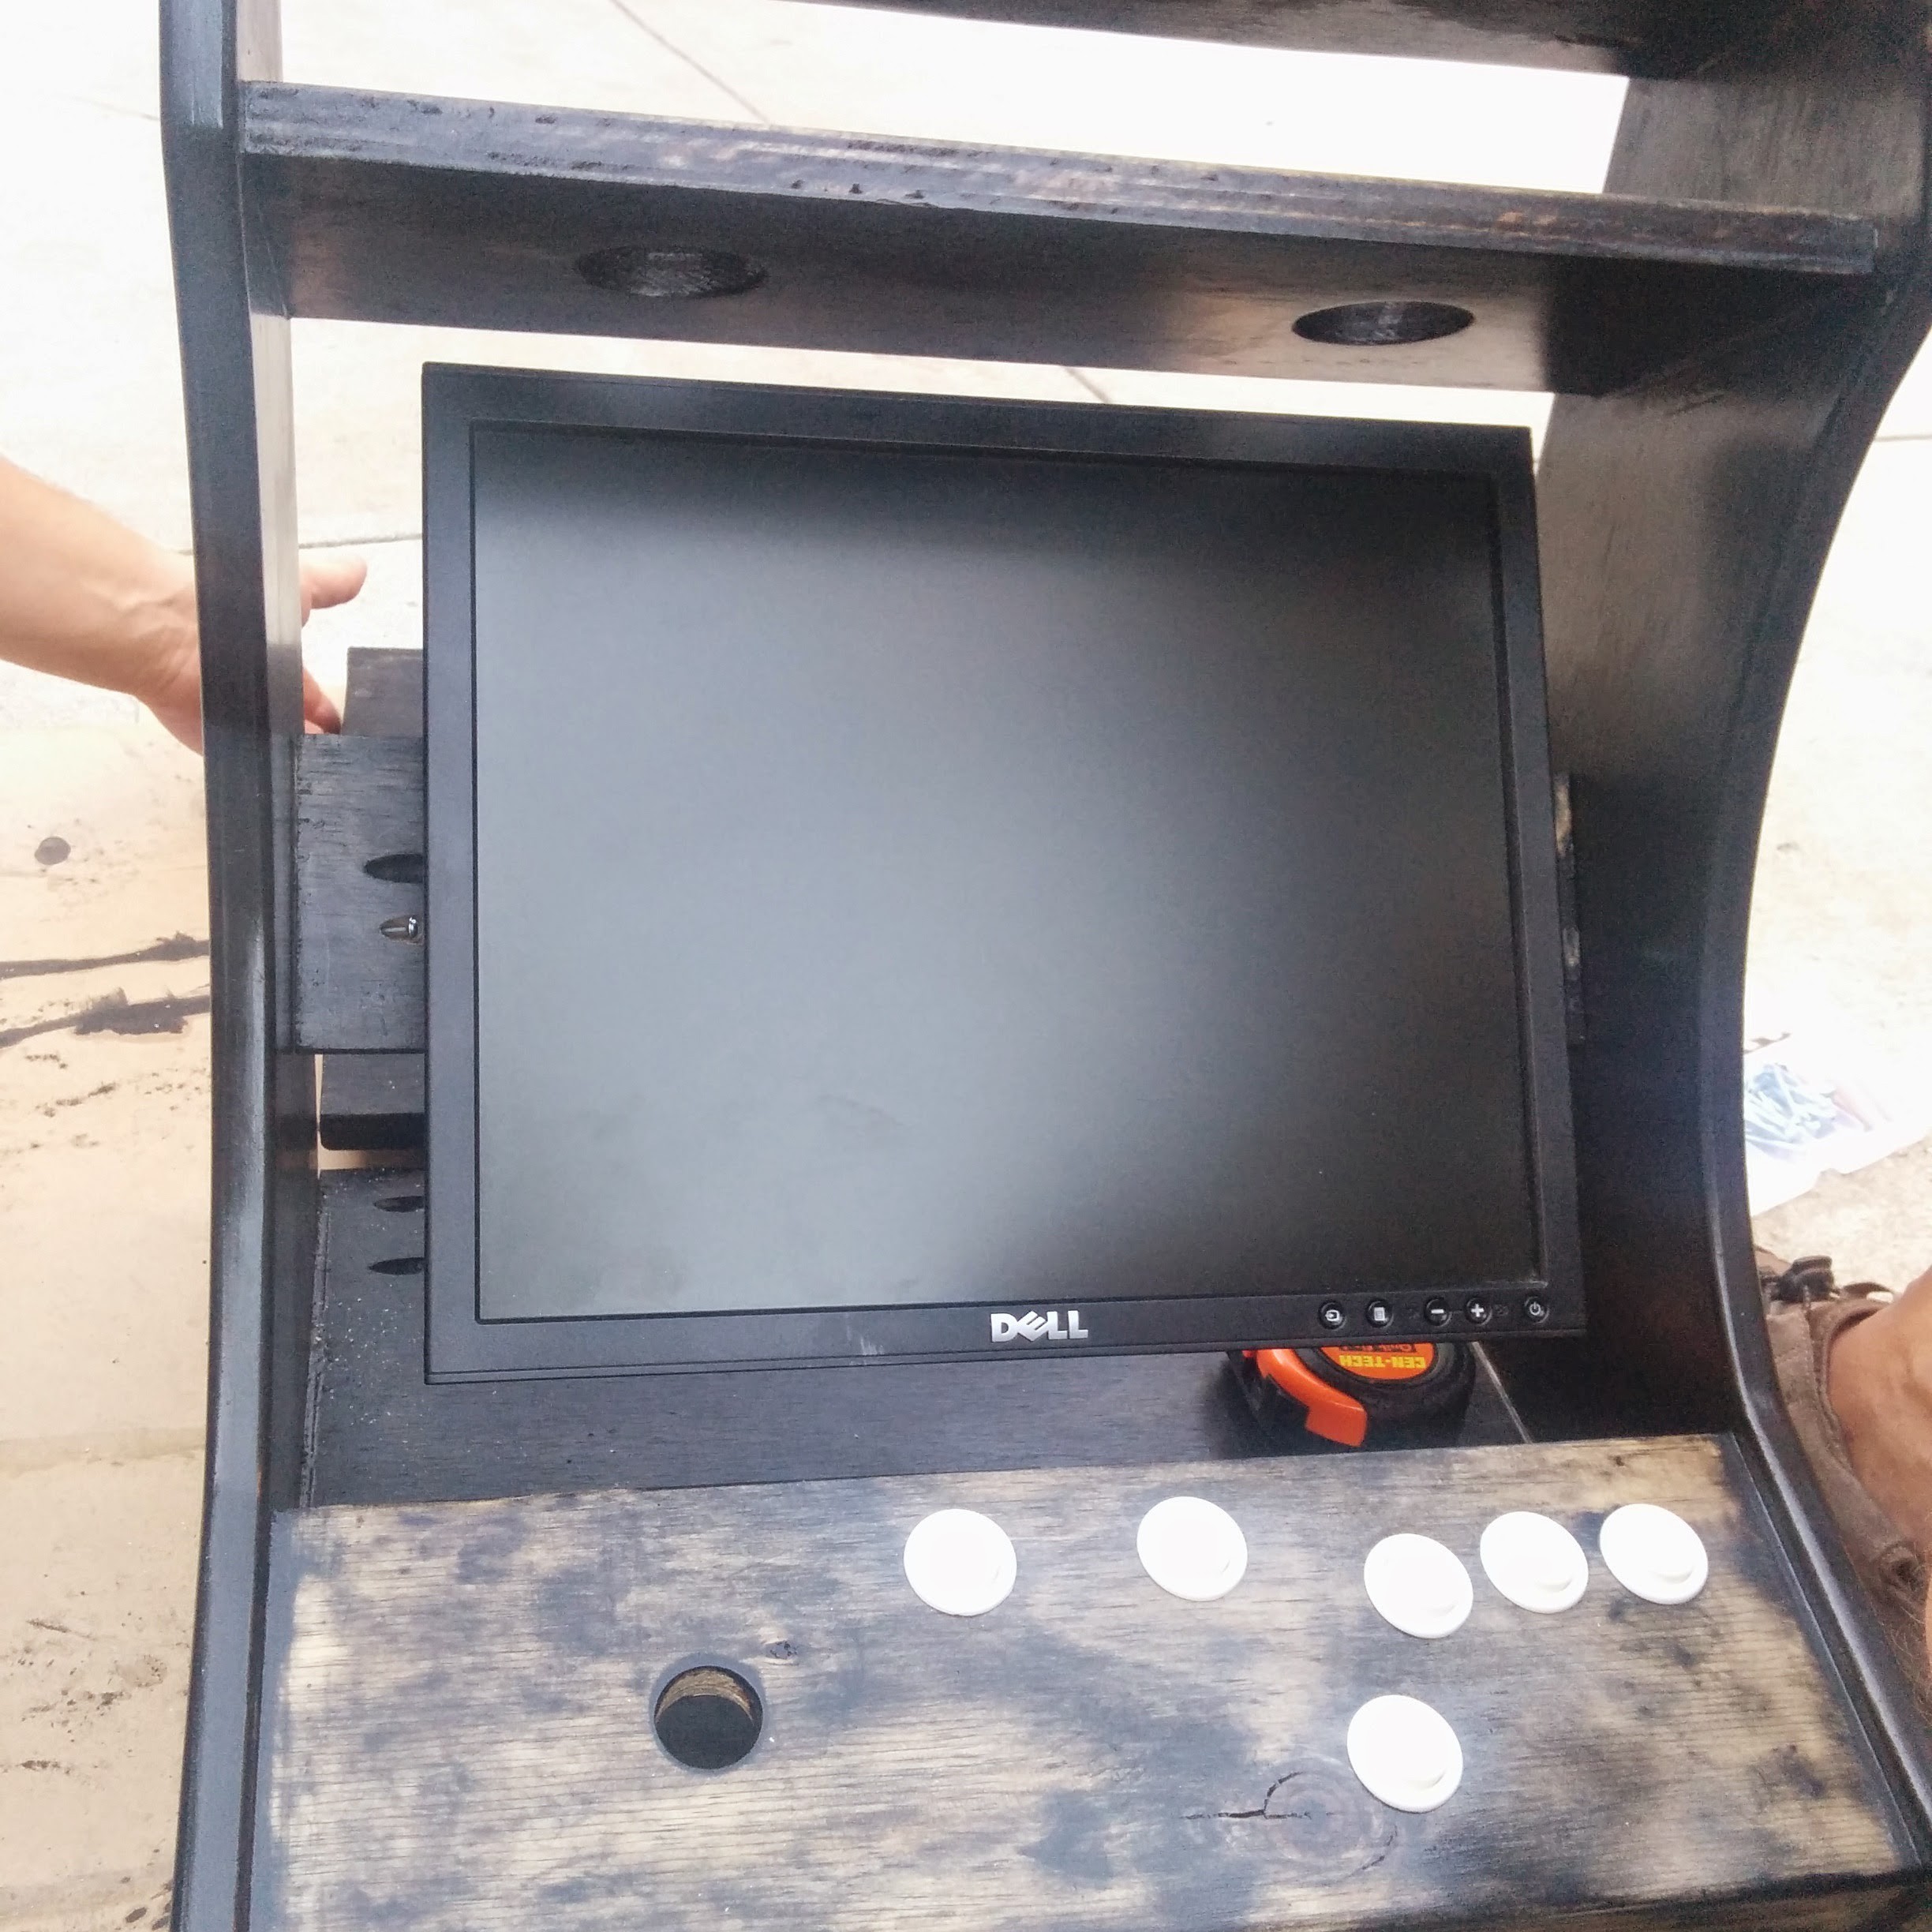
  • ADDING ROMS/EDITING FILES ON YOUR RASPBERRY PI VINTAGE ARCADE.
All ROMs for the systems should be stored in the /home/pi/roms/ directory. PiMAME has a built in FTP server and web uploader that makes adding games easy. There are two ways to add ROMs to your system:
1. Web Frontend

The easiest way is by using the web frontend of PiMAME. This can be done from a remote computer, tablet, smartphone, etc. As long as the Raspberry Pi and your other device are connected to the same WiFi network.

  • Go to the IP Address of your Raspberry Pi in a browser and you will be greeted with the PiMAME web page (See above for how to find out the IP address of your Raspberry Pi)
  • Click on the “ROM Uploader” button
  • Enter in your username and password. (Default: pi / raspberry)
  • You will now see your home folder.
  • Click on ROMs.
  • Click on choose file and select the item you wish to upload.
  • Click upload.
  • After a few seconds your ROM should be uploaded.

2. FTP Client

Another way is to use an FTP Client like FileZilla to upload files to PiMAME. This is recommended for large files exceeding 50MB.

  • Start your FTP Client
  • Hostname / IP Address should be your Raspberry Pi’s IP address.
  • Username and Password are: pi and raspberry
  • Click connect.
  • If the connection is successful you should see a listing of files.
  • Double click the roms/ folder to enter it.
  • Drag and drop the files you wish to store into the directory.

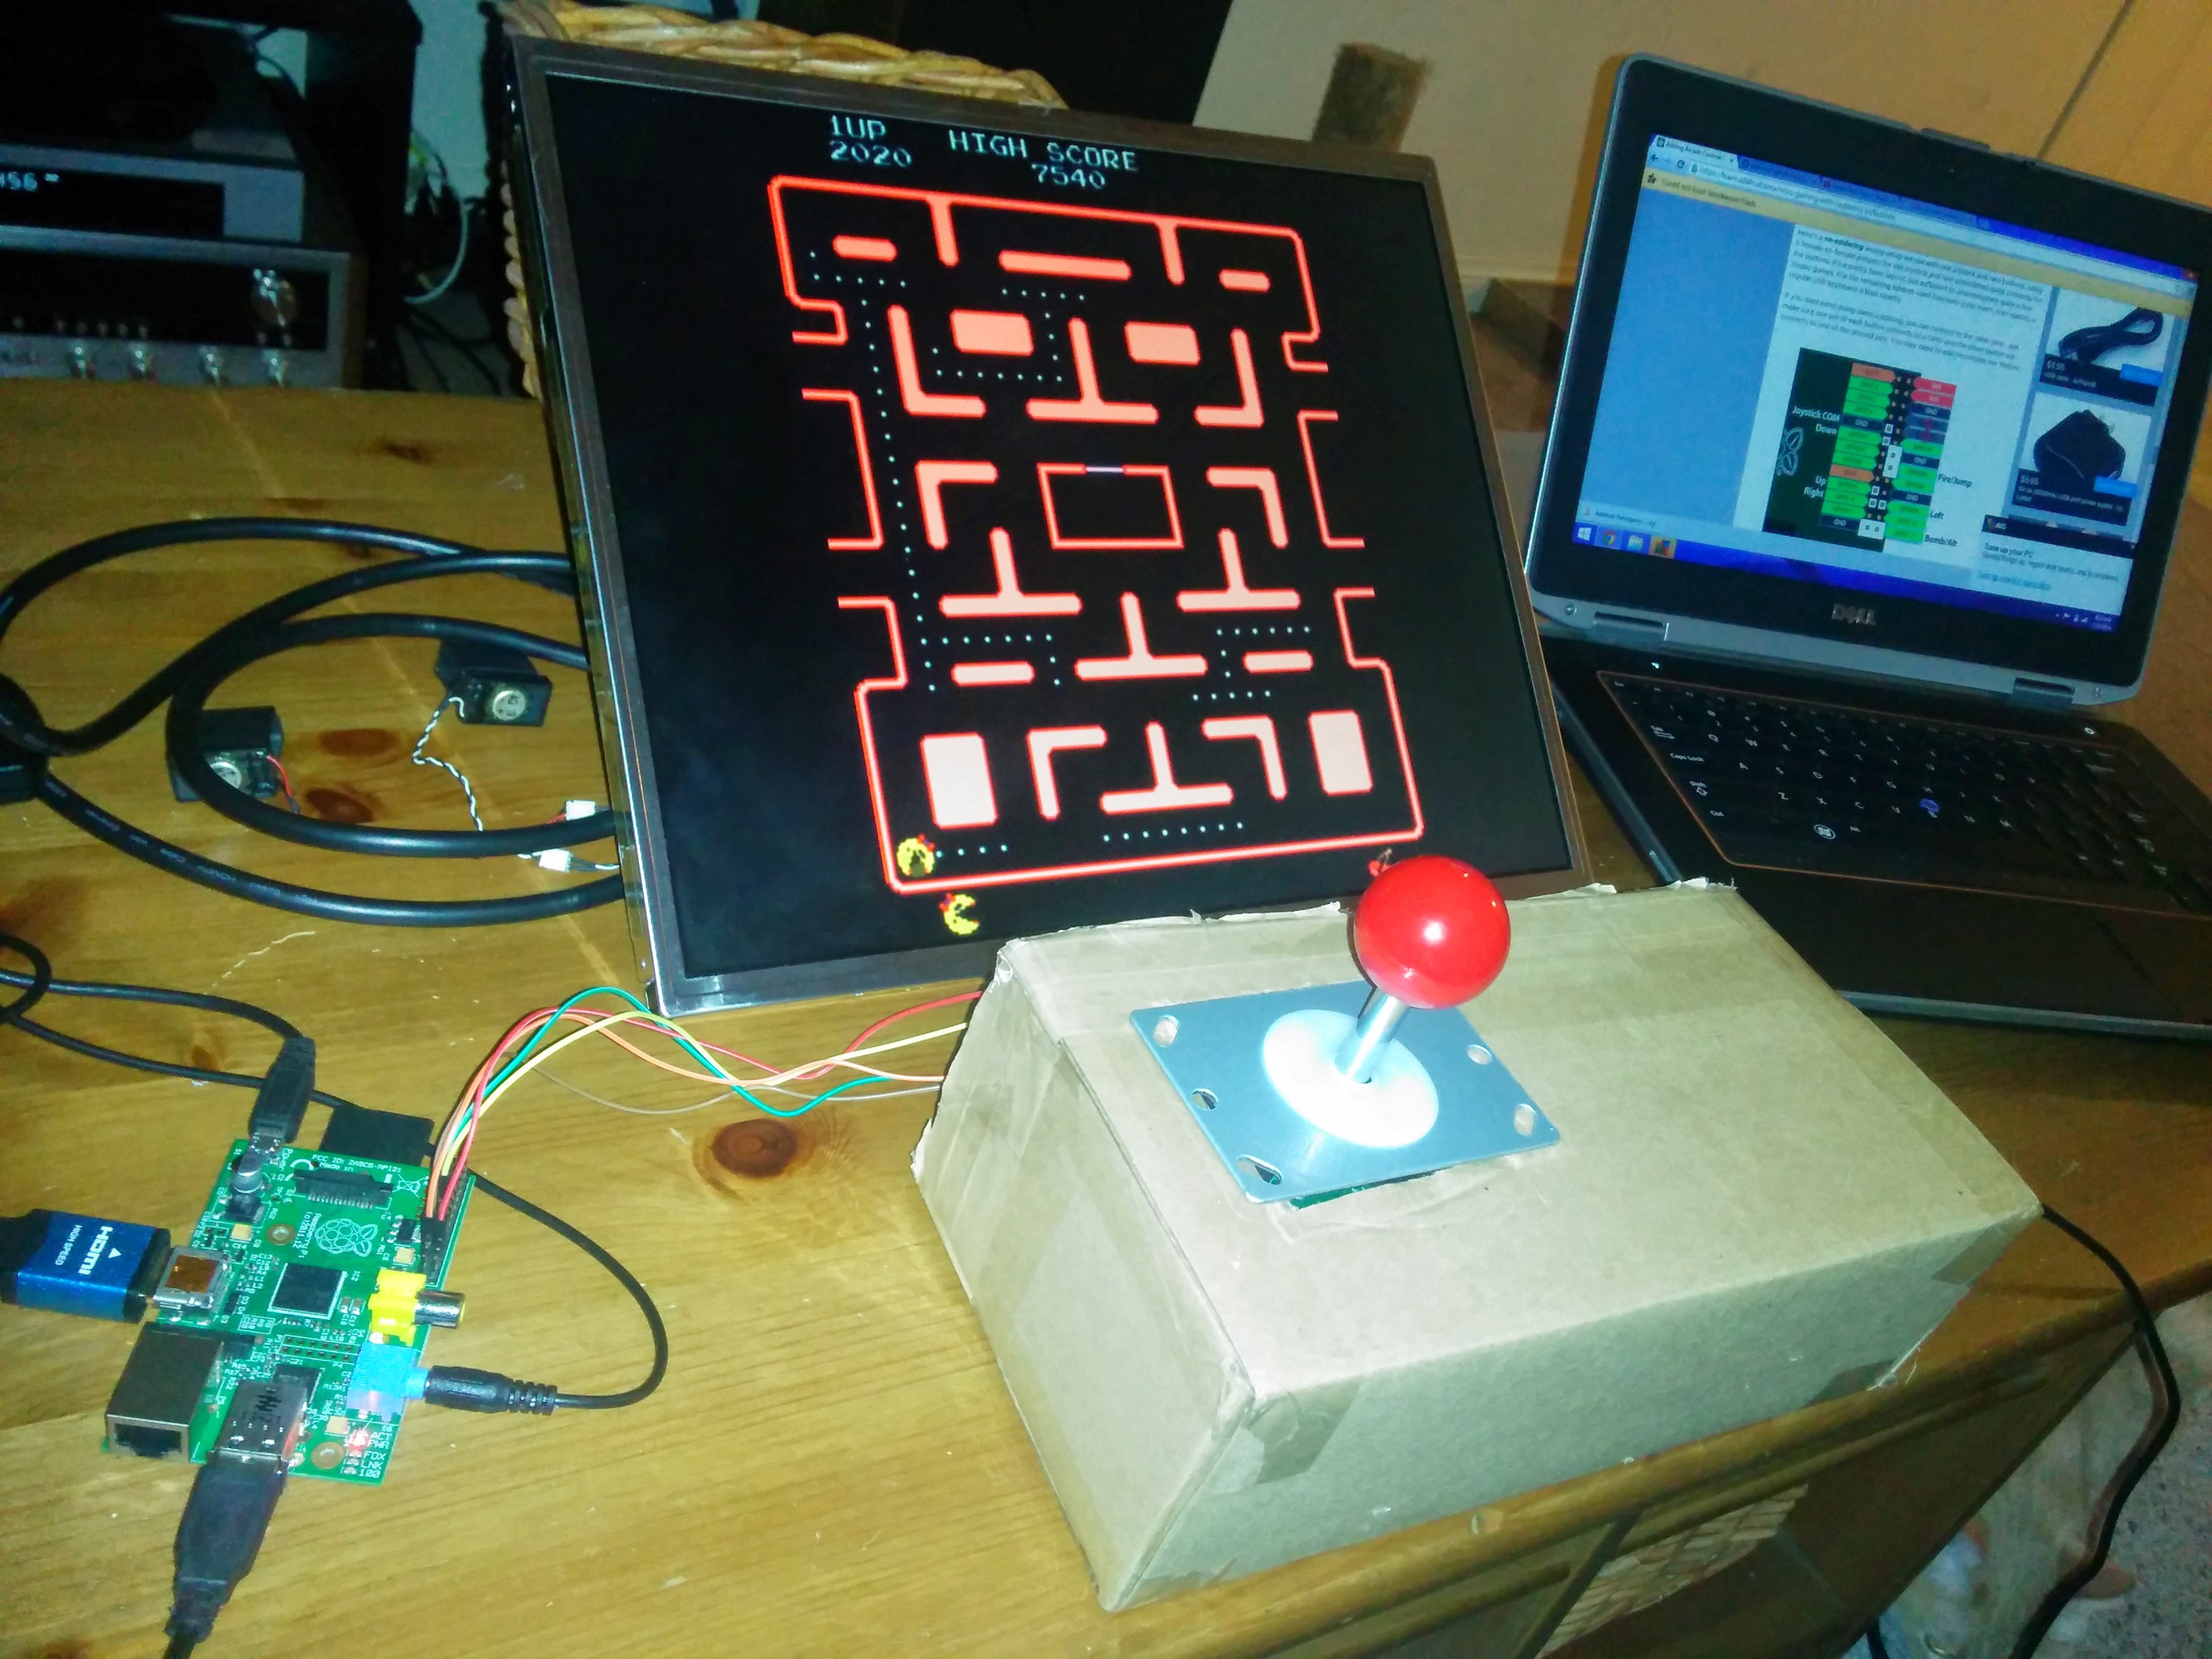
INSTRUCTIONS TO BOOT STRAIGHT INTO MAME4ALL:

Modify the .profile file in /pi/home/ by removing the full "python /home/pi/pimame_files/menu.py" line and replacing it with "/home/pi/emulators/mame4all-pi/mame"

To do this, type the following into the terminal.

sudo nano .profile

Once you replace the line, press CTRL+O to save, CTRL+X to exit nano editor.

sudo reboot

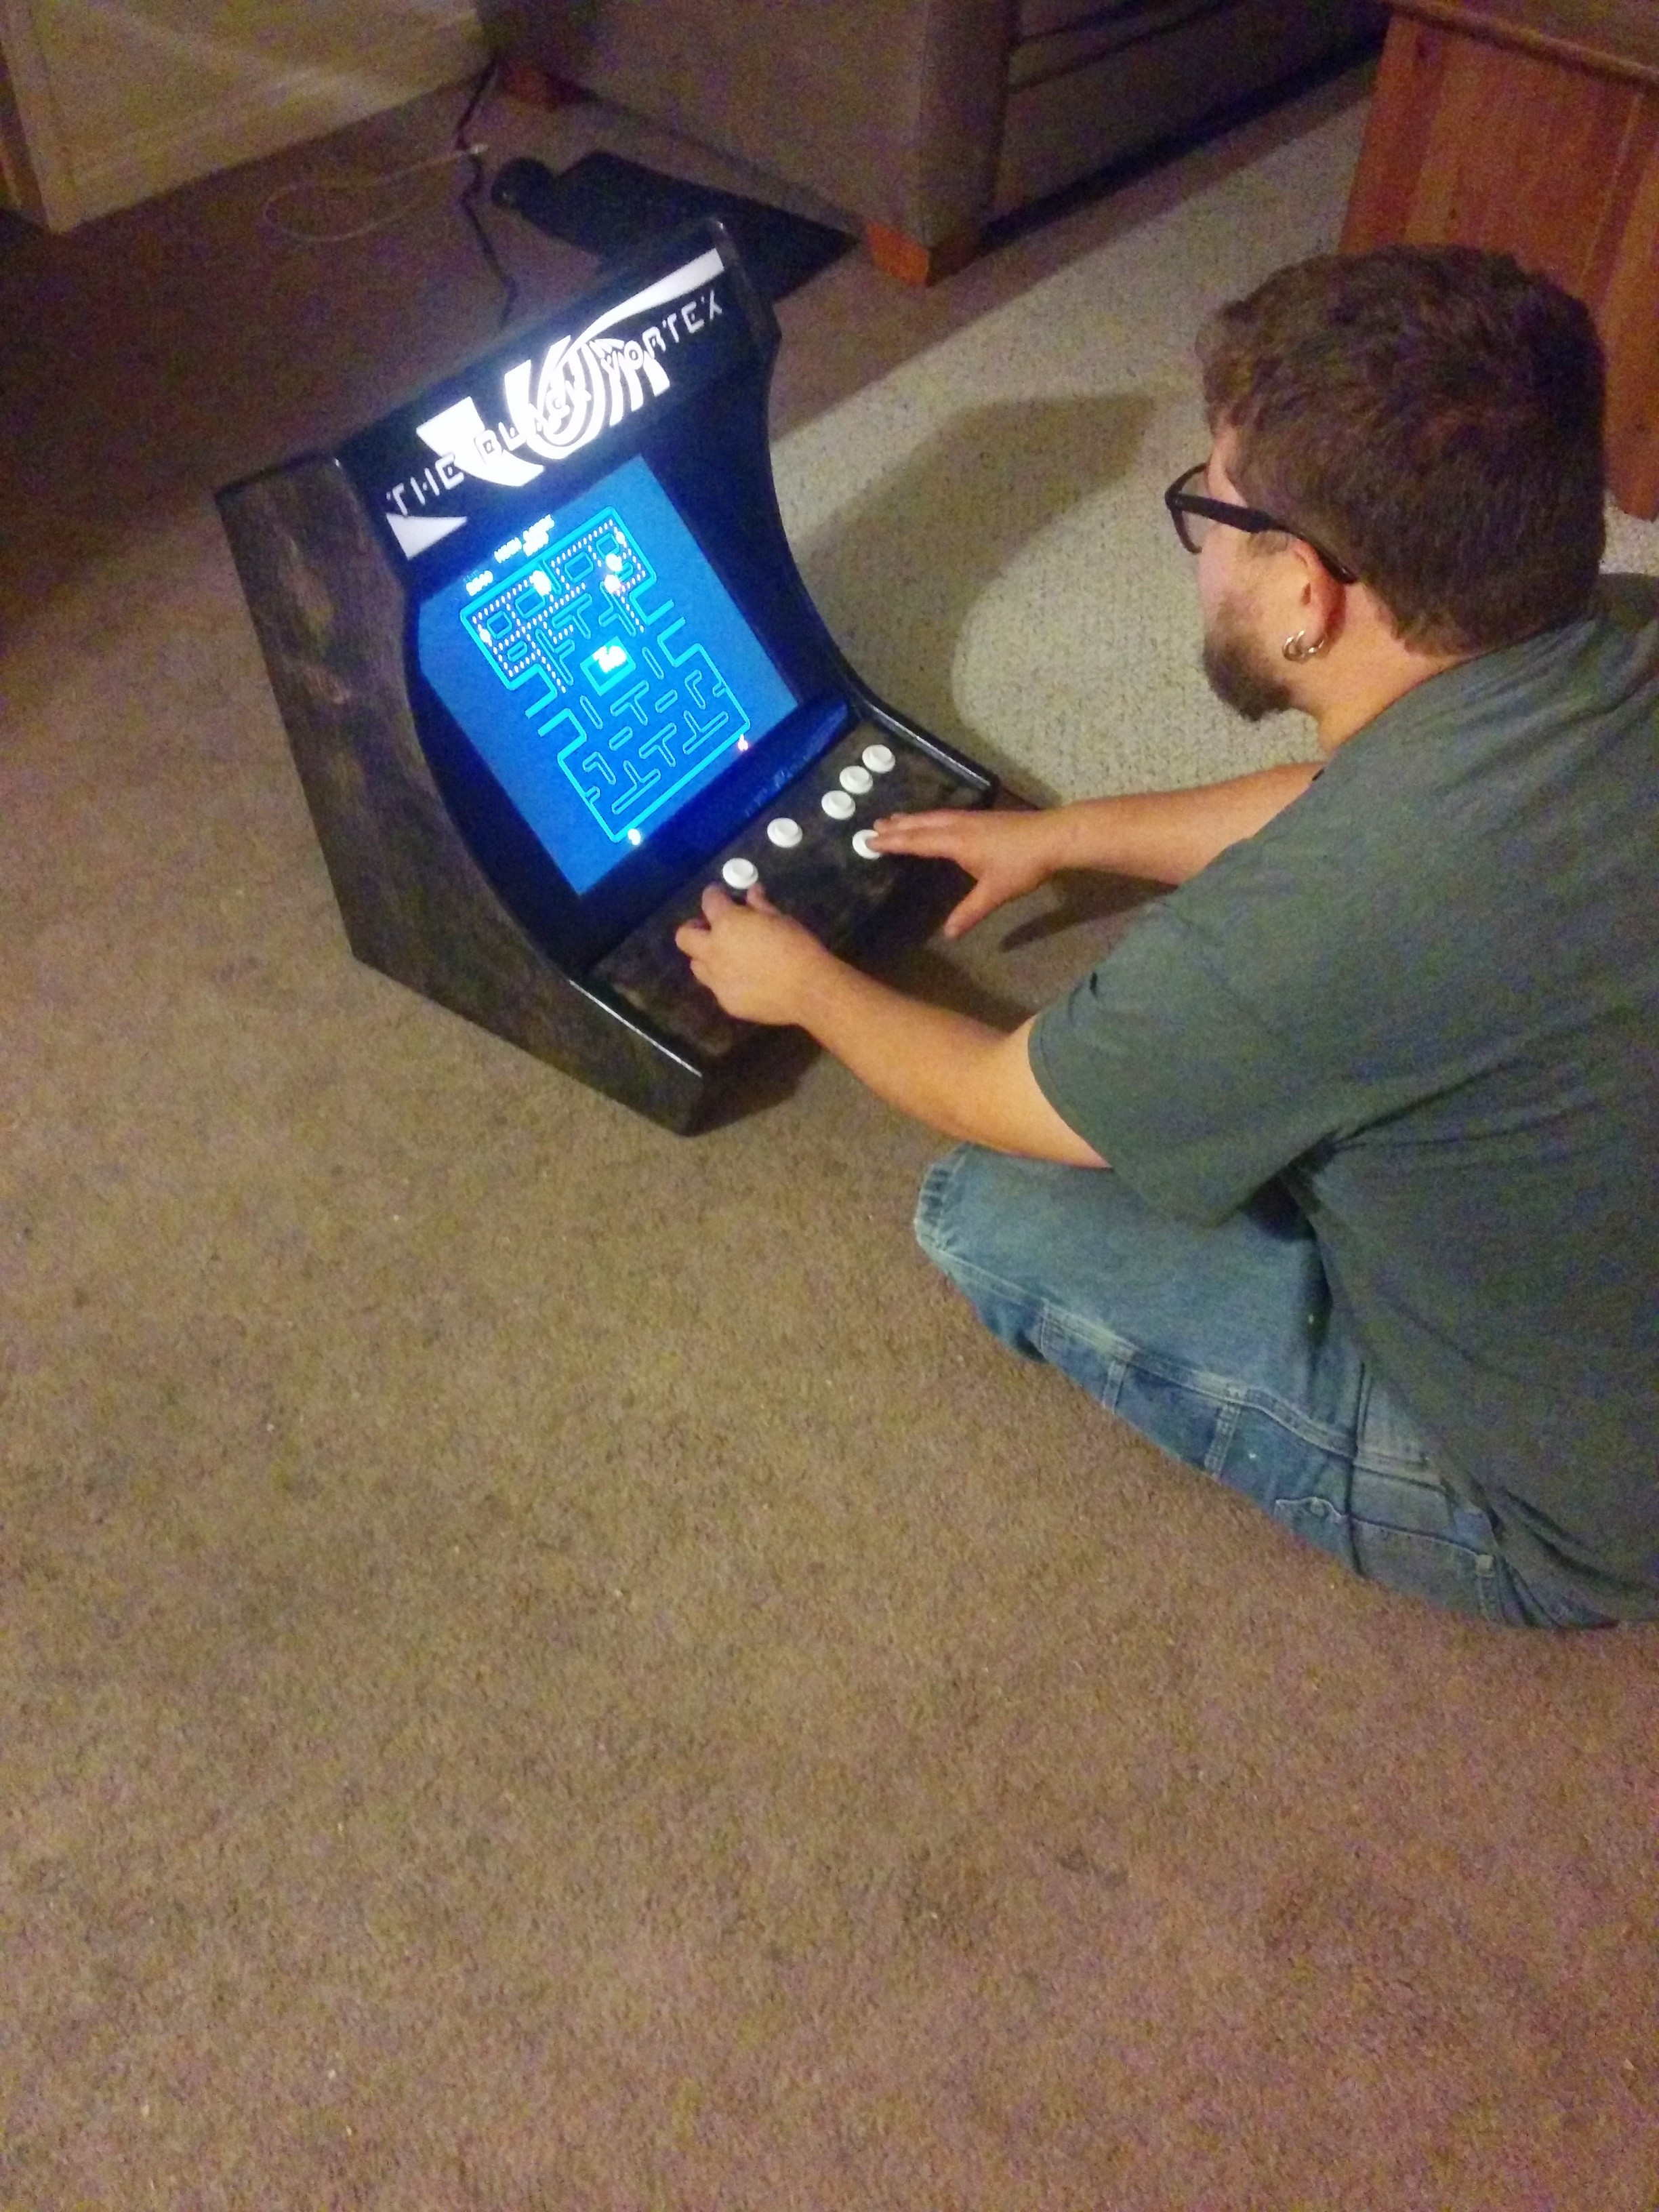
Your arcade system will now boot straight into MAME4ALL emulator, eliminating the need for a keyboard.

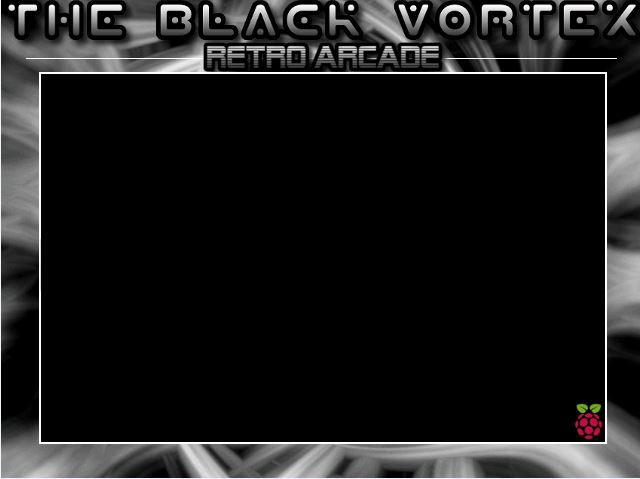
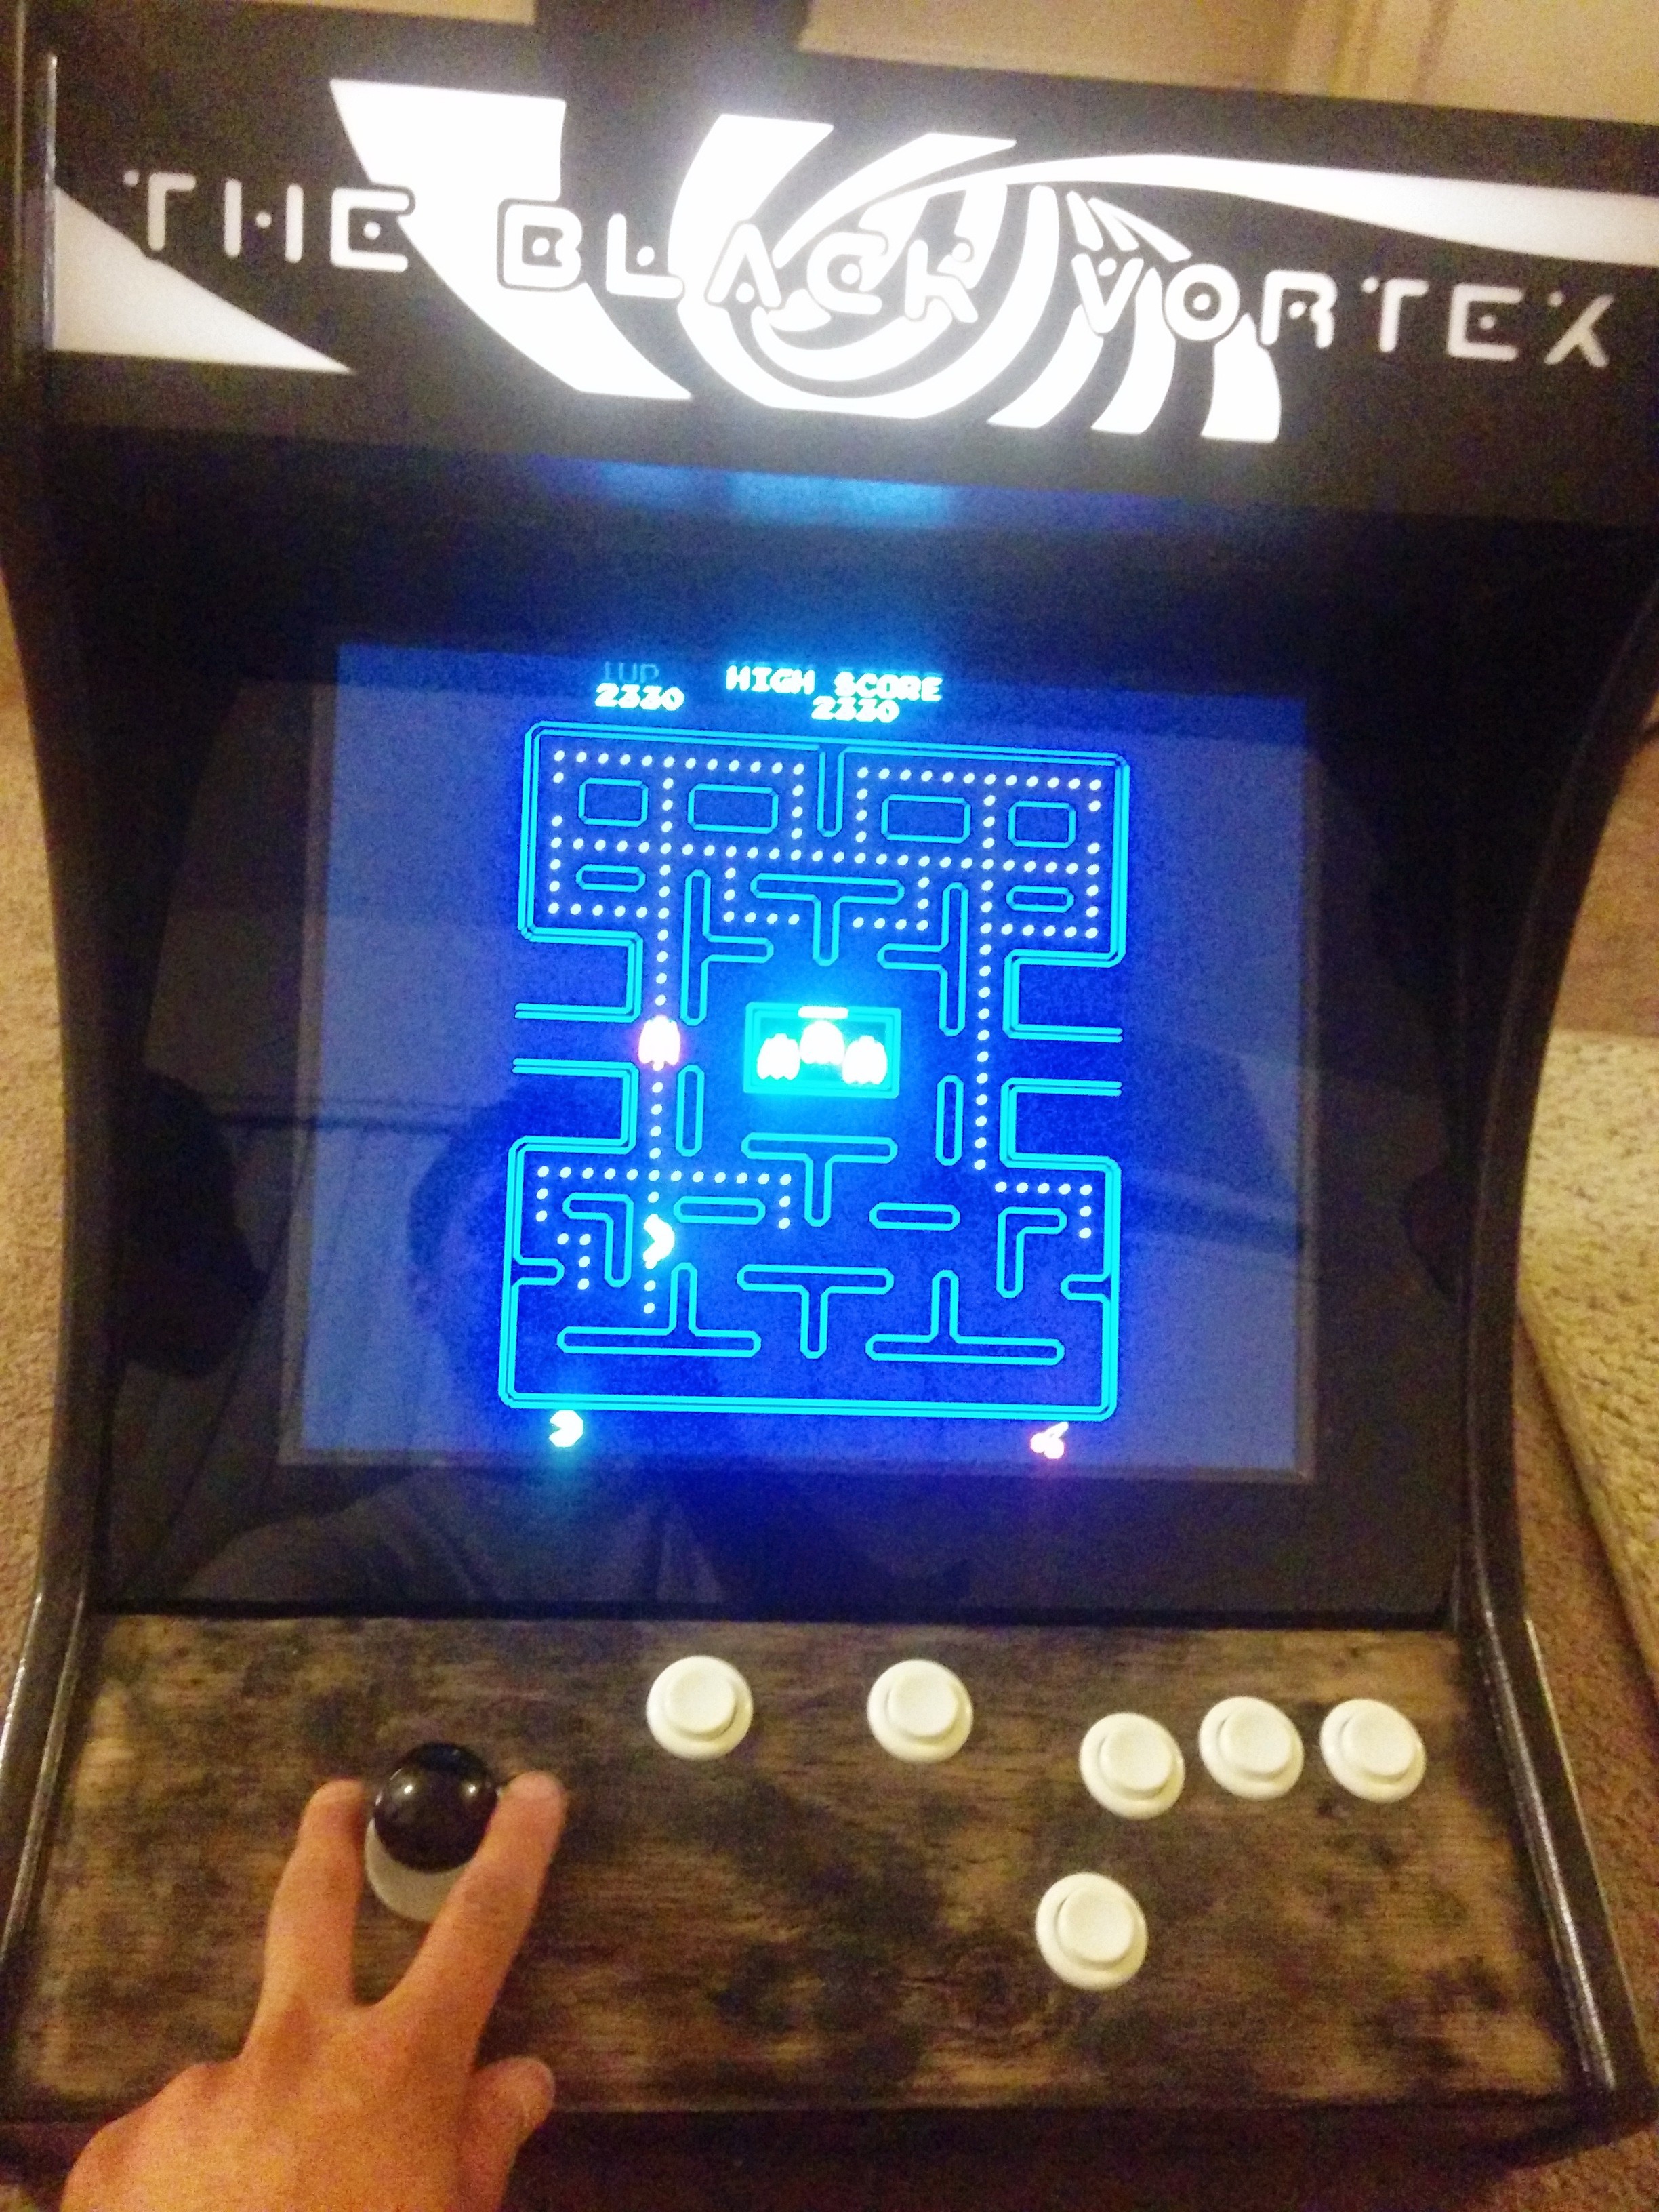
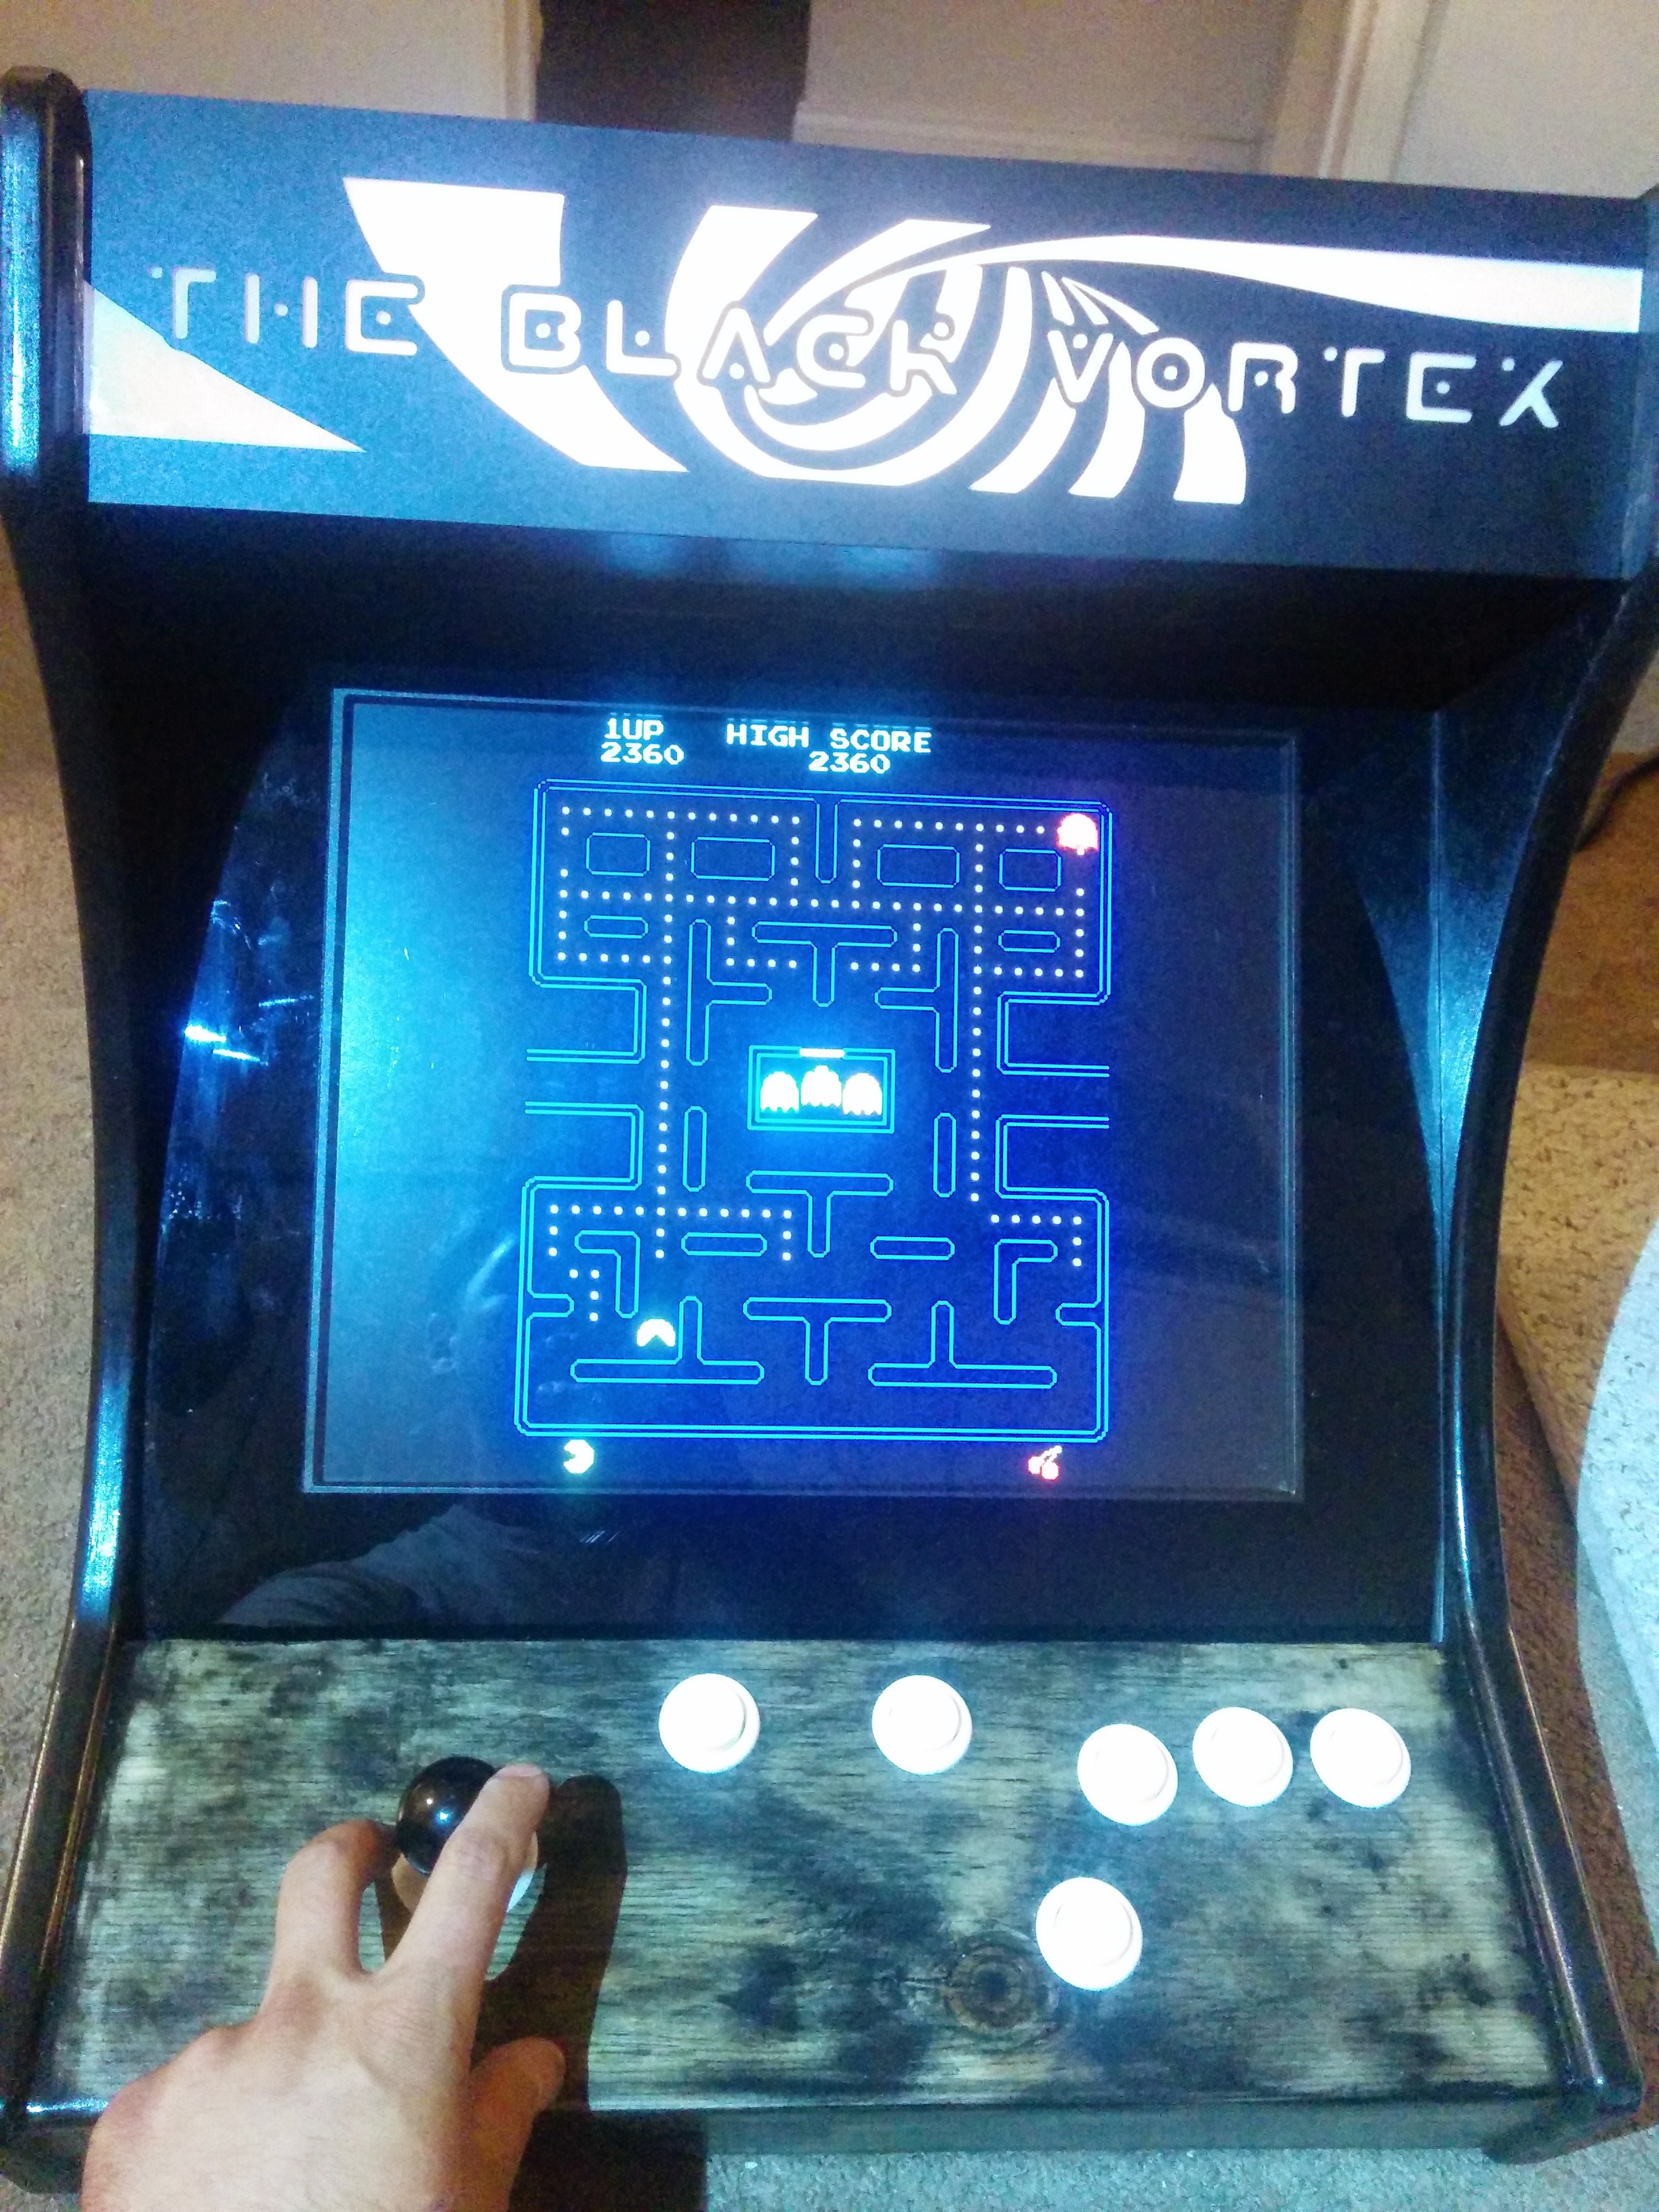
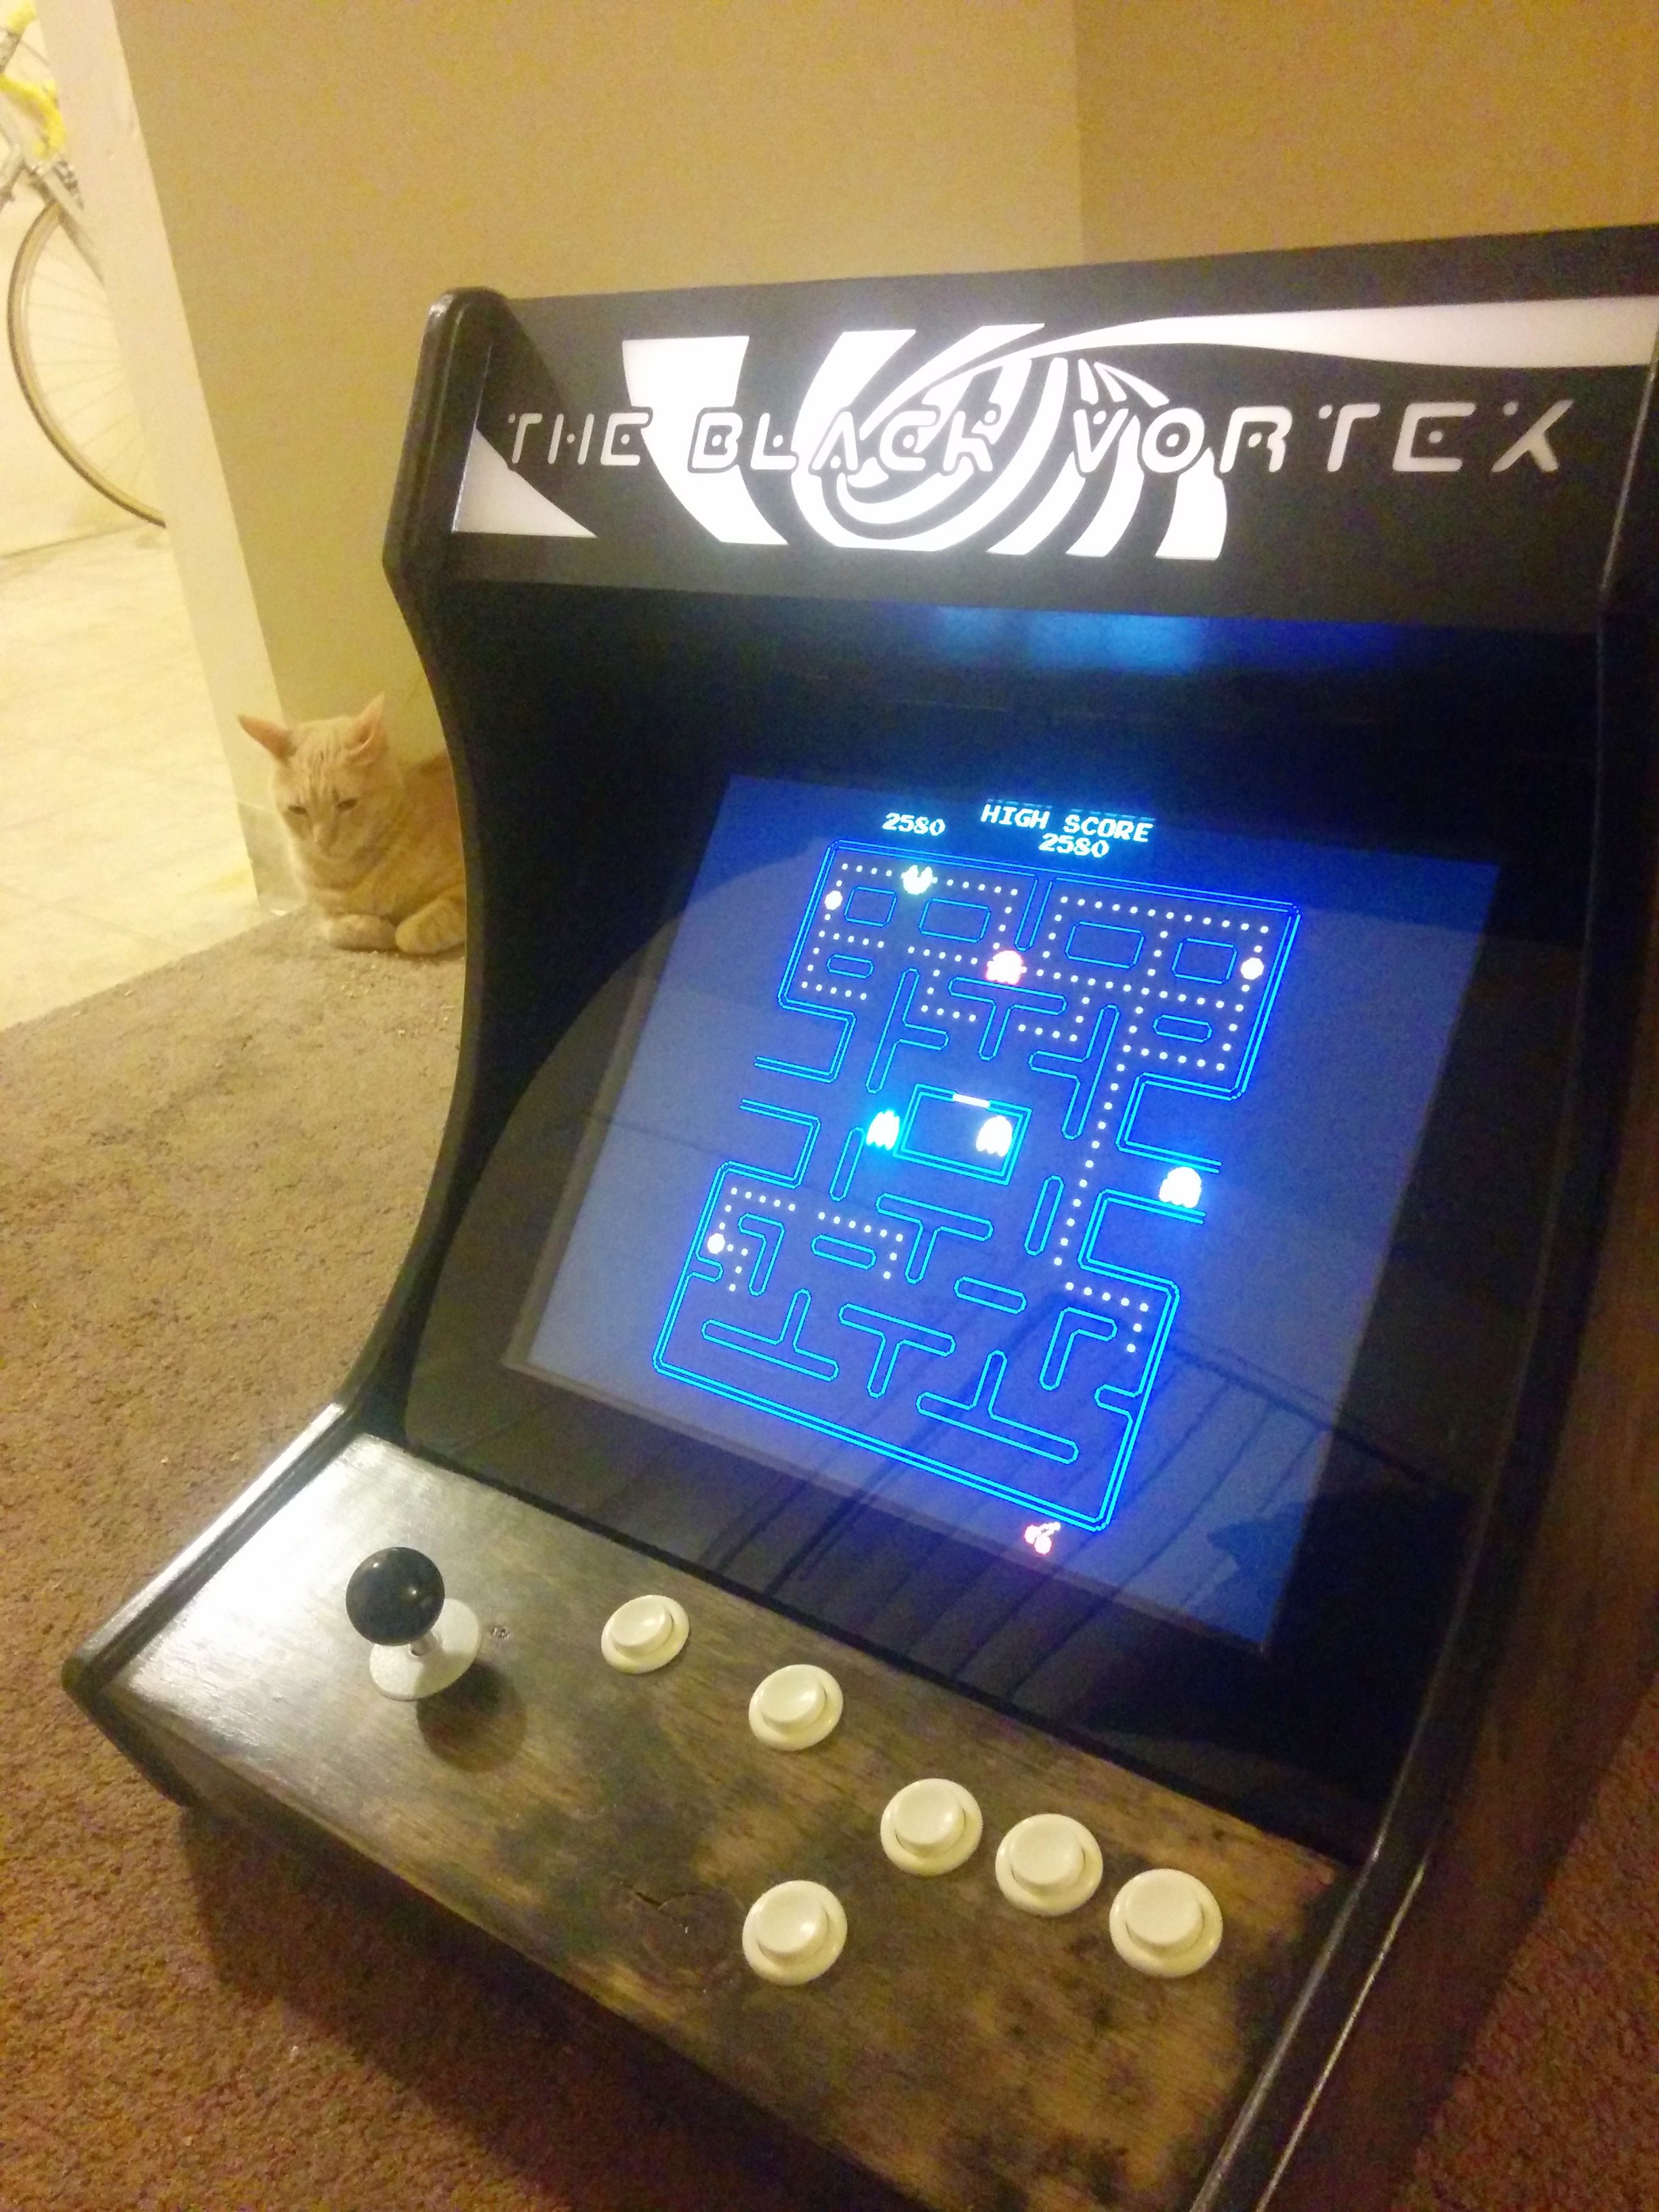
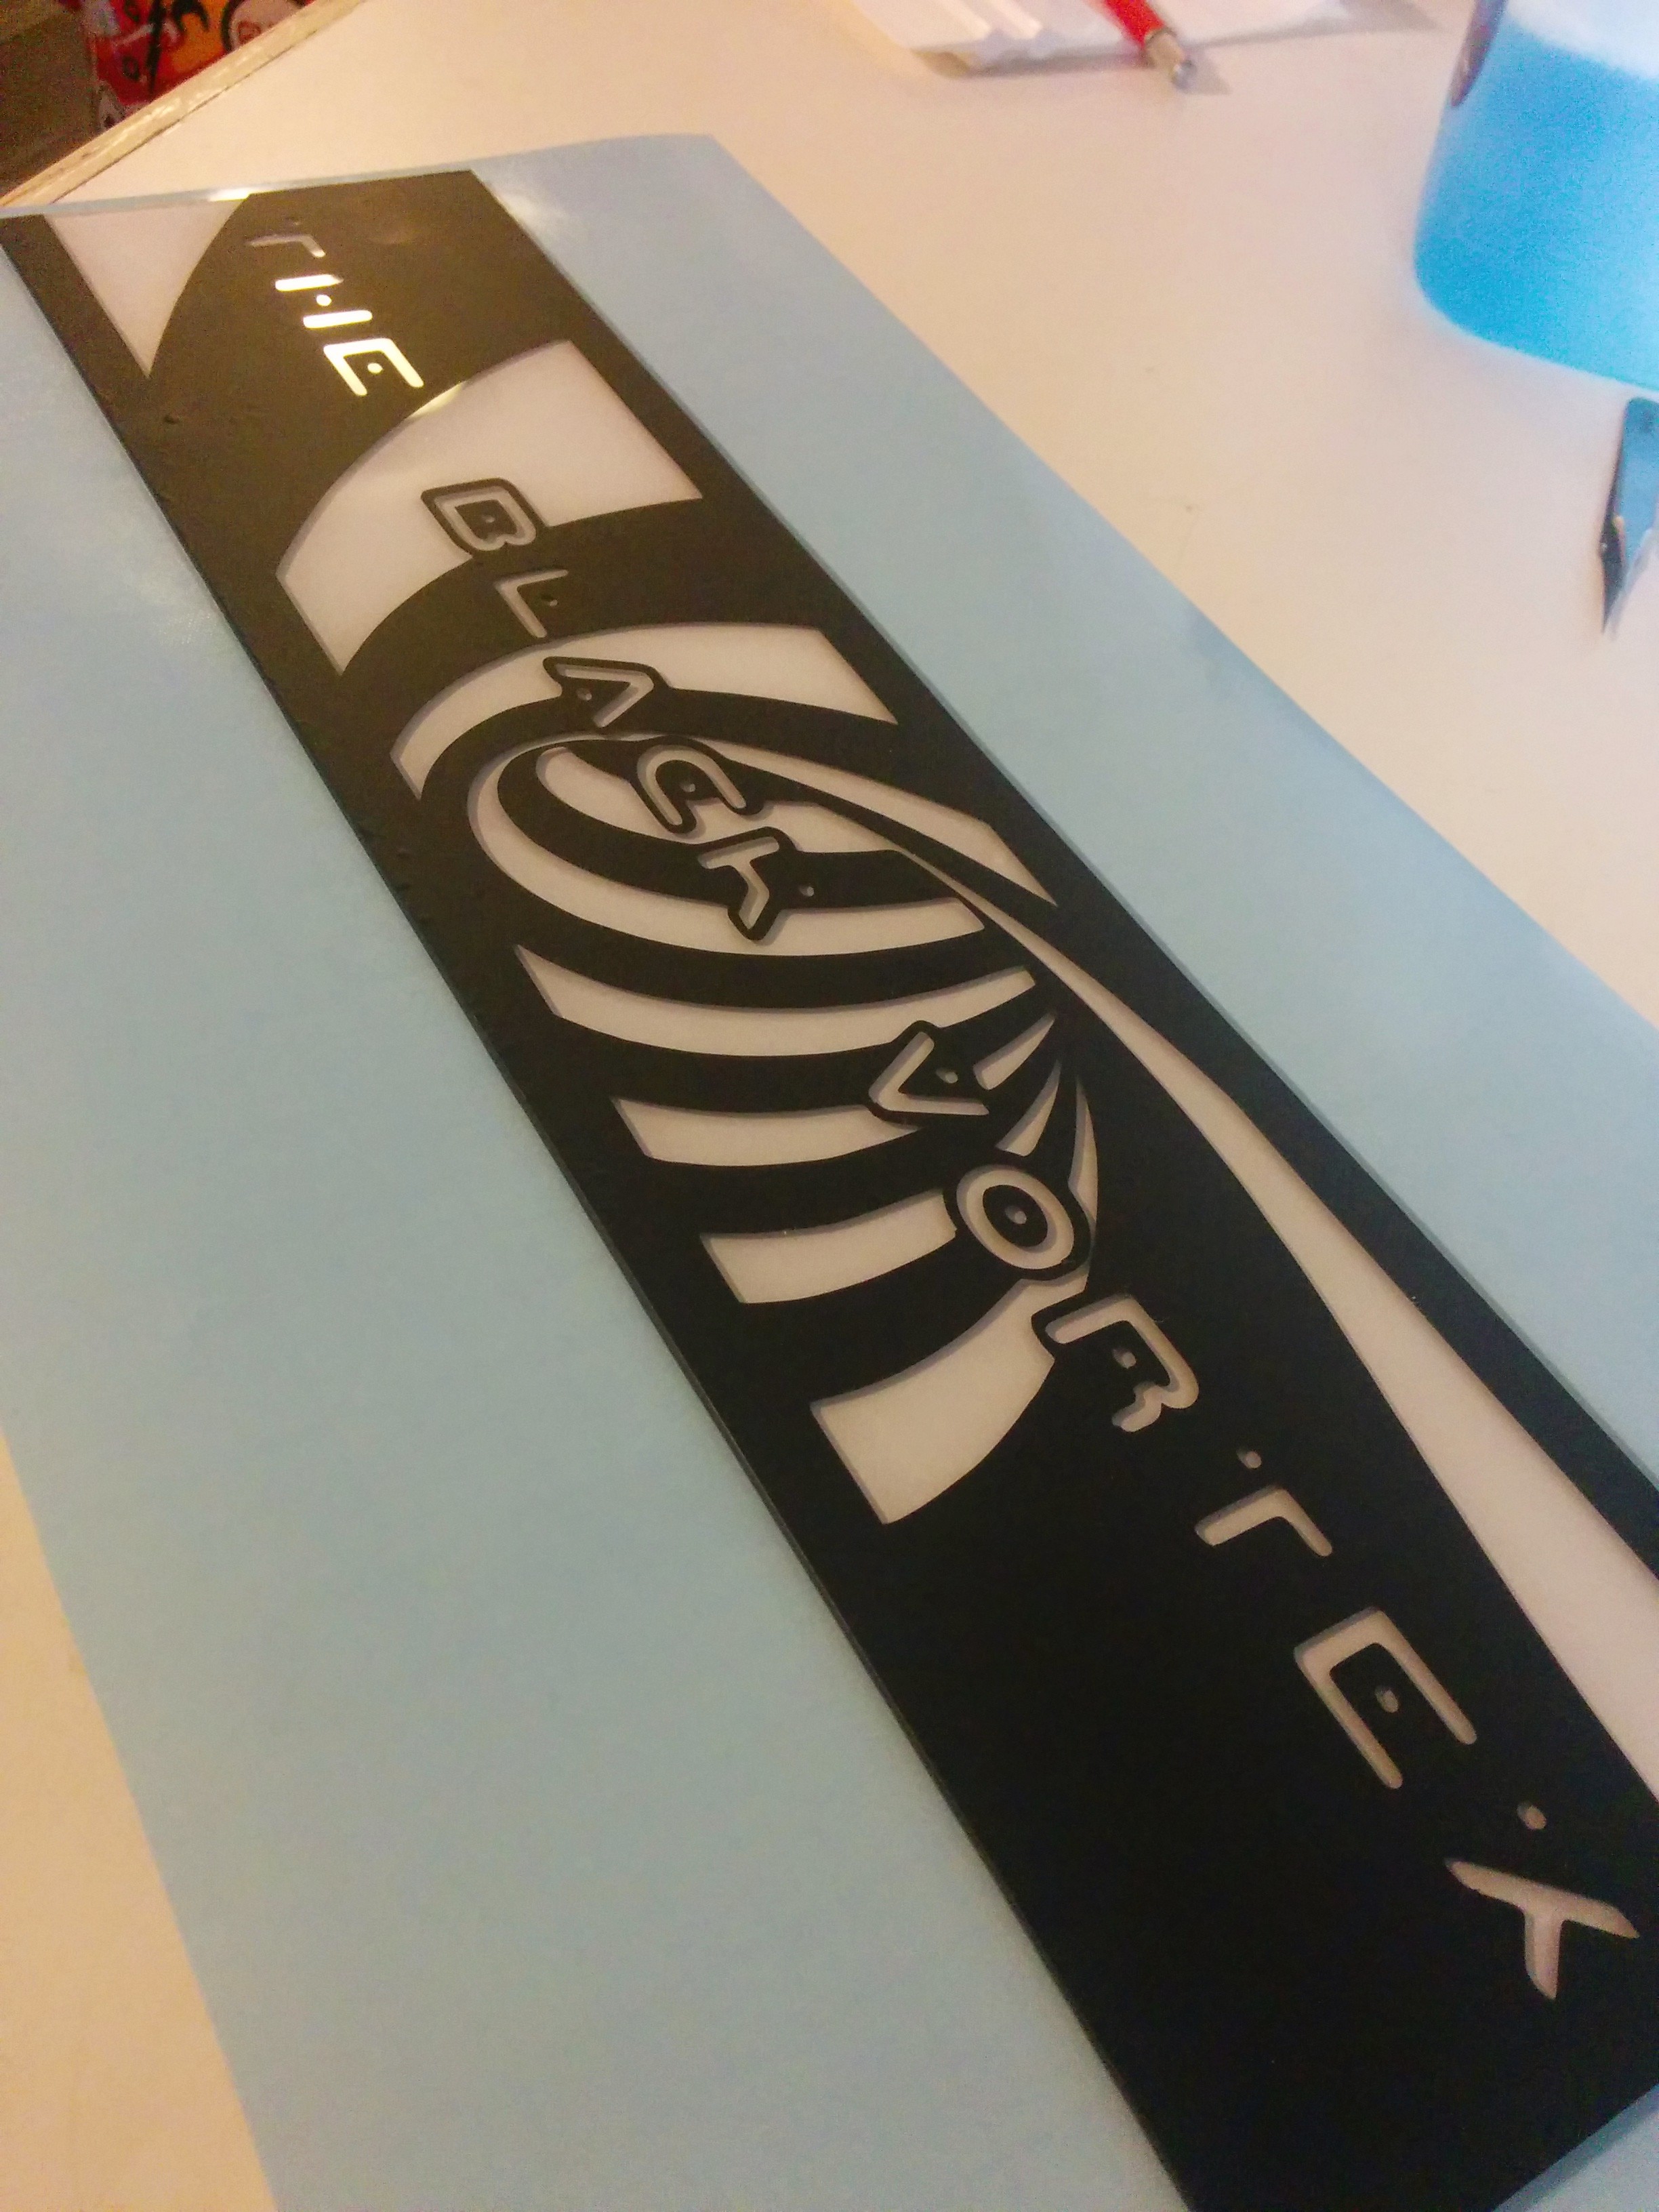
INSTRUCTIONS TO CUSTOMIZE THE SPLASH SCREEN/GAME CHOOSING SCREEN IN MAME4ALL:

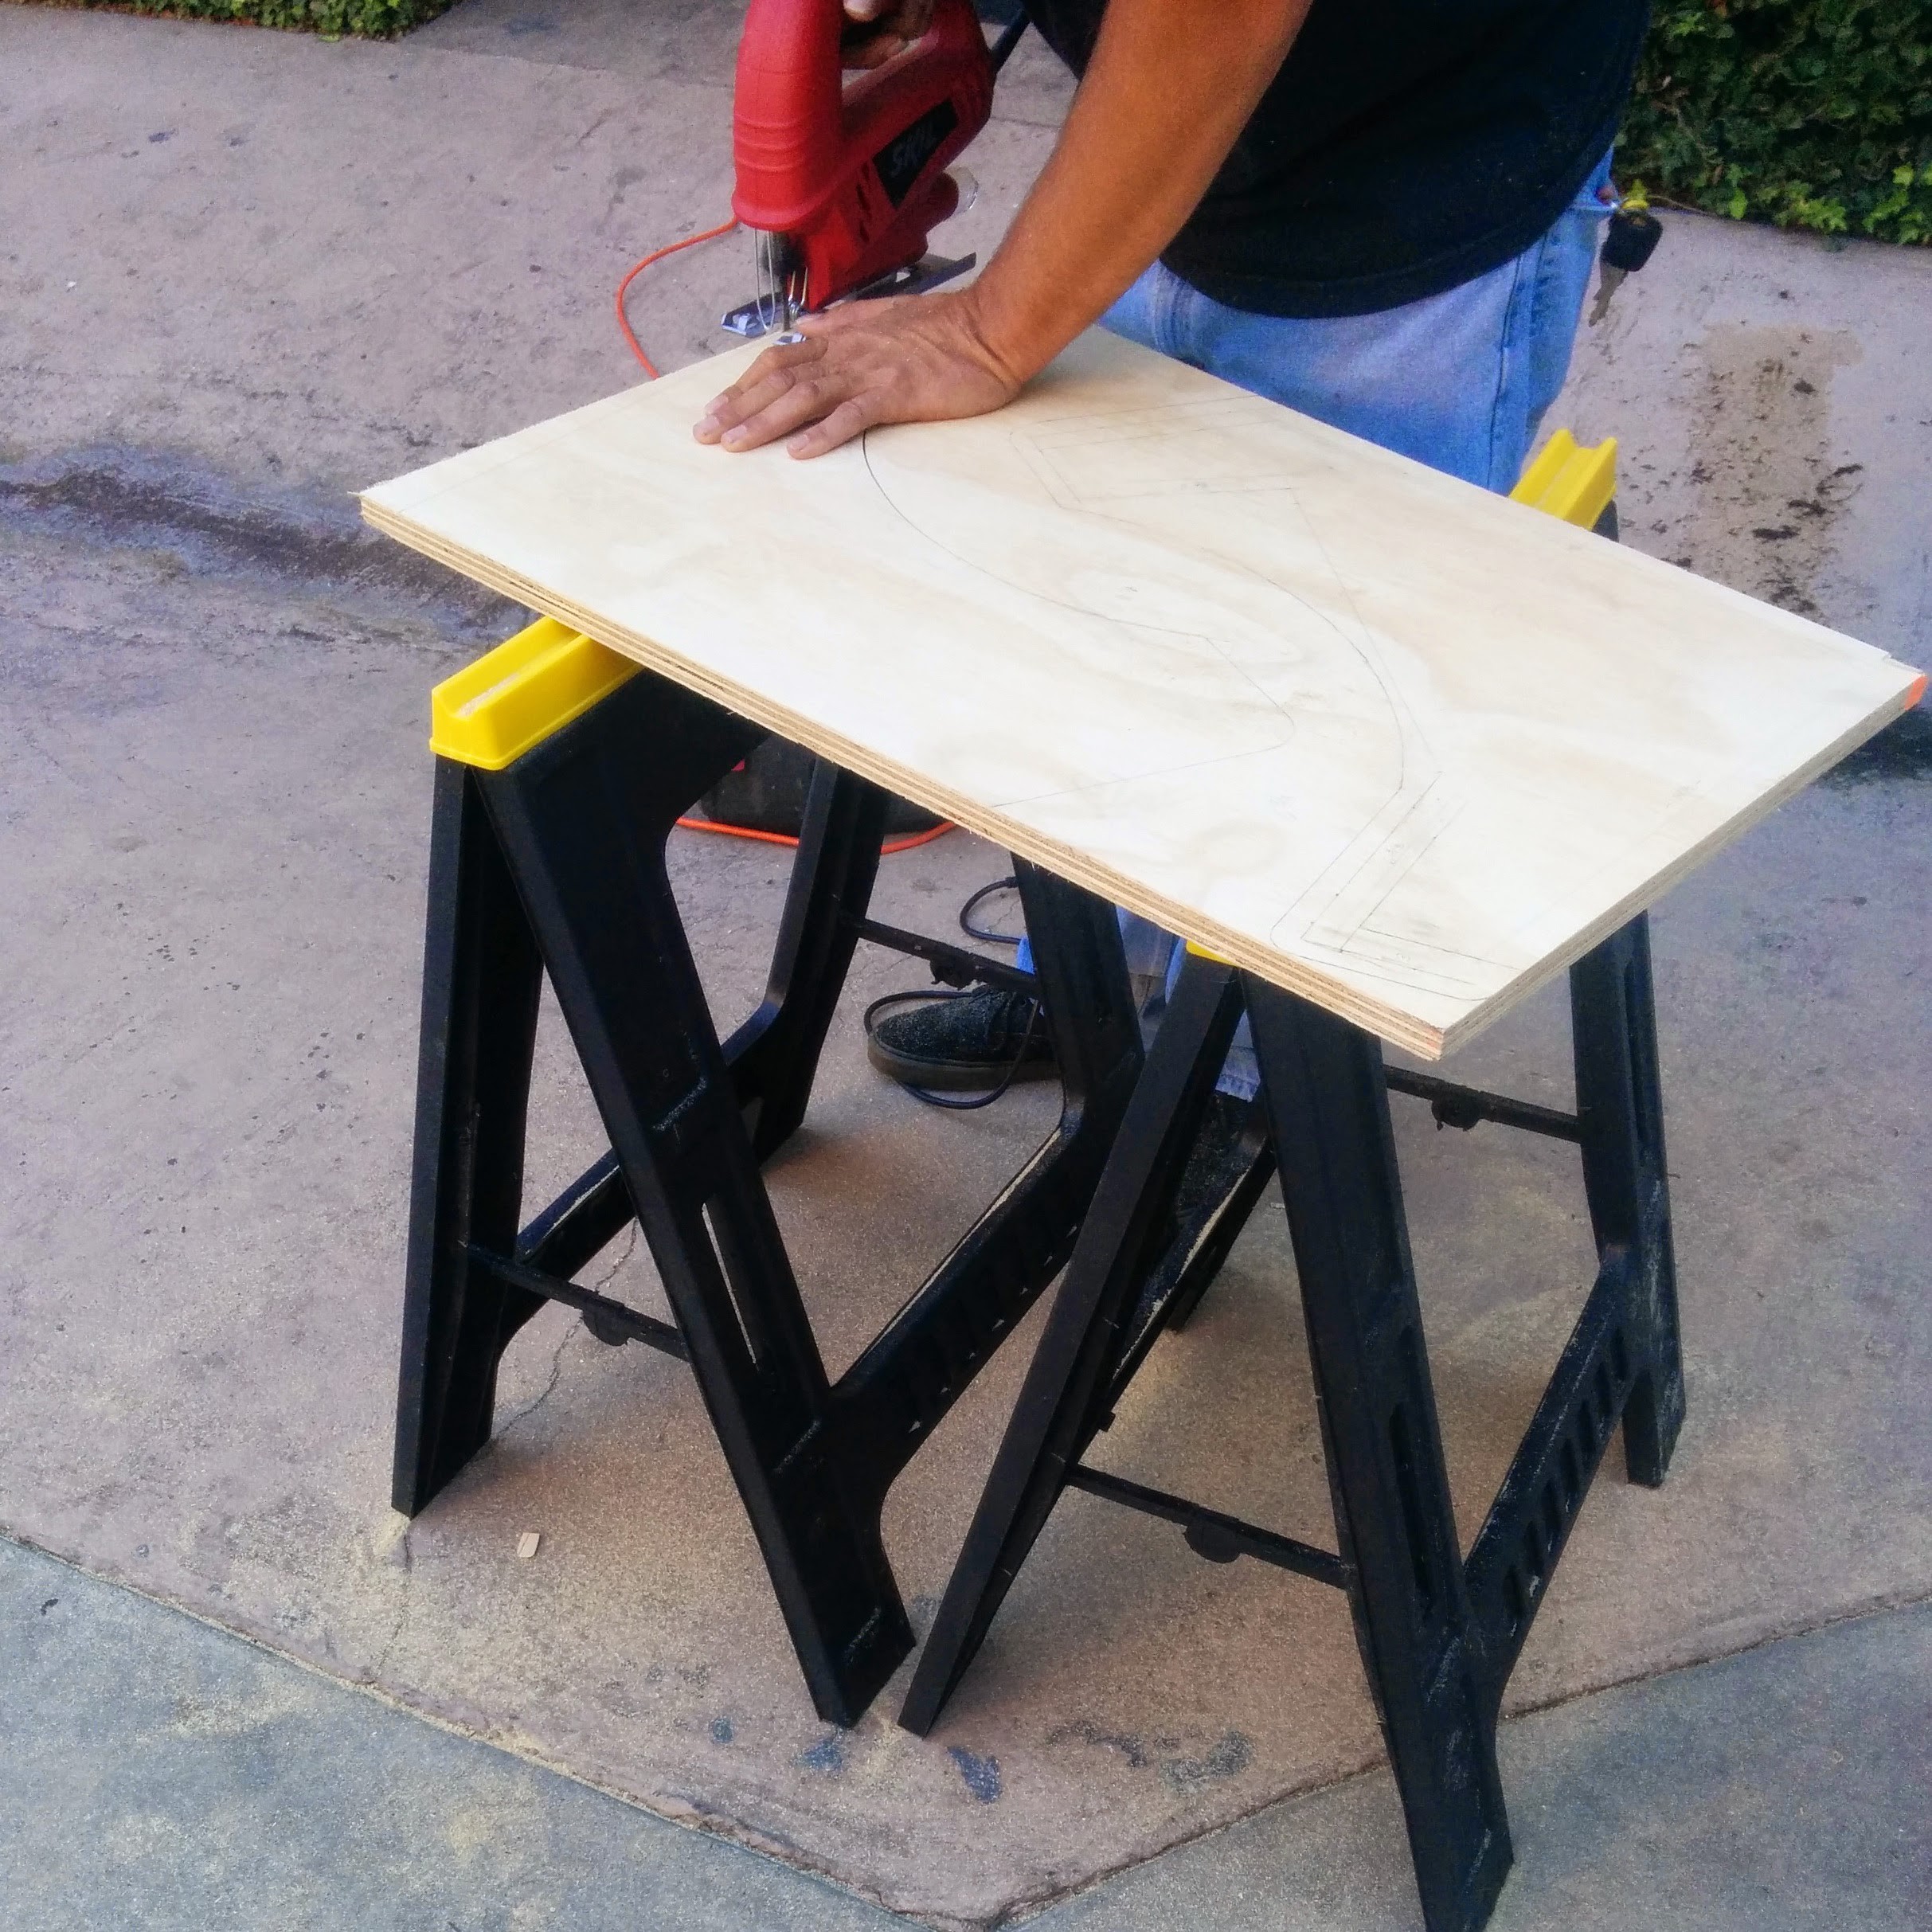
This is where creativity and artistic ability will come into place.

Navigate to "/home/pi/emulators/mame4all/skins" either with your WebFrontend, or Locally on the Pi itself.

You will see 2 files. "rpisplash16.bmp" and "rpimenu16.bmp"

You can edit these files, and overwrite them, you will not have customized artwork on your arcade!

NOTE: Bitmaps have to be 640x480 pixels 65536 colors (16 bit R5G6B5). You can use a free image editing software to achieve this. GIMP works great.


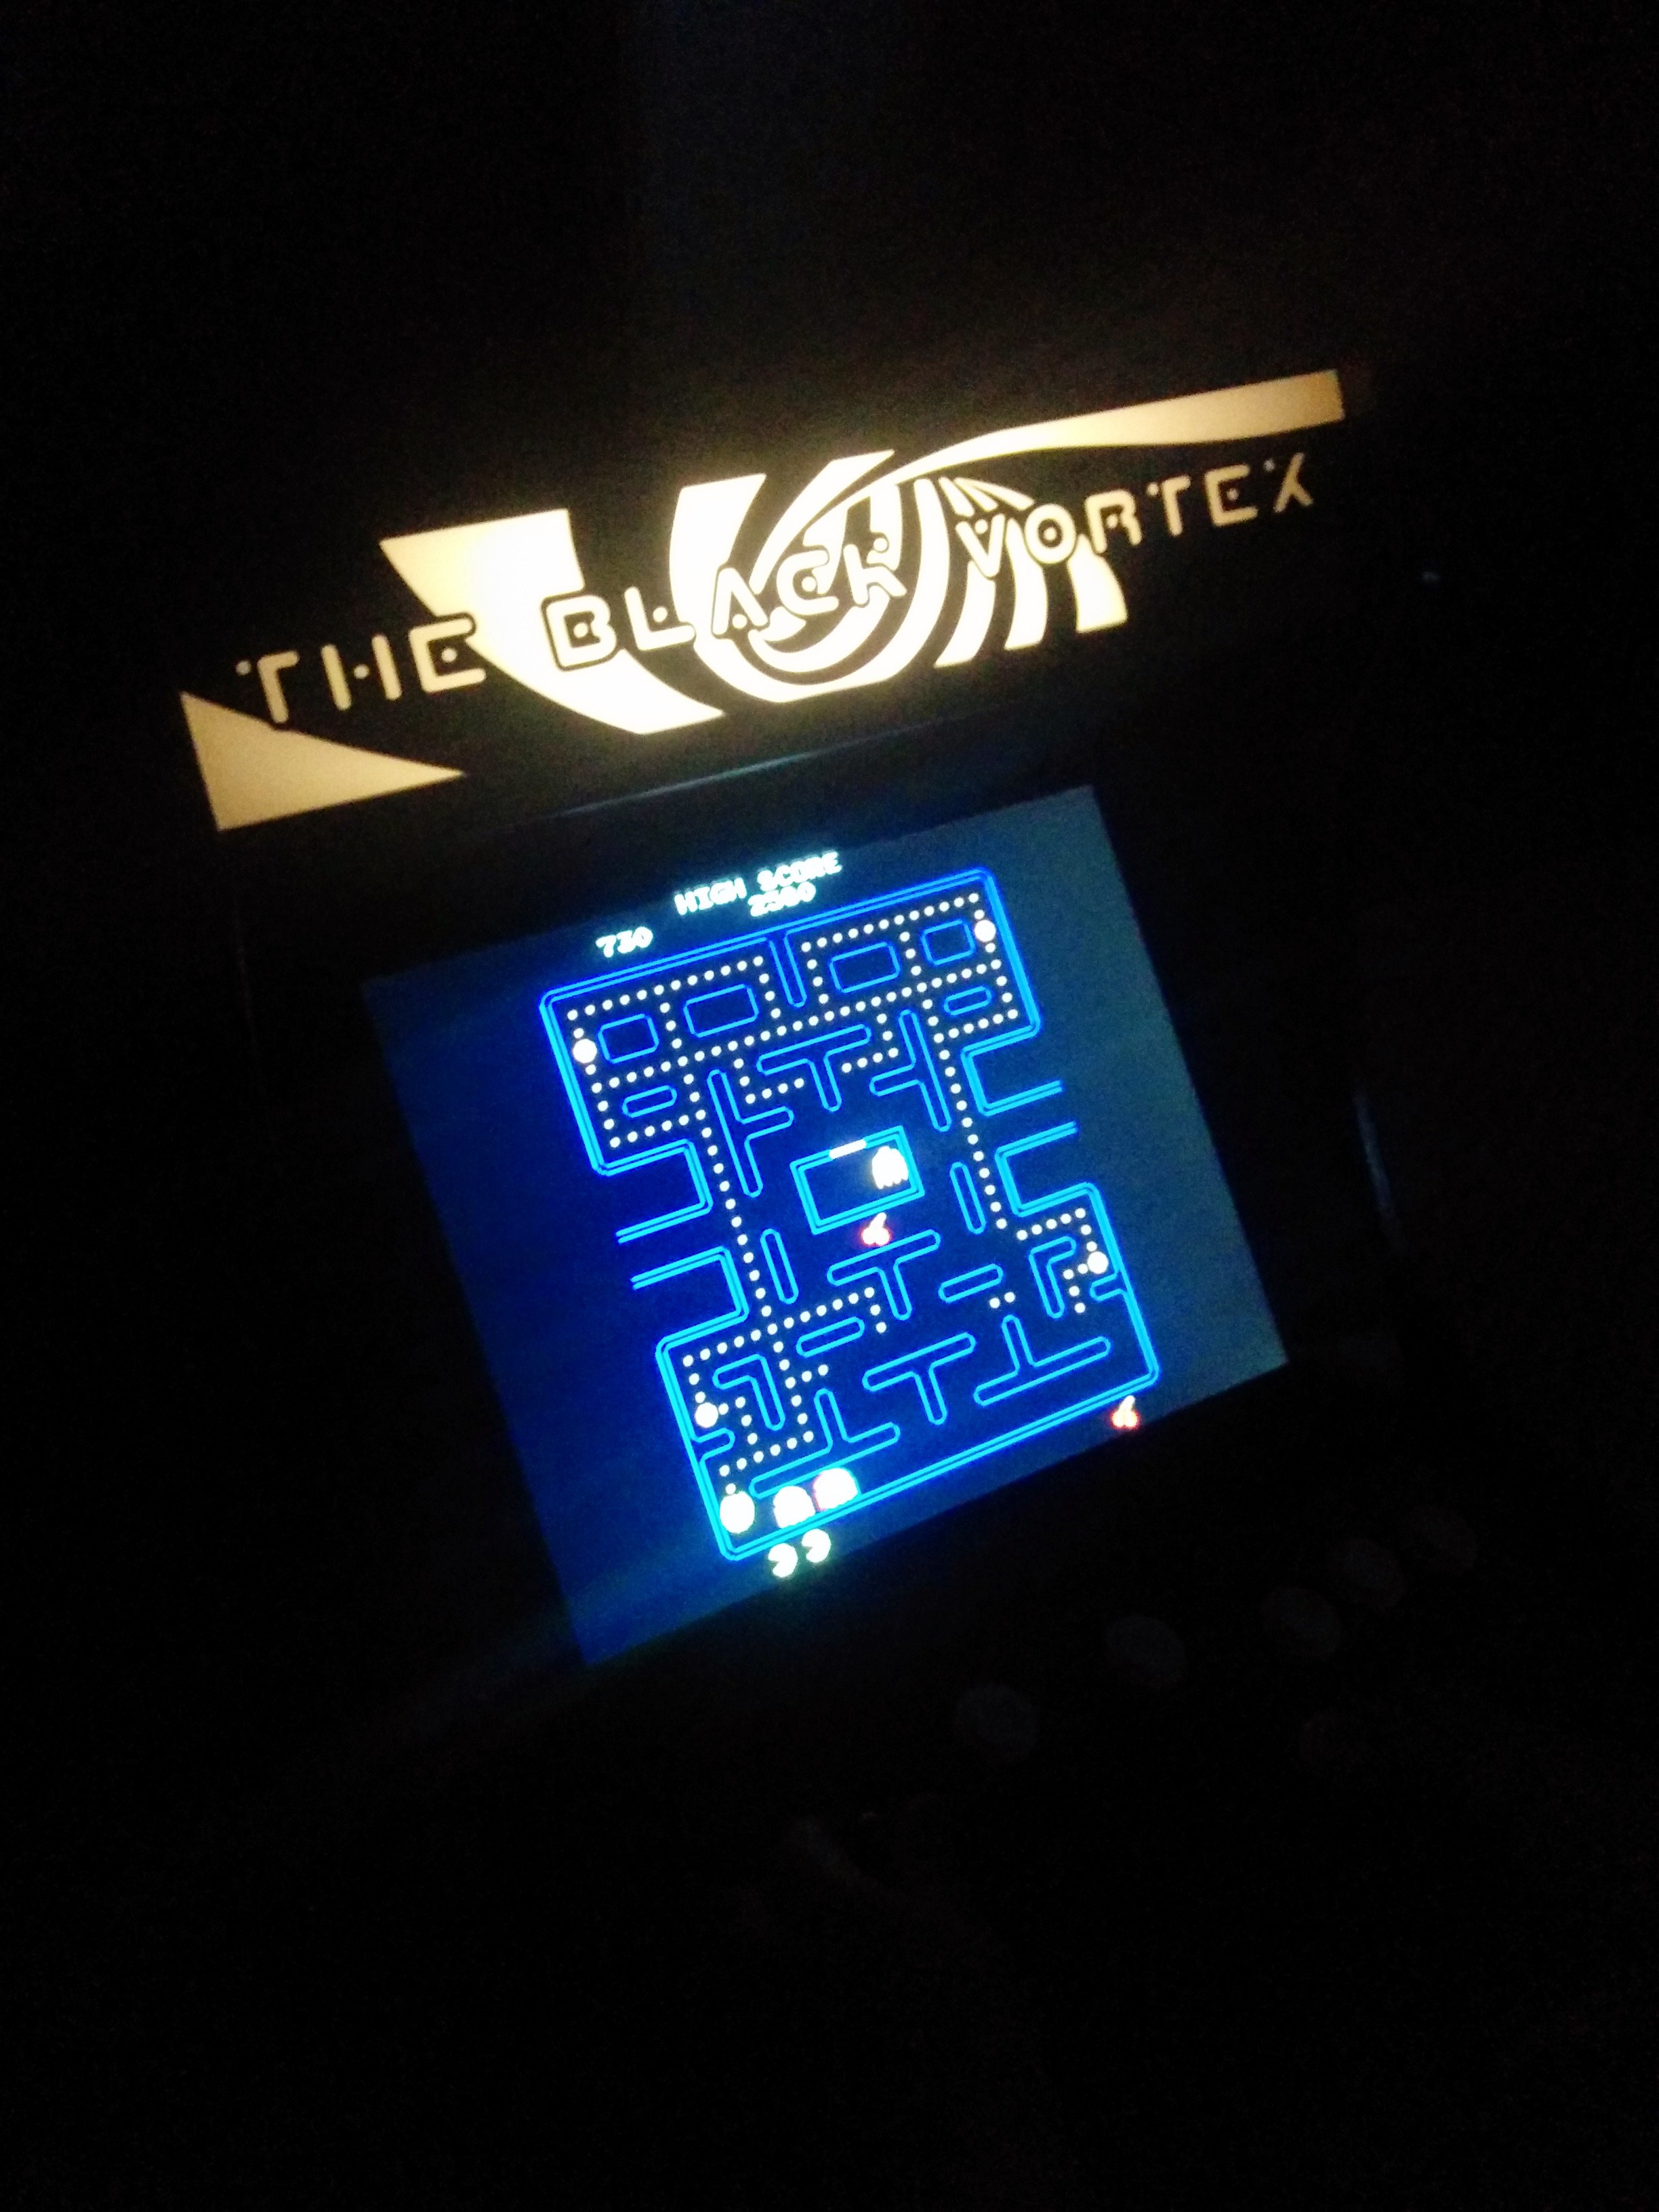
CUSTOM SPLASH SCREEN

CUSTOM GAME CHOOSING MENU


 INCREASING THE OVERALL VOLUME OF YOUR RASPBERRY...

Read more »

View all 15 components

View all 5 project logs

  • 1
    Step 1

    Ripping Everthing Apart!

    This is the fun part.

    Find yourself an old LCD Monitor.. Thrift Shops are great for this.

    I got my LCD Monitor used in the arcade for $8!

    I took everything apart on it, to save space, weight, and because I was mounting it into a seperate housing. Be careful when taking the monitor apart, there are a lot of flimsy wires that take finesse to wiggle out of place.

    Now that you have a nice terminator style monitor, you can plug it into your Raspberry Pi!

    Also on the list of things to tear apart:

    Speakers: To mount into your arcade cabinet. (Keep the speaker grills! They make great touches to the final product. If you went with the Logitech Z100 Speakers, here is a great video of a teardown.

    Computer Fan: Find an old desktop laying around in your garage and cannibalize every fan you can... if not, buy it on Amazon, or Bestbuy.

  • 2
    Step 2

    Wiring the Joystick and Buttons (Optional Soft Mount)

    This will be the start of your amazing Raspberry Pi Arcade System!

    First, you must become familiar with the Raspberry Pi GPIO.

    This will be where you plug in all the buttons and joysticks.

    The awesome folks at Adafruit have compiled a very detailed walkthrough and  library to glue the hardware and software together to get your buttons and joysticks running.

    First, take a look at your joystick.

    With the pins facing up, this will be the orientation of the joystick.

    Using your Female to Female jumper wires, connect each pin to a corresponding GPIO Pin. 

    The following is an example of how you can wire your joystick/buttons.

    If you followed that layout, the next step of the process is quite simple.

    Download retrogame from GitHub. Select the “download ZIP” button and uncompress this file on your Raspberry Pi. /home/pi directory.

    A pre-built version of retrogame is included in the ZIP file. If using the joystick and button layout described above, this program can be used as-is. Otherwise, the C source code needs some editing, and you’ll need to compile it (a Makefile is provided) after making changes. The GPIO pin to keyboard remapping is currently handled with a table in the source…this should be edited to match your unique wiring setup.

    open your terminal and type the following.

    cd Adafruit-Retrogamenano retrogame.c
    nano retrogame.c

    (Of course you can substitute your editor of preference there — “nano” is easier for beginners.)

    Starting around line 77 you’ll see a table resembling this:

    Each line in this table contains two elements. The first is a GPIO pin number (where a button or one direction from a joystick is attached), the second is the corresponding key code to be generated by this control. A list of valid key code names can be found in the file /usr/include/linux/input.h starting around line 178. Remember to enclose each pin/key pair in {curly braces} with a comma between them.

    By default, the code is set up to match our example “no solder” controller wiring. This also works directly with the standard MAME controls. So you might not need to change anything; the pre-built version may have you covered.


    If you need an extra ground pin (and have extra GPIO pins available that you’re not using for controls), set the key code to GND instead.

    Write your changes to the file and exit the editor, then type:

    make

    This should build the executable retrogame utility. If you instead get an error message, there’s a problem in the edited table — most likely a missing curly brace, comma or semicolon.

    But wait…we’re not ready to run yet! Retrogame requires the uinput kernel module. This is already present on the system but isn’t enabled by default. For testing, you can type:

    sudo modprobe uinput

    To make this persistent between reboots, append a line to /etc/modules:

    sudo sh -c 'echo uinput >> /etc/modules'

    Now we’re in good shape to test it!

    Retrogame needs to be run as root, i.e.:

    sudo ./retrogame

    Give it a try. If it seems to be working, press control+C to stop the program and we’ll then set up the system to launch this automatically in the background at startup.

    sudo nano /etc/rc.local

    Before the final “exit 0” line, insert this line:

    /home/pi/Adafruit-Retrogame/retrogame &

    If you placed the software in a different location, this line should be changed accordingly. “sudo” isn’t necessary here because the rc.local script is already run as root.

    Reboot the system to test the startup function:

    sudo reboot

    The software will now be patiently waiting in the background, ready for use with any emulators.

    Each emulator will have its own method for configuring keyboard input. Set them up so the keys match your controller outputs. Up/down/left/right from the arrow keys is a pretty common default among these programs, but the rest will usually require some tweaking.

    Congratulations, you have just successfully wired hardware to your Raspberry Pi and glued it together with a little C Code! Go you!

    I got stuck at this stage of the process because I couldn't stop playing the games!

    KEEP CALM AND TINKER ON.

  • 3
    Step 3

    Building the Cabinet

    At this point, you should have a fully functional Arcade System!

    But you're going to want to mount the nest of wires and plugs into something nice looking, right?!

    This part is mainly artistic, and will look as good as the effort you put into it!

    I will provide insight, but it's mostly up to you!

    Whats next? The Electronics of course. See all instructions for the Electrical.

View all 4 instructions

Enjoy this project?

Share

Discussions

esiako wrote 06/24/2021 at 21:42 point

How add knob? for example tempest using big potenciometer

  Are you sure? yes | no

Ayeee wrote 06/05/2016 at 03:01 point

Hi I had a question about the plans you used in making this cabinet. I am looking at the WeeCade and it is kinda similar. I was also curious about the thickness of MDF that you used. 

  Are you sure? yes | no

dannyvandenheuvel wrote 06/05/2016 at 11:40 point

Hi, I use a uprint se from stratasys and the thinnest walls are 2 millimeters.

  Are you sure? yes | no

Jorge De Santiago wrote 03/28/2016 at 11:19 point

Nice work. Enjoyed the rom emulation work on the Pi.

  Are you sure? yes | no

tig13danielconceicao wrote 09/23/2015 at 10:33 point

Hi Brayden, i wanted to try out building this one, but before i buy it i wanted to know how the joystick and the buttons are recognized by the Pi. Maybe a stupid question, but i aprecciate ur answer

  Are you sure? yes | no

Paul Leskinen wrote 03/13/2015 at 13:39 point

I'm pretty sure that this is powered by that cat. Does PETA know about your "alternate" power supply? ;-)

  Are you sure? yes | no

jdobbs88 wrote 12/04/2014 at 15:34 point
Brayden, thanks for the awesome work. I'm going to build one of these for my son for Christmas, any chance I can get the dimensions on your cabinet. I like the look and size of the one you built.

  Are you sure? yes | no

Brayden DeVito wrote 12/05/2014 at 00:22 point
Thank you!

Check this link out. Mine is based on the weecade design. There are a bunch of good ones here as well.

http://www.koenigs.dk/mame/eng/drawweecade.htm

Let me know if you have any other questions, or things you need help with.. I'd be glad to assist!

  Are you sure? yes | no

∂åñîé| wrote 10/31/2014 at 18:18 point
Hey Brayden, I'd like to gift the components of this project to a friend. I noticed you looped your "hook up wire" to all the buttons. You were kind enough to link all the parts on Adafruit, but no direct link for the "hook up wire". Can one of the Female/Female Jumper Wires be used for that ground wire?

edit: and thanks for this awesome guide!!

  Are you sure? yes | no

Brayden DeVito wrote 10/31/2014 at 19:22 point
Daniel, thanks for the kind words! Hopefully it's pretty easy to understand... Let me know of any trials and tribulations I could possibly assist with during the build.

As for the hookup wire, if you have enough female to female wires to sacrifice, just cut them up and crimp the quick disconnect terminals and you're set.. If you want a cheaper alternative, in roll form... Check ou something like this..

http://www.amazon.com/gp/aw/s/ref=is_s_ss_i_2_11?k=hookup+wire+22awg&sprefix=hookup+wire

RadioShack is a quick place to pick it up in person as well.

  Are you sure? yes | no

∂åñîé| wrote 11/01/2014 at 00:03 point
Thanks for the swift reply! You're a rad and helpful dude.

  Are you sure? yes | no

zuul wrote 07/25/2014 at 02:57 point
ok i'll be following, i've also made the controller and stuff from the tutorial, later decided to scrap it and make a handheld,.. but i miss it, i might buy another pi and do both

  Are you sure? yes | no

Brayden DeVito wrote 07/25/2014 at 14:59 point
If you need help with anything, just let me know- I would be glad to provide any insight :]

  Are you sure? yes | no

zuul wrote 07/25/2014 at 01:30 point
hmm seems pretty similar to just the tutorial on adafruit

maybe you could add a coin acceptor or maybe make it accept bitcoin for it's "connected" part

  Are you sure? yes | no

Brayden DeVito wrote 07/25/2014 at 01:42 point
Still a work in progress. Much more detail to come.

  Are you sure? yes | no

Similar Projects

Does this project spark your interest?

Become a member to follow this project and never miss any updates