 littleBits
-
1Step 1
- Set up your cloudBit if you haven’t done so already. Instructions for setting up the cloudBit can be found here.
-
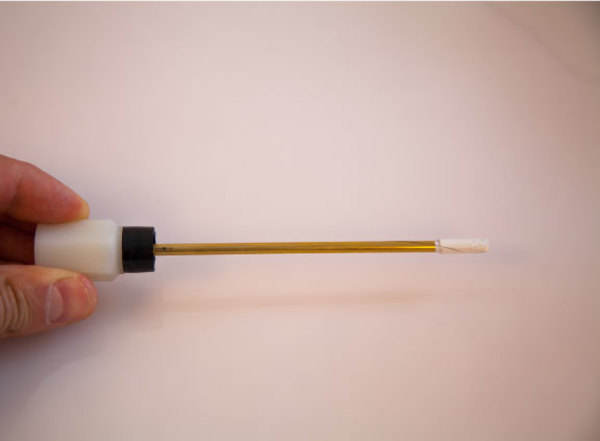
2. Prepare the tilt valve:
![]()
![]()
![]()
Unscrew the tilt valve from the tank. Carefully cut the black rubber nozzle off of the valve. Cut a piece of the 5/32” tube so it’s 5 inches long and glue the tube to the metal rod of the tilt valve. Slide the valve puller (A-1) over the 5/8” silicone tube and pull it about 6” down the tube. Slide the tube over the tilt valve and either glue or hose clamp it in place.
-
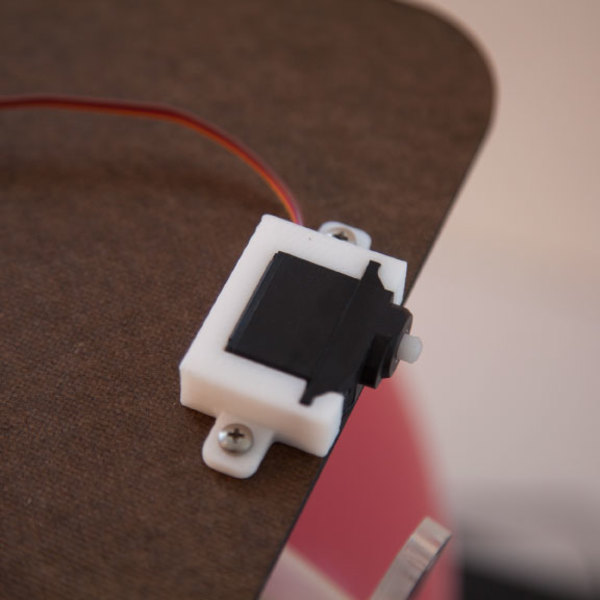
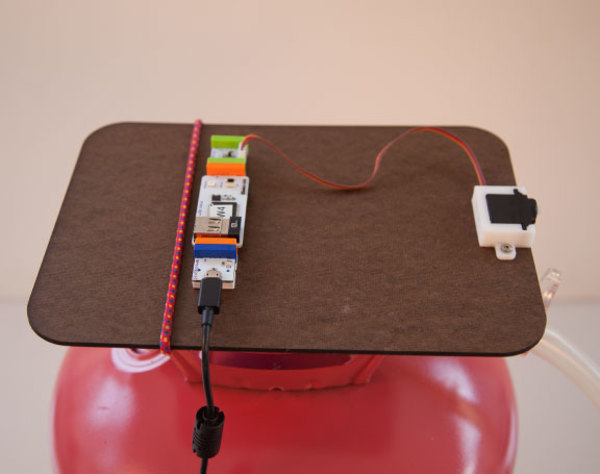
3. Add the bits to the board:
![]()
![]()
![]()
Slide the Servo Motor into the servo mount, then screw the servo mount to the board using the two #4 machine screws and nuts. Assemble the rest of the circuit and stick it to the board with adhesive shoes. Secure the board to the tank with a small bungee cord.
- Set up the servo mechanism:
![]()
![]() Plug the servo into a power module so the servo will go to its 0% power position and hold there. Attach the swing arm (A-2) to the servo motor so the arm is pointing down toward the tilt valve. Secure the swing arm with a screw and washer. Connect the valve puller (A-1) to the swing arm (A-2) using a #4 machine screw and nut. Adjust the position of the valve puller and the board so that the hose is not touching the tube on the tilt valve (otherwise the valve may release helium even when the servo is not activated).
Plug the servo into a power module so the servo will go to its 0% power position and hold there. Attach the swing arm (A-2) to the servo motor so the arm is pointing down toward the tilt valve. Secure the swing arm with a screw and washer. Connect the valve puller (A-1) to the swing arm (A-2) using a #4 machine screw and nut. Adjust the position of the valve puller and the board so that the hose is not touching the tube on the tilt valve (otherwise the valve may release helium even when the servo is not activated). -
5. Assemble the balloon stand:
![]()
Insert the free end of the silicone tube through the hole in plate B-2, then insert the 90 degree barbed tube elbow into the end of the hose. Push the other end of the elbow through the hole in plate B-1, then secure the tube in place with the hose bracket (3-D file included with these instructions). Add a little glue to the edges of each plate (B-1 through B-6) and press fit them together. You’ll want to use some masking tape or clamps to hold the plates together while the glue dries. Be sure to wipe away any excess glue that squeezes out when you press the plates together.
-
6. Set up your IFTTT recipe:
![]()
We connected our cloudBits to Instagram using If This Then
That ( IFTTT). See the image above for an example of our recipe.
Insta-Ego Head
Got a big head or know someone else that does? Literally inflate your ego with this mind-blowing project!


 Plug the servo into a power module so the servo will go to its 0% power position and hold there. Attach the swing arm (A-2) to the servo motor so the arm is pointing down toward the tilt valve. Secure the swing arm with a screw and washer. Connect the valve puller (A-1) to the swing arm (A-2) using a #4 machine screw and nut. Adjust the position of the valve puller and the board so that the hose is not touching the tube on the tilt valve (otherwise the valve may release helium even when the servo is not activated).
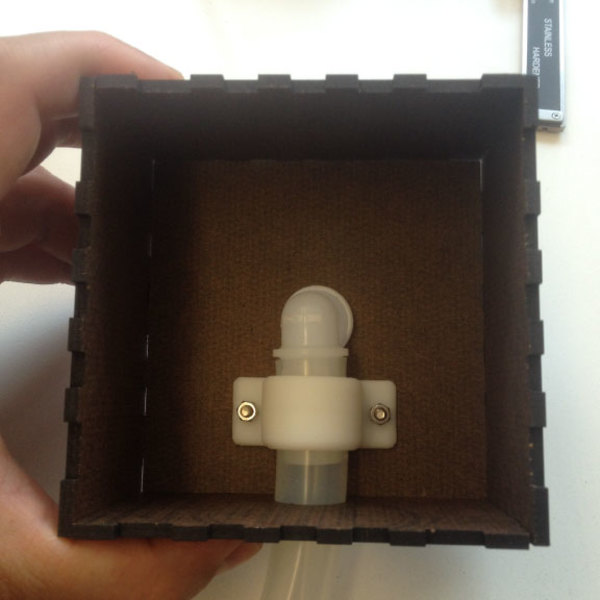

Discussions
Become a Hackaday.io Member
Create an account to leave a comment. Already have an account? Log In.