 Quinn
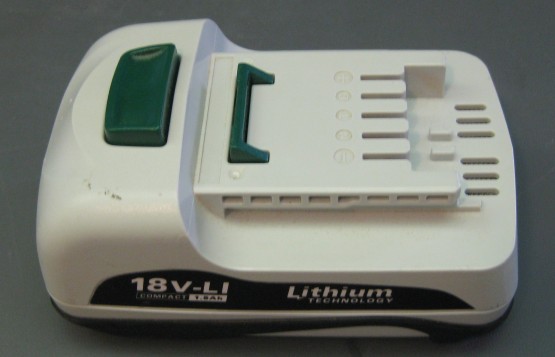
QuinnI have 3 of the same drill, each with their own battery pack, which has been extremely convenient in avoiding changing bits back and forth. Awhile back, one of the packs failed, showed no voltage, and would not charge. While I still had 2 which was ok, I decided to do a quick rebuild of the failed one inspired by some cheap USB portable chargers that were on low clearance.
Before even starting, it was a very safe assumption that the battery pack used standard 18650s. They are pretty much everywhere you find Li-Ion, unless there is a tight form factor requirement; usually thin devices. Added to this, 18V is 5 times the nominal 3.6V 18650 battery voltage, and the form of the pack could reasonable hold 5 of them, plus some electronics.
After finding the appropriate security torx bit, this was proven correct.
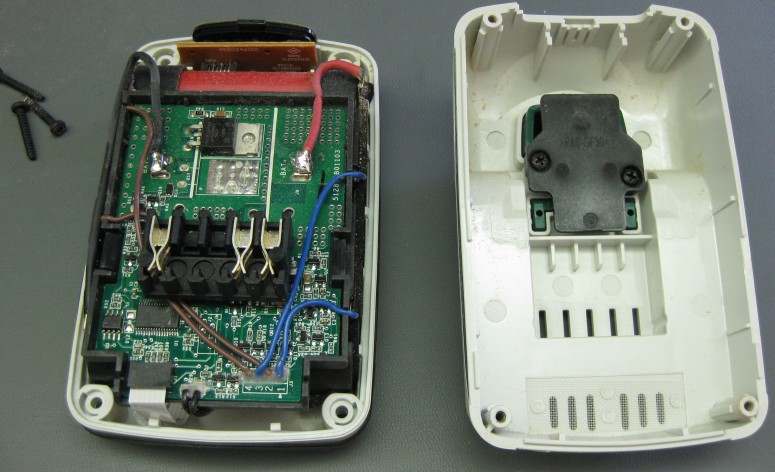
It took some extra pulling to get the batteries out, but thankfully they were just pressure fit, not stuck with adhesive like I suspected:
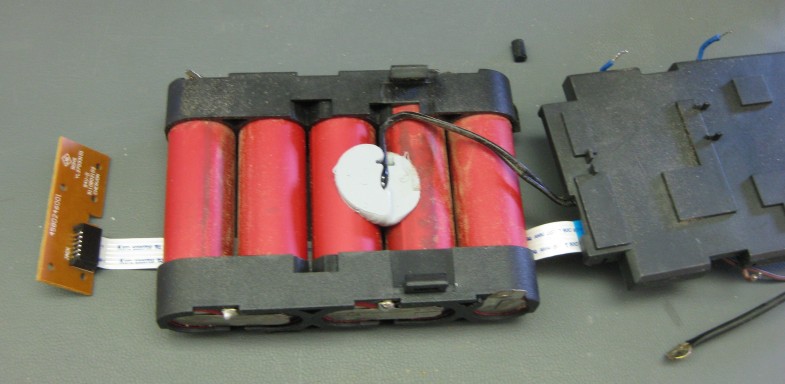
To the left is a small board with the battery gauge, center are the 5 cells, with a temperature sensor attached, and the right is the frame which holds the controller board. To flip this open, I had to unsolder each wire to the pack.
Surprisingly, this was actually a well designed pack, despite being a low budget drill. It correctly senses the voltage on each cell, and has a pass transistor which shuts off the output if there are issues(such as any cell falling below minimum voltage).
For the replacement cells, I picked up 5 of these in a clearance sale:
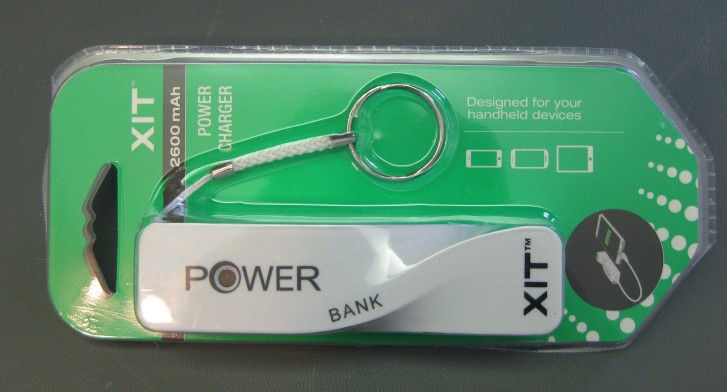
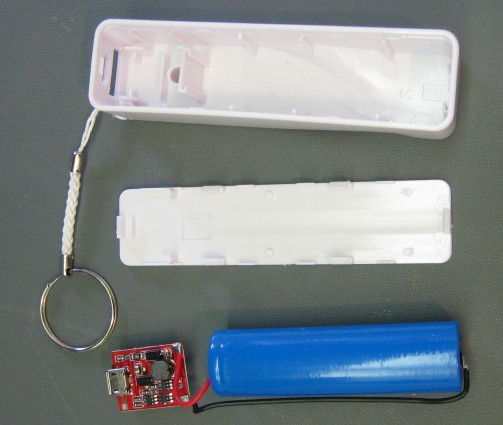
This form factor of powered charger is clearly a single 18650 cell. The unit comes apart easily with a slot screw driver to pry off the back panel:
Discussions
Become a Hackaday.io Member
Create an account to leave a comment. Already have an account? Log In.