 Norbert Heinz
To keep the shipping costs low, the robot must fulfil the following requirements:
Length: 14 to 60cm
Width: 9 to 60cm
Length+Width+Height: no more than 90cm
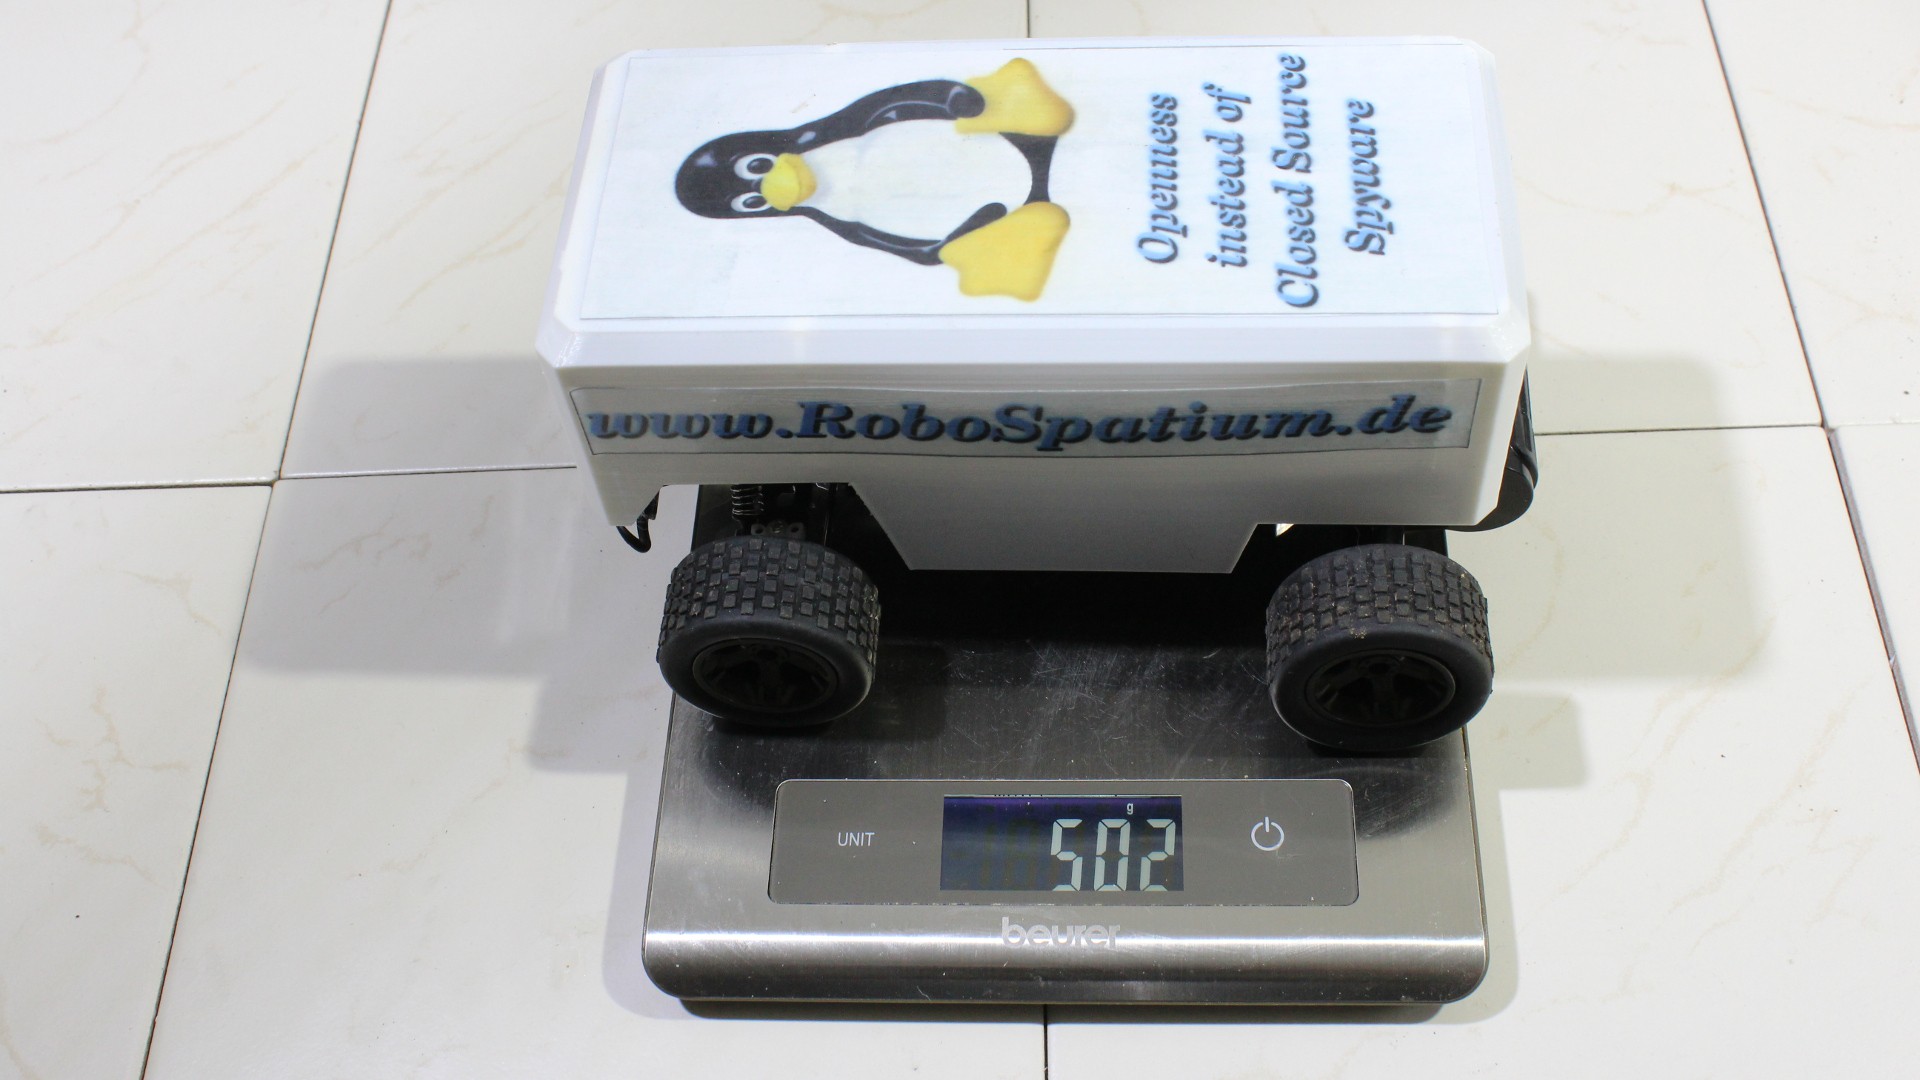
Weight: 450g (500g including envelope)
In the target area, the habitants must provide:
1.) Something to show the world.
2.) Internet connection (WLAN or mobile phone)
With the small dimensions the robot is not made not for rough terrain, at least rover operators must have an eye on where they are driving next, same as NASA engineers driving robots on Mars.
For a larger robot or one with batteries included, the weight could be 1000g (double weight=double shipping costs)
Another "trick" of saving shipping costs is doing the world tour as a rover relay:
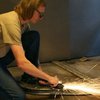
A robot is shipped to a group of people in a parcel. After their mission is done, they hand it face-to-face to the next group near them. No need for paying postage, no customer clearance to be done and another way of bringing neighbouring tinkerers, students or artists together.
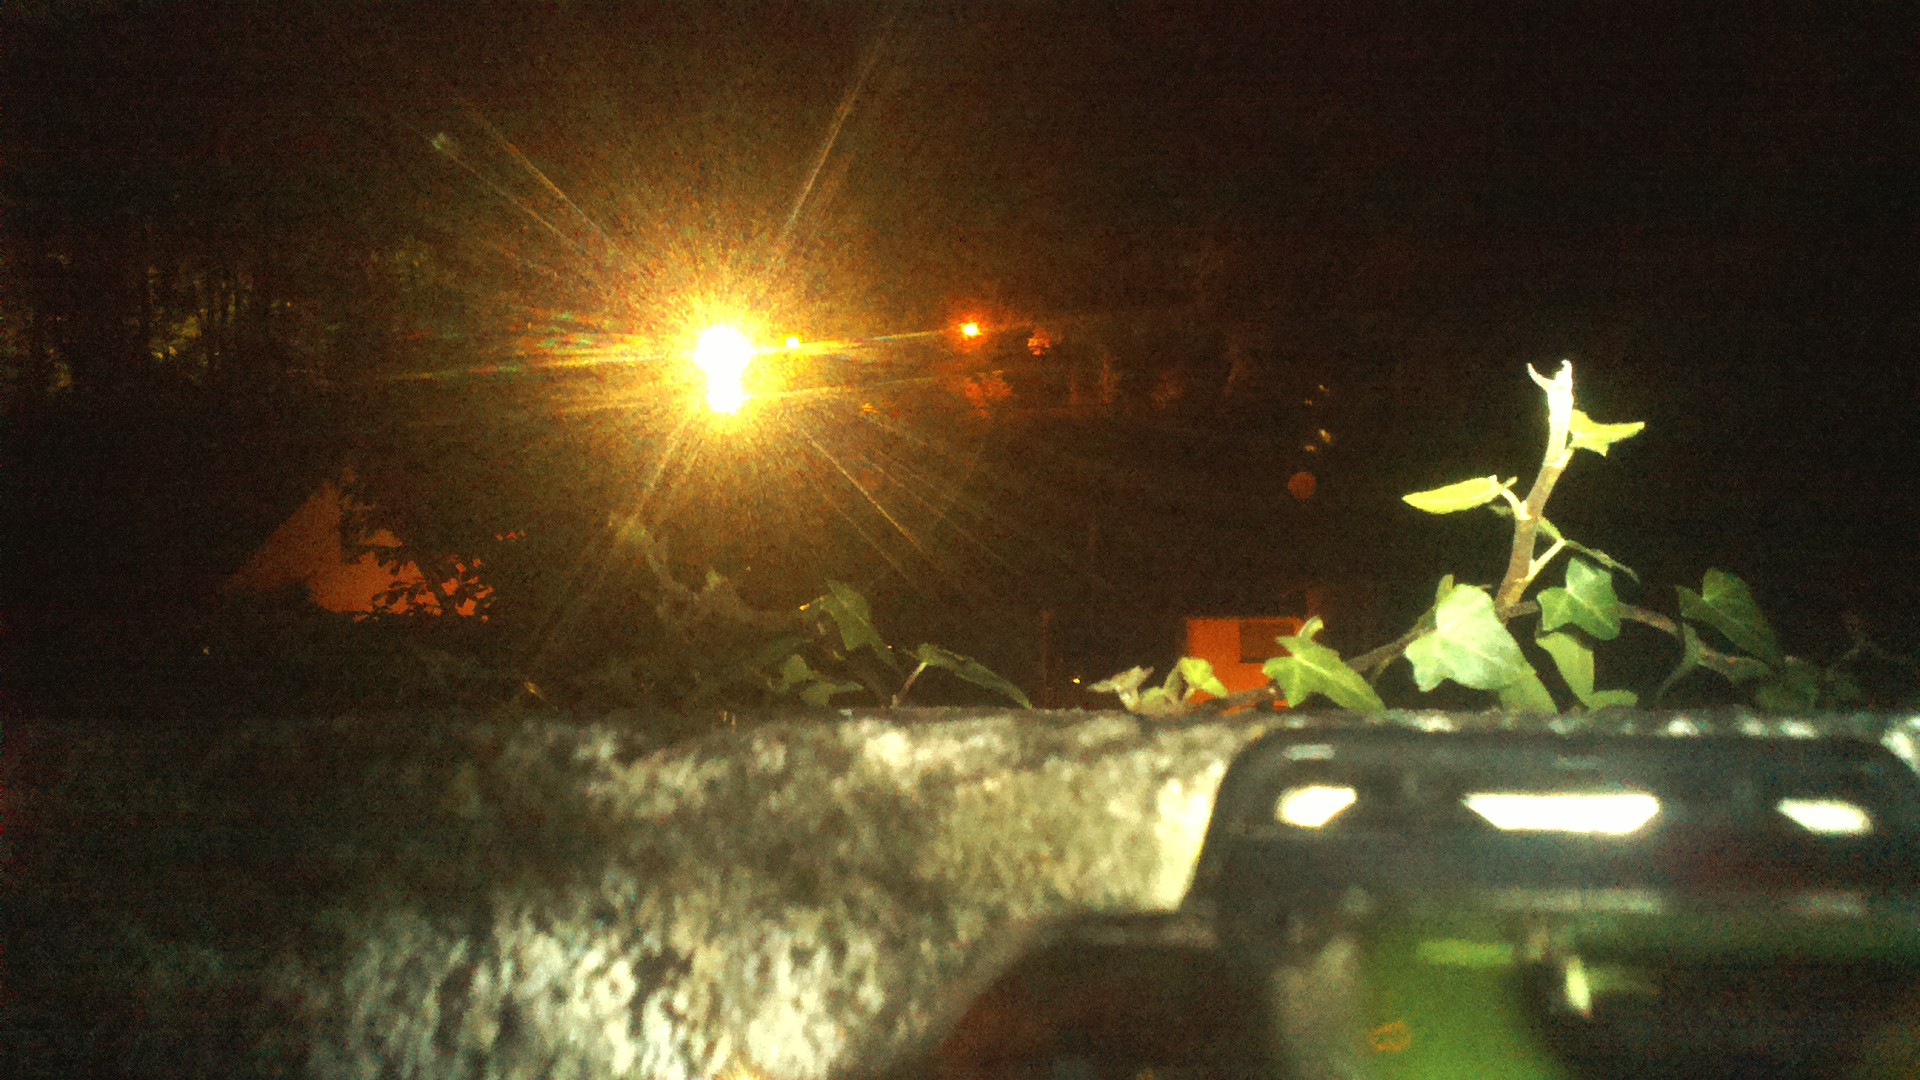
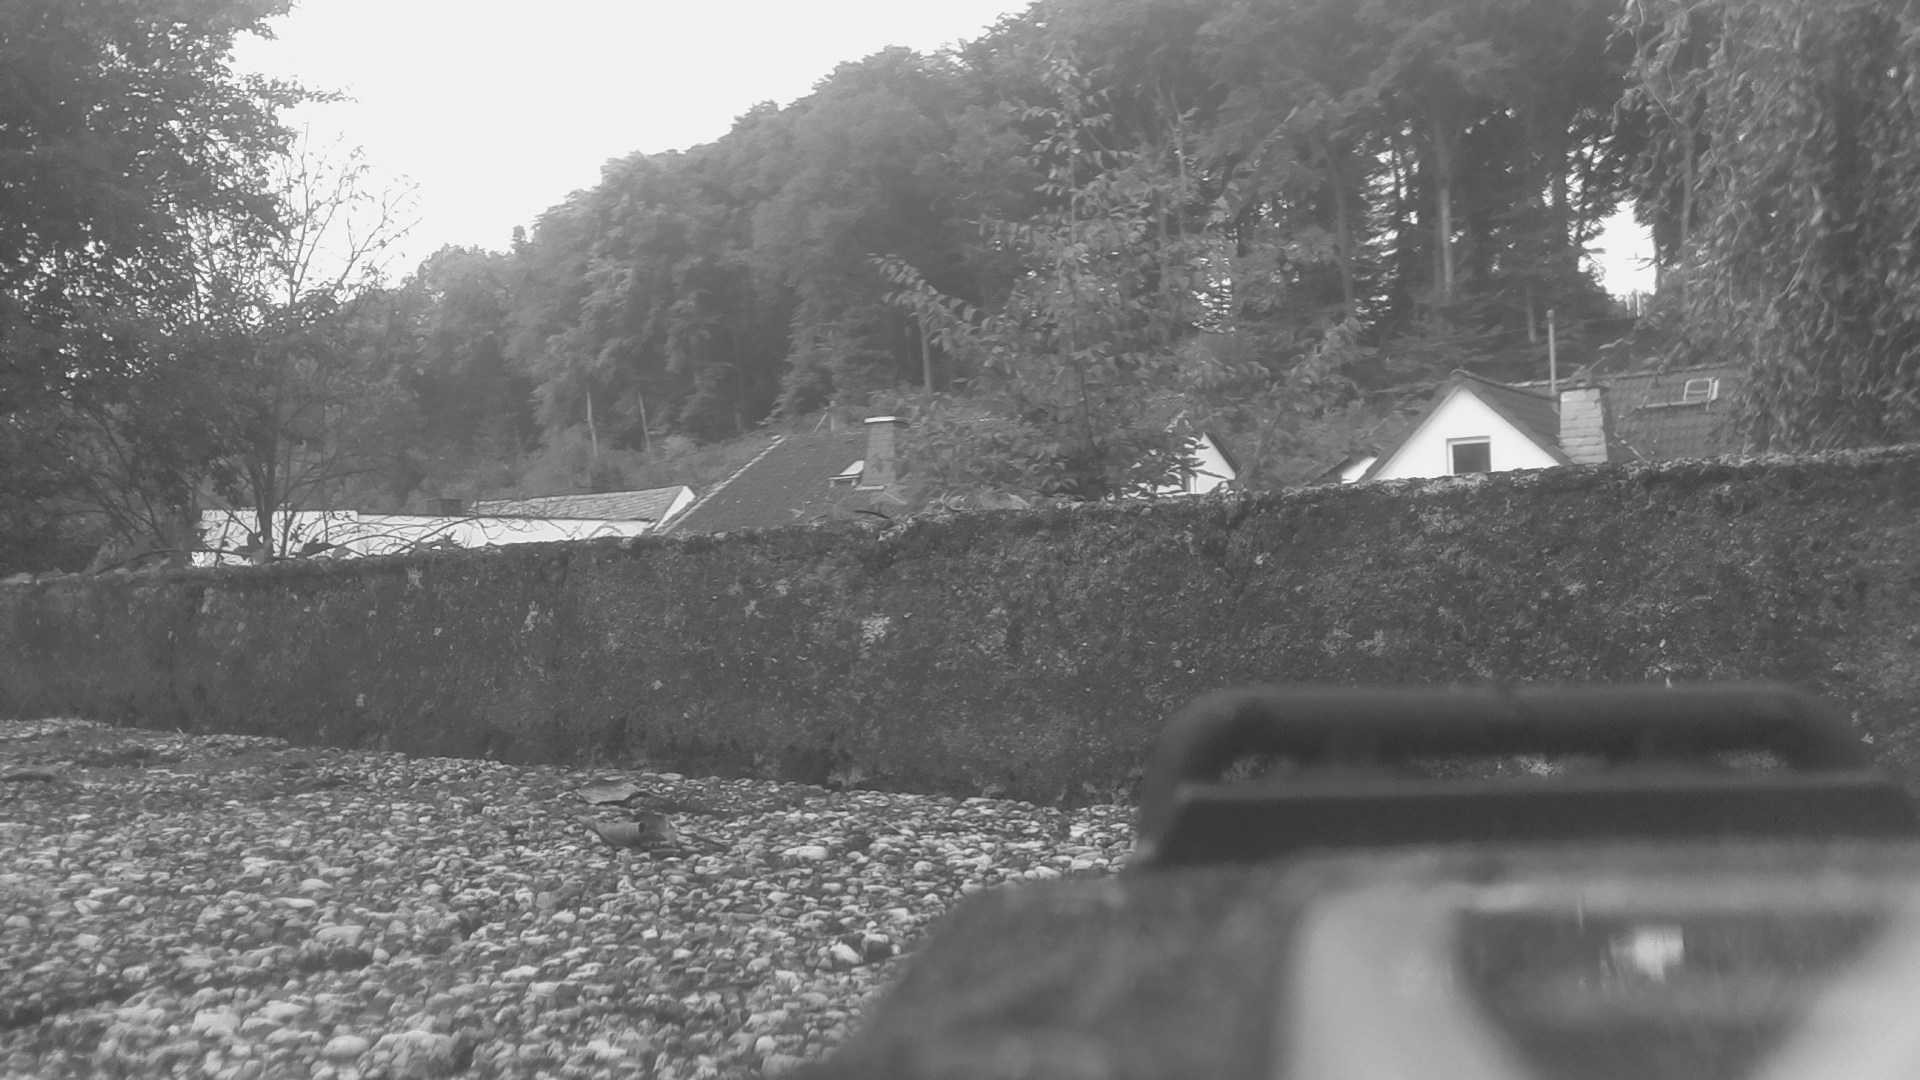
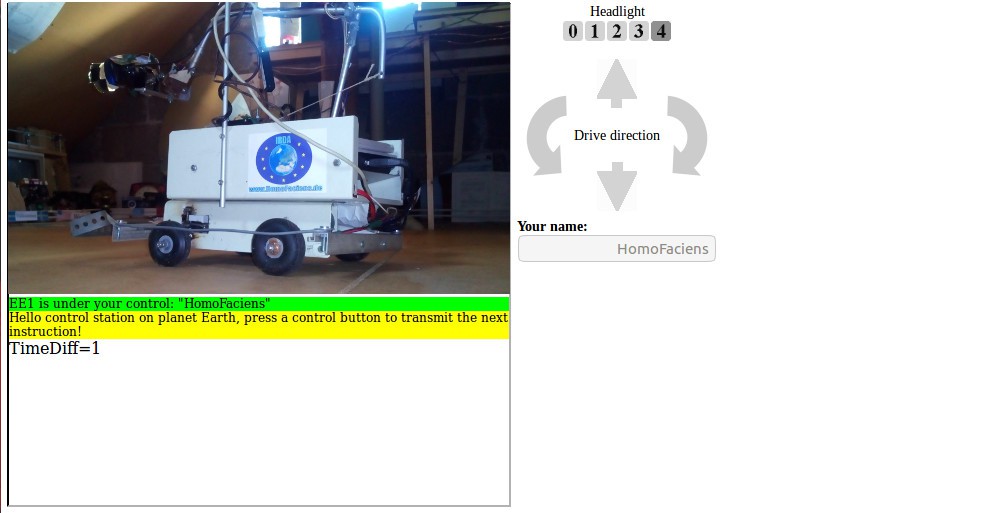
No high tech gimmicks, just transmitting live images from far far away with a new view on things:
Initially I thought of adding many sensors and gimmicks, but during test drives I found that simpler is better. It's the foreign terrain that fascinates most, the view into yards thousand of miles away. Seeing their houses, their cars and that strangers love their children, too.
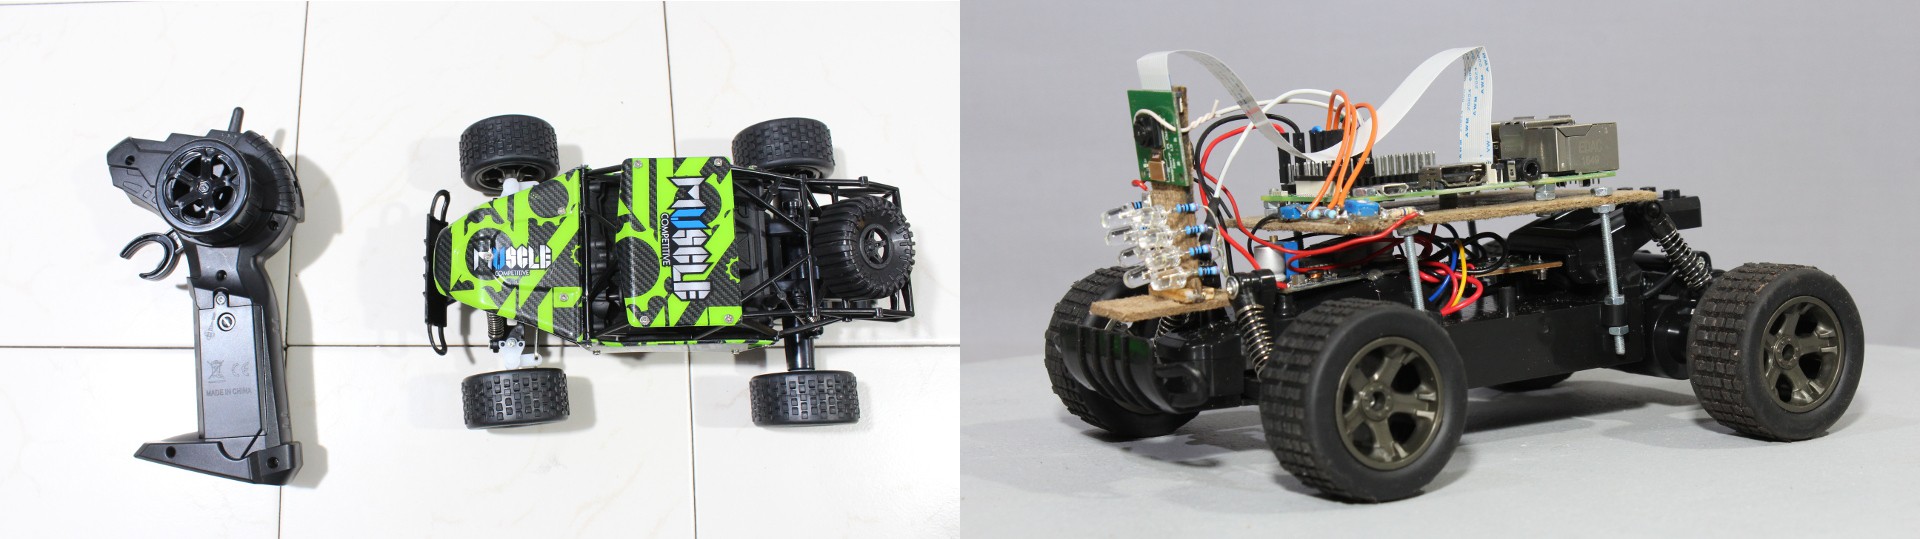
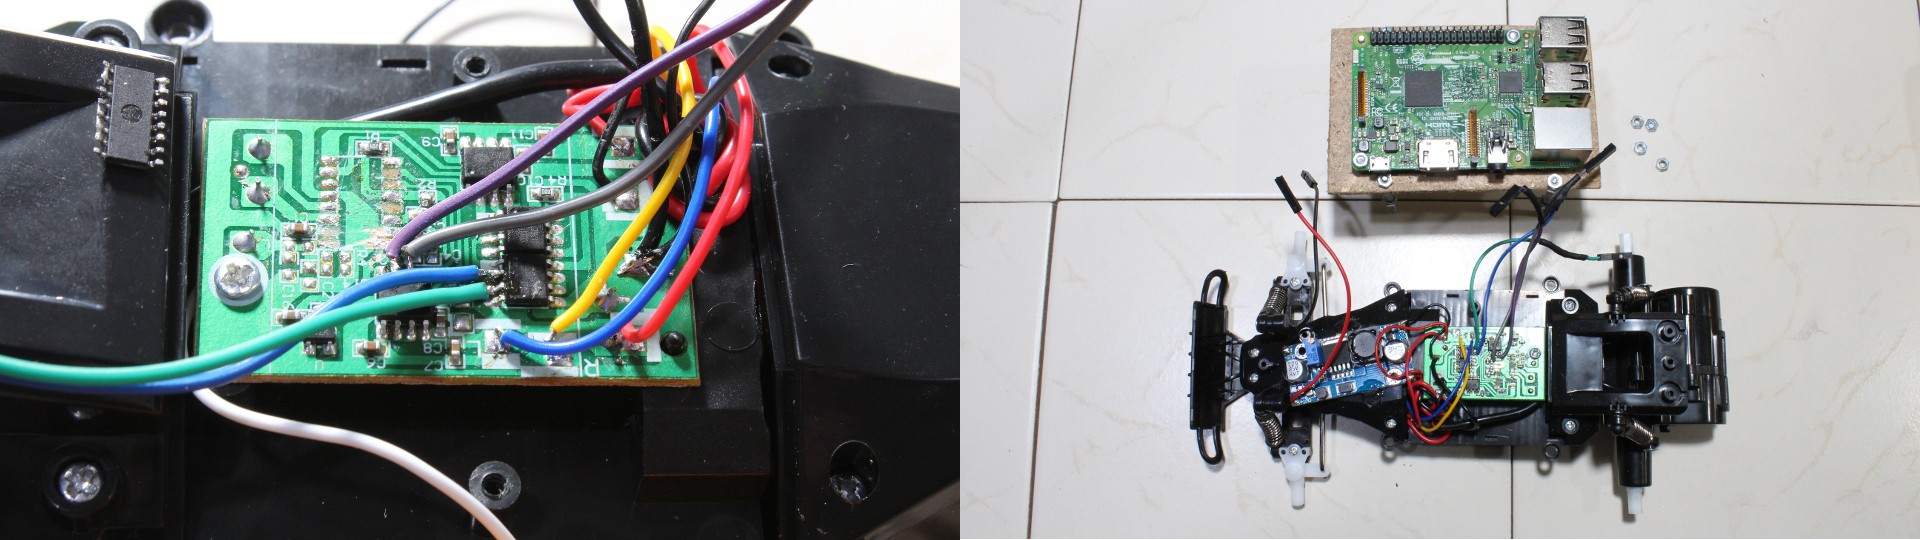
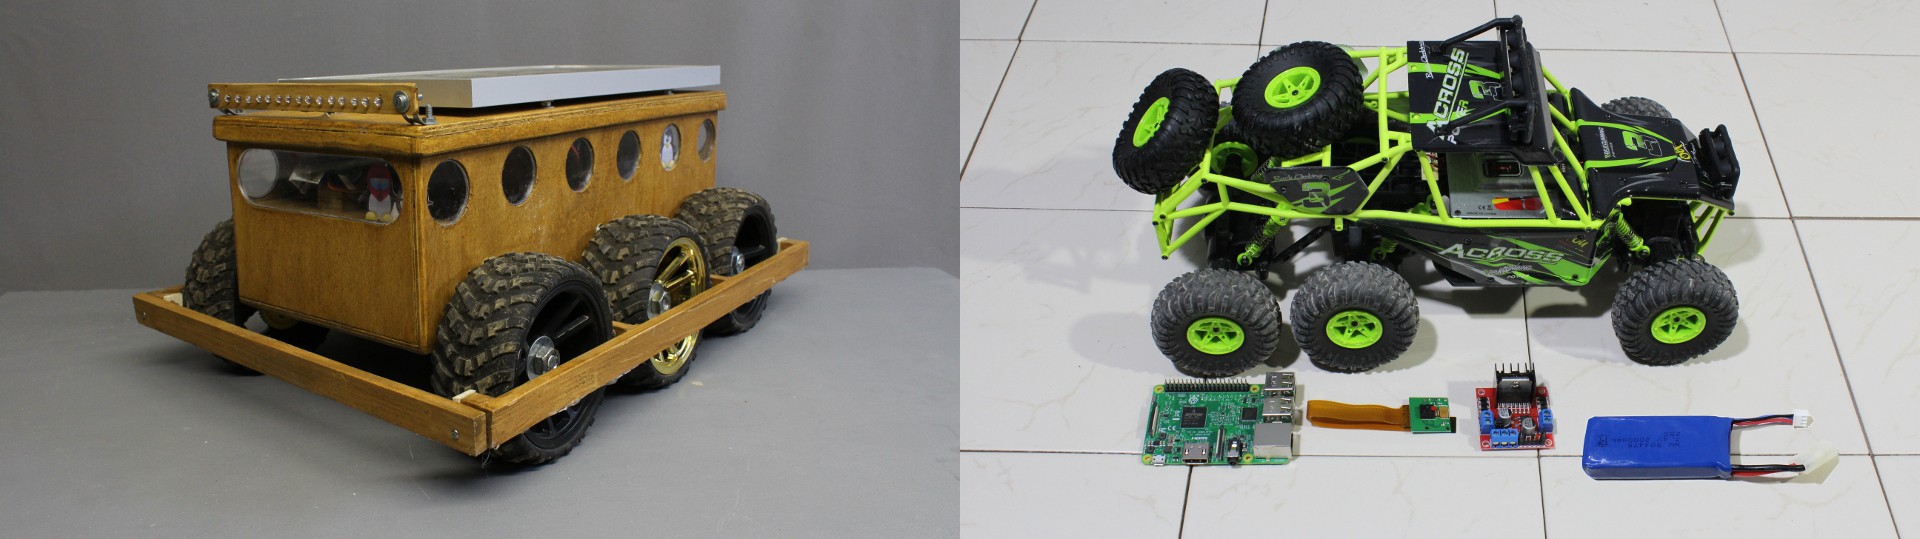
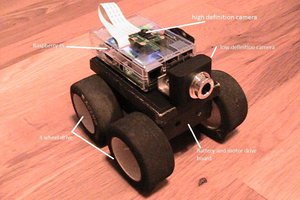
The computing unit will be a Raspberry Pi (a Zero WLAN is the best solution considering power consumption and weight), thus Internet connection can go through USB, WLAN or Bluetooth.
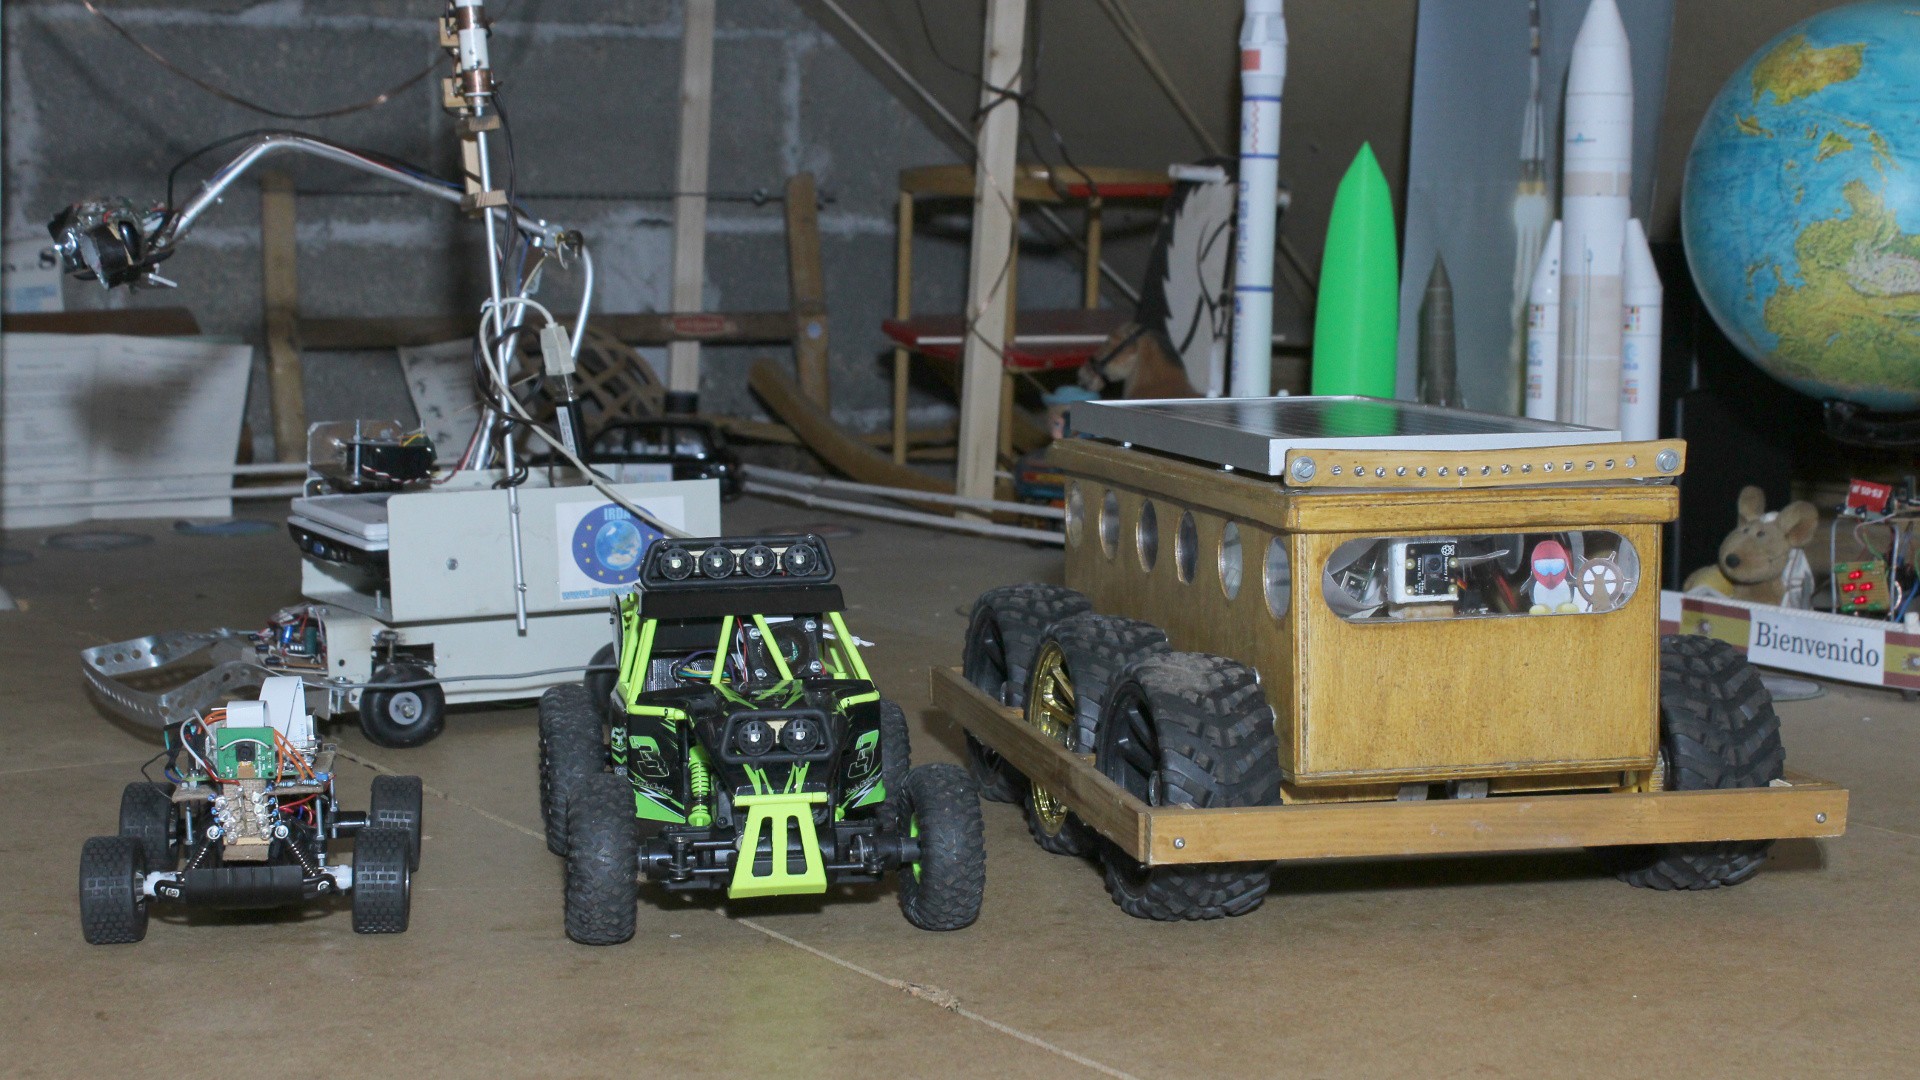
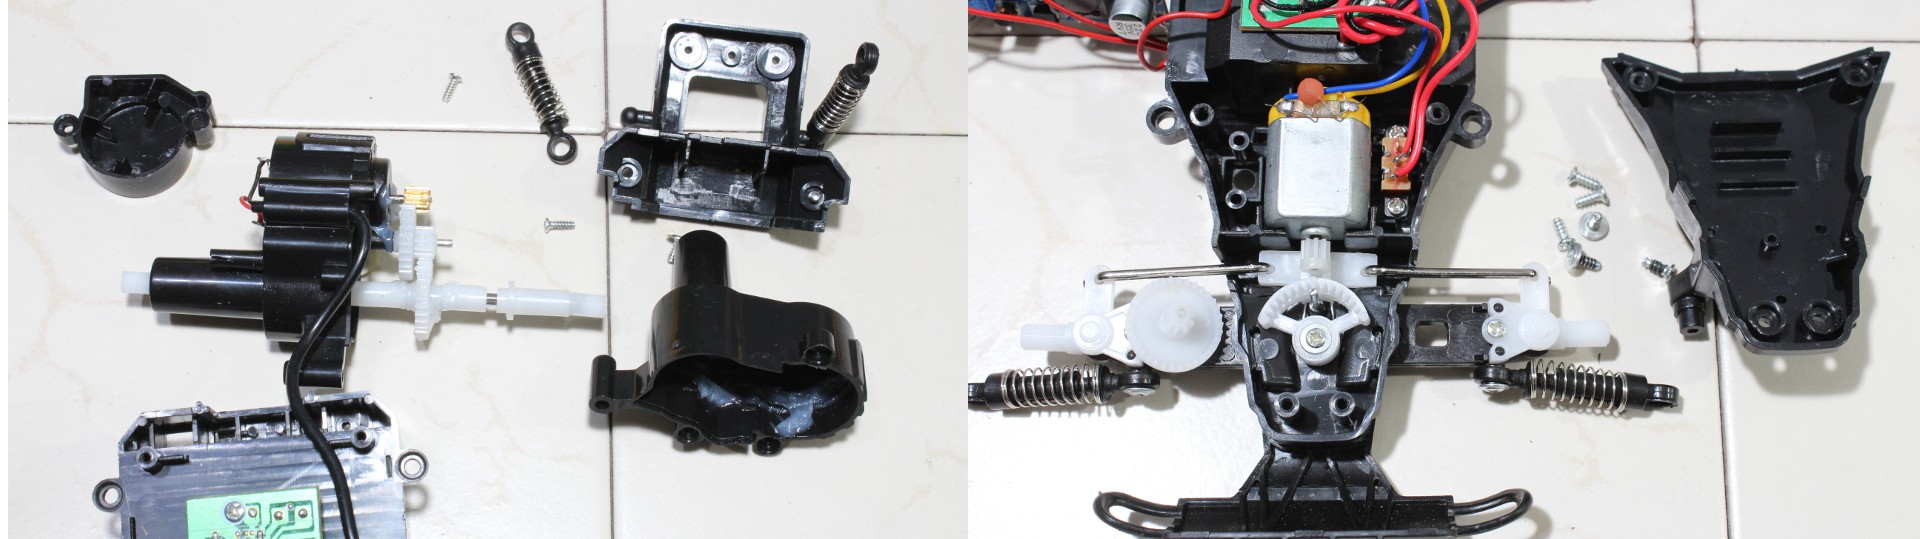
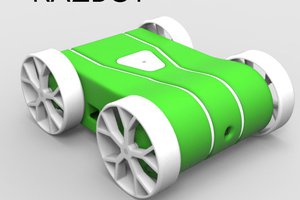
During the months of the 2017 Hackaday Price, I have evaluated how cheap, commercial RC model cars can be used as platform. The conclusion for the time being is: You can't get it cheaper and quicker. Test drives will show how many miles they can drive.
Want to become a test driver of my rovers? Have a look at my www.RoboSpatium.de.

 Robbie
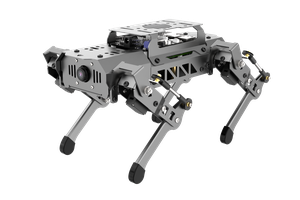
 Dennis
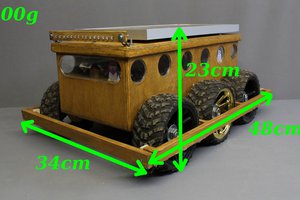
Your project is interestingI am interesten in mobile Robotics, maybe we can share some ideas and experience. DonaldWarren@me.com Thanks