 Shawn Chen
The goal of this project is to hack an old robot to accomplish more mundane tasks than destroying other robots.
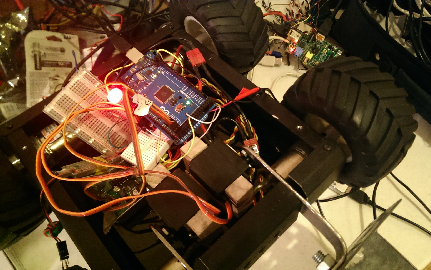
The original robot, called "Little Sergei" was built for an automated BattleBot competition at Artisan's Asylum. The robots were controlled by rudimentary AI, and had to find/attack robots by themselves.
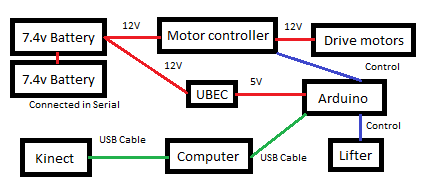
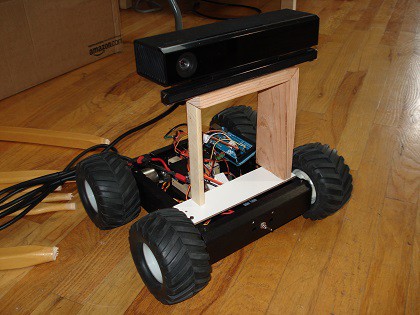
The goal is to have a robot that can follow a person around, and interpret gestures made by that person. It will have a tray to help hold items, and speakers to play sounds. A Kinect and computer will be added to enable this capability. The computer will also act as a TCP server, so others can remotely interact with the robot through a webpage.
The hack process will follow the current plan:
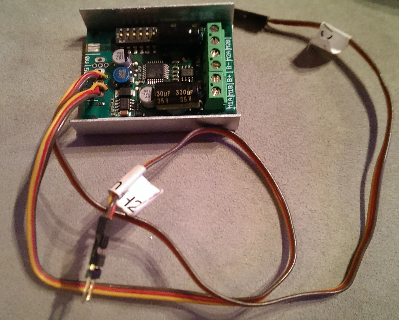
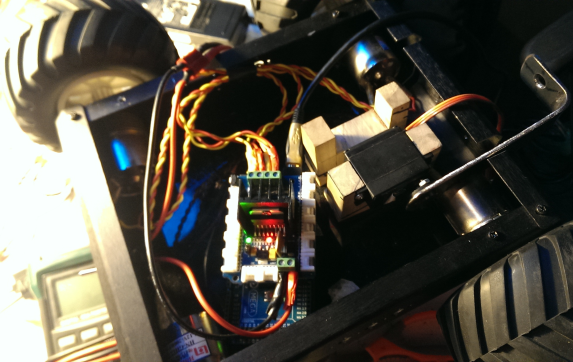
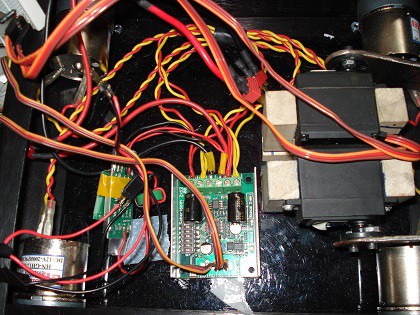
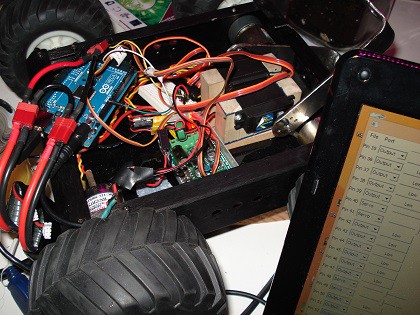
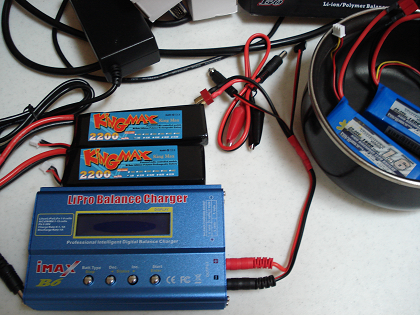
- Take stock of on-board components, and whether they're usable
- Test components to make sure they work
- List and acquire missing/required parts
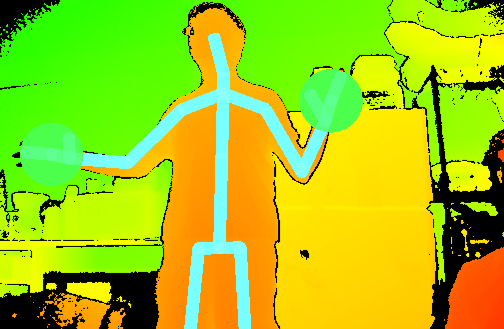
- Test Kinect
- Assemble additions to mount Kinect and modified components
- Code program to drive robot
- Develop object detection to see people and interpret gestures
- Drive robot based on gestures
- Attach a lift tray that the robot will raise in response to certain actions
- Add voice commands to control the robot through audio
- Add a website component for remote webpage interaction
- Have speakers play appropriate/inappropriate audio based on situation

 Audrey Robinel
 Jithin Sanal
 Mike Rigsby
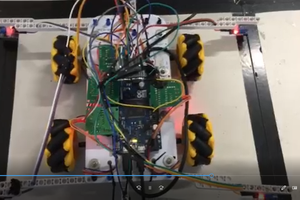
 Miguel Wisintainer