 Shawn Chen
Now that all the equipment has been checked and verified, it is time for Little Sergei to put on the uniform and make sure he's ready to begin training.
Previously, I attached the new batteries and uploaded Standard Firmata to the Arduino. The next step is to fire up a Firmata program on my computer and test how well the motors move. A test executable can be found on the Firmata website. I attach both devices with a USB cable and connect the control/power/ground pins between the motors and Arduino.
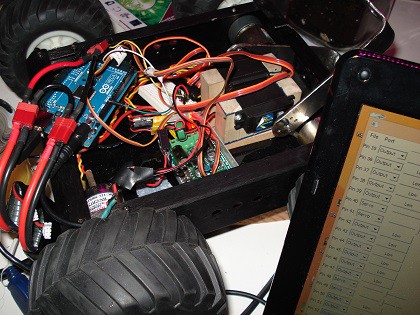
This enables me to launch the text executable and select the appropriate serial (USB) port, which automatically populates the form field with all the available pins. I'm able to change the pin mode to "Servo" and adjust the motor values. All the motors react well, so I can move on to putting together the Kinect mount.
These extensions are assembled from materials scavenged from the Makerbar. The core of the mount consists of two 7 inch pine wood planks. Each piece of wood had a diagonal cut into the edge, and the two pieces are wood glued together. This formed a "L" shaped structure that is screwed into a simple plank. I remove the cover of the battlebot replace it with the plank.
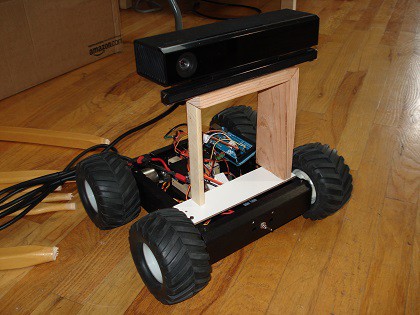
The Kinect has a 1/4 inch screw hole on the bottom, the same as a standard camera mount. So I drill a hole of that size in the top of the mount and found a camera mount screw. Unfortunately, the weight of the Kinect is too much for the a "L" shaped mount to hold, so I add a simple support beam on the other side.
Discussions
Become a Hackaday.io Member
Create an account to leave a comment. Already have an account? Log In.