 John Leeman
The Problem:
I want to create a tool to allow students or interested meteorology enthusiasts to see the atmosphere flow and understand what is really happening then a front or storm passes by. The atmosphere flows like a fluid with instabilities, density currents, and many other phenomena that are fascinating but difficult to follow due to their relatively slow movement. Static cameras are great, but don't always follow the most interesting weather. 360 cameras are expensive, produce a lot of data, and require the user to search for the most interesting views.
What the project does:
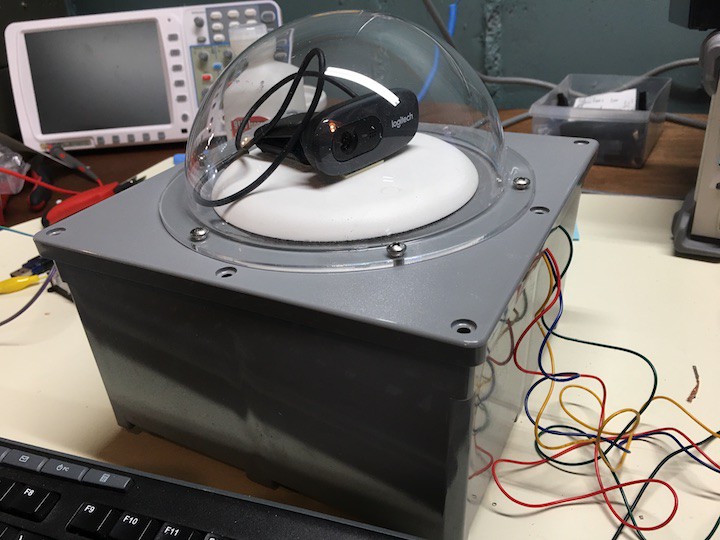
This project takes time-lapse photos of the atmosphere and combines them with meteorological data on a webpage that can be easily explored. The camera is continuously pointed in the direction the wind is blowing, so nature is steering the lens to point at the most interesting phenomena in the area. The photos and data can be explored at all levels from quick view to in-depth data analysis and discussion.
How it’s going to change the world:
Understanding the Earth is a monumental task and something that is not ingrained in many people. With increasing urbanization and modernization, the intuition and connection to natural processes gained through experience is all but gone. This project helps speed up nature so we can experience how dynamic our atmosphere is. In addition, it is designed to be inexpensive so that it is accessible to schools, students, and hobbyists. By using 3D printing, open source hardware and software, and modern design tools, the project can easily tie into many portions of the STEM curriculum. Students can build a real and useful scientific instrument and learn from the process and data. The time-lapse videos can also be shared as a community resource.
License:
The project is under the MIT license – in non-lawyer terms that means you are free to do whatever you wish with any of the project content, but there is no legal recourse against me no matter what happens. I really like such a permissive license because, let’s face it, there are a lot of ideas out there and we all gain by sharing.


 Swaleh Owais
 johnowhitaker
 Will F.
 hfor62
How do you determine the wind direction?