 Fred Fourie
The housing is one of the two key parts of this project: the "underwater" part of "underwater camera".
Here I've failed a few times already. This log aims to show the failures and explain how they were tested and why they failed, specifically looking at the lens interface.
These are mostly jumbled thoughts with many typos and grammar mistakes.
The basics
- Tube:
- 110mm PVC Waste water pipe was selected as the base chassis for the housing. This is because it is cheap, easy to find, relatively durable and provides ample space for electronics on the inside.
- Lens:
- Lenses was cut out of 3mm clear Perspex (Plexiglas or acrylic glass) sheets by use of a jigsaw. This was what I could find from scrap Perspex collected from signage companies.
Housing 1
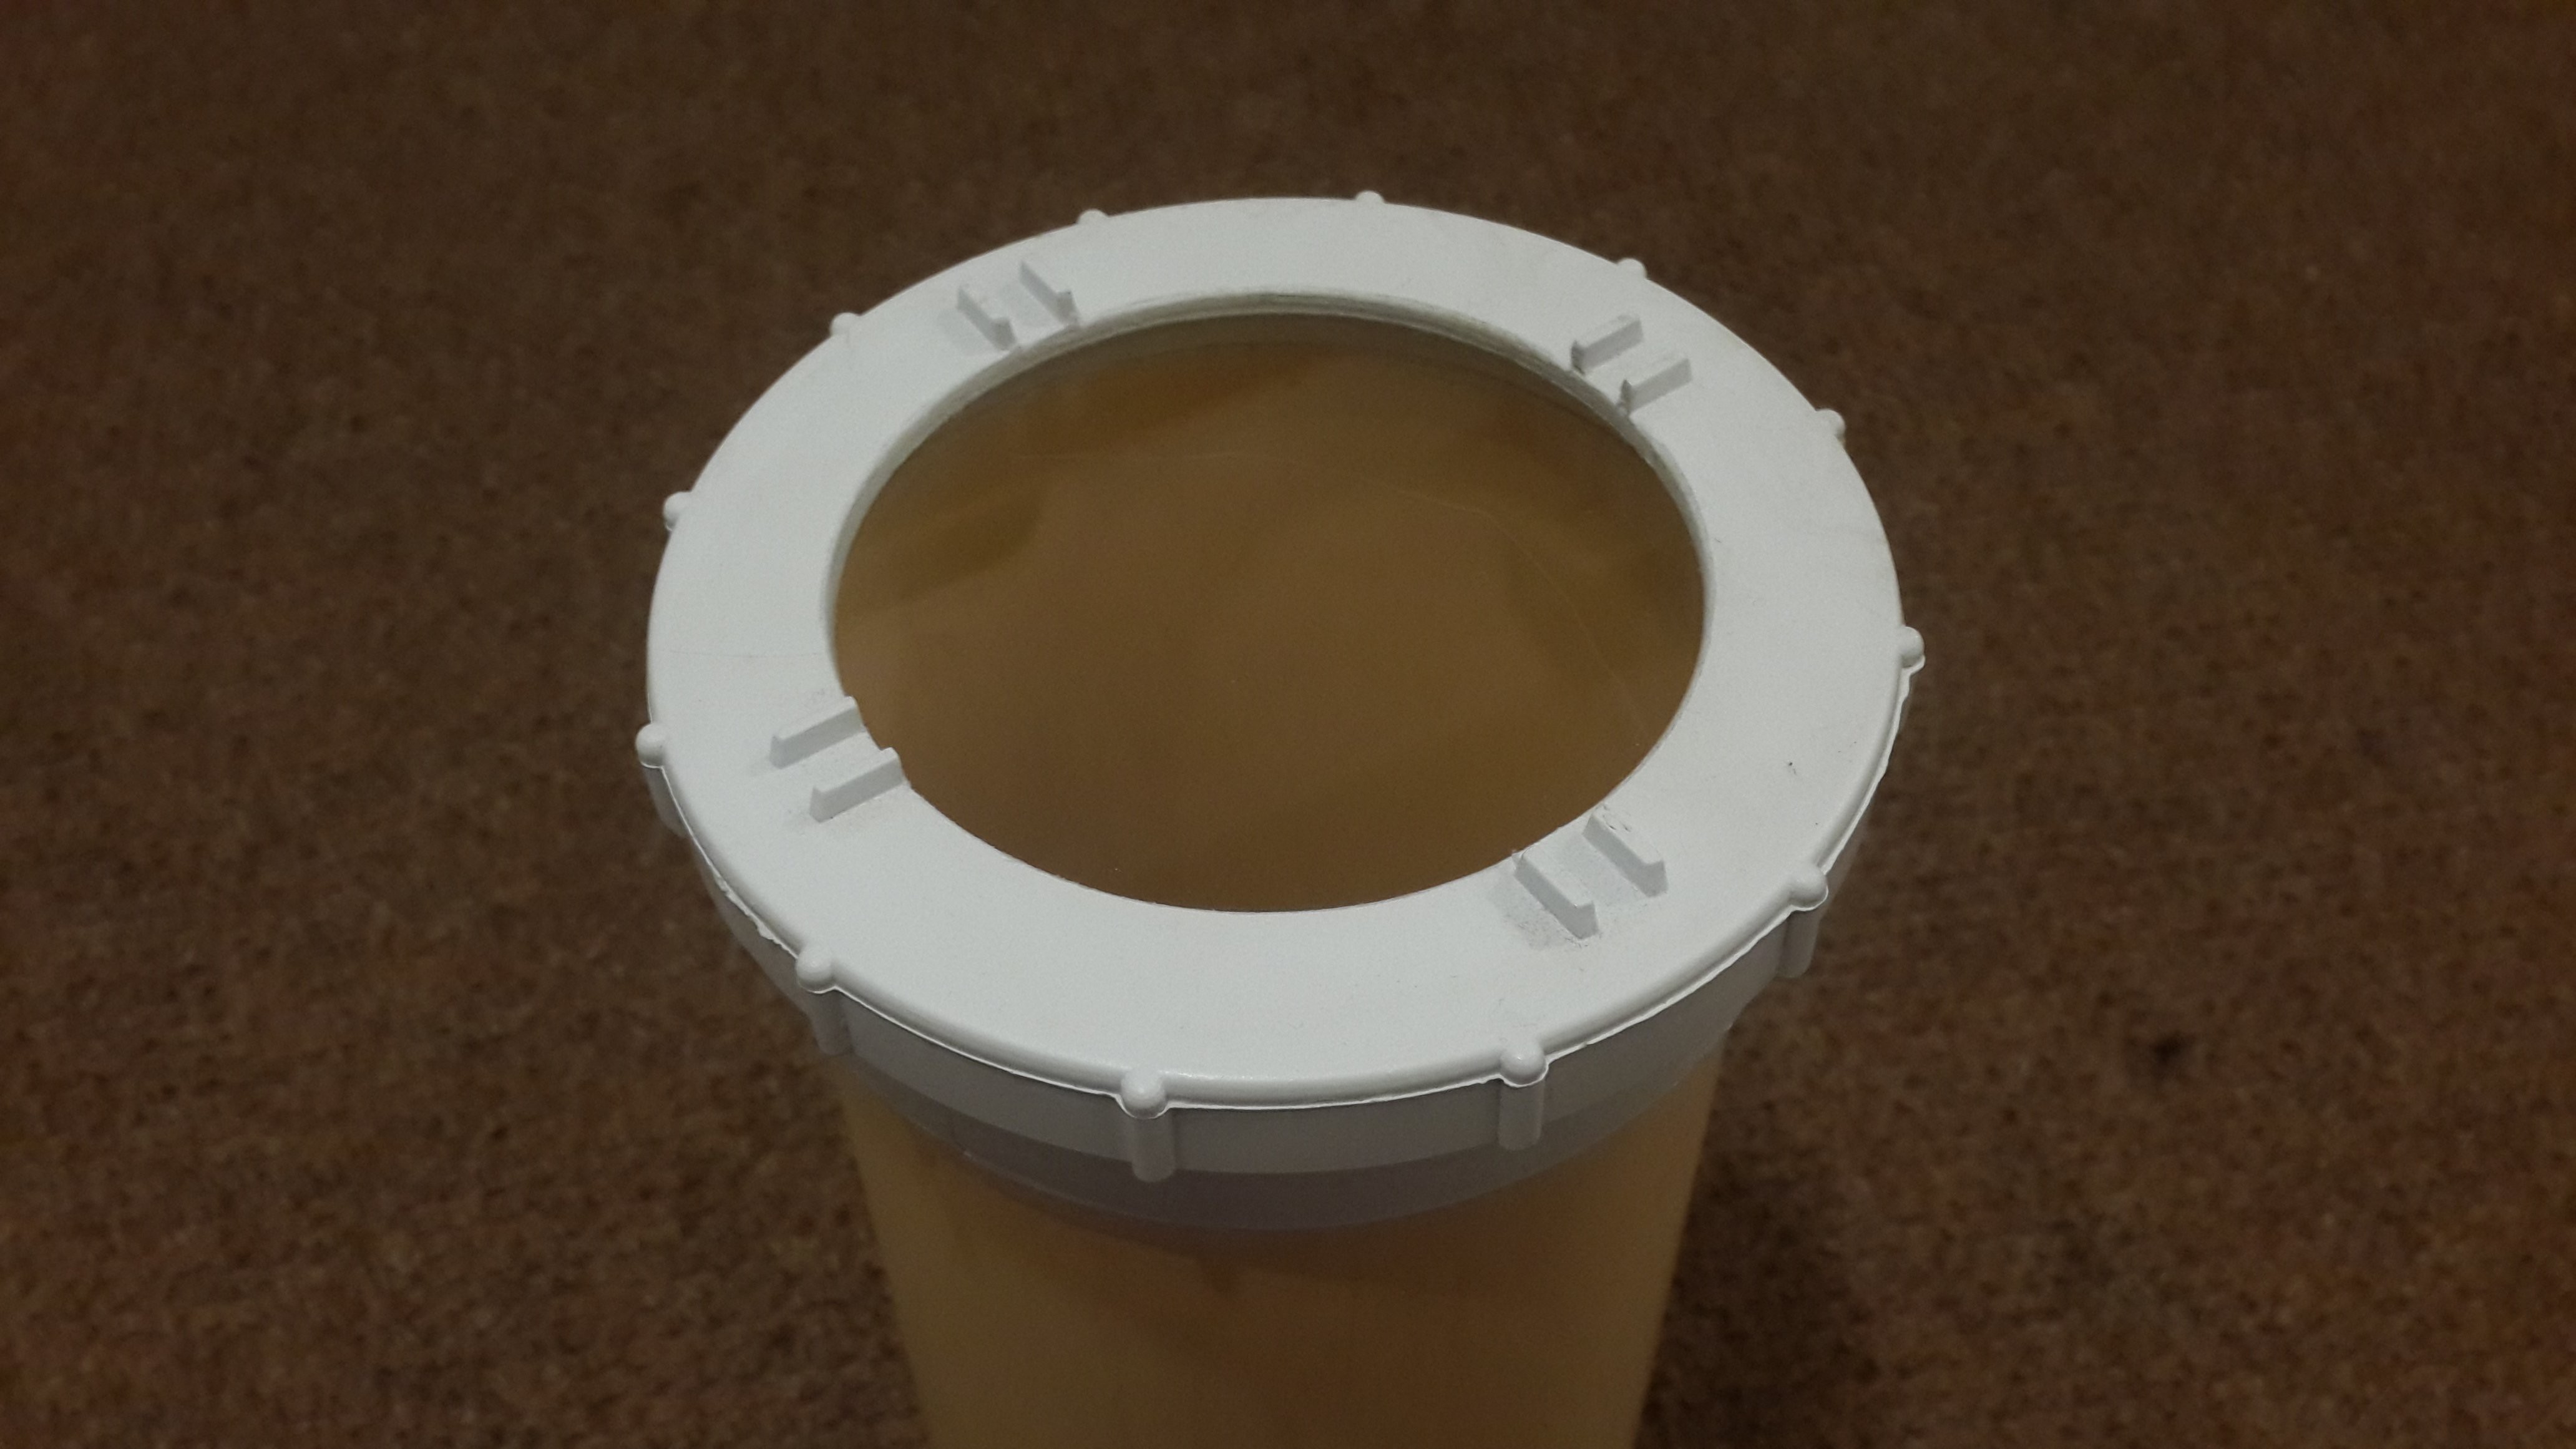
The first idea was to use an off-the-shelf, screw-on access stopend for the lens on the one end and a female stopend on the other.
- The female stopend was glued in place with PVC-weld.
- The screw-on side was drilled with a hole saw to make a viewing port.


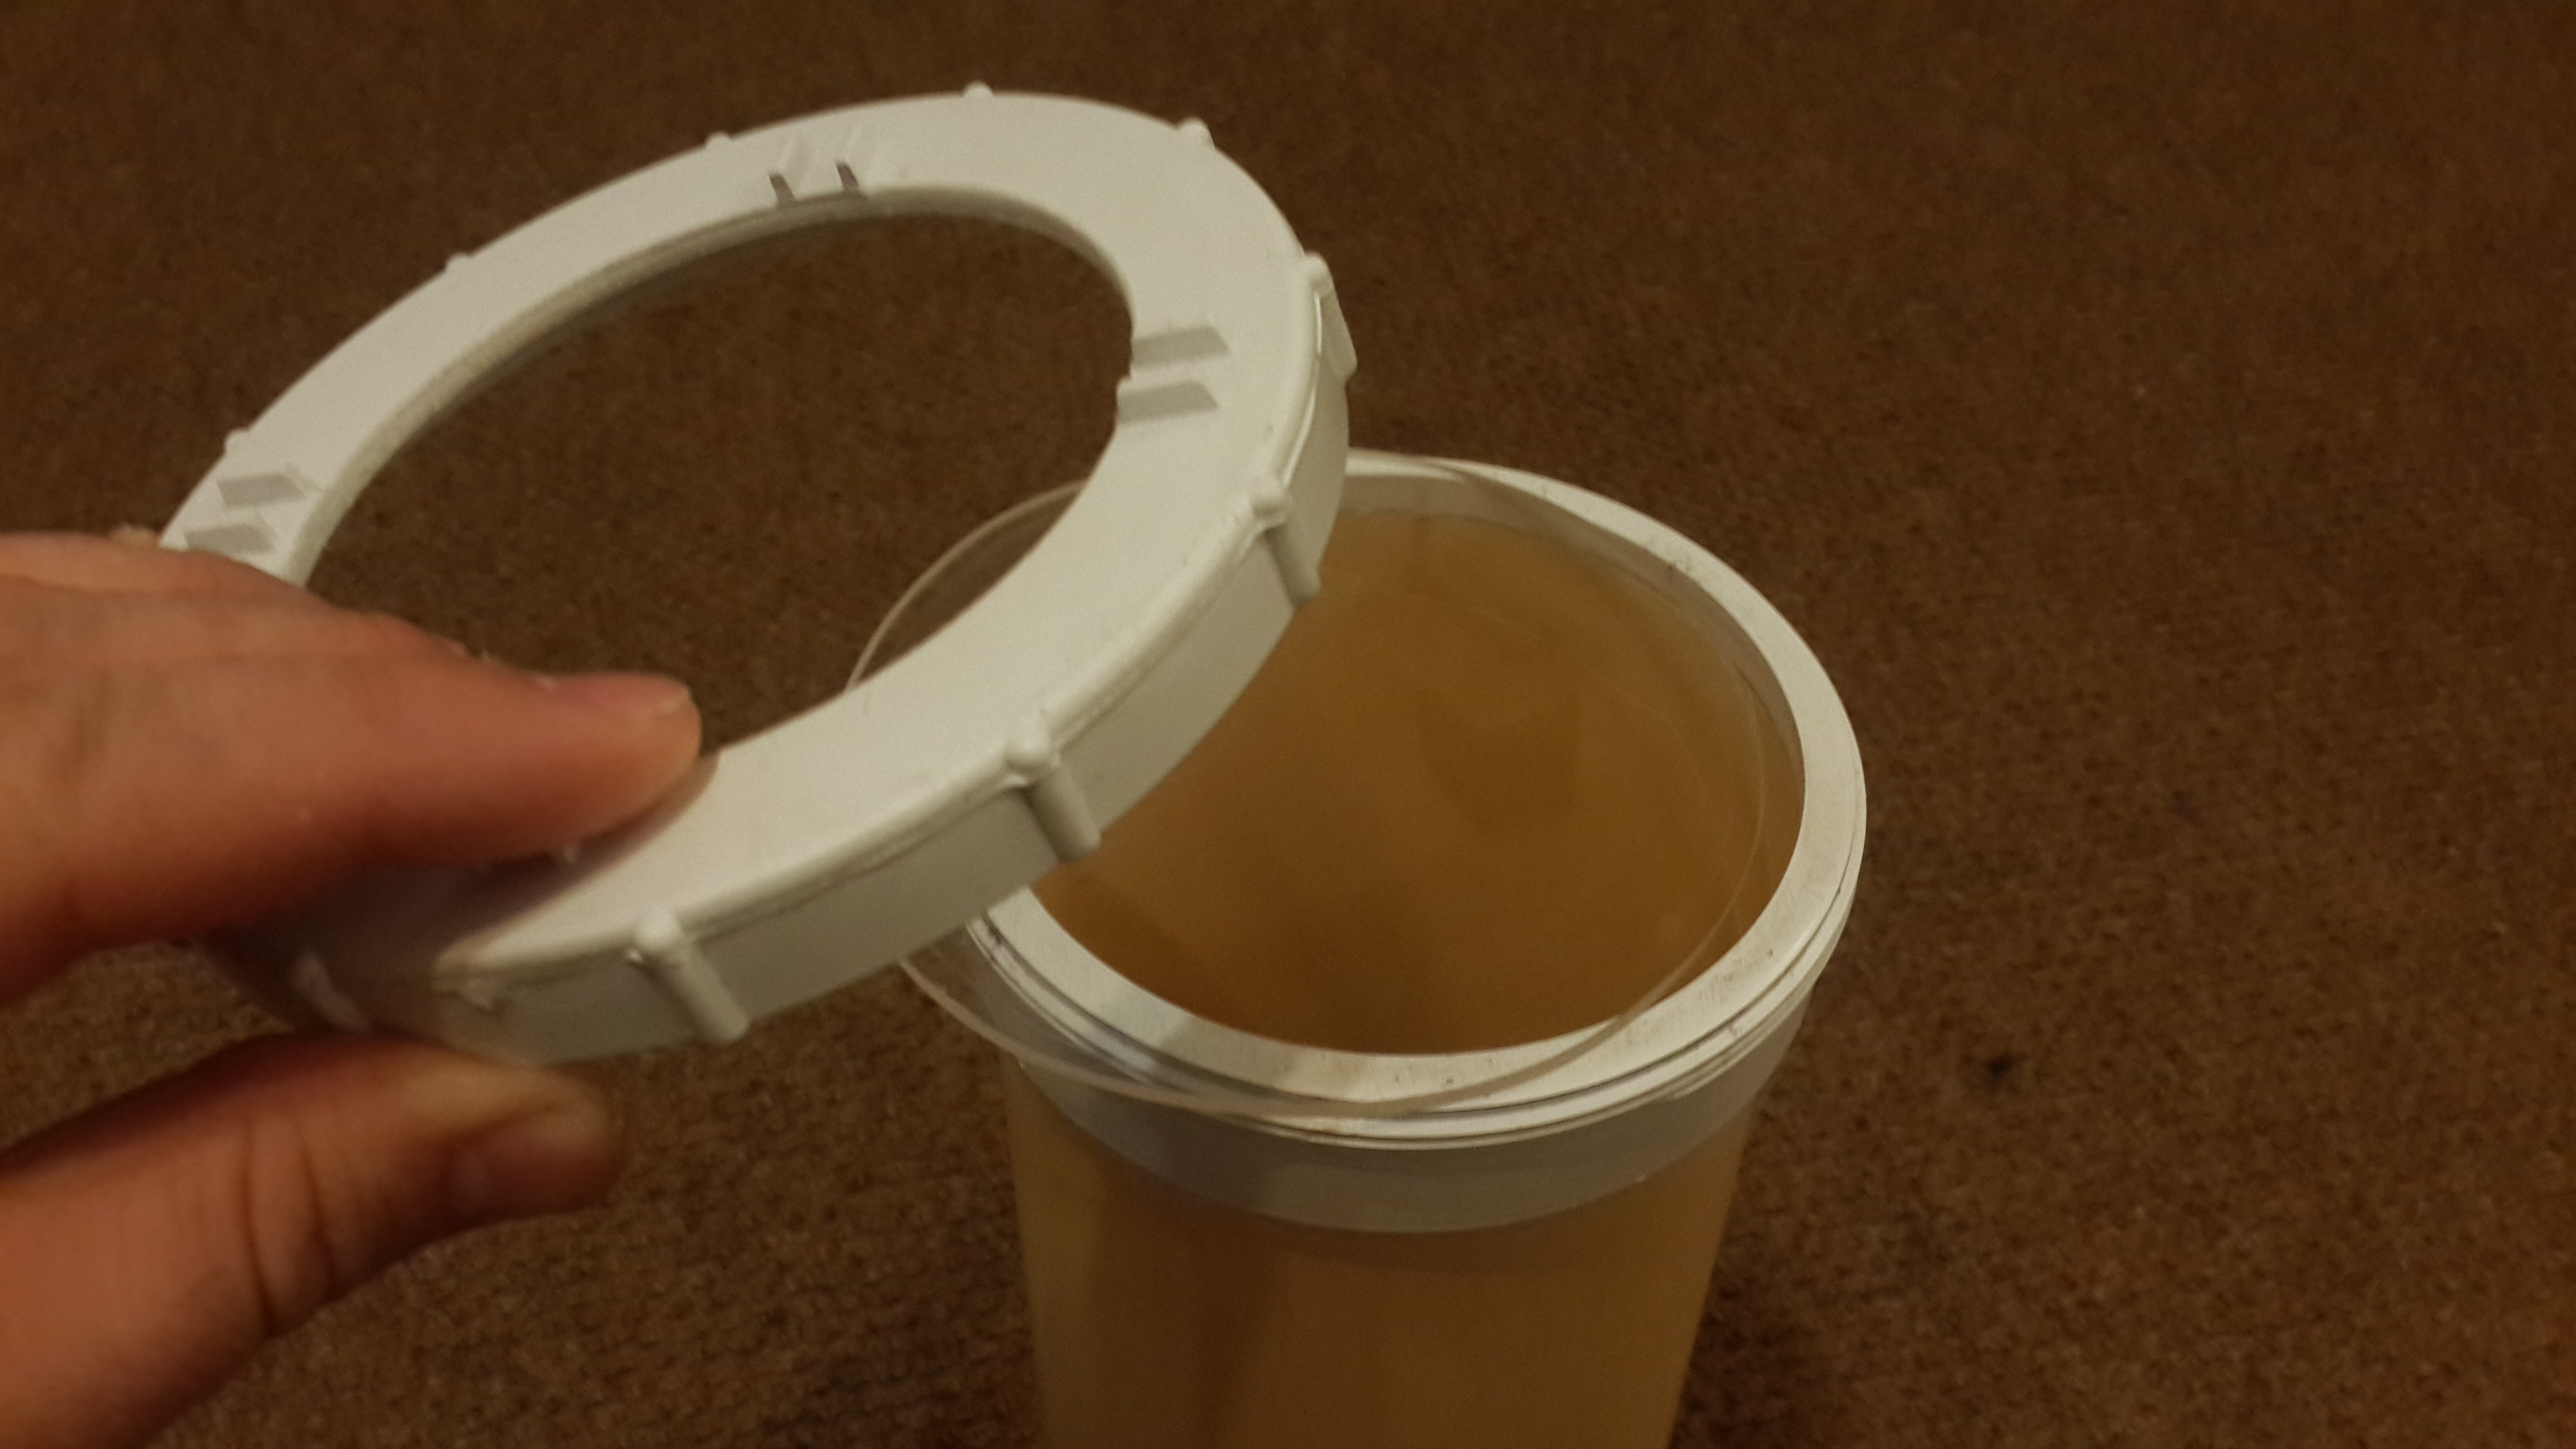
Then, to create a seal I made an o-ring. Making a custom o-ring is actually pretty easy. In this case I bought an o-ring from the pool section at a local hardware store and cut it to the length I needed for it to fit. I then used a drop of superglue to tack the two ends together. Hold in place for a few seconds and you should have a surprisingly robust o-ring.
The housing is then suppose to close with the o-ring seating under the lens, held in place by the screw on cap.
Problems:
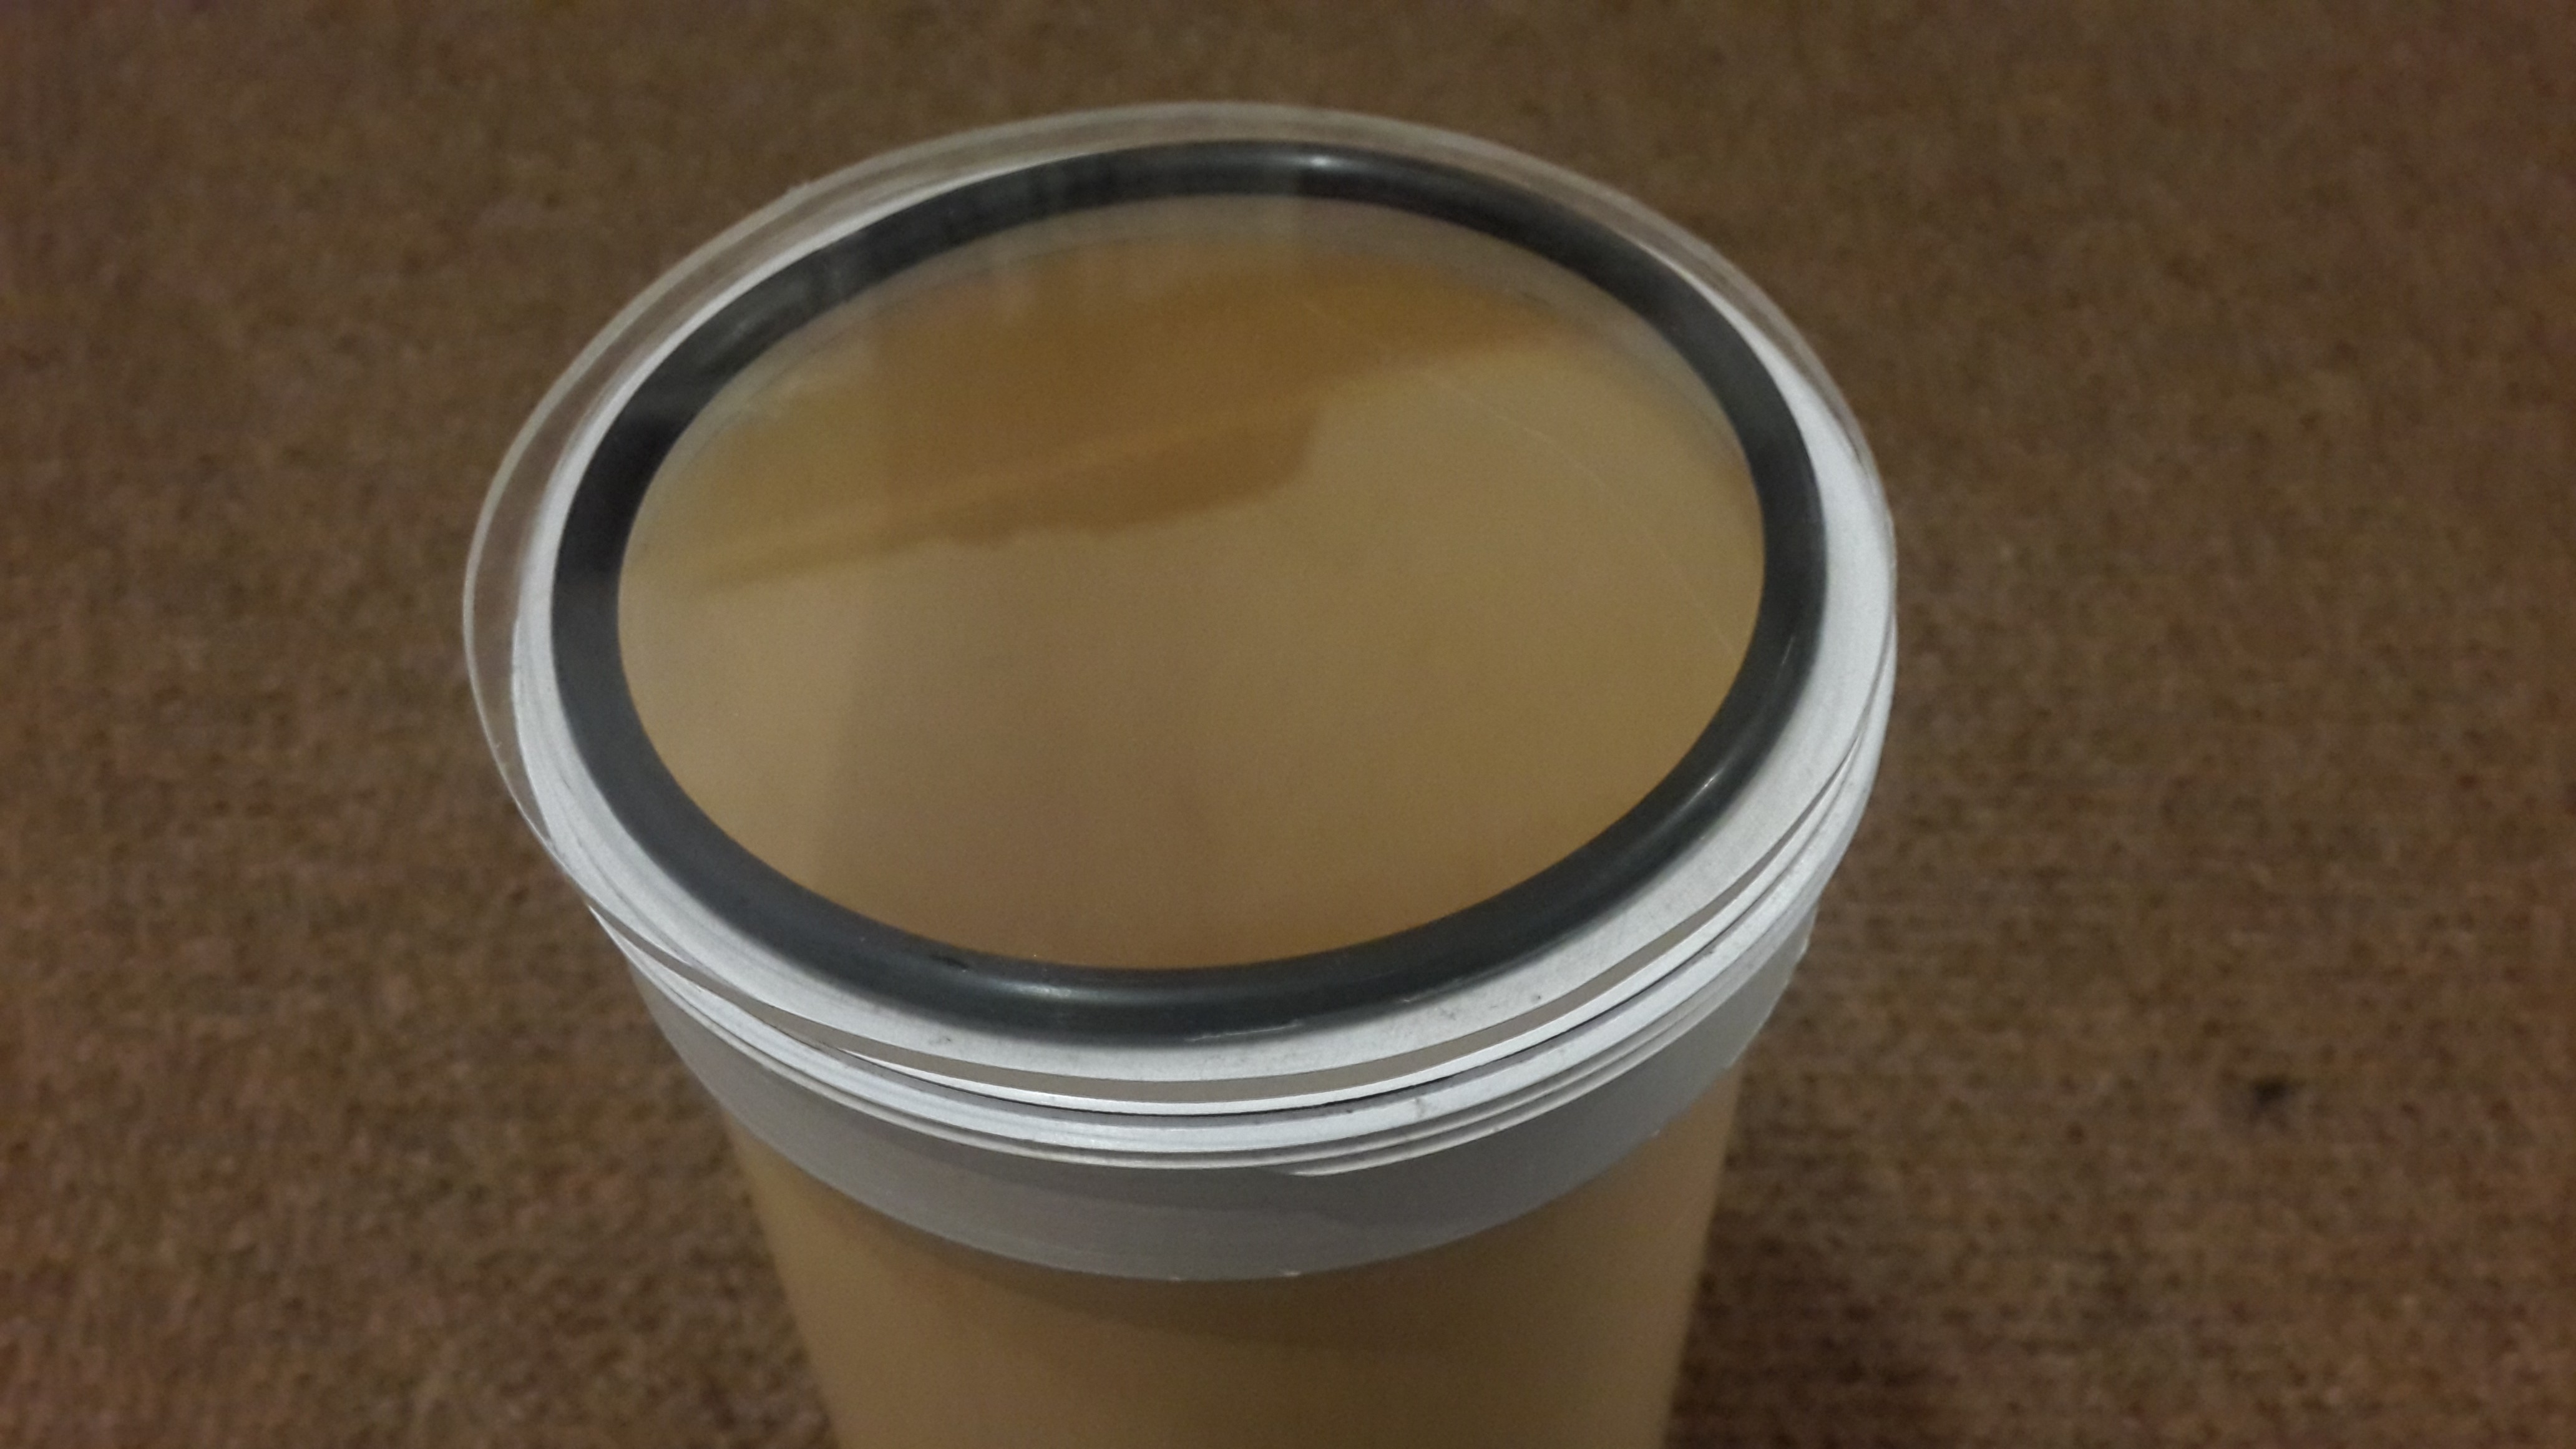
- The area where the o-ring seats is too small.
- The o-ring was way too thick, leaving not enough thread for the screw-on cap to grip and create a decent seal.
- Apart from the o-ring being too thick, the amount of thread did not allow for much play.
- Leaked
This approach *might* work with a smaller o-ring.
Housing 2
For my second attempt at a housing I swapped the end caps around, using the female stopend as a lens holder.
I drilled the female stopend with a hole saw.
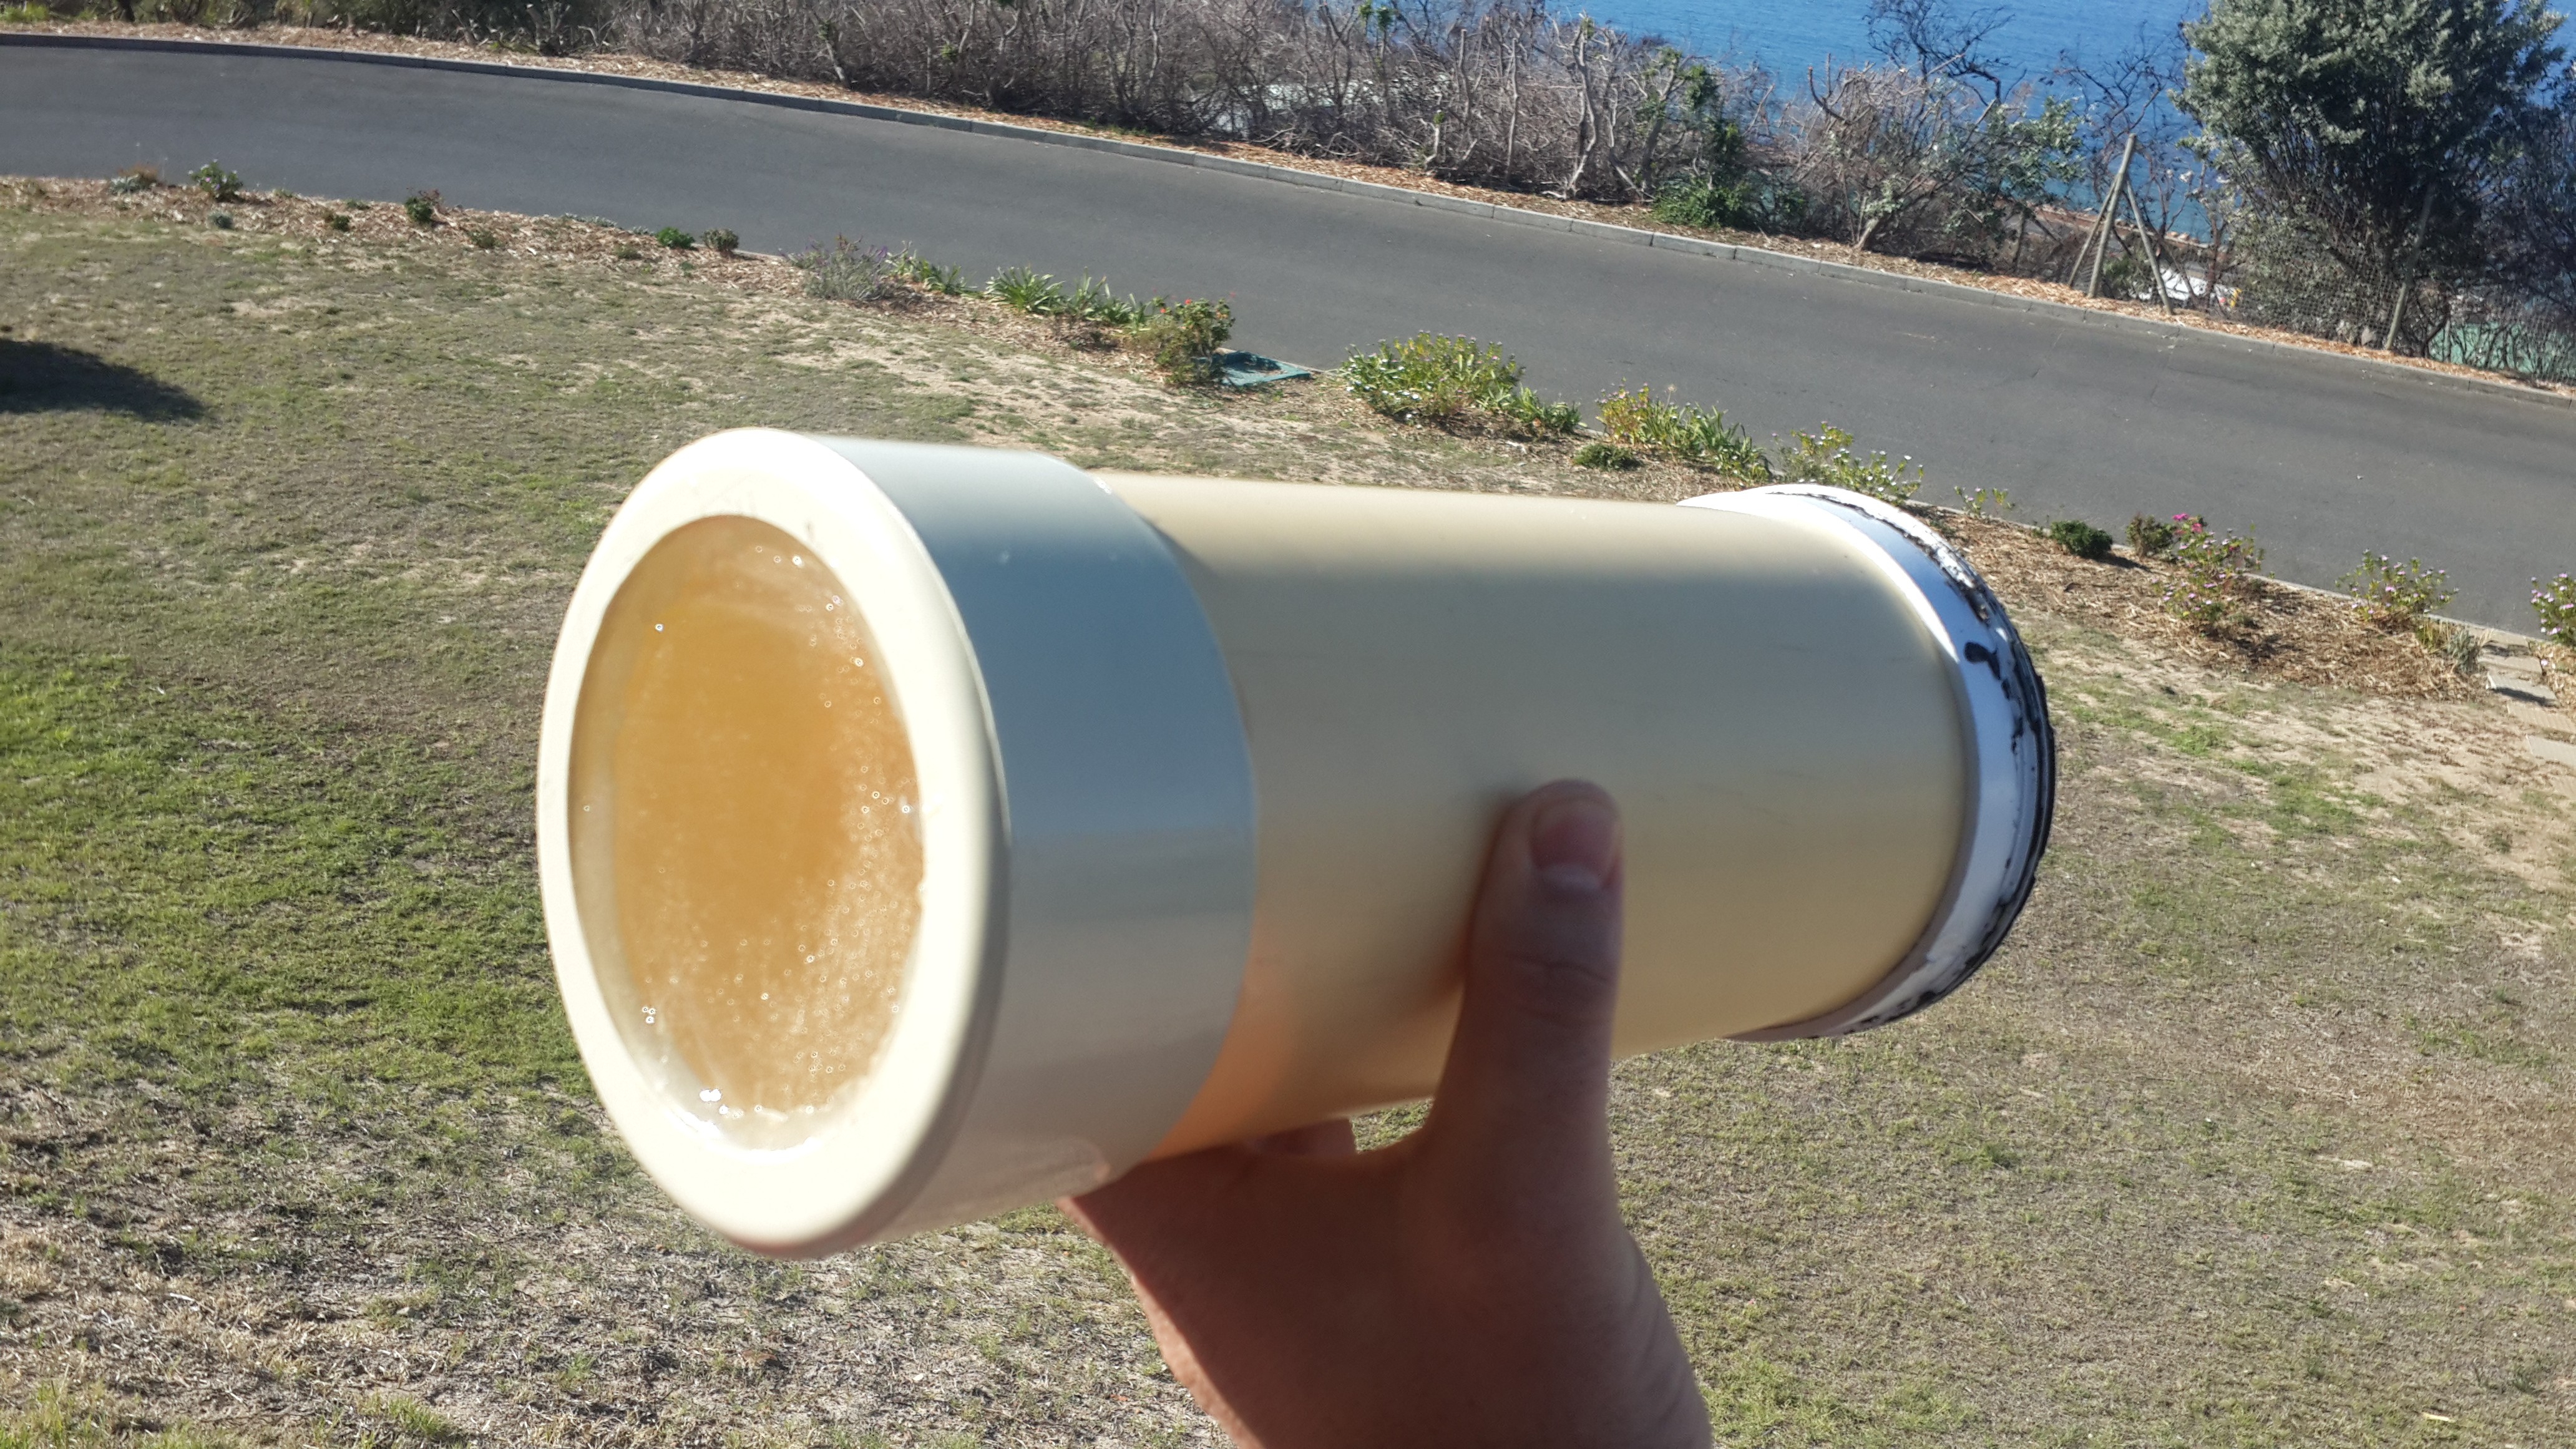
I the glued the perspex lens to the drilled stopend with PVC-weld and then glued the assembly the pipe with some pressure to clamp the lens tight to create the seal.
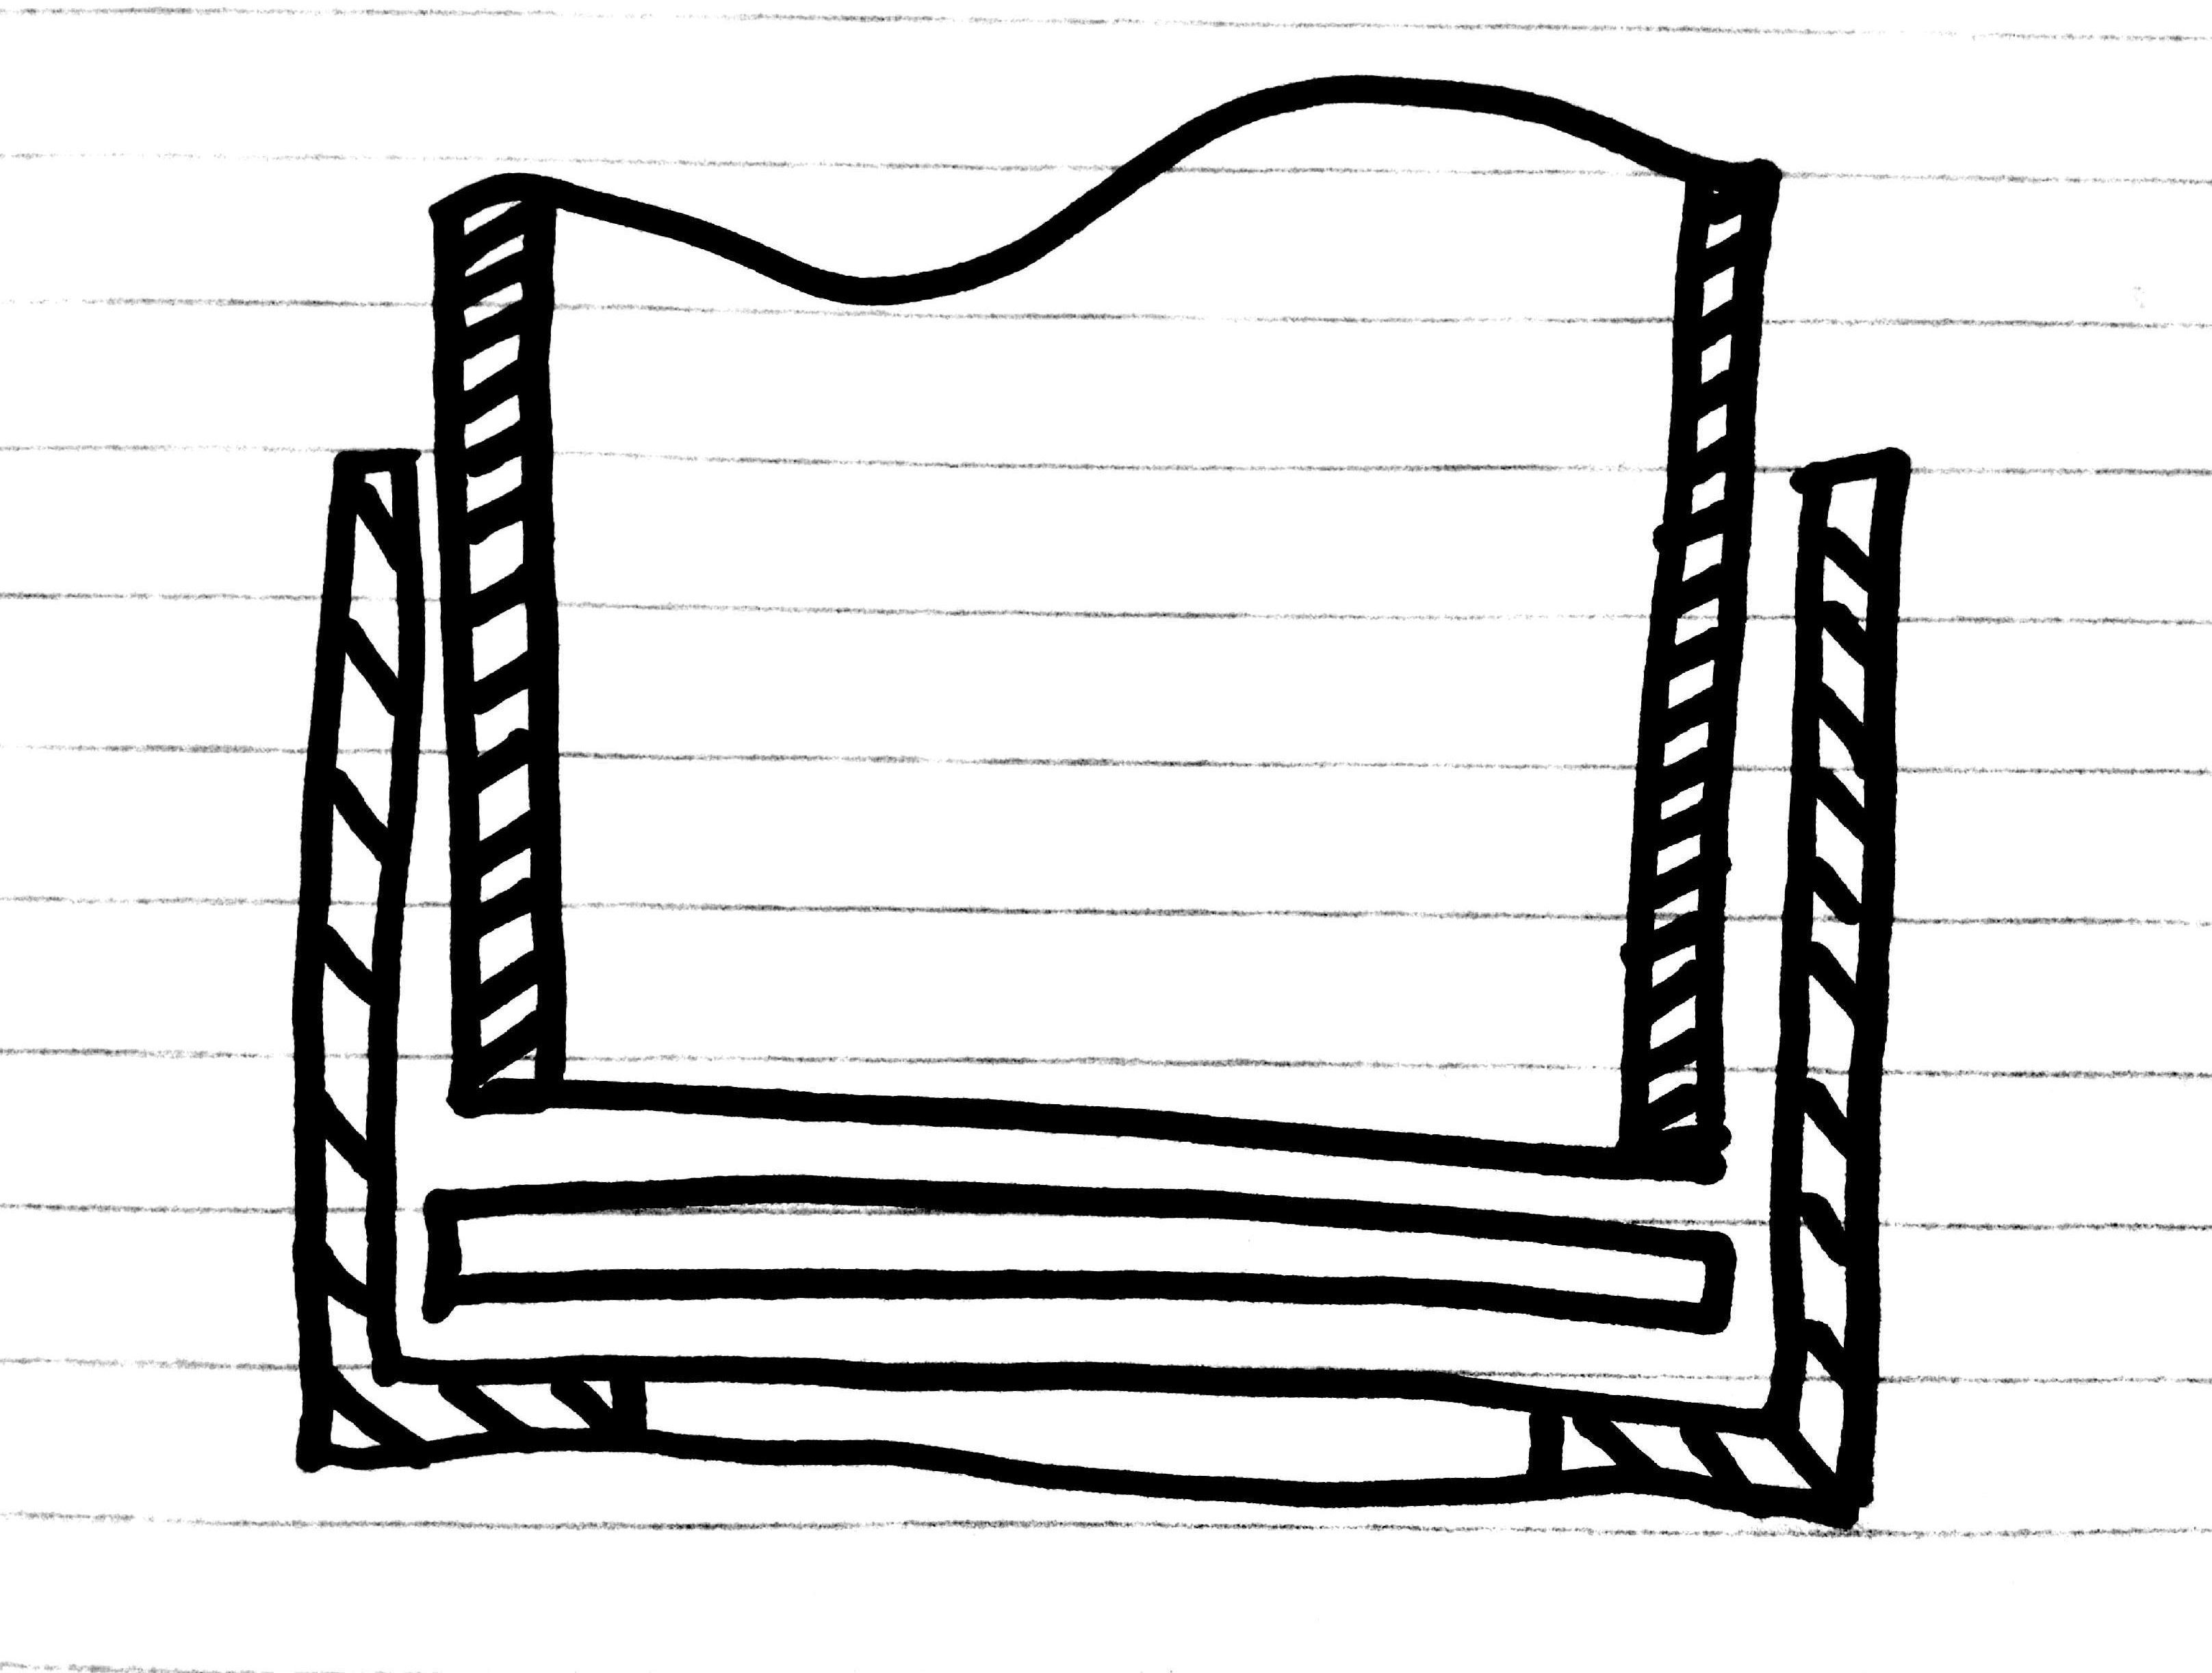
I then glued on the threaded access stopend to the back and used black silicon glue as a sealant, and screwed it on to create the back seal. I use black glue because it's easier to see where I've missed a spotted when cleaning the thread after opening it.
Problems:
- During my first water tests (dunking it in a bath) I found that it leaked on the back threaded end. I fixed this by applying more silicon glue. I the glue smeared it into the thread on both sides and then screwed the two parts together.
- On my second test, the housing withstood the bath, but could not hold up in 3m of water for 3 minutes. (I used the local dive shops pool for the 3m test).
- Leaking housing embarrassed me in front of a curious crowd.
- I then read up on bonding acrylic glas (the lens) and PVC (the pipe). Turns out that they don't play nicely and never really bond properly.
- To try to save this idea, I applied a generous amounts of clear epoxy both inside and outside in hope to form a lasting seal.
- On the next 3m water test the housing leaked again.
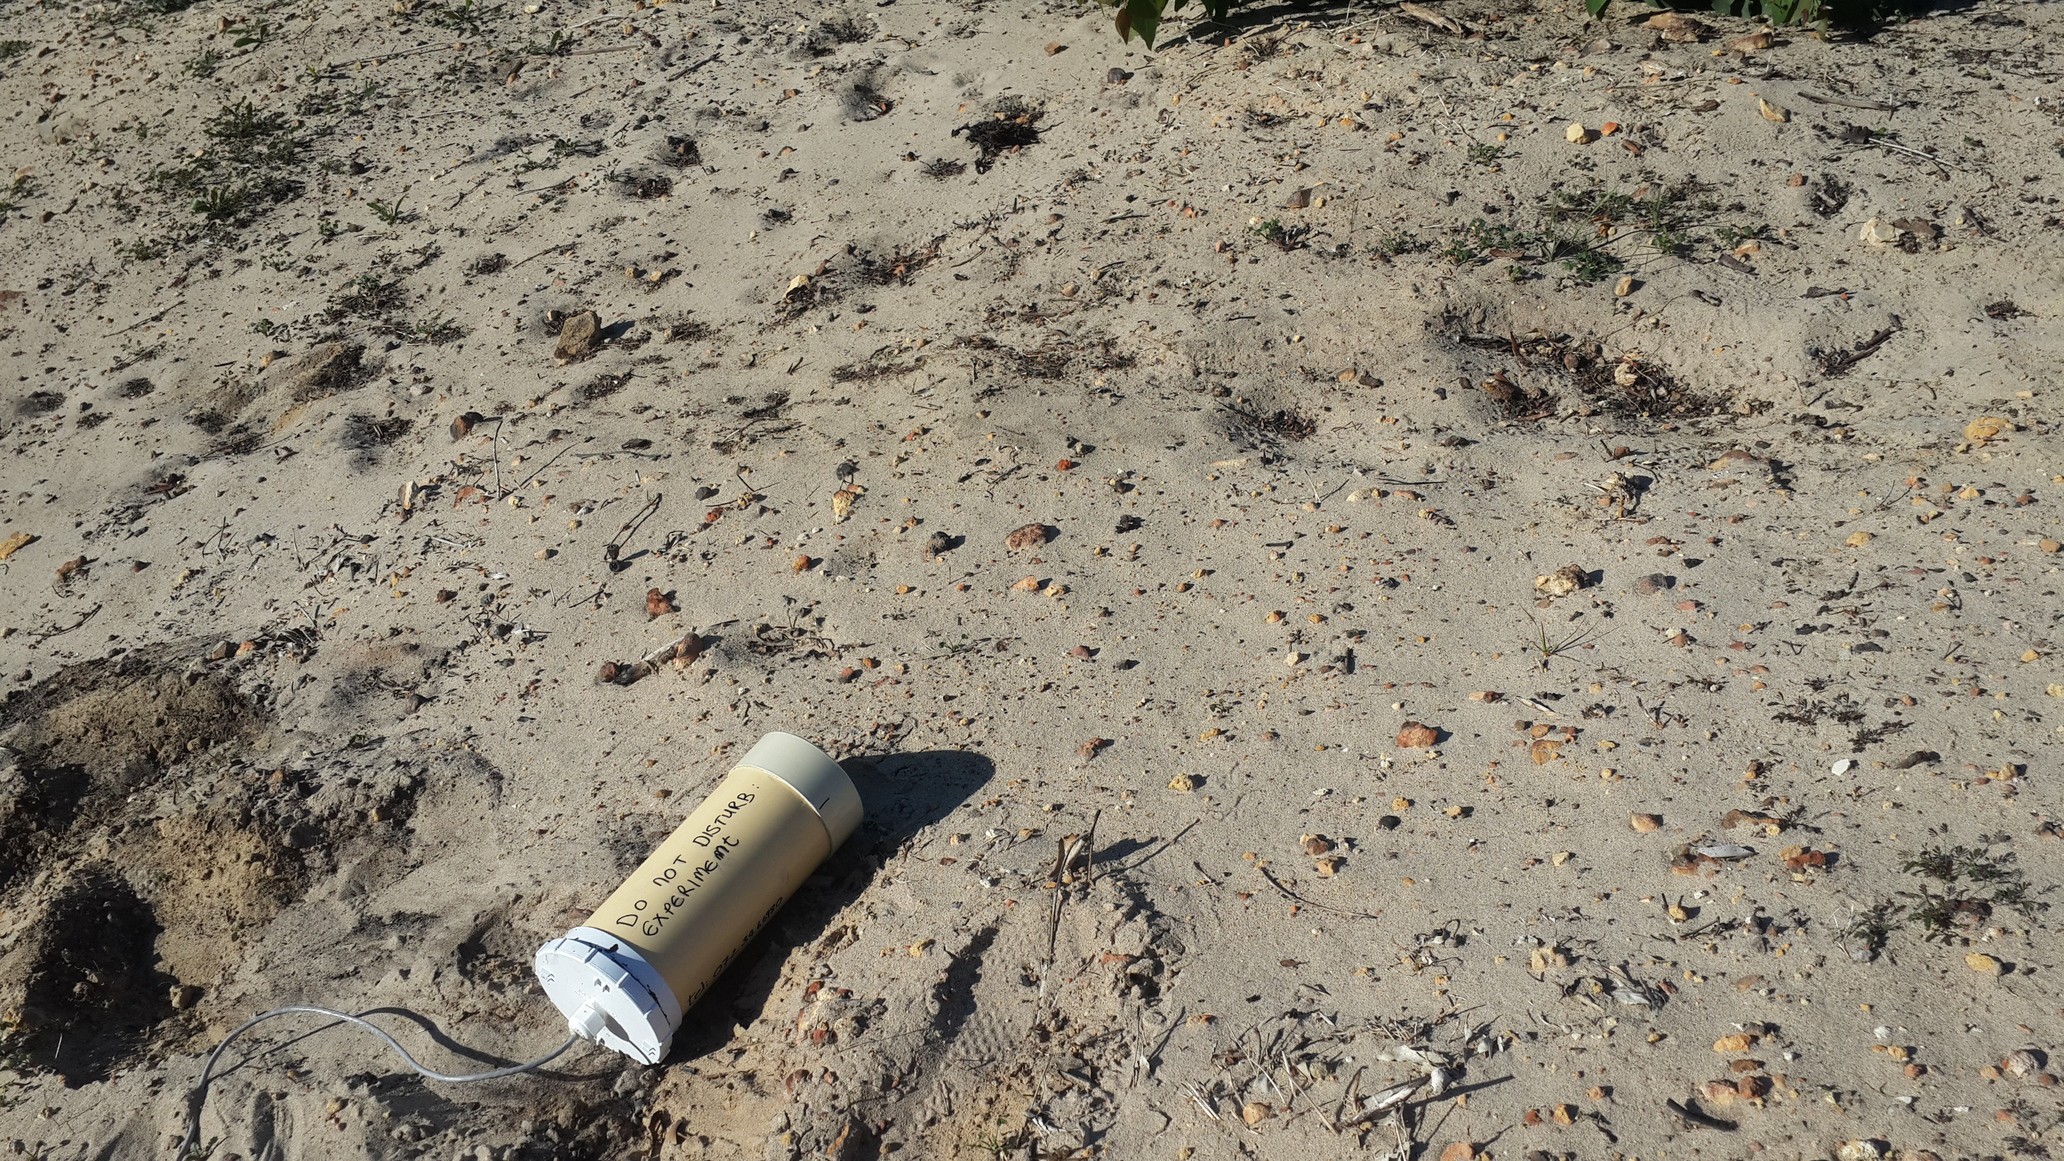
Housing 2 was used for a field testing on land while housing 3 was being brainstormed. The field test actually revealed that there is still a lot of thing to consider with regards to how the Raspberry Pi and electronics will be mount internally.
Discussions
Become a Hackaday.io Member
Create an account to leave a comment. Already have an account? Log In.