Fred Fourie
-
State of the project, March 2022
03/21/2022 at 19:01 • 0 commentsState of the project:
- PCB version is currently at V06.04. Code named DORY
- V06.04 is a single PCB with only two external peripherals: a power sensor chip and a RTC
- The new design ditched the external controller altogether
- There is no longer an external SD Card slot
- DORY now has two extra switches for toggling devices.
- DORY features wifi data download, to make testing easier
- A new housing with an external on/off switch was tested and flooded. (more later)
- Camera test have revealed that the benefits of the HQ cameras are not THAT great and that the V2 raspberry pi camera still performs really well
- DORY has not been in the water yet and is currently undergoing low power testing. (Hence no cool pictures as of yet)
Ditching of the micro-controller:
This is by far the biggest change to the project. The old versions of all relied on an external micro-controller (the Arduino ProMini clone) reading an SD Card to determine the sleep intervals.
This meant that, once deployed, there was no way to change this apart from opening up the housing and getting to the SD Card. This was proven a problem in when working in the field.
Further more, a way to use the RTC alone on to do the power switching of the pi was devised. Removing the micro-controller would remove the need for an external SD Card (discussed next), reduce the power and reduce the complexity of the project. Ironically, shortly after this design choice was made, I found that the Robodyn Promini boards which I had used for my previous boards has been formally discontinued.
Removal of the SD card:
Not all SD Cards are created equal. Between brands and individual units, SD Cards differ. This is became very apparent when I started measuring the low-power sleep modes in the previous iterations. Different SD Cards would push the power consumption from a couple of uA to as much as 1mA in some bad cases. While troubleshooting this, I came across this from another inspirational hackaday project:
https://thecavepearlproject.org/2014/09/22/high-sleep-current-problem-solved/
With all of these troubles in mind, I decided to ditch the SD Card.
The Great Silicon Shortage:
It has been incredible to see that usually, easy-to-find components are just globally out of stock. This has pushed the need to redesign the board with less component and towards designing for interchangeable footprints.
DON'T RUSH IT
Over the last hear I had the opportunity to deploy at sea. I quickly made a new housing and introduced a number of "new" components to the housing. This catastrophically failed within minutes of deployment. Mechanical stuff is not my strong point. So next time I should take my time, test the housing.
Alternatives:
If you have landed on this because you are itching to build your own project, similar to this. I have some good news for you. There are off-the-shelf components that will help you get rolling MUCH faster than waiting for this project. The best example I have found so far is the Witty Pi:
https://www.uugear.com/product/witty-pi-3-realtime-clock-and-power-management-for-raspberry-pi/
The near future:
The new DORY PCB is currently undergoing testing, so far all the peripherals are performing as expected and the PCB design seems sound.
The next step will be a redesign of the internals: a battery pack and a set of mountings for the PCB and camera.
And the hopefully! Back into the water she goes!
-
Colour Corrections
05/15/2021 at 21:26 • 0 commentsBecause the current version of the project has no light source, colour correction may be useful in deeper deployments. A simple method for colour corrections was applied that yielded good results.
Scripts obtained from http://www.fmwconcepts.com/imagemagick/uwcorrect/index.php was tested, and the following command gave the best results for this case:
./uwcorrect -m 2 -b 5 -s 10 target.jpg corrected.jp
Then this command was used to write a small batch processing script in BASH:
for f in ./photo/*.jpg
    do f2=${f%.*}_processed.jpg;
    echo "Processing $f as $f2...";
    ./uwcorrect -m 2 -b -10 -s 10 $f $f2
done
The results:
![]()
-
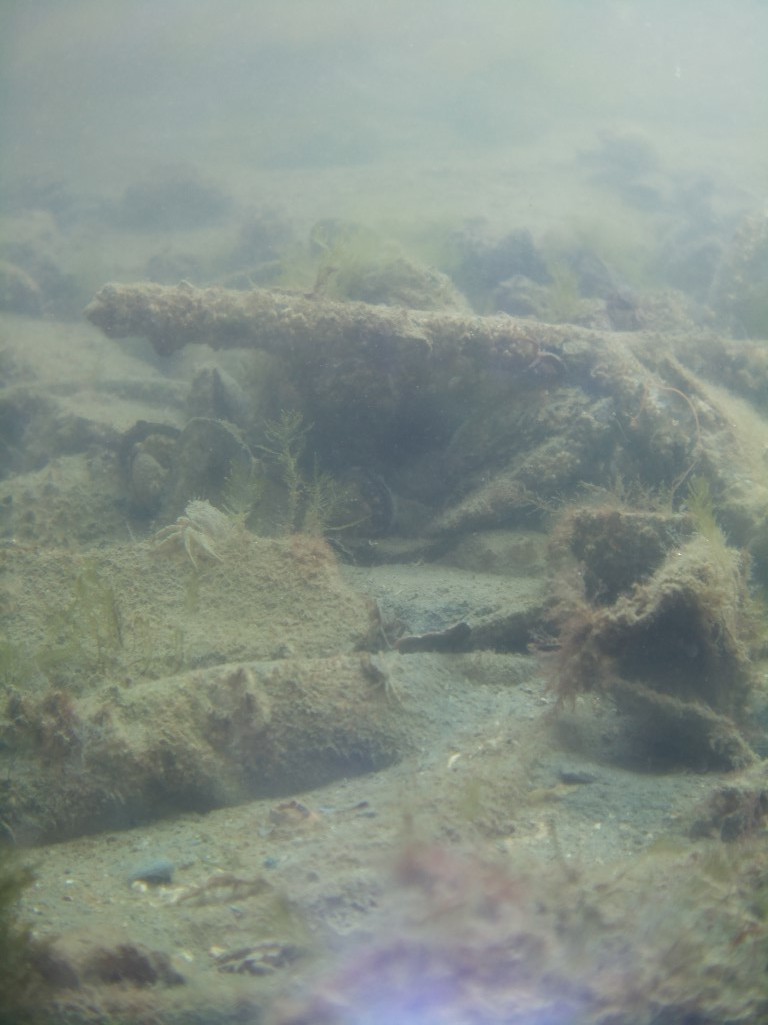
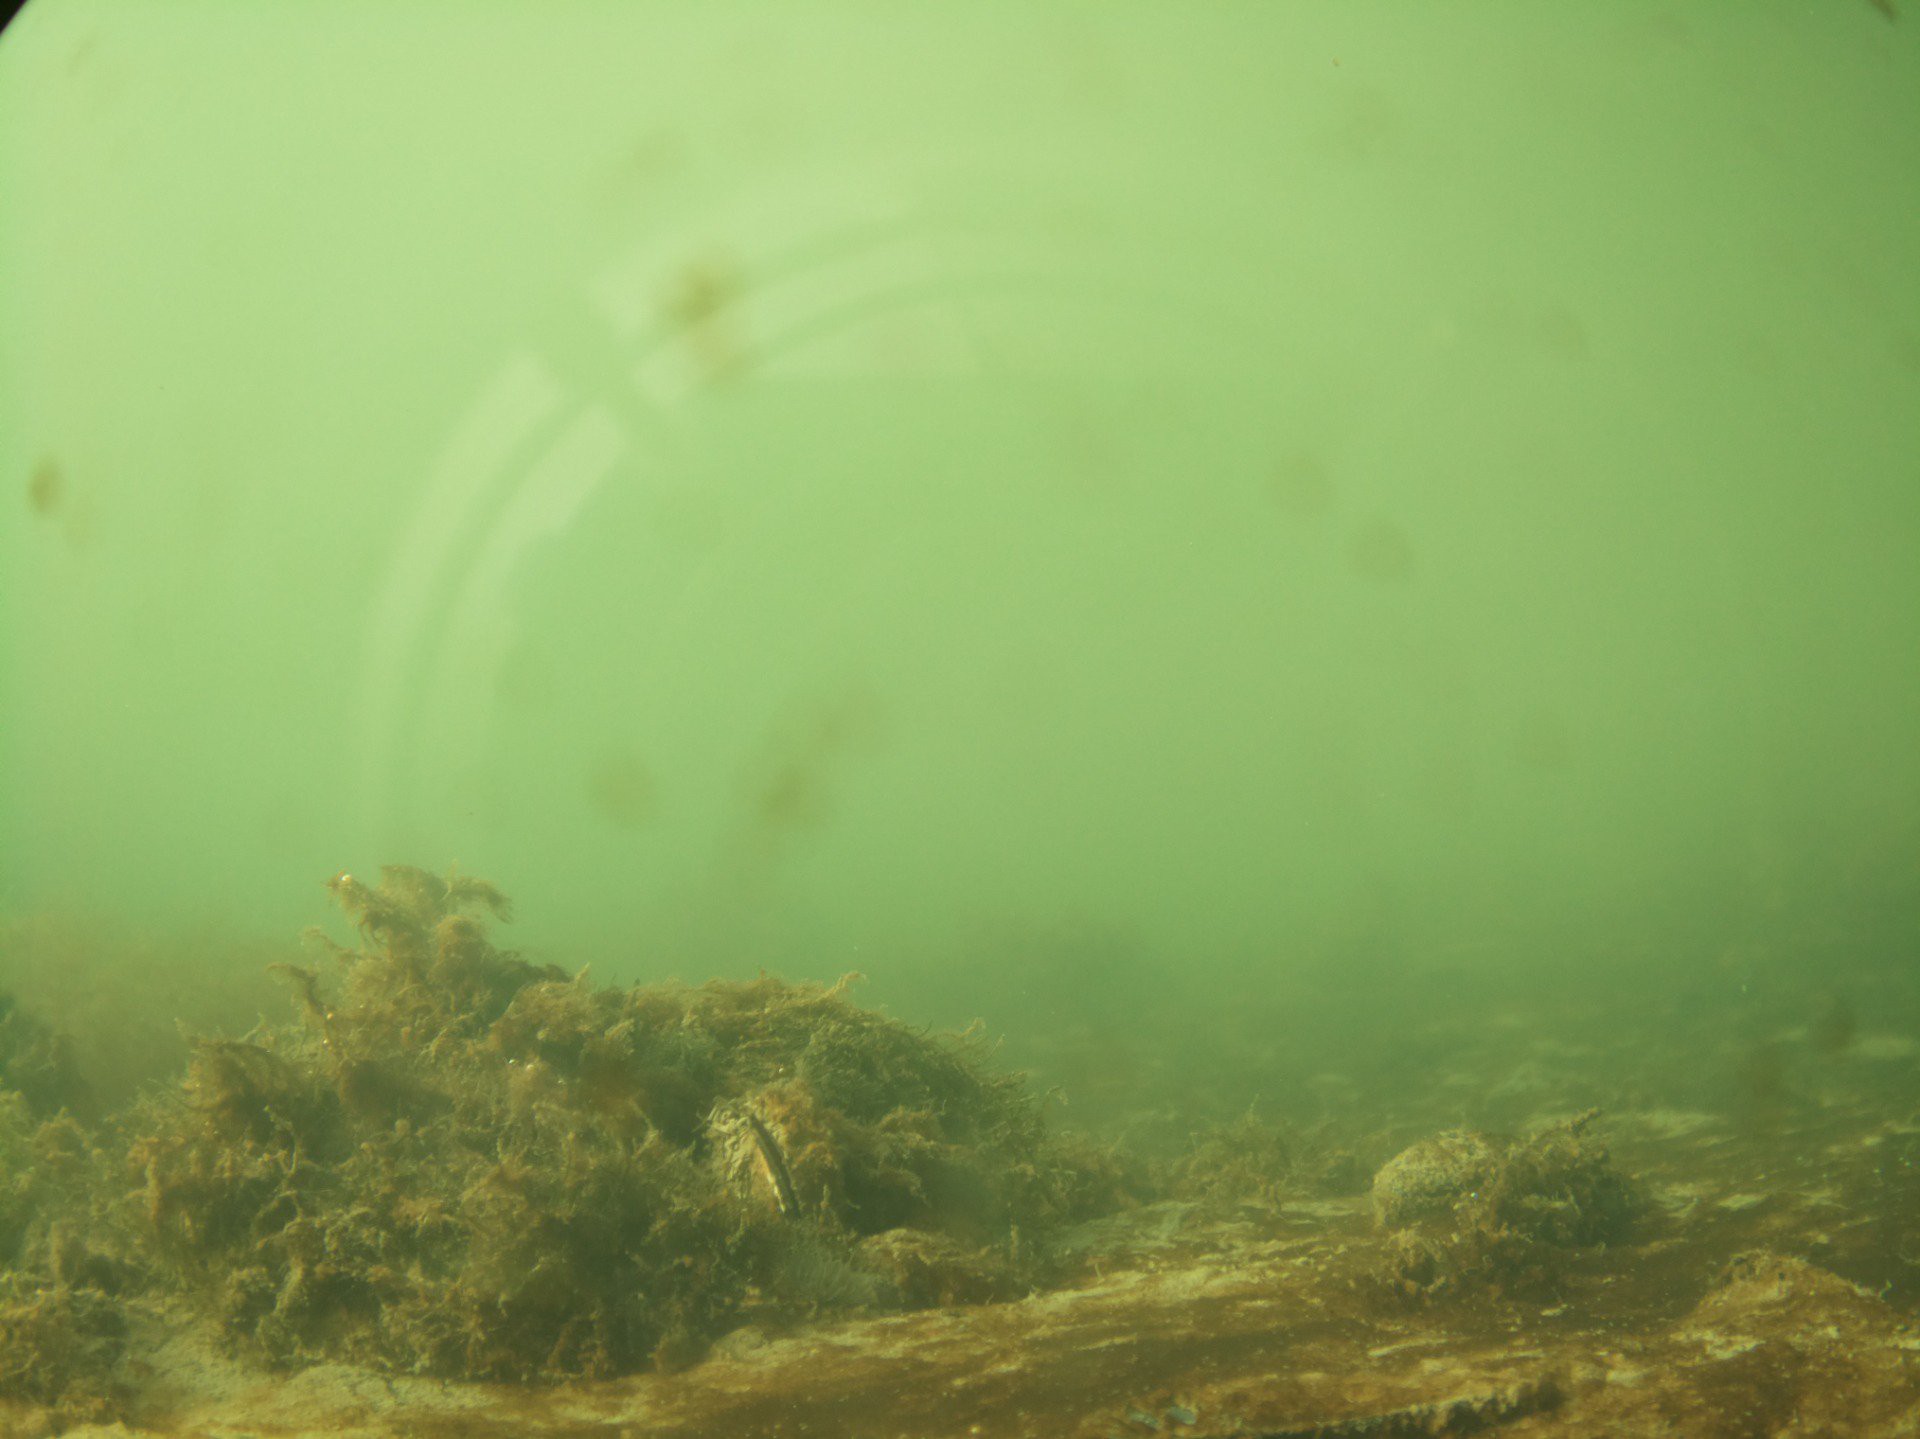
+3 weeks in the harbour: some results
05/15/2021 at 21:08 • 0 commentsRecently, I deployed two cameras in the local docks in very shallow (~50cm) water with a 4 hour day/night interval. The camera were not placed and ballasted well so they did move around too much to allow for a decent time-lapse.
Here are some of my favourite results from that deployment.
![]()
The photo above is with the Raspberry Pi HQ camera through a polycarbonate "lens". The discolouration seen at the bottom was an experimental LED. The LED did not yield conclusive results in this test.
![]()
The photo above is the same scene (roughly) after three weeks in the water. The algae growth on the lens is pretty dramatic.
The next set of photos are with the raspberry pi v2.1 camera and a different experimental lens and LED:
![]()
![]()
These show that the 8MP V2.1 camera still produces very good results (although the polluted harbour is very clear) and puts into question the use of the HQ camera at three times the price. Because of better positioning, these images produced by this camera were far more interesting.
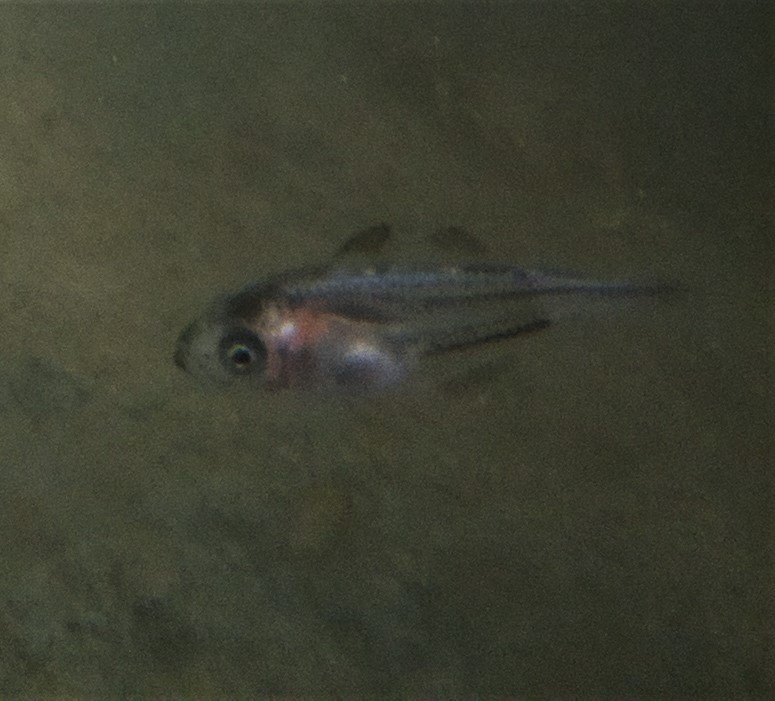
Here are some of my favourite animal sightings in the results:
Yet unidentified juvenile fish
![]()
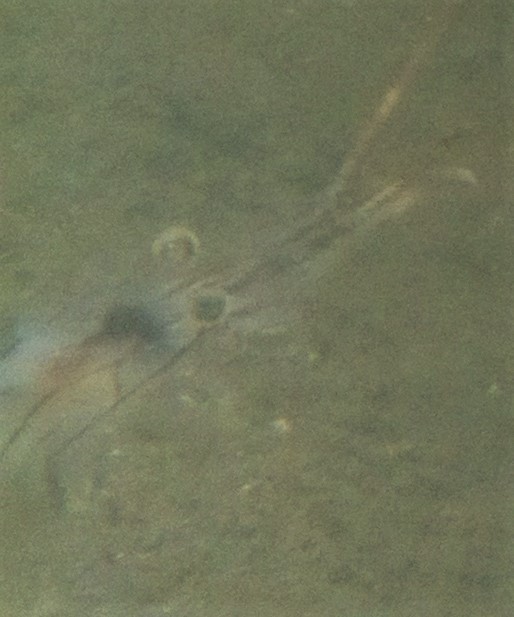
Shrimp:
![]()
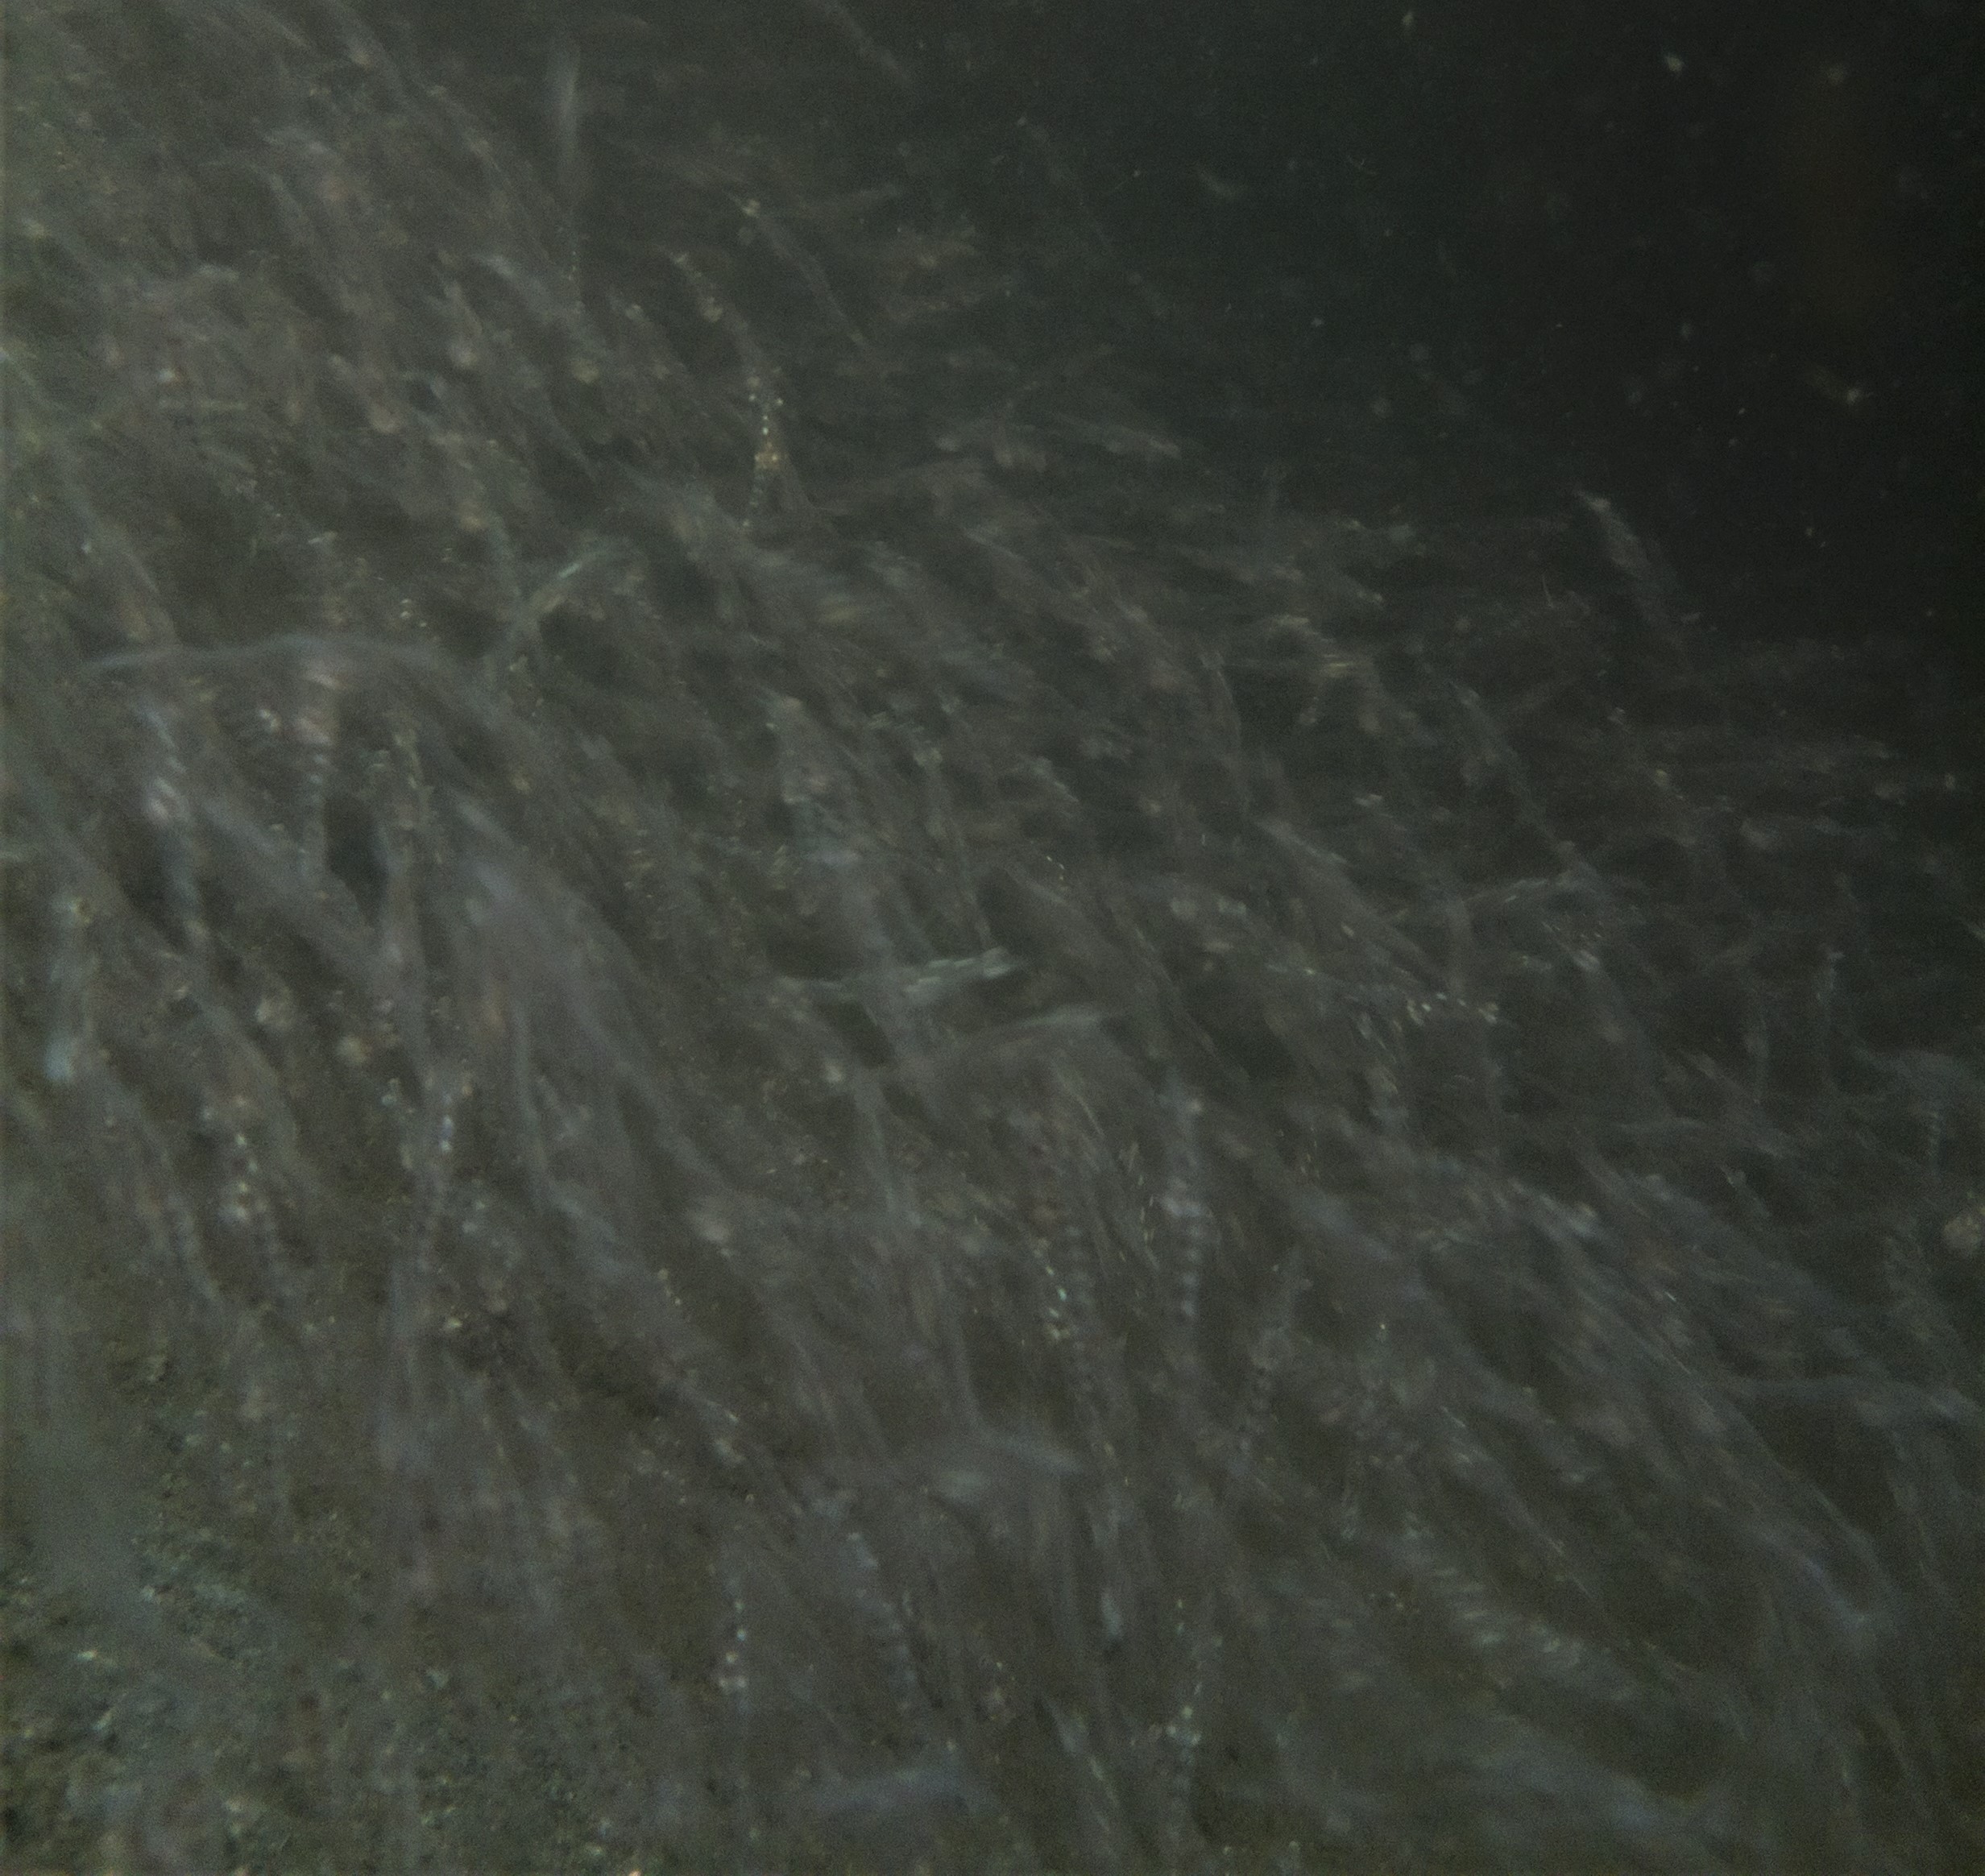
Swarming Mysid shrimp
![]()
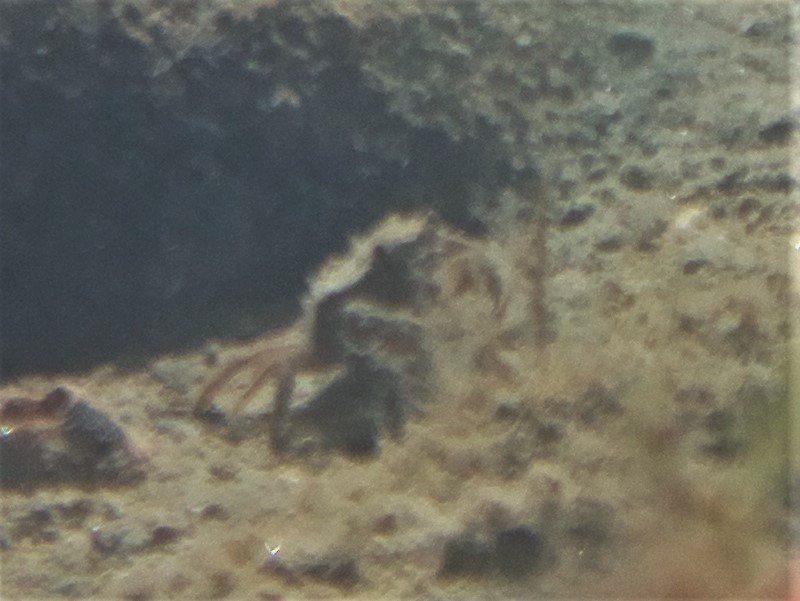
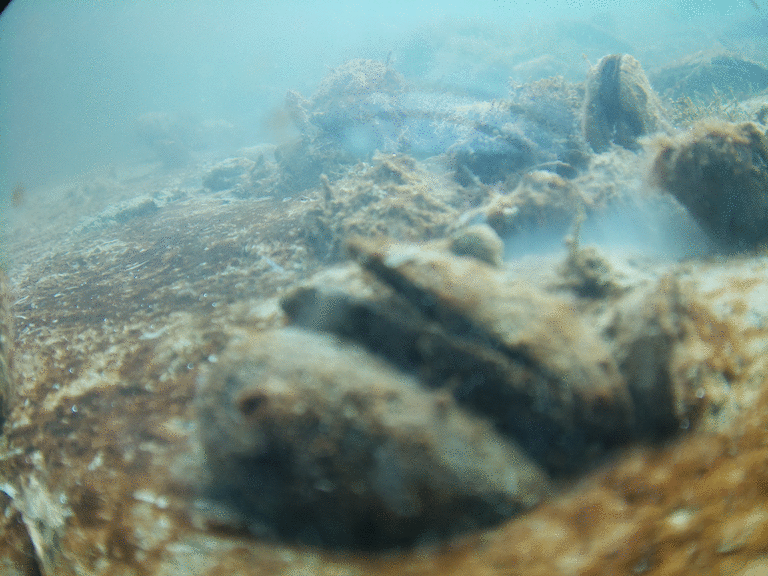
A little crab:
![]()
The results of this deployment has made me confident that all the current hardware performs as it should. The endurance is also very much with the spec of the project.
I believe that this specific version of the project is about one iteration away from being ready to be Beta tested.
More to come in the future.
-
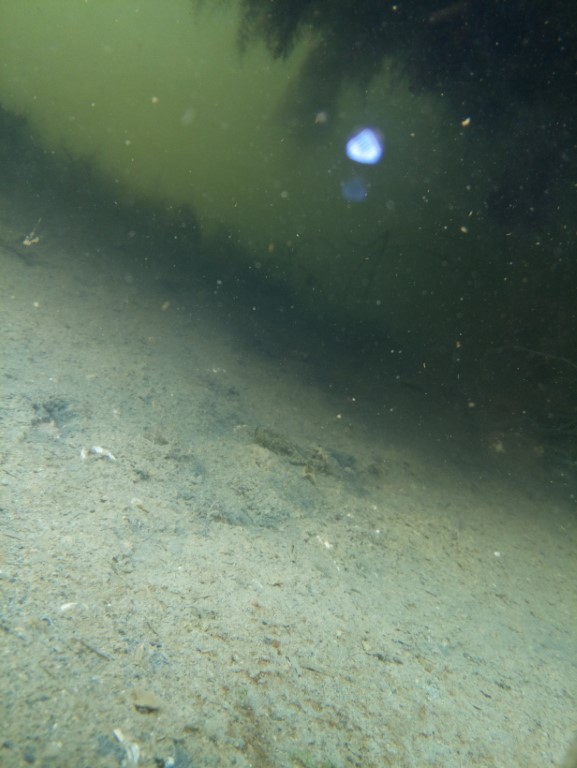
Results: 4 days in the murky harbour
03/29/2021 at 17:59 • 0 commentsAfter some more tweaks I recently deployed the camera in the harbour and left it for 4 days. I removed all the images too dark to immediately see and applied some colour correction. (log about colours coming soon).
Deployment:
- ~4 days (dark photos removed)
- Interval: 4 min
- Location: Harbour, close to locks
- Depth: ~5m
Processing:
- Colour correction: correction script applied
- Frame rate: 5 FPS
- Number of photos: ~344
-
...More March results
03/08/2021 at 19:52 • 0 commentsA uneventful time-lapse of some mussels on the pillar of a pier.
Clearly visible mussel excretion. Night time edited out.
Interval: 2 min
Duration: 3 days
Depth: 30 cm
Number of frames: 380 -
State of the Project, March 2021
03/07/2021 at 13:41 • 2 commentsWe're back in the water for a new set of tests (finally)!
![]()
![]()
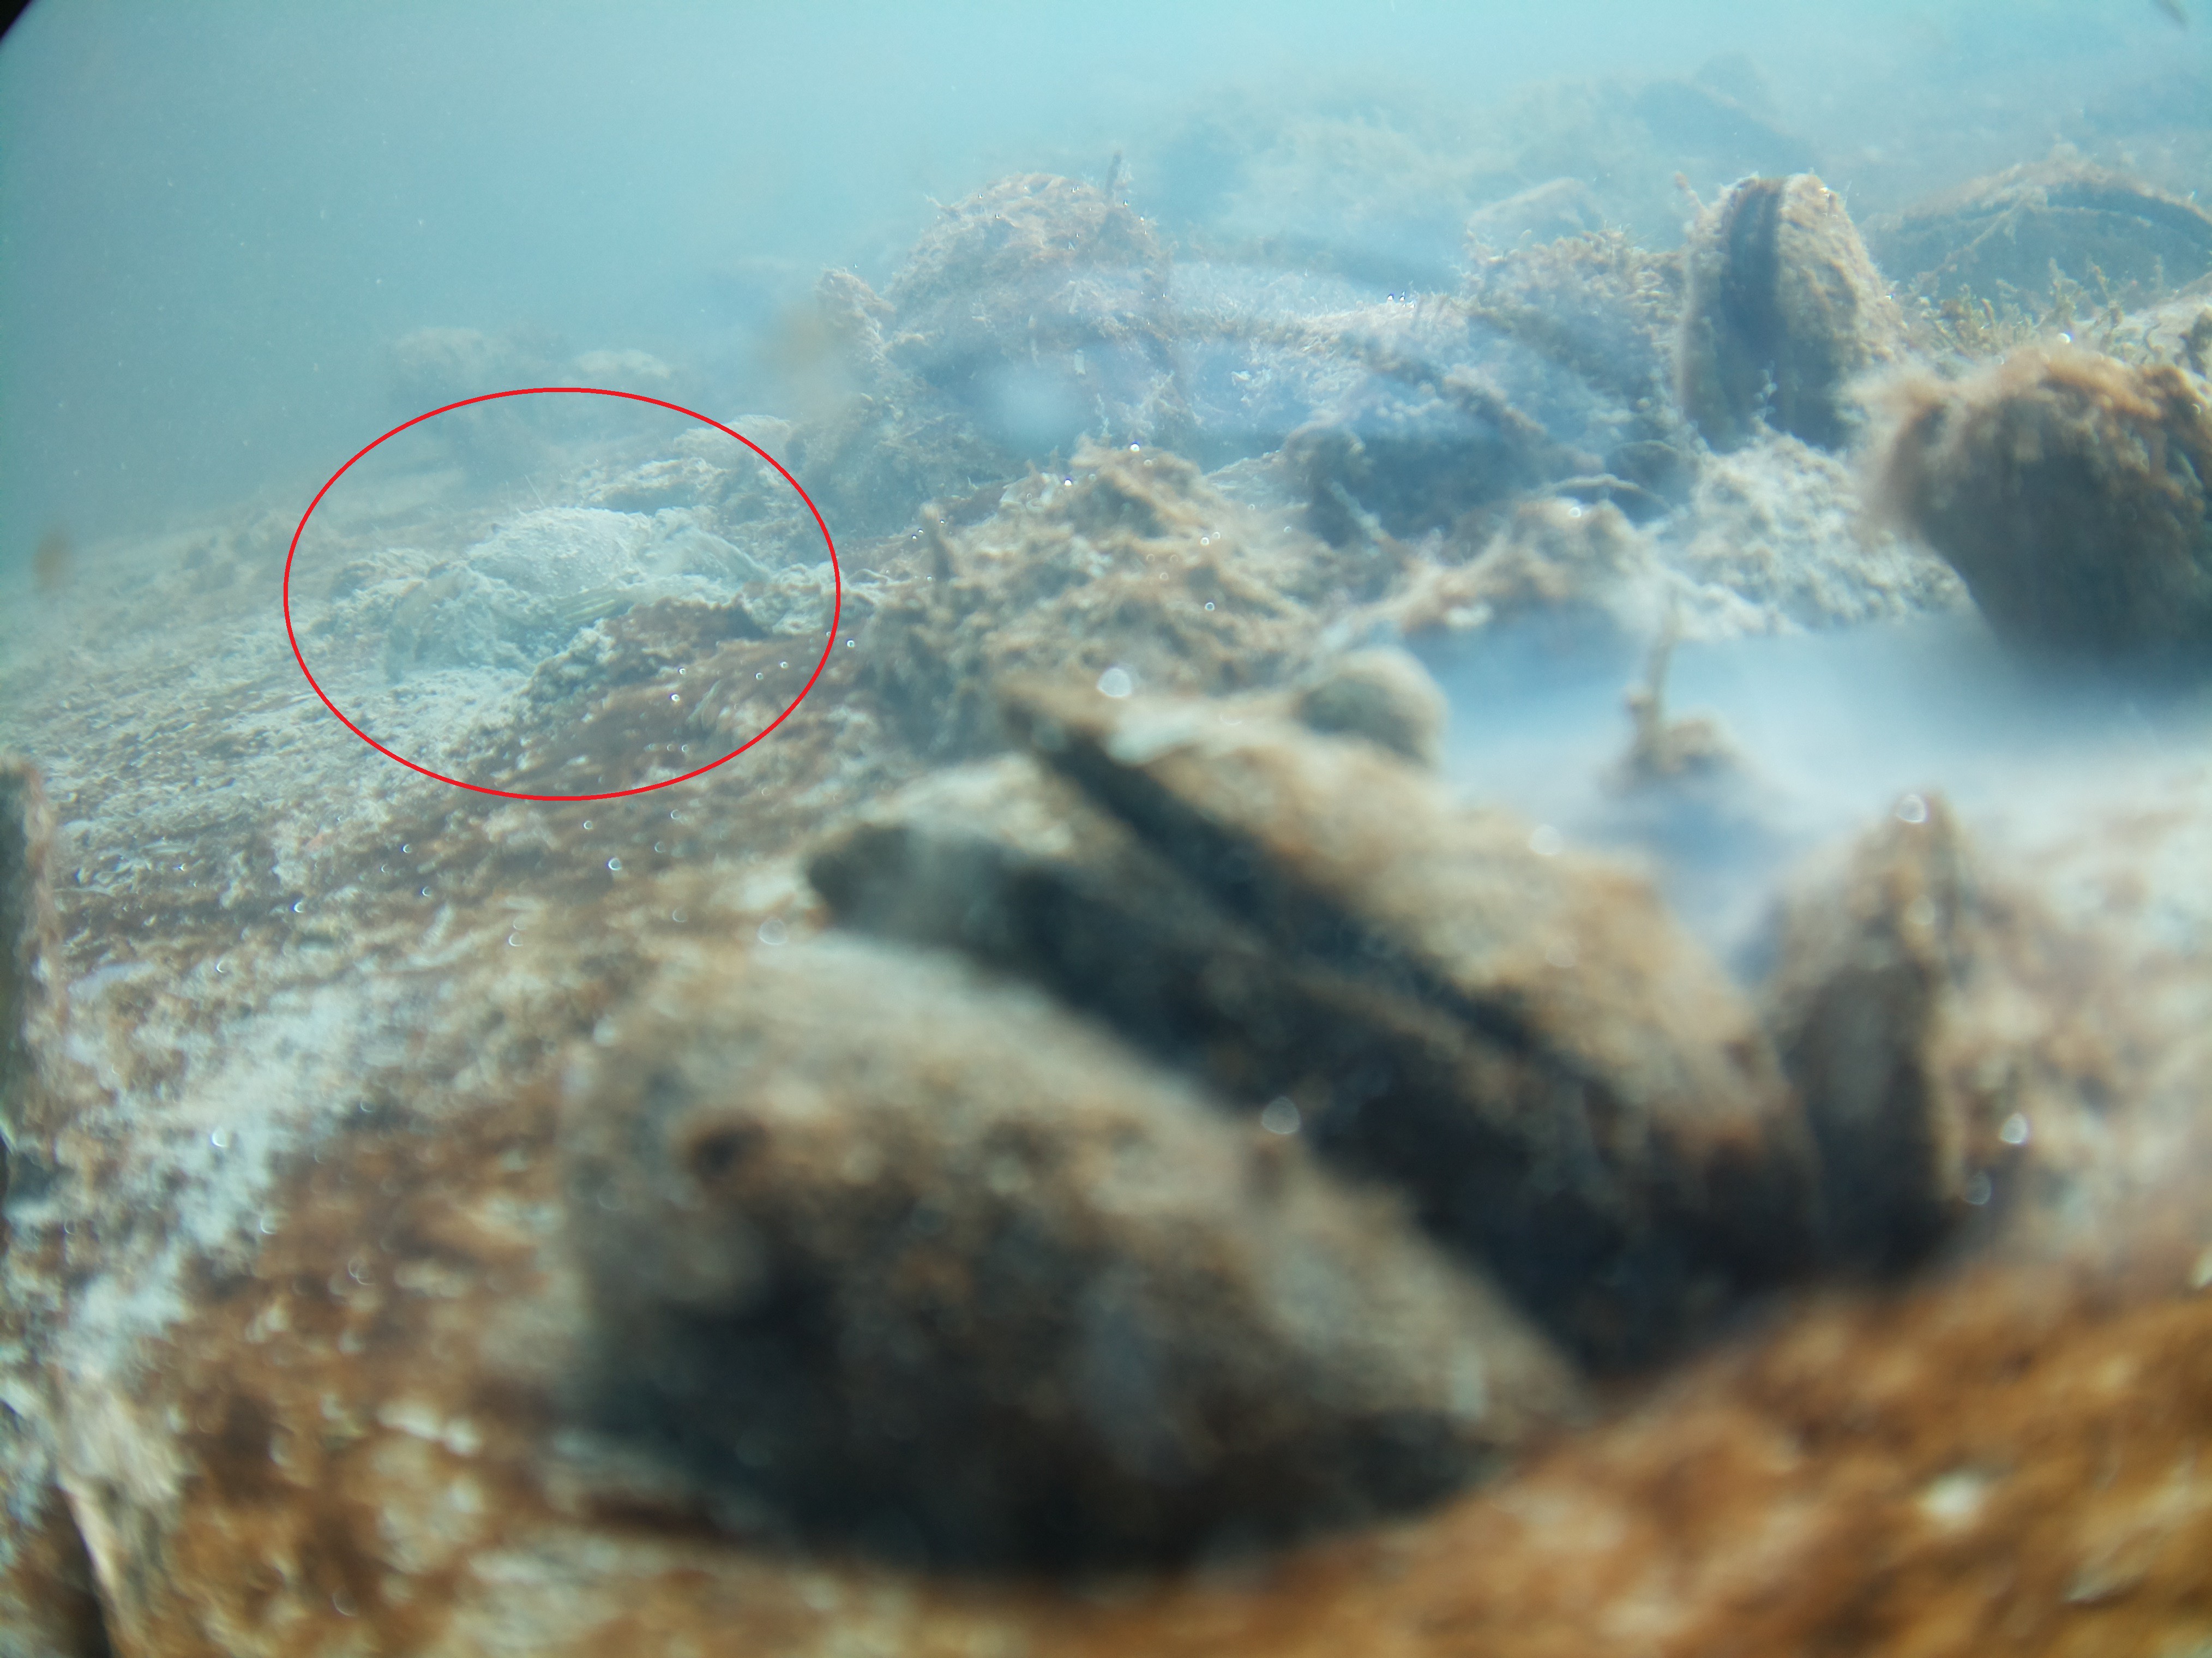
In the image above there are a few things to note, one: the nasty reflection caused by the transparent tube and internal mountings, BUT there is also critter, a small swimming crab passing the camera.
![]()
Another shot of a different angle, reflection visible, but a great showcase of the new HQ camera lens set to focus closer.
Here is a quick update on where I am at:
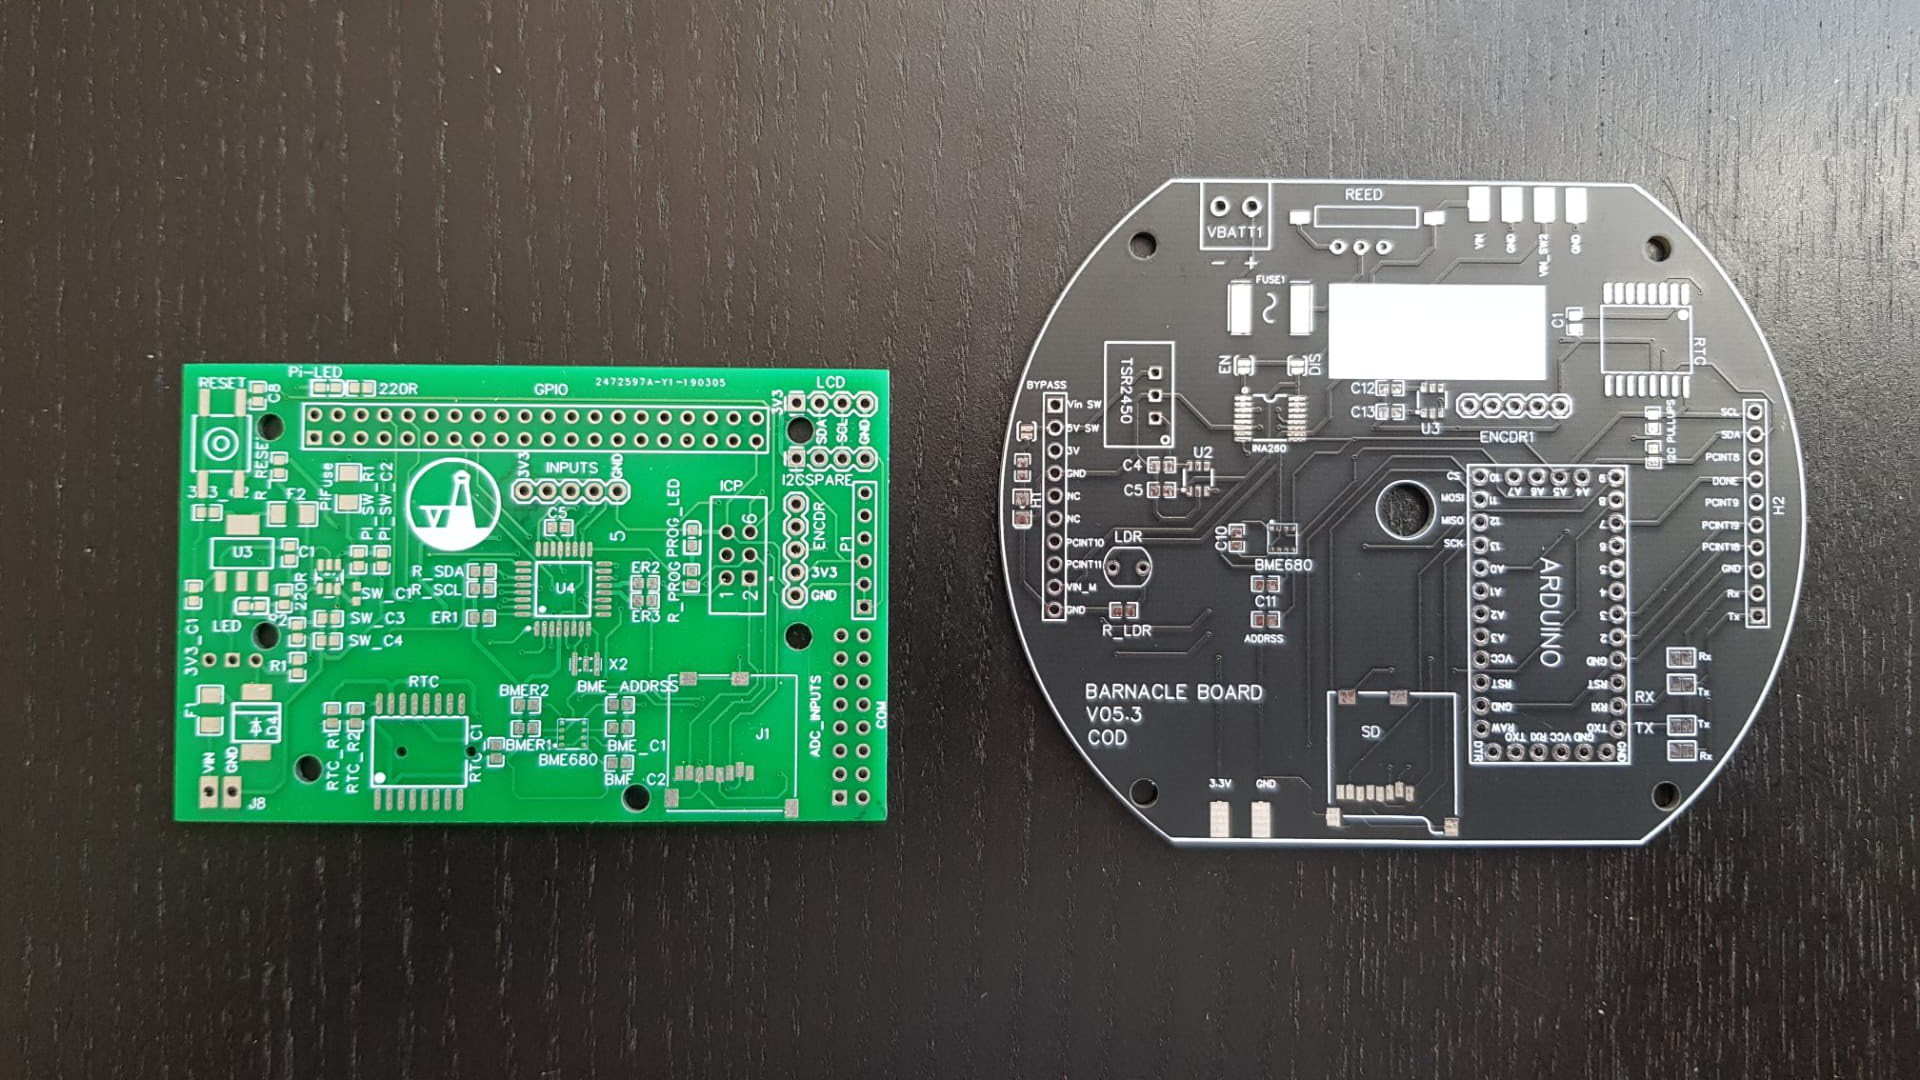
- I'm on the third iteration of a PCB, which was manufactured as V05.03 of the design. Code names Cod (alphabetical fish names for the versions that make it to production).
- PCB design is now two stacking PCBs, one with the MCU and some toys called the "Barnacle board" and the second, a carrier board for the pi, called the "Whale" or "Baleen board".
- PCB is now a larger rounder shape.
- The PVC tube, although bulky, is still the simplest and most reliable housing
- The camera has been upgraded to the Pi HQ camera which has been fantastic
- Current version has not been fully optimised as "low power" yet, but is the lowest power version so far.
- As I write this the camera is in the water for the second test deployment to try and iron out some more kinks. Yes, there are quite a few.
- User interface has been scrapped.
- LCD screen has been scrapped.
- Rotary encoder button has been scrapped.
- Project is still made with primary building blocks off the shelf, but the custom PCBs have some extra peripherals.
There are quite a few design choices to justify, which I will briefly go over here.
- PCB size. Below is a photo which compares the sizes in the "Ablacore" version (green, left) versus the latest "Cod" version (black, right). The Albacore was ambitious for my skill level at the time. I spent maybe weeks troubleshooting that board and there where many issues I found to be just too time consuming to fix. I found flashing a bootloader not to be trivial. I took a step back and decided that the space I have in the tube would allow for a bigger board, which makes the design easier to troubleshoot and the PCB shape was made to mound easier in the tube.
![]()
- Microcontrollers and the carrier board approach. To it's core, this project is a simple intervalometer. There are tonnes of amazing MCUs to use for something like this. I chose to stick with the ATMega328. Because troubleshooting and flashing over bootloaders was too time consuming at the time, I decided to move away from making a custom MCU board, and just going with a carrier board for an off-shelf arduino clone from Robotdyn. Lastly, frying or bricking an MCU does happen and discarding a pcb that was working perfectly otherwise is a pain for this prototyping phase.
- Stacking boards. The design changes between versions showed me the need to have some versatility in how the boards can be used and instead of planning for every change. The "Barnalcle" stacking on the "Baleen" has proven useful in the design process. Keeping the two parts of the circuit separate has made troubleshooting relatively easy. Plus it looks cool.
![]()
- Scrapping the UI. The Albacore version had a small screen to give users feedback to the mode and settings of the camera. This meant that a LOT of time was going into designing a control method that was intuitive yet still manageable on the firmware side. Although I enjoyed this, I felt that the amount of time it took to get it "just right" kept the project from getting wet.
- Power pack. Initially I decided that the I would go as simple as possible for the power pack for the project. A few iterations in, I decided that this was not good enough. I've used small lead acid batteries and off-the-shelf powerbanks, but found that the 18650 Li-ion battery tech was very mature and super accessible, which pushed me into building some really basic 18650 rechargeable packs. Also- turns out that I really enjoy power pack design. Just not so good at it.
I hope to add some more logs and explanations in the coming weeks as I do more tests.
-
Why the project stalled
11/26/2019 at 20:29 • 0 commentsI was at a very exciting point when I last worked on this project:
1. I was getting some cool results
2. I just took delivery of my first PCB for the project.
3. There was a lot of interest.
Then life happened ... HARD. I took a new job opportunity in a different country, uprooted my life, packed, sold my car, gave up rent and had to filter through my worldly possessions for what will make it into my two bags for my massive move. Many aspects of this project did not make it into the bags.
In the time it has taken for me to find my feet the project truly stalled. One big obstacle to getting started again is that I felt that the connection I had with the sea (and my neighbourhood kelp forest) has been lost. And in a big way I am still grieving that loss.
Without this turning into too big of a therapy session- I am now itching to get back in the saddle, but the pipecam as it is in the current vision may not be enough to explore the sea as it exists in my new home. Finding parts and materials in a new country with a different language has proven hugely difficult.
Time to rethink and reconsider my approach.
-
An update.
09/10/2018 at 05:34 • 0 commentsI've been trying to do an honest update on the progress of the project. It's been slow going, but there has been LOADS of progress.
At the moment I'm in the trial and error phase of designing a controller board.
What the controller board does:
- Control
- UI
- Power management
I'm about a month away from getting back into the water. Of these three aspects, the user interface has taken most of the time.
UI
This has been taking most of my time. If you can avoid it.
How users interact with a device is a massive study on its own. I've been juggling giving the users many control options while keeping it as intuitive as possible. This has taken many iterations and hardware changes. It's hard to draw the line between what's possible and what's practical. I think I've finally struck an acceptable balance in practicality/functionality. At the moment users can set up the device with a dial and a tiny screen for feedback.
Control
The PCB design & etching process is quite rewarding, but it has been a bit of a slow slog. I've made many mistakes in the designs and I'm close to creating a 4th iteration of the board which will hopefully be the last version before I start adding some extras. The design also keeps changing as I learn more about more suitable parts.
Power
Power management has been a real eye-opener. There is a lot of control I need to add to reduce the overall power consumption of the project. The power banks I've been so excited about has proven to have some real limitations. This is worth a log in the future, but I've basically decided to scrap them. In short, they are too smart for their own good.
I've also come to the conclusion that the project is at a cross-roads. I see this splitting off into two branches. One being the quick and easy one, that folks can build on the cheap and get in the water fast (with some limitations). Hopefully I'll finish a how-to guide for this in the next few weeks.
-
Feeding Time at the Research Aquarium: Timelapse from Video
06/04/2018 at 05:24 • 0 commentsI recently got a chance to drop the project in a tank filled with West Coast rock Lobster at the local research aquarium during feeding time. The camera was set to do 15min videos overnight.
Here is a timelapse made from the first 15min of footage:
Problems encountered:
- Low light (nothing I can do about that at this stage)
- Camera did not switch over to next flash drive after current one was full
- Focus was set too far forward to catch all the chaos right in front of it
-
Two drops: Time-lapse vs Video
04/25/2018 at 05:50 • 0 commentsWhile I'm still busy with the low power electronics, I'm trying to use the camera to get a feel for the capabilities and limitations... and to figure out how to make it user friendly.
So over the last weekend I did two ~5hour drops, both from about 10:00 to 15:00 for the best lighting.
The first was a 30sec interval time-lapse at the entrance of a small cave.
- Depth: ~2.5m
- Mode: Photo
- Interval: 30sec
- Exposure: 'Beach'
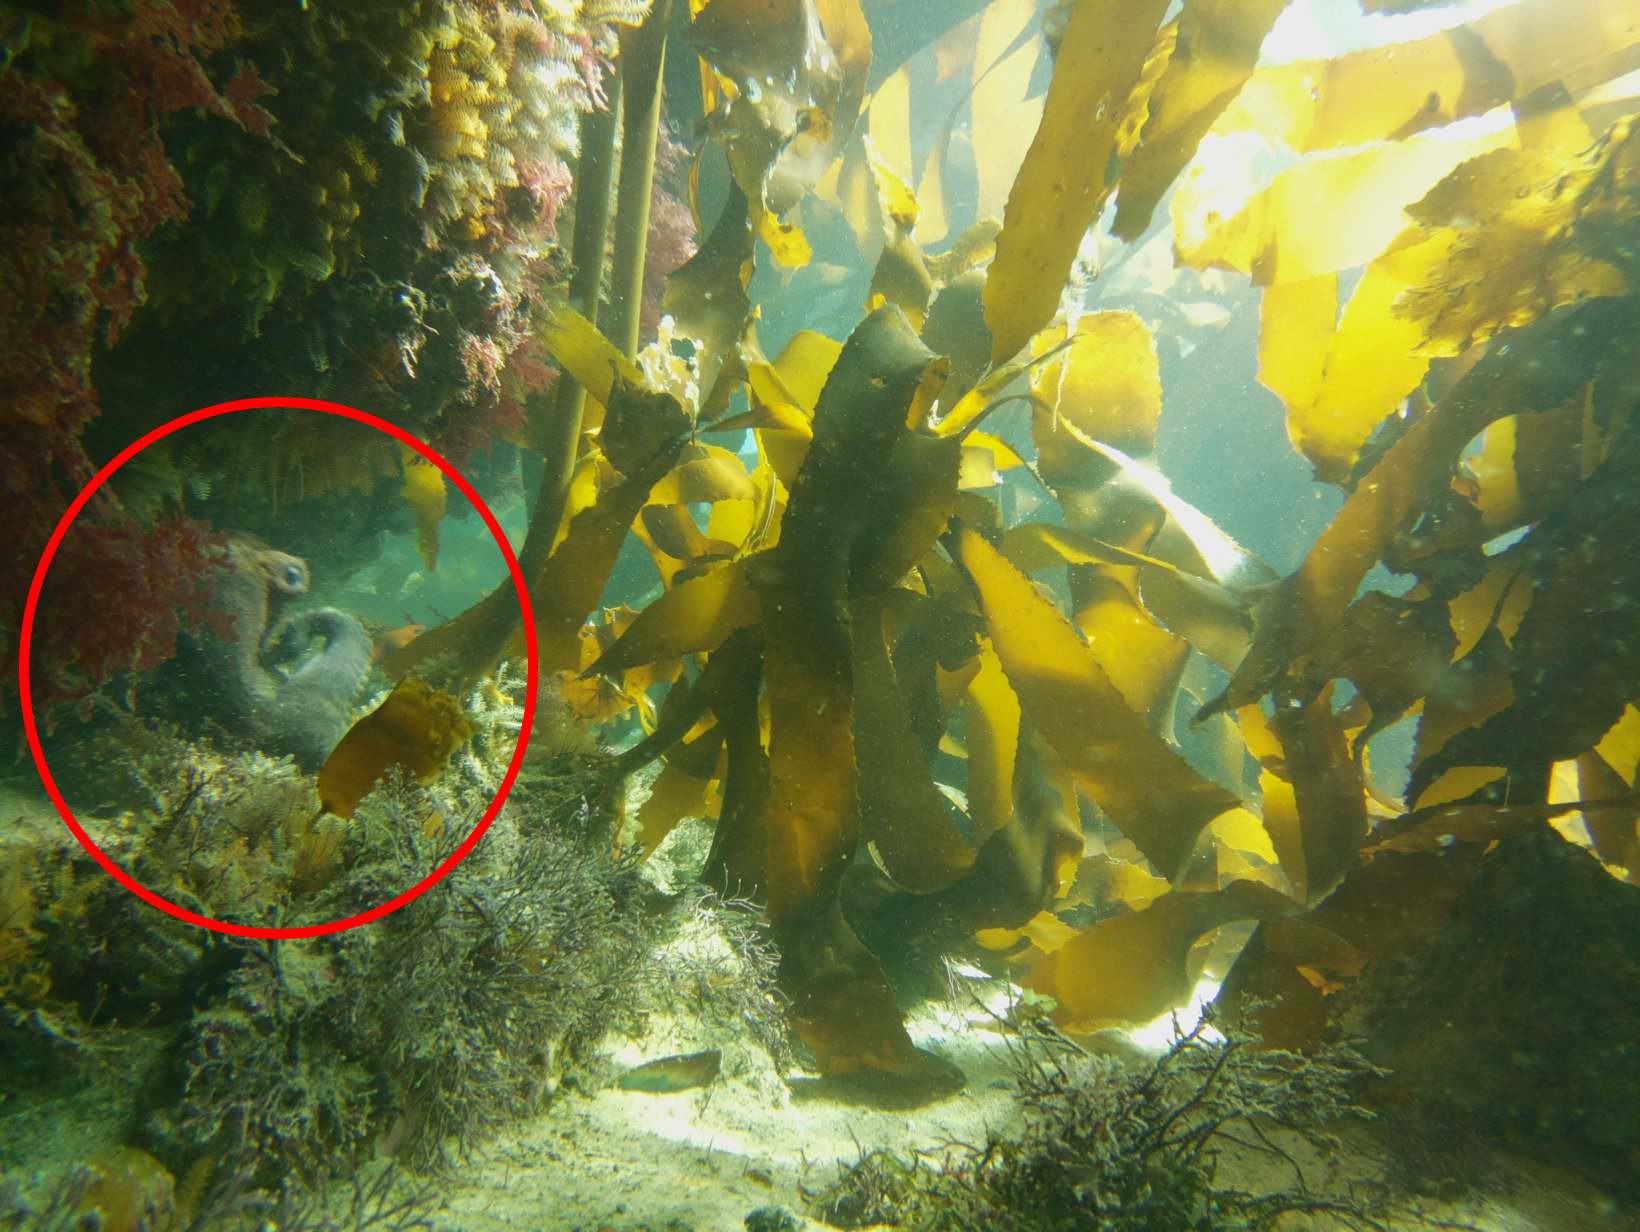
About two hours into the deployment, an octopus discovers the camera, fiddles with it and points it into the cave. Which is both delightful and frustrating. The time-lapse misses most of the action. The pipecamera does not deal with low light conditions that well at this stage :\
In case you missed it, here is the culprit:
![]()
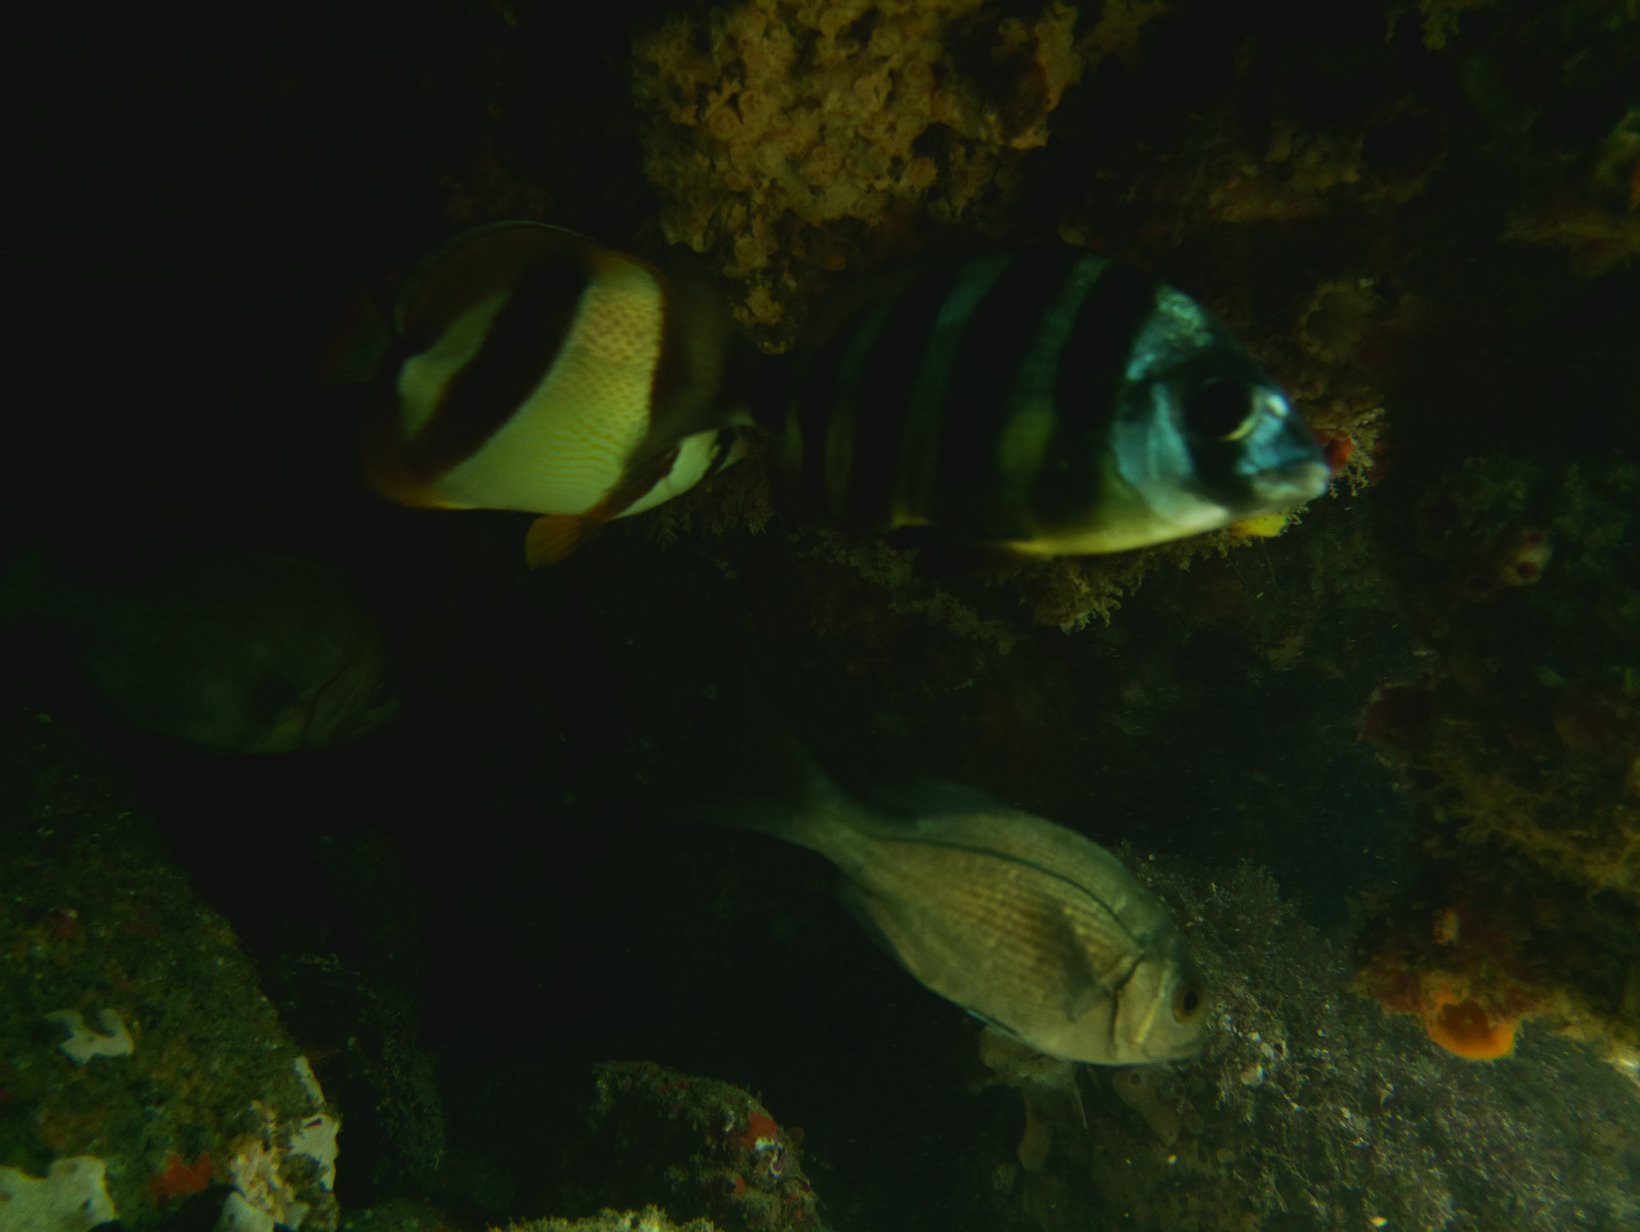
The rest of the photos taken are very dark, fortunately there are some interesting fish hiding in the cave, but it's too dark to do a time-lapse of these photos. I will consider rather setting the exposure to 'auto' in the future to deal with such... interferances.![]()
The second deployment was done from 10:30 - 15:30.
- Depth: ~1.5m
- Mode: Video
- Video lenght: 15min
- Interval: 15min
- Exposure: Auto
Because I missed so much action in the time-lapse the day before, I decided to just go with continuous video.
I placed the camera under a small overhang looking out to a small rocky outcrop. The camera eventually shifts in the surge, which is the reason for the skew video later on. I will need to look into adding a bit more weight in the future.
![]()
At first I thought the footage was pretty boring, but the problem with having 5 hours of footage is that you just skip through it, often missing some of the fun stuff that are only a few seconds long. The little outcrop actually got quite a few visitors.
After a second round of looking at the results (on recommendation from my video journalist wife), here are some of the highlights:
A school of fish visiting the deployment:
A cuttlefish hunting past the frame (LOVE IT):
Below I took a about a 10min snippet over two videos and converted it into a time-lapse. This is the kind of footage I'm interested in getting more of:
PipeCam: Low-Cost Autonomous Underwater Camera
Low cost autonomous underwater camera for long term deployments and exploration