 Quinn
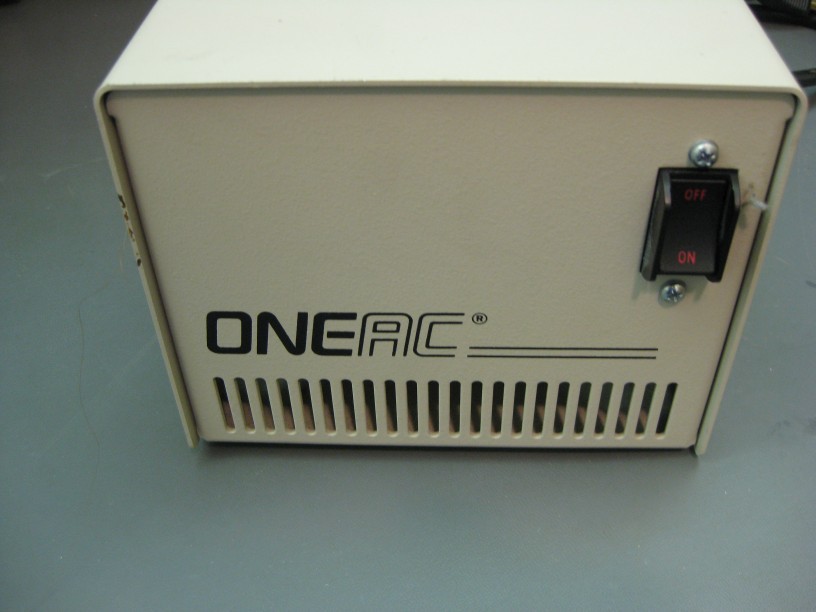
QuinnI ended up with a ONEAC CP1110 power conditioner out of scrap several years ago, and have saved it for conversion into a proper isolation transformer for safely working on AC powered equipment. This model is pretty simple in construction, taking the AC input, feeding it through a circuit breaker and into a 1:1 transformer. The other side of the transformer goes past some filtering, and out AC sockets on the back. In doing this, it eliminates all sorts of surges, common mode and ground noise, and is much superior than just a surge protector. For all the advertised features and details, please see the product brief here.

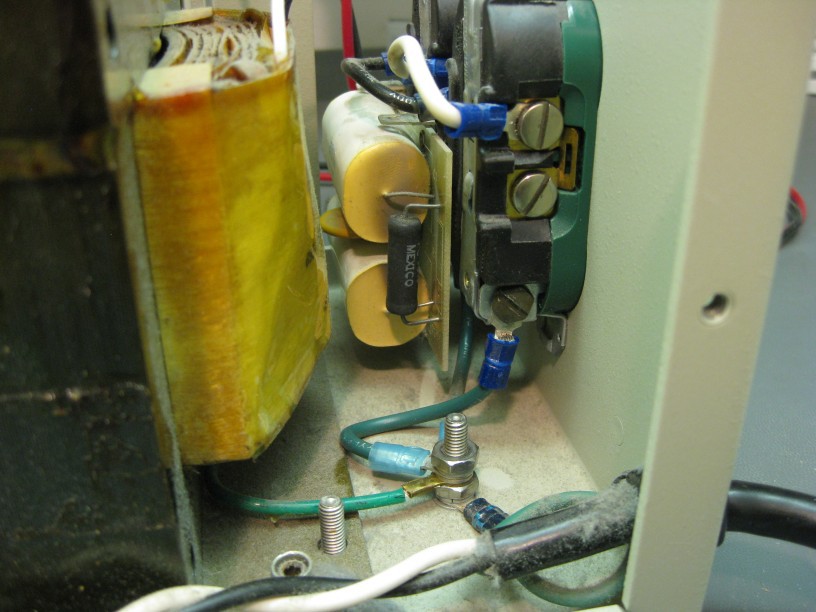
Inside it is simple as expected: (plus lots of dust)
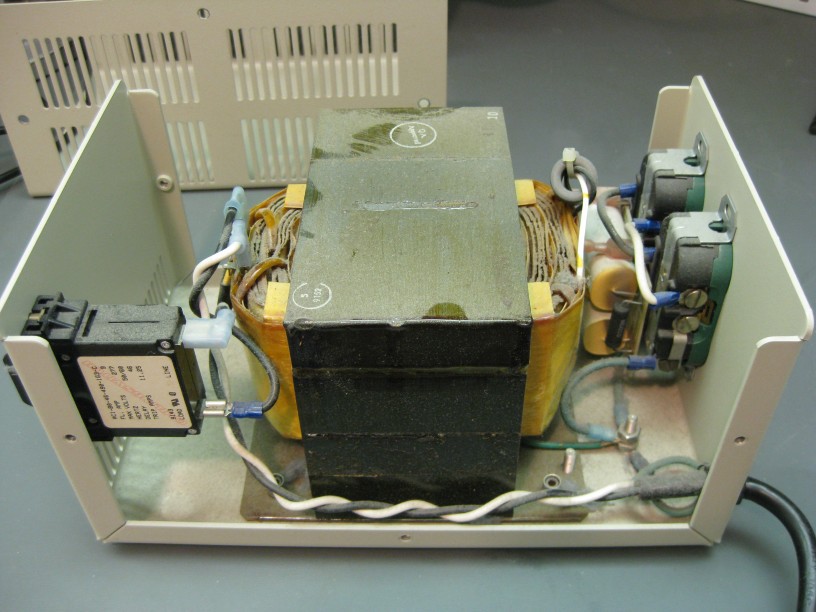
You can see on the right the ground connections, from the AC line cord, to the transformer shield, and two which go to the AC output socket grounds. This is as expected, and fine.
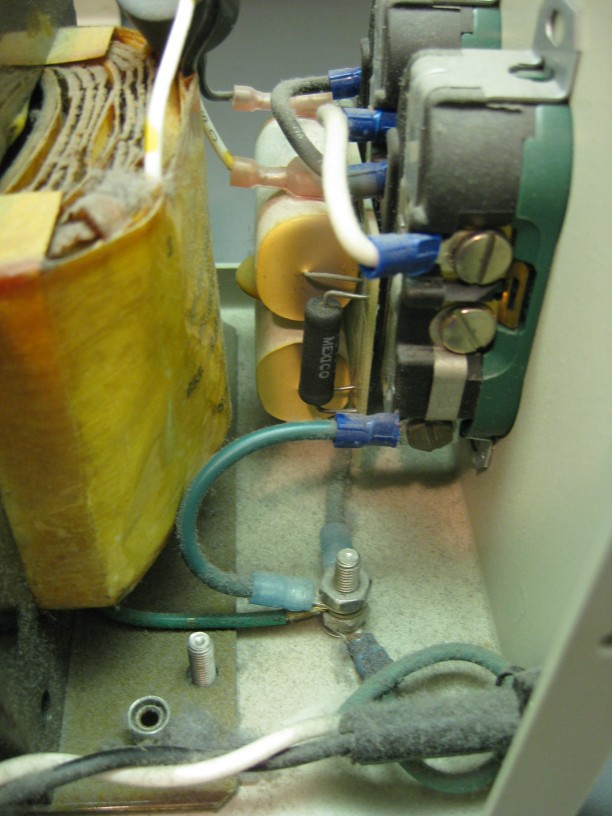
The trouble for using this as a safety tool lies just above that on the side of the socket itself. There is a metal strap connecting the ground terminal to the output neutral. With the sockets removed from the case:
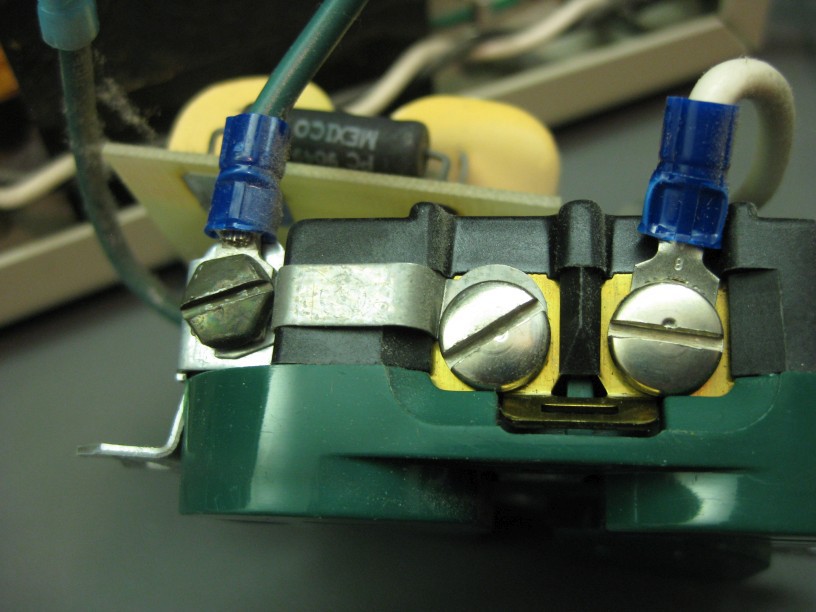
Simple solution is to loosen the screws and remove the strap:

There was a second strap on the other socket as well which needed to be removed. with the sockets reinstalled, it was simple to test the output sockets and confirm that there is no connection between either "hot" or "neutral" and ground or either input line, so it is ready for use in testing.
And that's it!
Update:
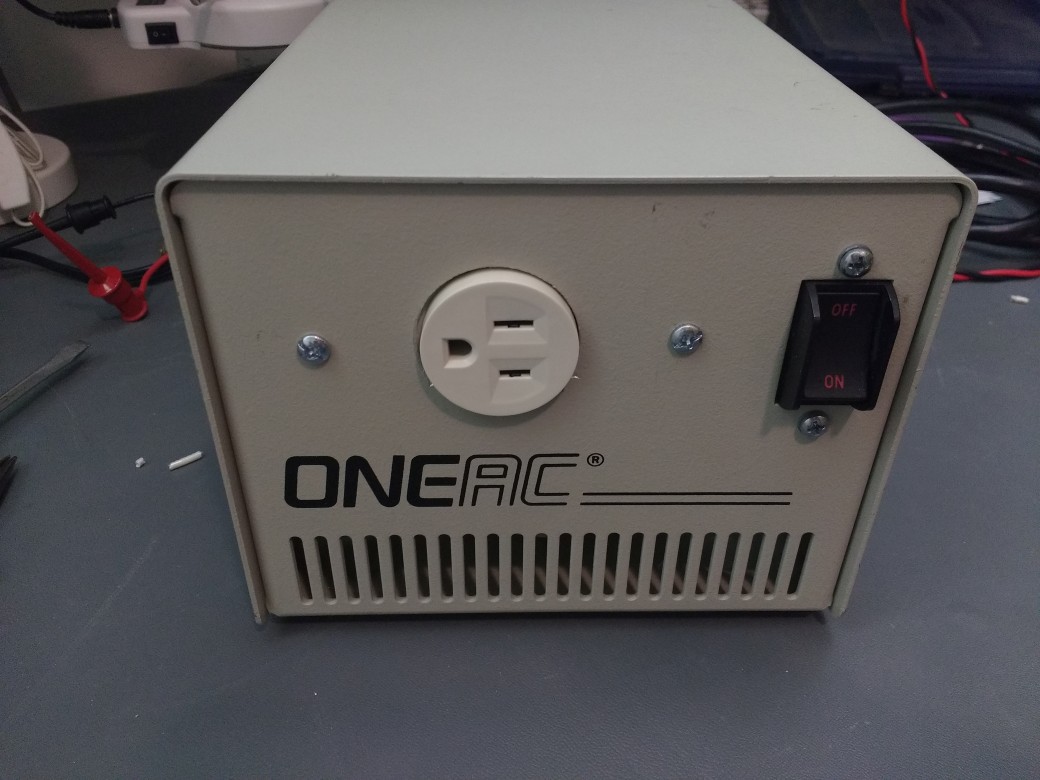
To make it a bit more convenient on my bench, I decided to add an outlet on the front. This way I can leave it on my bench, and not access the rear sockets to plug in something I'm working on.
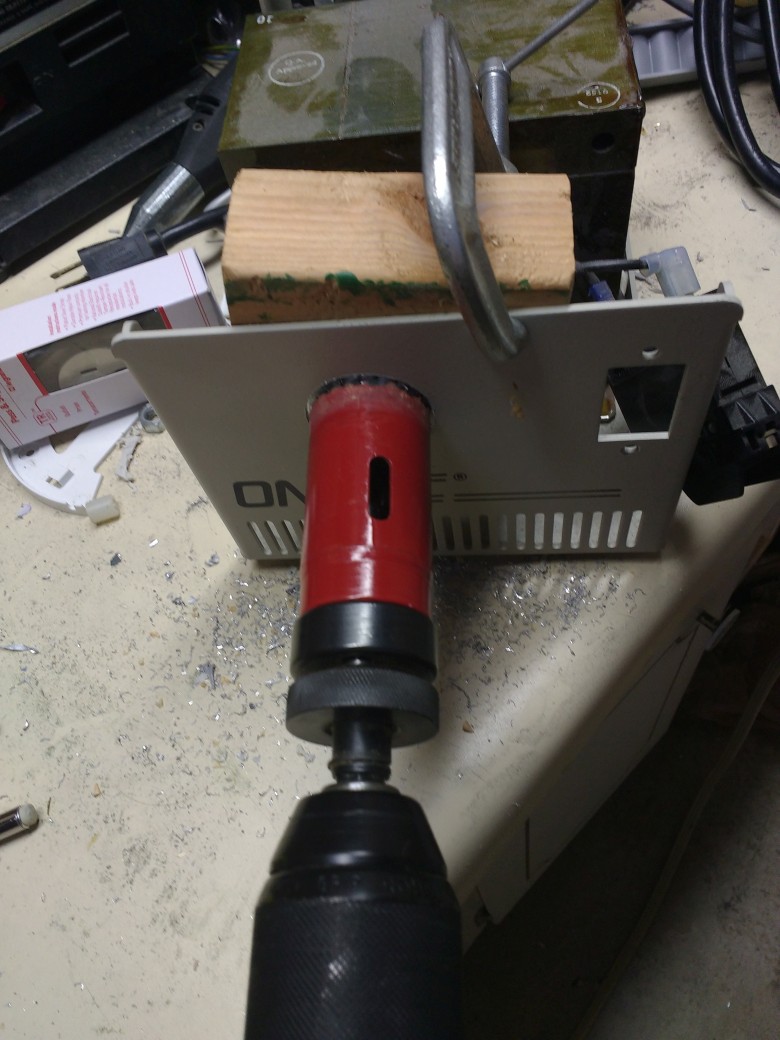
There are quite a few ways to add an AC socket to a metal panel. One method is shown in my project Lab Rebuild and Benches when I added sockets to the power strips. Another way would be to cut holes which directly mount sockets instead of using the wall plates I used there. In doing this, the cut hole needs to be pretty accurate. As the transformer was not easily removable from the case, it would make using a jigsaw difficult. Instead, I opted for a round electrical socket, and a matching 1-3/8 inch hole saw. While the round socket is not the most common outlet, it is available at most hardware stores selling electrical sockets.
The thick metal on the case took some time to drill through, but thankfully it is aluminum which made it not difficult. I clamped a block to the inside and drilled with a handheld drill.
With some basic filing to remove burrs, the hole was ready.
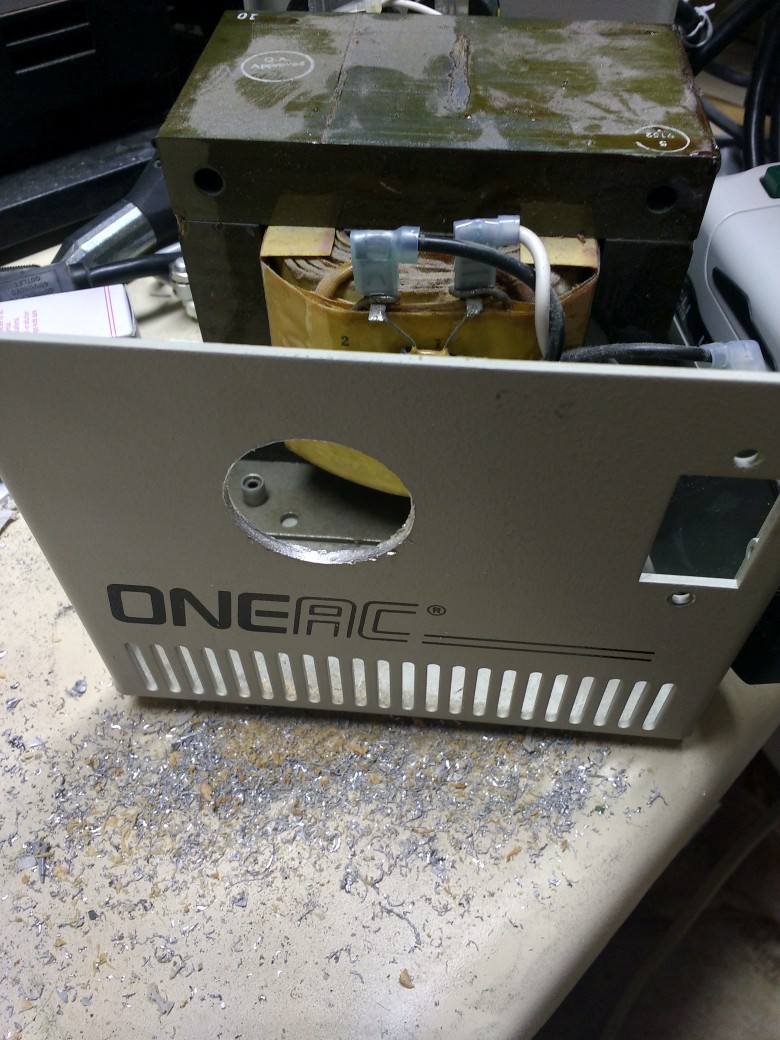
Adding a couple screw holes to match up with the normal mounting screws, and the socket could be installed. With some 14 gauge wire, I ran this socket in parallel to the rear terminal ones, and the ground to the common ground point on the case.
 mircemk
 J3TTBlack88
 Ryan Walmsley