 Robin Hartley
The key to this project is to place the switch on the bottom of the Bean and then drill through the circuit board, as seen here:
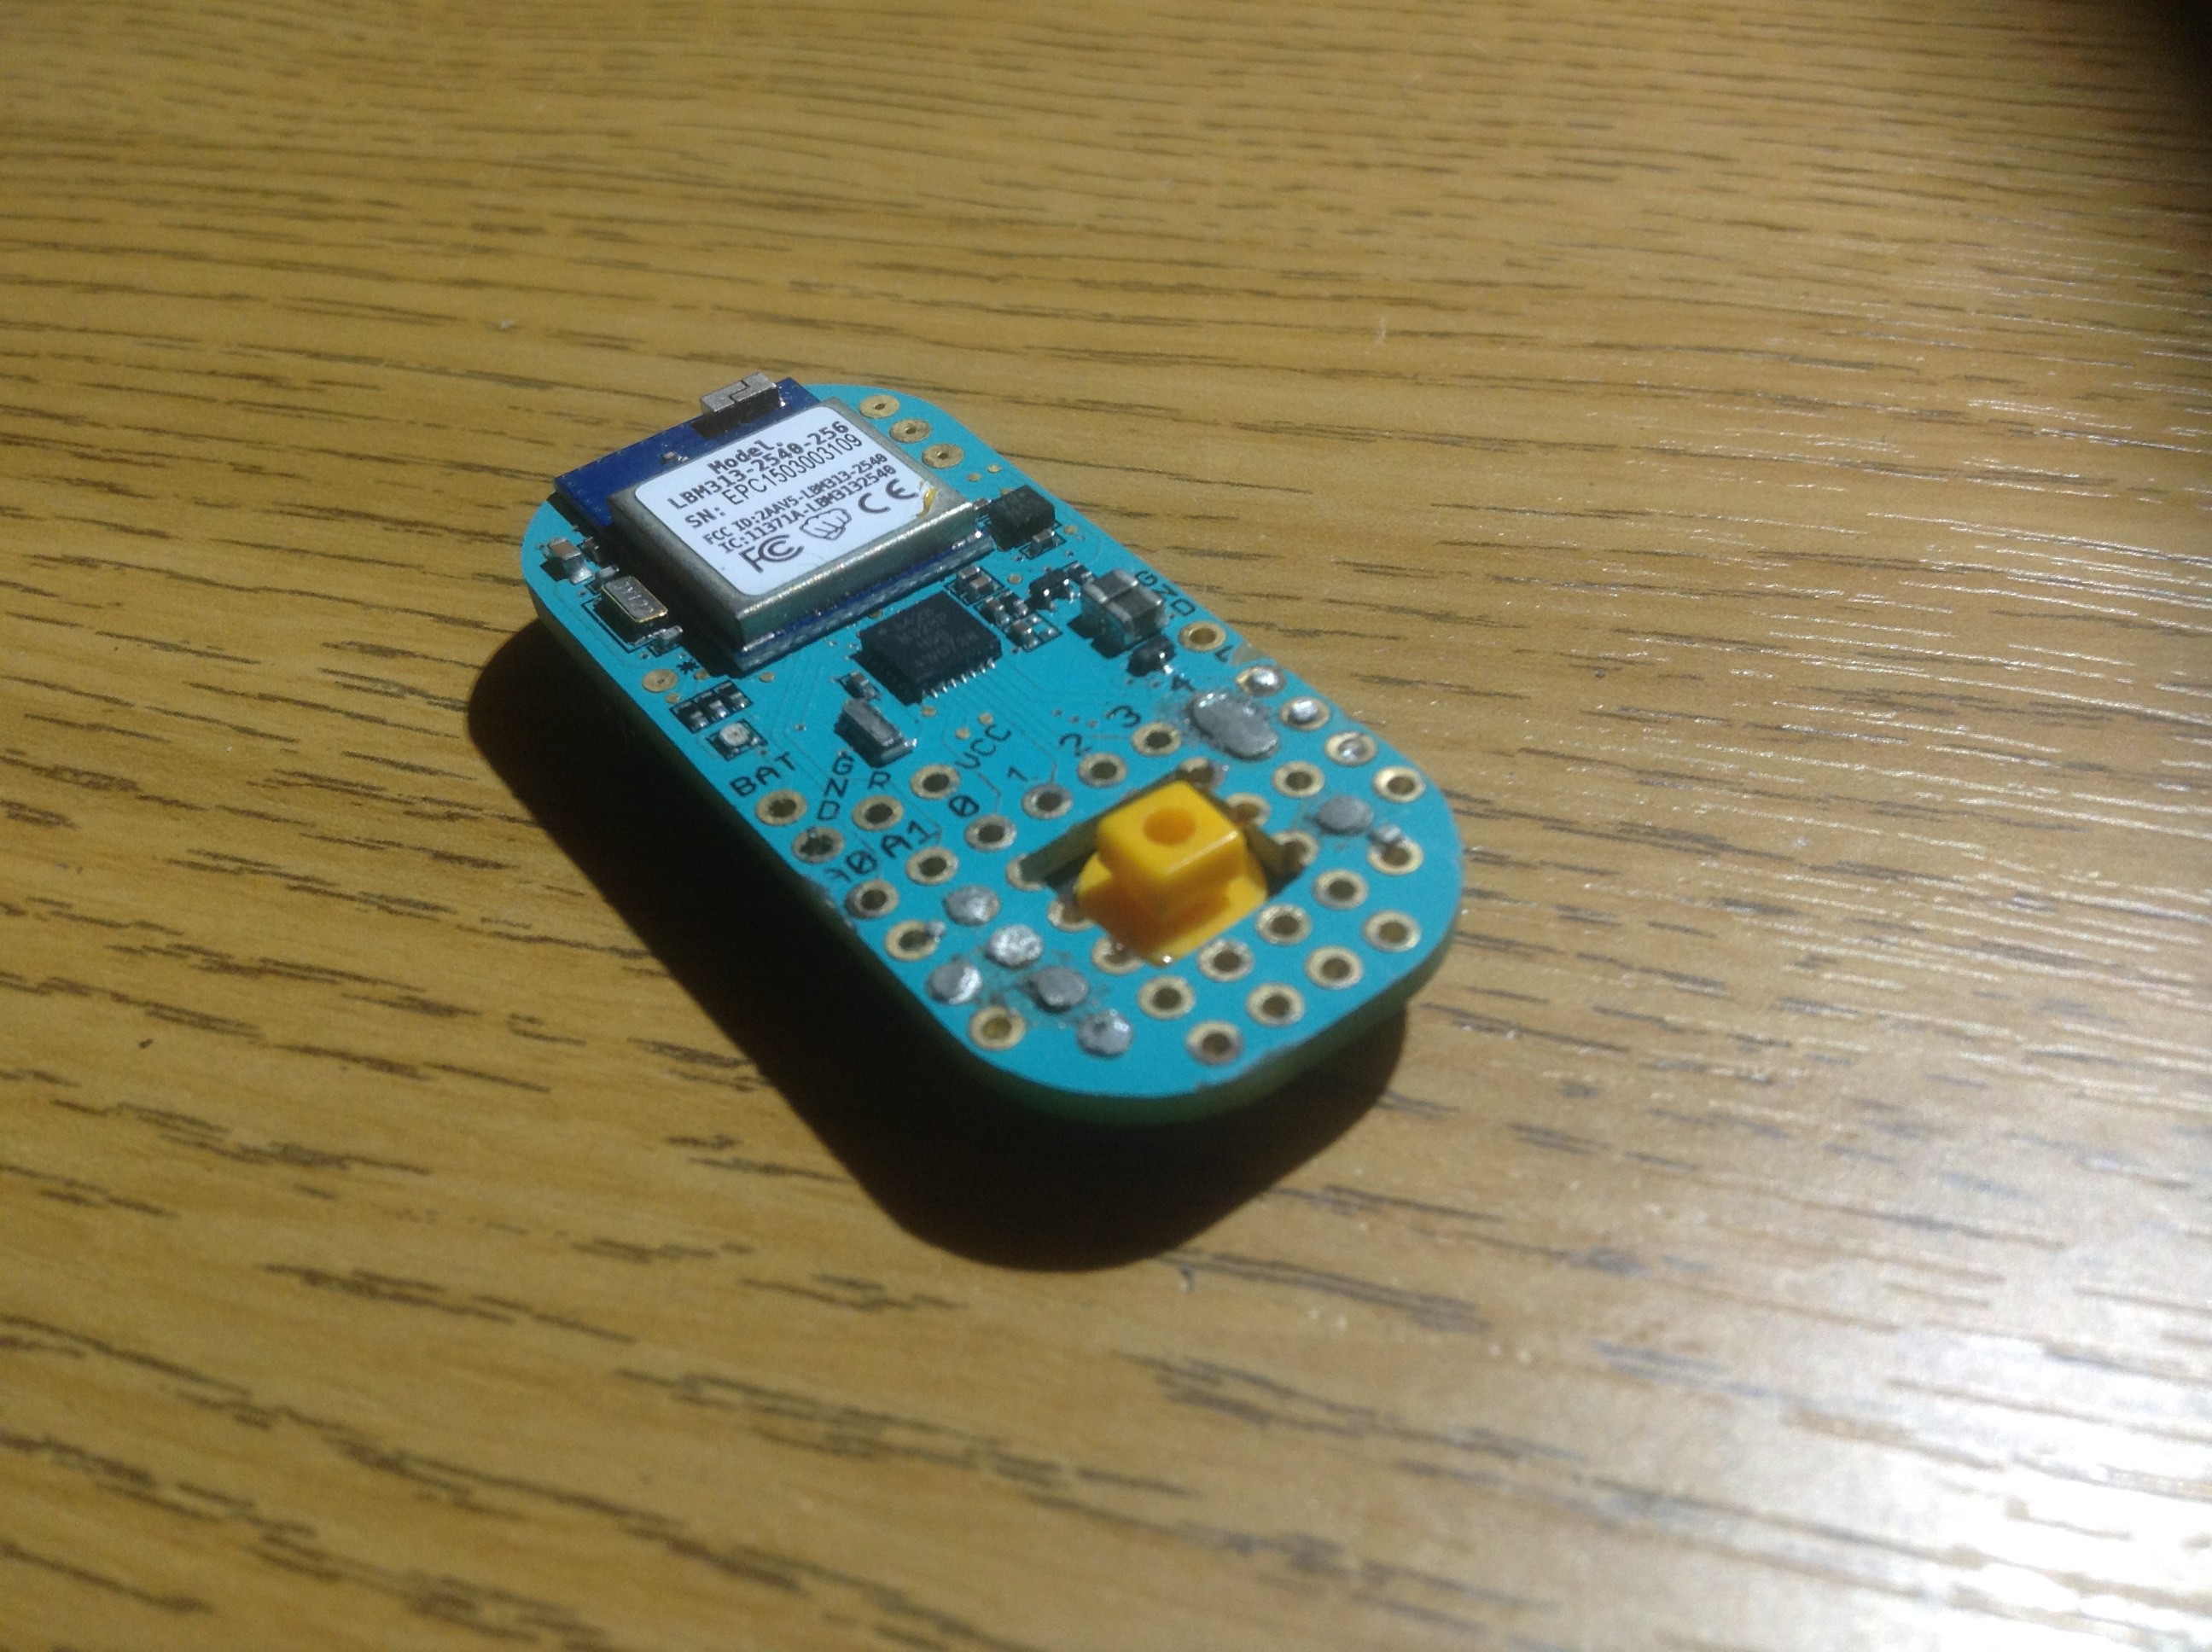
As the battery holder already sticks out of the bottom of the Bean, it does not require any additional space to also mount the button on the bottom.
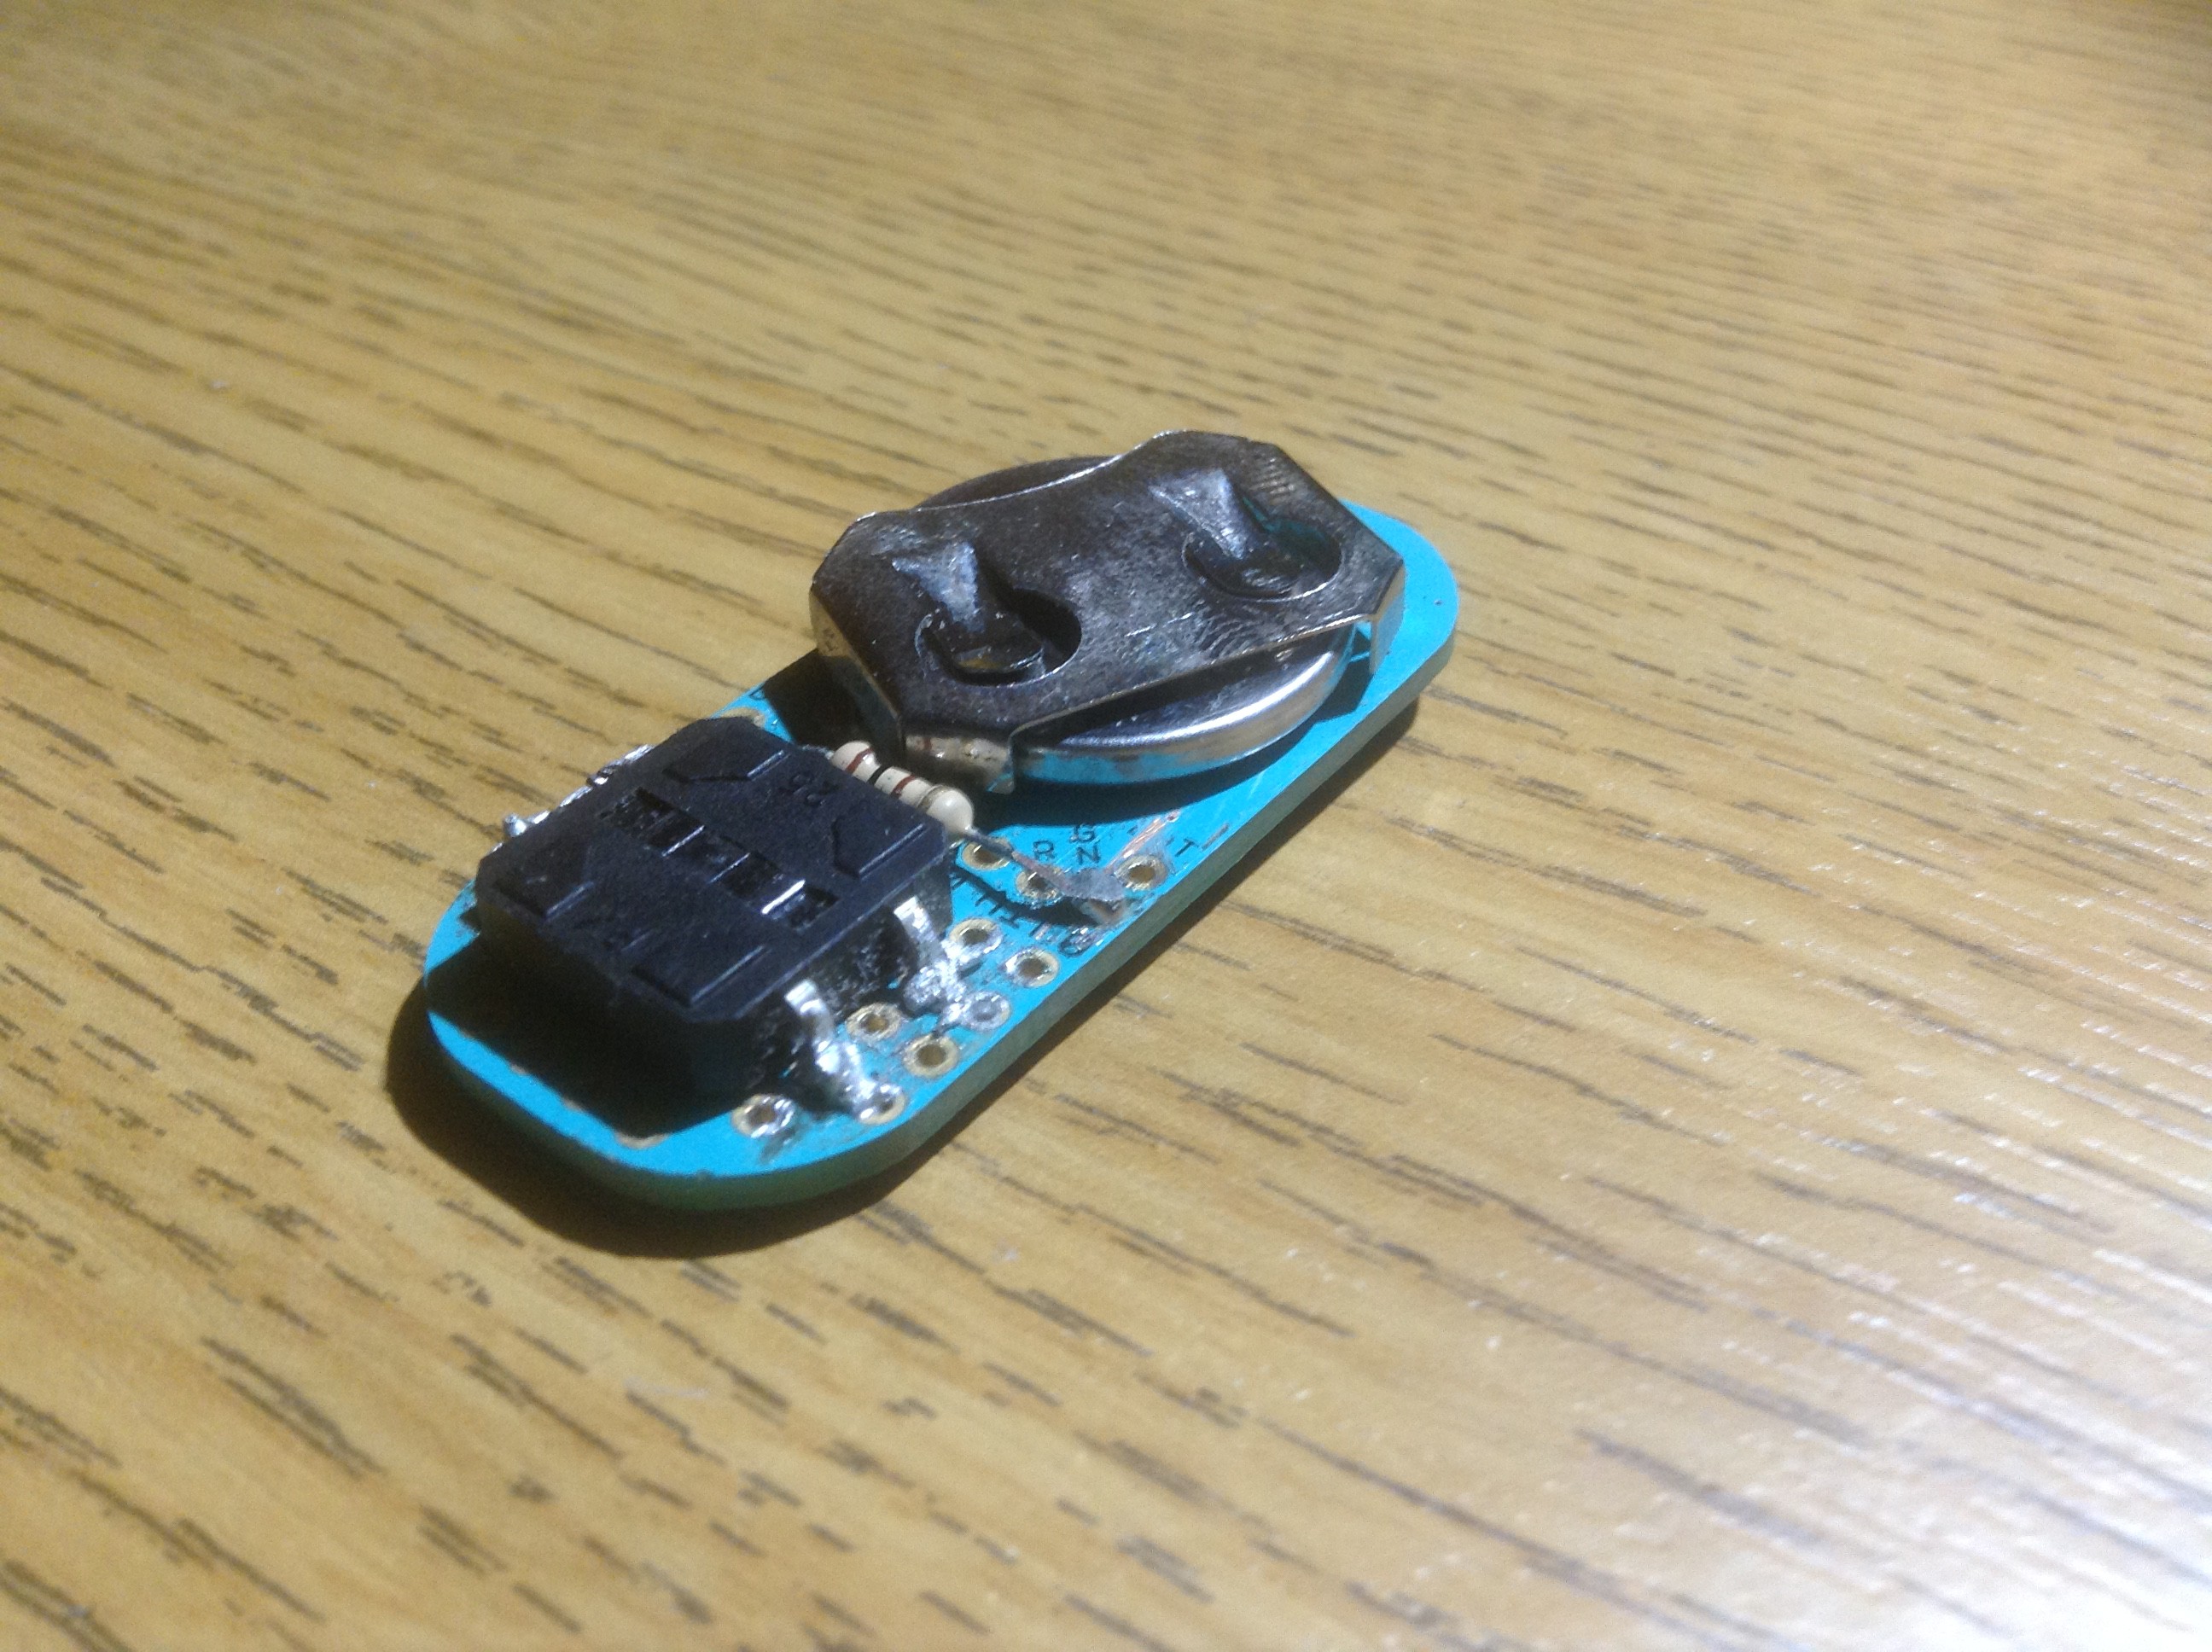 The resistor is in series with the button and simply reduces the current flowing when the button is pressed to stop the battery draining too quickly.
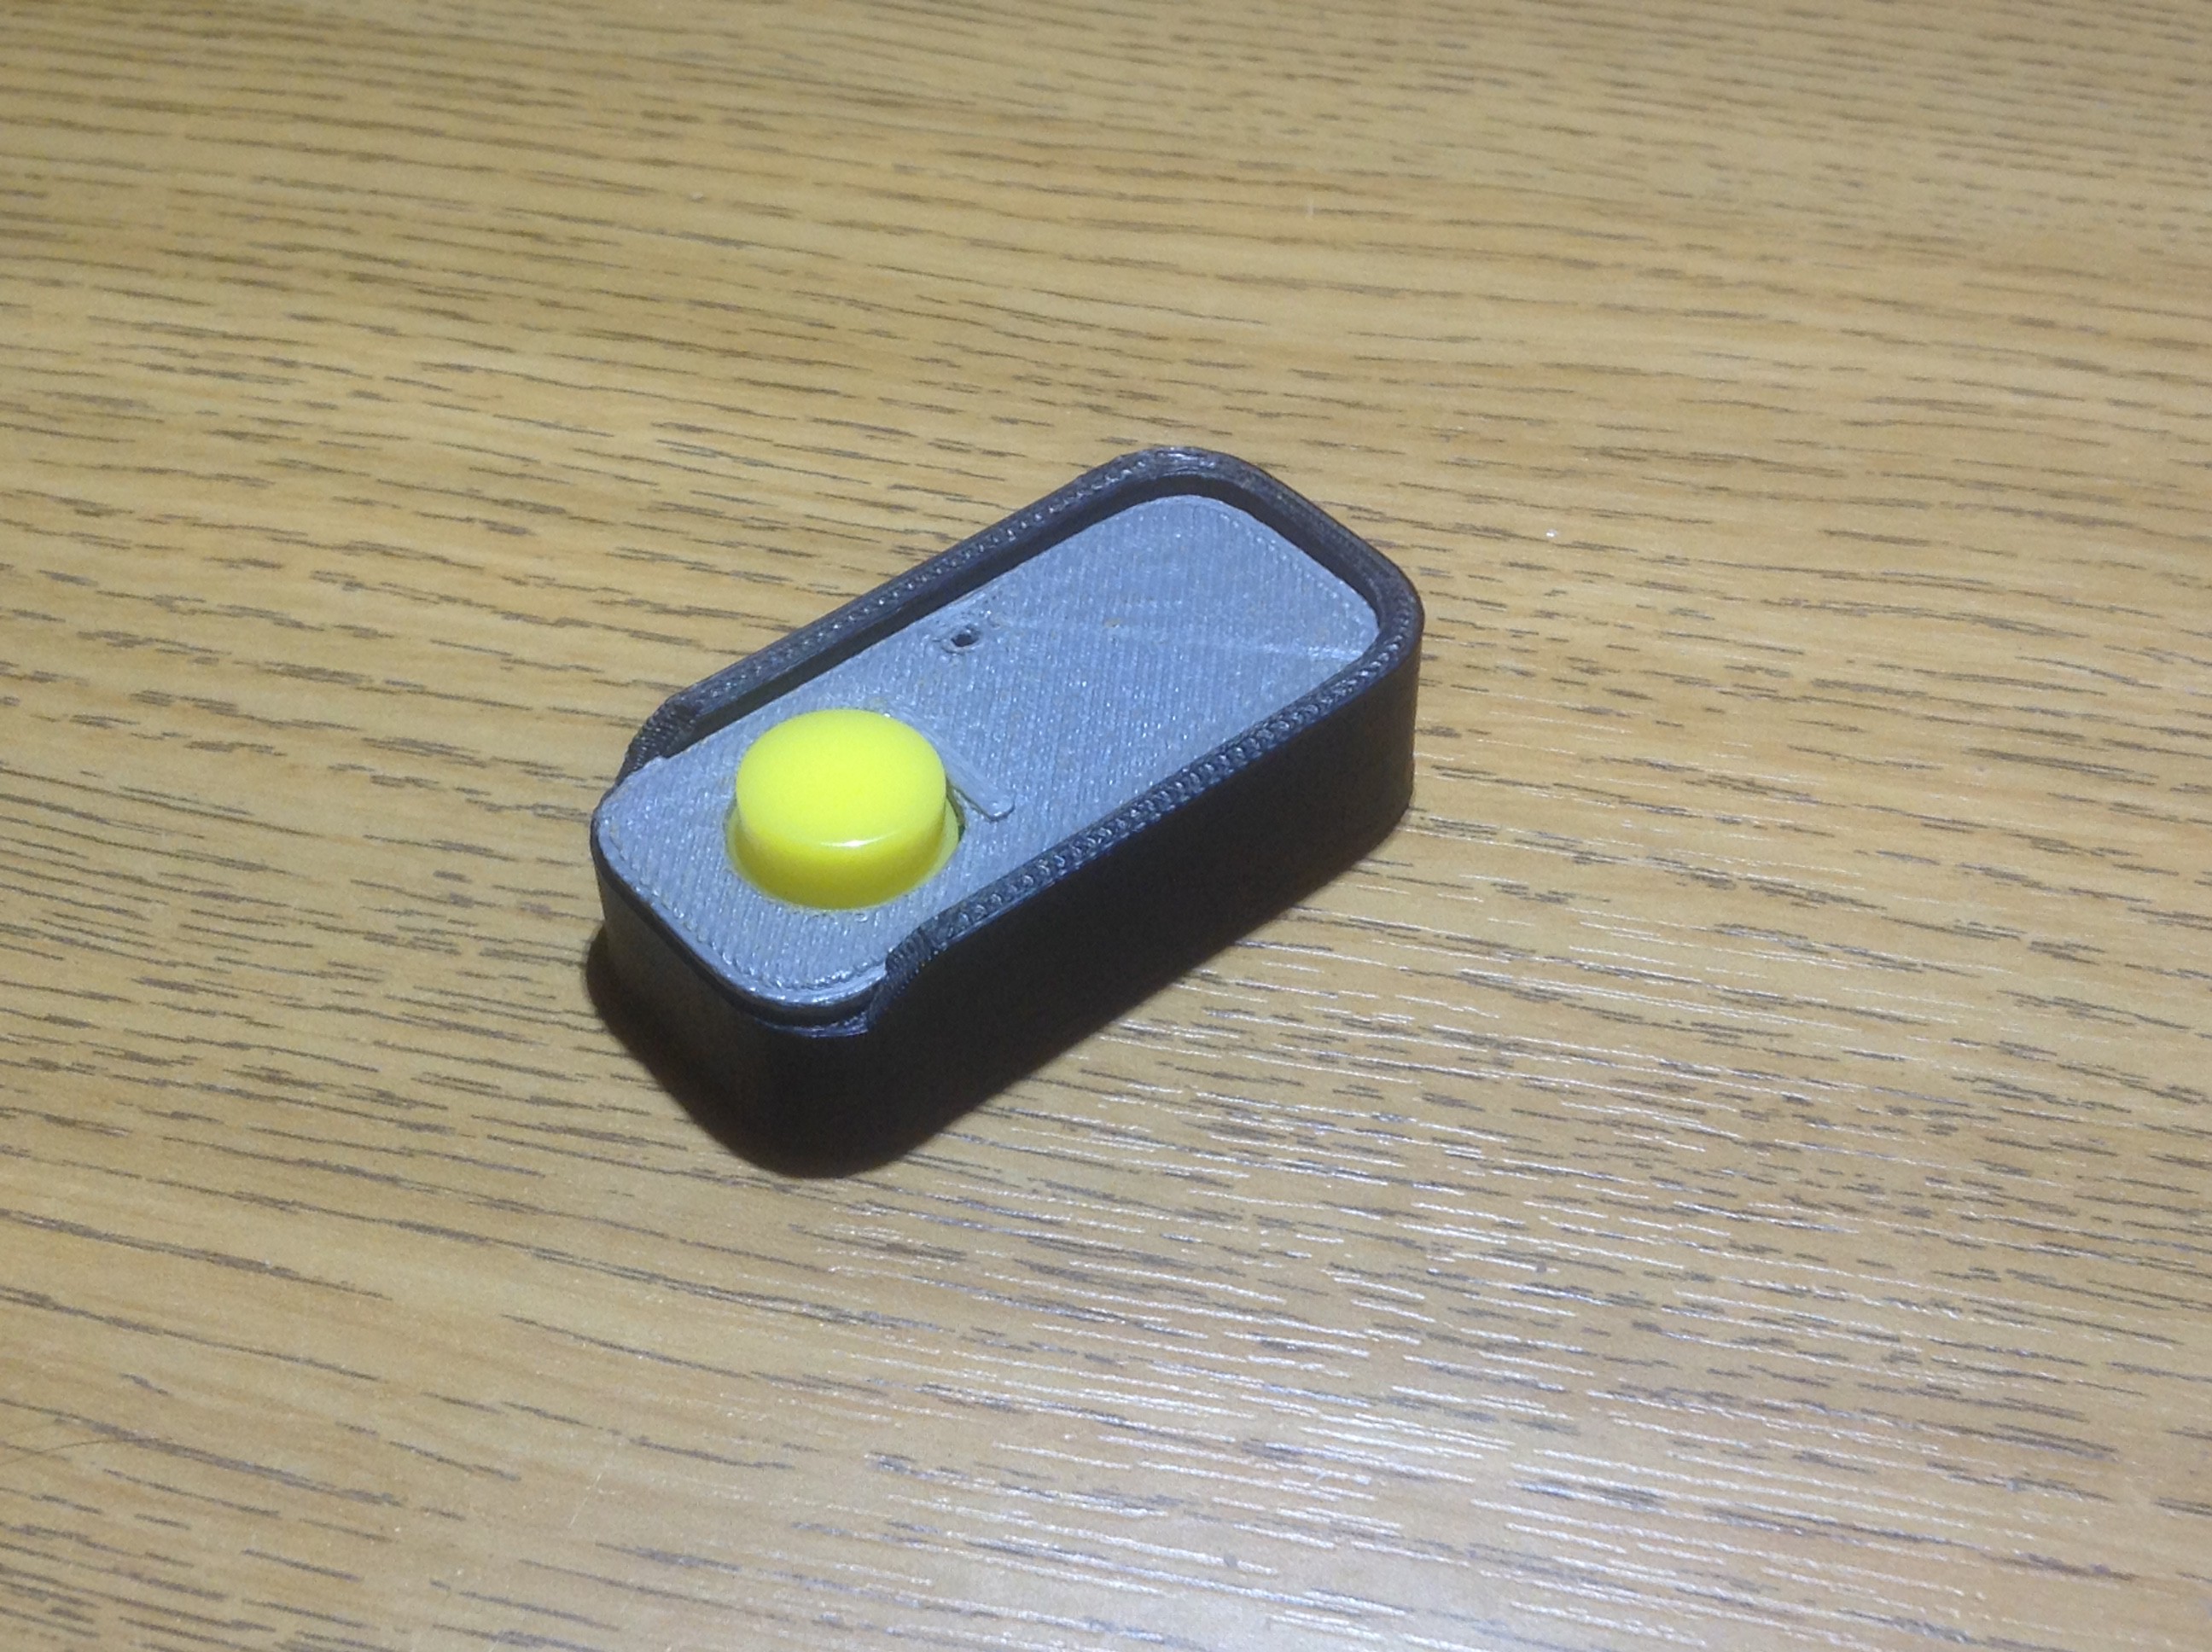
With this assembled, I 3D printed a casing which I downloaded from Thingiverse.
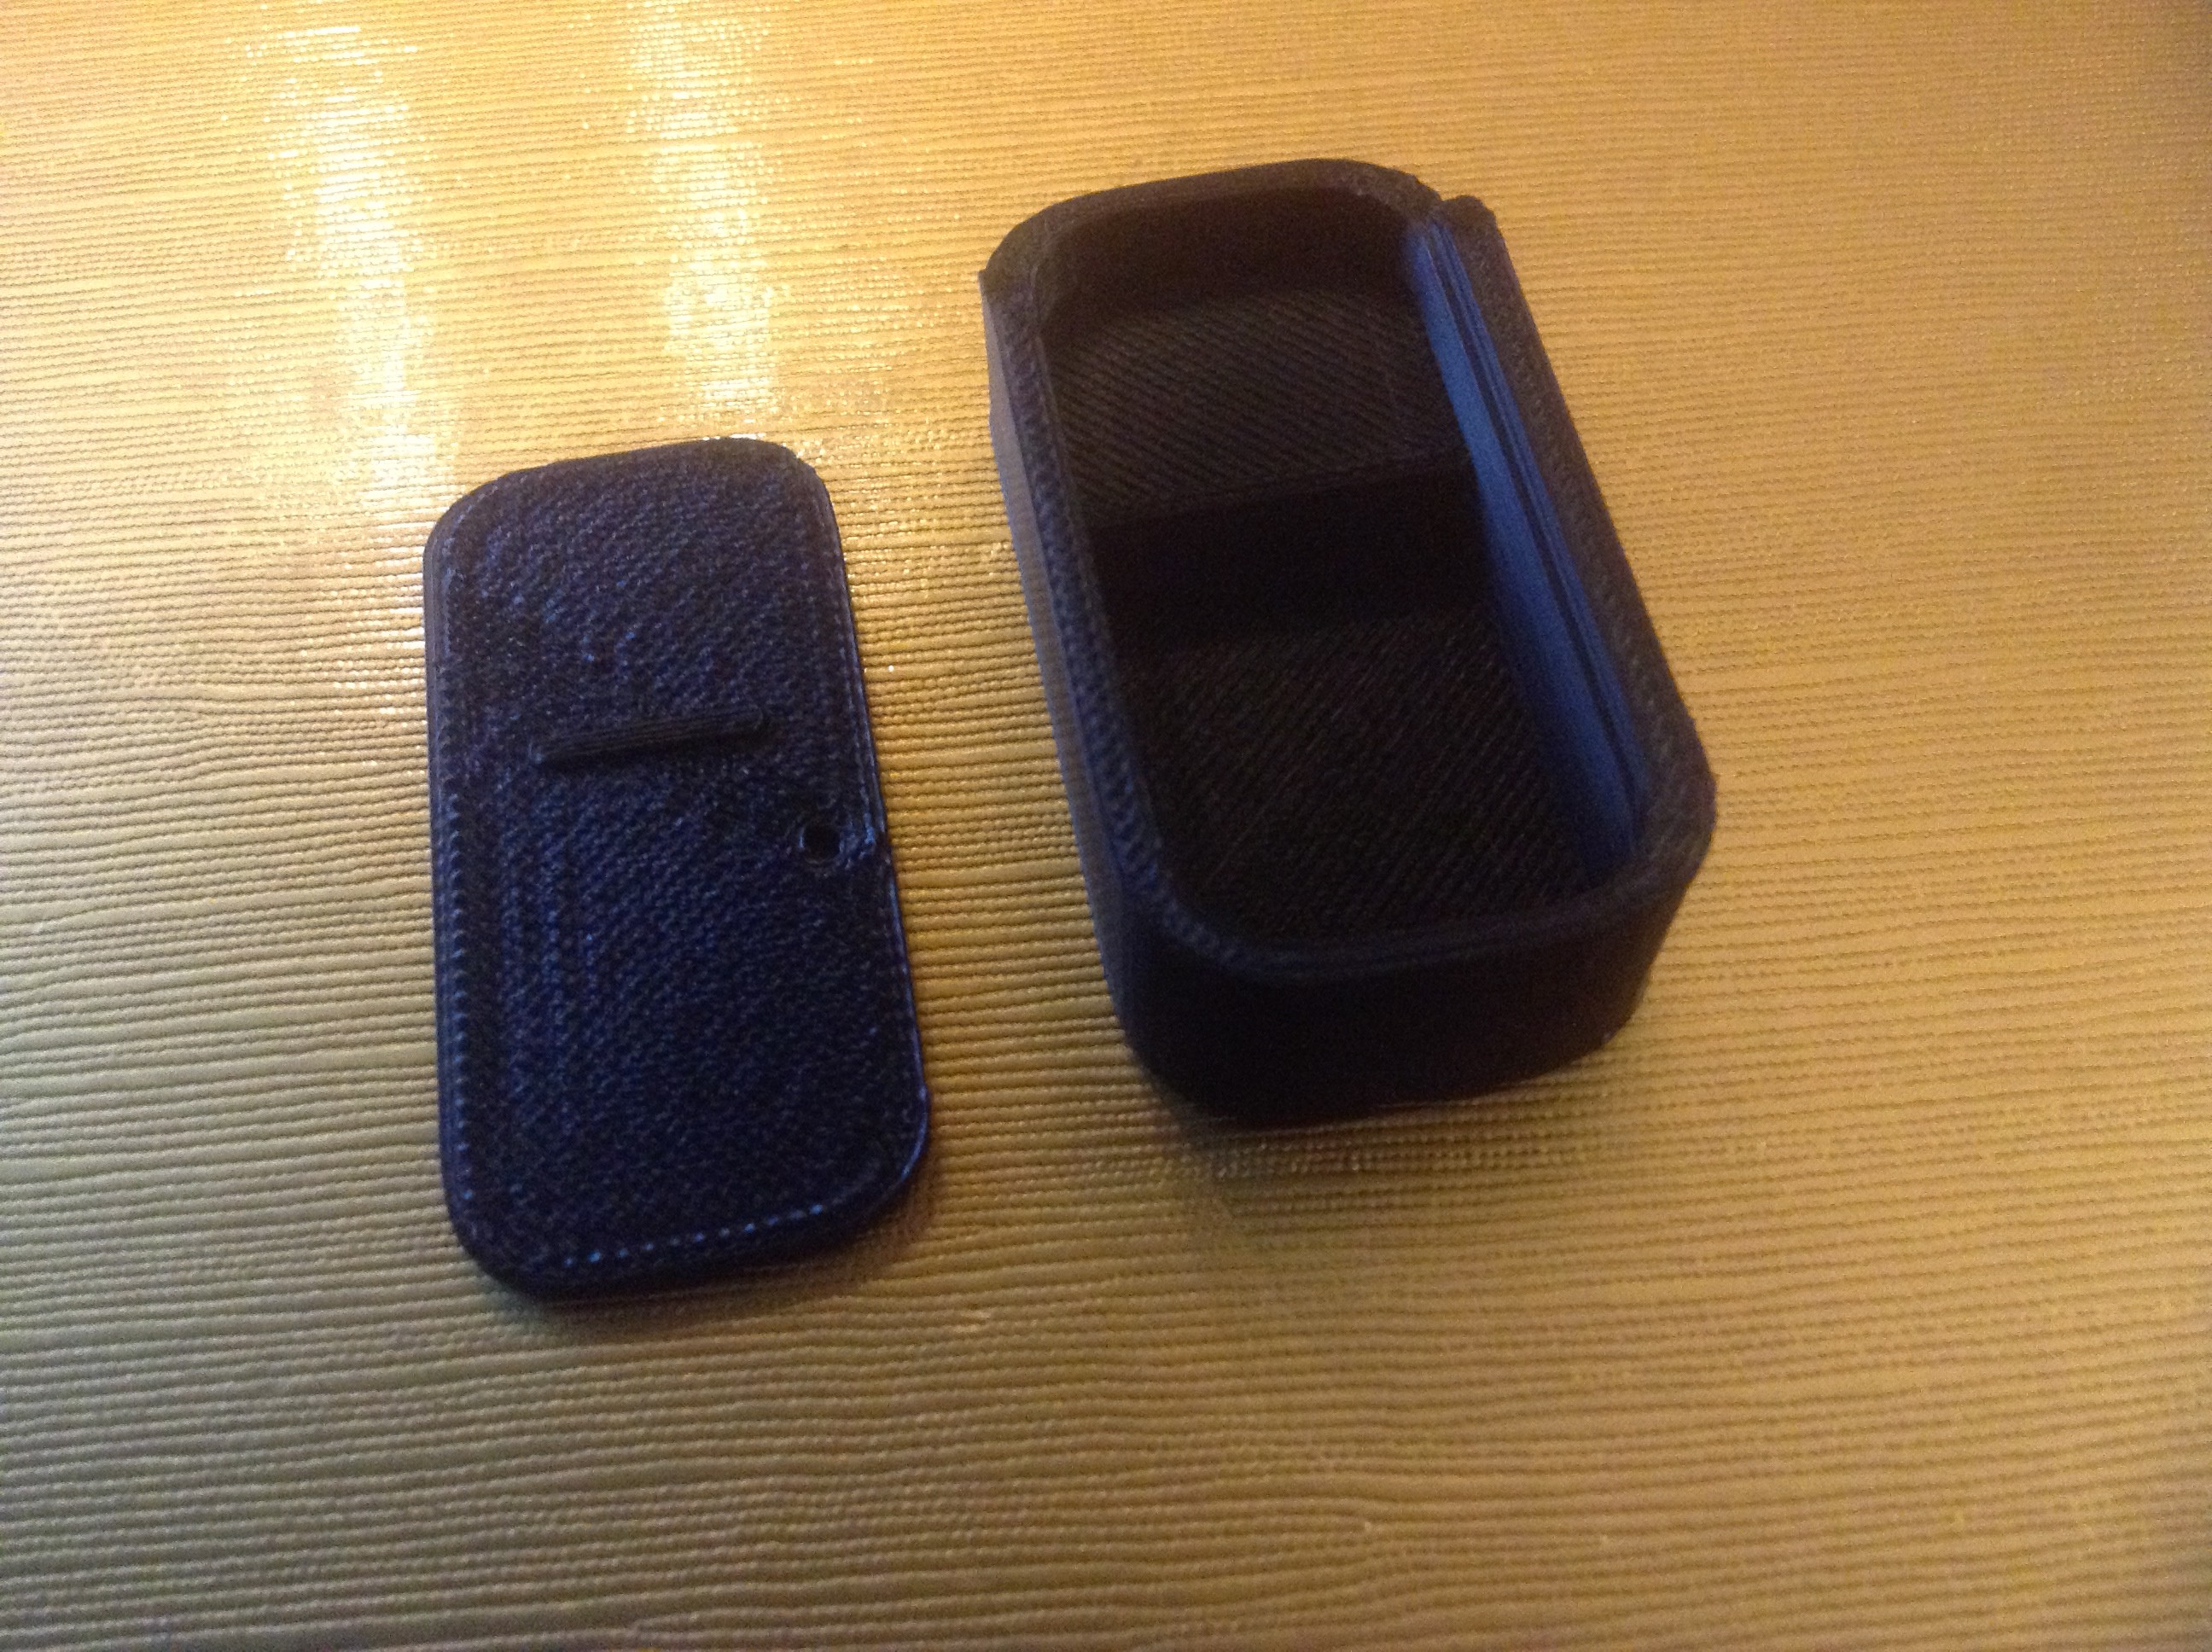 I has to destroy the inside of the case a bit with a pair of pliers to make room for the button but this didn't change how it looked on the outside. Finally, I drilled a hole in the lid to allow the button to be placed through. I messed up the first attempt using the black lid, thus the grey lid which I printed as a replacement. I actually think the colours work pretty well though... then again, I am colour blind so make your own judgement!
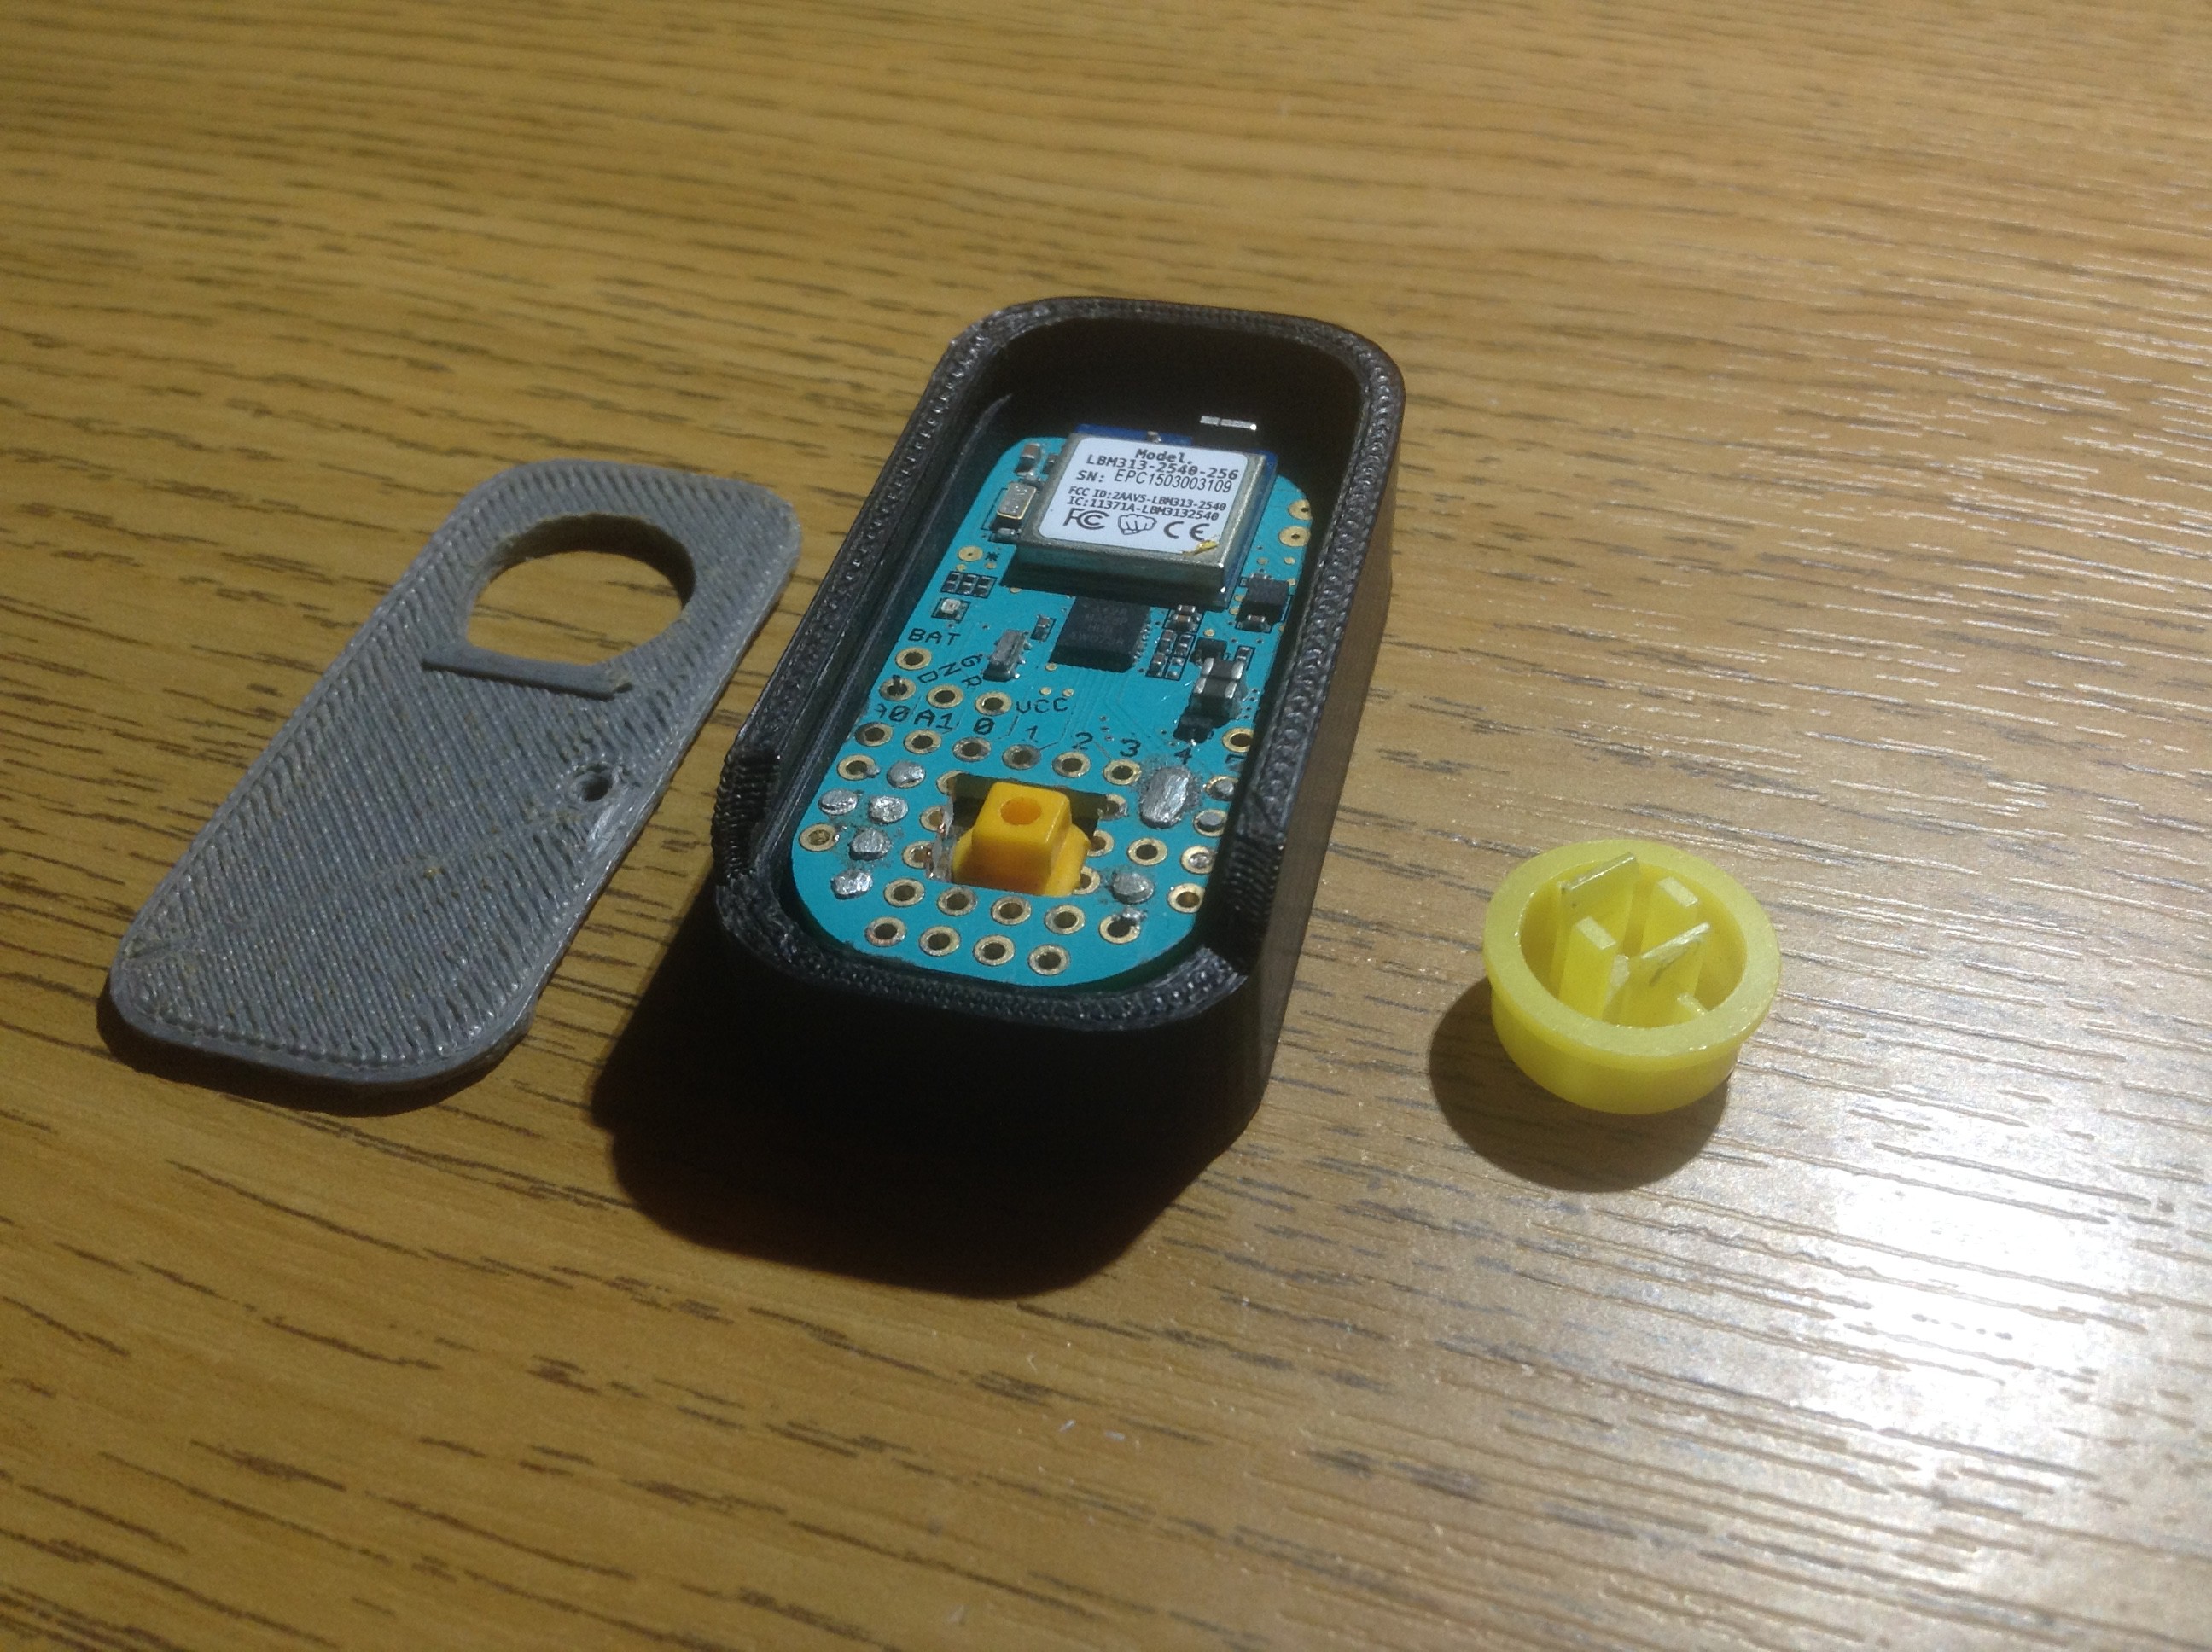 The lid slides on and then the button pushes through the hole in the lid to create the finished IOT button! It's very satisfactorily clicky. In fact, I'm kinda glad I haven't programmed it to do anything yet because it's good stress relief to sit clicking it. However, the potential is there to do a wide range of projects with this.
I hope you like it and thanks for reading :)

 Dylan Turner
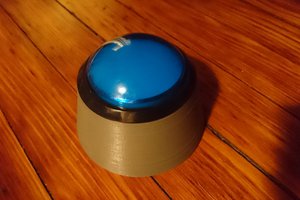
 Justin Cole
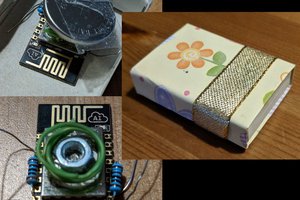
 Hagen Fritsch
Can you share the code you used to make the button work? I'm trying to figure out how to make an Arduino send keyboard commands over Bluetooth.