 deʃhipu
I could use an OLED or a TFT display, but there are several problems with that. First and foremost, the pixels are tiny on those, especially on the ones that would fit on a FeatherWing. Second, they aren't very easy to handle, unless I'm using a ready module, which in turn looks pretty bad. Finally, they are rather brittle and easy to damage.
There is also the problem of graphic design. While I personally have no problems making pixelart for my own games, I expect this to be a problem for someone just starting, and also a big distraction from our goal of teaching the programming of interactive interfaces. So we definitely want to go low-resolution, because then you only have a few pixels you have to care about, and everything goes faster.
The limited memory and processing power of the devices I am targeting also plays an important role here. Iterating over 8x8 array is almost instant, while doing that with a 320x280 RGB display takes some time.
So I decided to use a 8x8 LED matrix. But a single-color matrix is a bit limiting, especially when you can only switch the pixels on or off. Sure, you can make a Flappy Bird or a very cramped version of Tetris, but it's not very exciting. That's why I decided to use a bi-color matrix, which looks very pretty with its combination of green and red pixels. I also found a chip that lets me easily control the brightness of individual pixels (or rather their red and green components), which gives me a very nice palette of colors to choose from. There is no blue, unfortunately -- an RGB matrix could be even nicer -- but that would bring the number of pins I need to control to 32, and I simply couldn't find a chip that could handle this.
So I made the first prototype board using the IS31FL3733 chip and a bi-color 8x8 LED matrix. It took some work, especially as I initially worked with the chips in QFN packages, and couldn't get them to work reliably due to my soldering them by hand being sub-par. But finally the PCB with a TQFP foortprint arrived, and that allowed me to easily solder those huge pins and then it was just a matter of a few hours re-reading the datasheet to figure out which registers I need to modify to bring this thing to life.
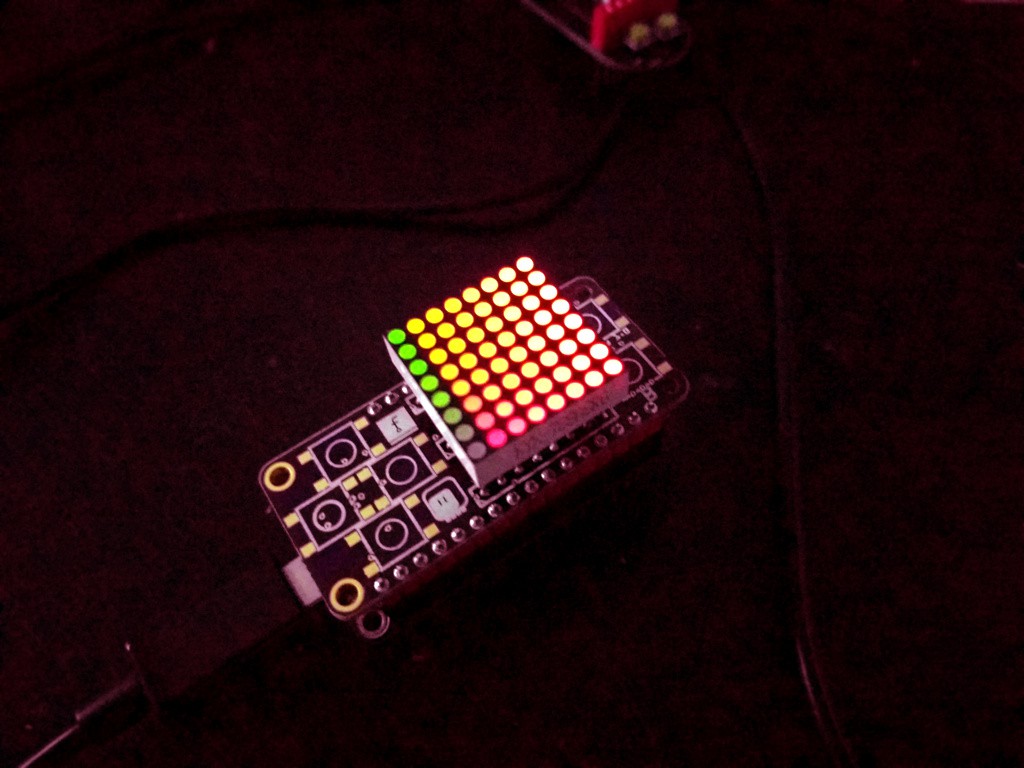
I might need to add some gamma correction for this in software, but it looks better in real life than on the photo -- my phone camera tends to get the color of lights wrong.
Discussions
Become a Hackaday.io Member
Create an account to leave a comment. Already have an account? Log In.