 Matt Moses
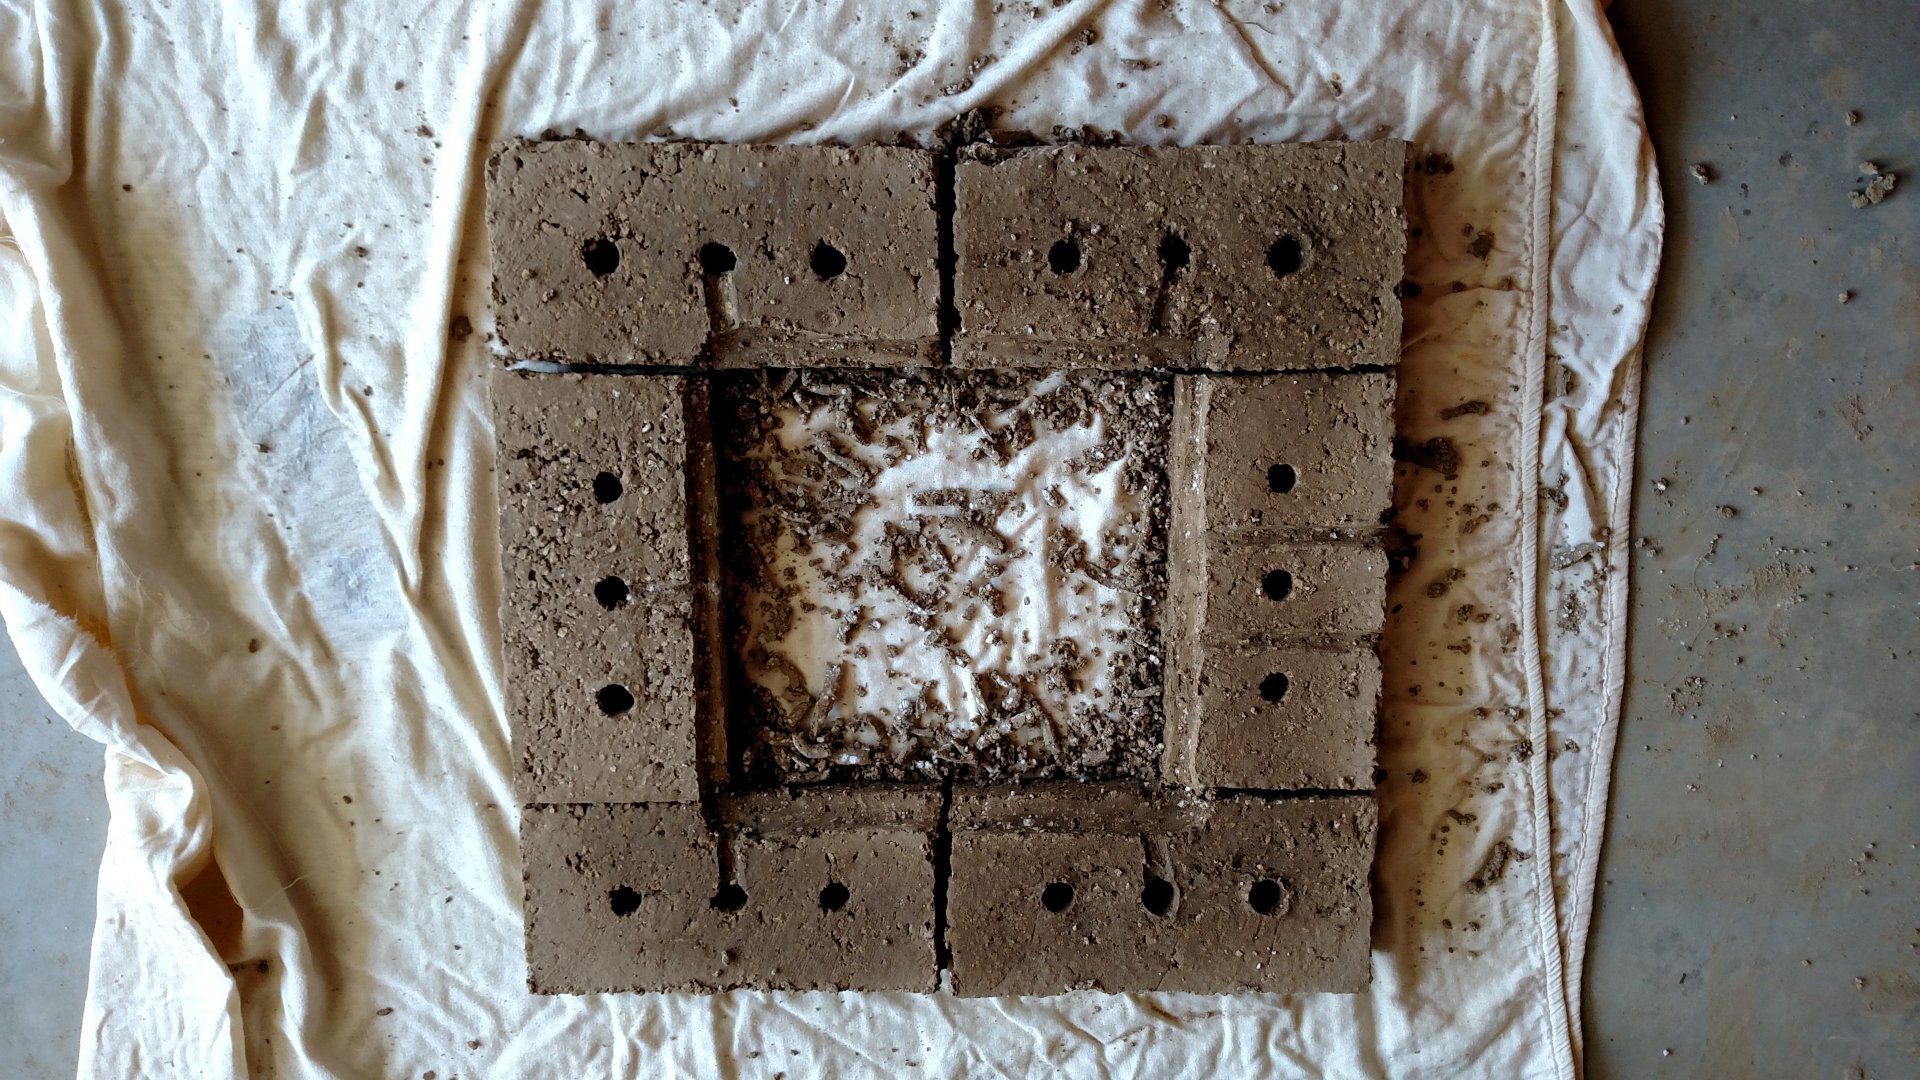
The finished kiln will need about 70 bricks. So, since the last update almost two months ago, I have been making bricks. Lots of bricks. The stack-up so far looks like this:
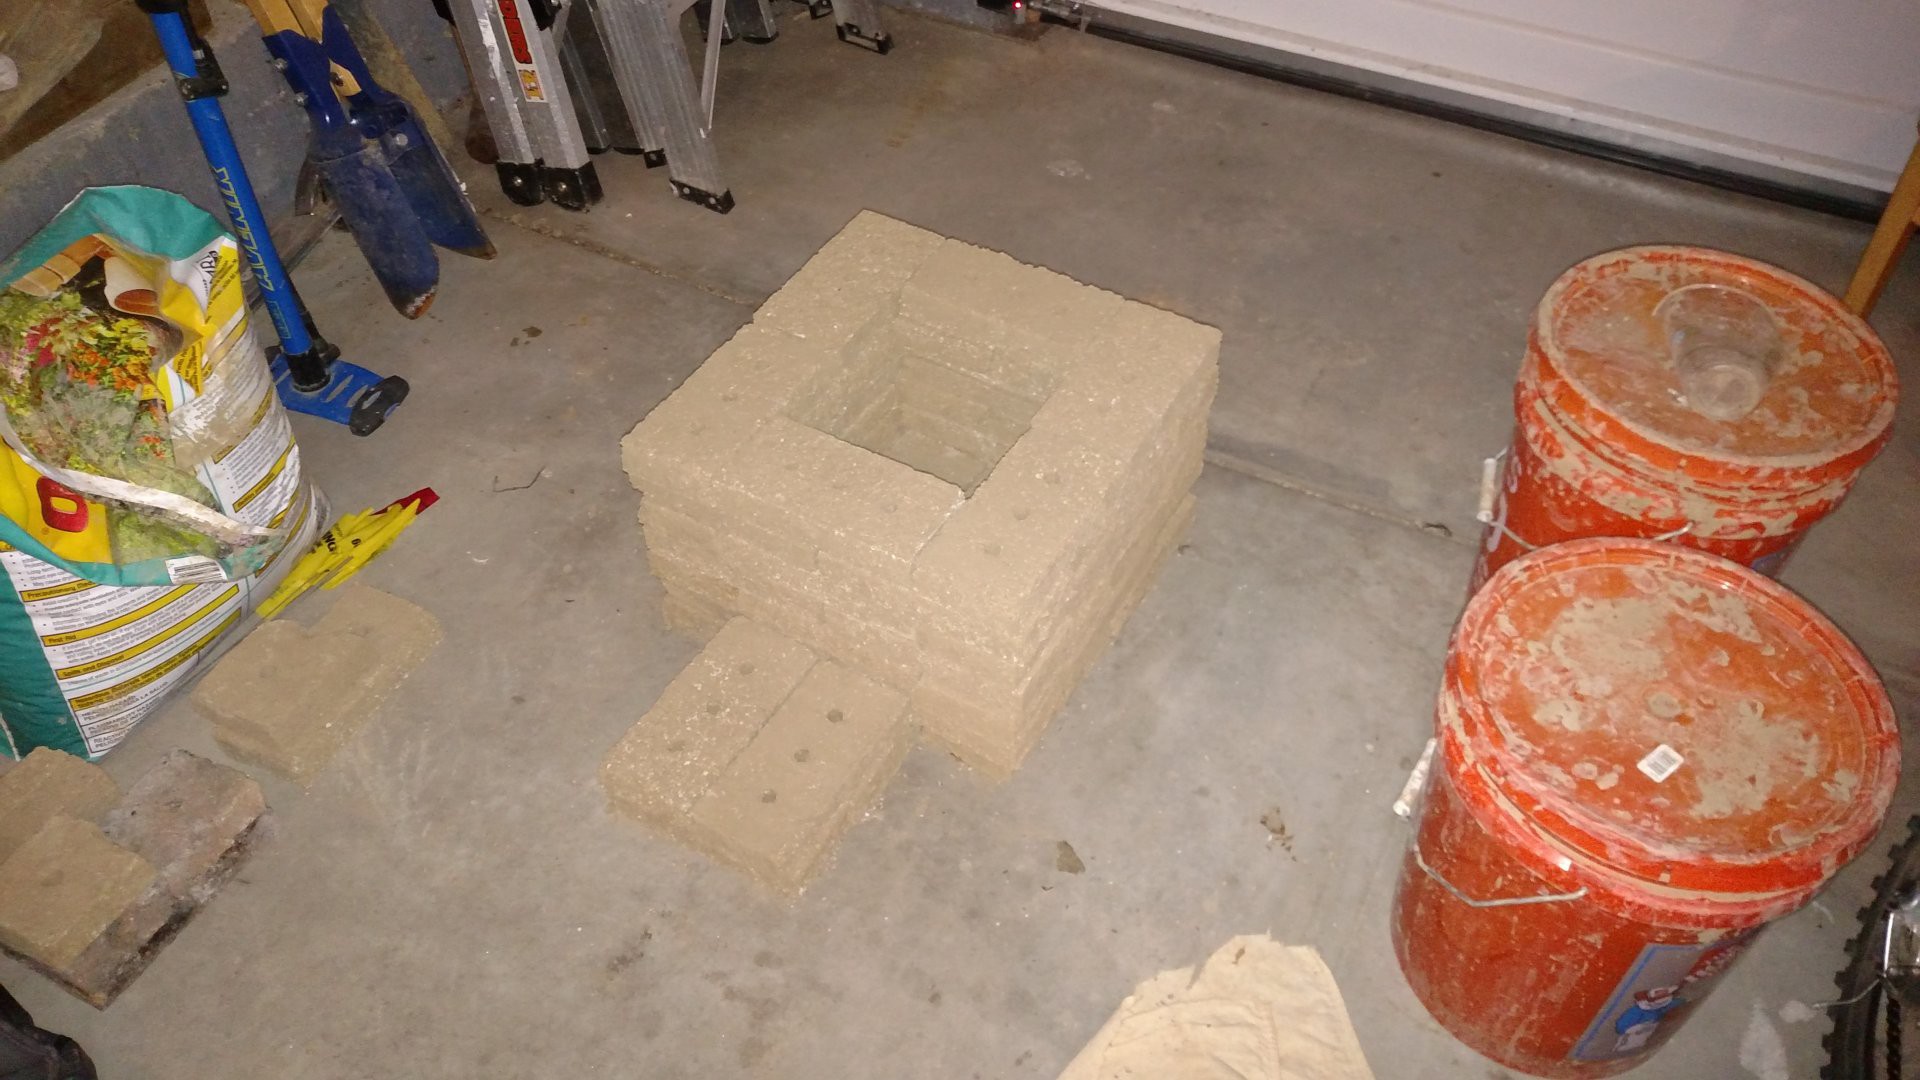
The bricks are made from a roughly one-to-one mix of natural clay and expanded perlite. The perlite is purchased from the hardware store (Home Depot, also where all the orange buckets came from). Raw perlite is a naturally occurring mineral. Upon heating, it expands into the popcorn-like substance that is sold in stores. The purpose of the perlite is to make the bricks better insulators, and also to some extent to reduce the thermal mass of the bricks. As a future project, it would be interesting to try to use homemade Lightweight Expanded Clay Aggregate (LECA) as a substitute for perlite. In theory, the kiln itself could be used to make LECA from natural clay, which would then be used to make more firebricks.
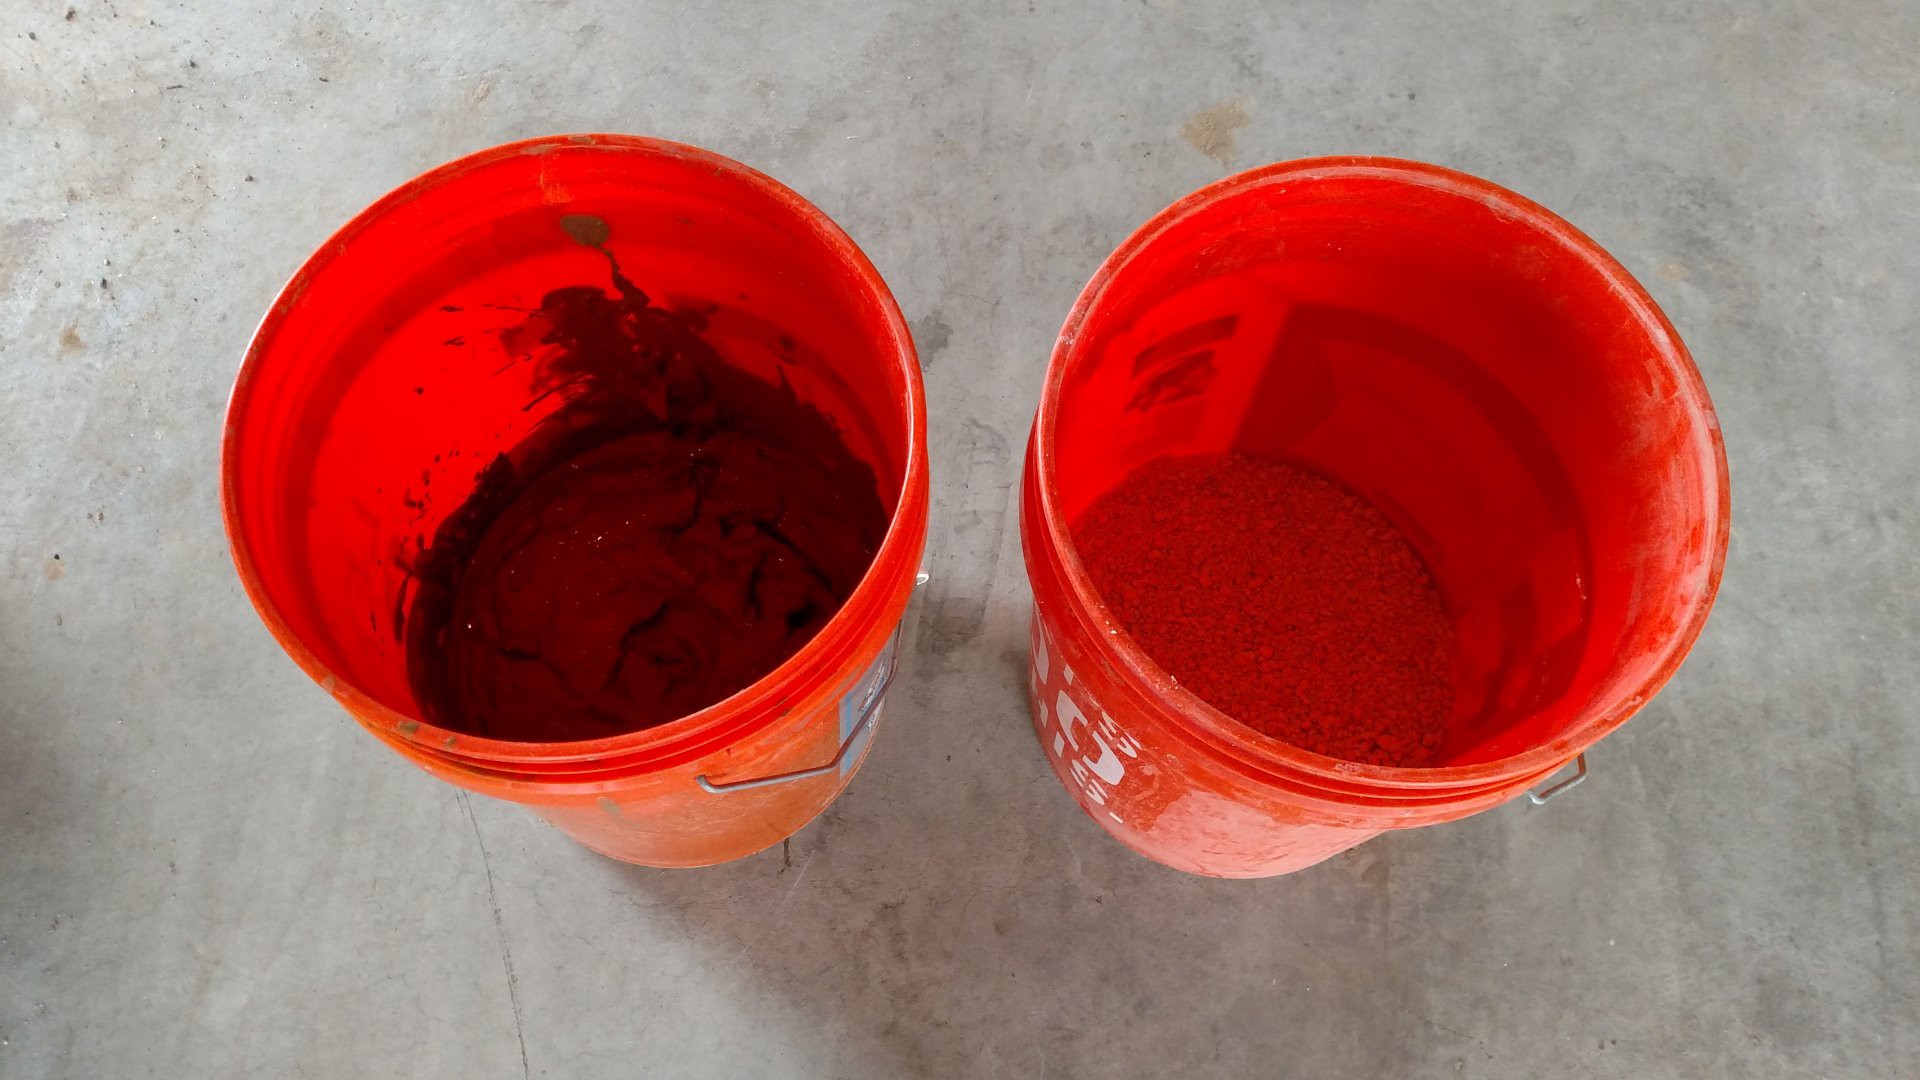
All the natural clay I have processed is stored wet in buckets. The first step in making bricks is to mix the wet clay with damp perlite:
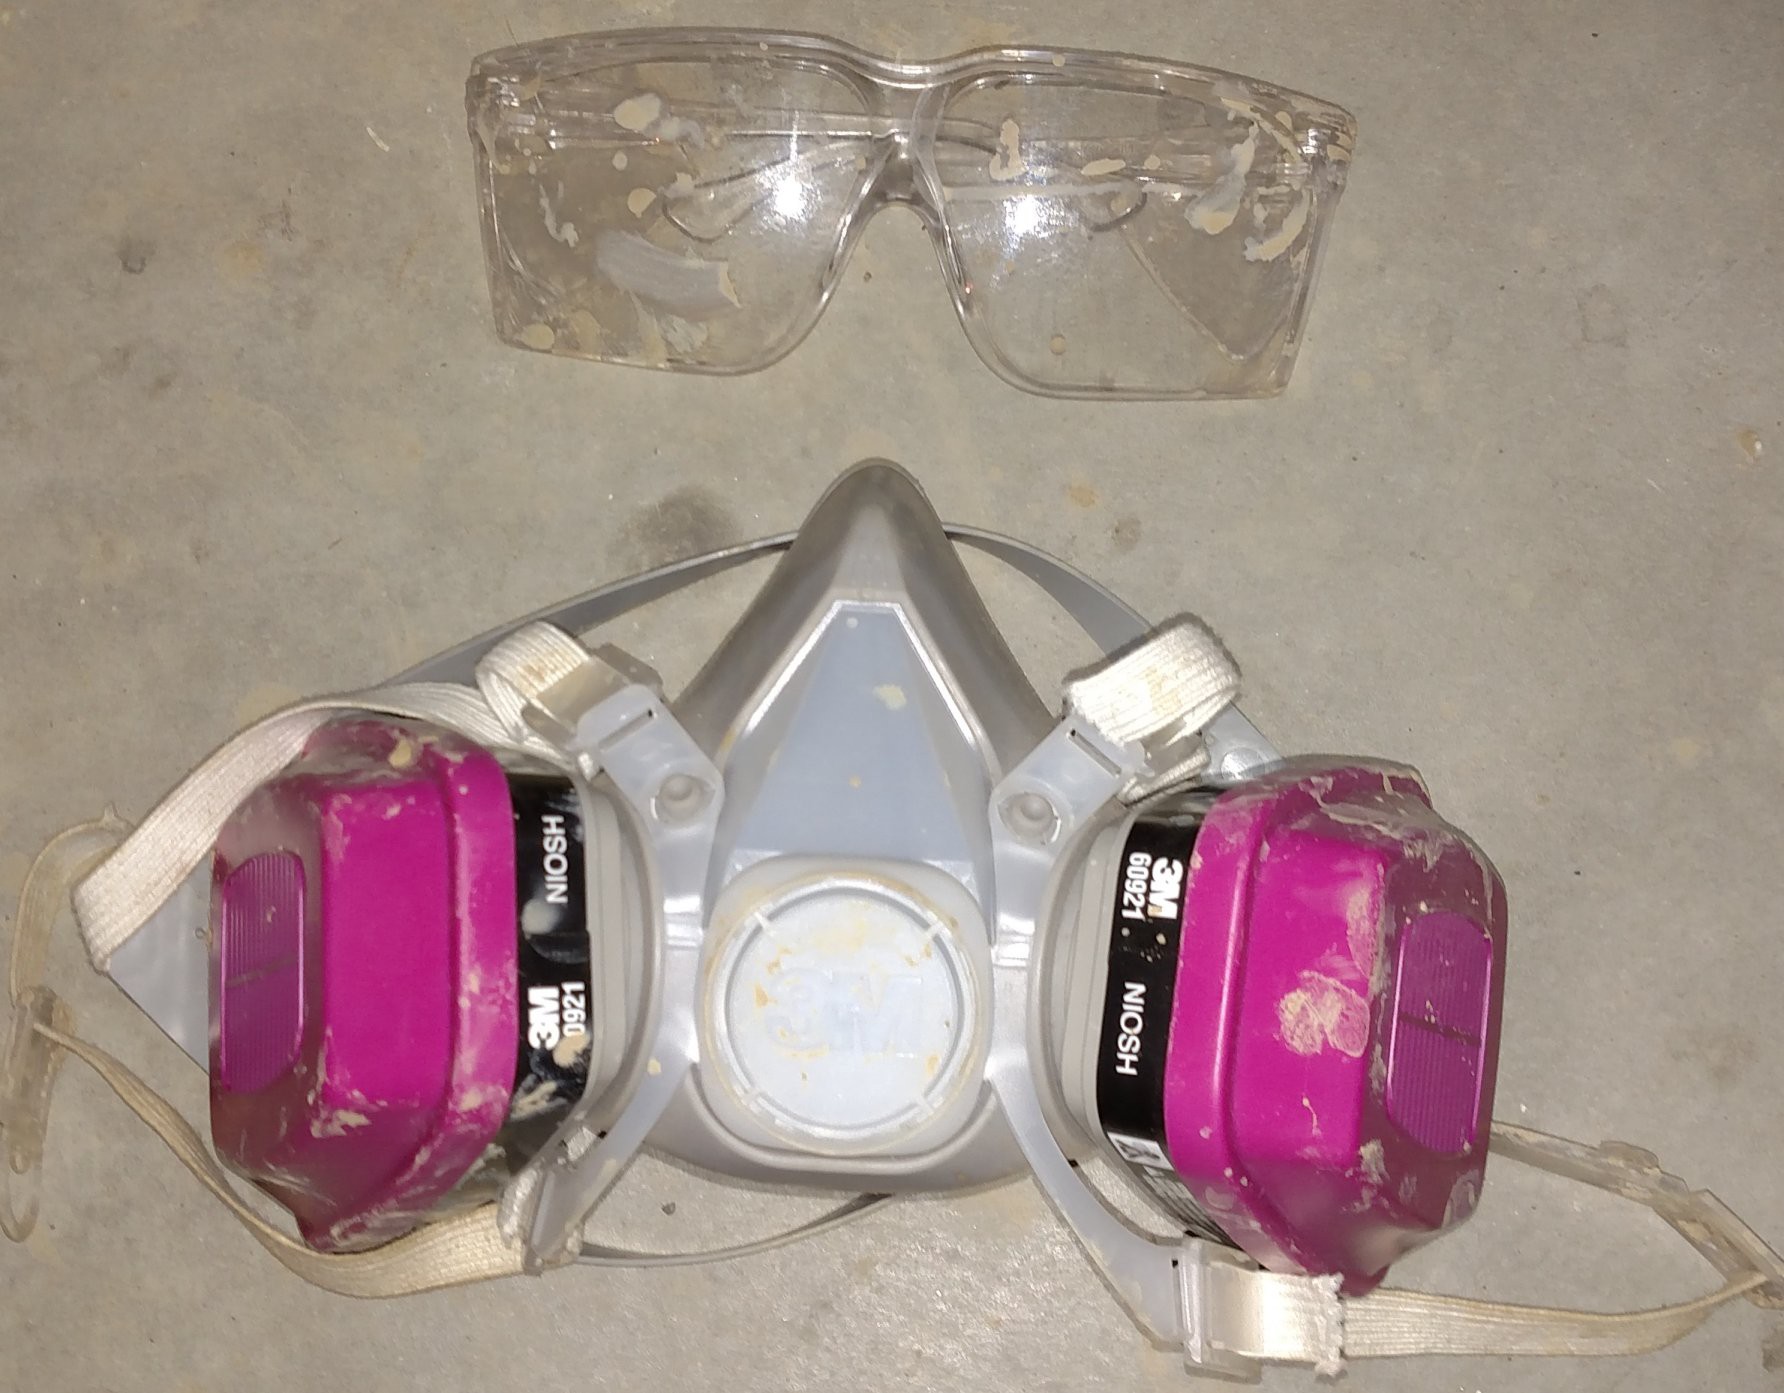
It is a good idea to wear a respirator or mask when handling the perlite, as it is very dusty. Spraying it down with water also helps mitigate the dust. But why the goggles? Well, if you've never been scooping glops of wet clay into a bucket and then had a blob of it splash up and hit you square in the eye, let me tell you, it hurts.
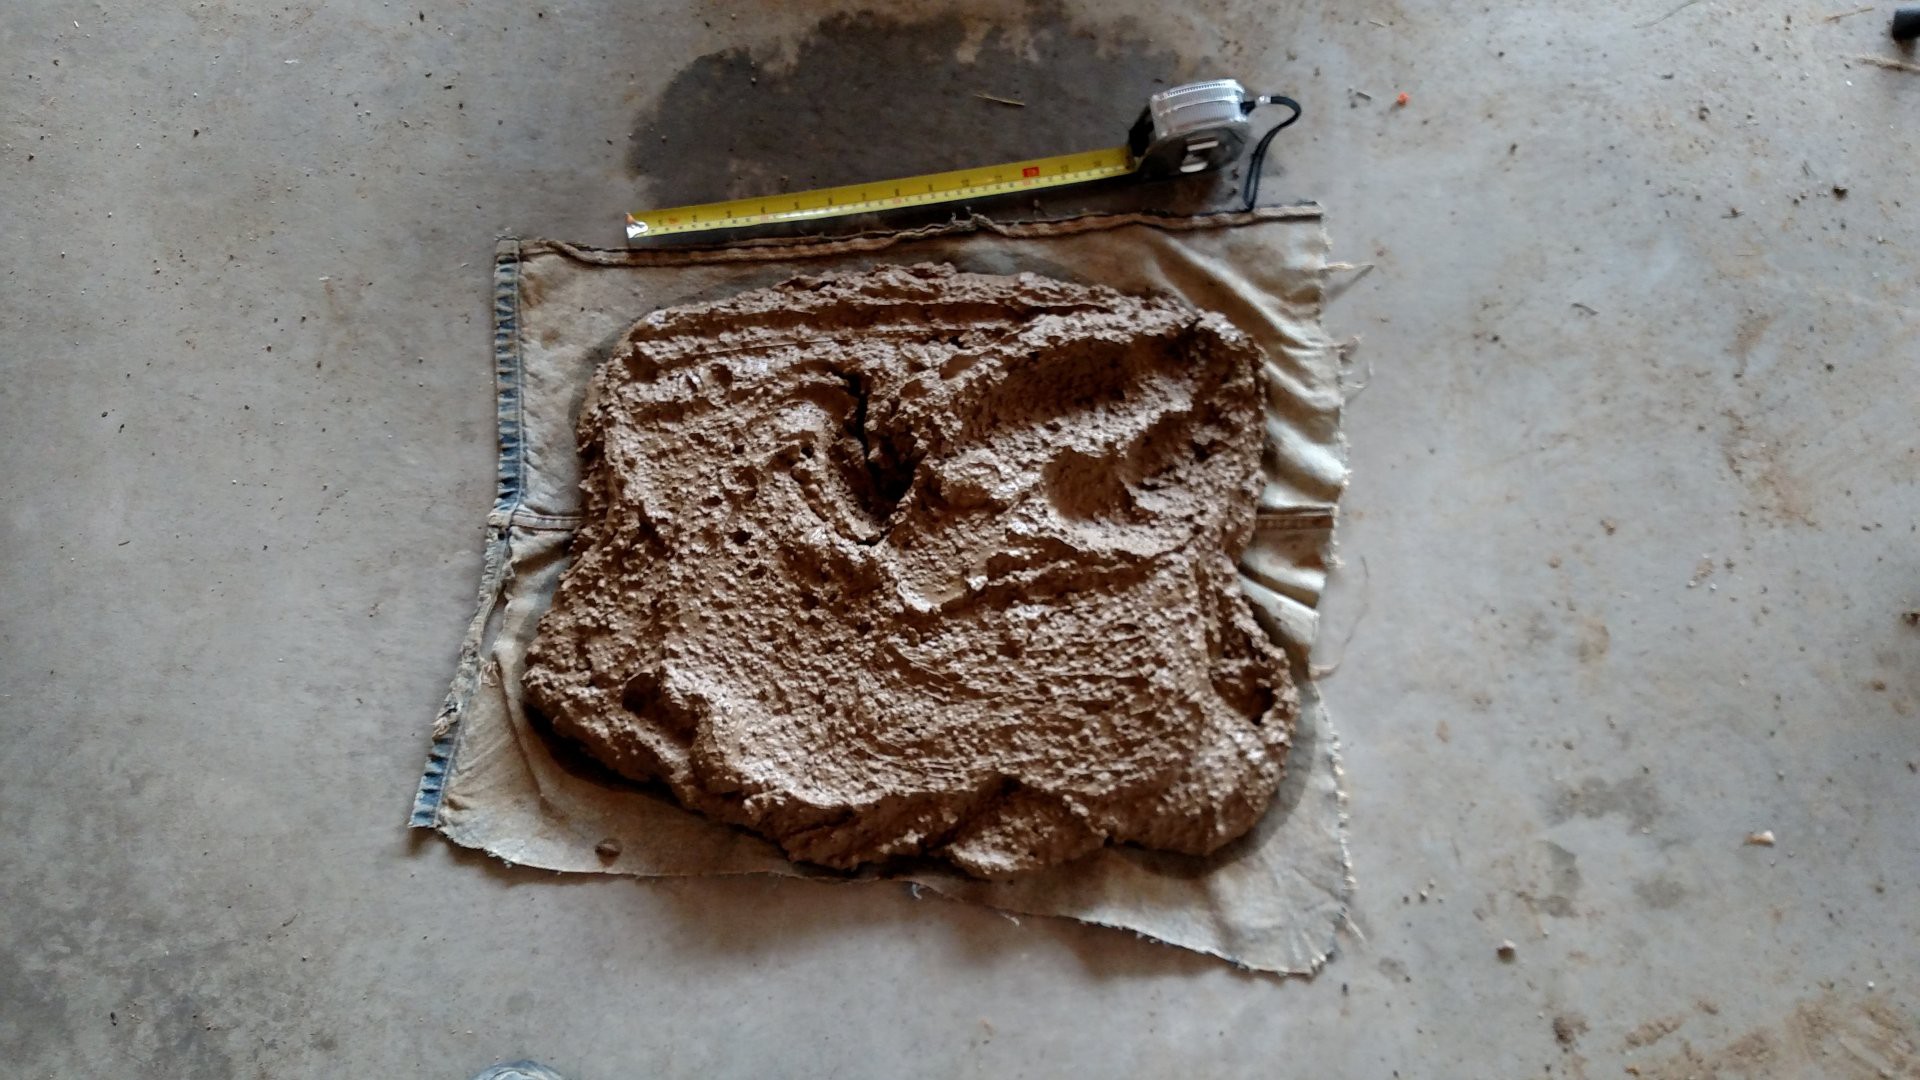
The next step is to set the mix out on a piece of cloth (an old pair of pants here) and let it dry for a while. It can dry for several hours, up to a full 24 hours. The goal is to get an acceptable consistency for making bricks. Too much water and the bricks just turn into piles of gloop when removed from the mold. Too dry and the mix is hard to form and does not stick together well.
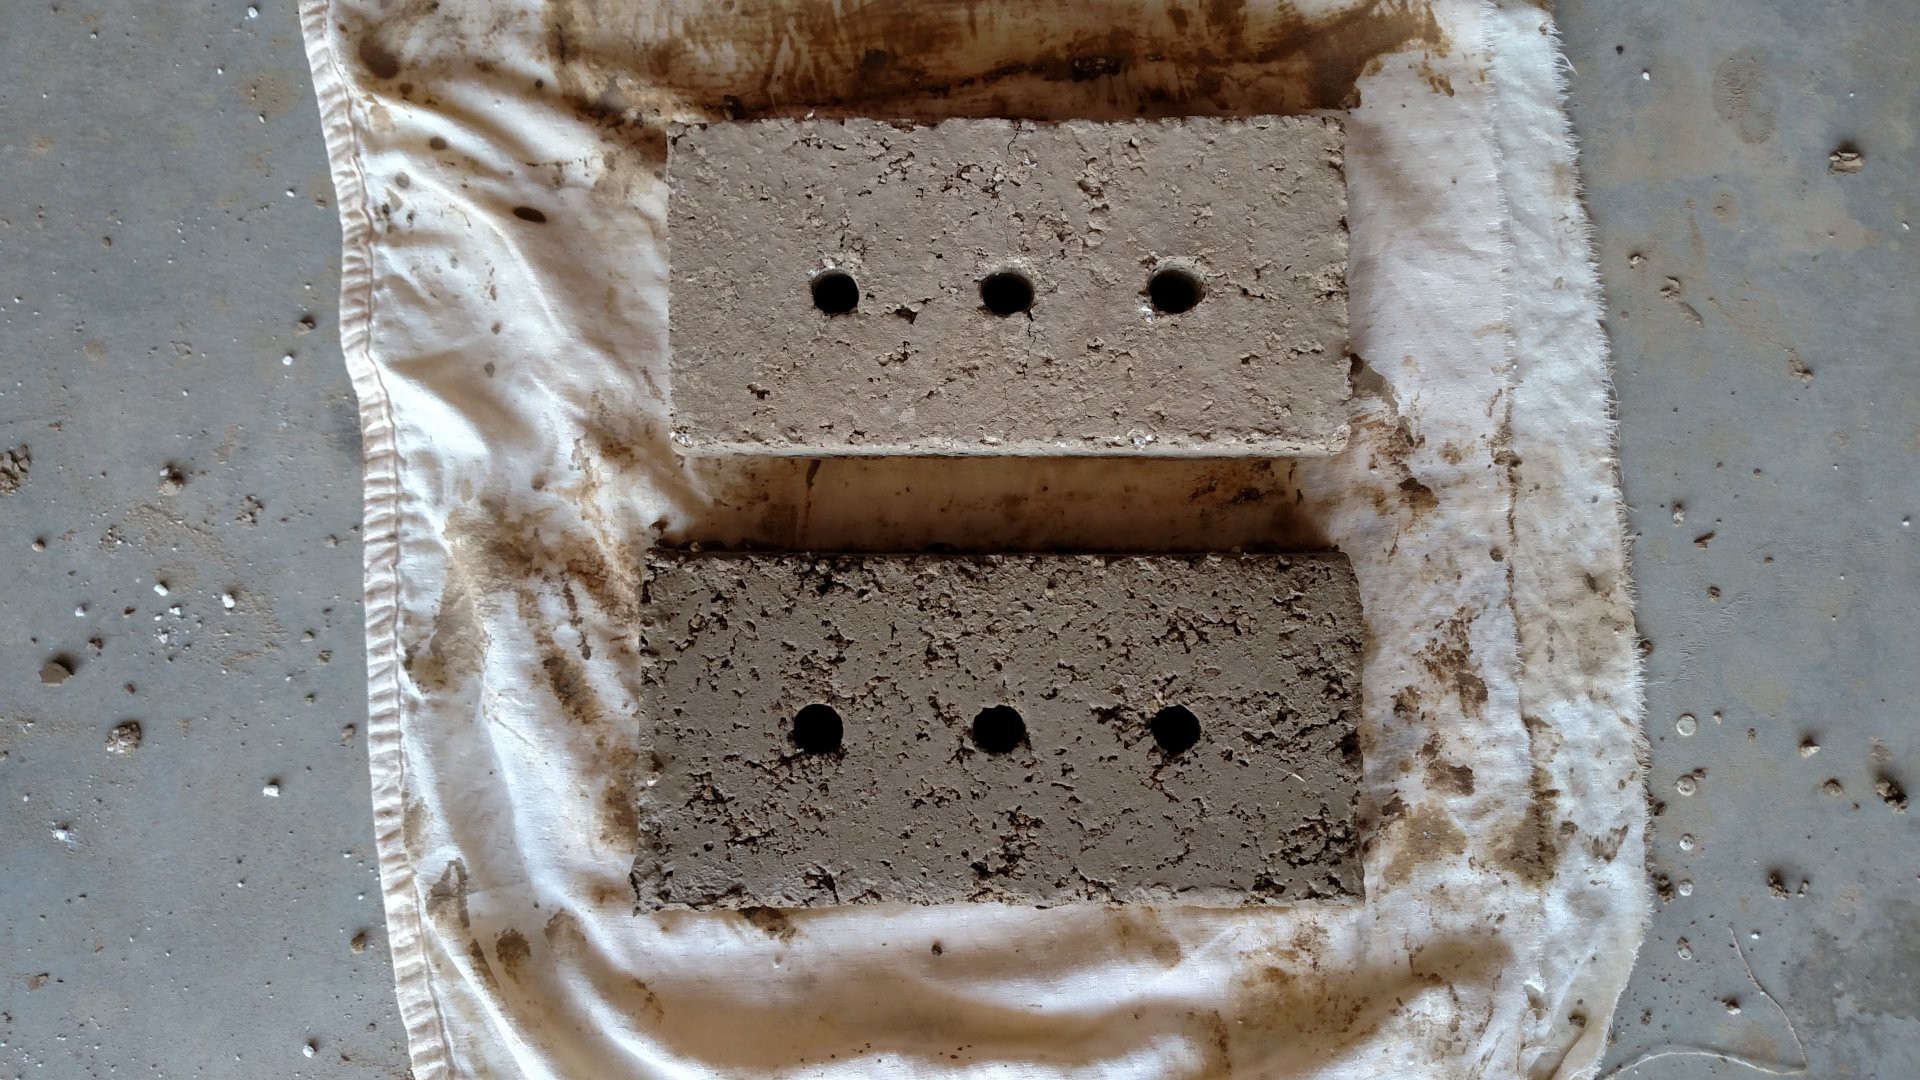
When the clay mix has dried to the right consistency, it gets pounded into the brick mold (see previous log for info on the brick mold). A putty knife is used to carefully go around the edges of the brick within the mold, to help release it. Then the mold is pulled up and you have a brick! The bricks are dried on a piece of cloth (in this case an old bed sheet) so that they do not stick to the underlying substrate and crack as they dry. The picture below shows a dried brick (top) compared with a fresh brick. The shrinkage is visible in this picture - dry brick is about 1/2 inch shorter than fresh brick. During drying, the bricks are also covered with a cloth to help keep the drying process slow and uniform. If they dry too fast they crack. After about a week of slow drying, the bricks are dry and warm (or rather not cold) to the touch, and they can be handled easily.
The next image shows how the grooves for one of the heating elements were carved in the somewhat-wet bricks (these have dried for about a day before carving). This was done using a simple loop tool made by taping a slice of aluminum can to a stick. The plan is to have two heating elements, probably wired in series.
Two of the dry bricks spent a week or so in the bottom of a back yard fire pit, as sort of an improvised test for their high temperature performance. They turned sort of a pleasing red-brickish color, so that is somewhat encouraging.
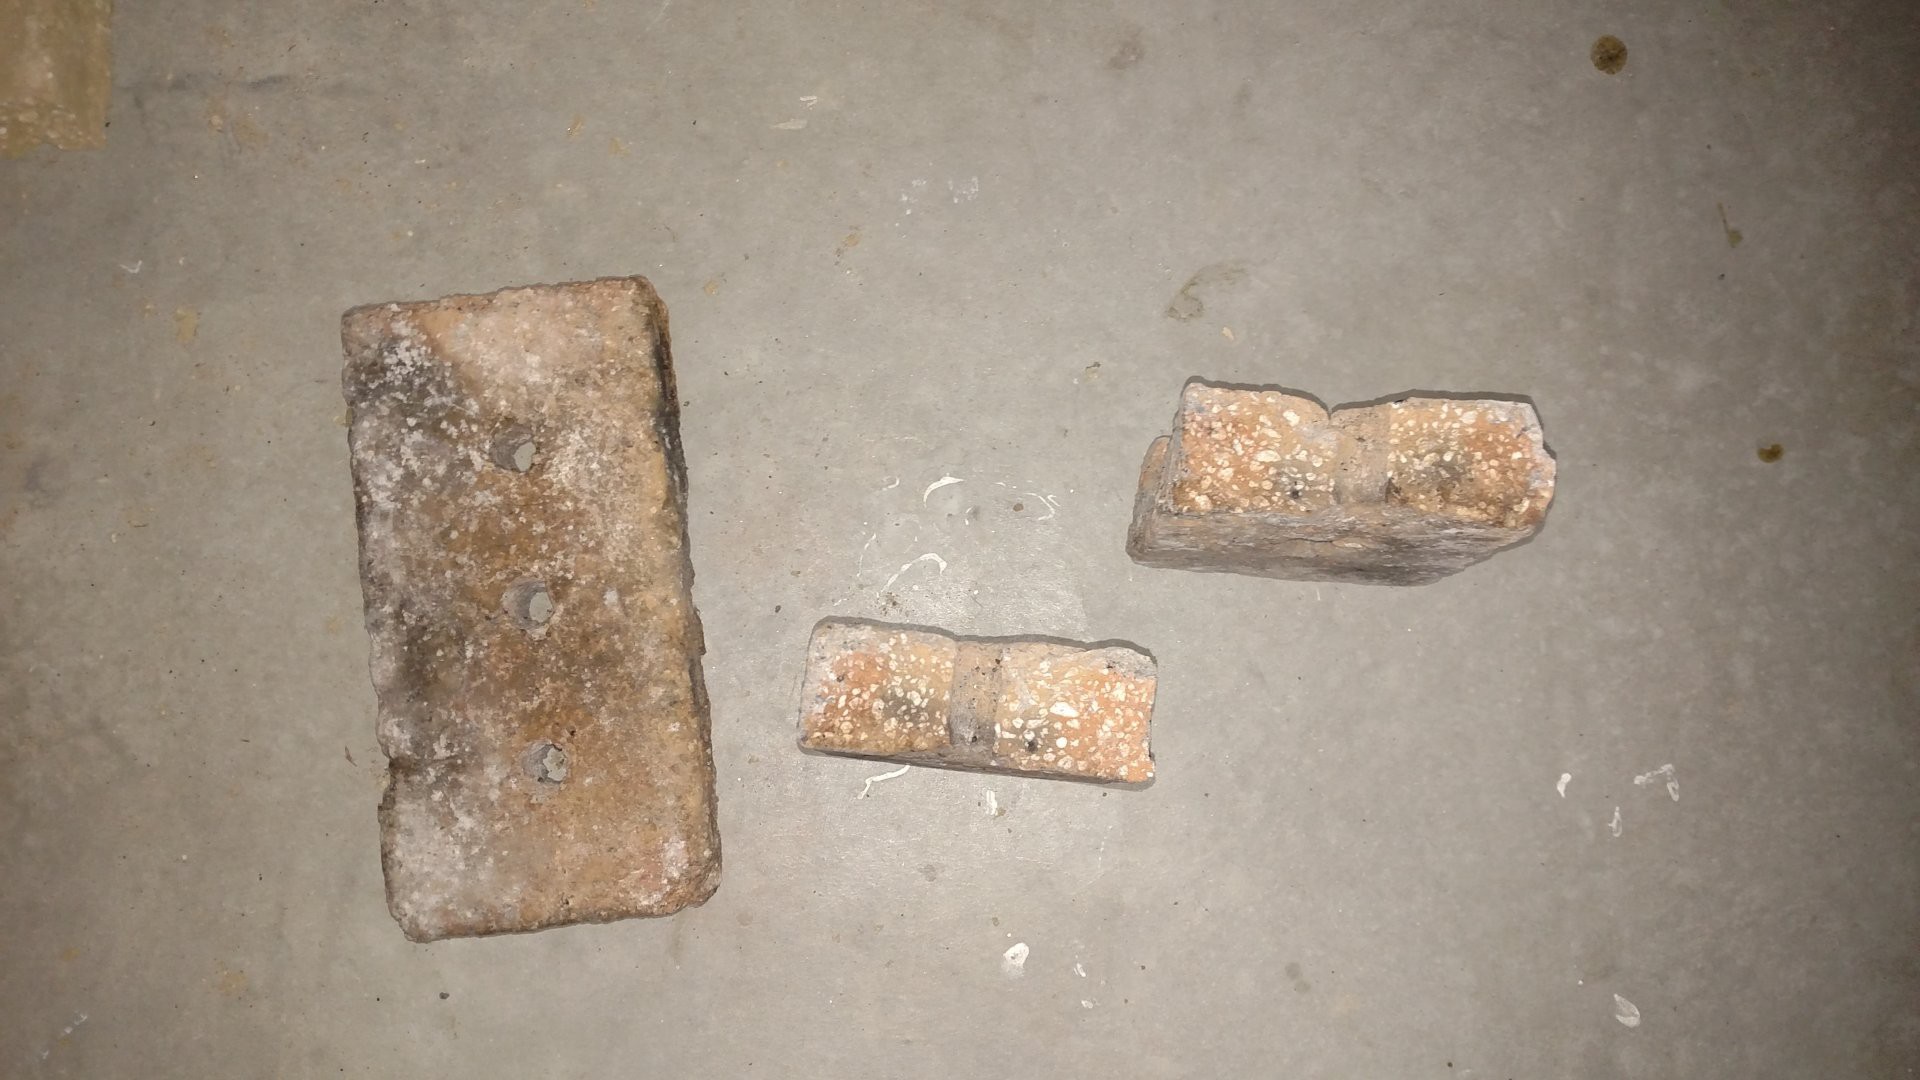
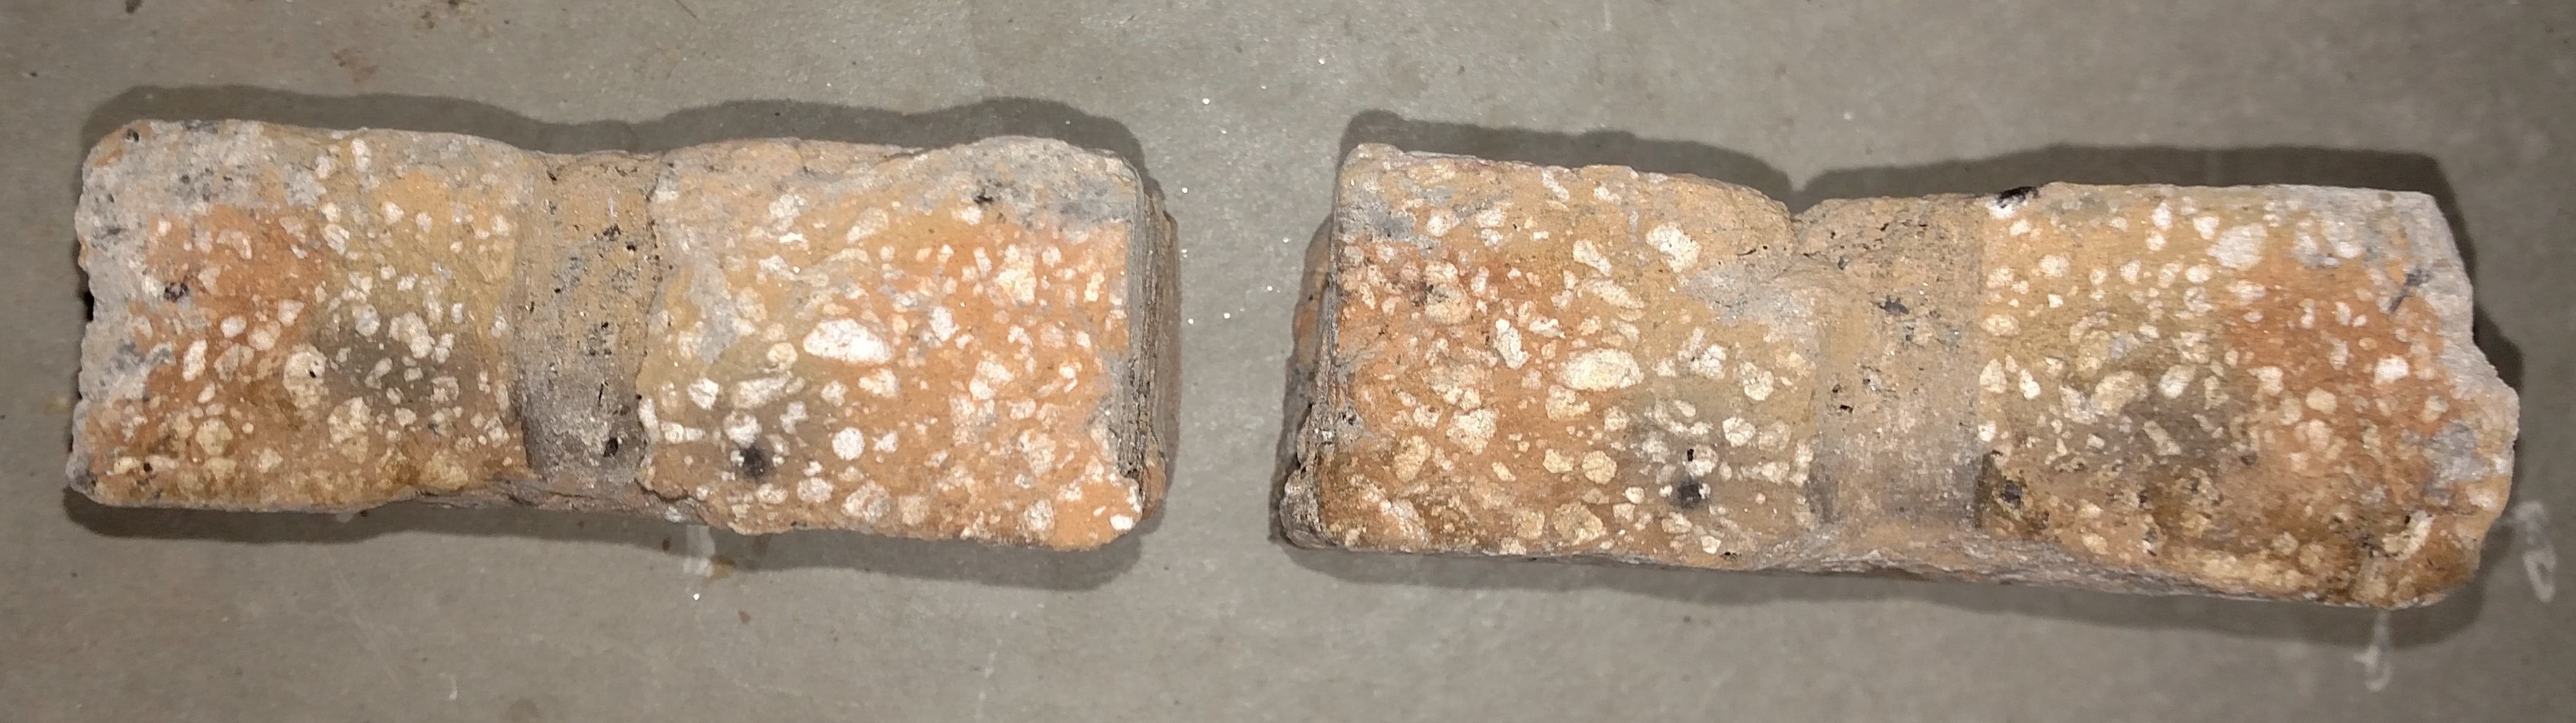
One of the bricks broke in half, but this might be because a log fell on it, who knows. At any rate, you can see in the closeup image that the crack went through the middle of the perlite grains, rather than around them, which suggests there is a good strong bond between the clay and perlite.
Discussions
Become a Hackaday.io Member
Create an account to leave a comment. Already have an account? Log In.