 Tron9000
So I decided to have another go at etching another PCB. I found some bare PCB without photo resist and thought try again, but change my technique a little bit.
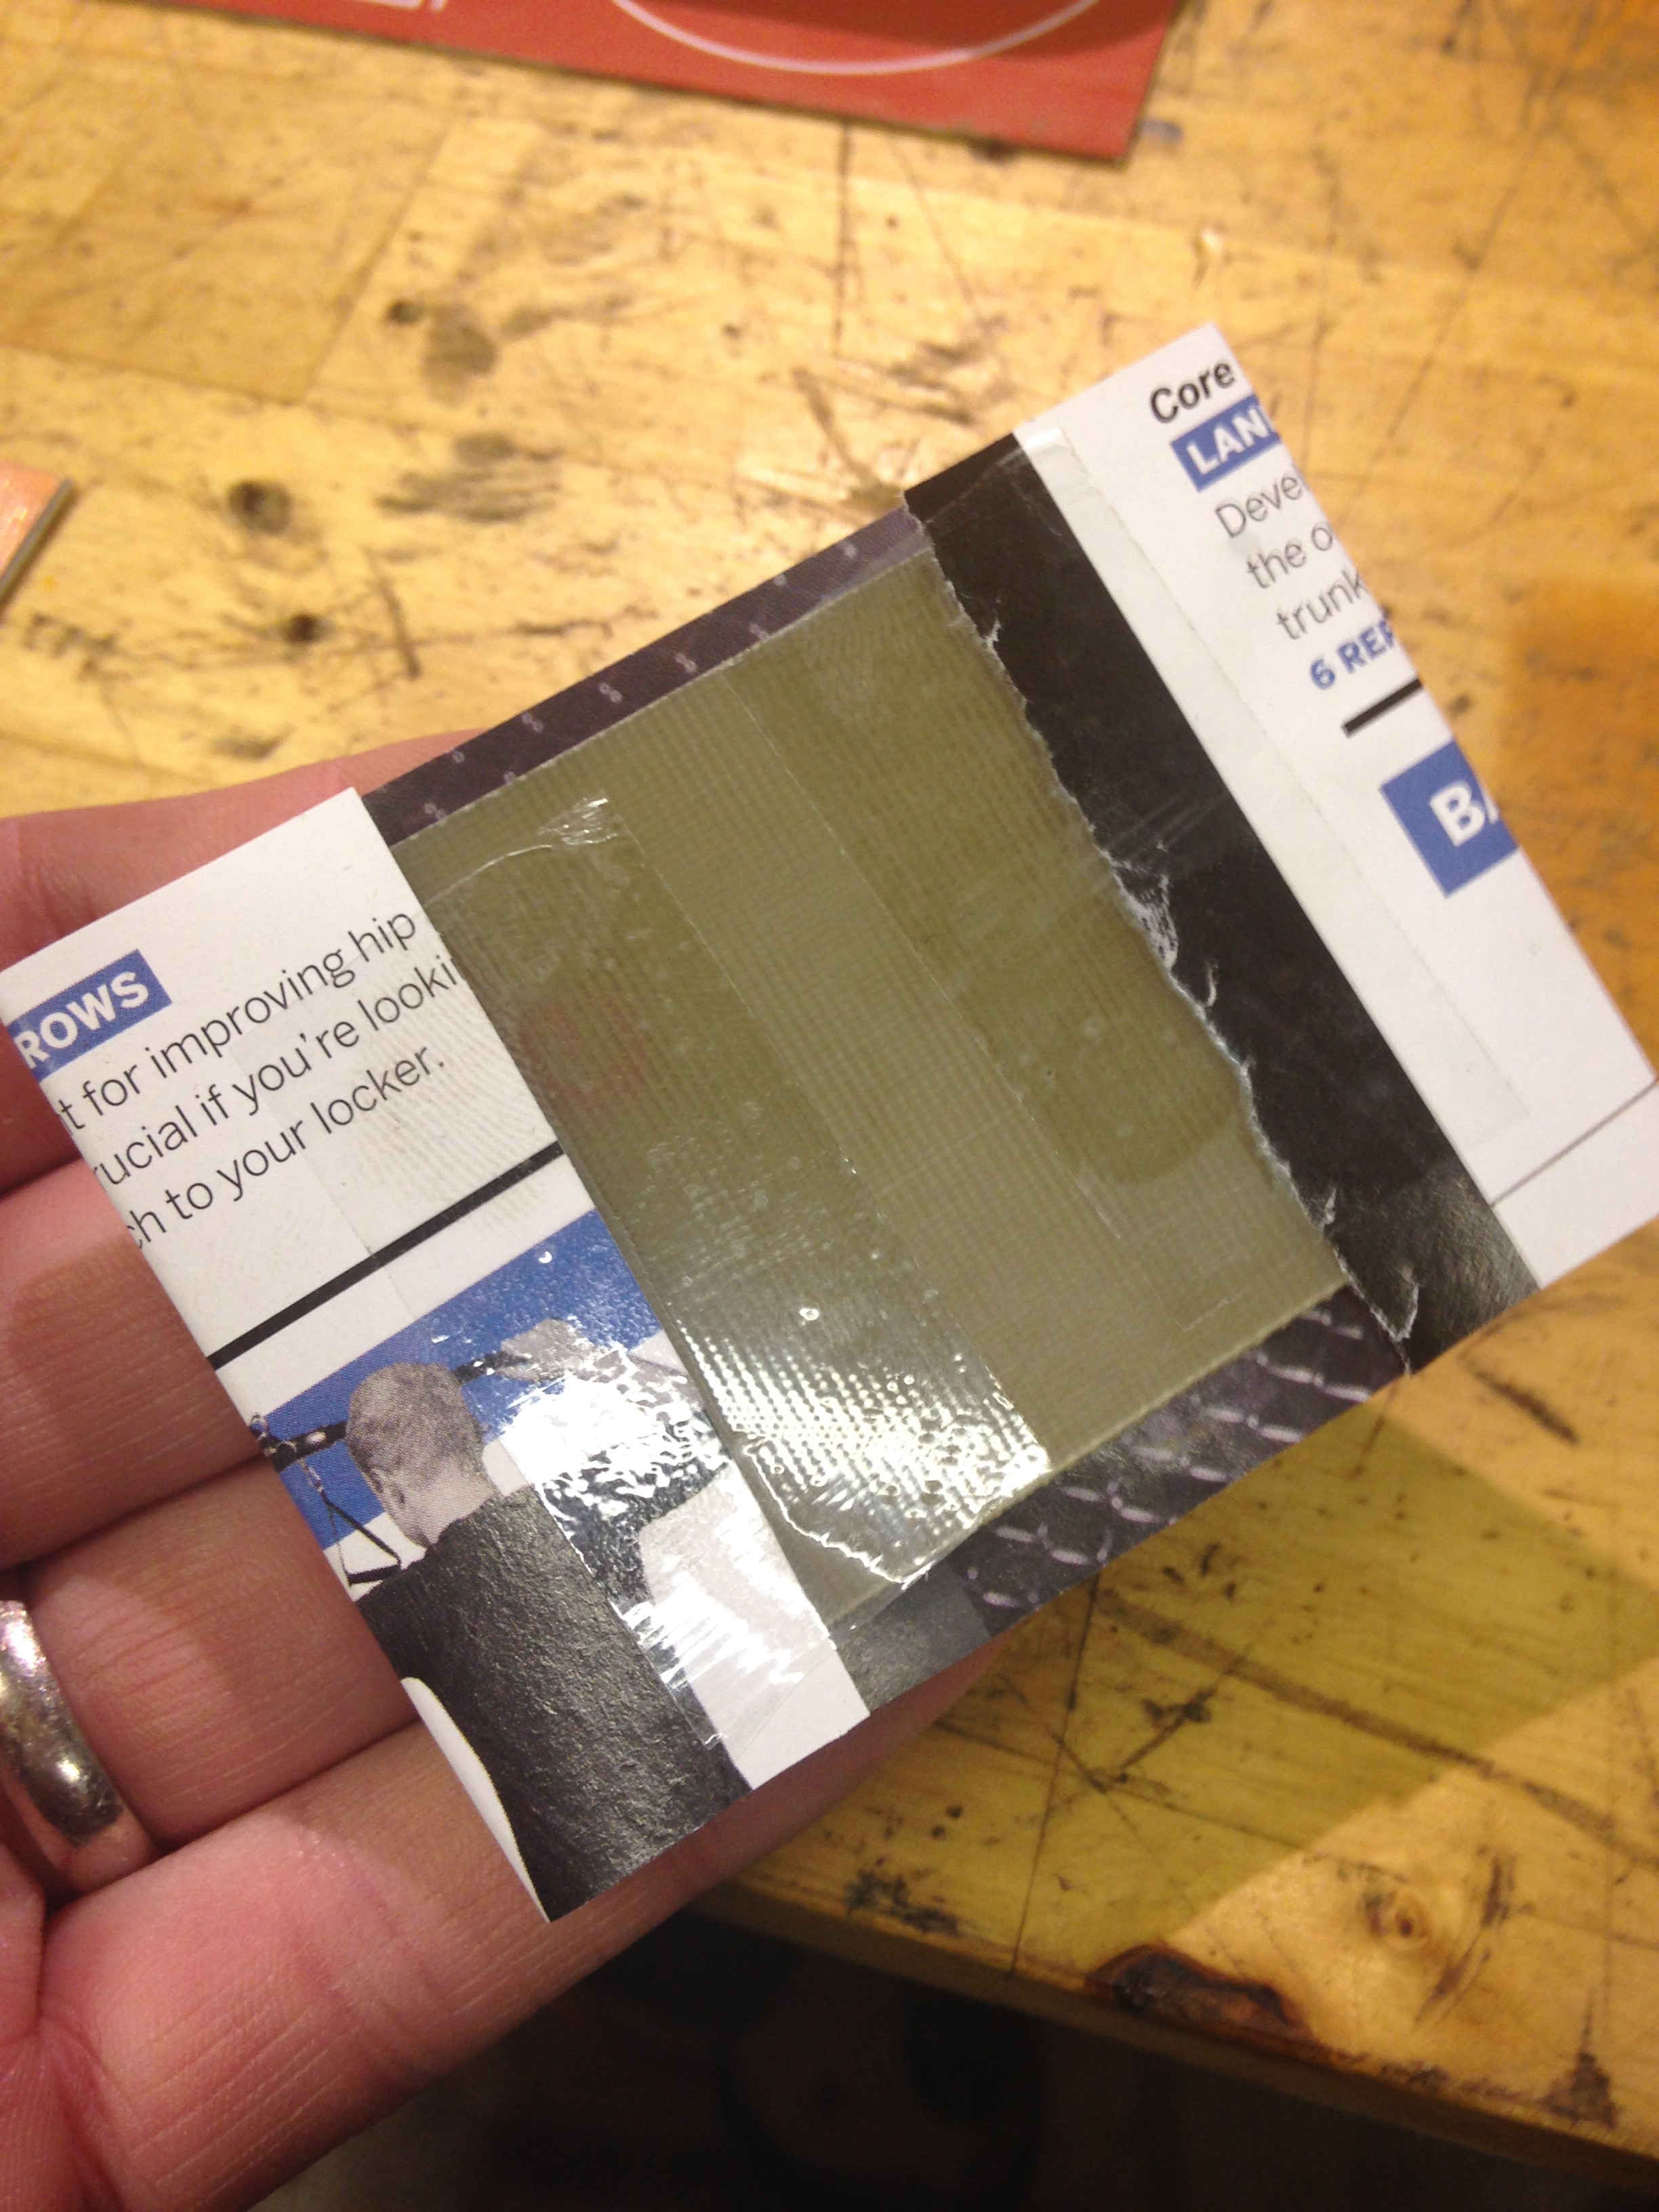
Firstly I rubbed up the copper first with some fine sand paper to 1) remove any oxide and contaminants and 2) hopefully roughen the surface to increase the chance of adhesion. I then taped down the transfer to the board using sticky tape - ideally you should use capton tape as I found when applying heat it shrinks, but so long as you don't leave it on so long it burns, its ok.
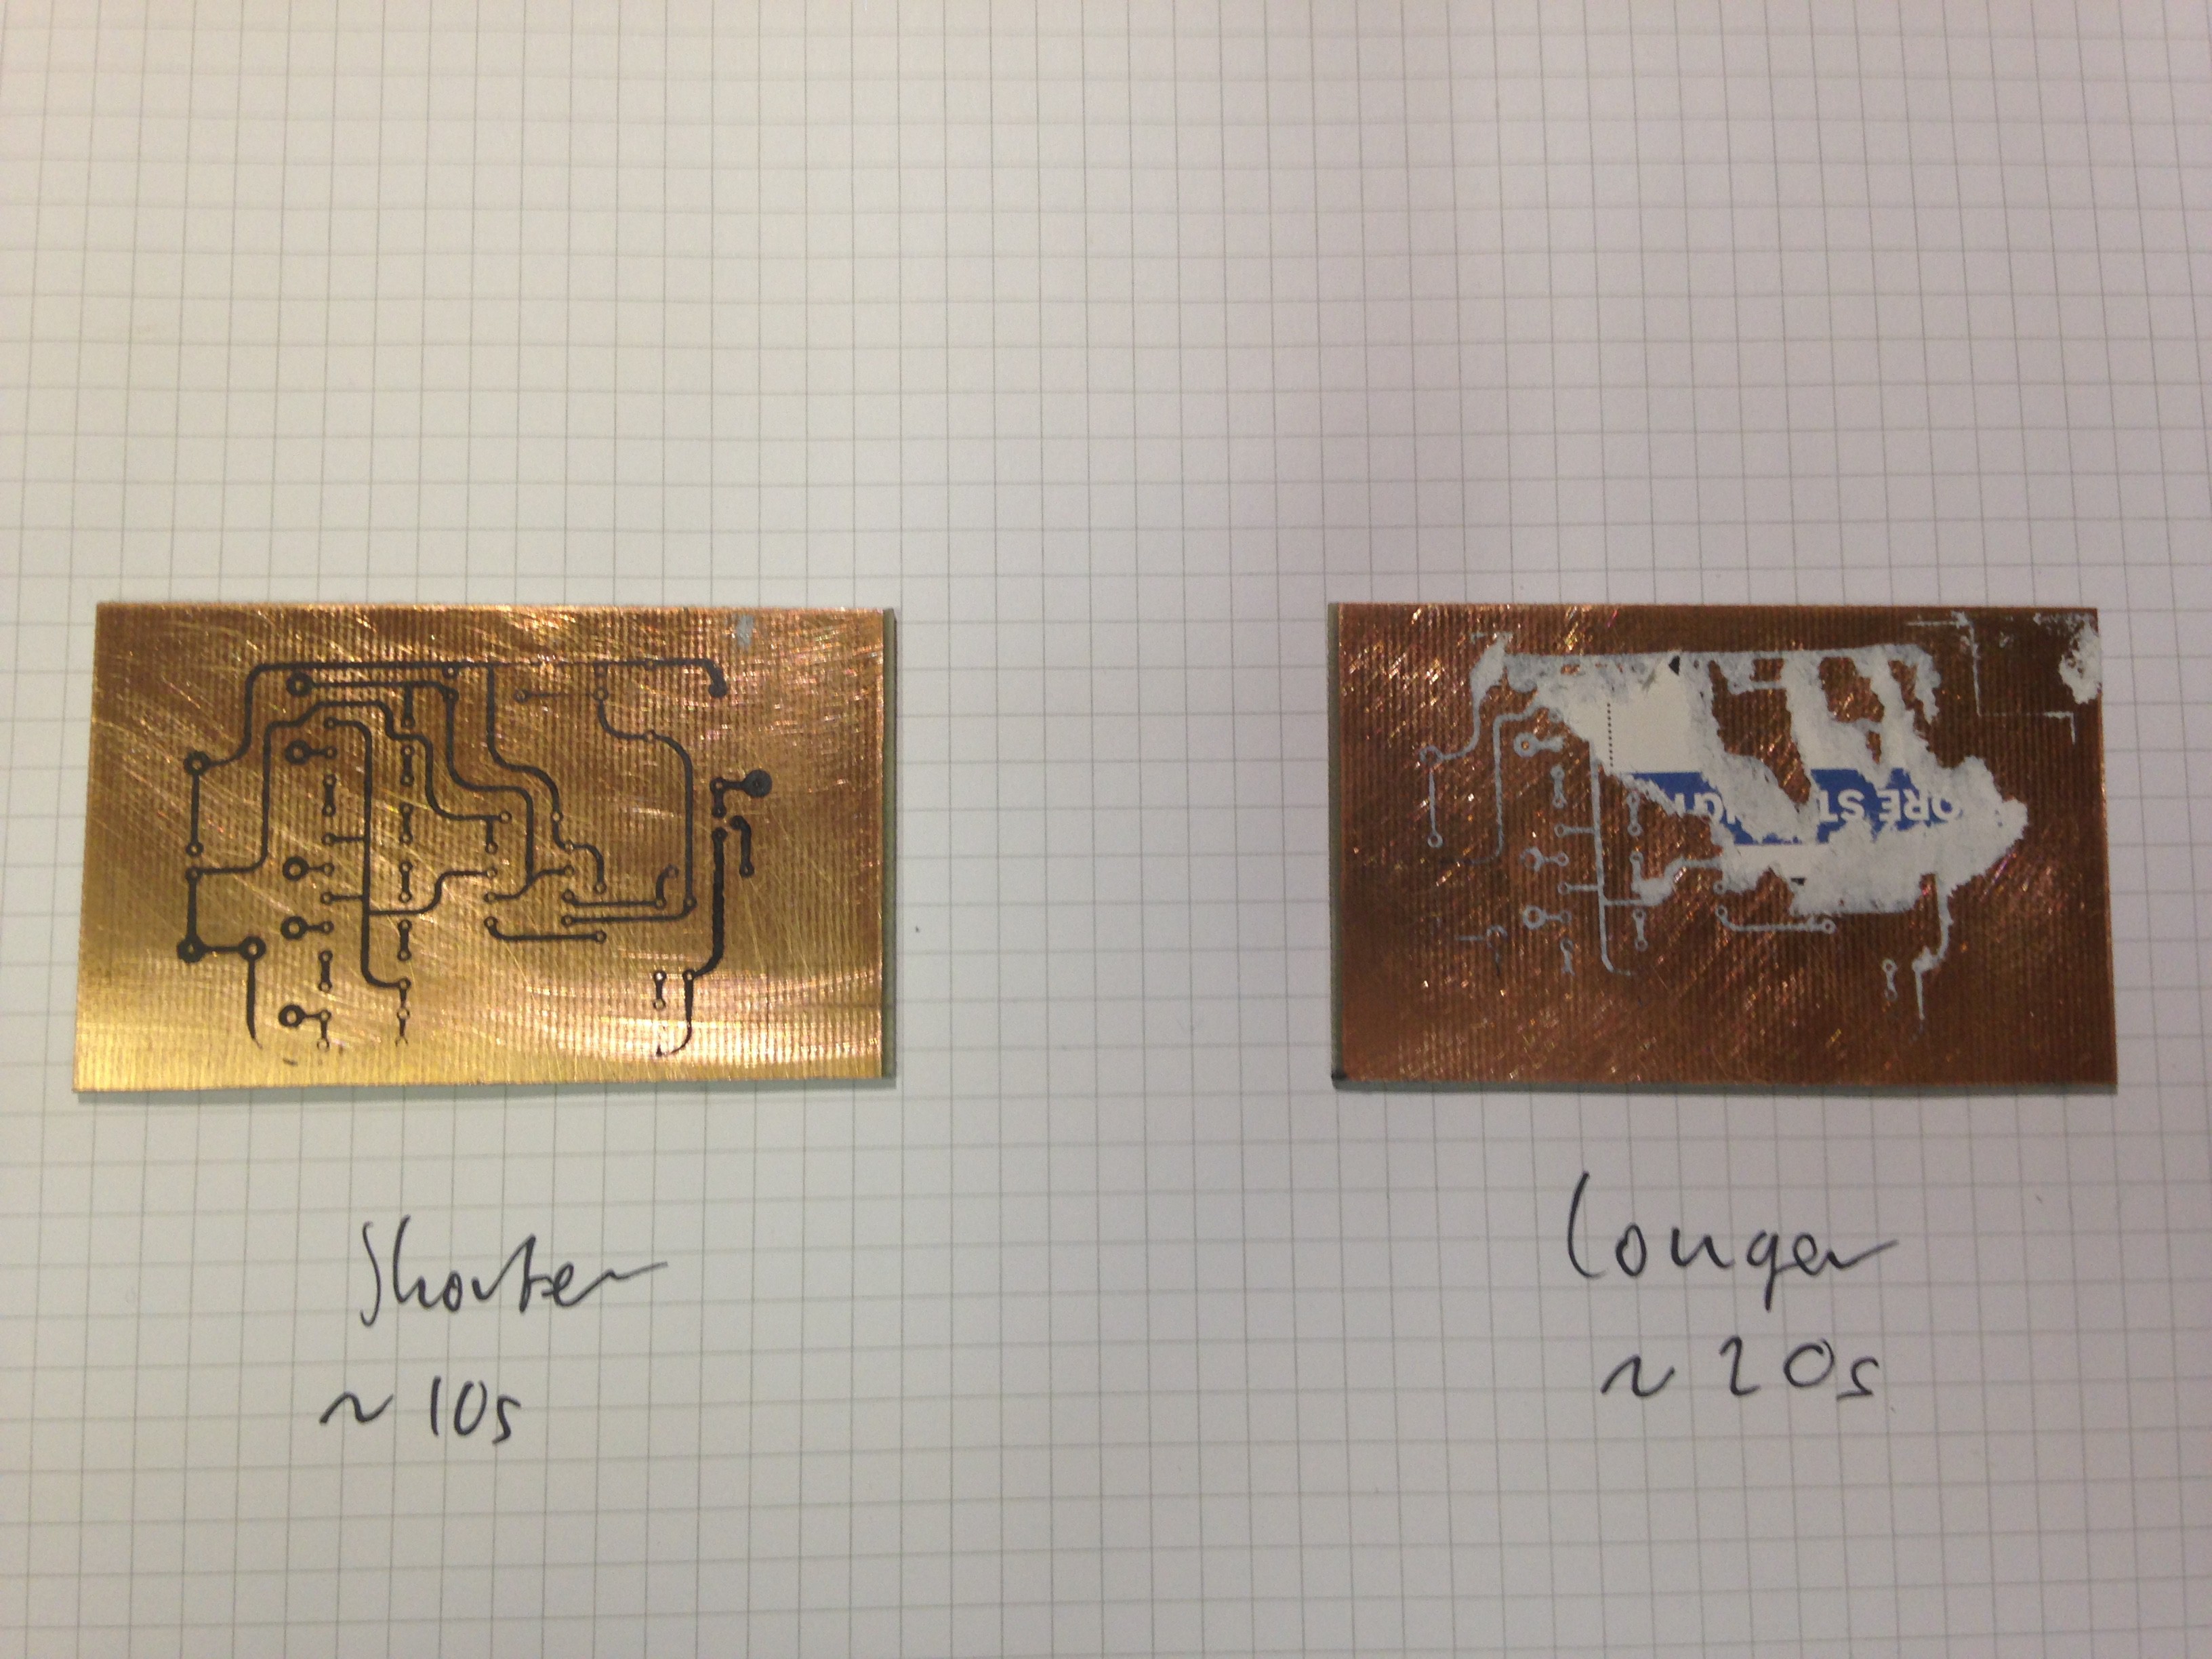
I also decreased the time I applied heat from the iron. As you can see being a bit quicker allowed the toner to transfer and not the magazine ink, which seems to stick too.
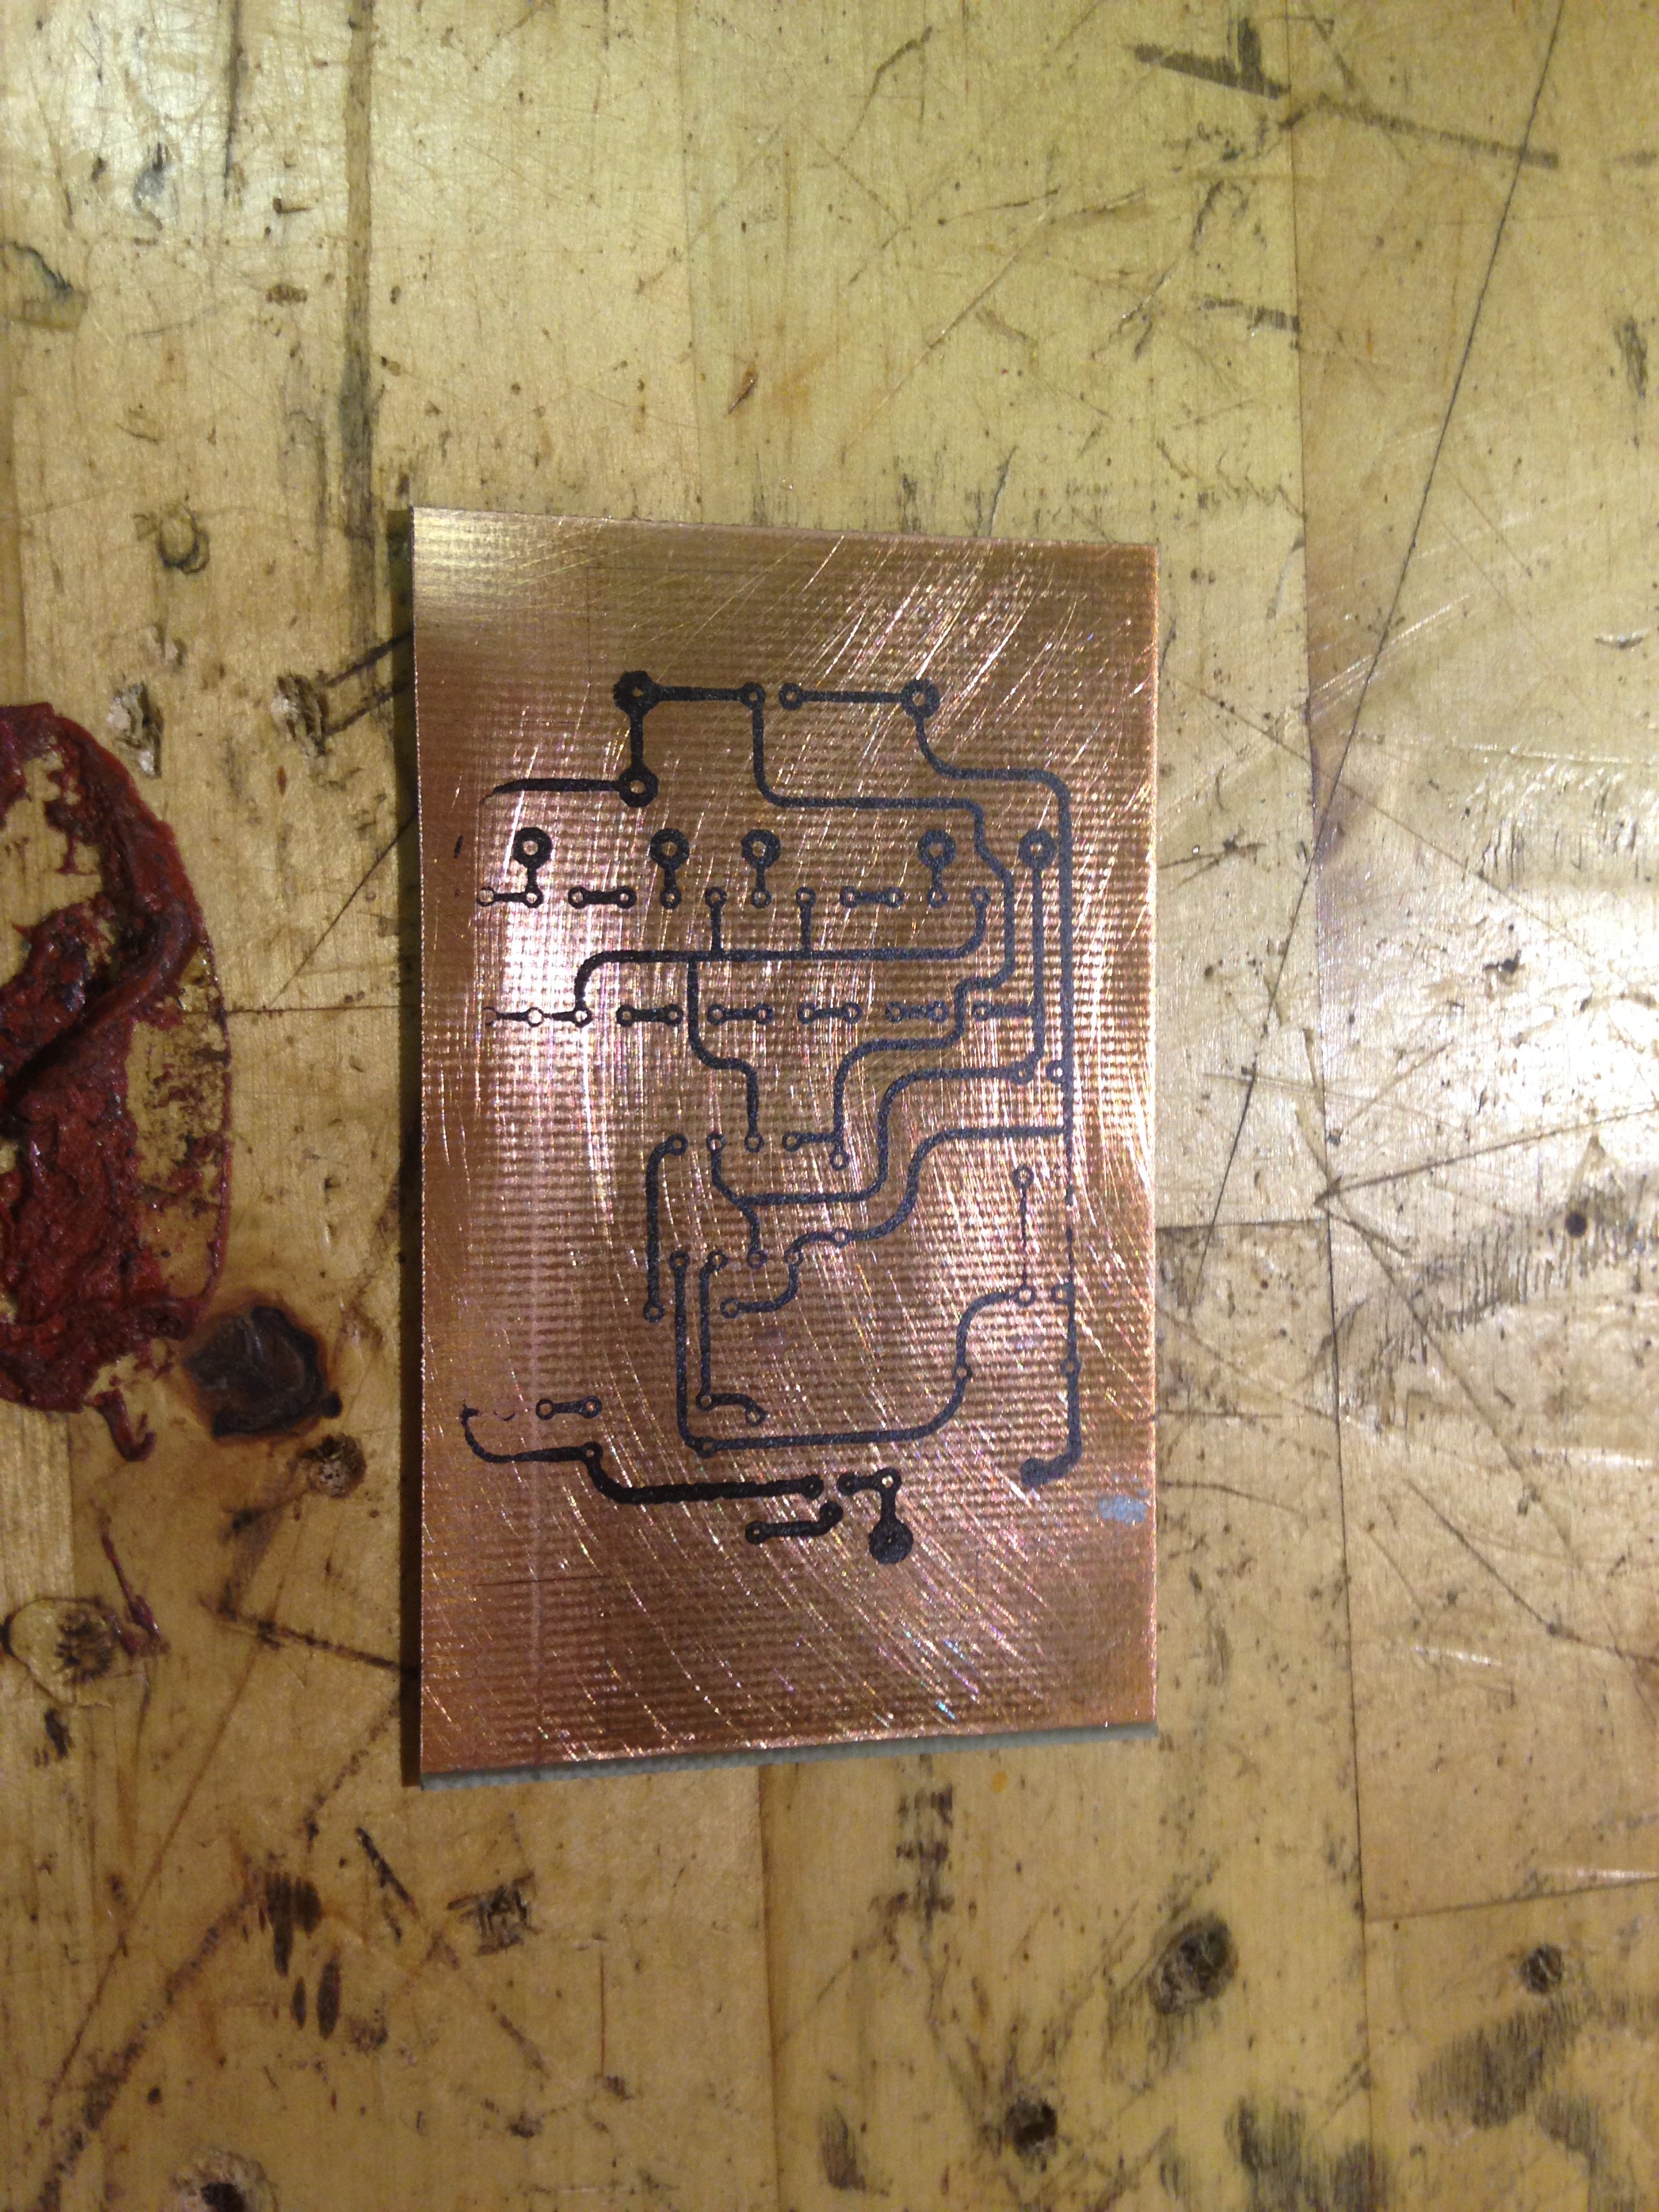
The transfer quality is much better than the last time, you can see the drill holes in the middle of the pads for a start! However it wasn't 100% perfect, and I still had to touch it up with a permanent marker.
After a FeCl bath and a rinse, here's how it came out:
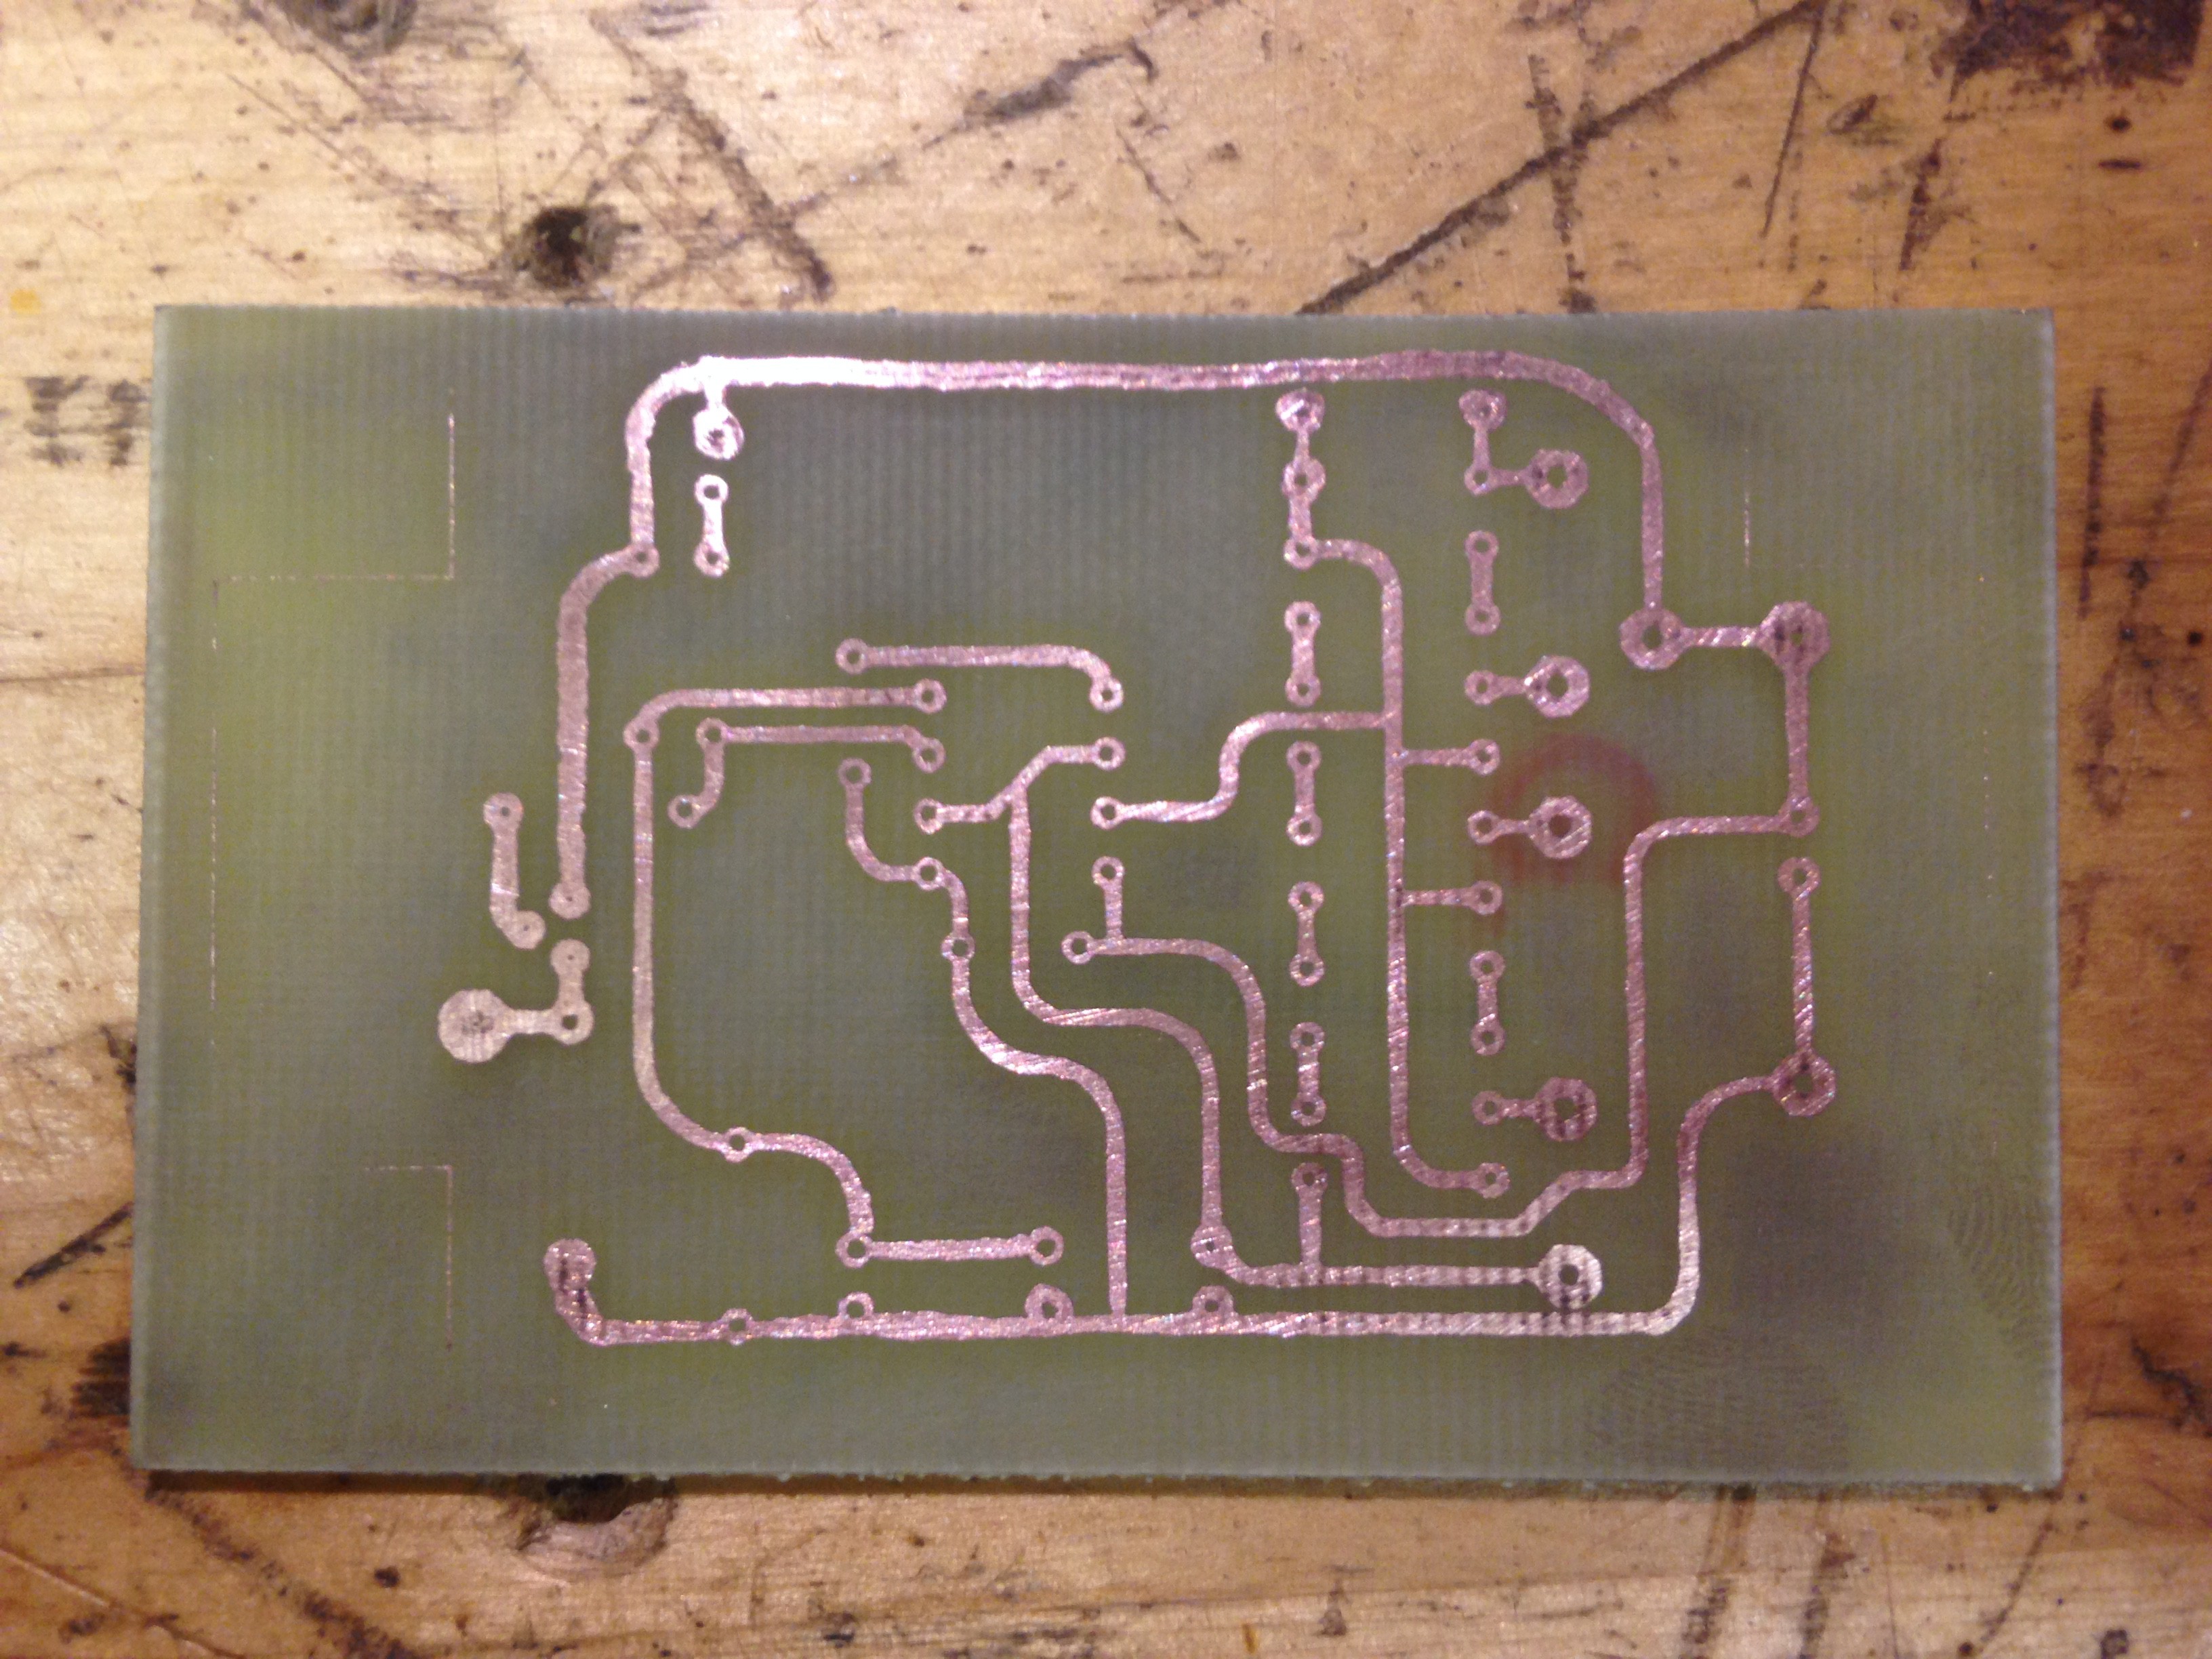
A massive improvement from the last time! I'm going to drill this and trim it to the final dimensions and get this soldered up!
Discussions
Become a Hackaday.io Member
Create an account to leave a comment. Already have an account? Log In.