 Husarion
At first we tried the ready to use, 4WD robot-chassis that you can find by name "C300 intelligent car chassis" ;)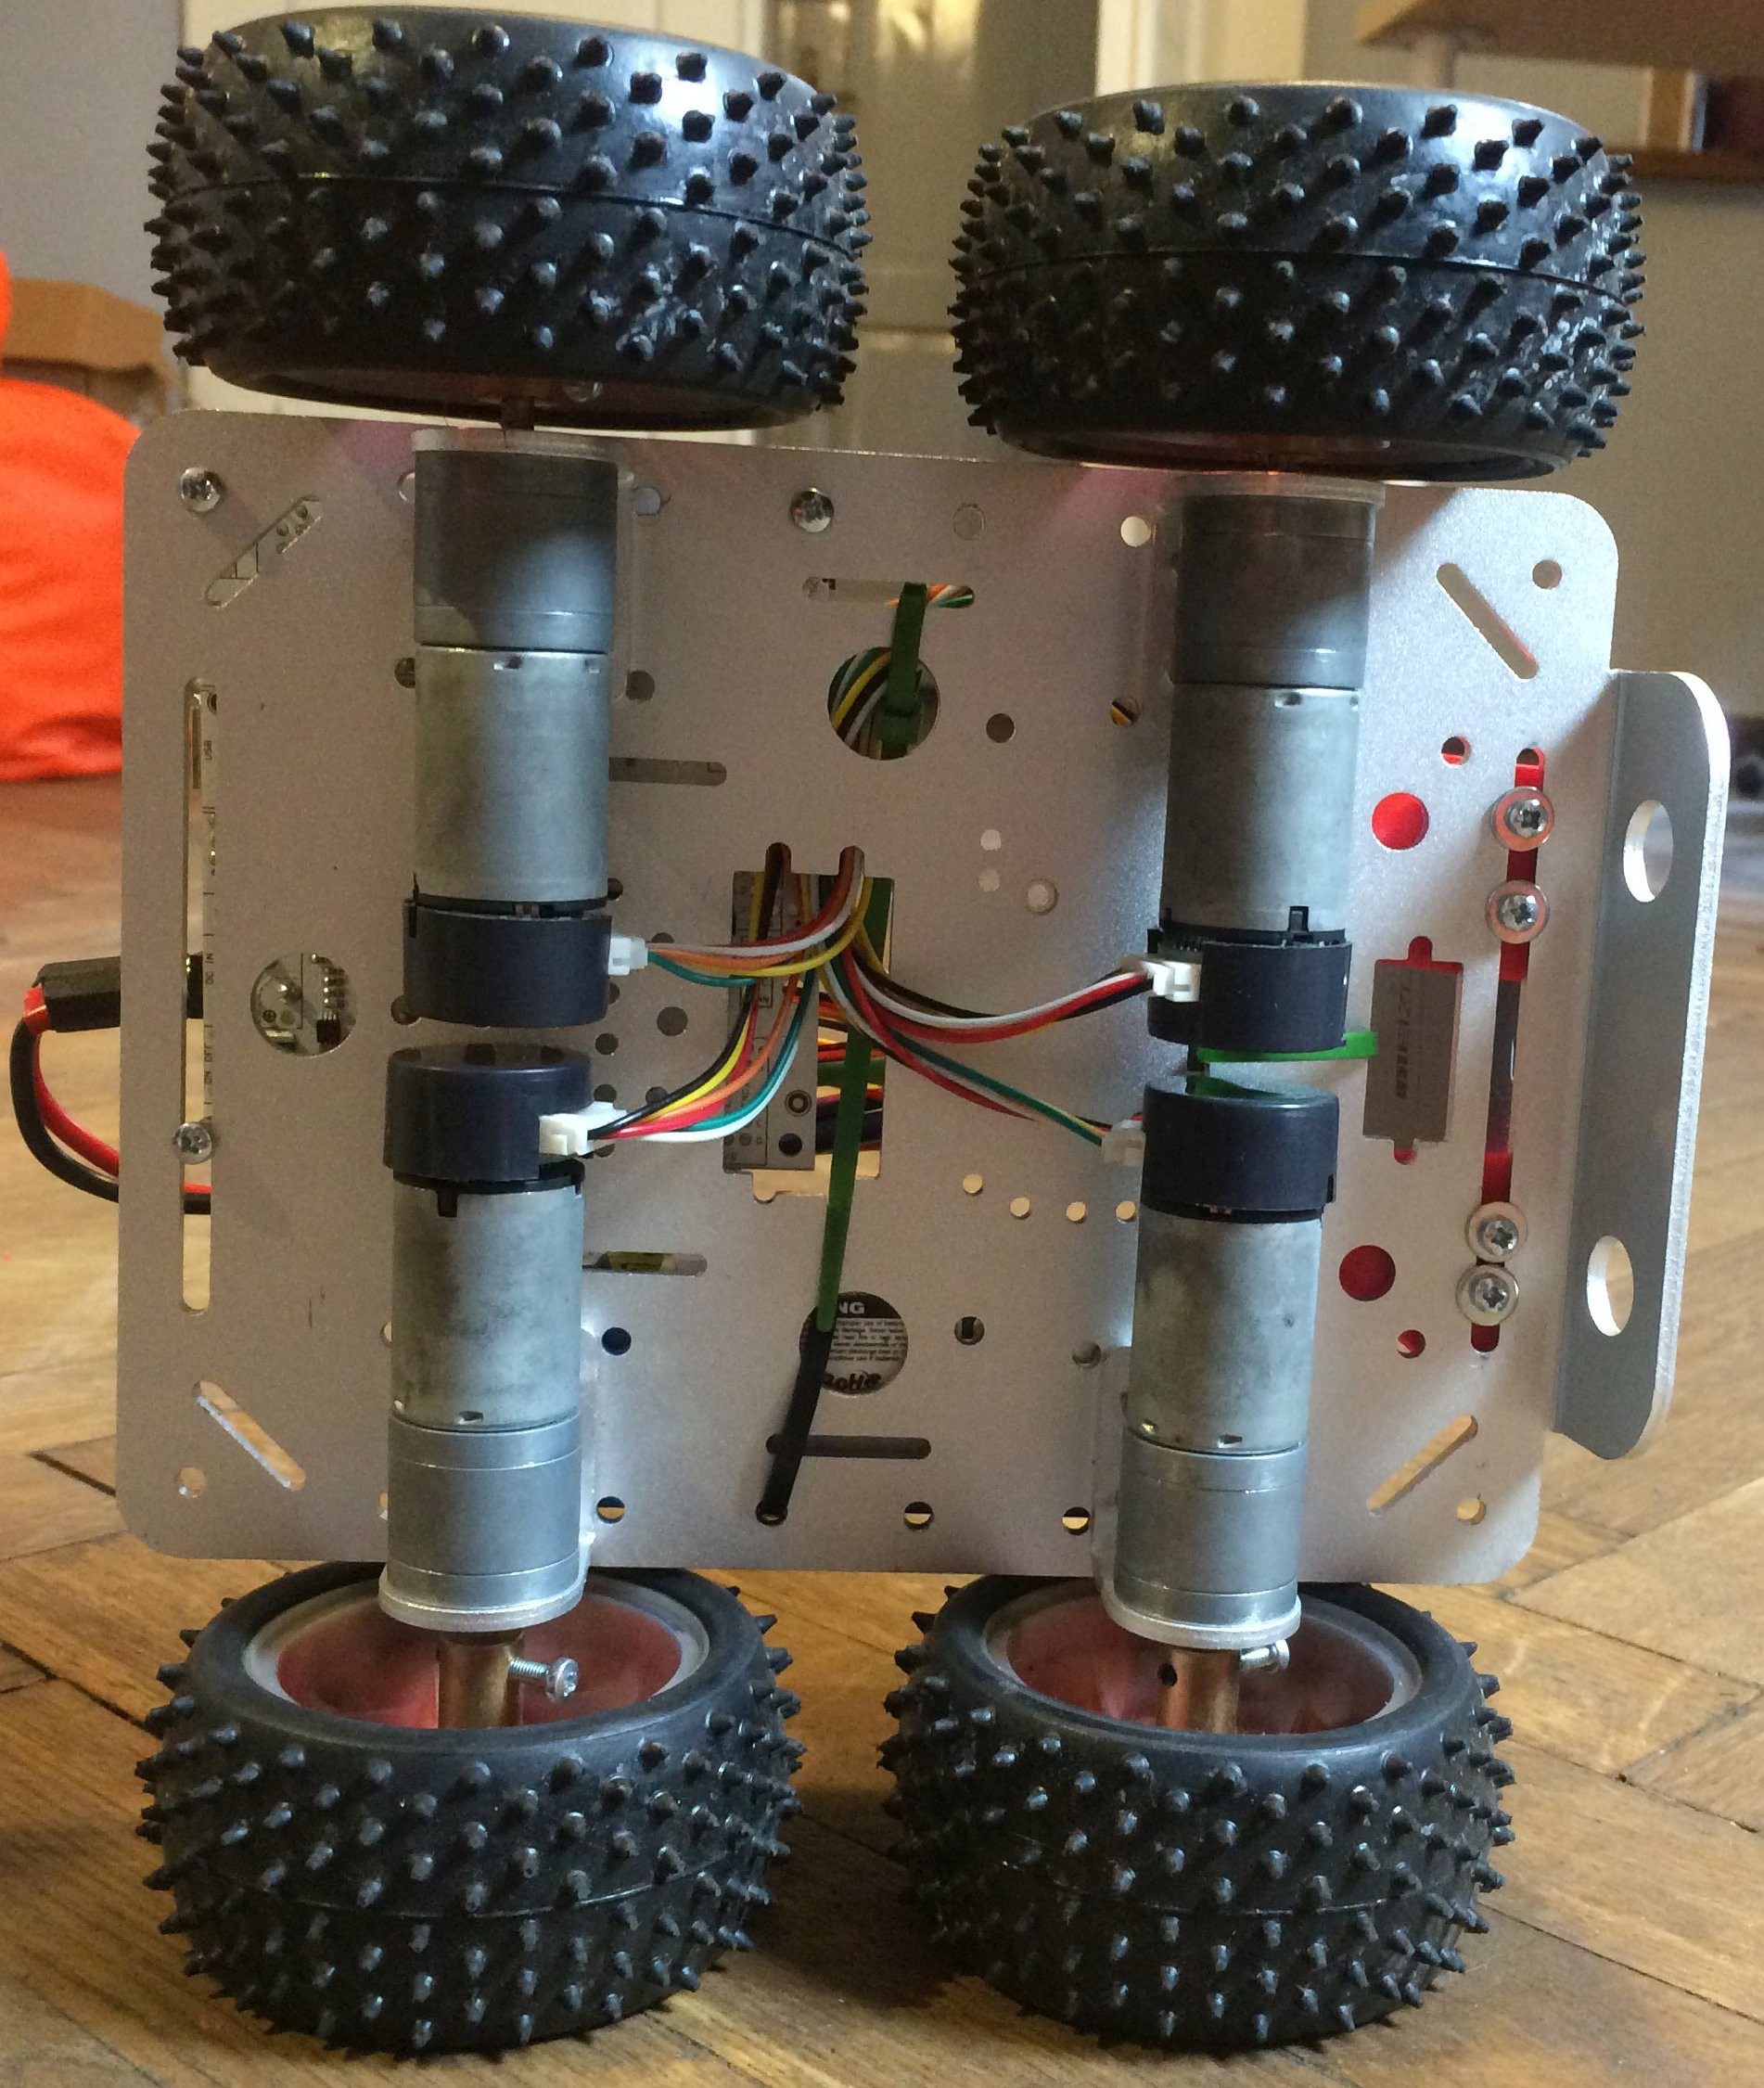
Buying a similar chassis is a good way to get a platform with pretty good motors with encoders. It's even cheaper than ordering the motors themselves in popular robotic stores. We installed all parts - CORE2 controller with Raspberry Pi 2, battery pack (3x18650 Li-Ion), a camera, ultrasonic distance sensor and finally a LIDAR. It was working well but not looking well because of not sufficient space on platform and ugly wiring. Oh, I don't even want to show this here.
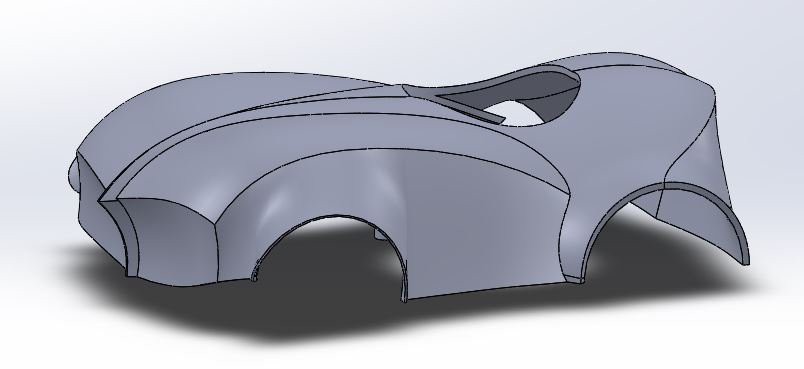
The next idea was "we have a 3D-printer!". The plan was to use the same chassis but with the 3D-printed body covering all the mess, with only LIDAR exposed at the top. This is what the designer drew:
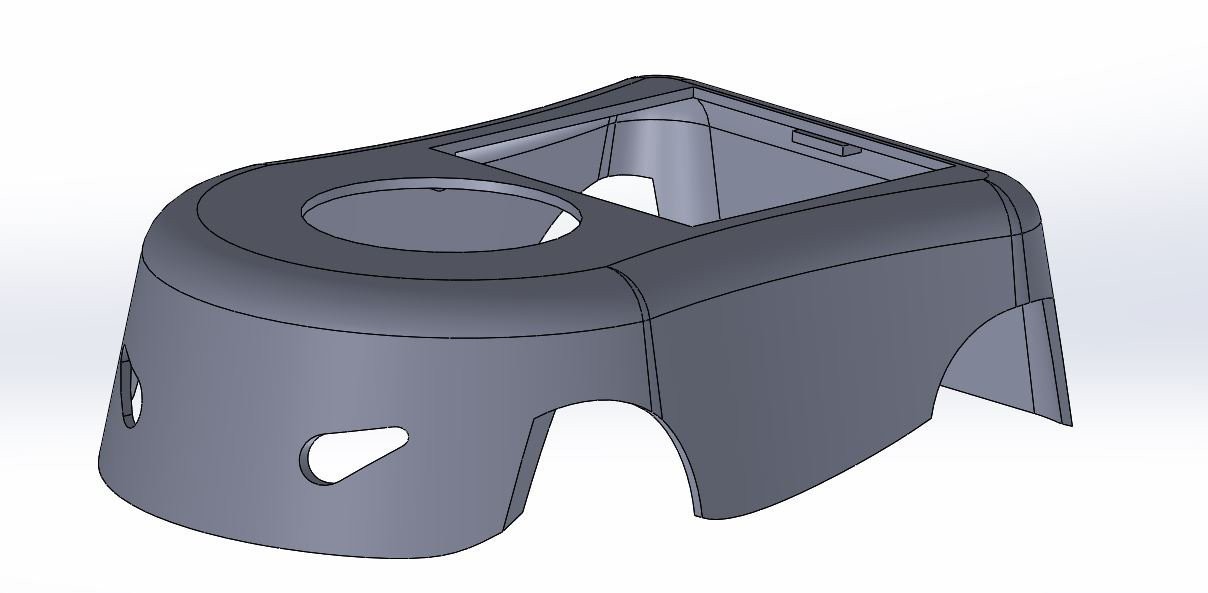
how the engineer brought this project down to earth:
and how it looked like when we finally made it:

We noticed that 3D-printed body is nice but not very durable and not easy to modify when we want to add anything to our platform. And the 3D-printed body needs a lot of work with grinding, spackling and painting, and if we wanted to make the second piece of robot, it would probably look differently. That's why we've ordered the metal chassis, laser-cutted out of aluminium. This is the result:

I've placed more photos in the gallery. We made a few mistakes and we needed to use a file to "move" some holes. And we are going to make a new version with the additional panel for connectors, because some interfaces (HDMI, USB Serial, LED's, hCfg button etc.) need to be accesible from the outside. This is the good topic for the next log :)
Discussions
Become a Hackaday.io Member
Create an account to leave a comment. Already have an account? Log In.