 Ronald McCollam
After doing some research and ordering a bunch of epoxy, I wasn't 100% sure that what I had would work. It might have some interaction with the electronics, not bond properly, be conductive, shrink too much or put out too much heat... there were a lot of open questions.
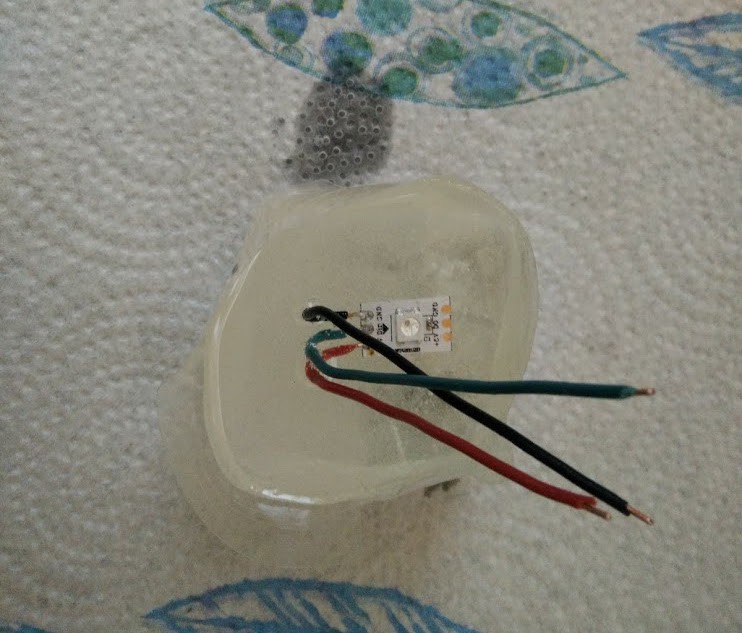
So rather than start with a full Raspberry Pi, I went with something a bit smaller and cheaper. I decided to embed a single WS2812 LED in a block of epoxy.
I made a "mold" out of some clear packing tape in a rough square. I poured this in two parts: first a base layer, which I let mostly harden over the course of 4 hours or so, then put the LED and wires in and poured a layer on top. (You can see some of the tape "mold" in these pictures of it drying.)
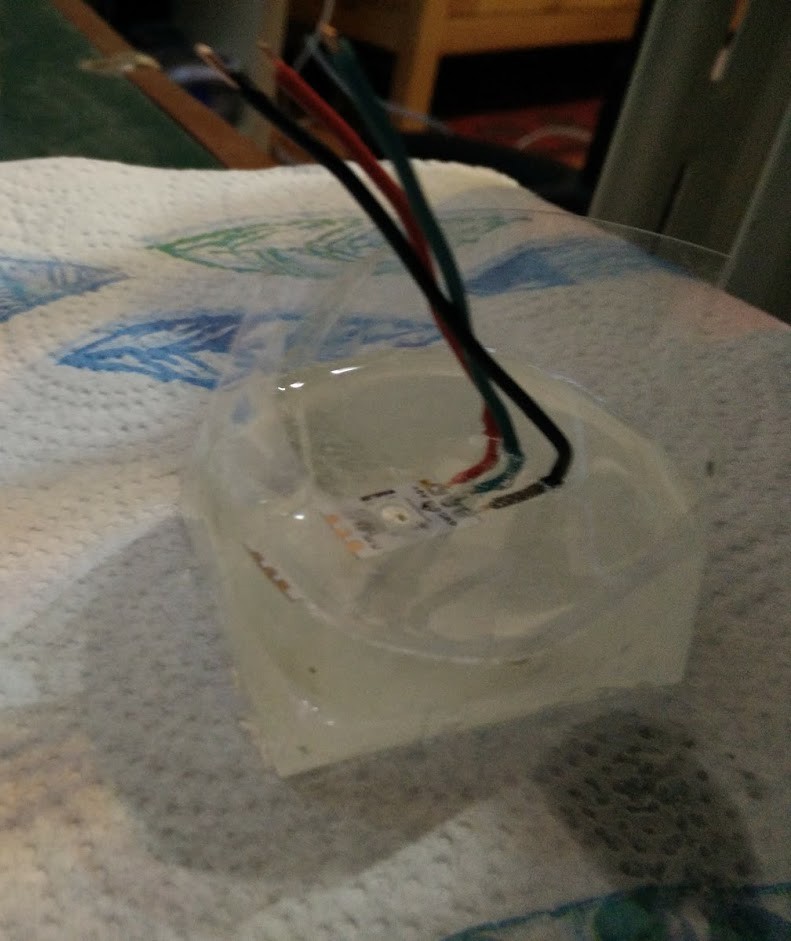
Doing this was useful beyond just for testing whether the epoxy would work for electronics. You can see that the blob of epoxy I ended up with is very frosty, not terribly clear at all. This is especially true of the first layer at the bottom. There's a clear line between the first and second layer because the first one is so bubbly and frosty. It's especially visible once I took the tape "mold" off later.
I learned here that even though the epoxy instructions say to mix thoroughly for a long time, what they really mean is to mix for a long time but very slowly. I wasn't stirring particularly fast (maybe half the speed you'd stir something while cooking) but it still introduced a lot of bubbles. The key in the future would be to mix as slowly as I could to minimize those bubbles.
Anyway, once it was hardened came the moment of truth: would the LED light up when I put power to it?
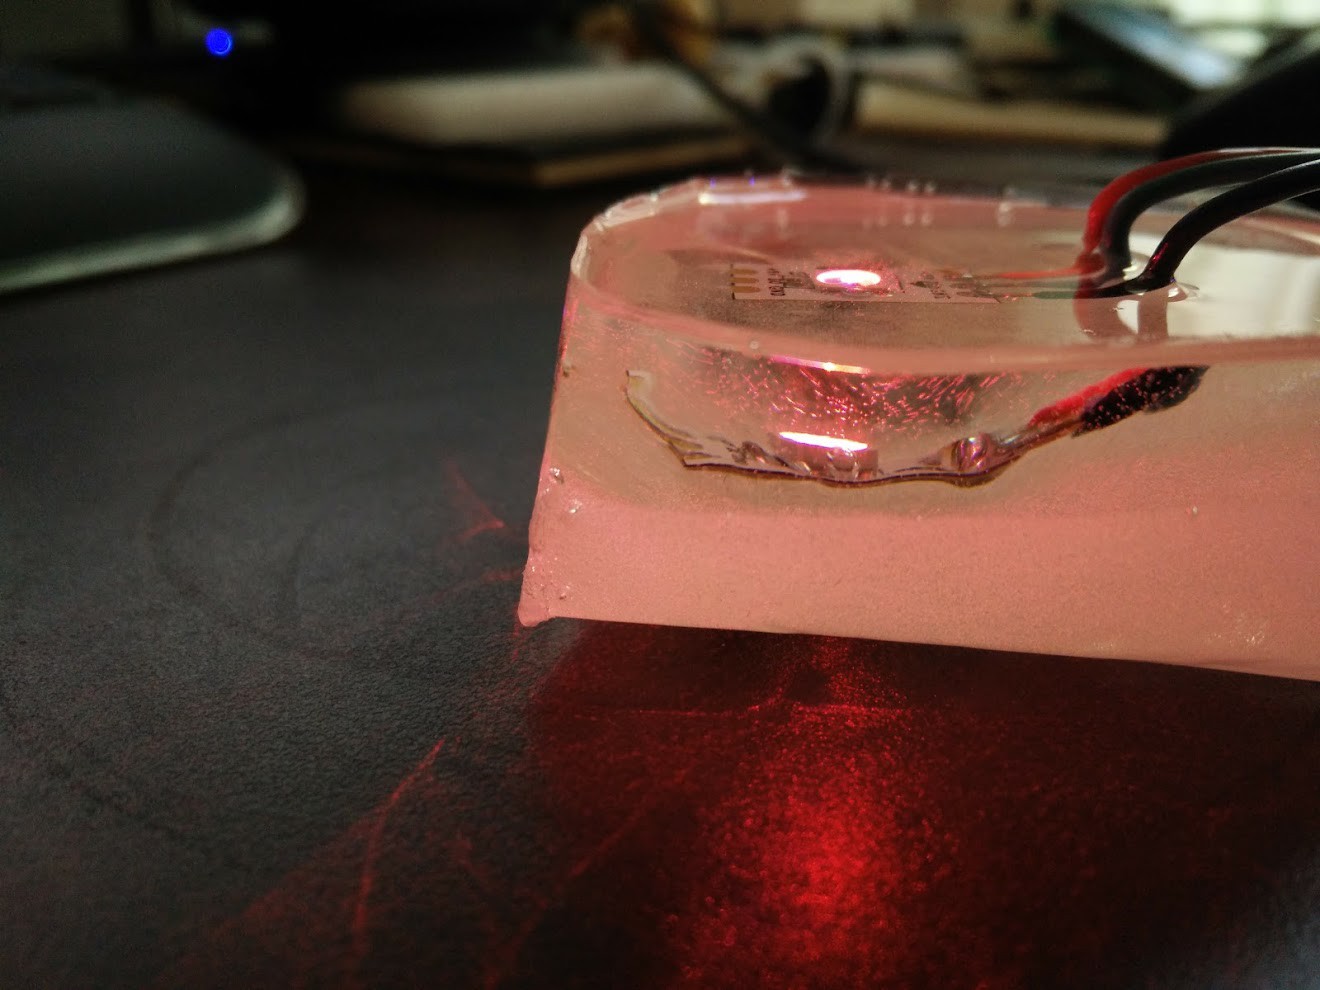
It worked! Now I knew I was ready to try the real thing.
Lessons learned from this stage:
- The cheap table top epoxy I had works well for embedding electronics.
- It's important to mix the epoxy very slowly to not introduce air bubbles.
- Packing tape works as a mold but will deform somewhat as the epoxy sets up, so I'll need something a bit firmer for a nice product.
Discussions
Become a Hackaday.io Member
Create an account to leave a comment. Already have an account? Log In.