 Ronald McCollam
Now that I knew that my epoxy wouldn't dissolve an LED or catch on fire when I stuck wires in it, I felt confident enough to try it out with a Raspberry Pi. I found a cheap silicone mold on Amazon to use. You can find a lot of molds for jewelry, candles, and chocolates, but they tend to be too small for something like a Pi. I managed to find one for making bars of soap that was just about the right dimensions. I'd rather have had it another cm or so larger on each dimension, but it was big enough that the Pi would fit even if it were a bit tight.
Casting worked a lot like the LED I did originally, though with me mixing the epoxy much slower this time. I started with a thin layer in the bottom of the mold which I let set for about 3.5-4 hours. Then I poured a tiny bit of epoxy in, gently set the Pi on top of it, and drizzled a ton all over the back. I made sure that I got epoxy into the USB and Ethernet ports so that there wouldn't be a huge air bubble there at the end.
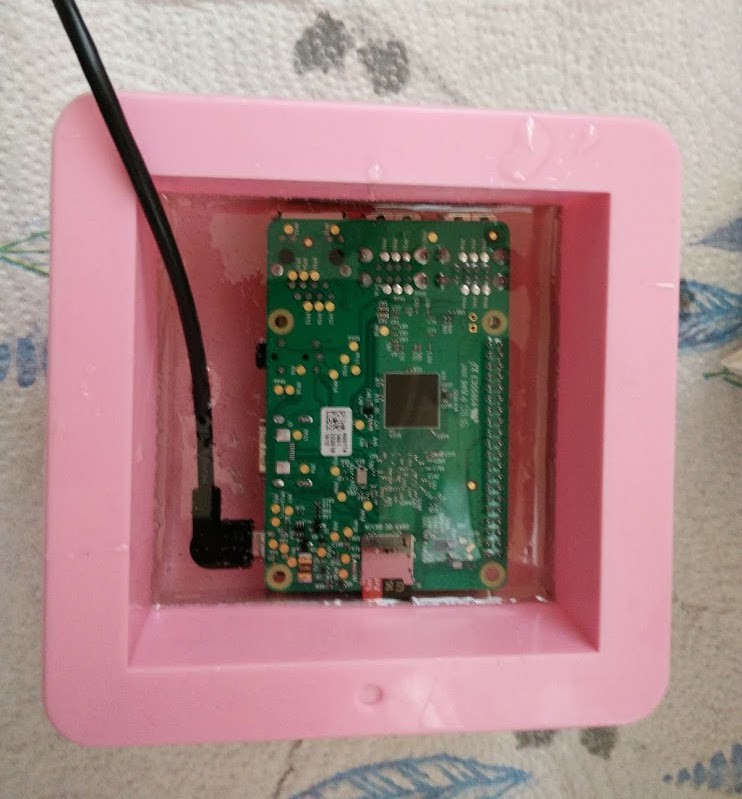
At this point I hadn't yet come up with the idea of making it totally wireless, so I just snaked a USB cable out of the back to provide power. It just extends out of the mold to stay out of the way here.
After letting that set for another 4 hours, I got a last layer of epoxy ready to pour. On a whim I decided to throw a resin.io sticker in to make the back a bit more interesting.
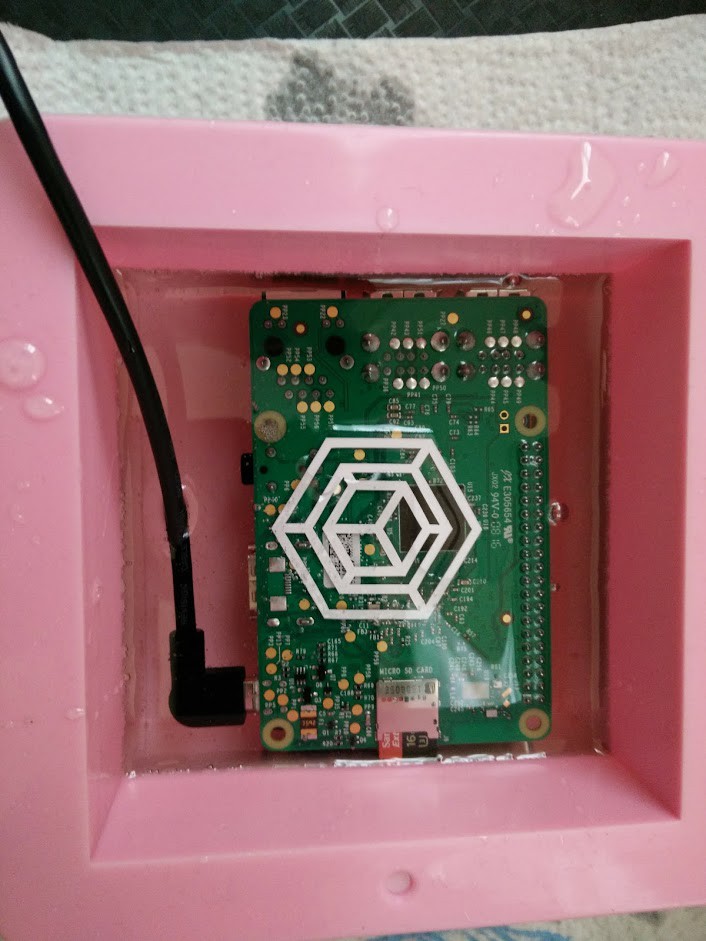
Then I let it set overnight. I made a small aluminum foil shield and set a radiant heater next to it as it was a bit cooler in my house than the epoxy instructions recommended. This seemed to work very well and caused the epoxy to set up a bit faster than I expected.
The next morning I peeled back the mold and tested it out. Luckily it fired right up!
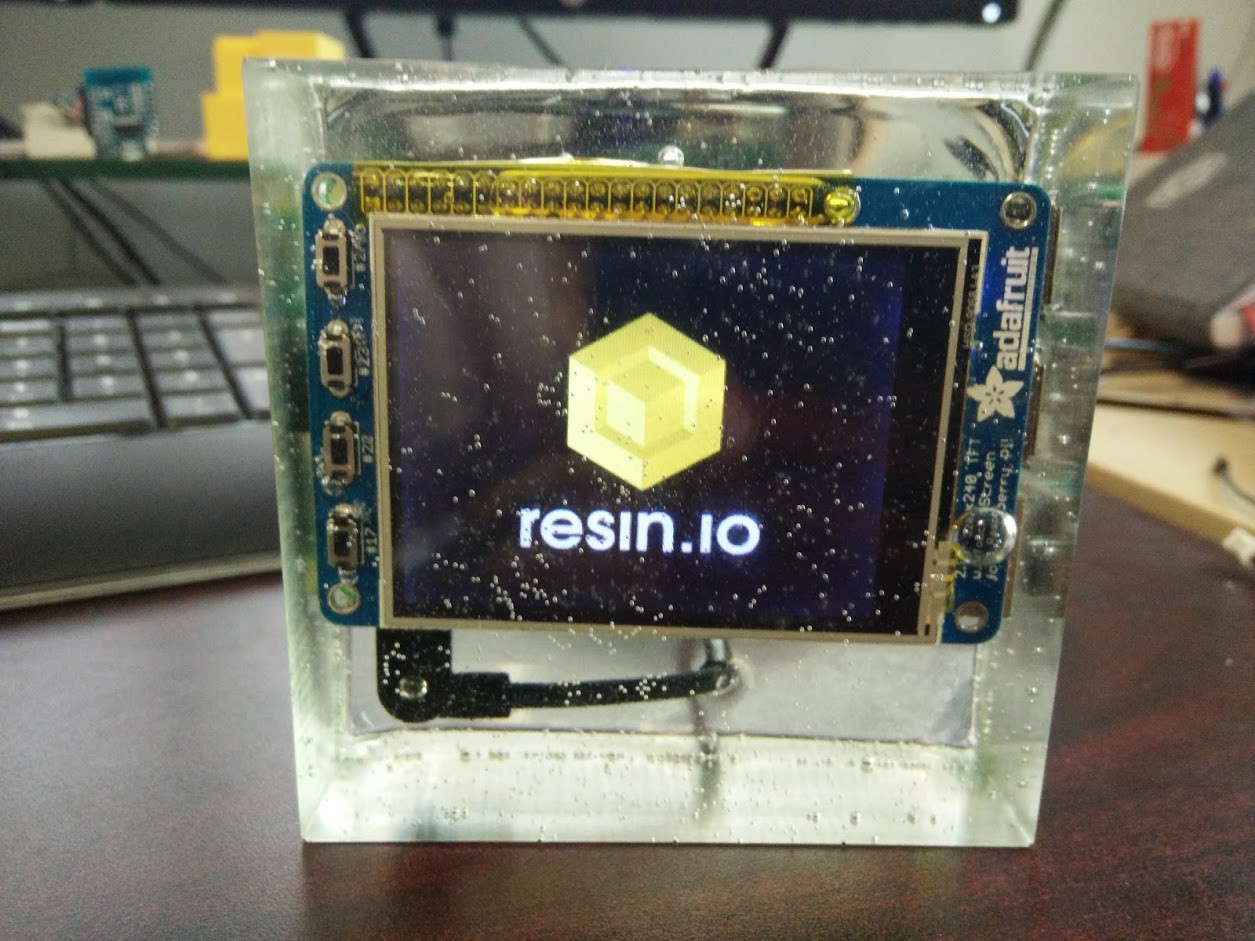
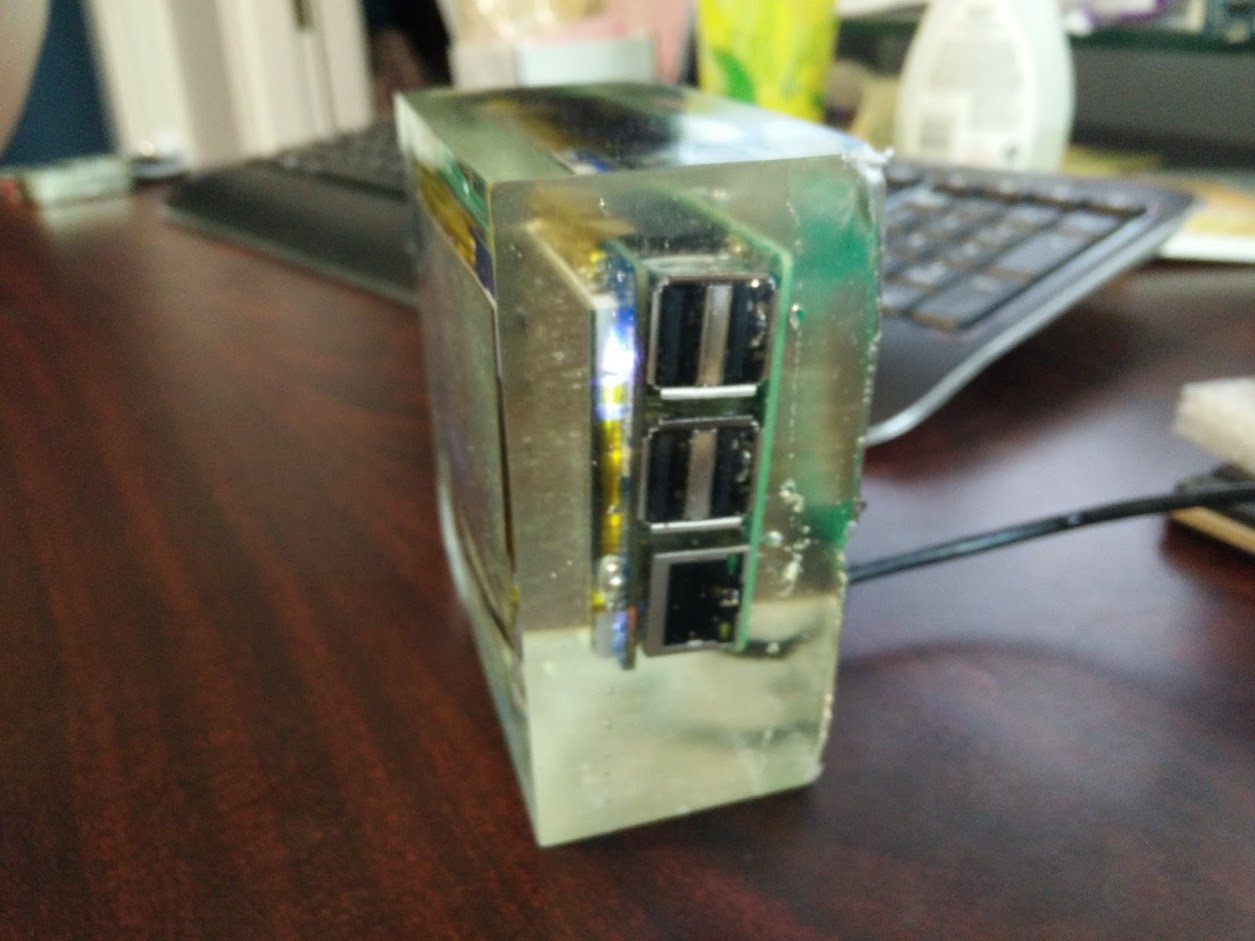
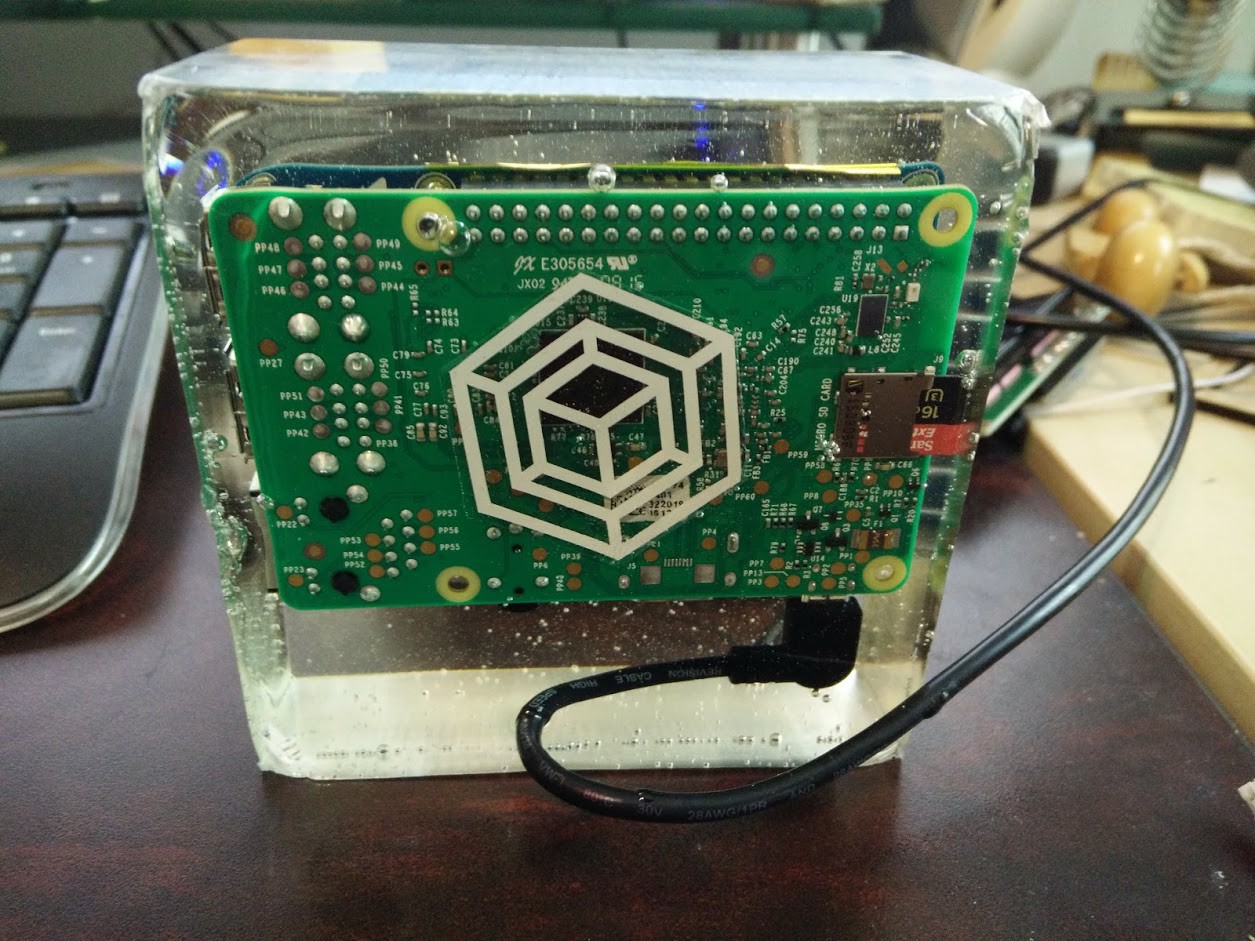
There were a few small bubbles in the front (which weren't really able to escape from under the flat display) but the back was crystal clear. The bubbles at the front are something I'm still working on resolving; I might eventually try doing one of these face up, though the corners don't turn out quite as nicely on that face. But they look way worse in a photo than they do in reality, so I'm reasonably satisfied with it for now.
Lessons learned:
- Stirring the epoxy very slowly is definitely the way to go!
- Gentle heat helps it cure a bit faster.
- A hair dryer can help with larger bubbles but smaller ones are more finicky.
- Plan 3D layering ahead of time! The sticker would have looked way cooler if I made an extra layer and had it "floating" a bit more.
Discussions
Become a Hackaday.io Member
Create an account to leave a comment. Already have an account? Log In.