 Ronald McCollam
Now that I knew that I could cast a Raspberry Pi and display in epoxy and have it still work afterward, my colleagues and I started brainstorming about how to improve it. We knew we wanted to get rid of the one remaining cable, but we weren't sure what the best way would be.
We talked about a few ideas: inductive charging, leaving flat metal pads flush with the epoxy, or maybe a pair of pins or small sockets. We decided to try inductive charging first as it was the only truly wireless/contactless solution.
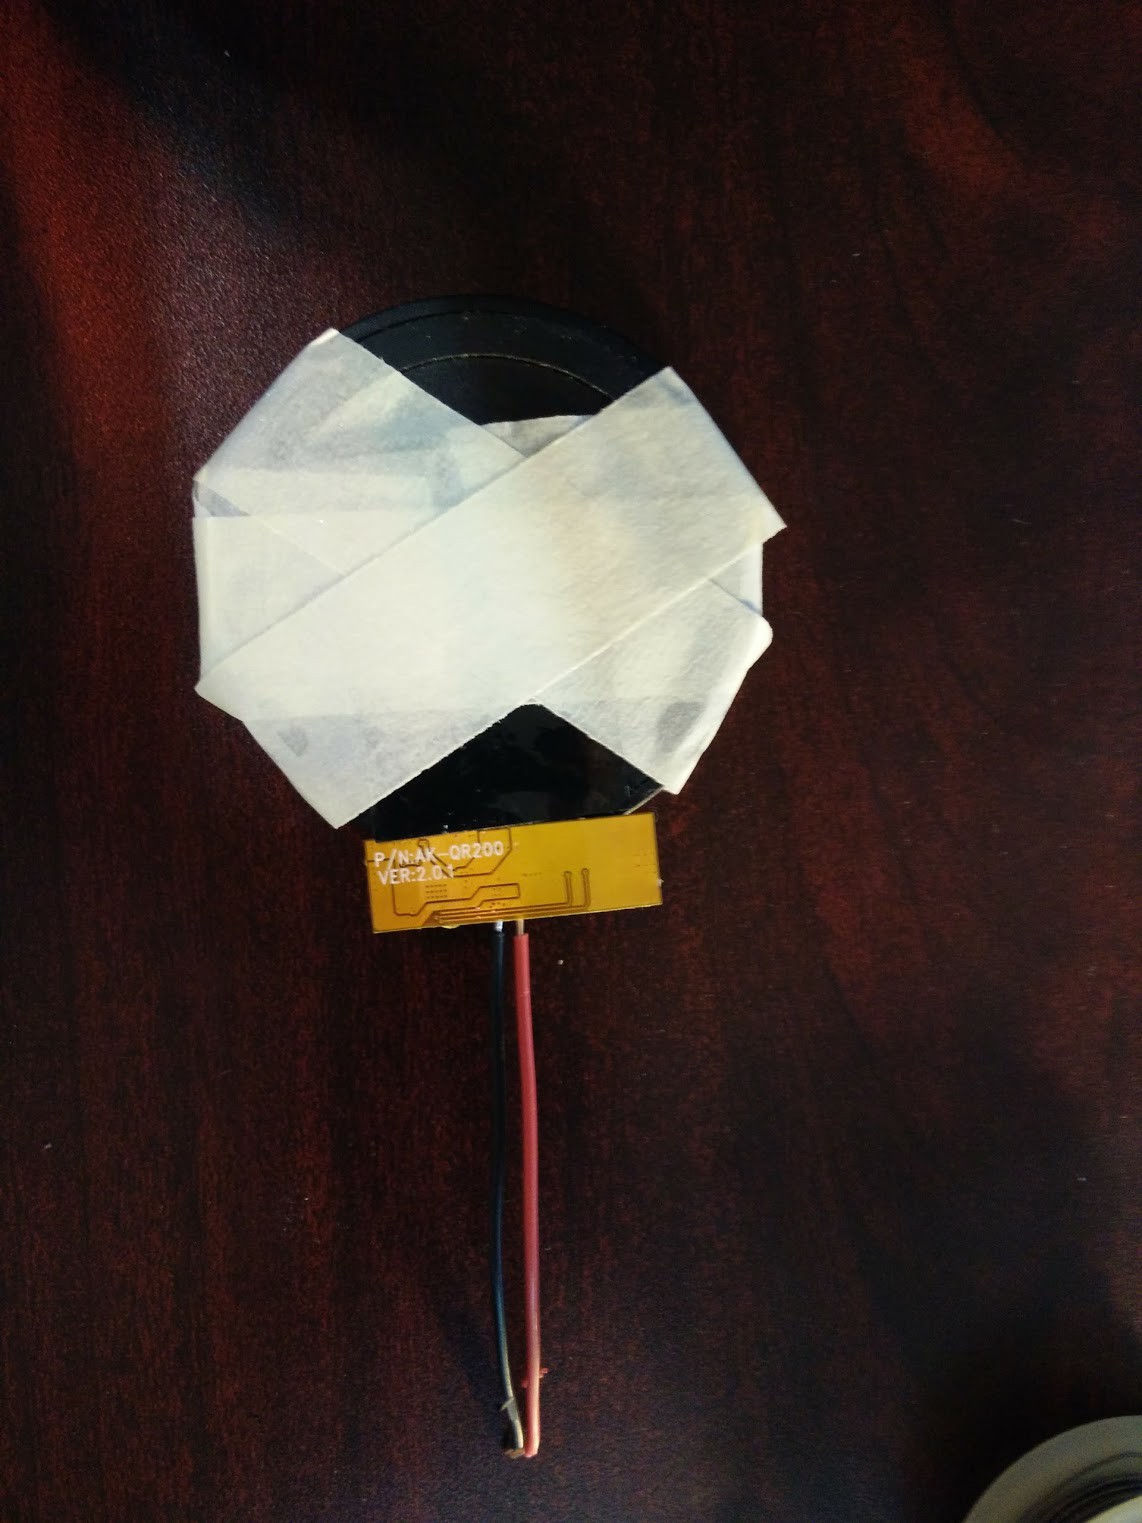
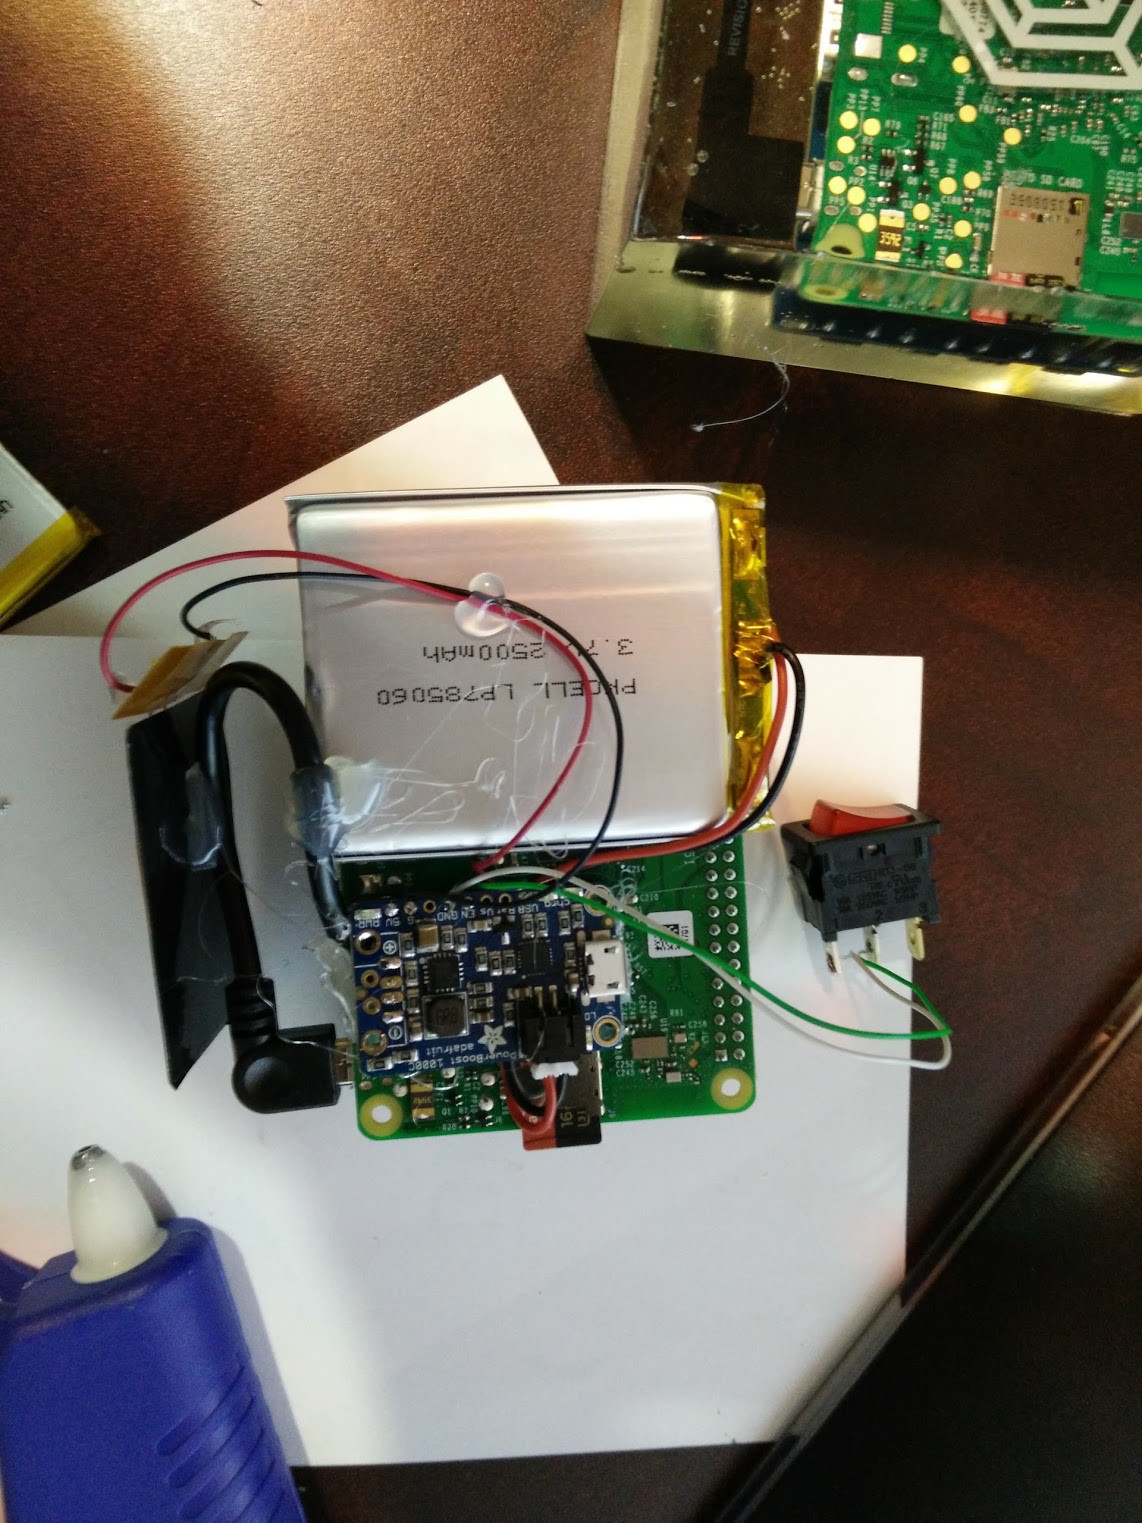
I had a few Qi charging pads lying around from phones with this capability, so I got a Qi receiver coil (and a handy power regulator and battery charging circuit from Adafruit). I threw a battery in as well because if you're going wireless, you might as well make something you can pick up and hold while it's working.
I fumbled around a lot while testing out that circuit -- trying to keep a multimeter lined up with it while keeping the coil lined up with the charging pad was a huge pain! It finally occurred to me that I could just tape the coil to the charging pad while I was working on it and things went much more smoothly from then on.
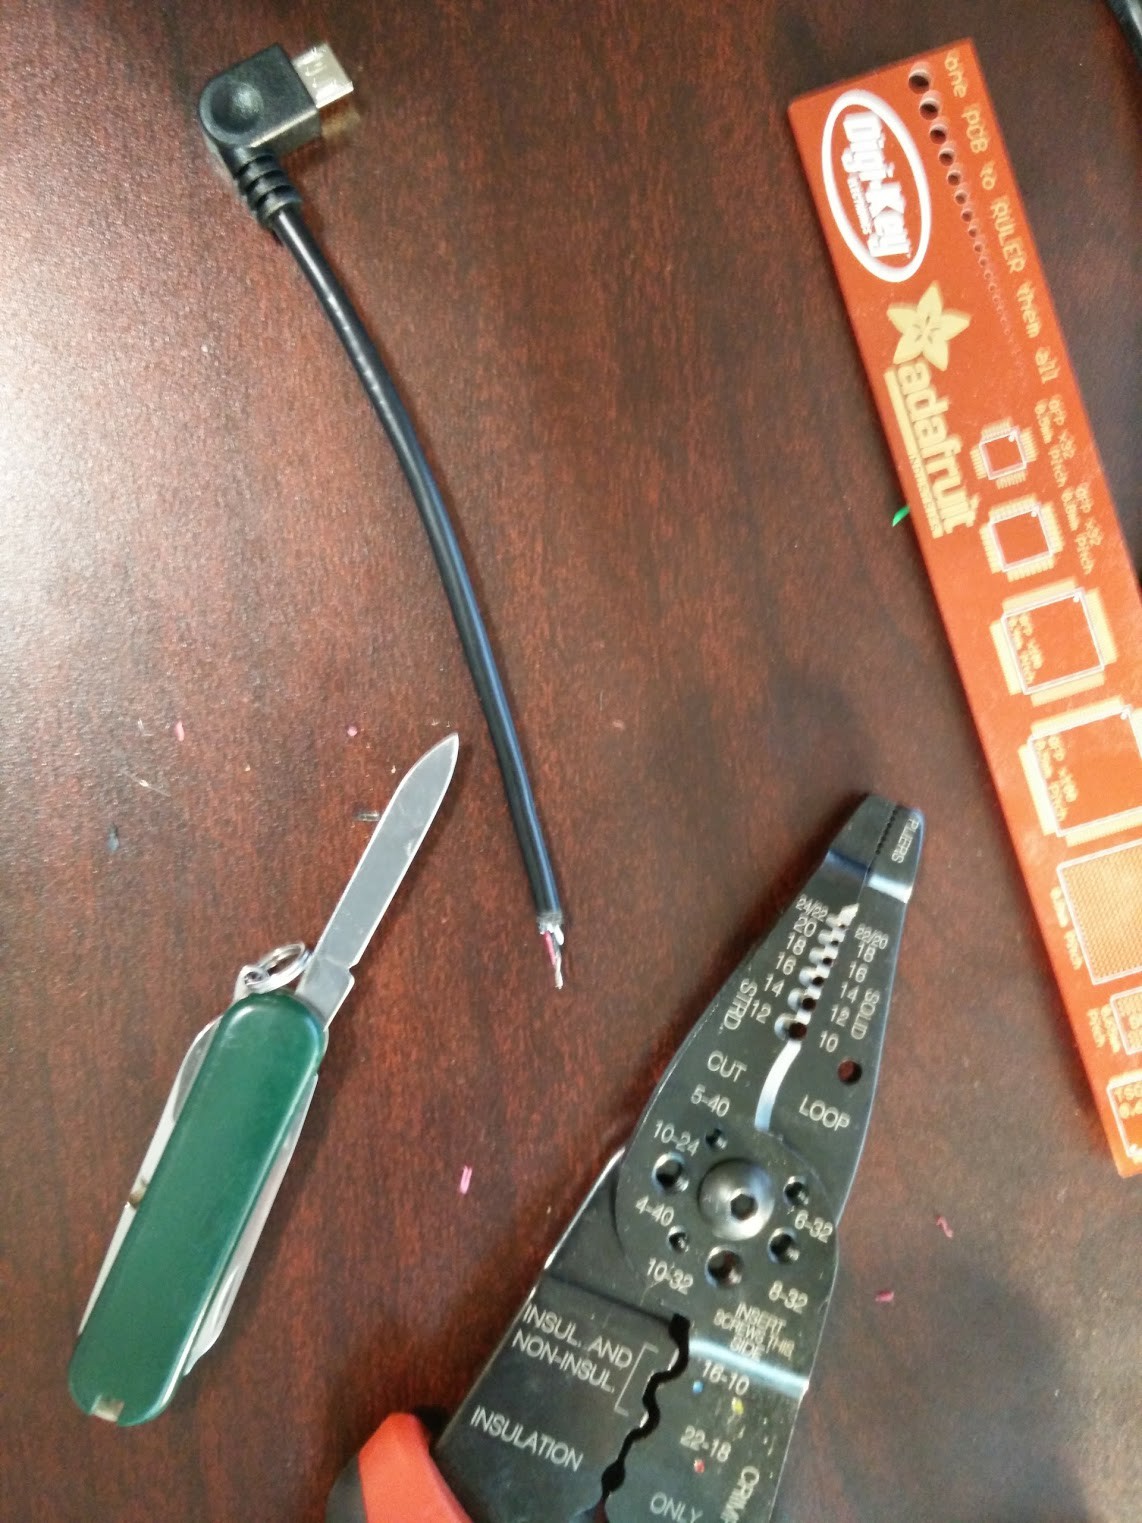
My intended design was to have a micro USB cable in the power input of the Pi, strip the ends of that and solder them directly to the power regulator, and plug the battery in to give it portability. So I started by verifying that that setup worked.
I had to strip the inner wires of the USB cable with a small knife as my wire strippers wouldn't go that small. (Somehow cutting up a USB cable felt... wrong. It wasn't that tough to do physically but it was emotionally difficult!)
Everything worked just as I had expected. But there was one more thing I needed to try: starting up from a completely dead battery. Without any external way to disable the Pi, it would have to run until the battery died every time it was charged.
This turned out to be bad news. The Pi would power up when put on the Qi charger, but the 500mA that it provided wasn't quite enough to boot up with the display attached. It would start booting, get partway there, and then die (right about the time it tried to initialize the WiFi, I think.) After watching it struggle for 10 minutes and not make it all the way on, I realized I would have to include a power switch so that the battery could charge for a few minutes before turning on the Pi. (Handily, the functionality to turn off the device pulling power but still allow the battery to charge is already provided by the charging circuit I had.)
This was disappointing because I wanted to have this thing completely sealed, but a single switch flush with the outside wouldn't be the end of the world.
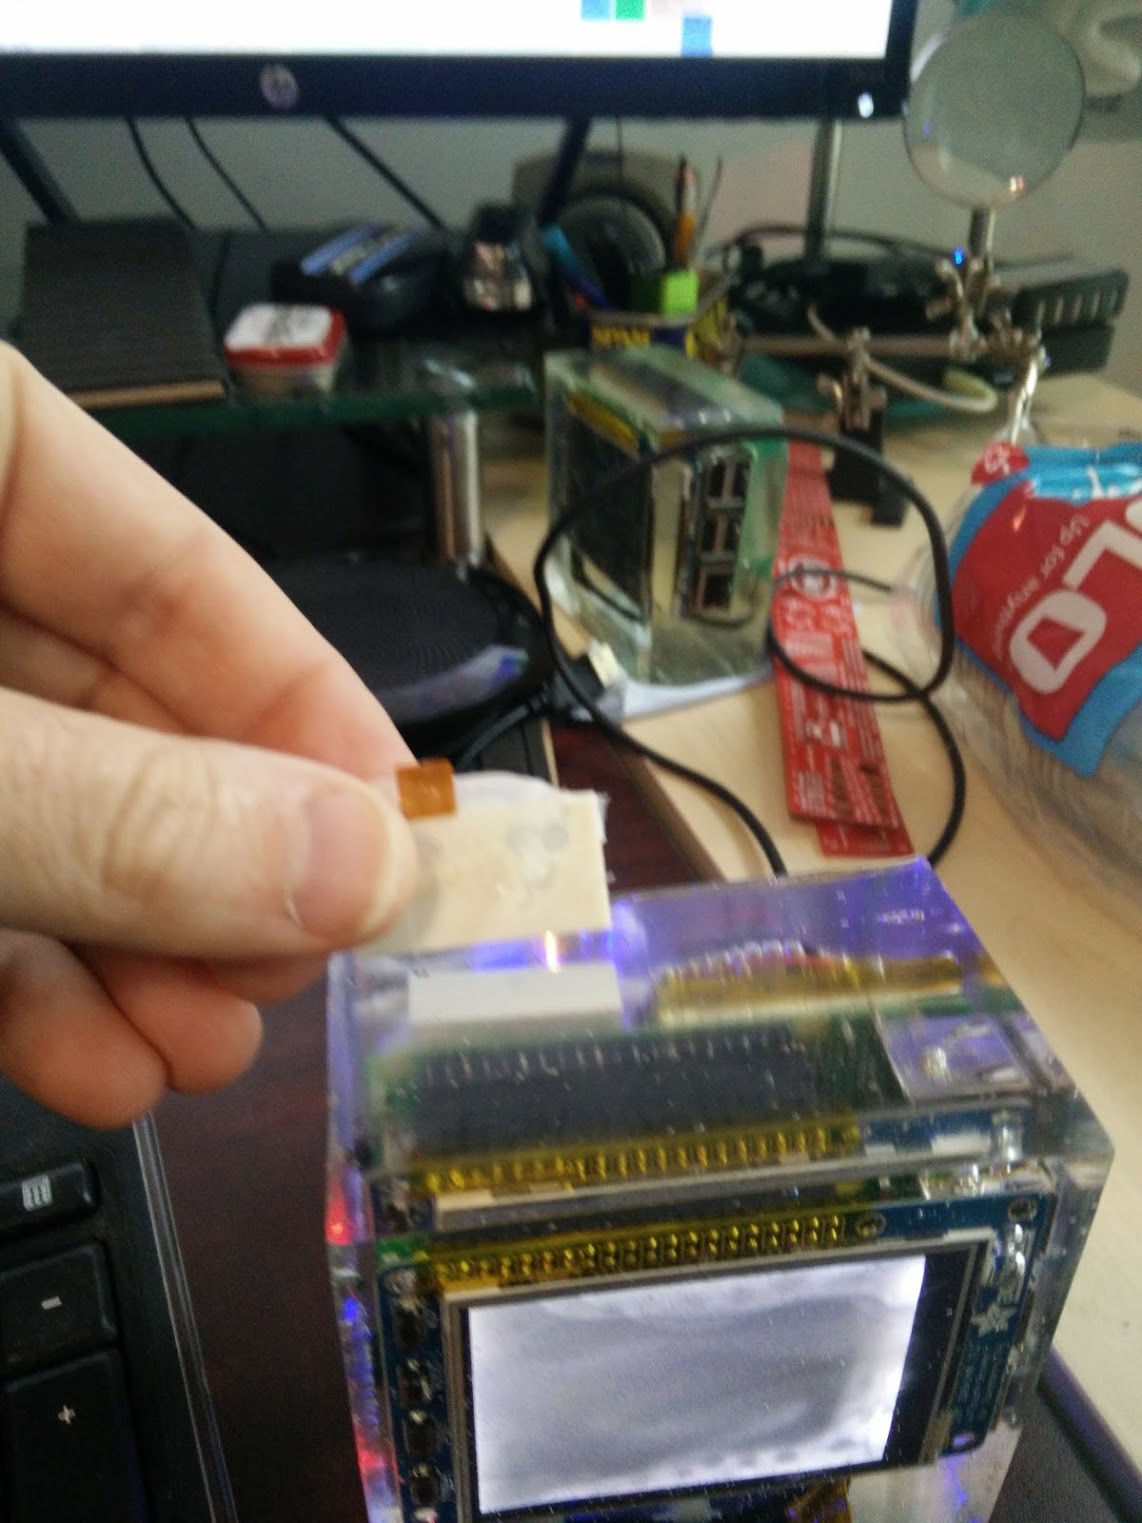
I headed out to see a movie with a friend of mine and chewed on the problem on the walk there. I had a feeling that there must be something that would keep me from having to put a power switch on the outside. I thought about various circuits involving solar cells and flashlights, or photoresistors... but then I realized I had a magnetic reed switch sitting in a pile of parts at home! As long as the magnetic field was strong enough to work through a centimeter or so of epoxy I'd be all set!
The next morning I ripped out the switch and replaced it with a reed switch and started casting.
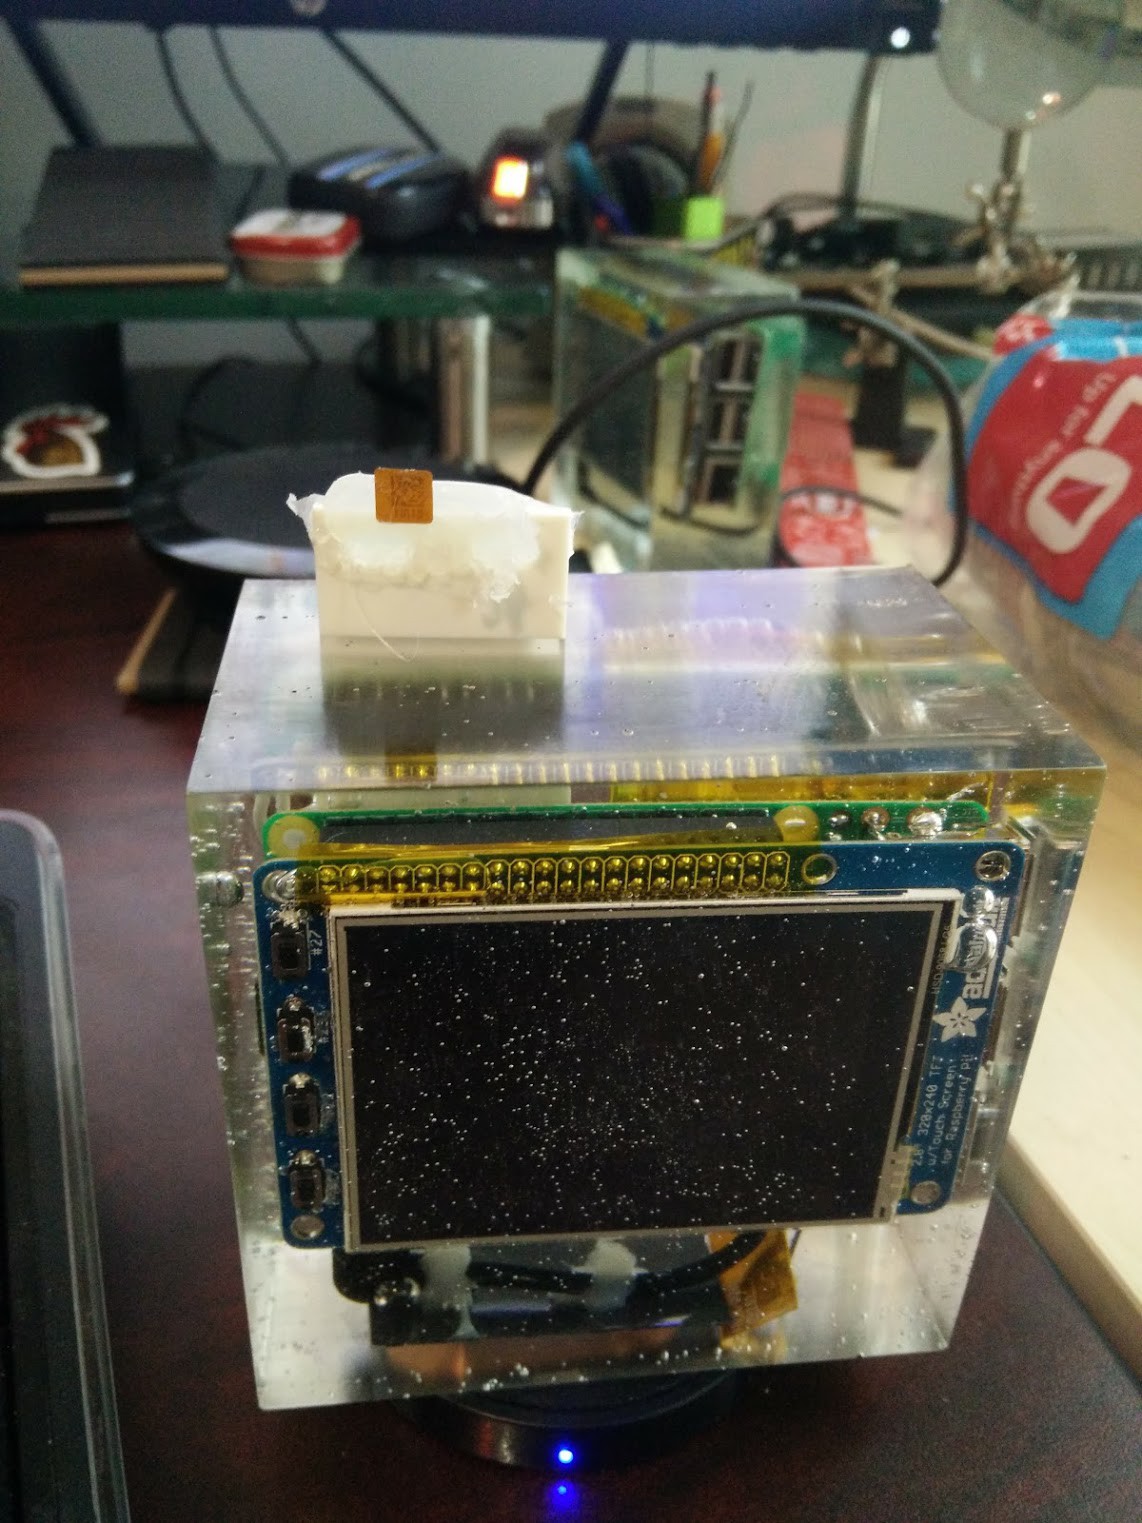
This was way more elegant than the physical switch and would be easier to keep lined up in the epoxy to boot. I was thrilled when it worked!
The only hiccup I ran into this time was that the epoxy loosened the hot glue enough that it didn't all stay in place while setting up. So I had slightly skewed components at the end. But that was okay with me, as I had a working, totally sealed Pi! It's hard to overstate how cool this was. :)
The magnetic switch worked perfectly too, letting me turn the Pi off long enough to charge a battery when it was dead.
 Lessons learned:
- Tape down wireless components while working with them and testing them.
- Epoxy will loosen hot glue, so use way more than you think you need if you want things to stay put.
- Magnets: how do they work? Well enough to pull a switch through epoxy!
Discussions
Become a Hackaday.io Member
Create an account to leave a comment. Already have an account? Log In.
Your resin-in-resin is just brilliant advertising. It really does make one see the power and trust of your software to load and reload without fear.
Are you sure? yes | no
Cheers! :)
Are you sure? yes | no
Adding a piece of ferrous metal at a right angle to the reed switch might allow you to move a small neodymium magnet from the reed switch side and store it on the next side. Drill a recessed hole and dig it out when needed? Maybe even drill 3 more magnet holes the the unit can be stuck on a refrigerator (ferrous flat surface).
Very cool idea.
Are you sure? yes | no
Great idea! That's honestly better than my other ideas that involved trying to leave a notch cut out in the epoxy to store the magnet. I'll have to bear that in mind for the next build!
Are you sure? yes | no