VIDEO DEMONSTRATION
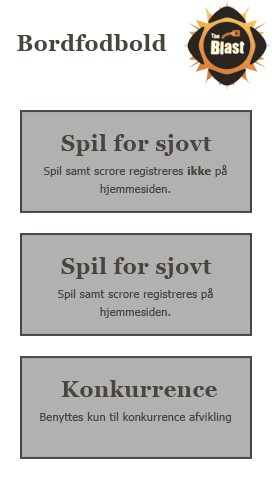
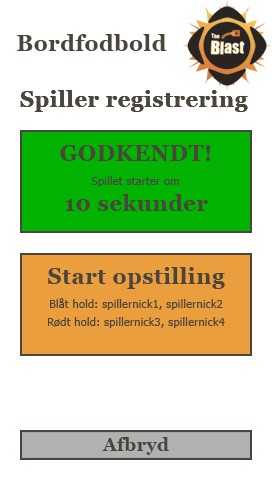
PLAYER REGISTRATION
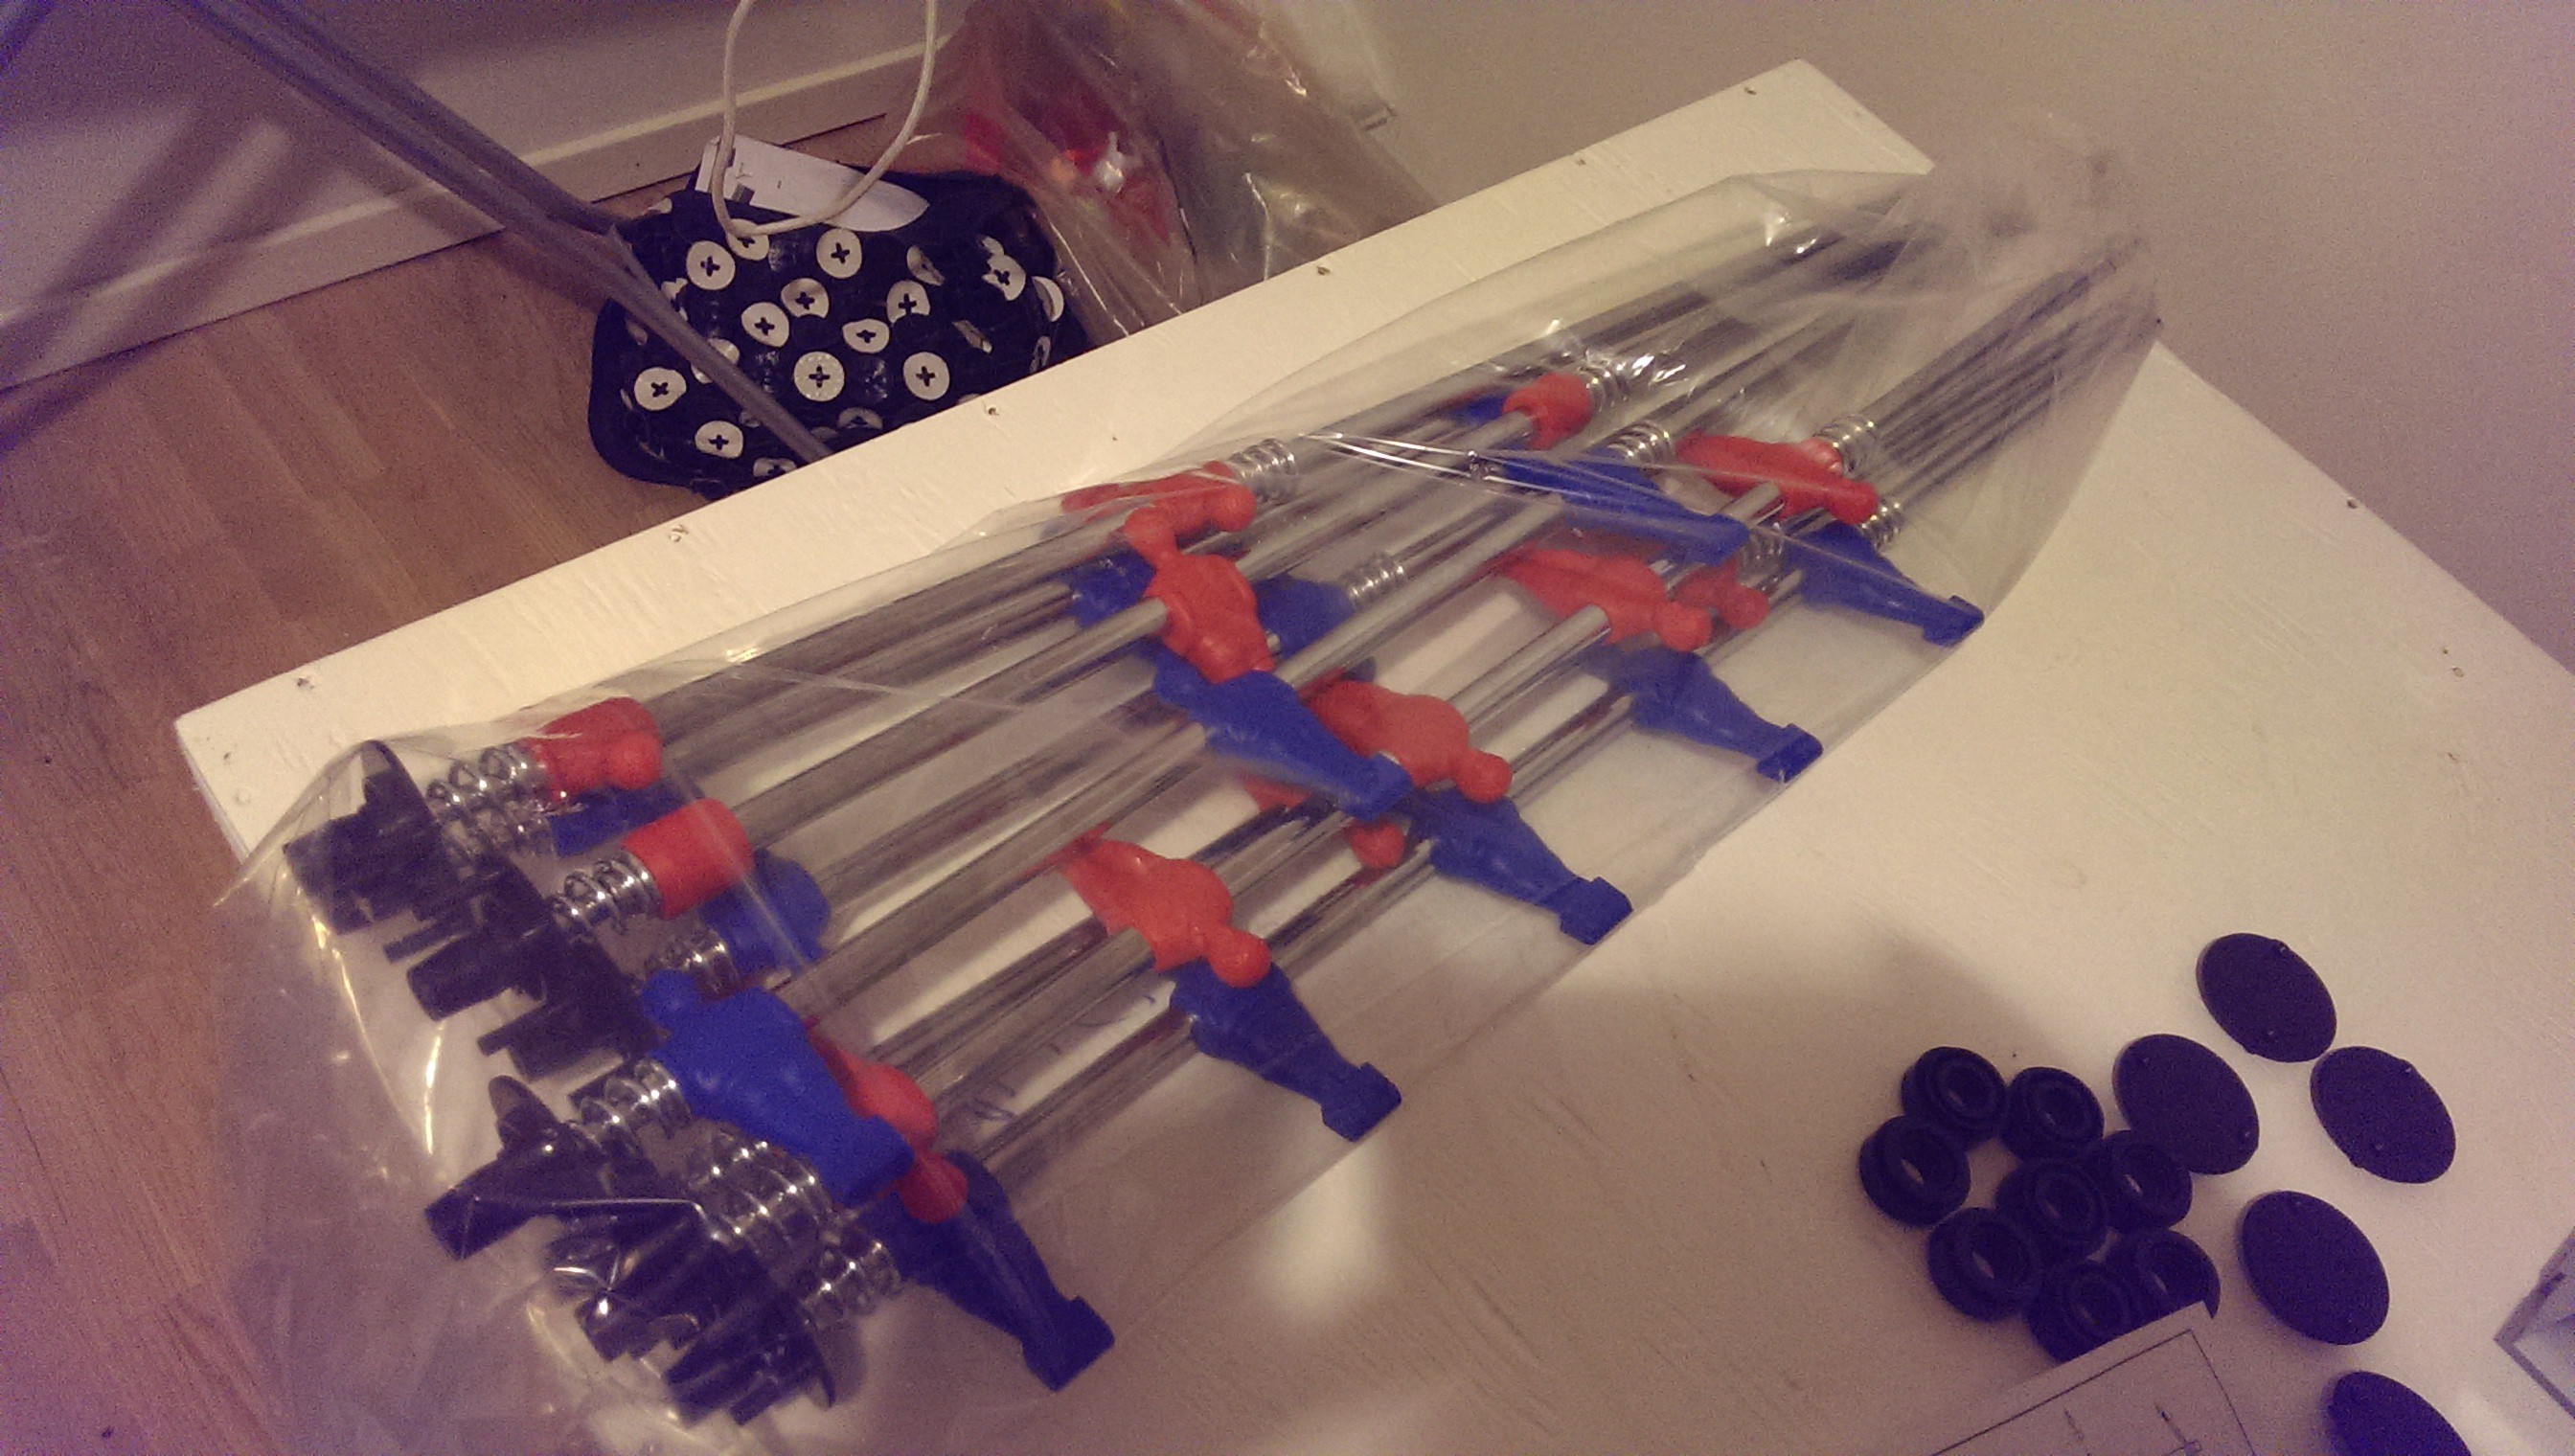
The table itself is just a normal soccer table usually seen in bars and game arcades.
Most soccer tables comes with a coin insert, though we didn't want our users at the LAN event to pay. Instead we wanted them to scan their name-tag with a unique barcode, handed to them at check-in. This way we could register the users playing and show the names of these on the event homepage.
To scan the barcode we decided to use a UART laser barcode scanner module, WDL3000, from Winson that we could mount in the side of the table. By drilling a grove in the side of the table the users could scan their card by putting it into this slide.
Connection wise the barcode scanner had a connector with the required UART lines, power lines and an enable line so the scanner could be turned in when required.
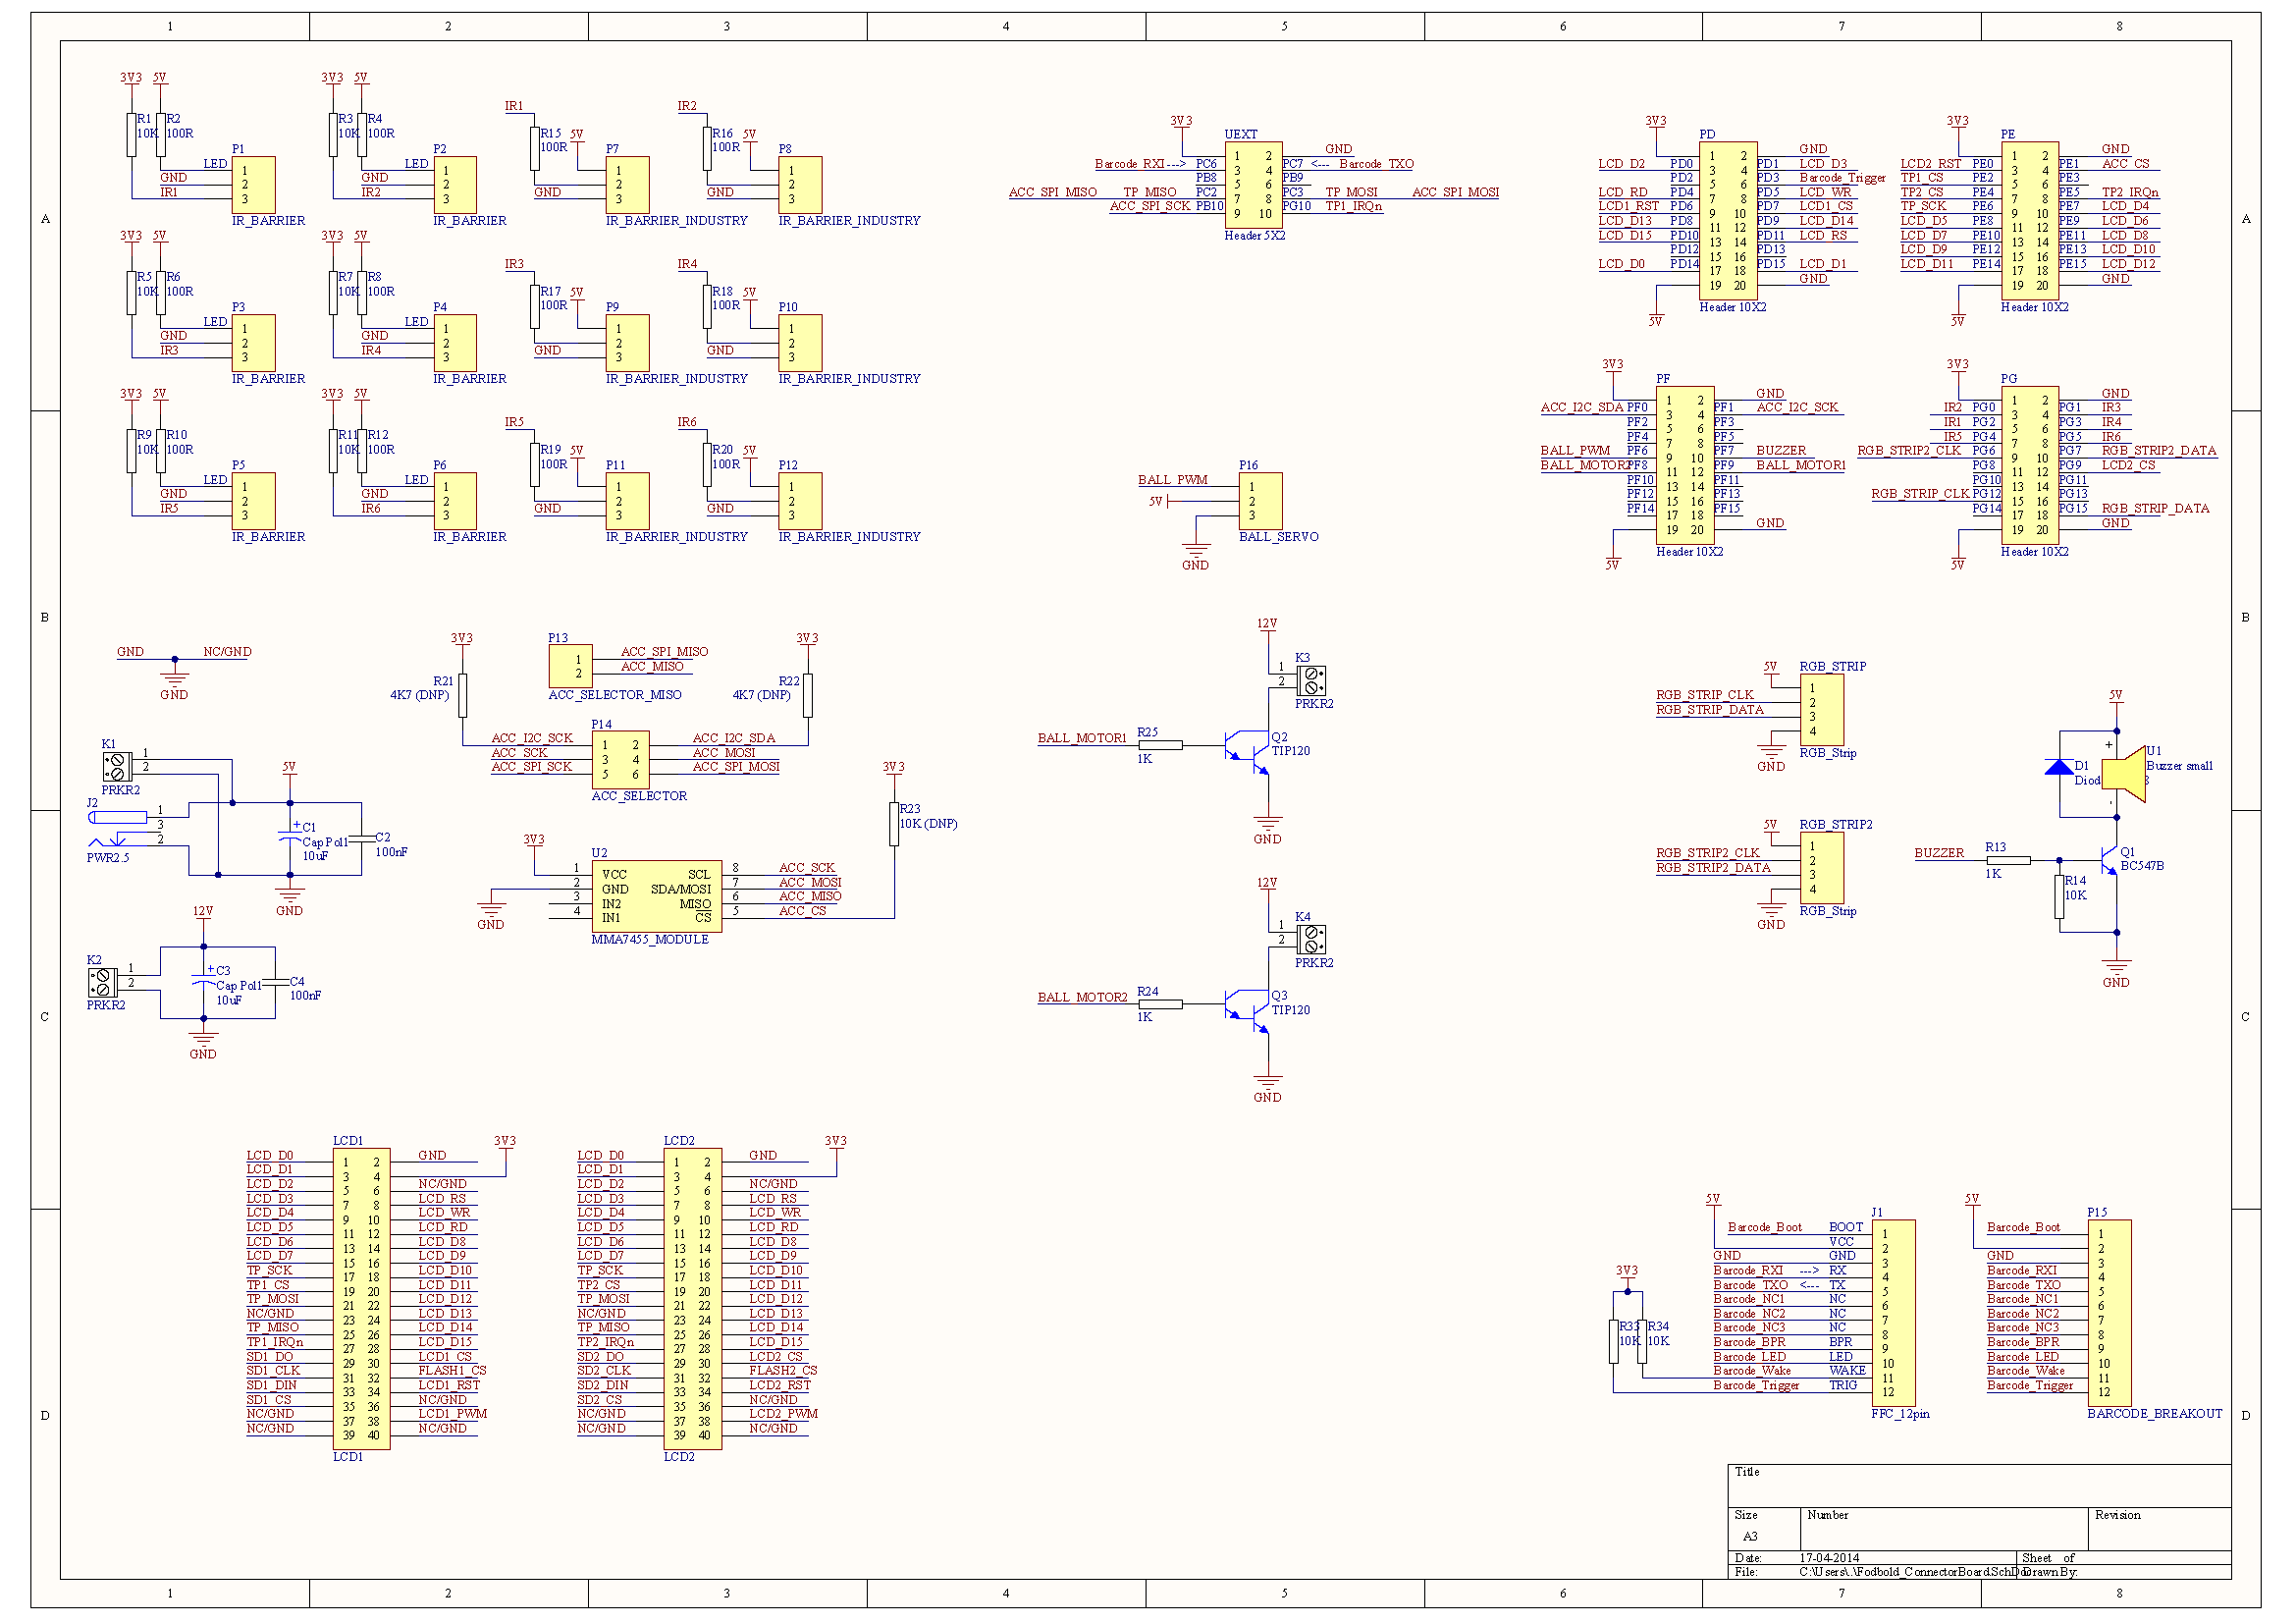
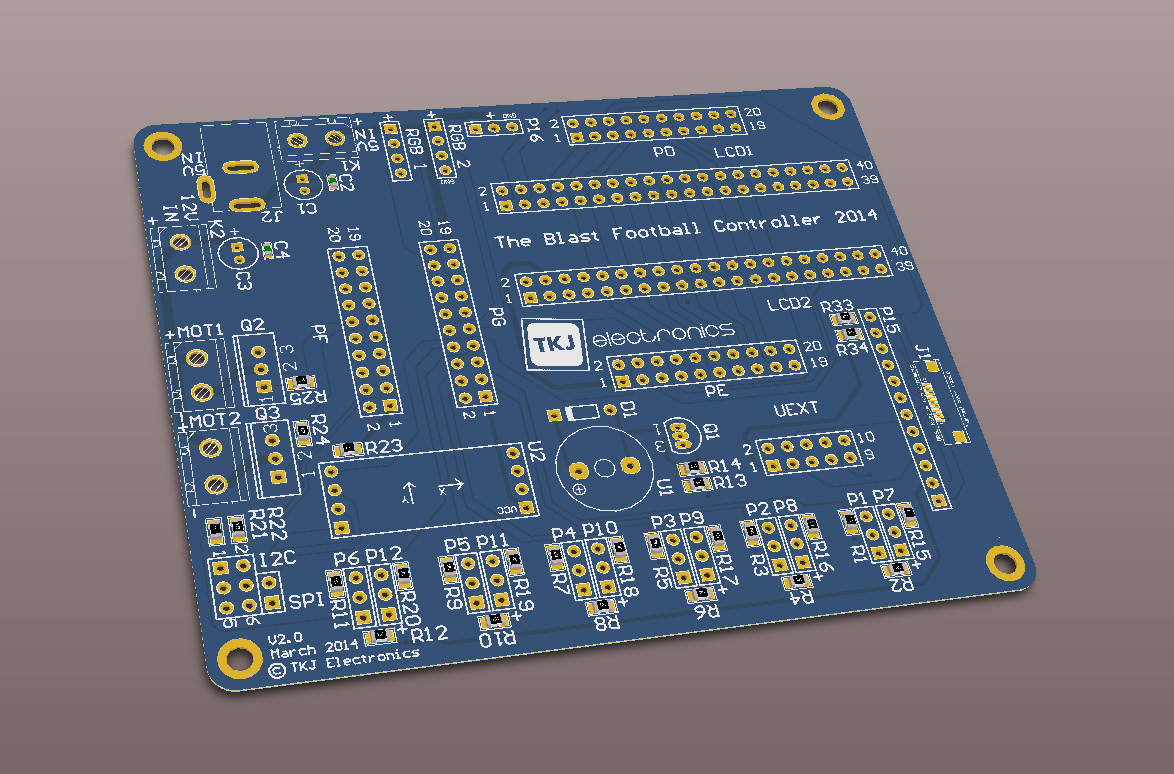
CONNECTOR BOARD SCHEMATIC
Before going into further details about the features of our IoT soccer table let me first present the connector board schematic which will work as our system design.
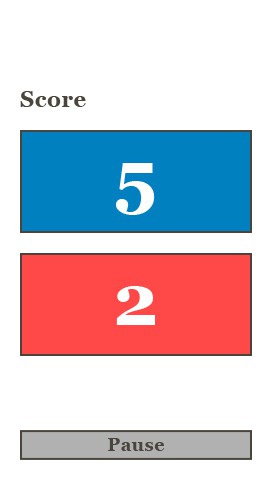
SCORE REGISTRATION
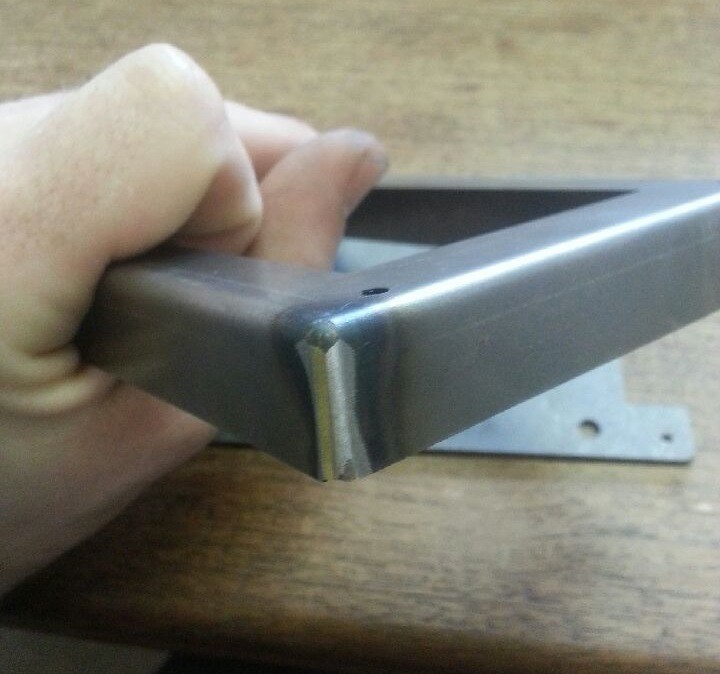
One of the main features of an internet enabled soccer table has to be the ability to register the scores online.
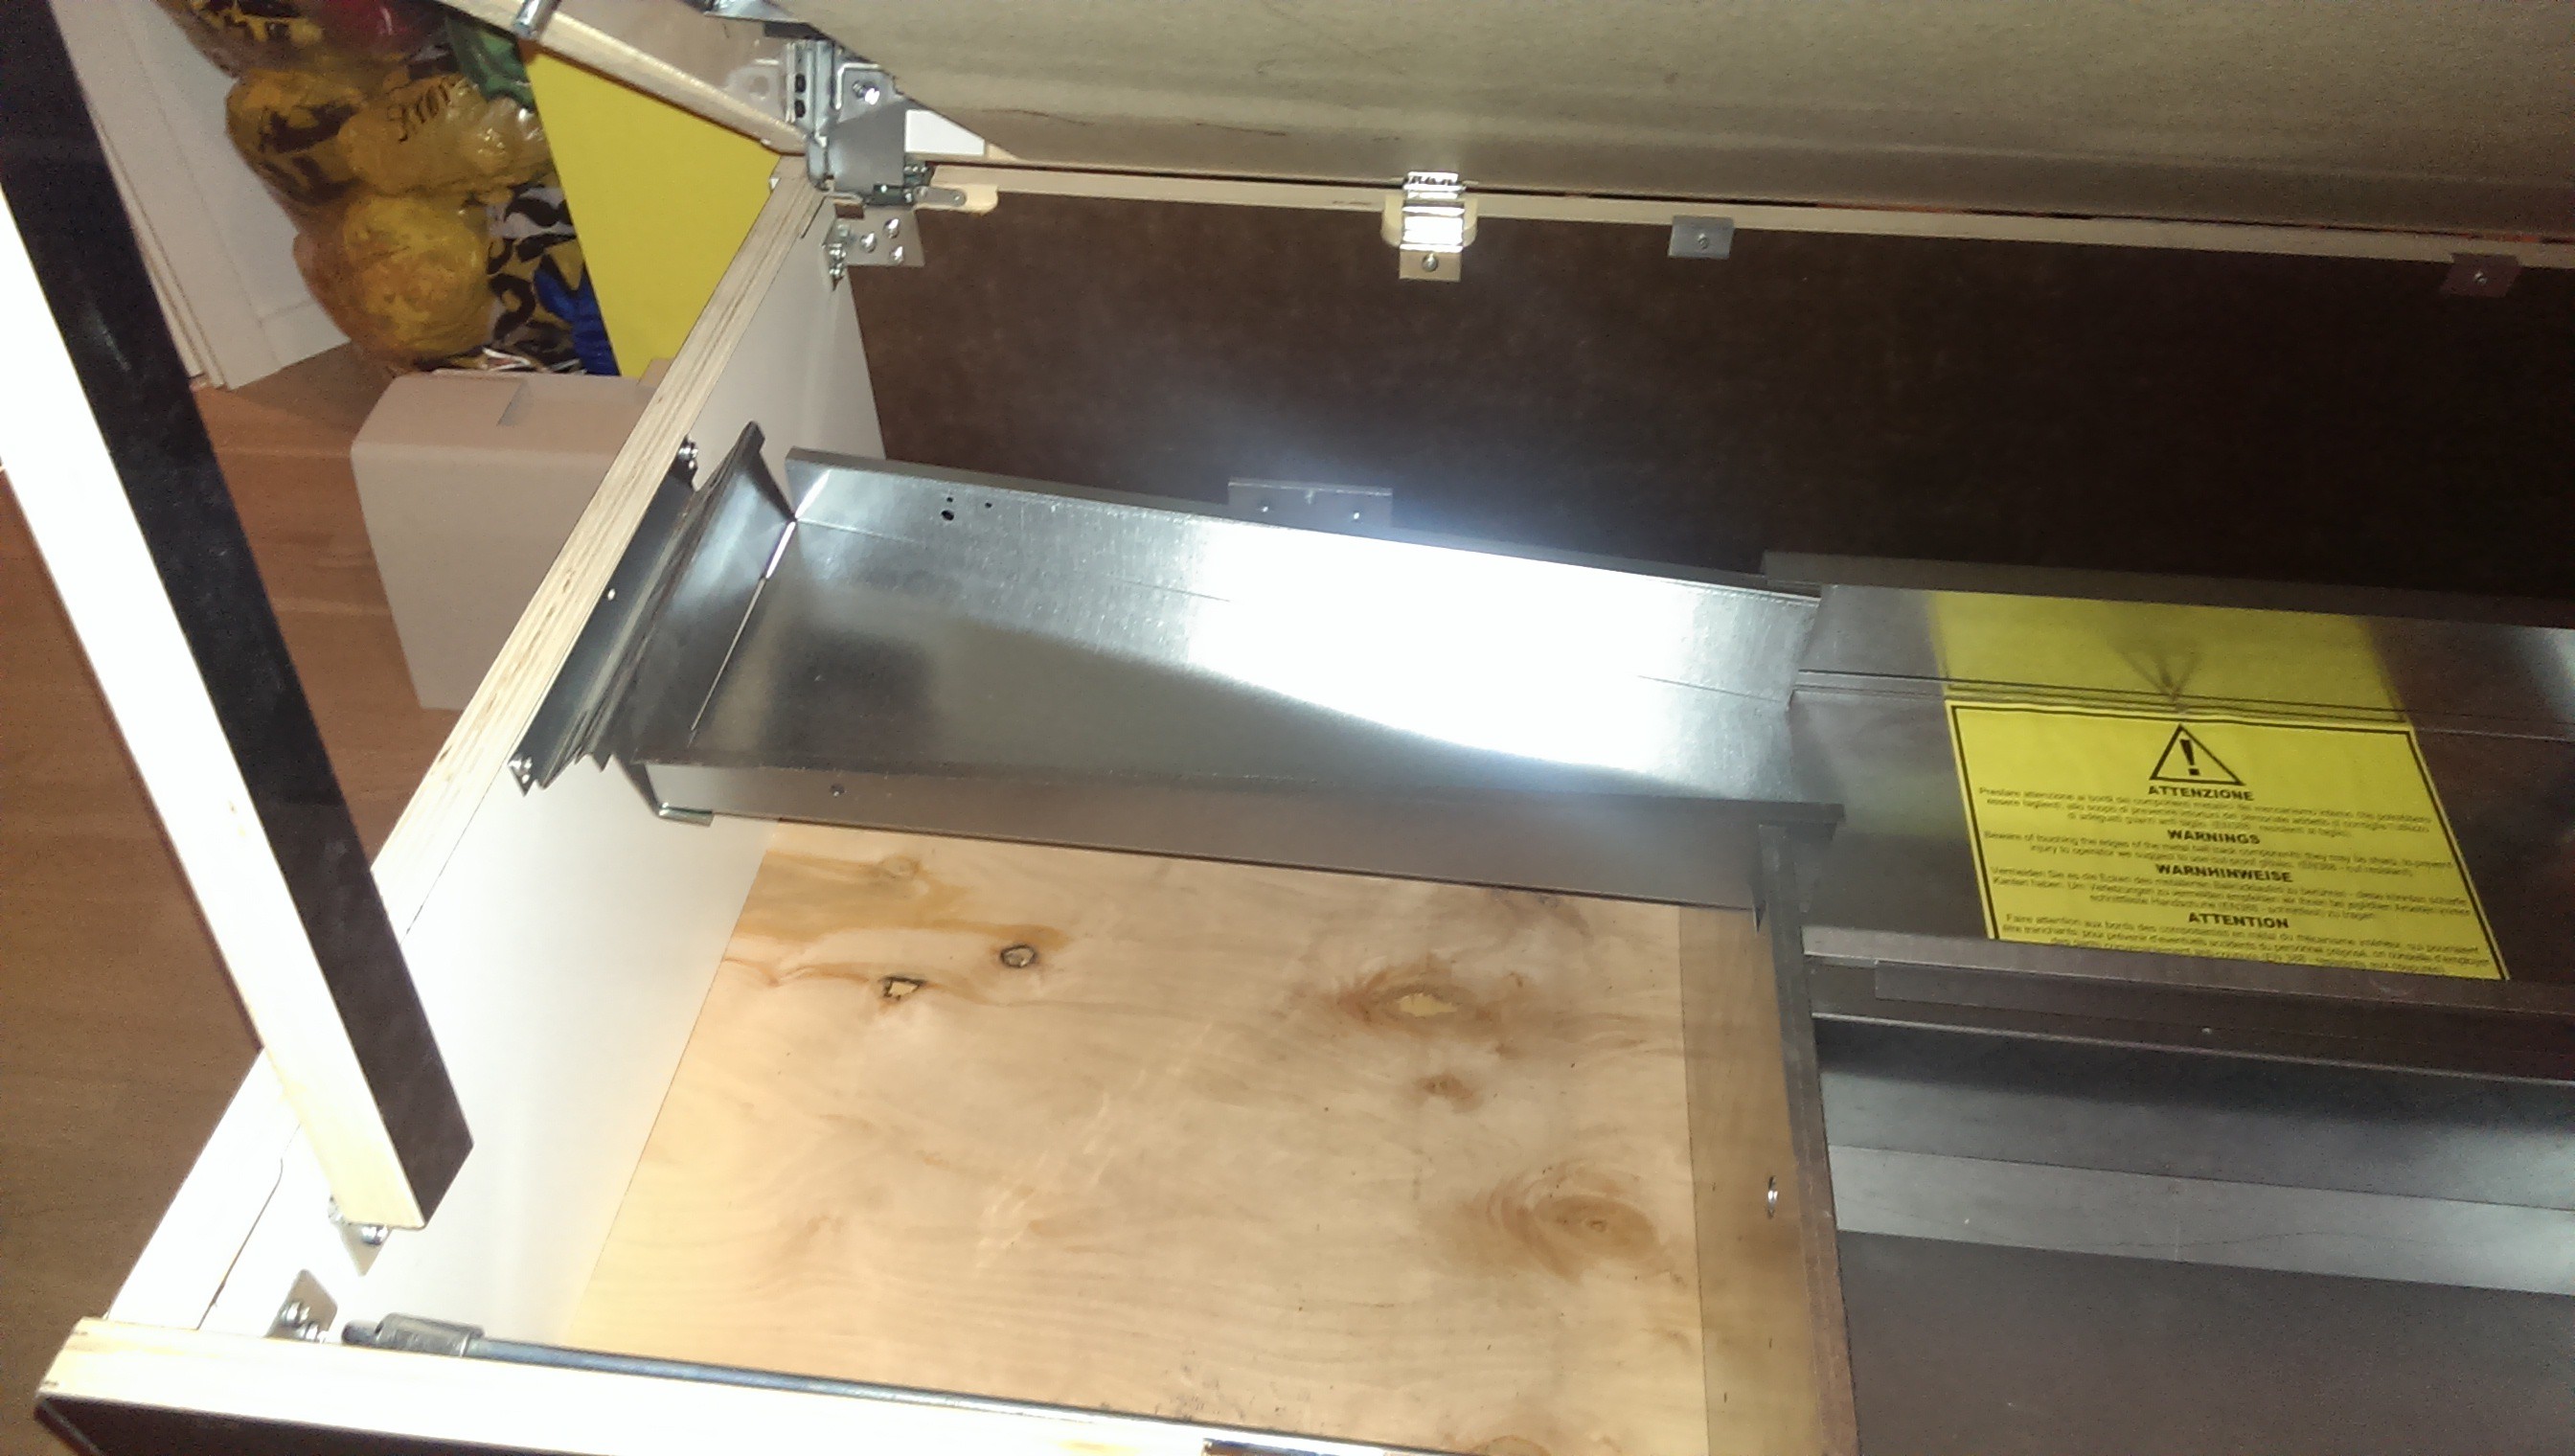
To allow this we had to do quite an extensive mechanical modification to the aluminium slides in each end of the table.
By installing either a barrier or object detector sensor in the sides of these slides it would be possible to detect the ball when scoring.
We decided to use a ready-to-use IR object detector sensor found on eBay, with tightening hole mount for easy install, which in general made the installation and connection a lot easier.
With a potentiometer on the back of the sensor the maximum detection distance can be set. Whenever an object comes within the set distance an output pin is pulled low, making it easy to detect the ball with any microprocessor.
Read more »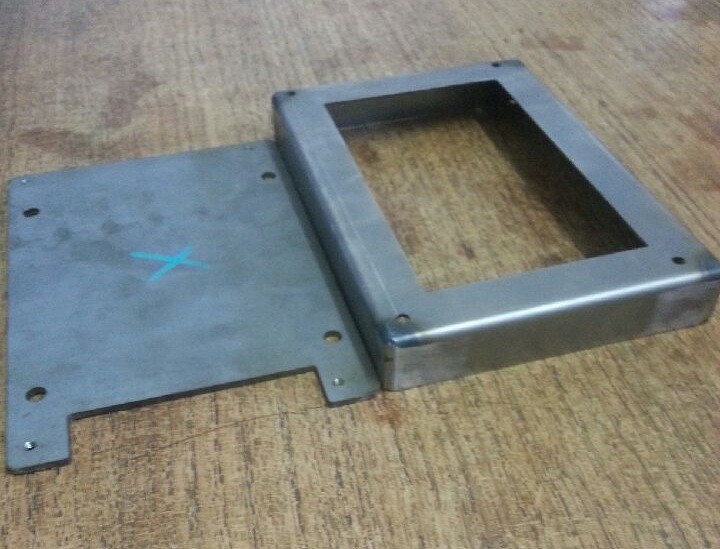


 John Basista
 daniel.bryand
 Ken Yap
 Chris Combs