watchzhong
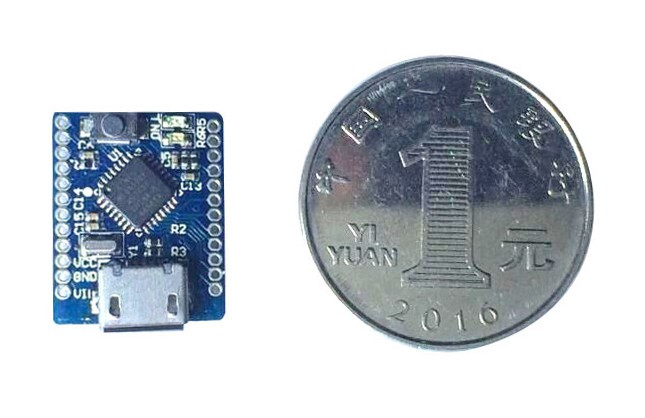
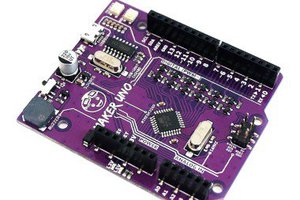
Tndunio Mini is a similar Arduino function of uno development board, but with the world's smallest size: 15*18mm, it is only 1/13.5 UNO of the volume of plate size, small but perfectly formed, fully compatible with Arduino UNO plate.
Tnduino Mini makes the application very simple, just like the ardunio uno.
Tnduino Mini is chea.
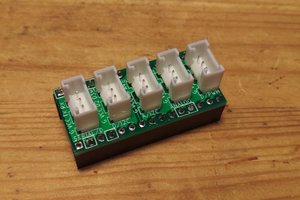
Tnduino Mini can extend the IO board, Tnduino_IO_SHIELD, and sensor board Tn_sensor, respectively, MPU9250, SHT20, BMP280, BH1750.
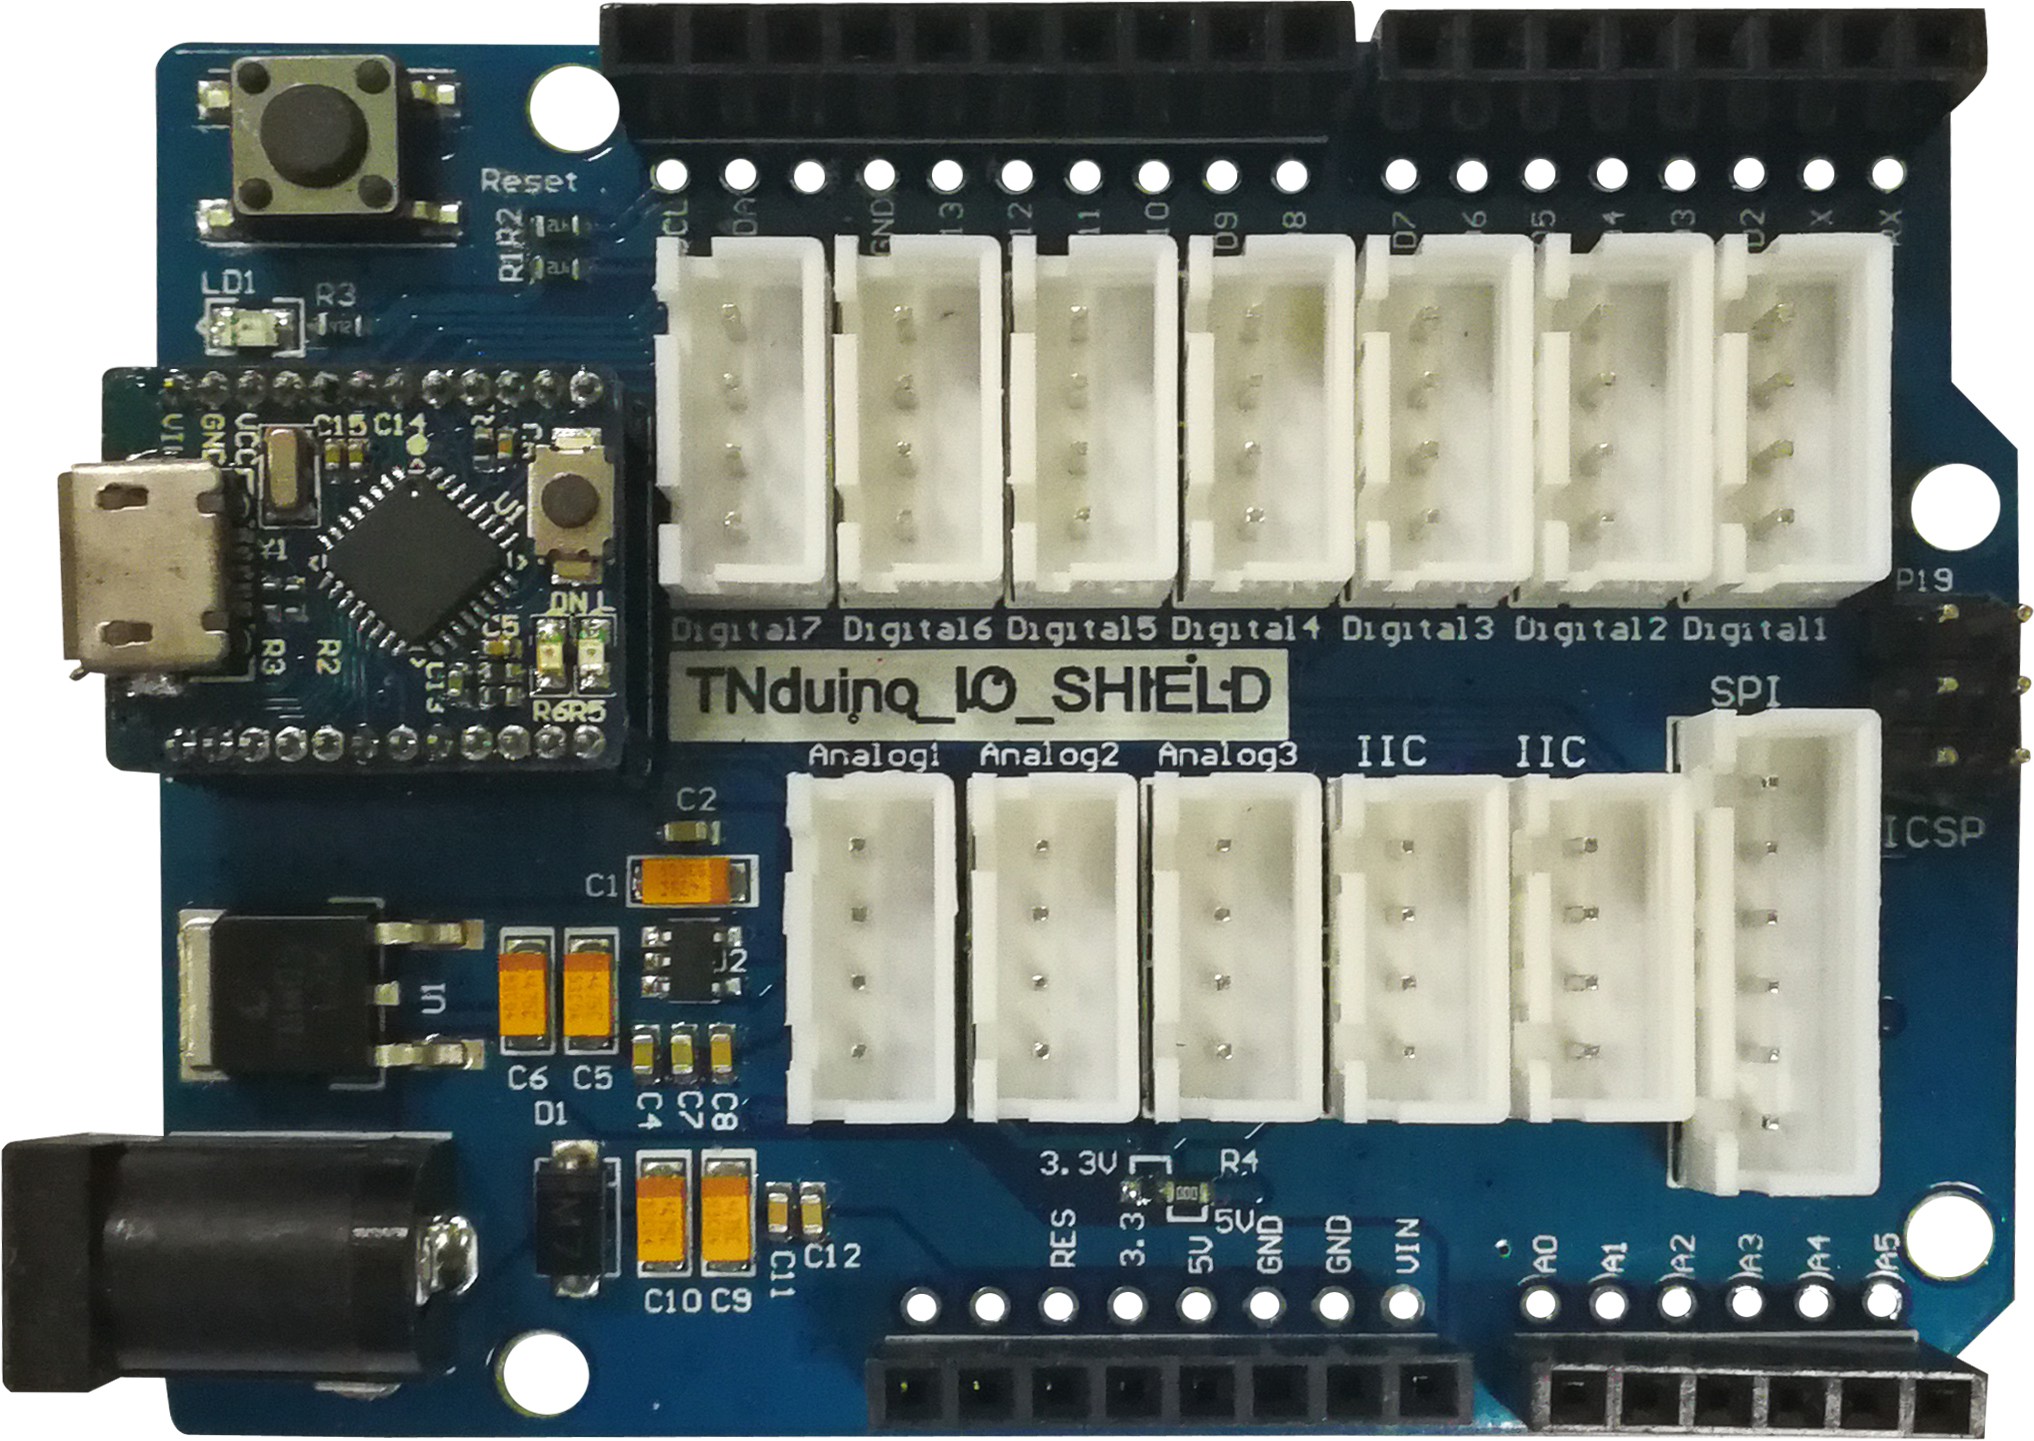
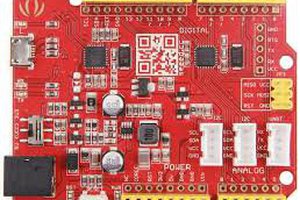
Tnduino_IO_SHIELD can be compatible with Arduino uno, so the expansion template, while reserving a rich IO interface, more convenient for extended use.
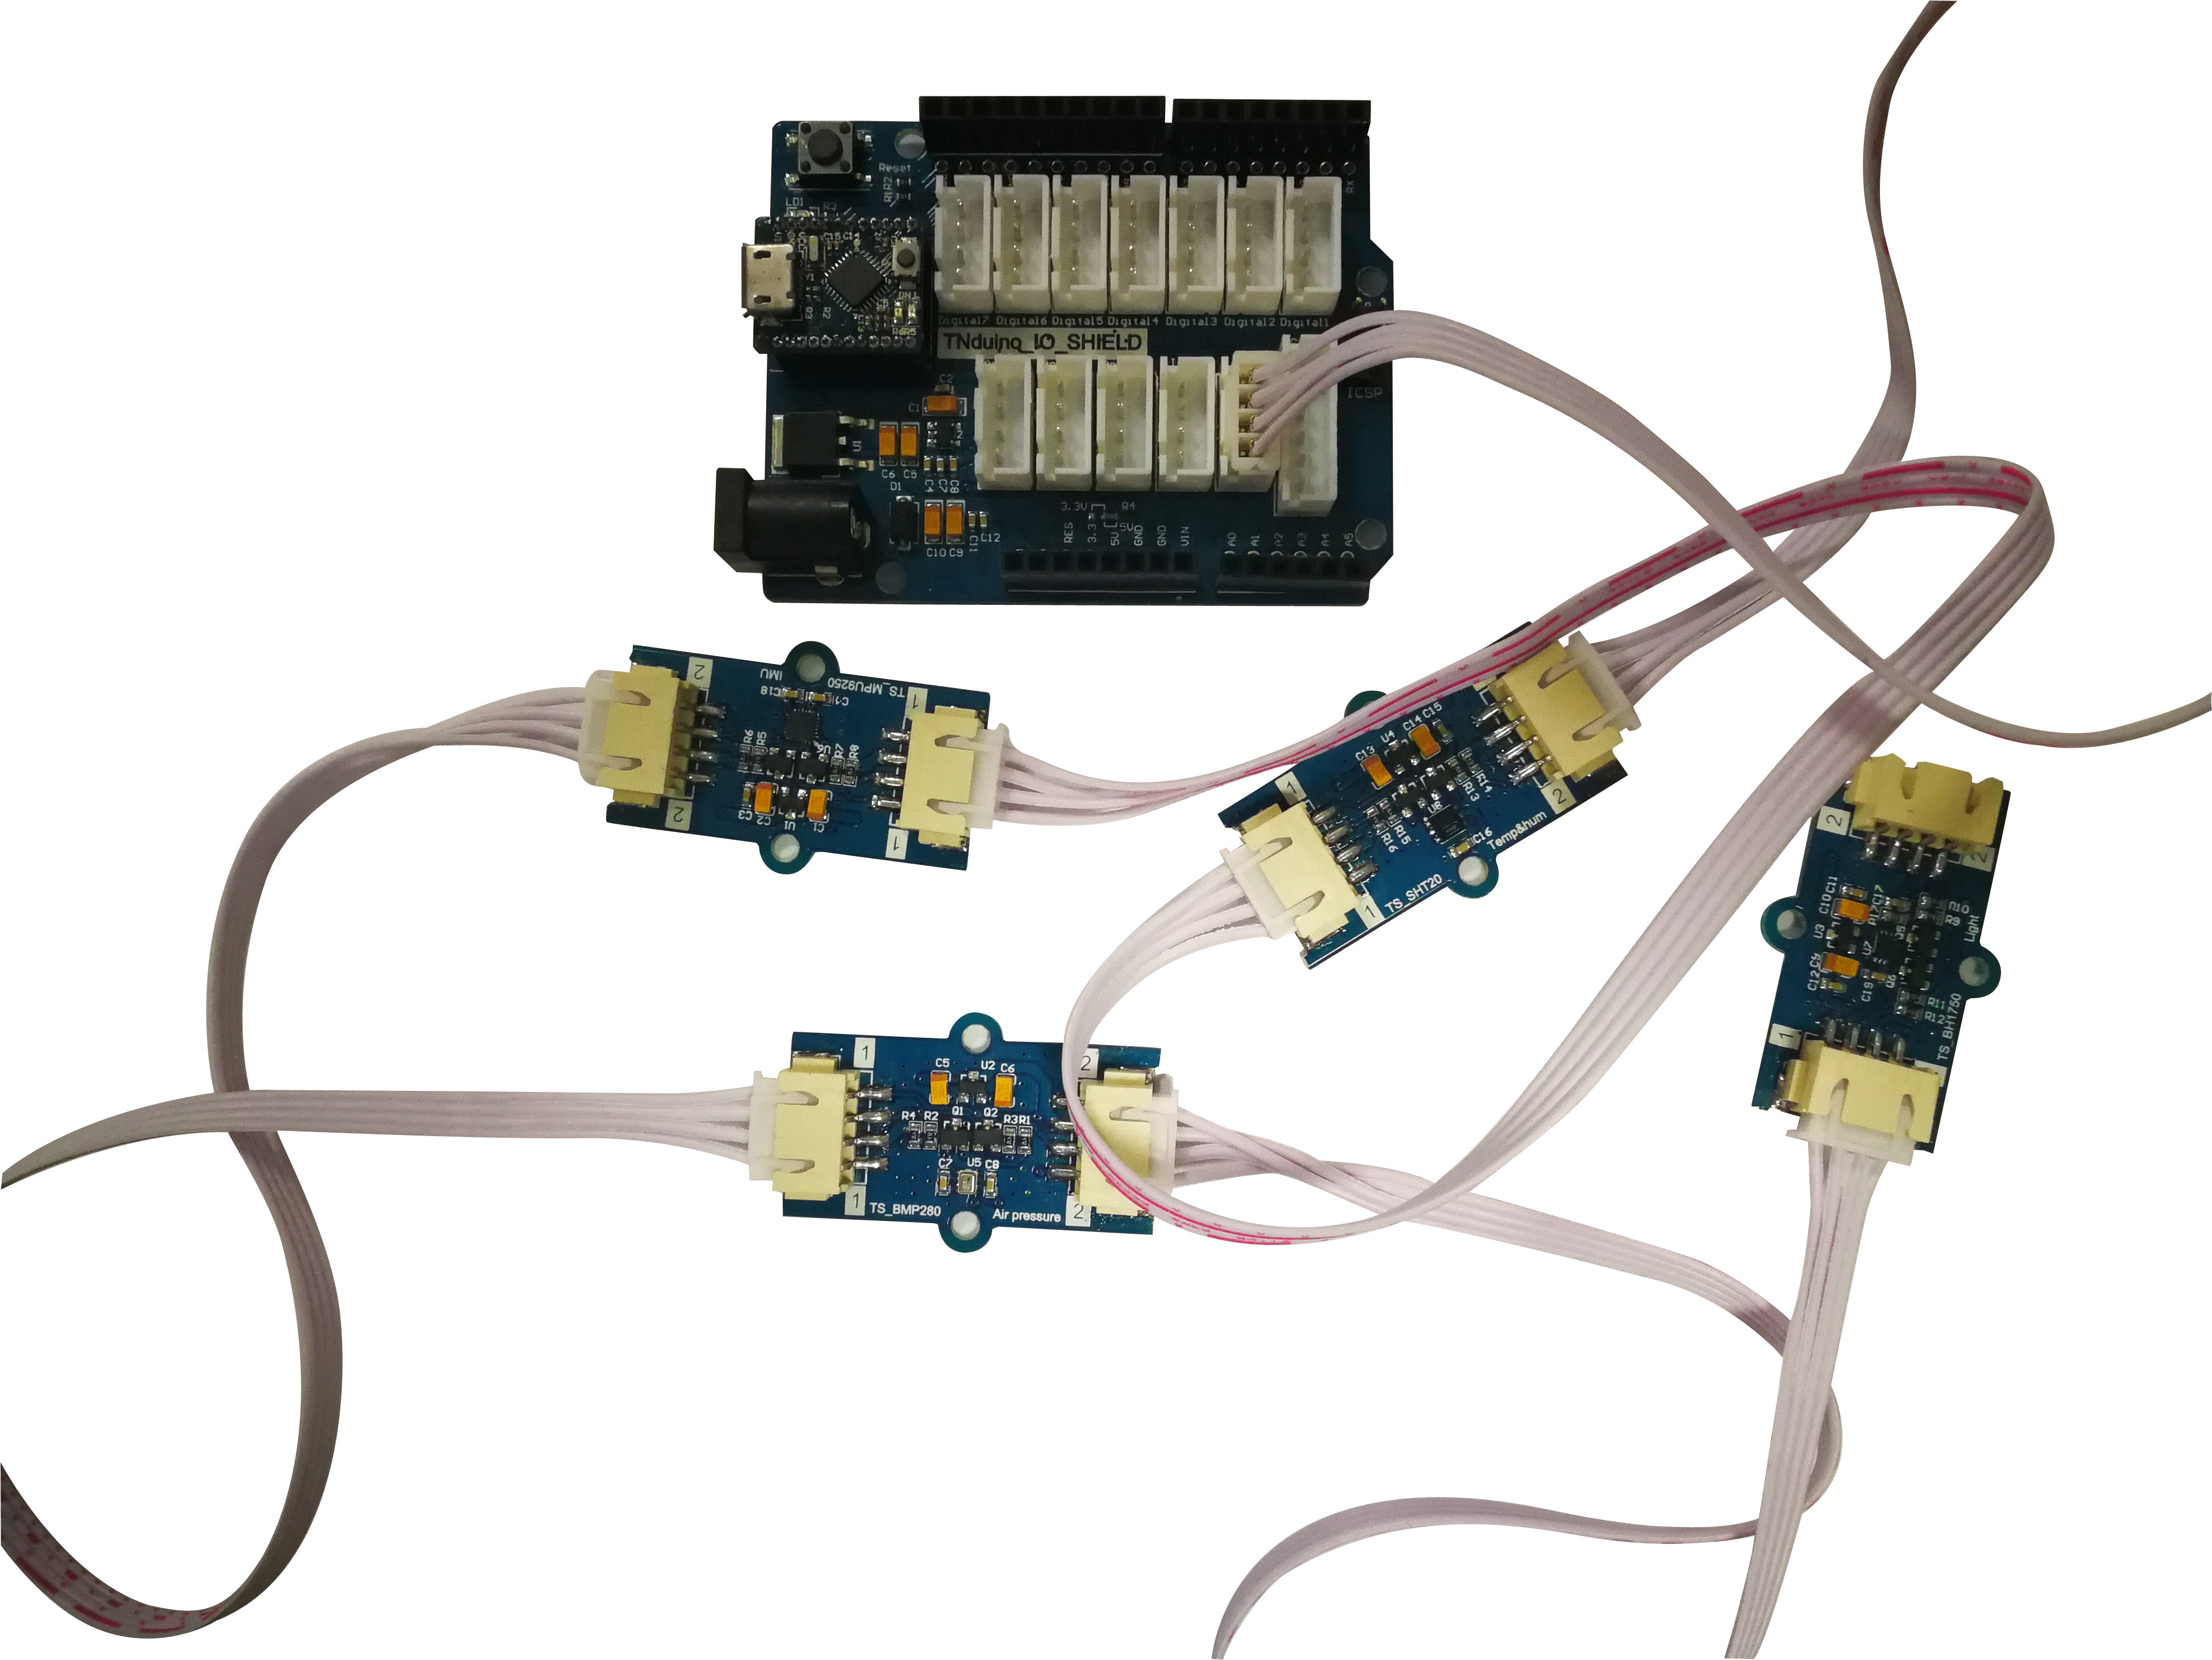
The Tn_sensorx sensor module with Tnduino_IO_SHIELD expansion board, through the I2C interface uninterrupted connection of various sensors, without additional wiring, at the same time, we hope to reduce the difficulty of development, make more access to the hardware field of learning, later we will slowly increase more types of sensors, build a easy to develop accessible free wiring electronic module ecosystem.
Tndunio mini Technical specs
Microcontroller | ATmega328P-MU |
USB CHIP | FT230XQ |
Operating Voltage | 5V |
Input Voltage (recommended) | 7-12V |
Digital I/O Pins | 14 (of which 6 provide PWM output) |
PWM Digital I/O Pins | 6 |
Analog Input Pins | 6 |
DC Current per I/O Pin | 20 mA |
Flash Memory | 32 KB (ATmega328P) |
SRAM | 2 KB (ATmega328P) |
EEPROM | 1 KB (ATmega328P) |
Clock Speed | 16 MHz |
LED_BUILTIN | 13 |
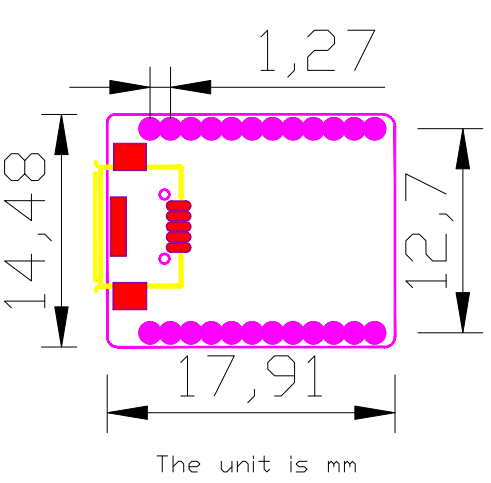
Length | 18 mm |
Width | 15 mm |
Weight | 2 g |
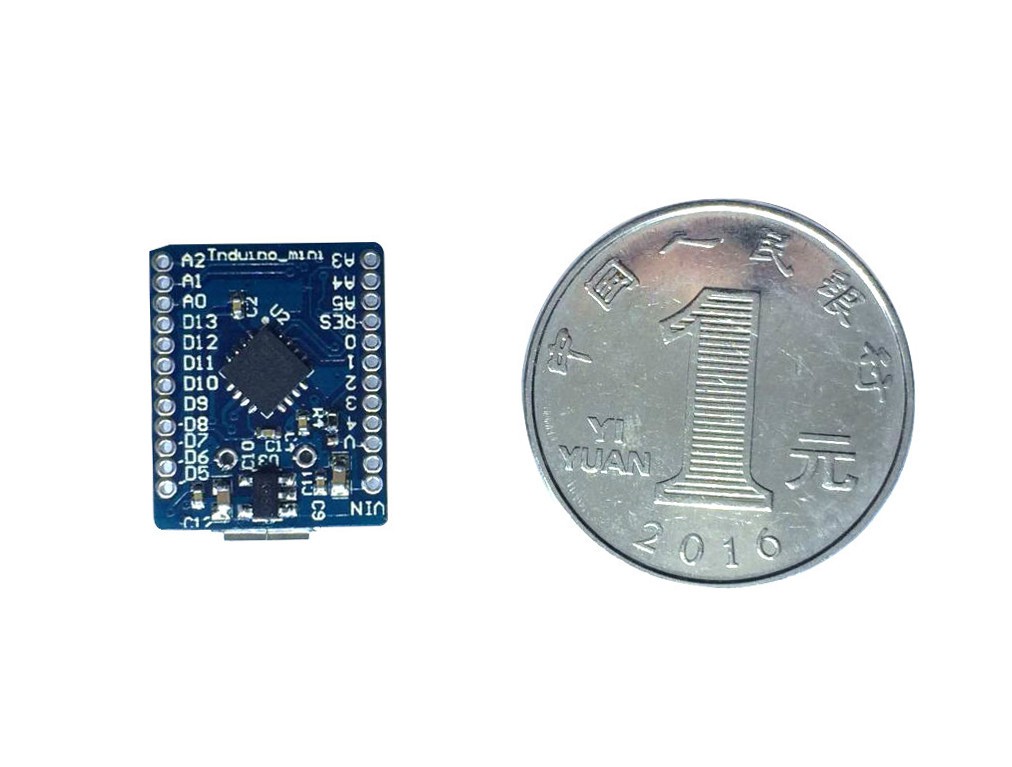
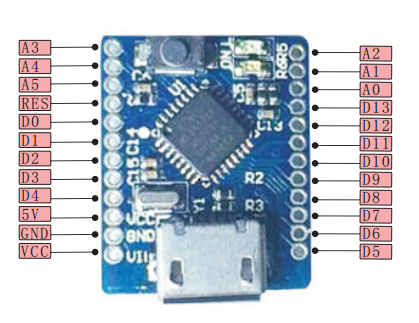
Tnmini Pin Mapping

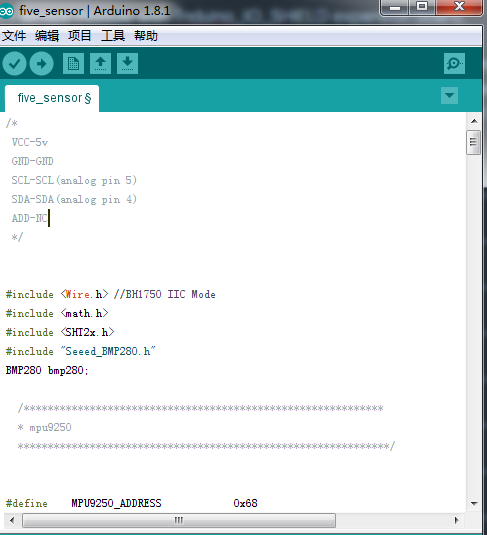
Running software: Arduino IDE
Getting Started with Tnmini
1.Use your Tnmini on the Arduino Desktop IDE
2.Connect your Tnmini board with an Micro USB cable;
3.Install the board drivers
4. Open your first sketch
Open the LED blink example sketch: File > Examples >01.Basics > Blink.
5.Select your board type and port
You'll need to select the entry in the Tools > Board menu that corresponds to your Tnmini board
Select the serial device of the board from the Tools | Serial Port menu. This is likely to be COM3 or higher (COM1 andCOM2 are usually reserved for hardware serial ports). To find out, you can disconnect your board and re-open the menu; the entry that disappears should be the Arduino or Genuino board. Reconnect the board and select that serial port
6.Upload the program
Now, simply click the "Upload" button in the environment. Wait a few seconds If the upload is successful, the message "Done uploading." will appear in the status bar
 Gergely Imreh
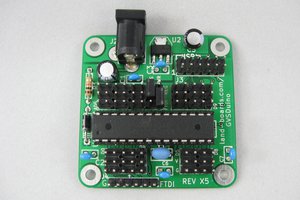
 land-boards.com