If I have one piece of advice I can offer about my experience thus far with the project enclosure, it would be to design your system whatever it may be to the enclosure, and not design your enclosure to your system. This is likely why I end up with projects sitting in cardboard boxes for years without ever finishing them even though they are electrically functional. Instead I've operated from the beginning with hand sketches of what the final product may look like, adding PCB holes for screws where they may possibly be, and ultimately having enclosure tolerances that I just can't meet without multiple iterations of the various pieces.
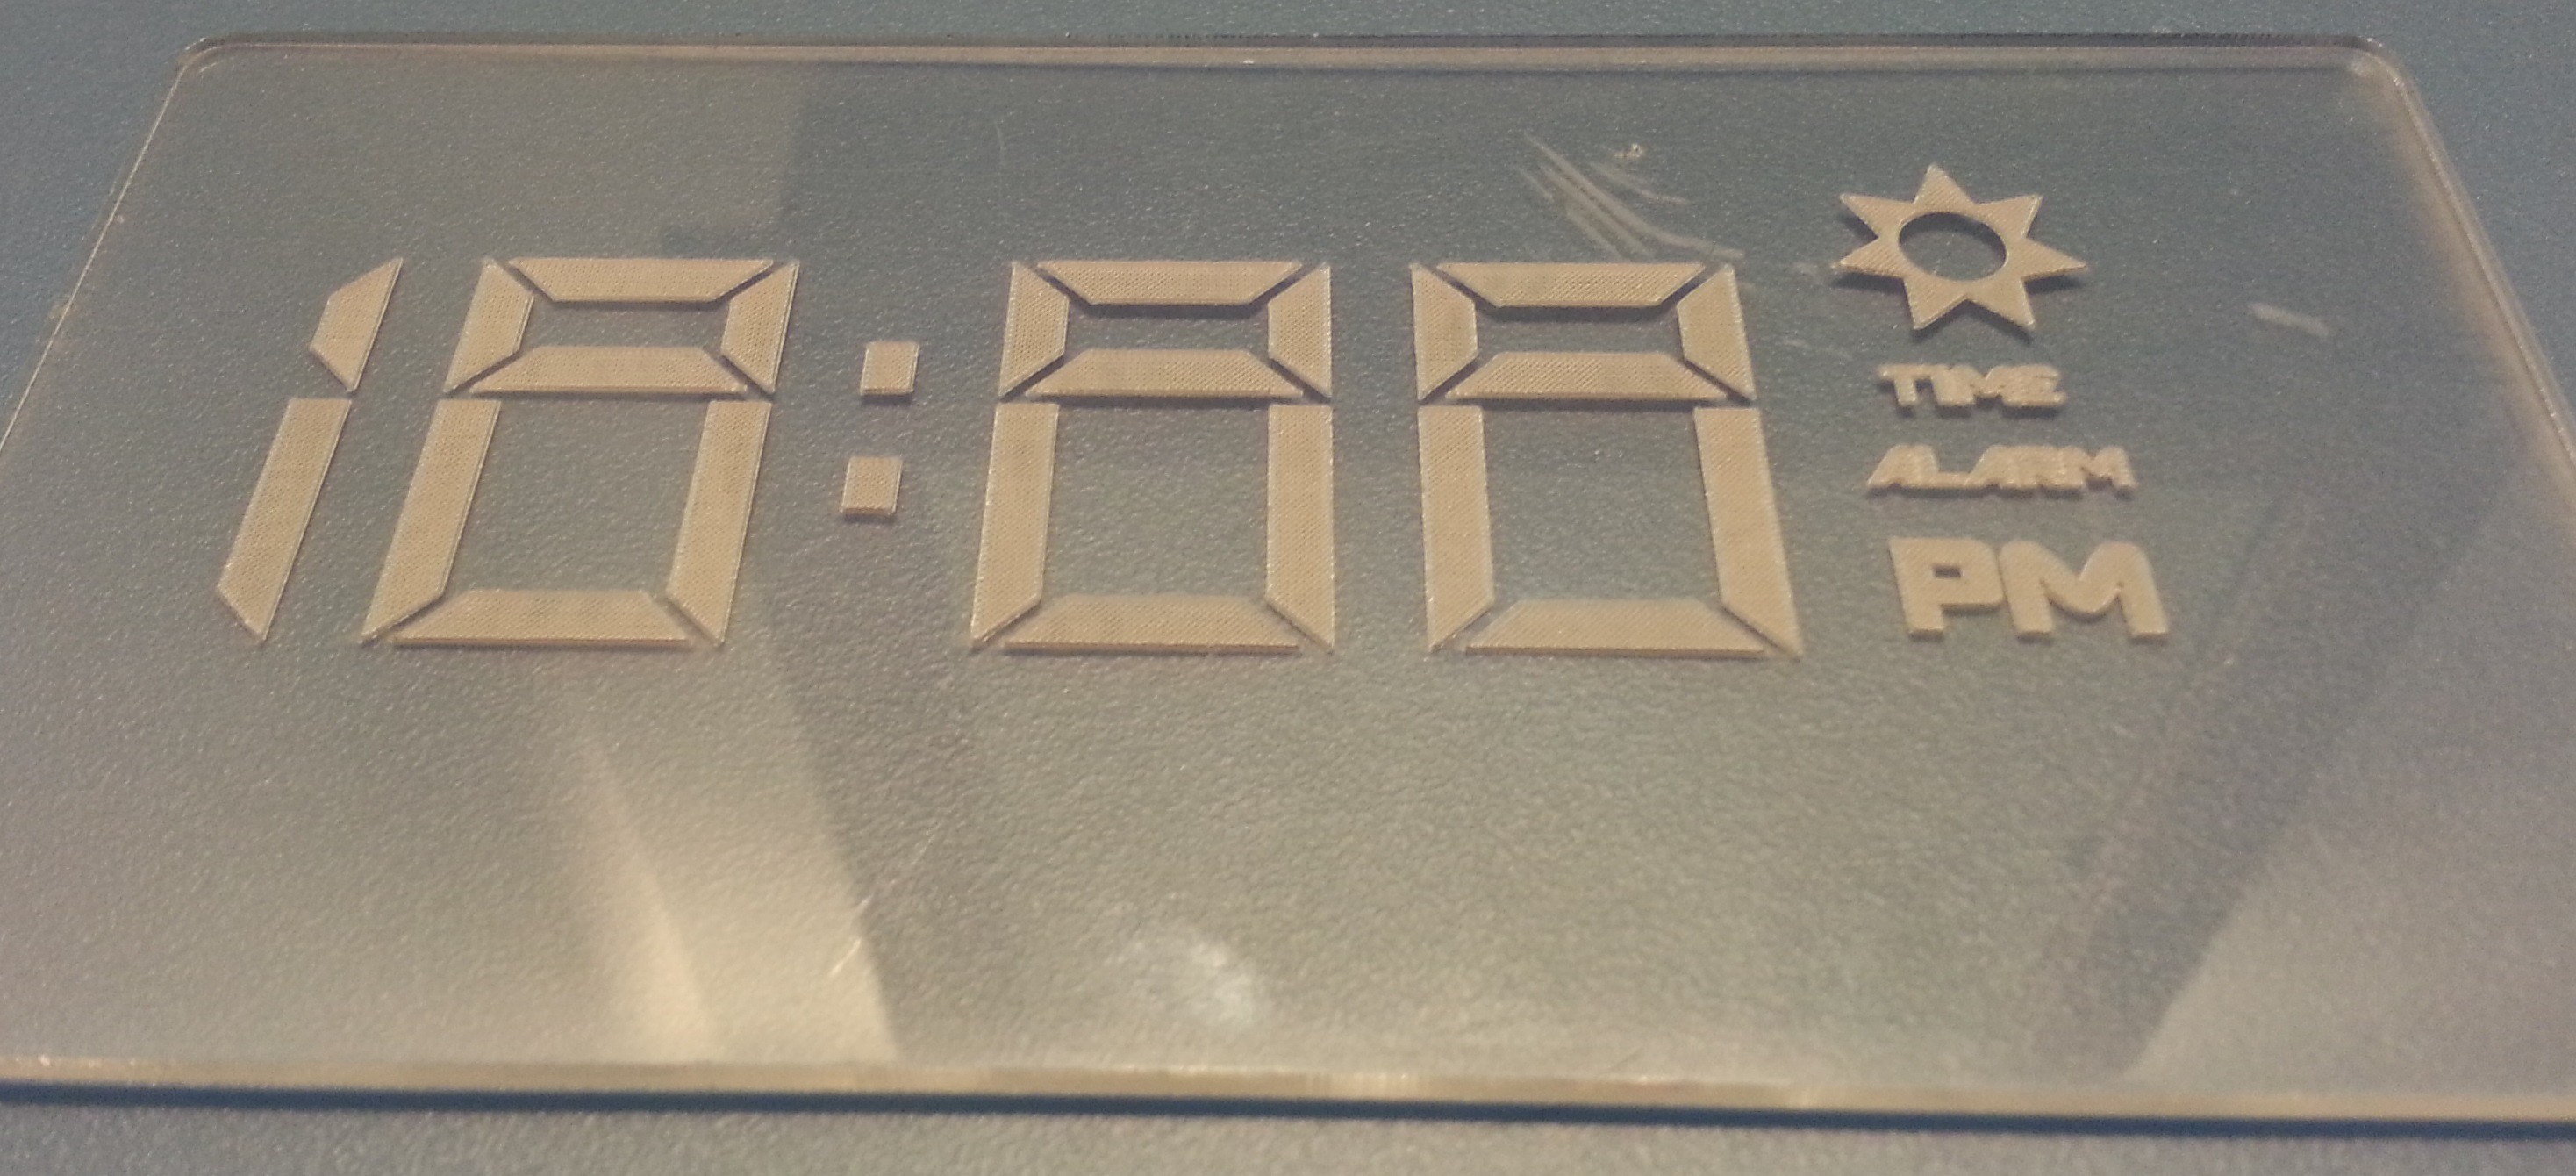
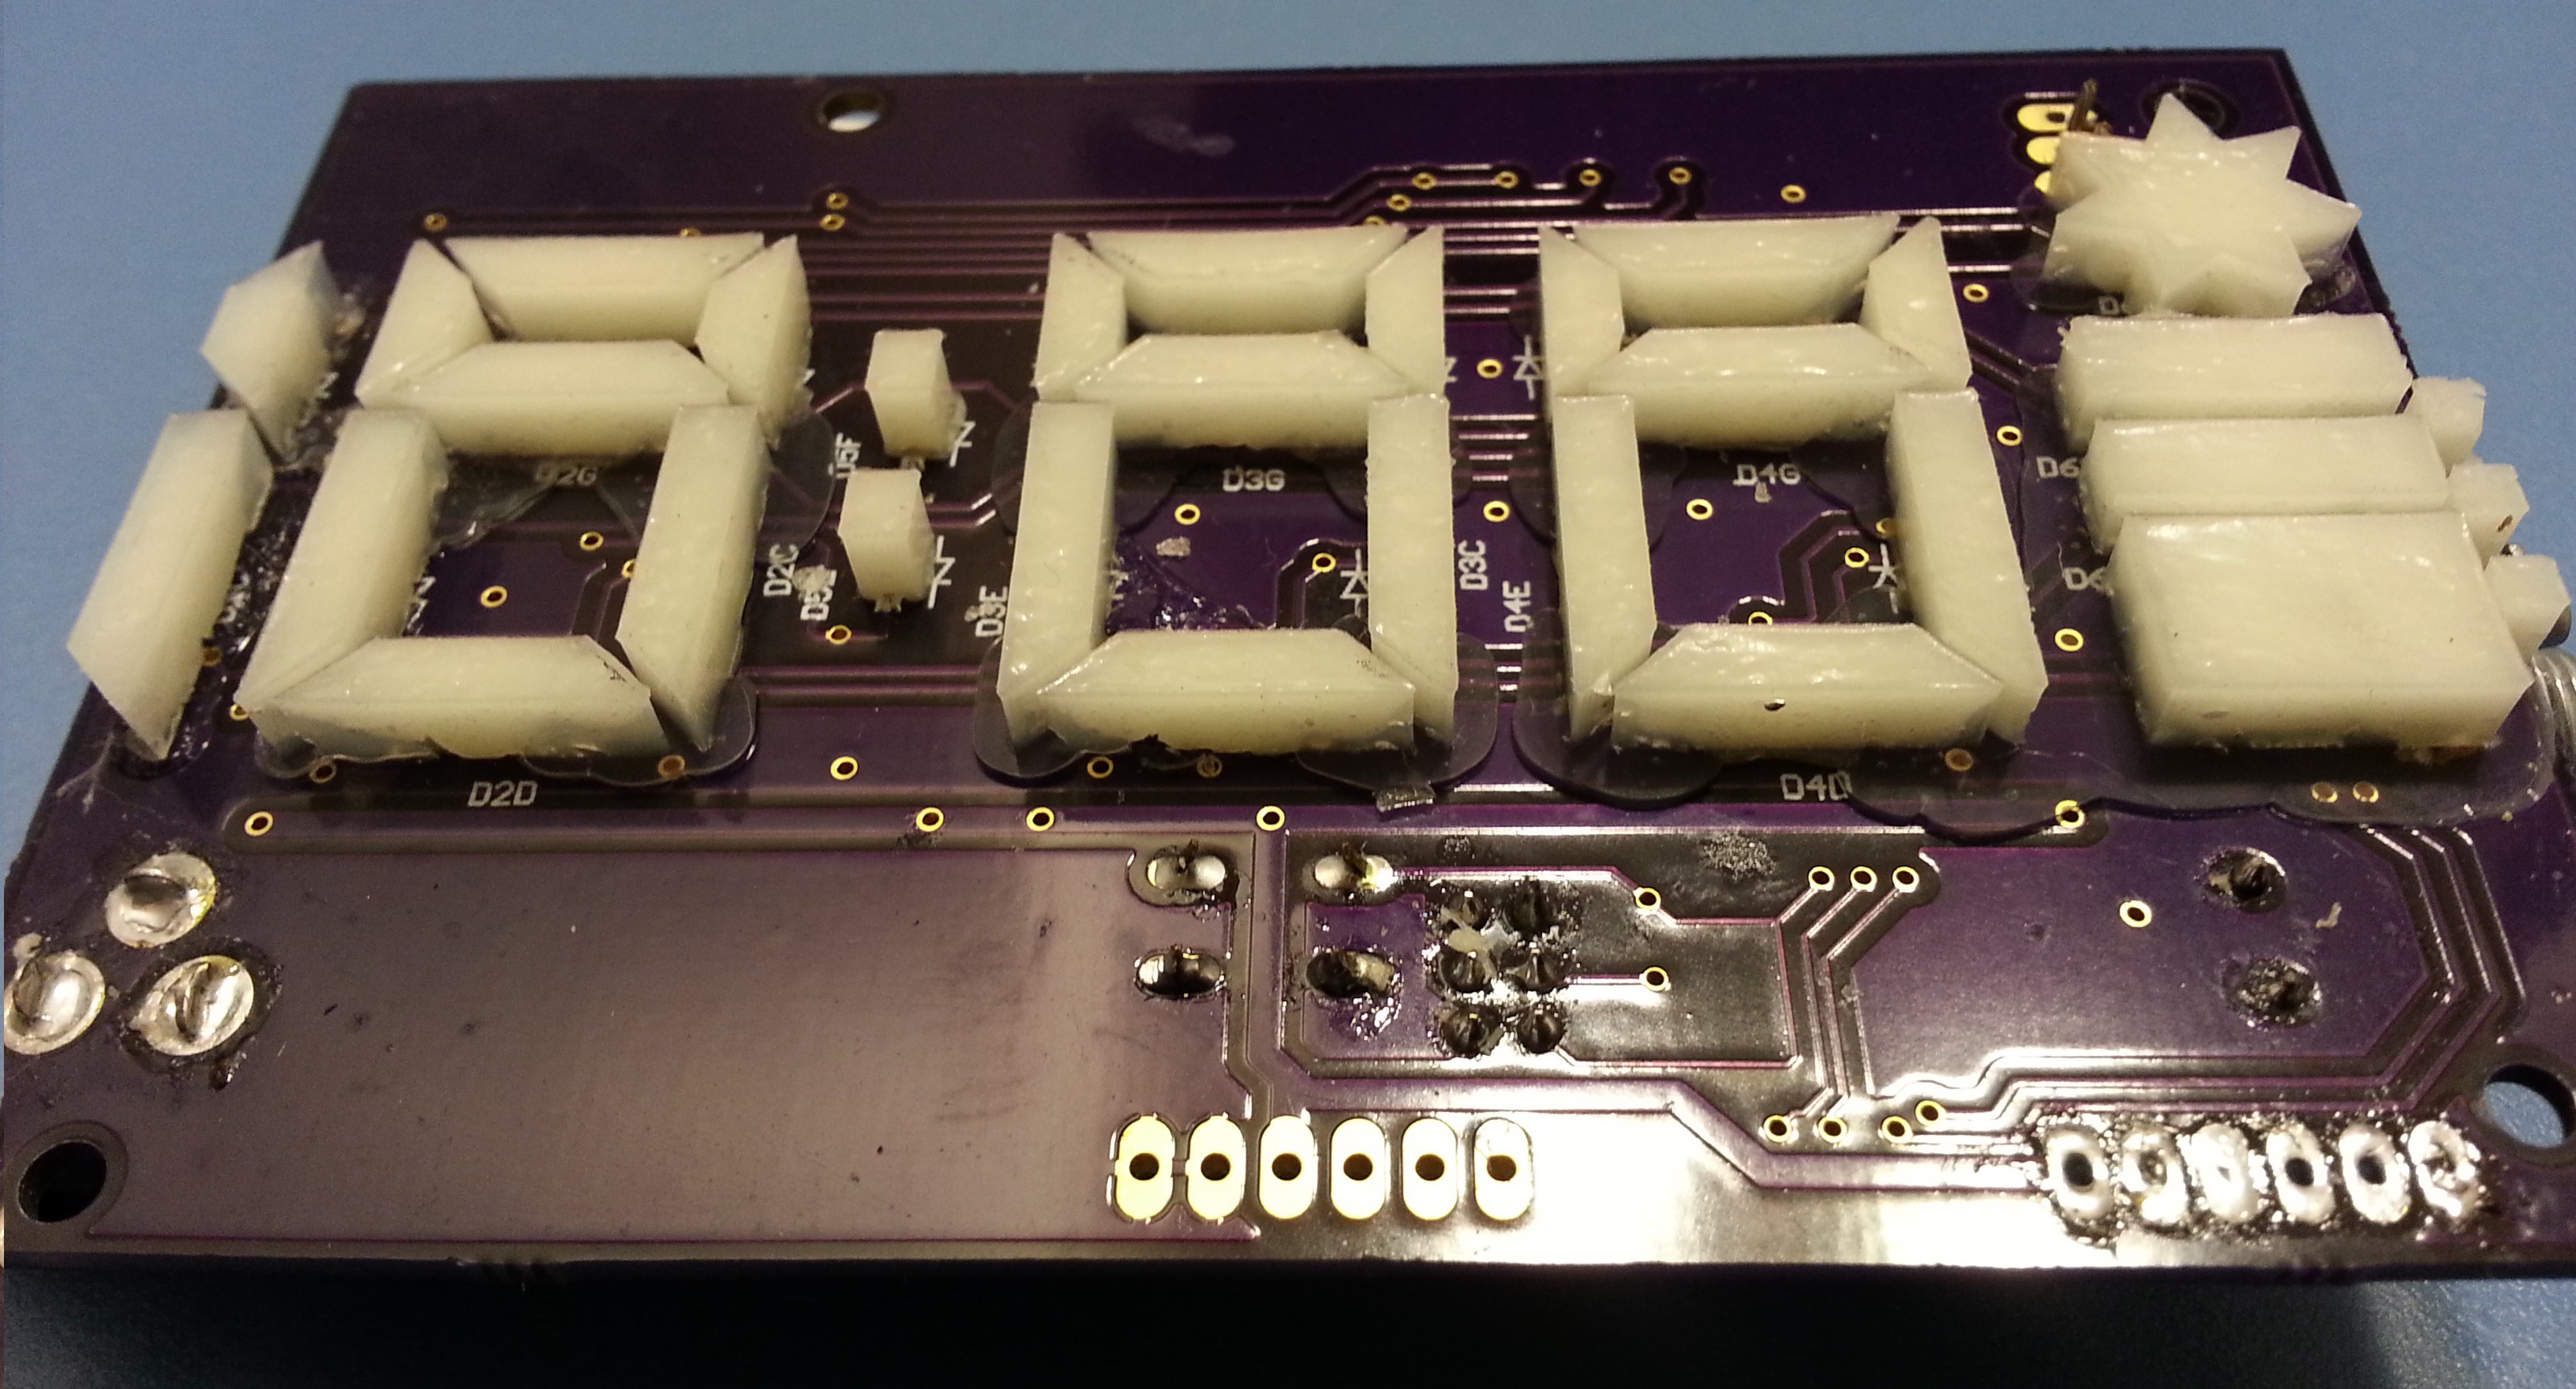
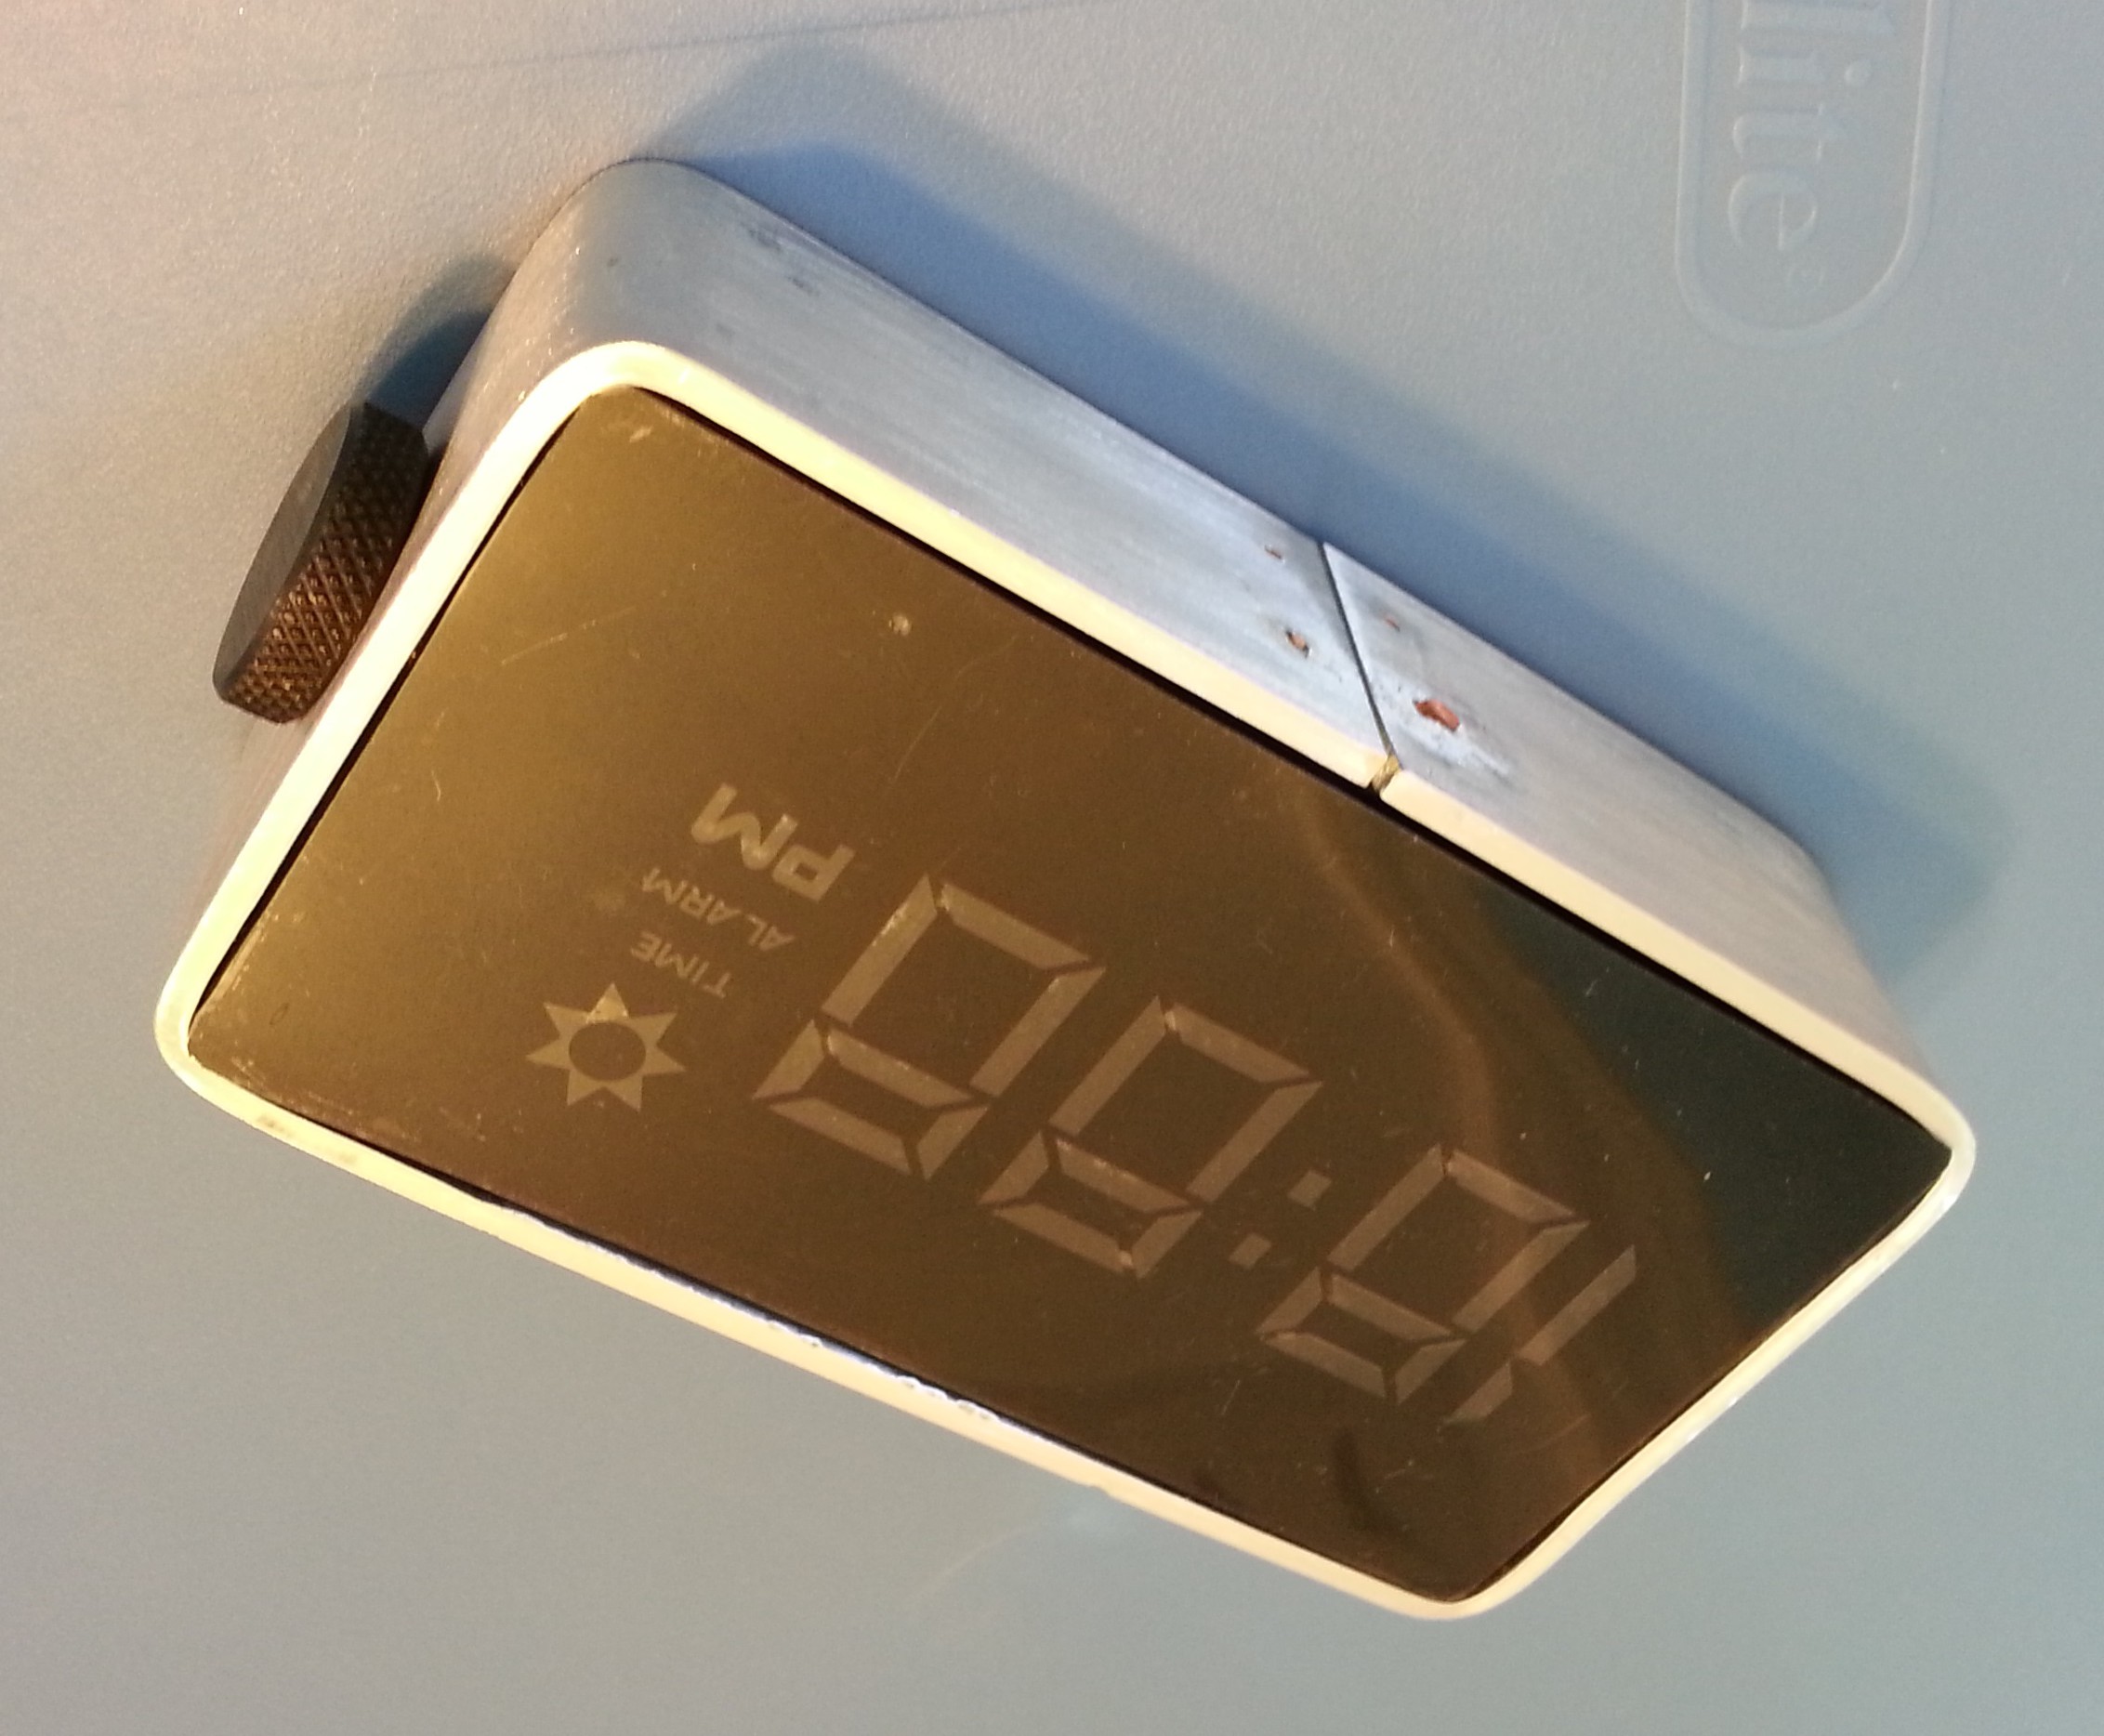
I first want to discuss LED diffusion. I initially set out to create a custom clock face to set this clock apart from a standard looking seven segment display. I purposely elongated the bottom of my numbers to be unique and added a few symbols and indicators that were beneficial for my purposes. As a result the LED's were surface mounted on the PCB and a stencil type acrylic plate was laser etched to sit over top to prevent light bleed from each segment and provide some readability. This worked well for preventing light bleed but the display was in no way readable. So the trial and error process began. I tried raster engraving a clear plate above the stencil, cut portions of plastic milk jugs, used various types of paper (wax, parchment, rice, etc.), and clear silicone, all of which were poor diffusers. I then came across an article in Make that discussed adding cornstarch to silicone (http://makezine.com/2010/11/04/reader-research-diy-casting-silicon/) and thought it may be worth a shot. I mixed multiple batches altering the cornstarch content until I was relatively happy with the level of diffusion. I applied the silicone with the acrylic stencil on top and let it sit till cured. Other than being a mess to apply, it significantly reduced the hot spotting from the LED's. It wasn't perfect, but it was the best result that I was able to achieve up until this point.
I continued with this prototype until I came across some 3M diffusing film specifically design for LED diffusion in outdoor signage applications. Unable to source a small enough sample, I continued searching for similar films until I found this matte light diffuser film from inventables.com which promised a cleaner more consistent application.
After having a chance to play around with the film I have a better grasp of its use. I plan on changing the acrylic stencil to white to increase reflectivity within each segment, and I also plan on increasing the thickness of the acrylic as the film works substantially better the further it is from the light source. Both modifications will help reduce the still visible hot spots.
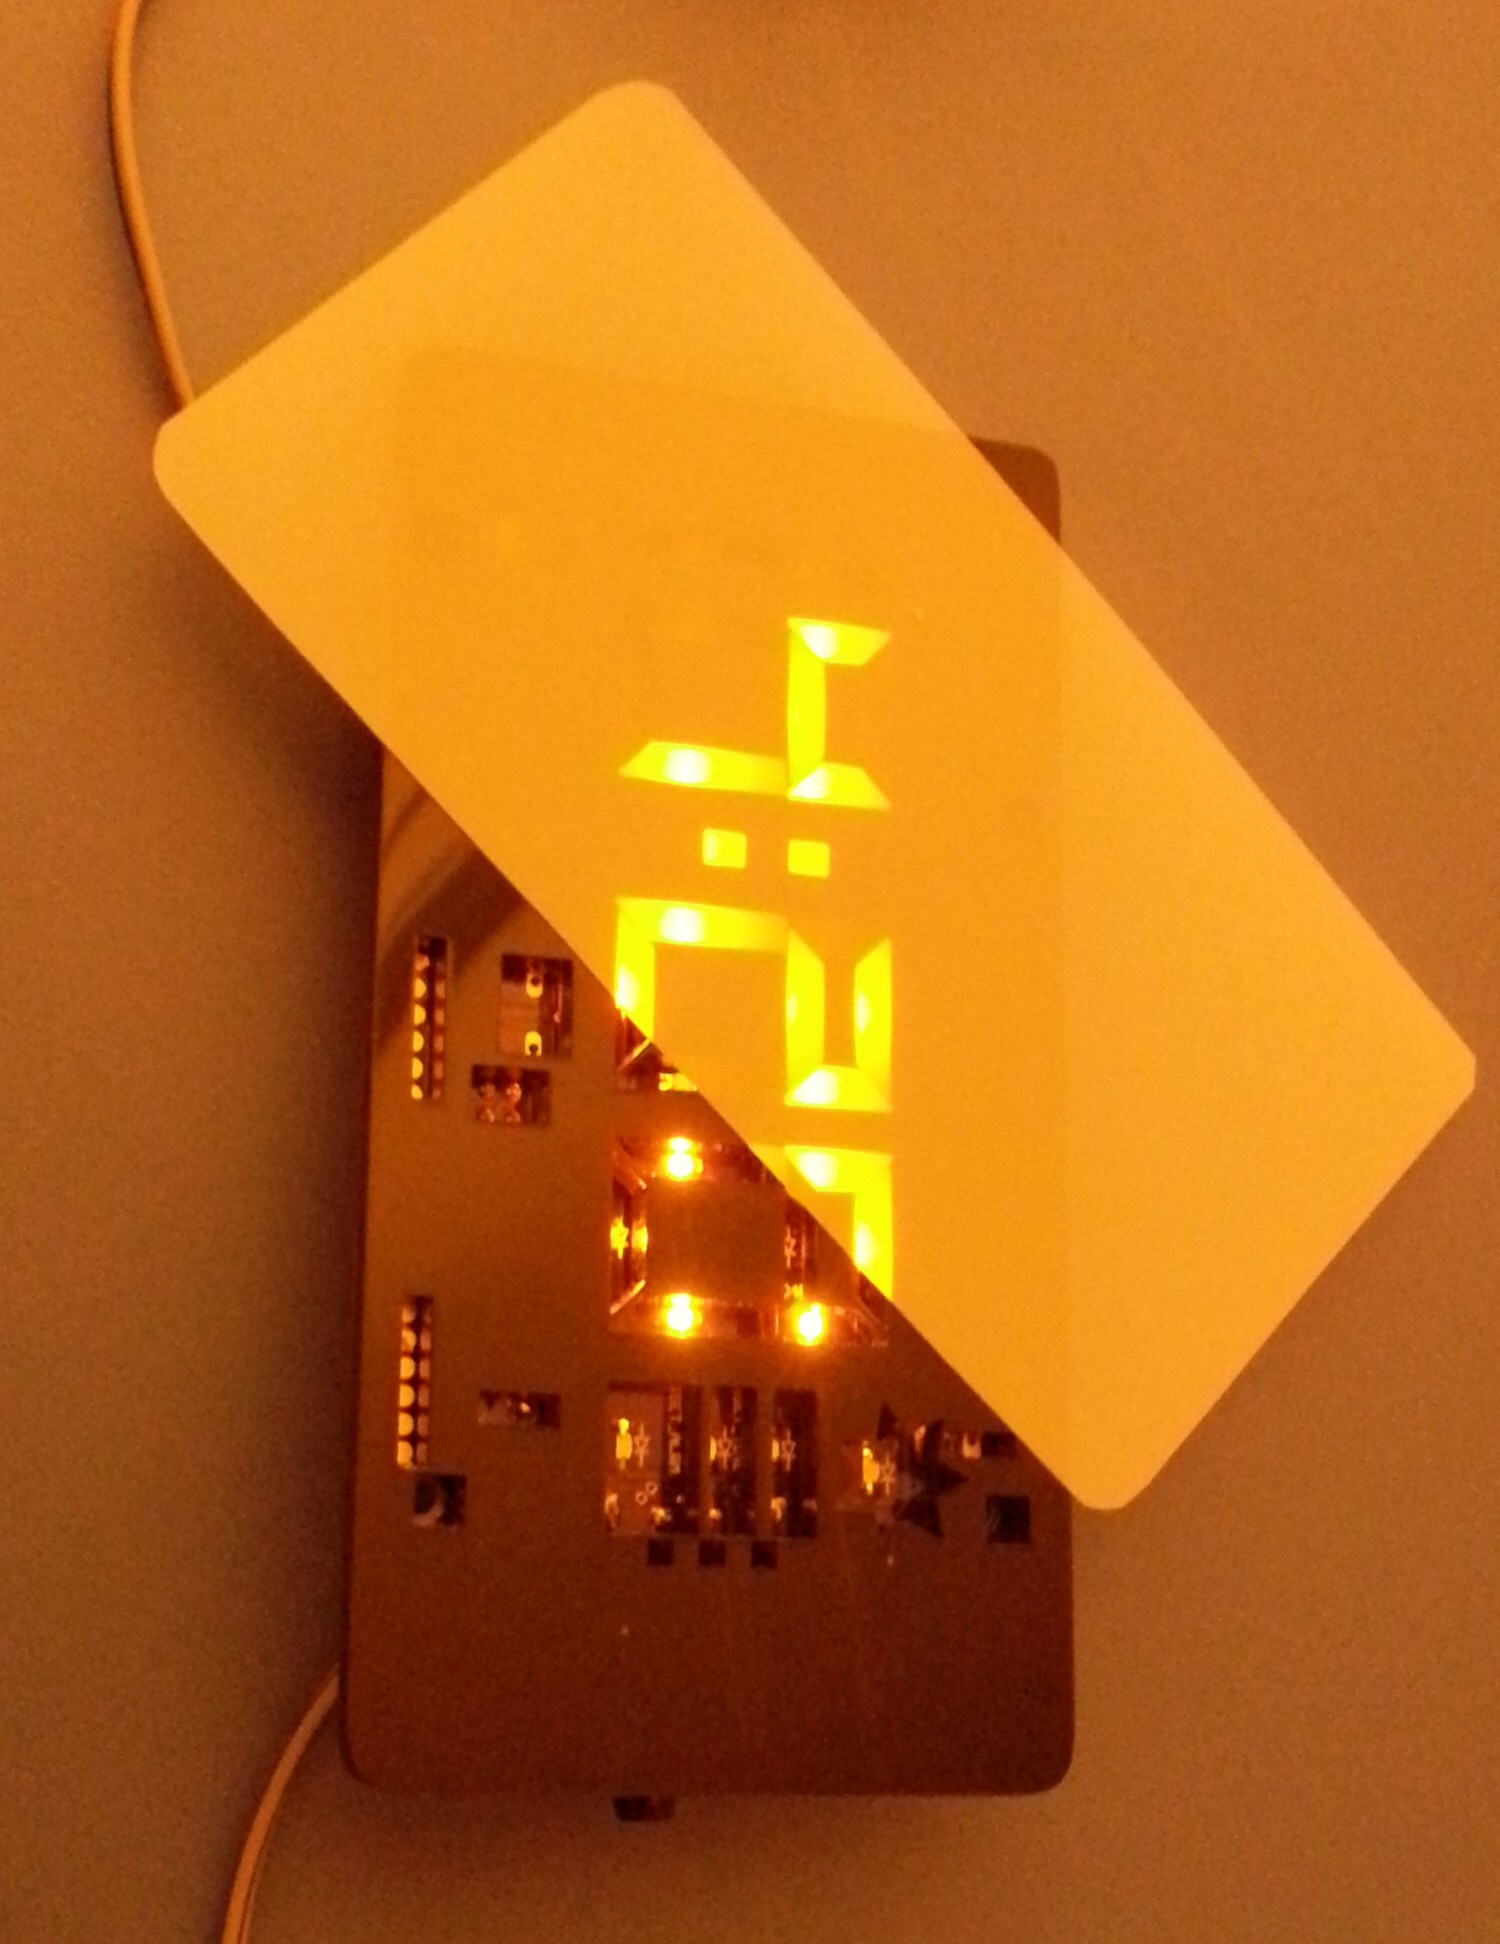
At this point I'd just like to make a comment about LED binning. I ordered a second batch of LED's from the same manufacturer with the same part number and wavelength and noticed how different the color actually is between the two orders. Although not apparent in the photos, one of the digits in the above image uses LED's from the second order and is substantially different enough to be distinguishable to the eye. I will not make that mistake again.
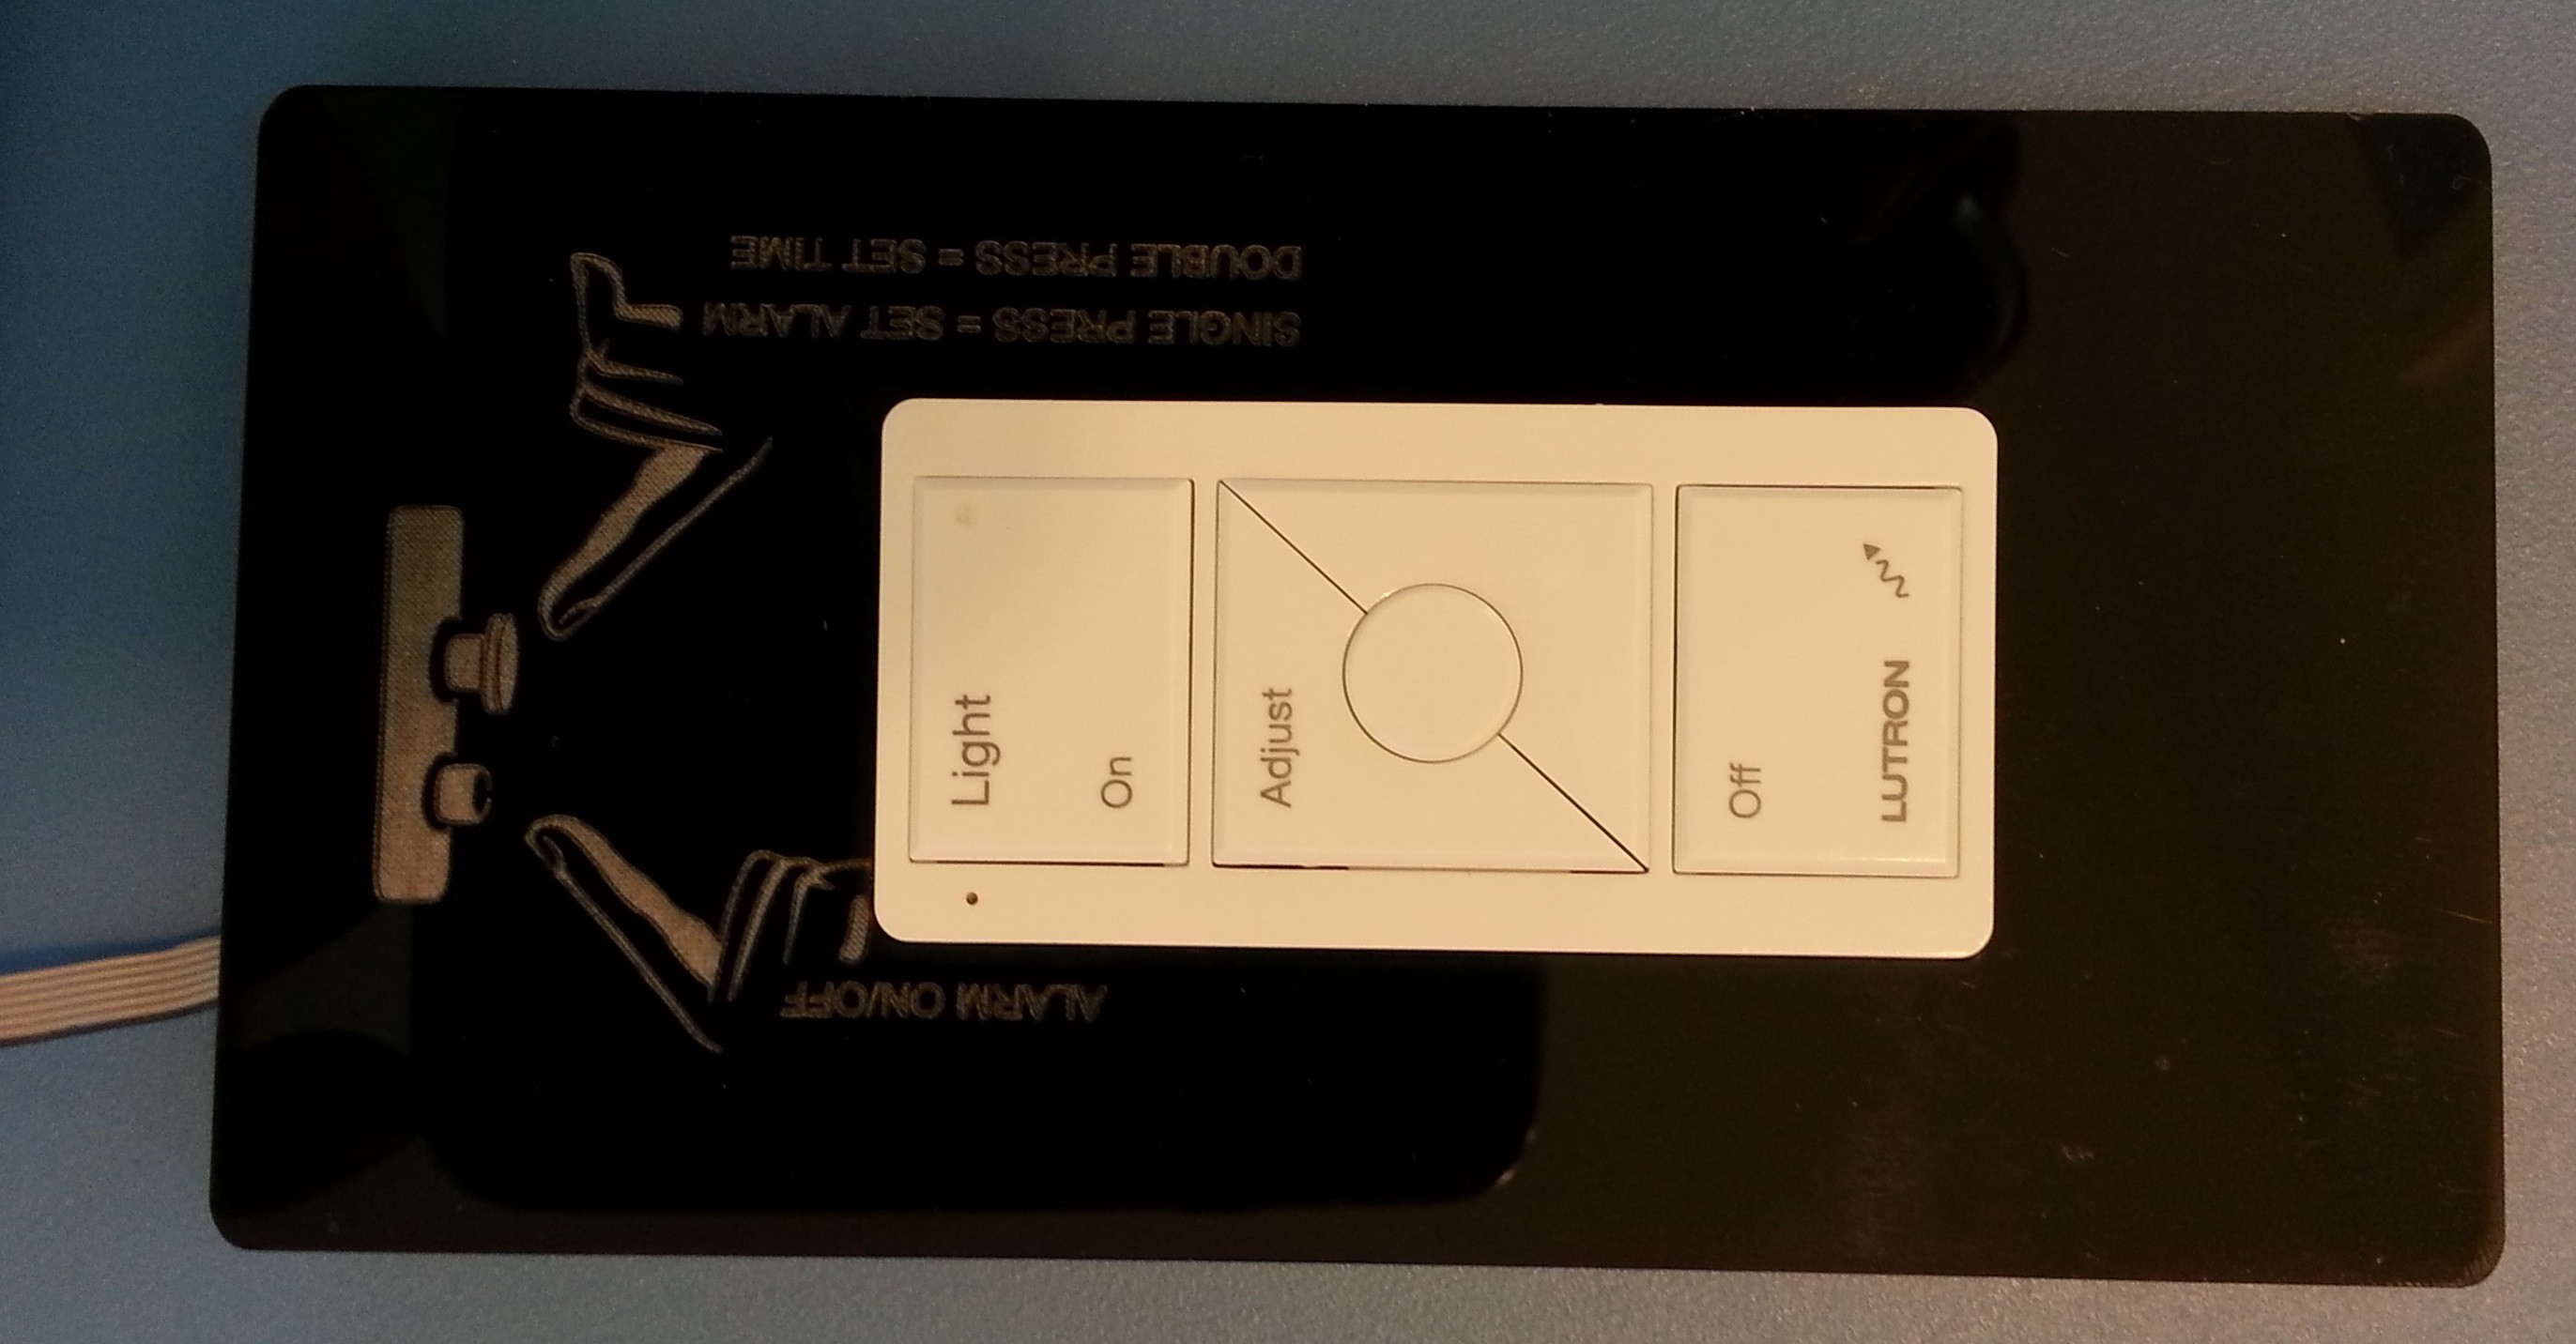
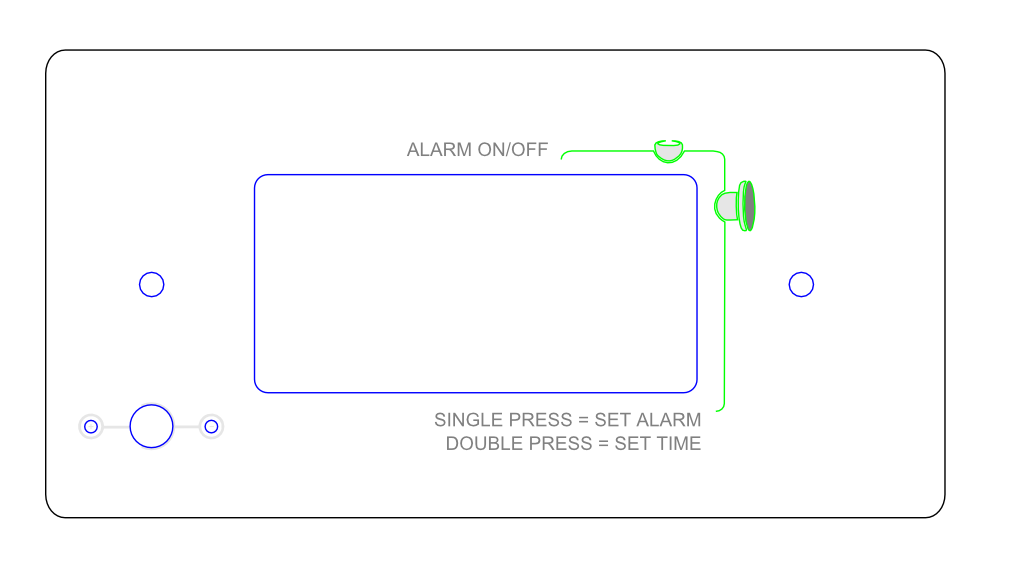
The rear acrylic panel uses a Decora sized cutout for the PICO remote and provides some instructions for clock use. In the final enclosure the power jack will also be located on this panel, as shown in the sketch, using a philips and flathead screw to secure the connector and to indicate polarity of the DC jack. I also need to purchase the remote in black to match the acrylic.
Finally the banding to hold the two clock faces together. . . this is where my current issues lie. I've attempted to use some 1/8" aluminum to wrap the acrylic, but without a metal brake or really any proper metal working tools the fit is too sloppy for my tastes. I plan on creating a dimensioned drawing to bring to a metal shop to have them bend the aluminum for me.
It is a work in progress, but I'm generally happy with the direction it is headed.
Discussions
Become a Hackaday.io Member
Create an account to leave a comment. Already have an account? Log In.