 CompuCat
I've begun to assemble the boat from individual parts into a whole unit.
Note: Apologies in advance for the grainy photos-I was taking these at night, and the lighting is horrible where I was assembling it.
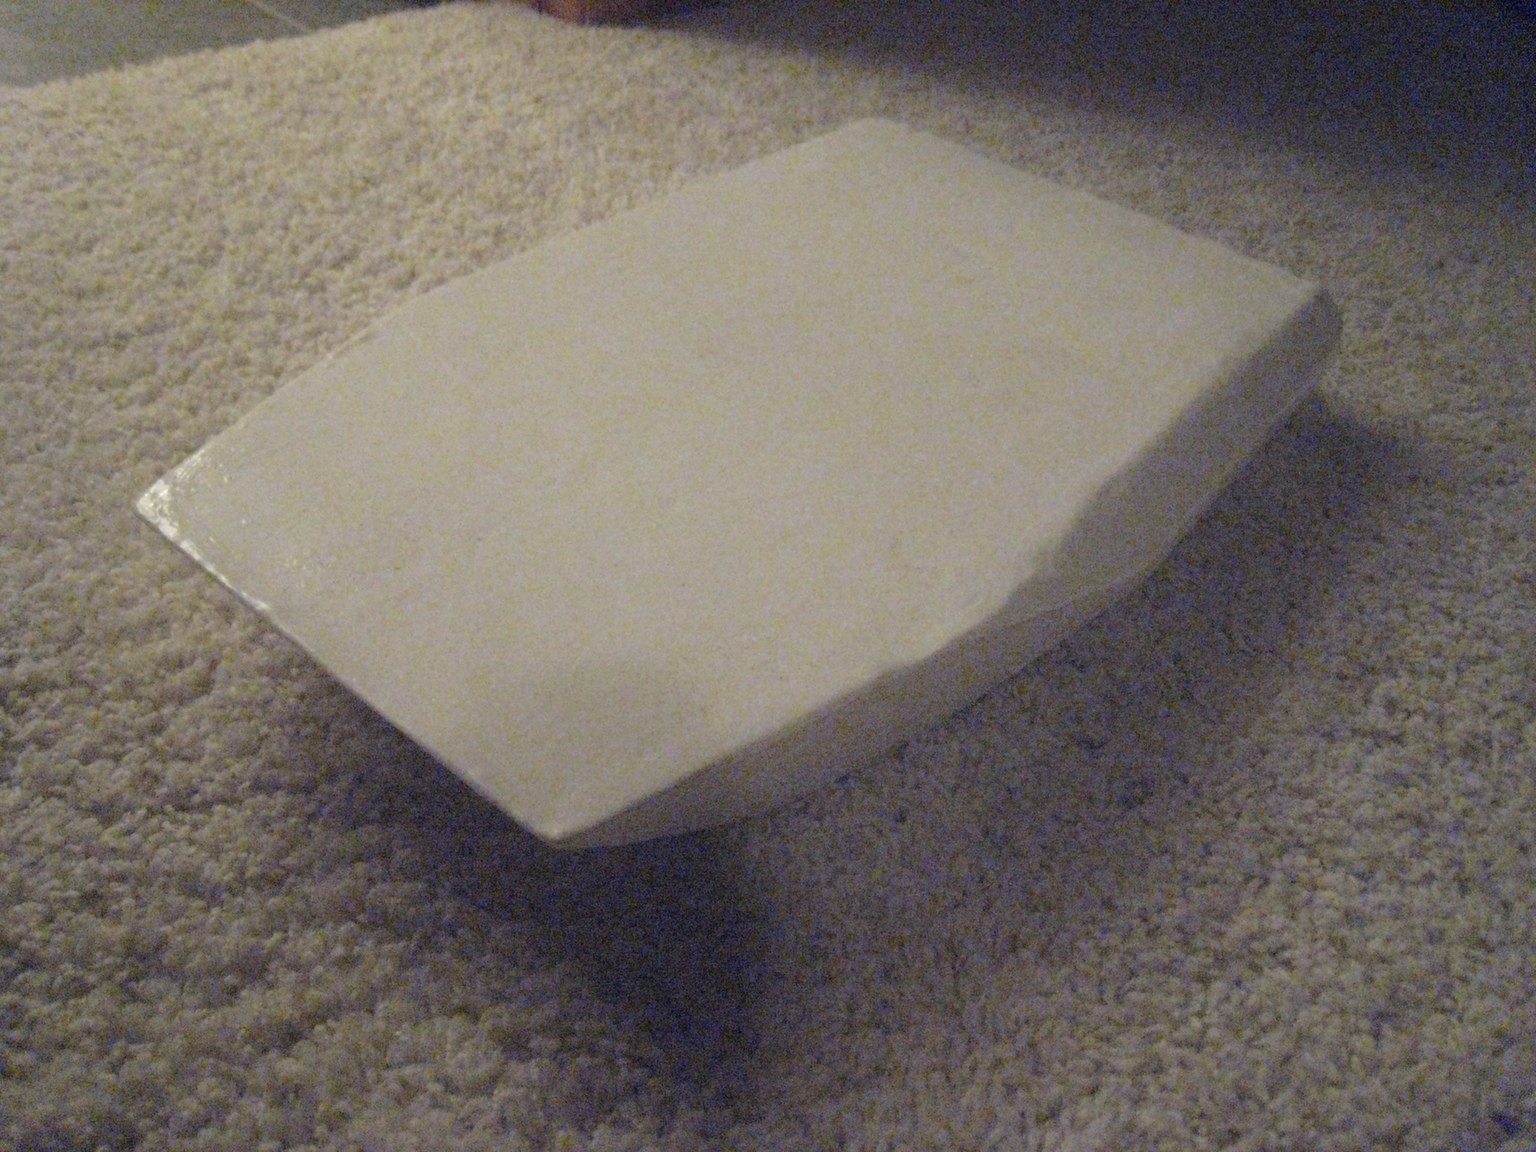
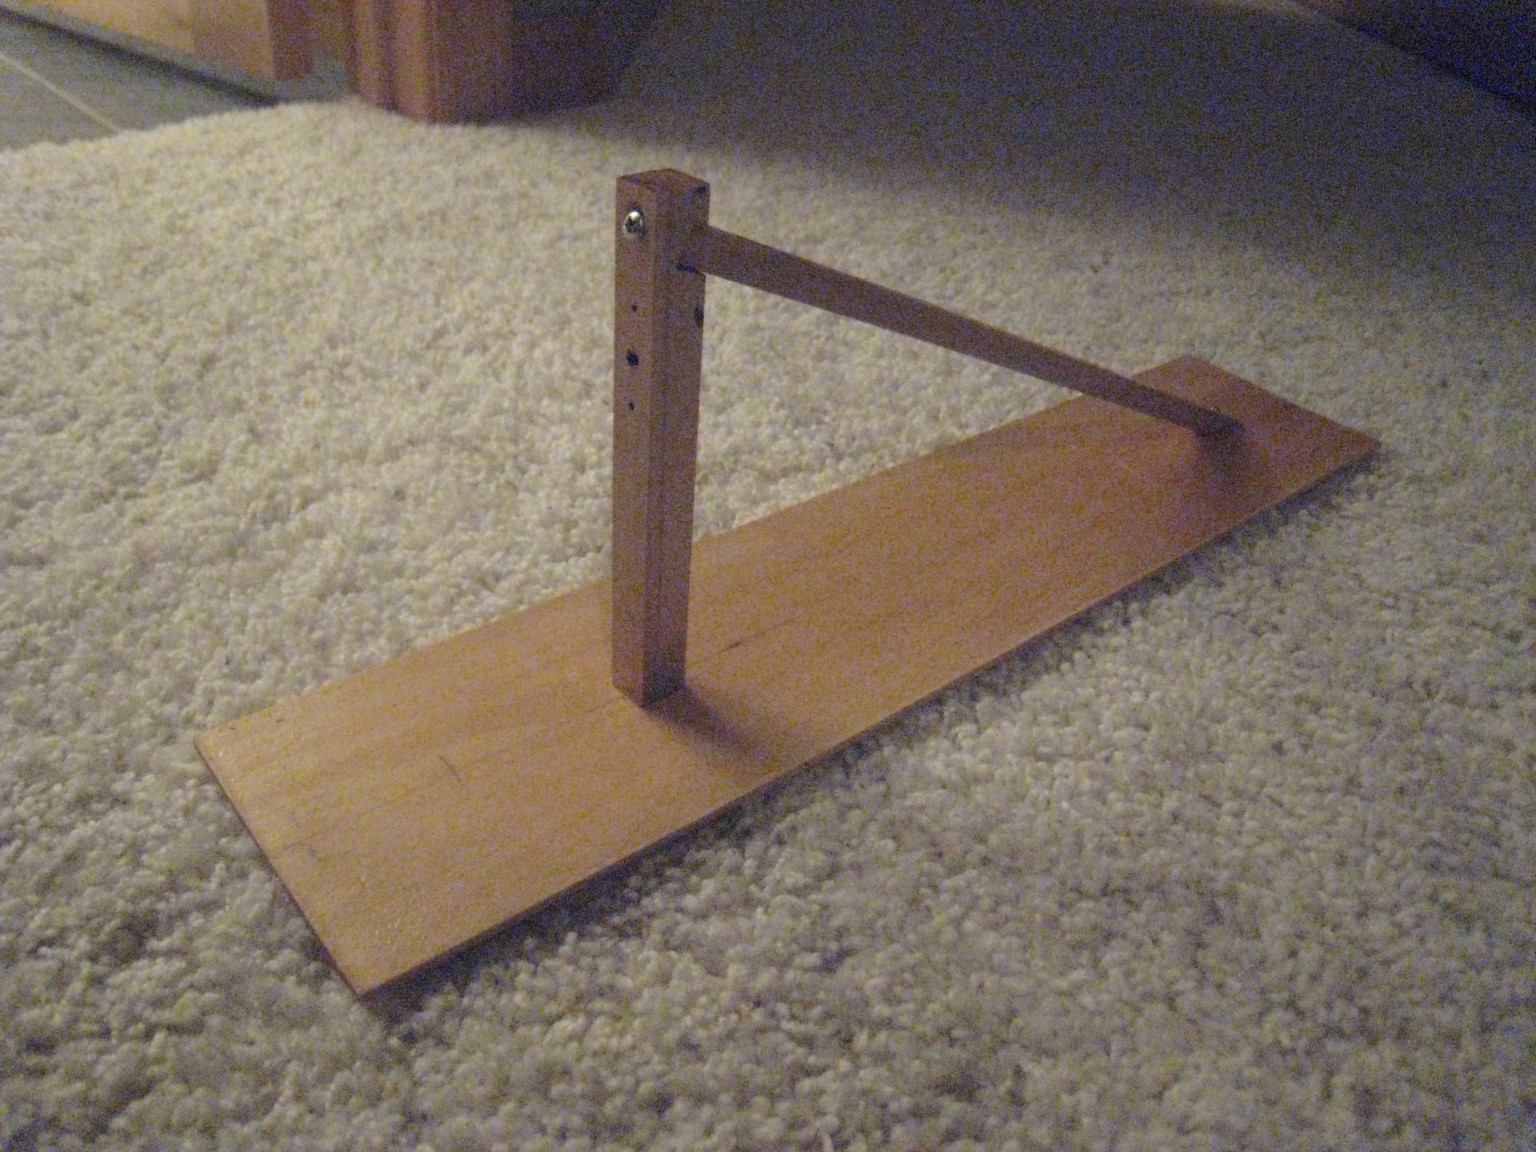
This is the boat base, originally cut from foam and coated in plastic. It's quite stable, and I'm planning to add a fin on the bottom for turning stability. These two parts are the frame that will contain the electronics and motors. They've been varnished with a marine varnish, so they're water-resistant to some degree. They won't survive being dunked underwater and soaked, but the occasional splash won't hurt them.
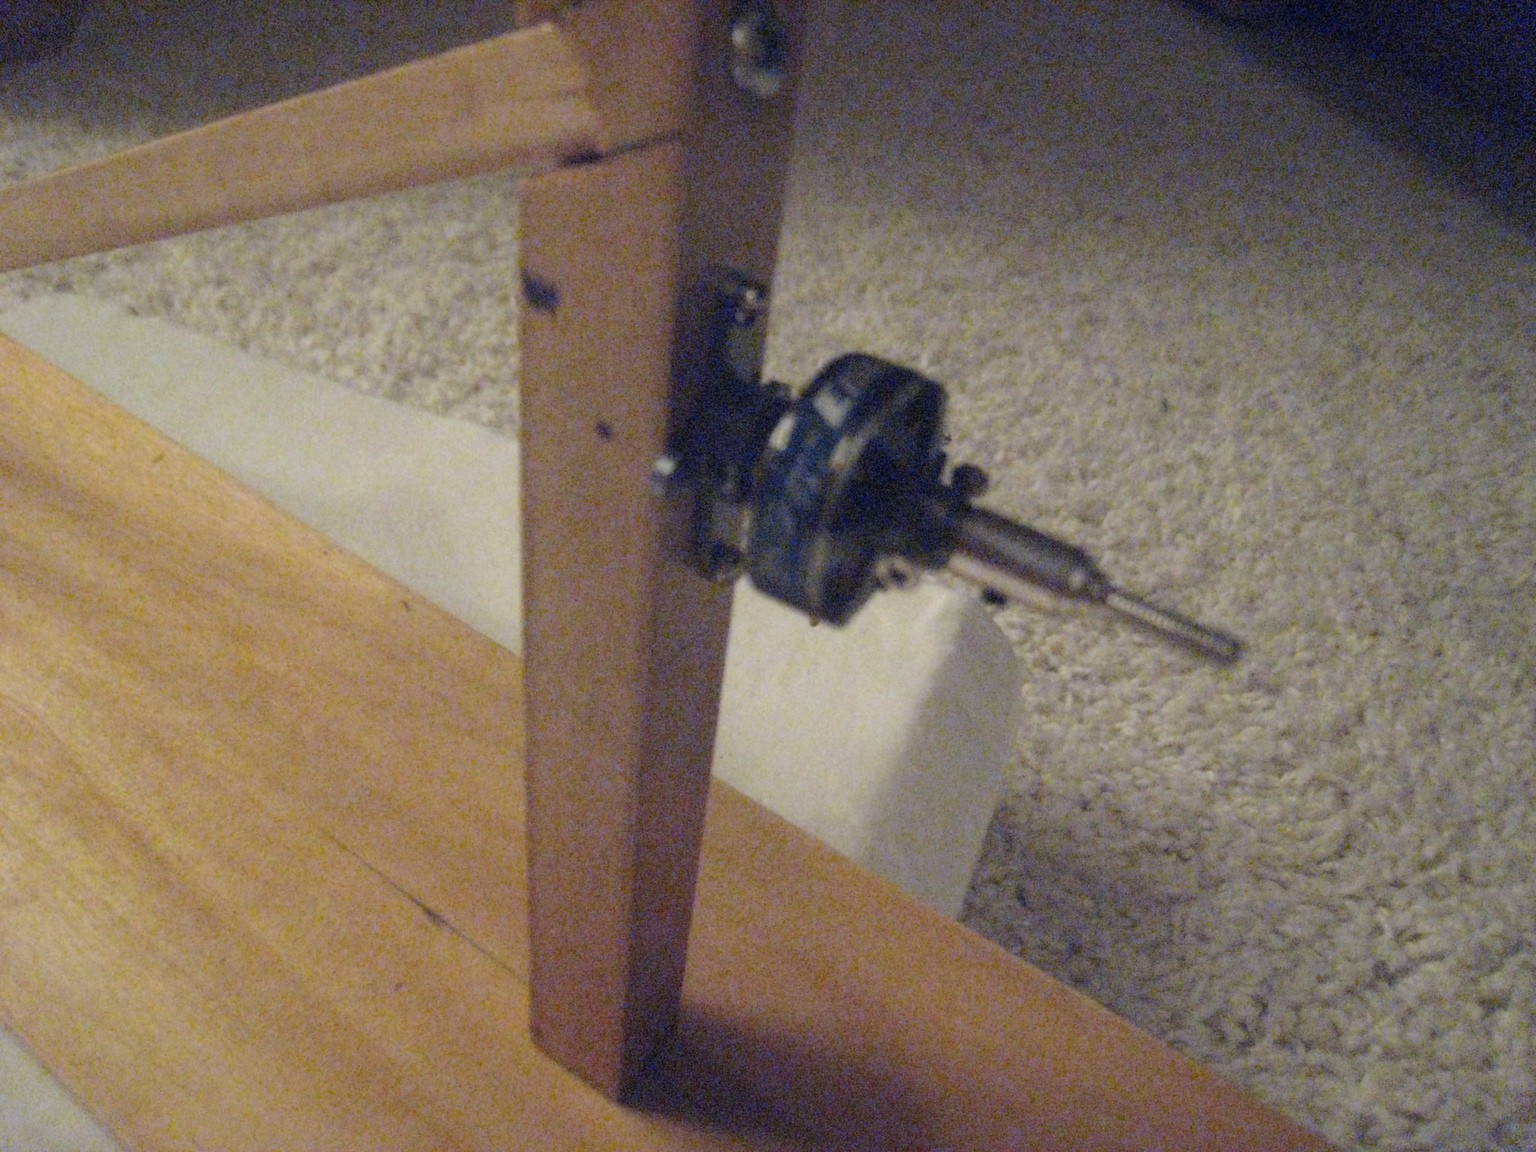
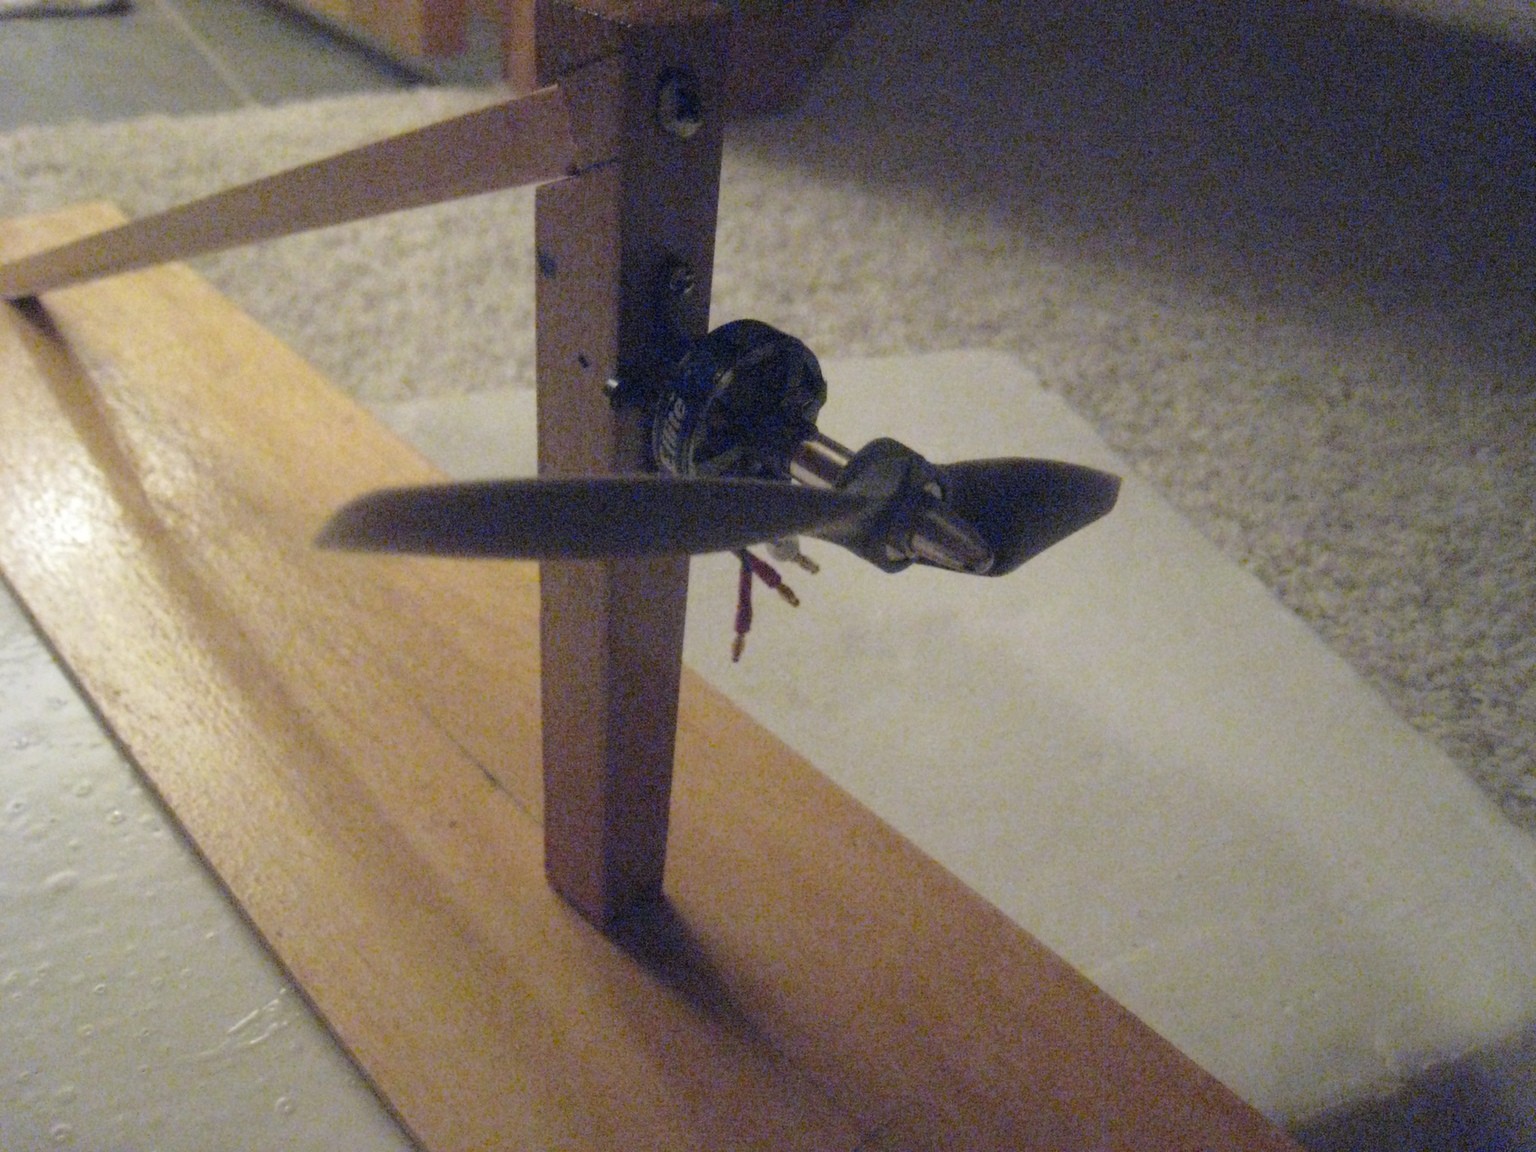
After assembling those two parts, I mounted the main motor and propeller. This went fairly easily, except for the fact that the varnish leaked into my screw holes and filled them. Luckily, the varnish is relatively weak, so I was able to screw through it and fix the motor in place.
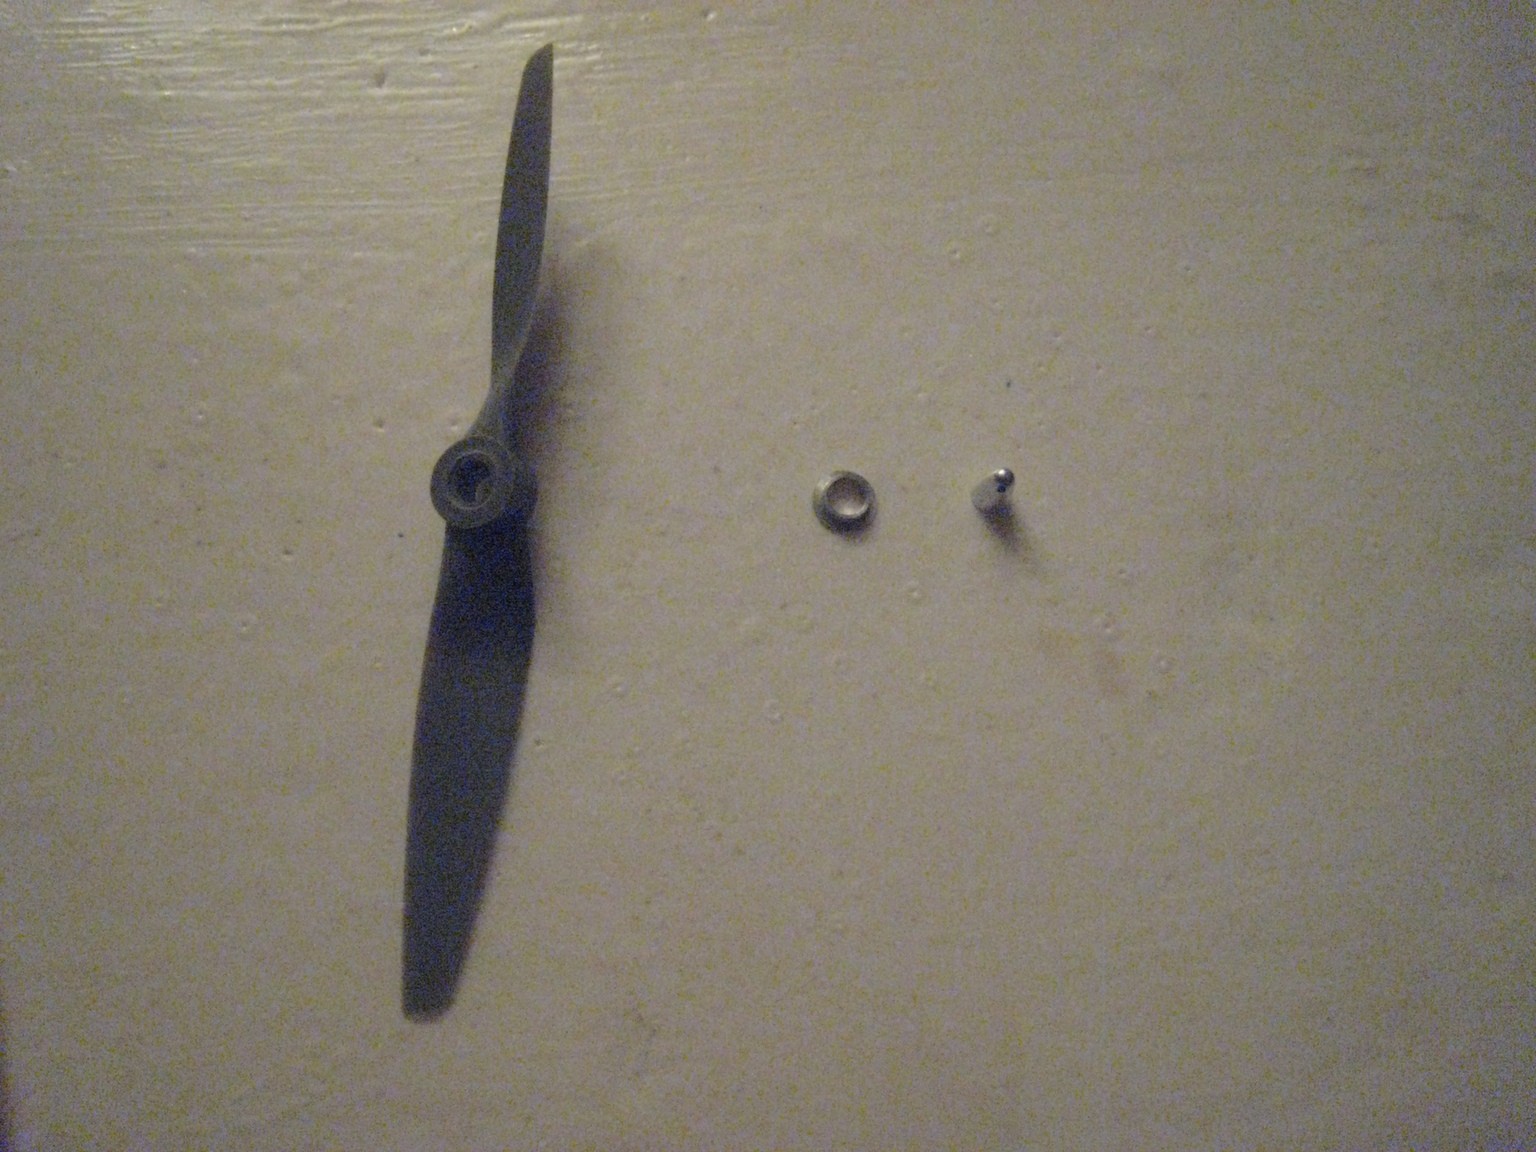
The propeller, surprisingly, is not screwed in place. Instead, it slips (loosely) onto the motor shaft, followed by an adapter ring and the end cap. The adapter ring adapts the wide opening of the propeller to a smaller opening able to be clamped onto by the end cap. The end cap has threads that screw onto the main motor shaft, squeezing the propeller into place.
What's left? I have to mount the electronics and the servo motor onto the boat, and the wood structure needs to be mounted to the base. Stay tuned for future updates!
Discussions
Become a Hackaday.io Member
Create an account to leave a comment. Already have an account? Log In.