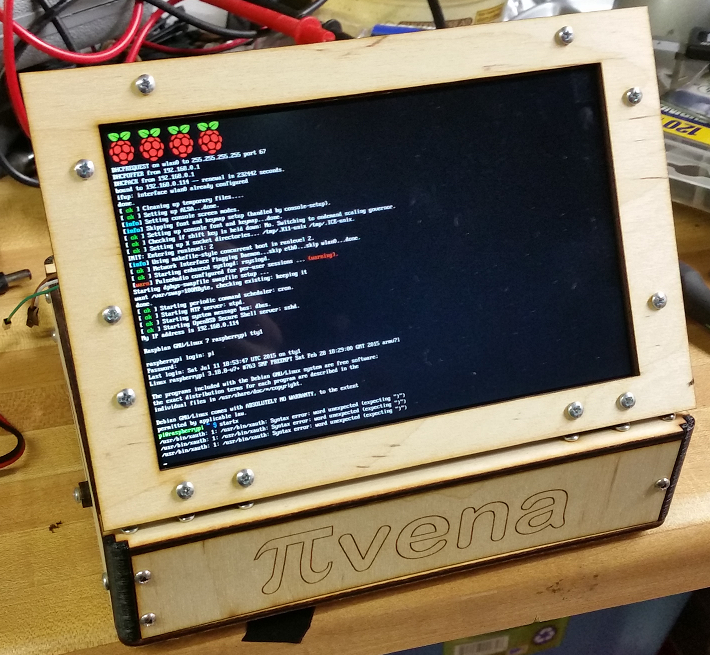
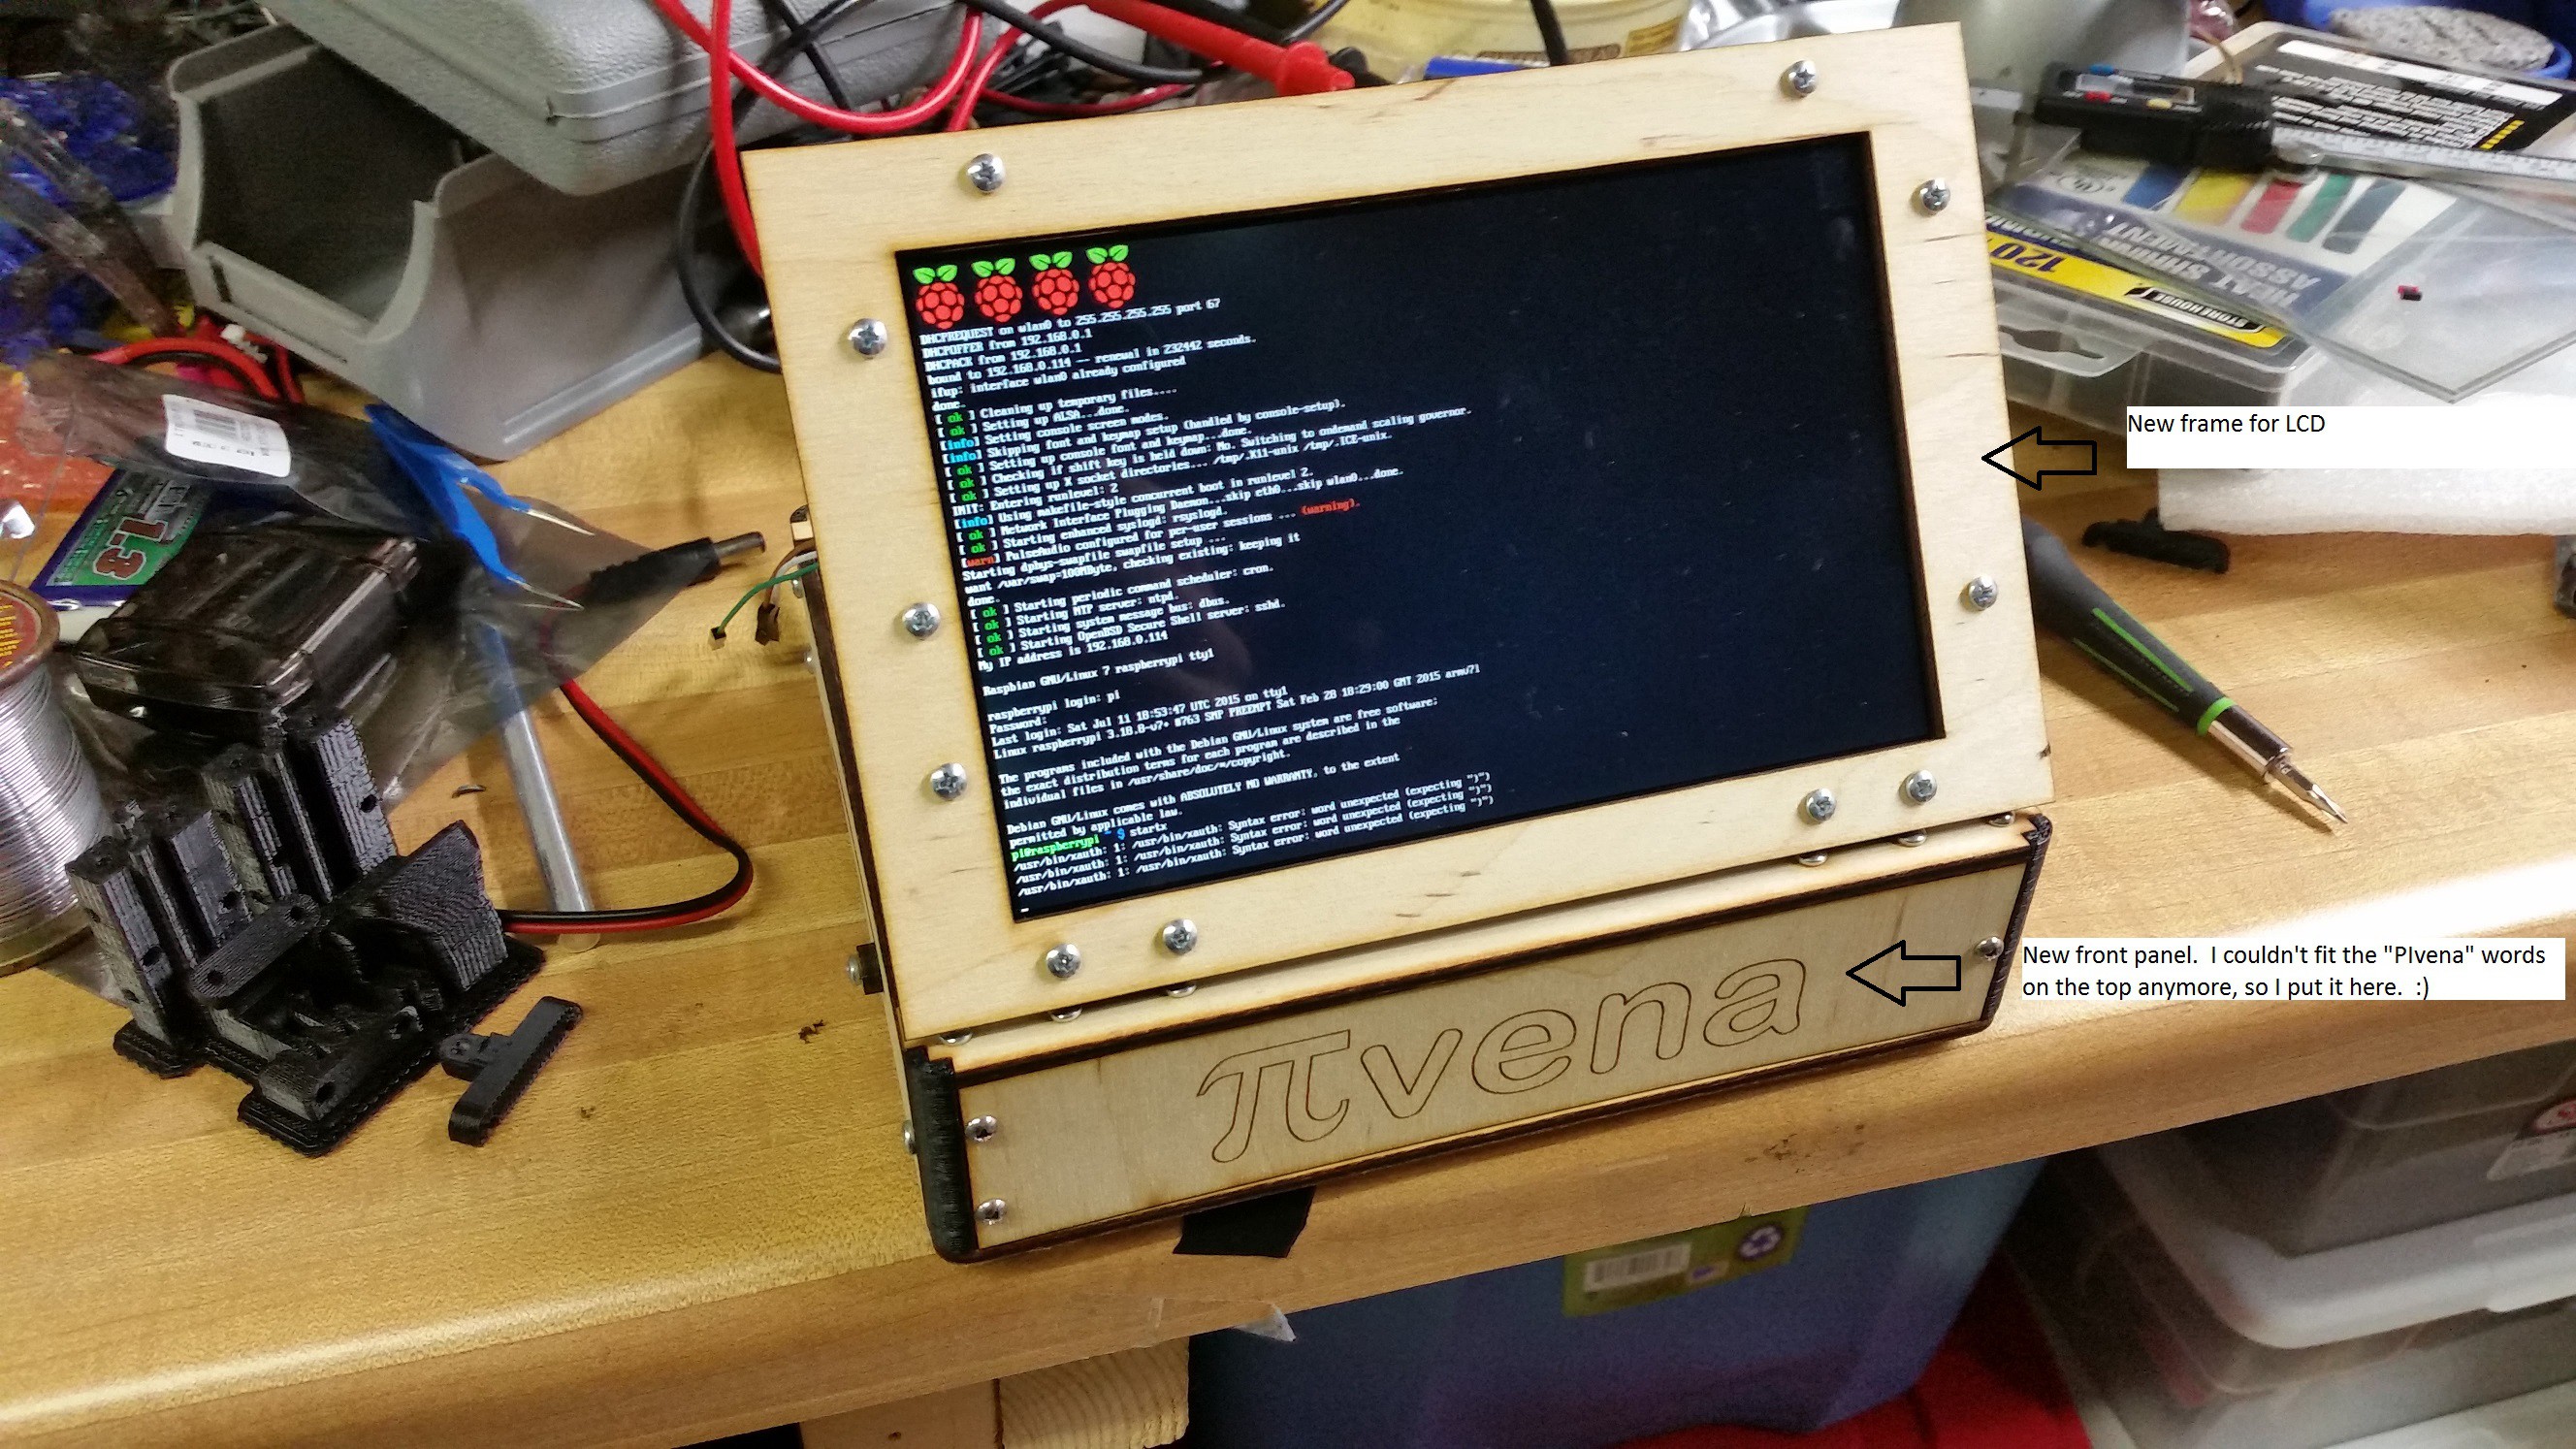
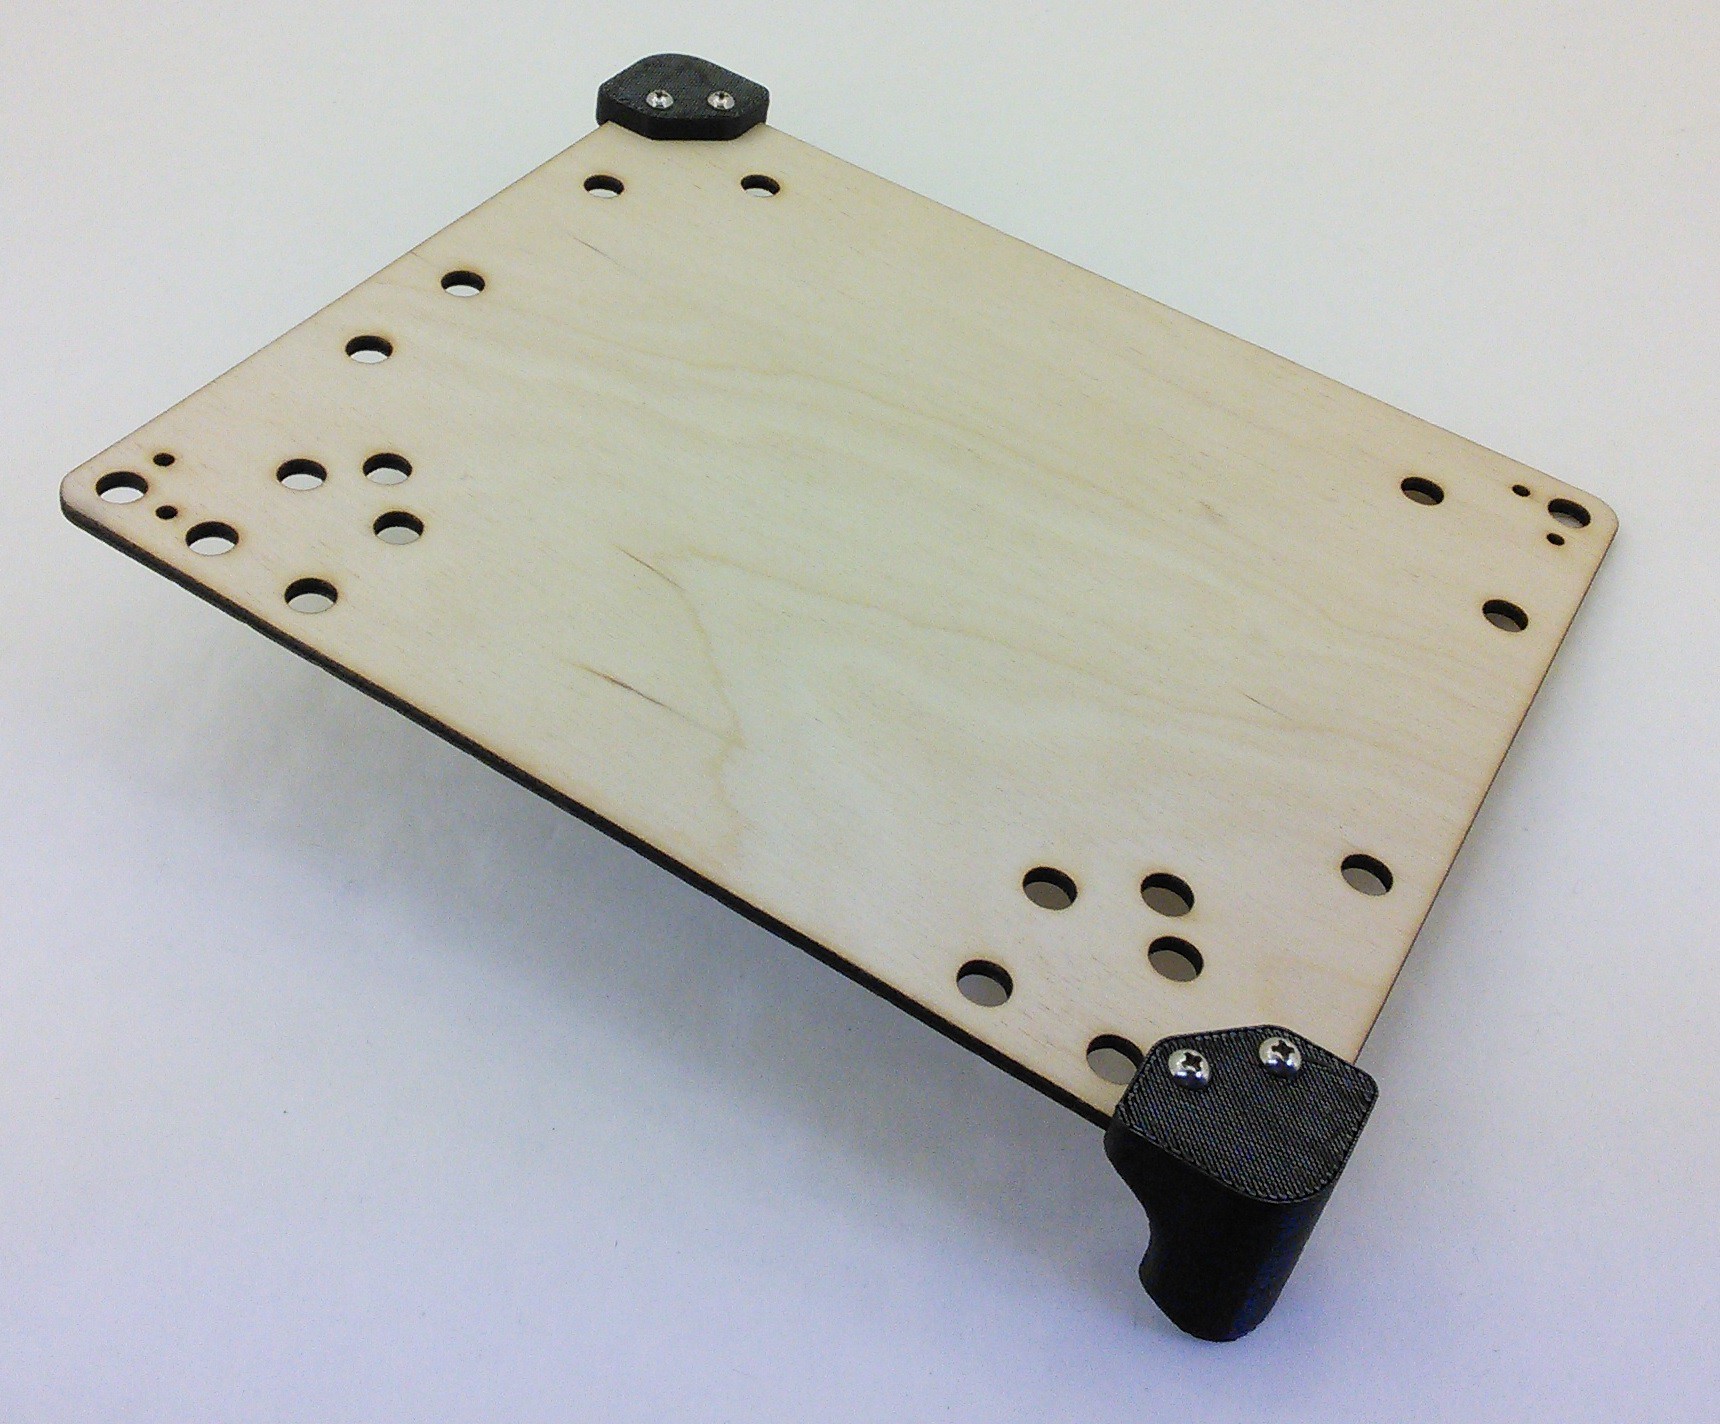
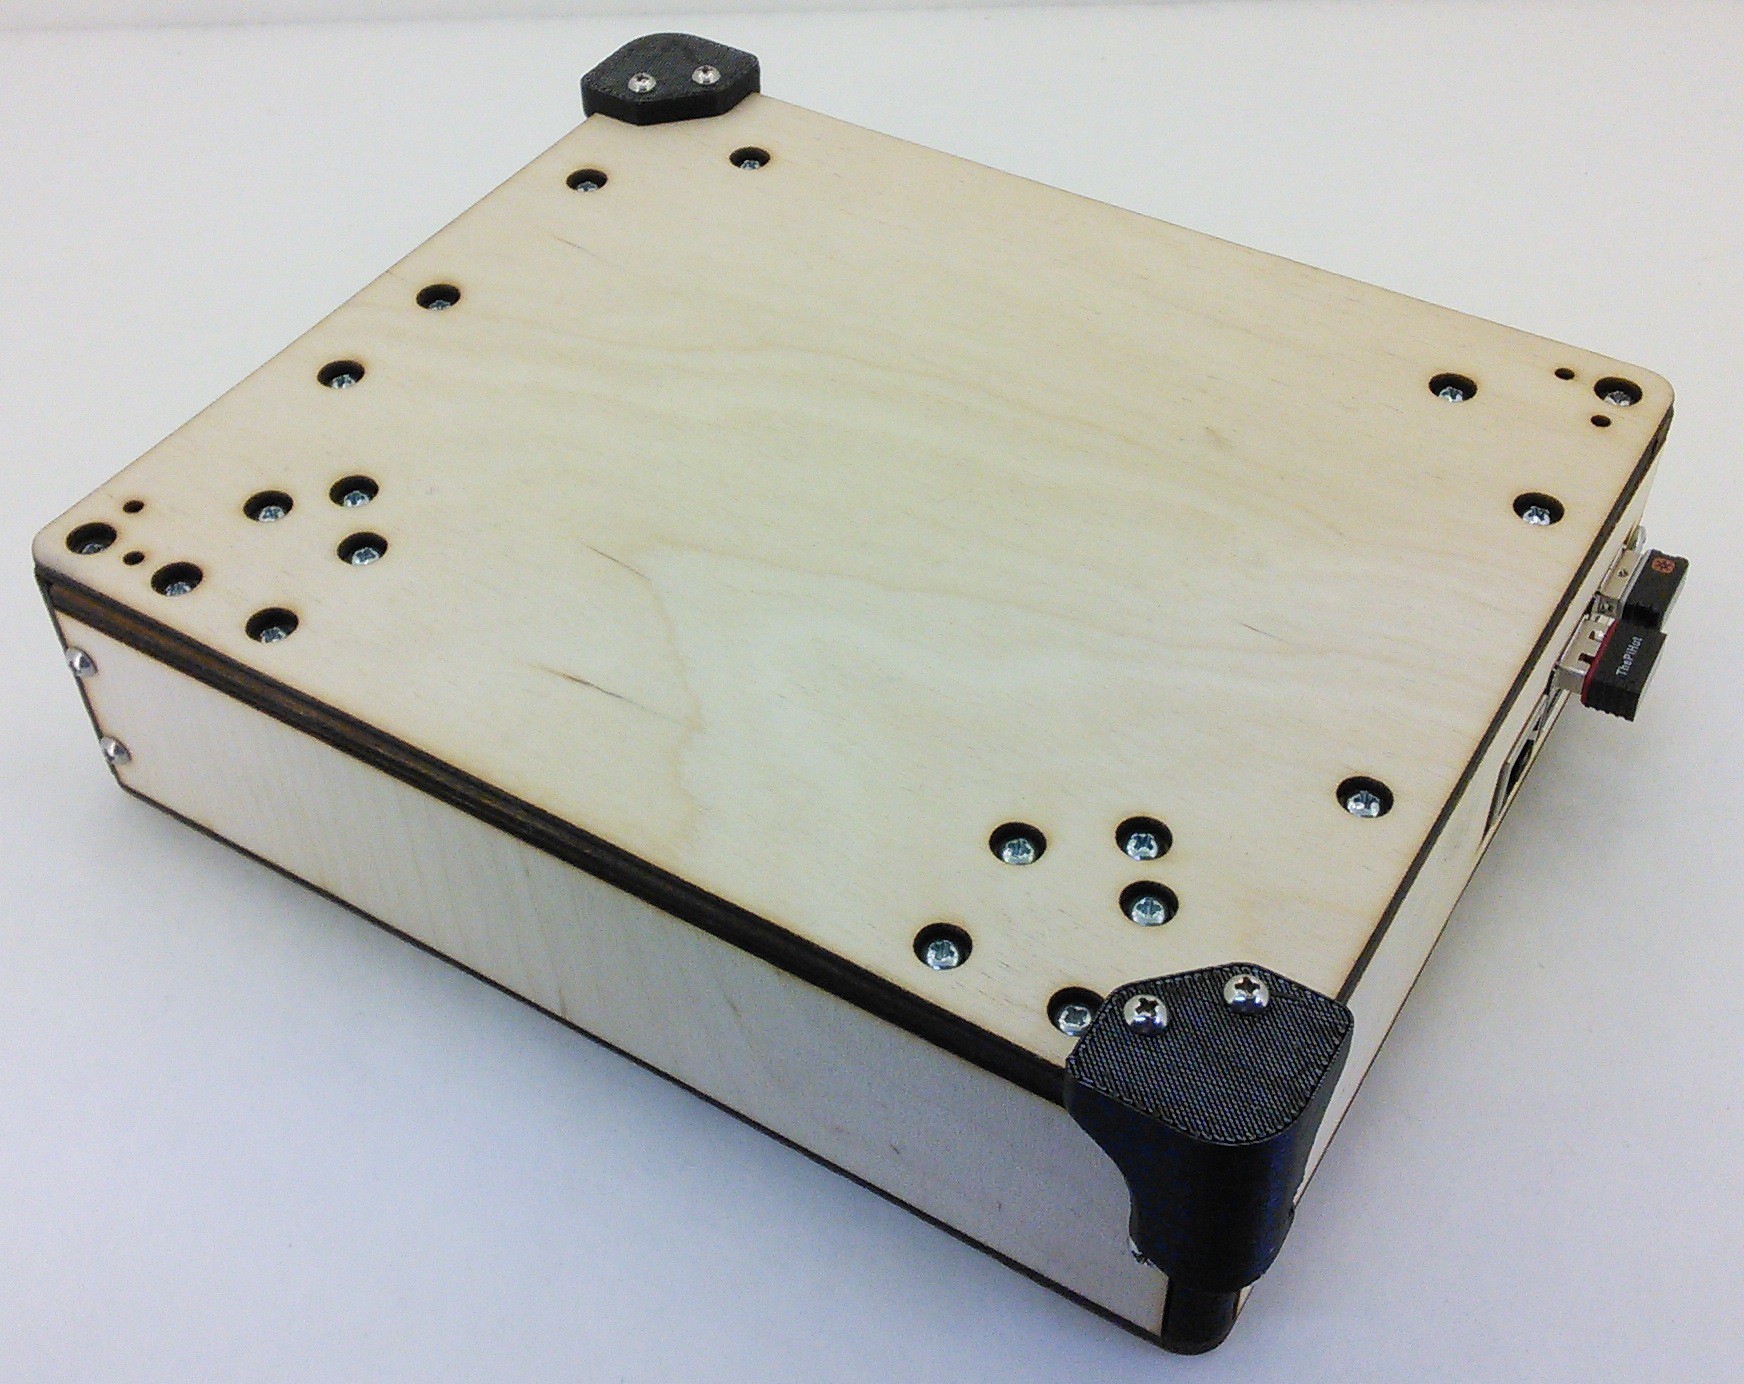
• 1280x800 LCD support - HSD070PWW1

    Tim07/13/2015 at 23:24 0 comments

    I've had a lot of interest in a version of the PIvena case that holds a higher resolution display, and I finally got around to making it happen. Thanks to Simon for prodding me into action. :) I decided to use the HSD070PWW1 display. The nice thing about it is that it uses the same LCD driver board that I originally designed the case for, so there is less redesigning to make it fit and fewer parts to replace if you want to upgrade.

    I bought this one: http://www.ebay.com/itm/PCB800099-HDMI-VGA-2AV-LCD-Controller-Board-Kit-7-inch-LED-LCD-Panel-HSD070PWW1-/161336989087?pt=LH_DefaultDomain_0&hash=item25906f159f

    You could also get it from adafruit: http://www.adafruit.com/products/1931.

    It is a very nice looking display, no doubt about it. Personally I was quite happy with the original 800x480 AT070TN92 LCD. 800x480 was a reasonable resolution to comfortably sit on my desk and read all the text while I'm typing on my keyboard. The new 1280x800 makes the text so small that I found myself leaning closer to accurately read all the text. But it sure does fit a lot on that screen!

    My goal was to maintain the same bolt pattern on the piece of wood that holds the LCD, that way I can have multiple versions that all work with the travel cover. At the end of the day I succeeded with that goal. There are 5 wood pieces that are new and 1 plastic piece.

    The frame that holds the LCD obviously had to change. The new LCD is taller top to bottom and slightly narrower side to side. I centered the view-able area of the LCD so there is a 0.05" gap all around the view-able area of the screen.

    Resizing that top frame made it so the "PIvena" text no longer fits on the top. I moved the text to the front panel. If you are making your own parts then you can decide for yourself if you want to remake that or not. The only thing that is different on the front panel is the text.

    From the back you can see the rest of the new parts. The top left and right brackets that hold the LCD down are now "L" shaped. the top back of the LCD has a circuit board covered in metal tape. I don't think its a good idea to put a lot of pressure on there, so the bracket shape was adjusted.

    The lower brackets were replace with one long straight piece. This has the added advantage of being able to hold down the ribbon that sends all the signals up to the display.

    The plastic piece that connects the kickstand to the top panel had to be adjust slightly. Since this new LCD is thinner, the thickness of the part had to be reduced where the new long bracket goes over it. This allows the long bracket to put force on both sides of the LCD.

    Lastly, and this was a very interesting find, I had to direct solder the power wires to the LCD driver board. There is a 5.2mm barrel jack on the driver board that I've been using to get power to it. It seems that the new LCD is drawing a little bit more power. I had a 0.5V voltage drop across that barrel jack that was making the LCD not work well. The PIvena runs on a 5V supply and since 5V is the minimum voltage for the driver board there is no room to be dropping voltage on anything! Direct soldering the power wires I show above did the trick.

    In the next few days I'll get a the kits up on my etsy page, as well some upgrade kits to put the HSD070PWW1 in your current PIvena.

  • Protective Travel Cover

    Tim05/15/2015 at 22:19 0 comments

    Over the past several months I've been doing a lot of traveling with my PIvena. I've been working on some cool projects at home and then carting it along with me to work to show what I'm working on. With the LCD facing out the PIvena is a little vulnerable to travel with so I wanted to make a lid. For a while I just had a piece of plywood with holes for the front cover screw heads that I would hold on with a rubber band. But it always made me nervous. Rubberbands aren't the most robust method of securing, especially when I want to just toss this in my backpack and head out.

    I drew up some corners and I'm really happy with how securely they hold the lid on! I think i iterated through 3 different designs for the corners. There is a notch on one side of the lid's corner that hugs a screw head on the side of the PIvena. It really holds it on nicely.

    The design files are up on Thingiverse: http://www.thingiverse.com/thing:830289

    I tossed a few up on my Etsy store too. I figure I'm not the only one traveling around with their PIvena. https://www.etsy.com/listing/233548599/pivena-travel-cover

  • PIvena Updates 12/1/14

    Tim12/02/2014 at 03:55 0 comments

    Not to long after I unleashed PIvena on the world I updated the design for B+ support. The thingiverse link for the project has all the files. I had to move the LCD button board to the other side of the case, added (2) 1/2" screws and nuts and changed the cutouts for the B+ peripherals. Otherwise it's the same.

    I had a special request for the original B version of the PIvena to support the earliest of B boards, which didn't have screw holes. I'll admit I was a little bit late to the Raspberry PI scene - I didn't realize that a board without screw holes existed. I created http://www.thingiverse.com/thing:502521 to allow you to fit a non-screw-hole Model B in the PIvena. Just print it out and you're good to go.

    Shamlian on Thingiverse made a super-sweet PIvena out of black acrylic, but he really stepped up the whole thing by adding the guts of an 18650 cell power bank. I've been thinking about doing the same thing but haven't gotten around to it. When I do I'll post an update and link to the design files.

    I know there are atleast 45 PIvenas out in the wild. If you make one I'd love to see your build and learn about what modifications you make to it, so please share!