 Tim
Tim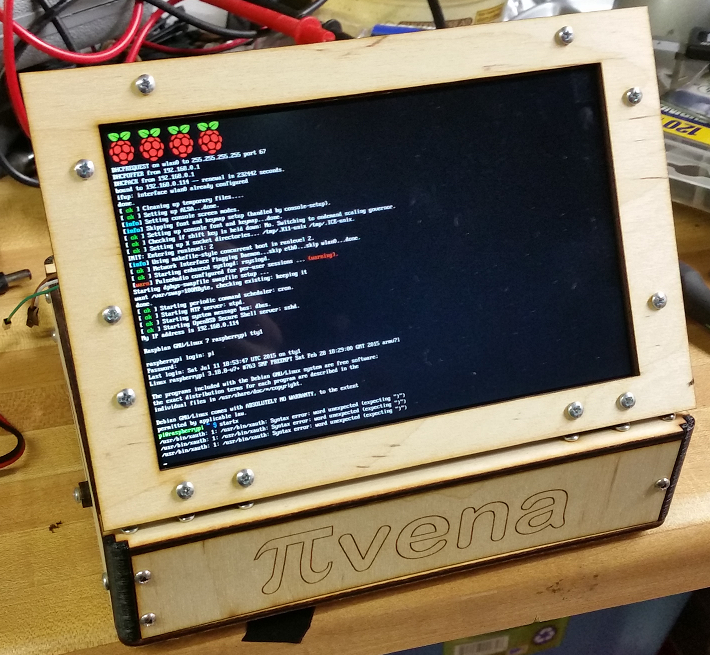
I've had a lot of interest in a version of the PIvena case that holds a higher resolution display, and I finally got around to making it happen. Thanks to Simon for prodding me into action. :) I decided to use the HSD070PWW1 display. The nice thing about it is that it uses the same LCD driver board that I originally designed the case for, so there is less redesigning to make it fit and fewer parts to replace if you want to upgrade.
I bought this one: http://www.ebay.com/itm/PCB800099-HDMI-VGA-2AV-LCD-Controller-Board-Kit-7-inch-LED-LCD-Panel-HSD070PWW1-/161336989087?pt=LH_DefaultDomain_0&hash=item25906f159f
You could also get it from adafruit: http://www.adafruit.com/products/1931.
It is a very nice looking display, no doubt about it. Personally I was quite happy with the original 800x480 AT070TN92 LCD. 800x480 was a reasonable resolution to comfortably sit on my desk and read all the text while I'm typing on my keyboard. The new 1280x800 makes the text so small that I found myself leaning closer to accurately read all the text. But it sure does fit a lot on that screen!
My goal was to maintain the same bolt pattern on the piece of wood that holds the LCD, that way I can have multiple versions that all work with the travel cover. At the end of the day I succeeded with that goal. There are 5 wood pieces that are new and 1 plastic piece.
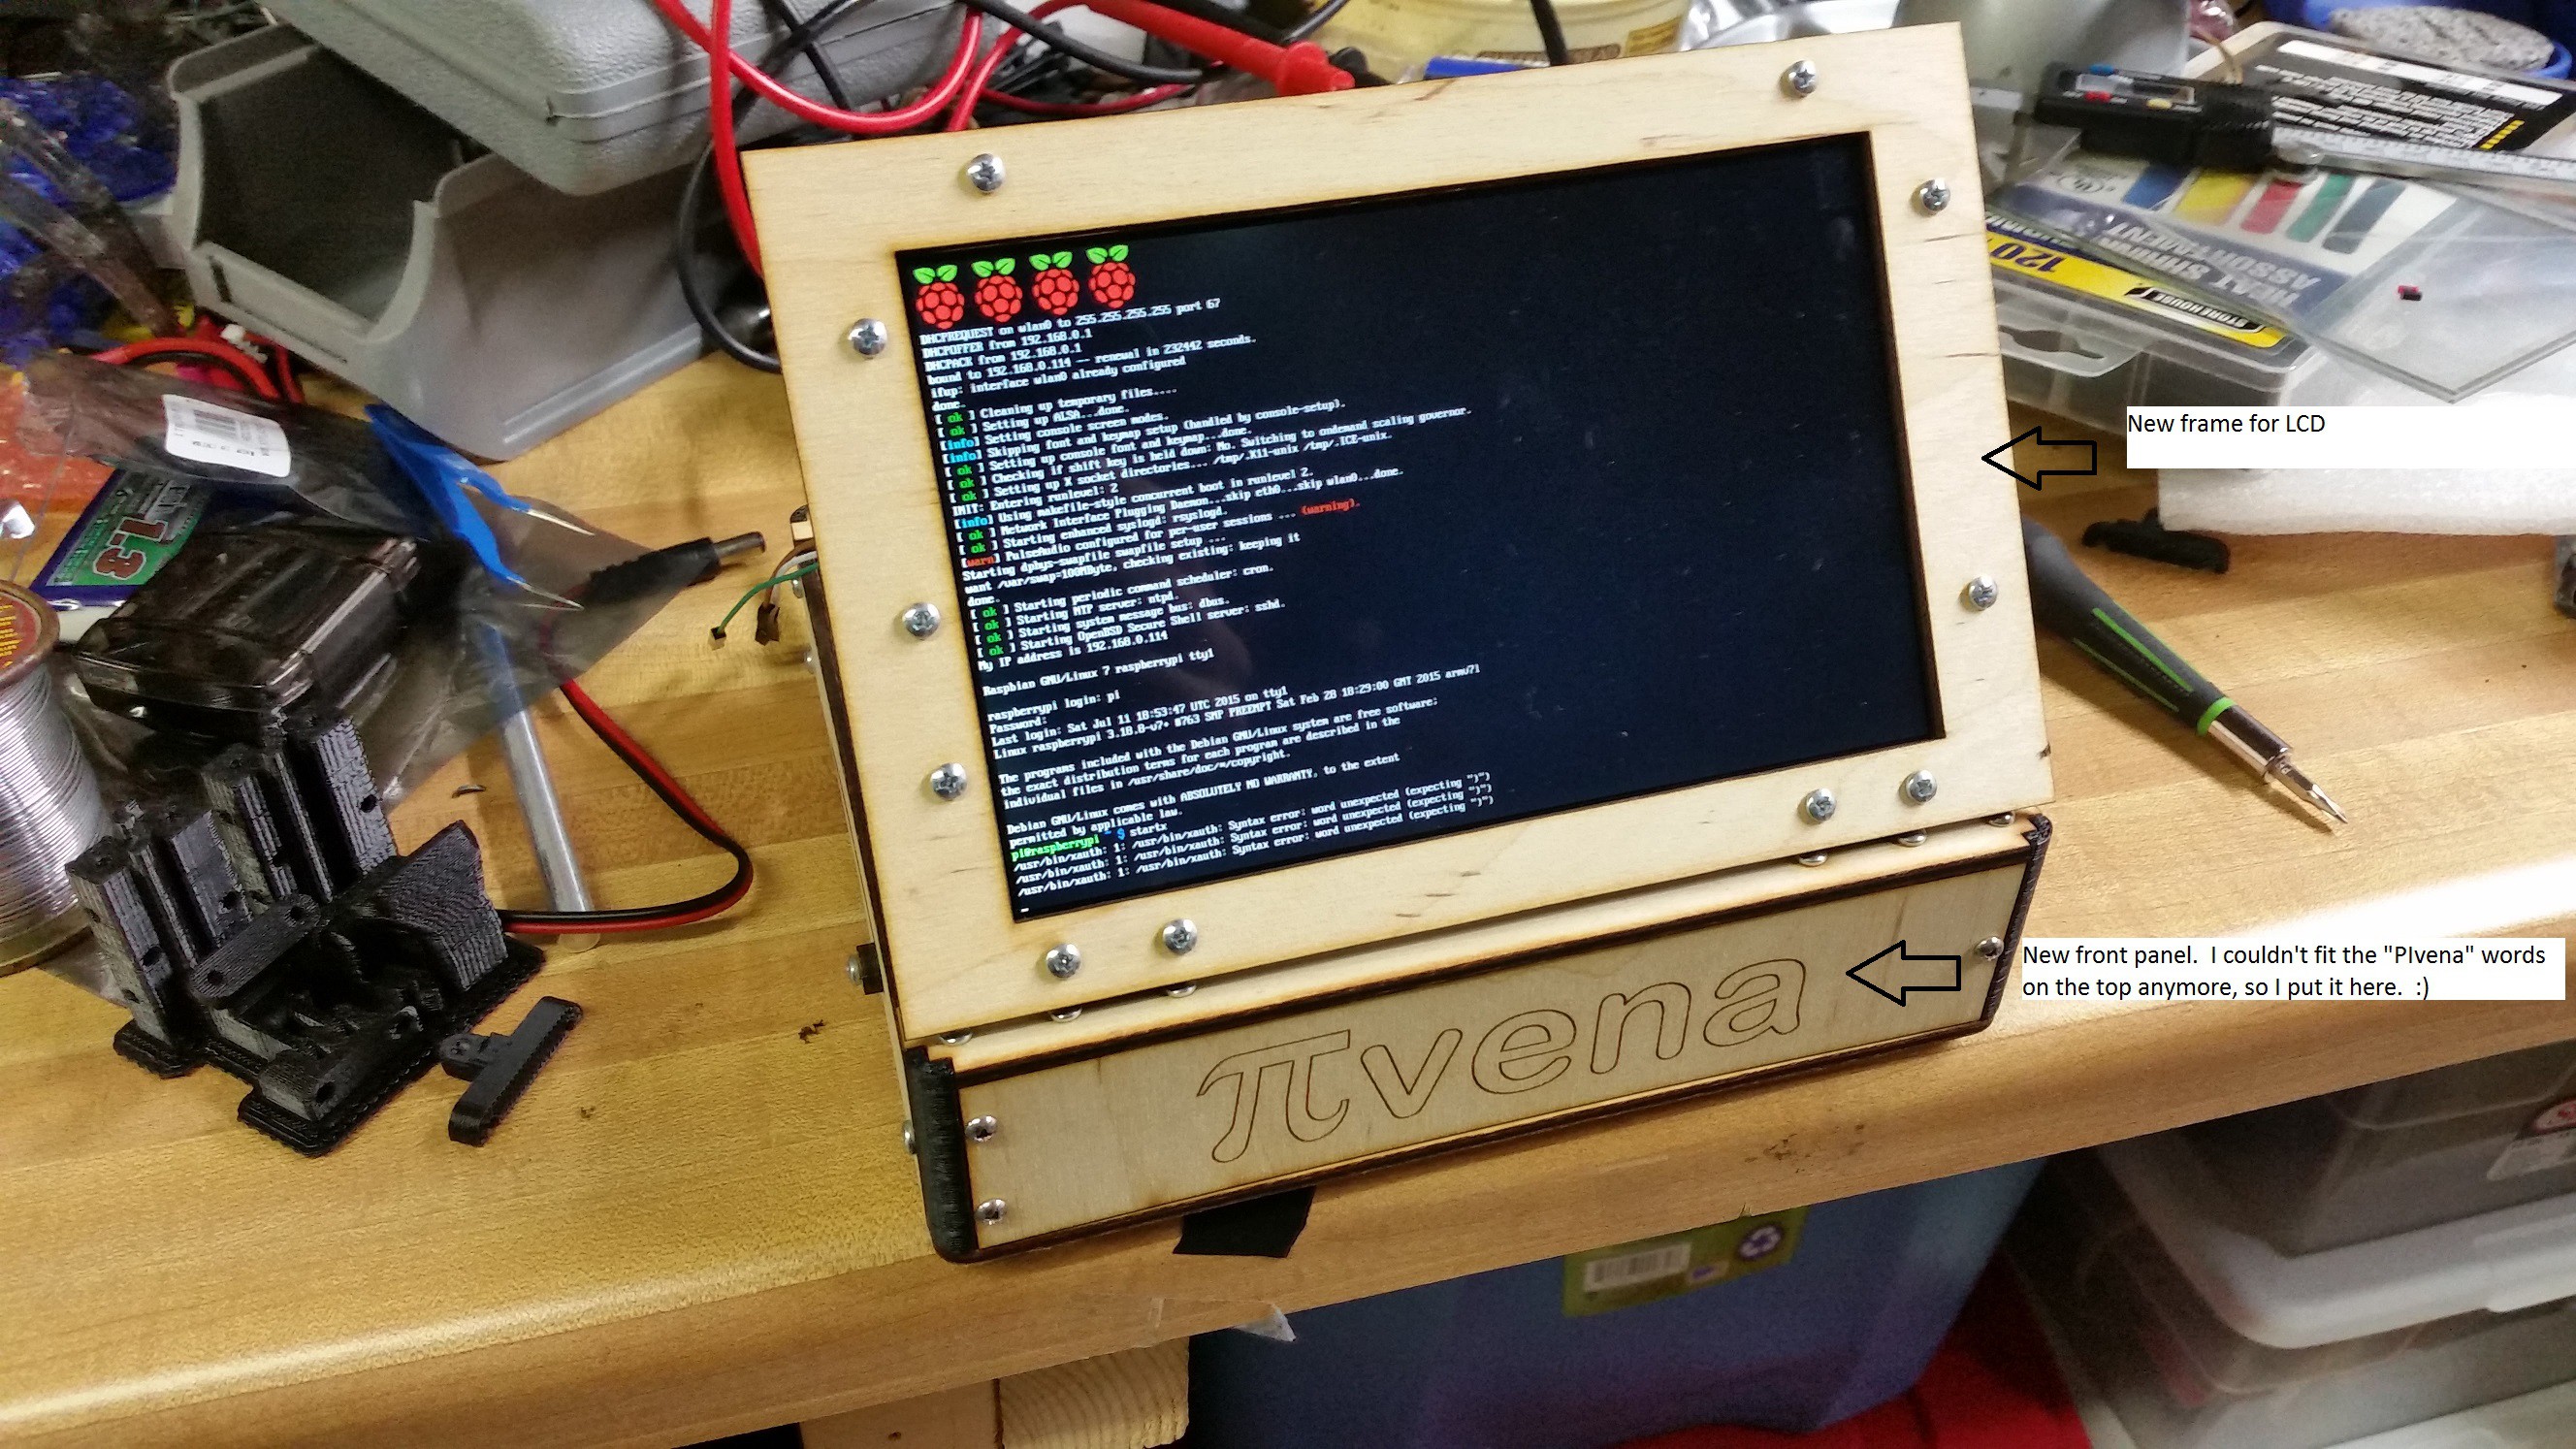 The frame that holds the LCD obviously had to change. The new LCD is taller top to bottom and slightly narrower side to side. I centered the view-able area of the LCD so there is a 0.05" gap all around the view-able area of the screen.
Resizing that top frame made it so the "PIvena" text no longer fits on the top. I moved the text to the front panel. If you are making your own parts then you can decide for yourself if you want to remake that or not. The only thing that is different on the front panel is the text.
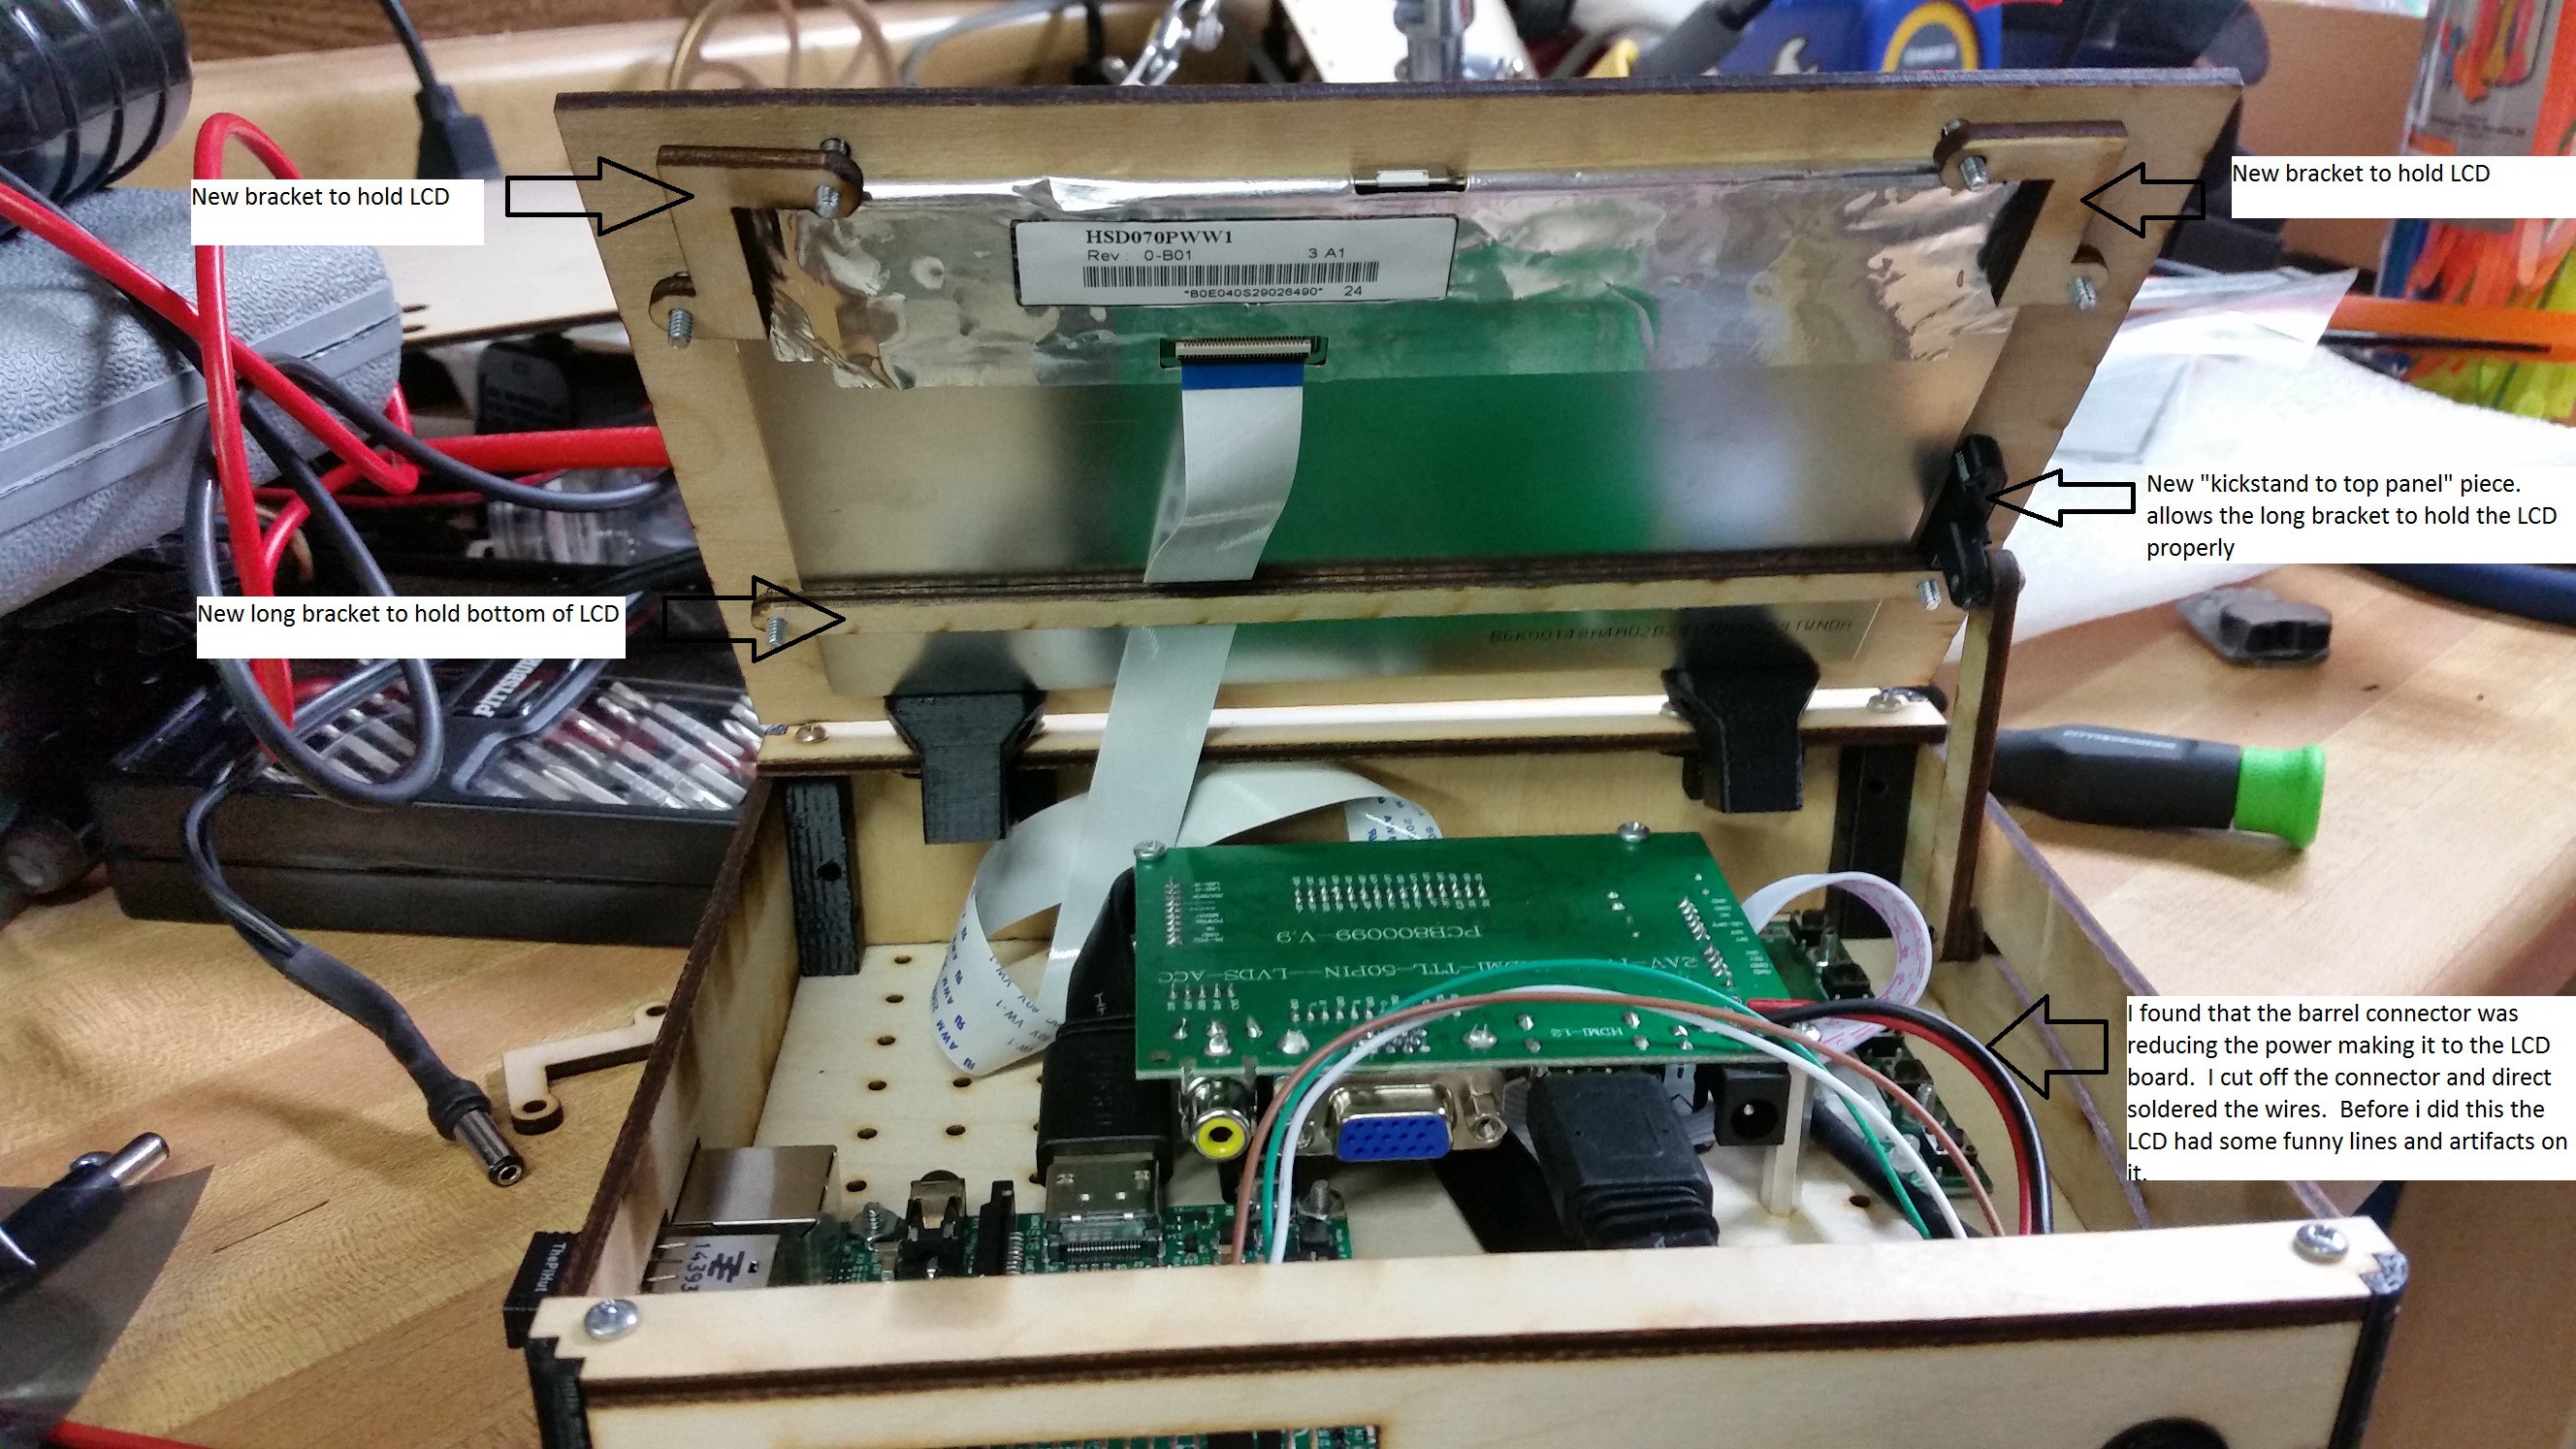 From the back you can see the rest of the new parts. The top left and right brackets that hold the LCD down are now "L" shaped. the top back of the LCD has a circuit board covered in metal tape. I don't think its a good idea to put a lot of pressure on there, so the bracket shape was adjusted.
The lower brackets were replace with one long straight piece. This has the added advantage of being able to hold down the ribbon that sends all the signals up to the display.
The plastic piece that connects the kickstand to the top panel had to be adjust slightly. Since this new LCD is thinner, the thickness of the part had to be reduced where the new long bracket goes over it. This allows the long bracket to put force on both sides of the LCD.
In the next few days I'll get a the kits up on my etsy page, as well some upgrade kits to put the HSD070PWW1 in your current PIvena.
Discussions
Become a Hackaday.io Member
Create an account to leave a comment. Already have an account? Log In.