 RaptorTech
Hardware
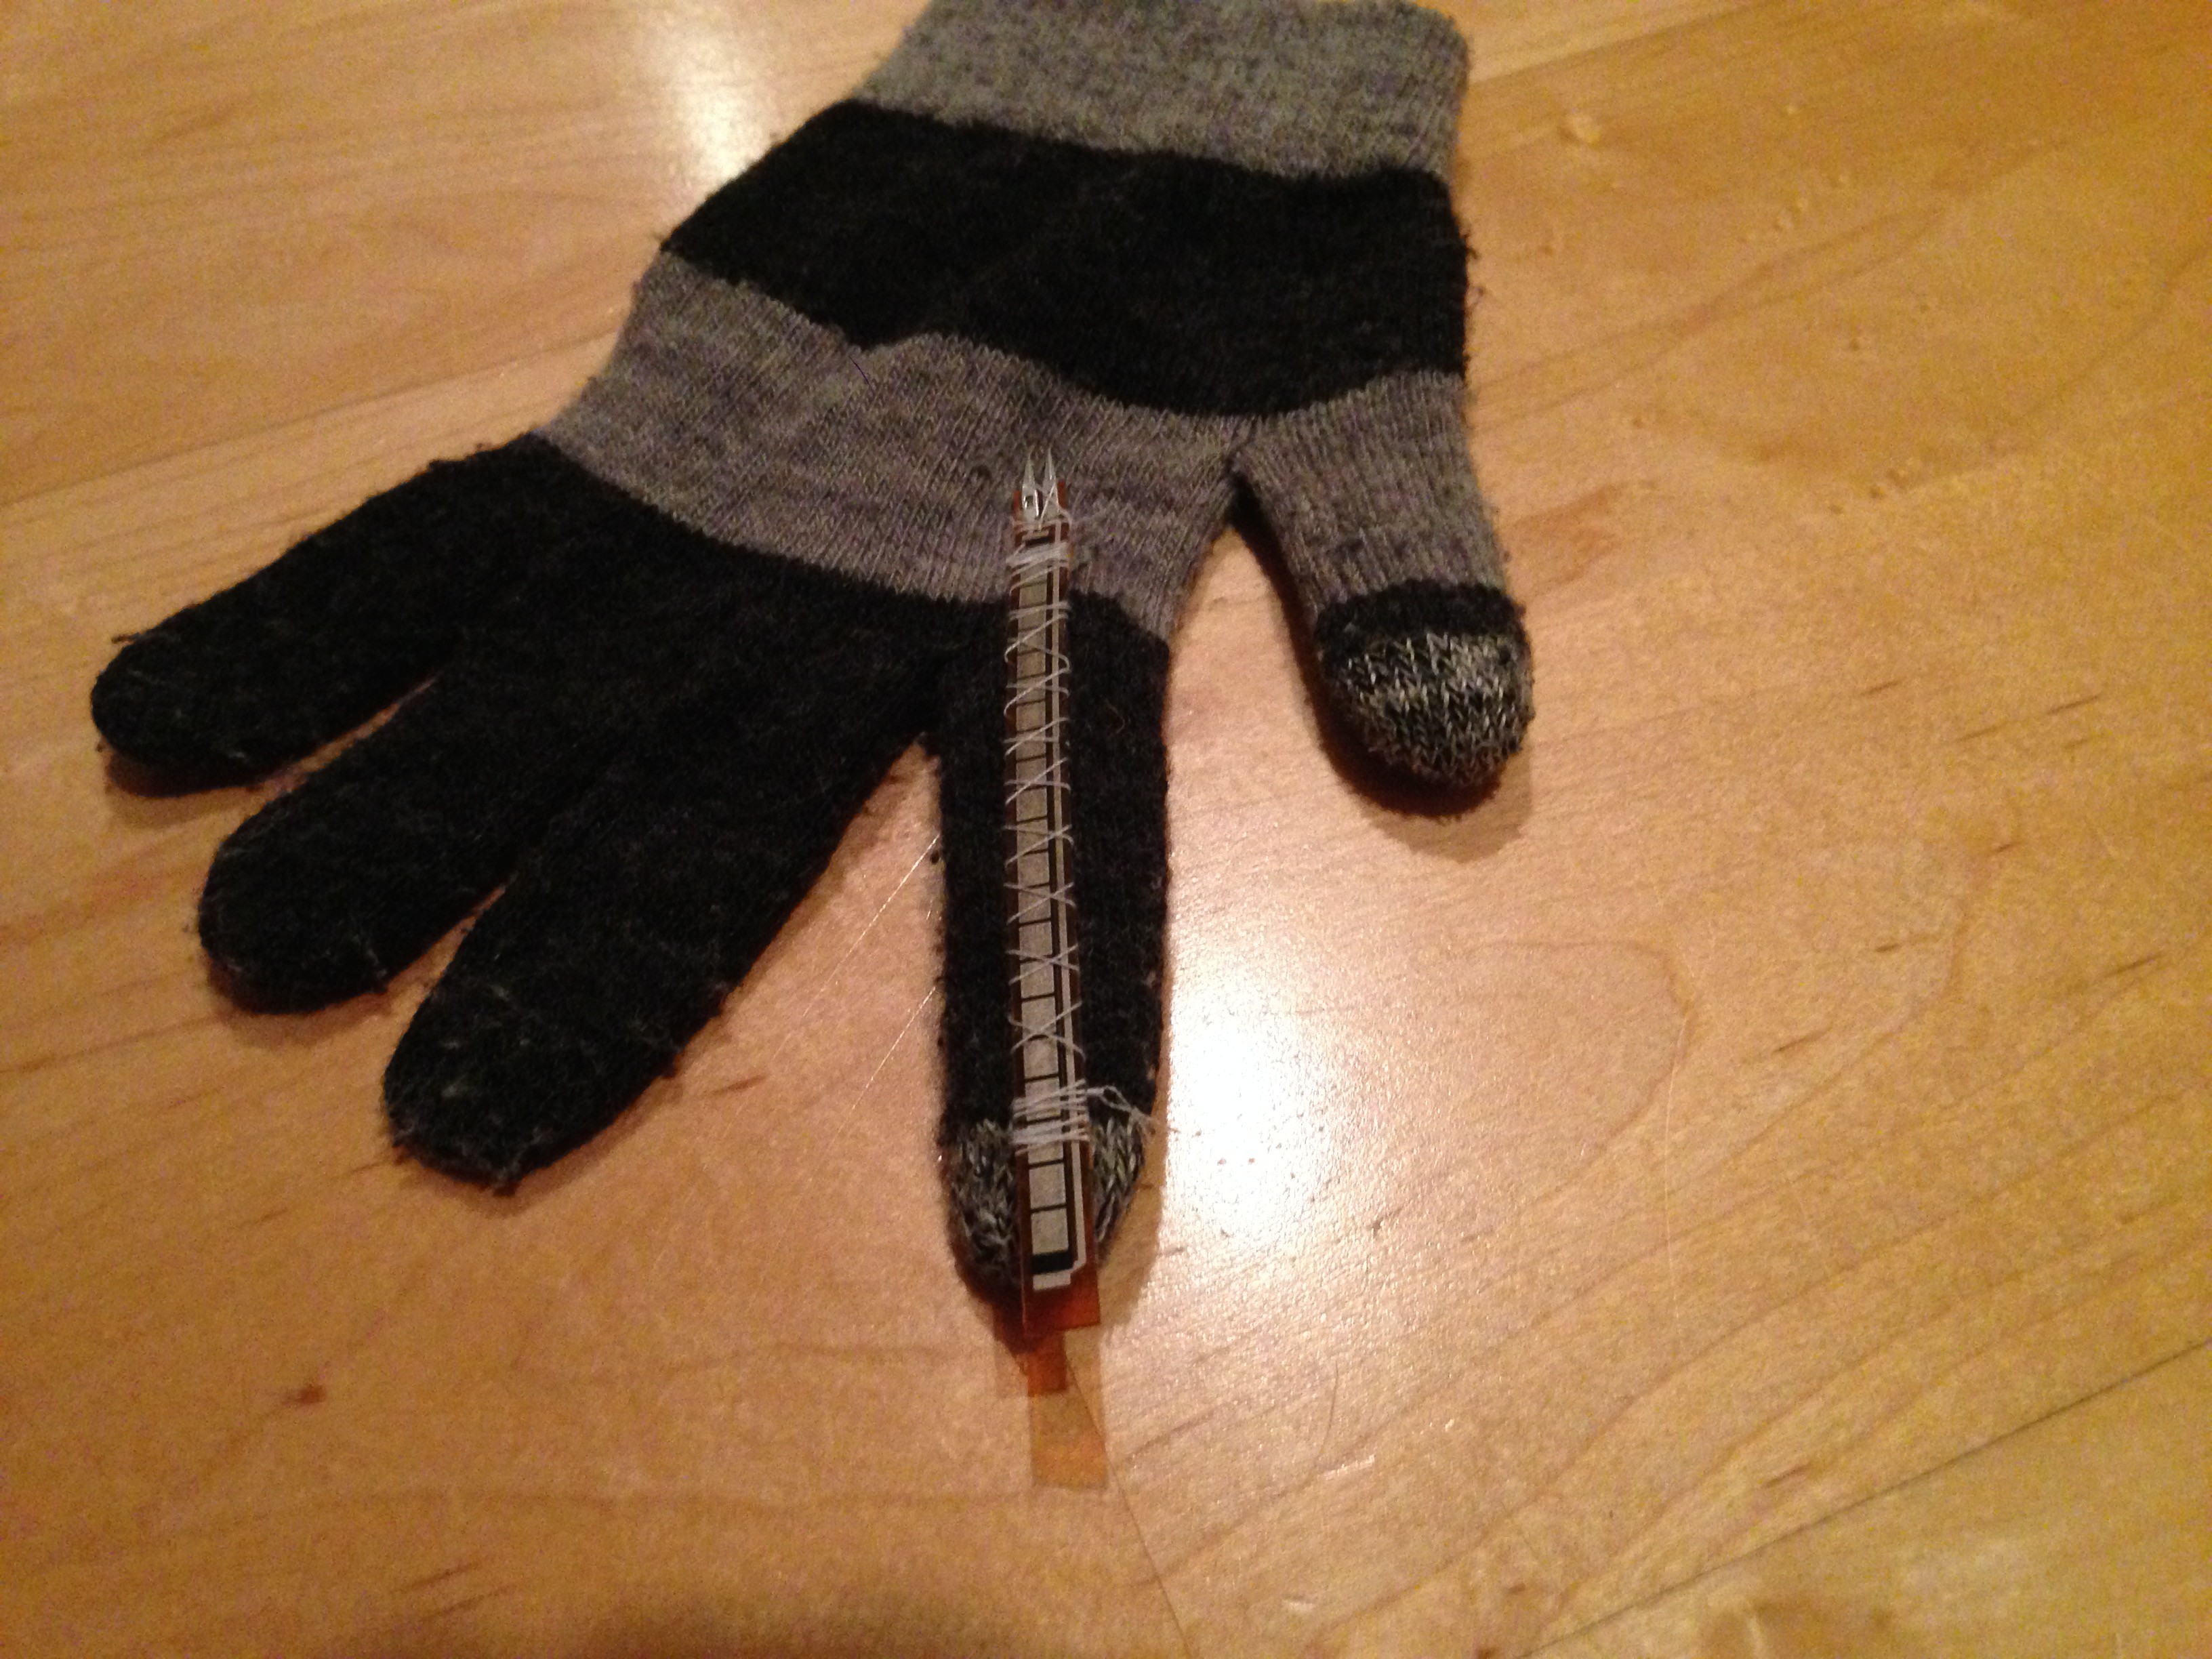
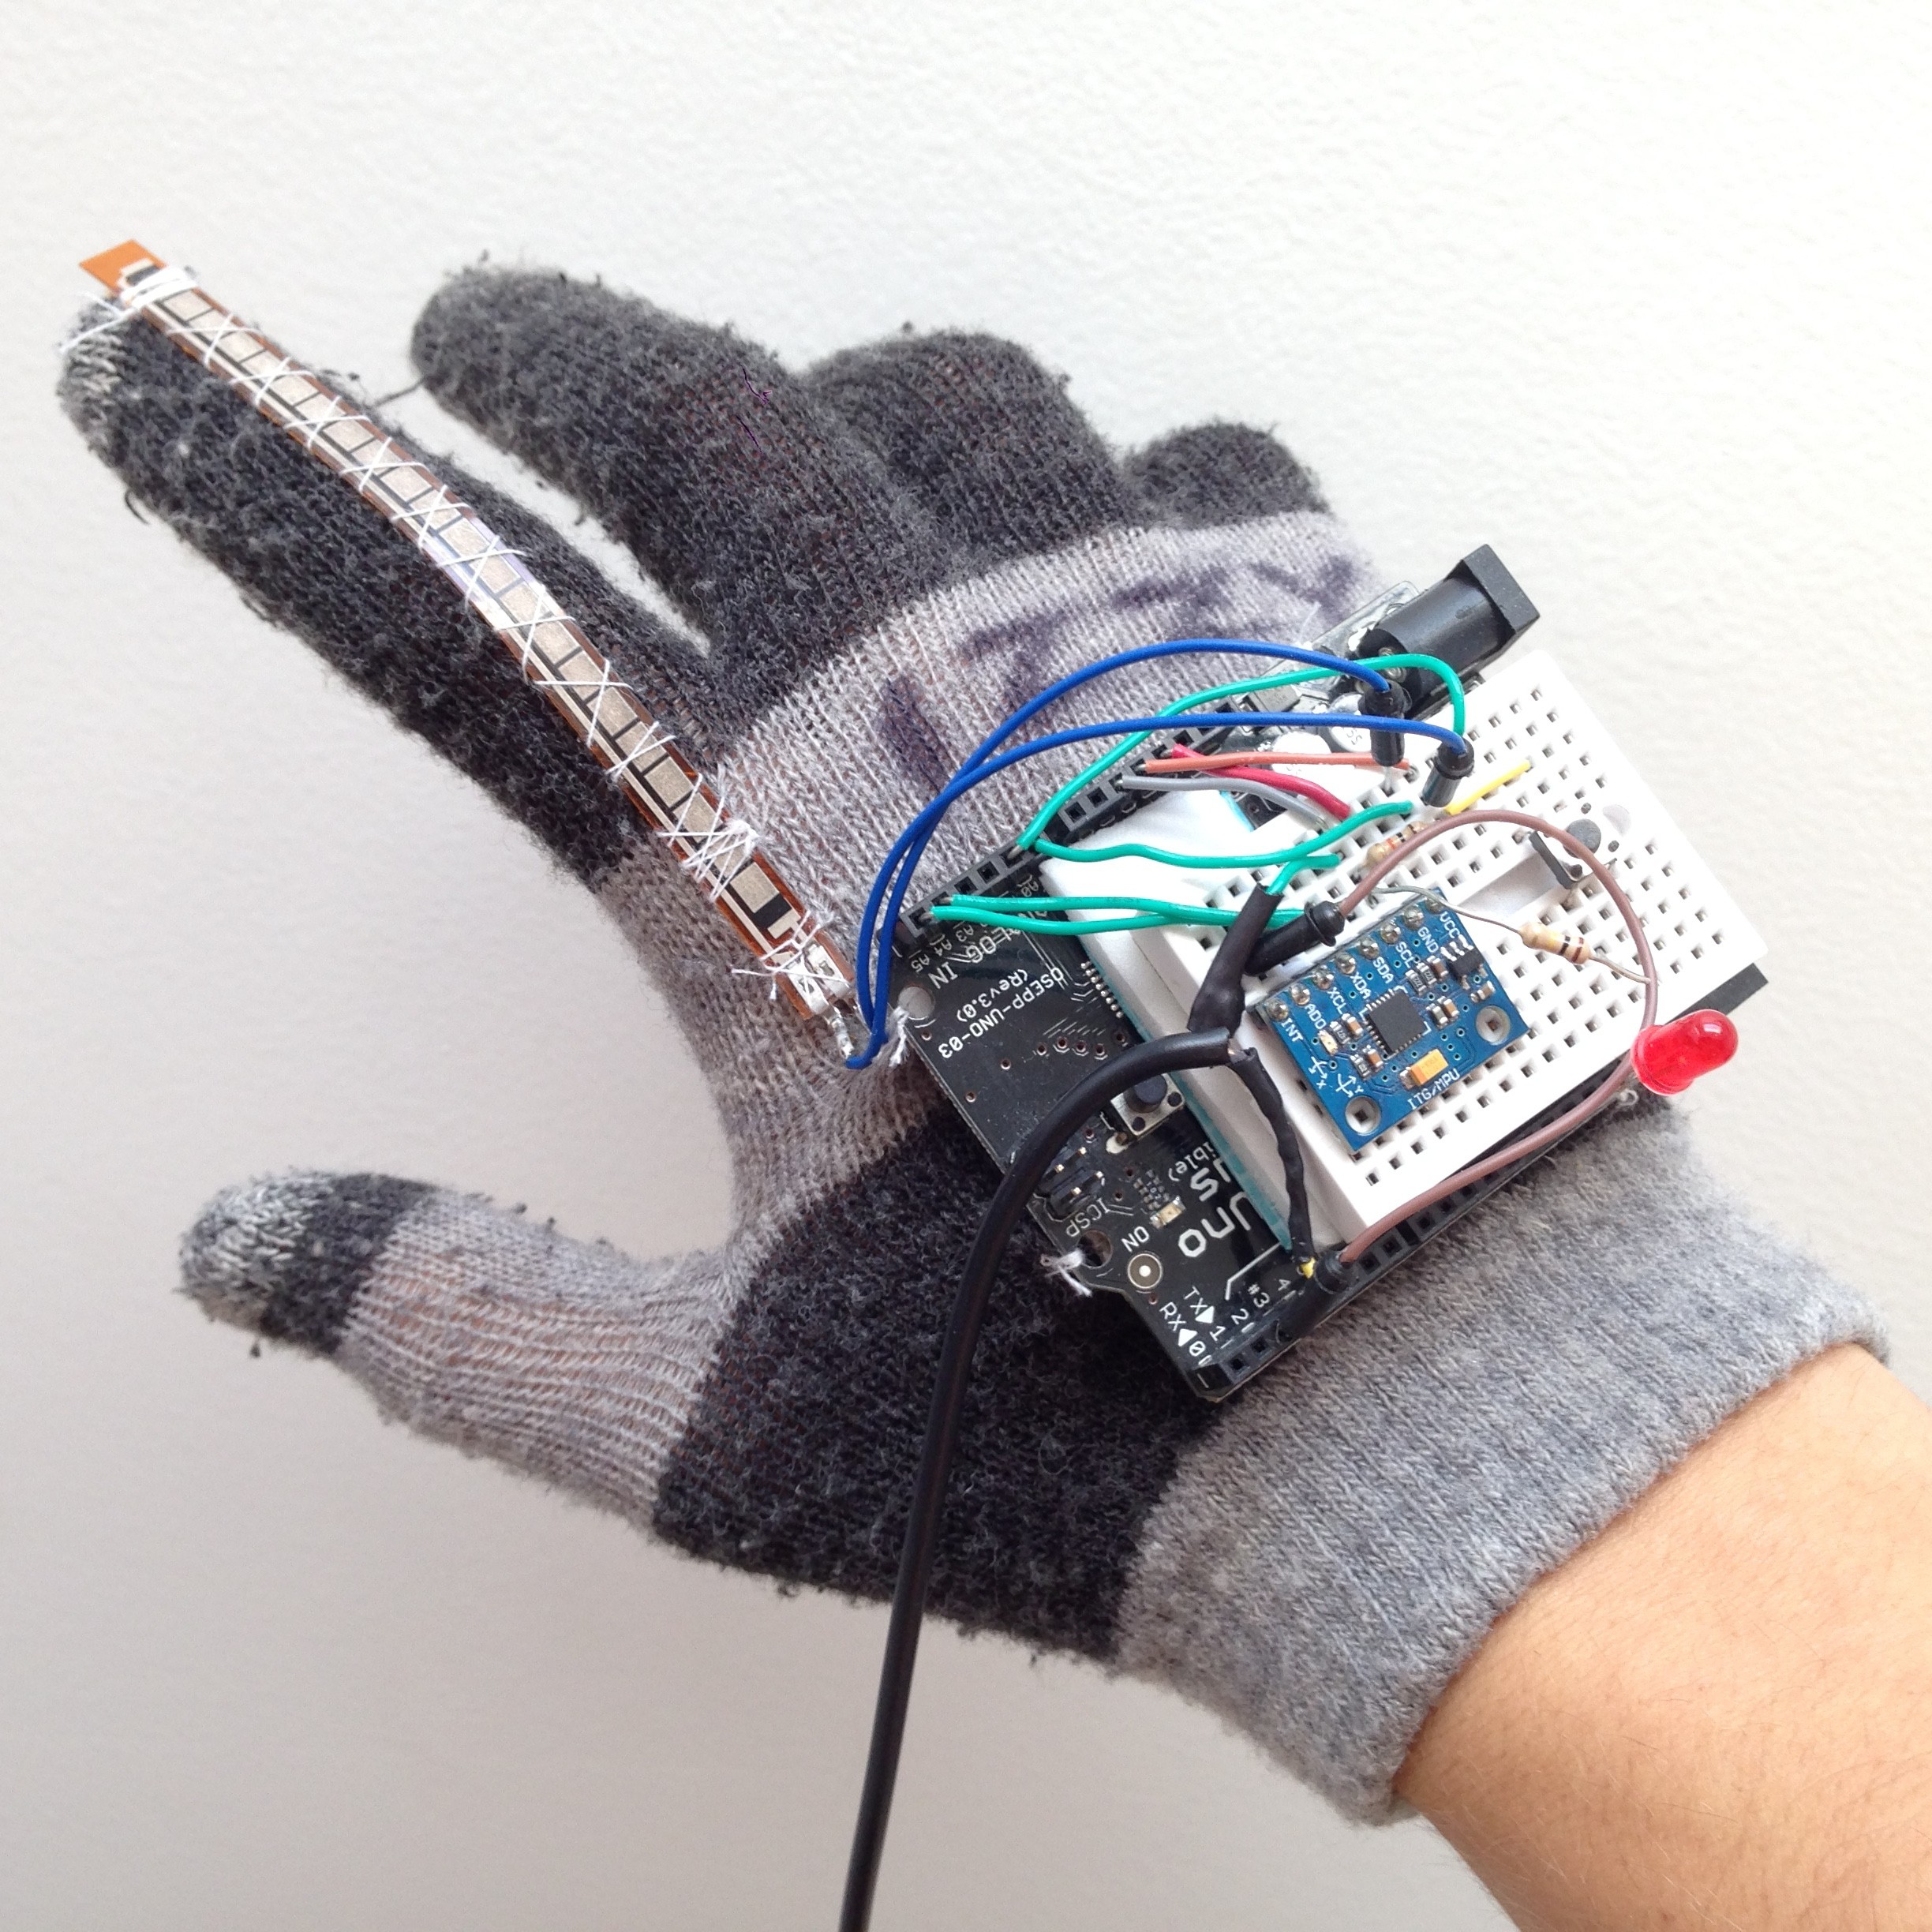
I began first by simply sewing the components I would need onto a glove. I went with a right hand glove because I found one that appeared to be missing it's partner. First, I sewed my flex sensor onto the index finger. This was really my first time working with wearable electronics, so the sewing probably took a bit longer than it should have ... oh well.
Next I sewed the OSSEP Uno R3 onto the back of the glove. I simply looped the thread through the mounding holes on the PCB. To protect the wearer from the sharp tips of the headers where they protrude below the PCB, I sandwiched a piece of foam below the board.
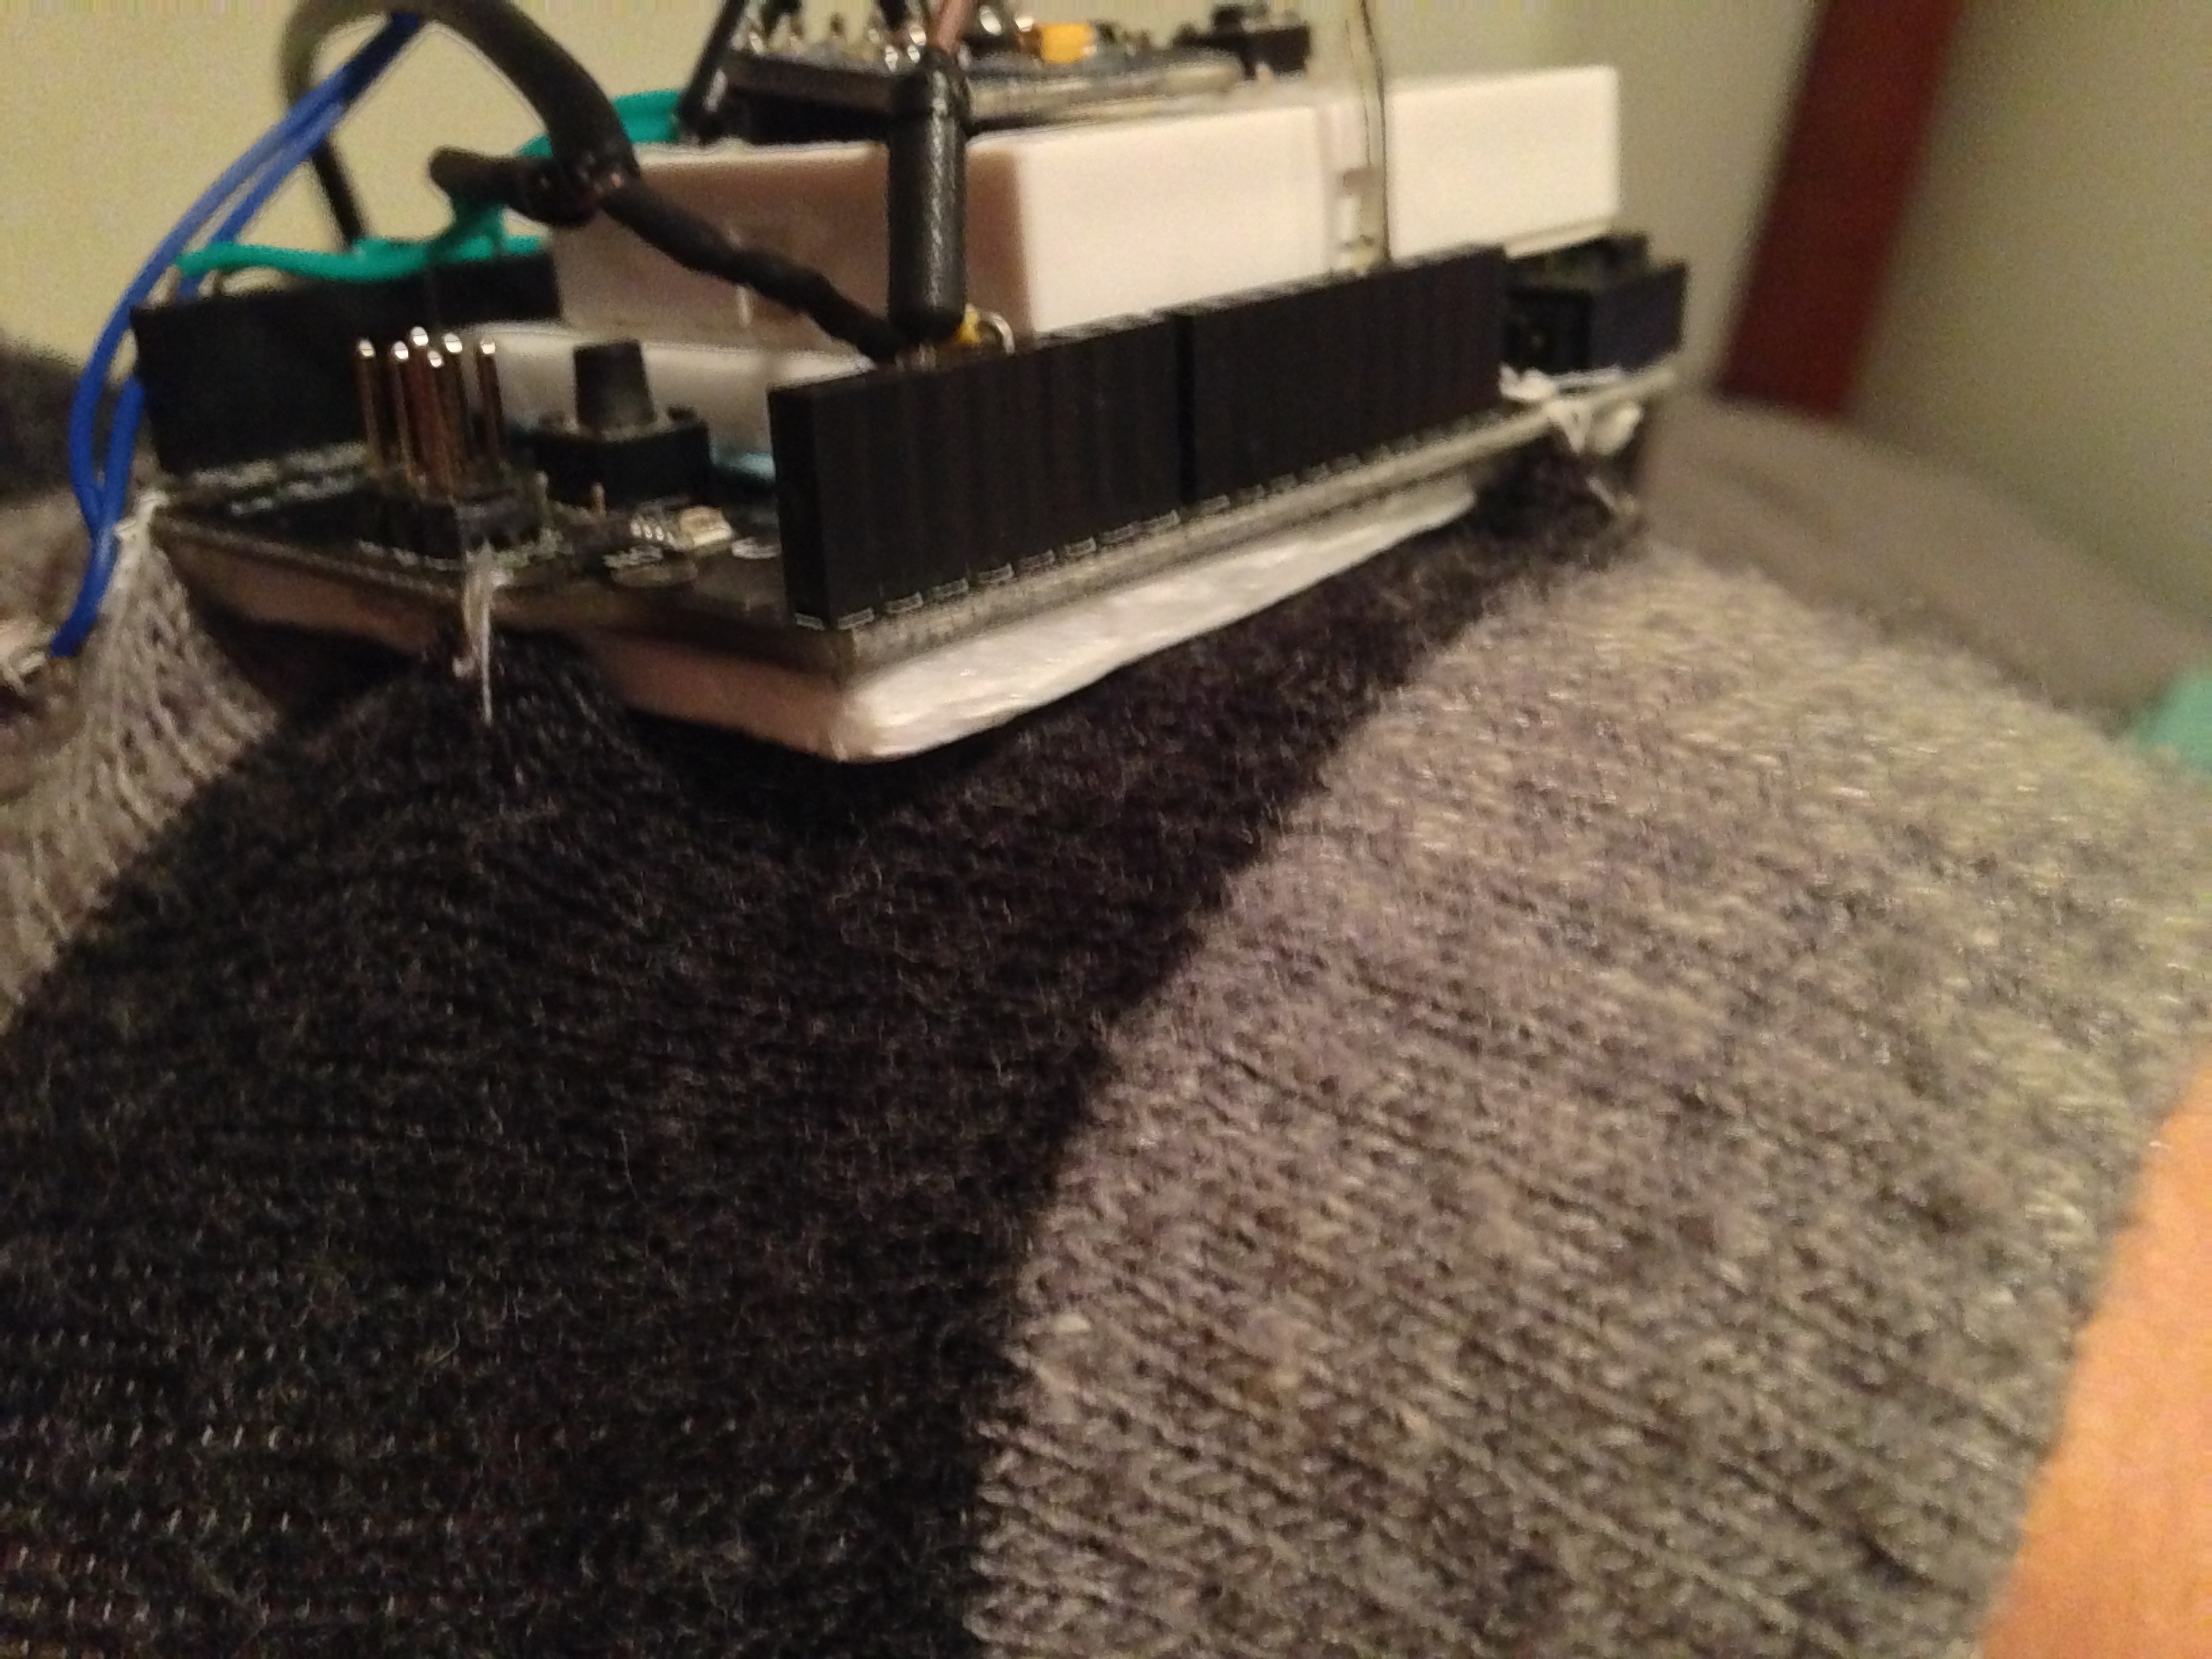
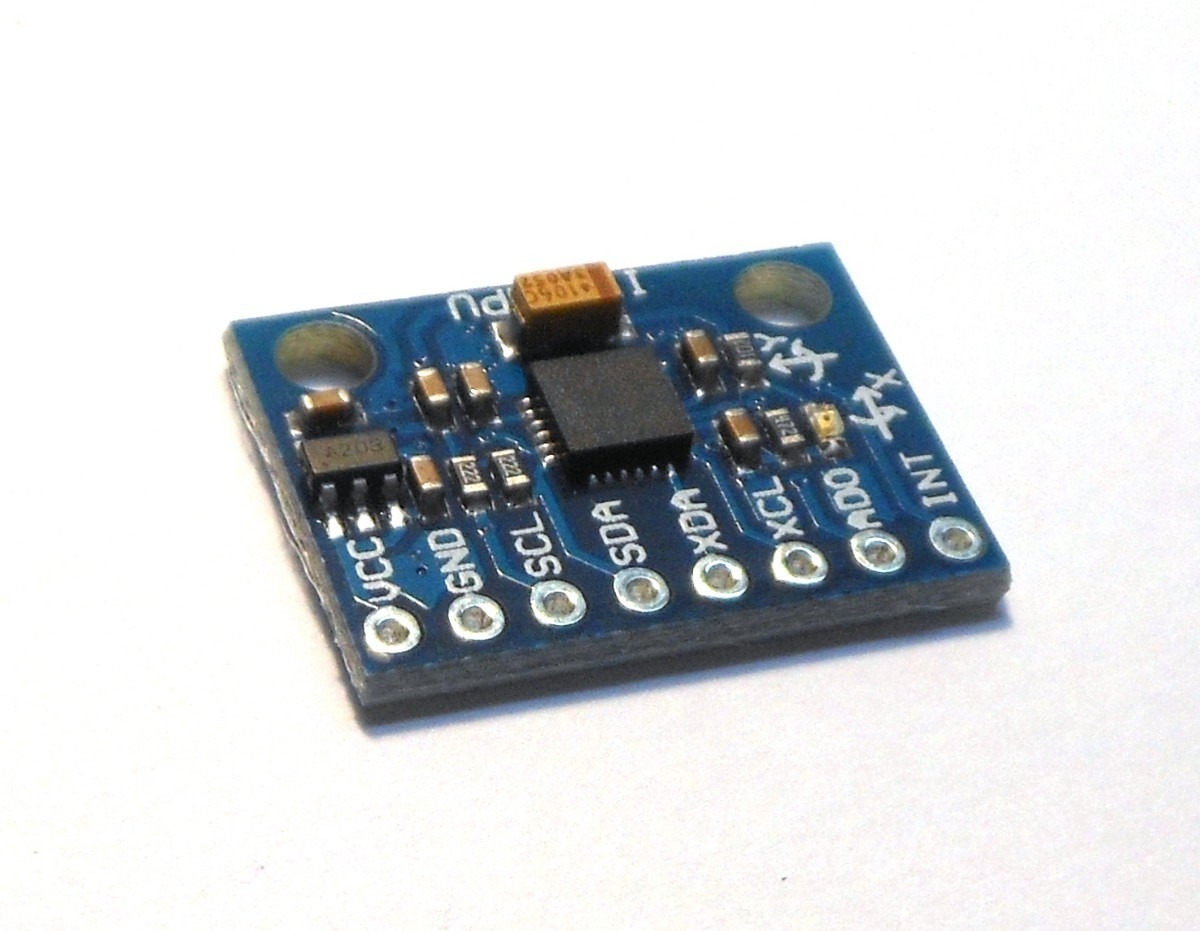
To simplify my wiring, I stuck a mini breadboard (10x17 holes) onto the microcontroller board between the rows of headers. Onto this breadboard, I added the MPU6050 6 axis IMU, and wired it up as an I2C device with power coming from the 3.3V pin.
After soldering some leads onto the flex resistor, I created a voltage divider using a a fixed 10KΩ and the flex resistor, and then connected the center of the voltage divider to an analog input pin. This circuit would allow me to calculate the resistance of the flex resistor, and therefor it's approximate flex.
I threw on a regular 5mm LED for status indication, and a standard push button for user input.
Finally, I found an old 3.5mm single-channel audio connector with a nice long wire and soldered on leads that would fit the breadboard. I connected the outside to ground and the center to a digital output pin on the OSEPP. This would allow me to connect the Manucon to a standard Spektrum/JR trainer port.
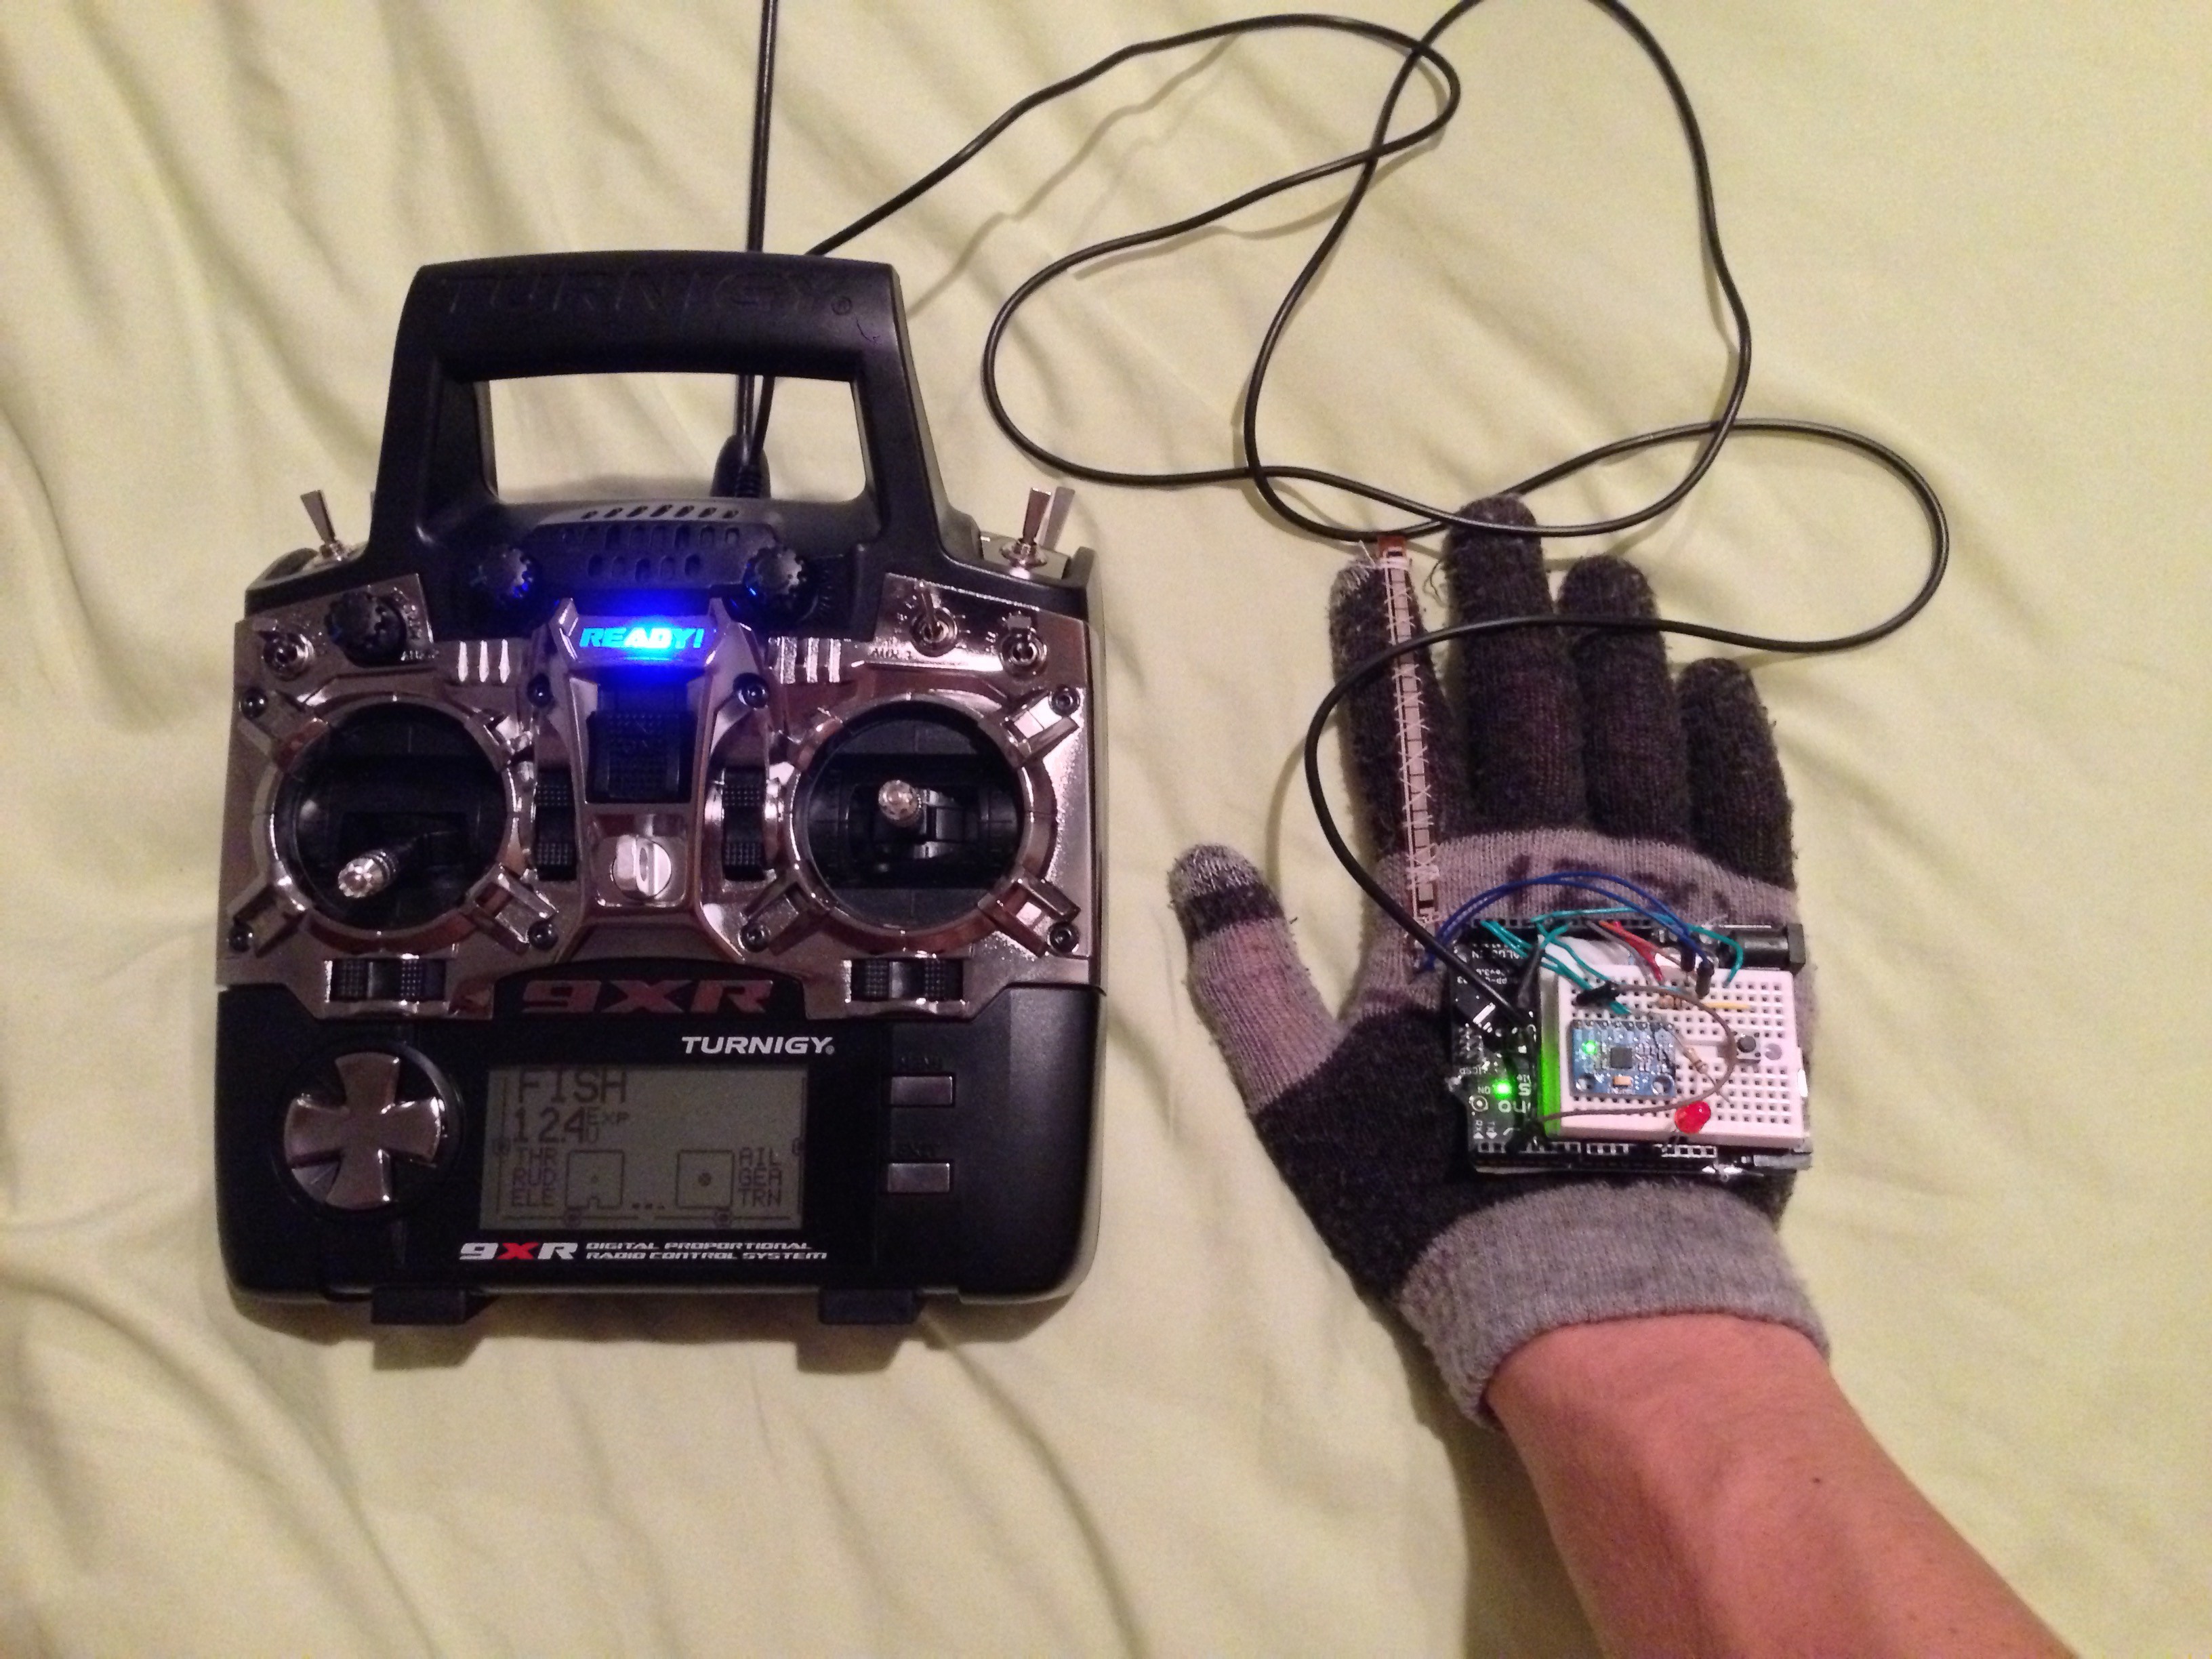
Here is the finished product:
Breadboard view:

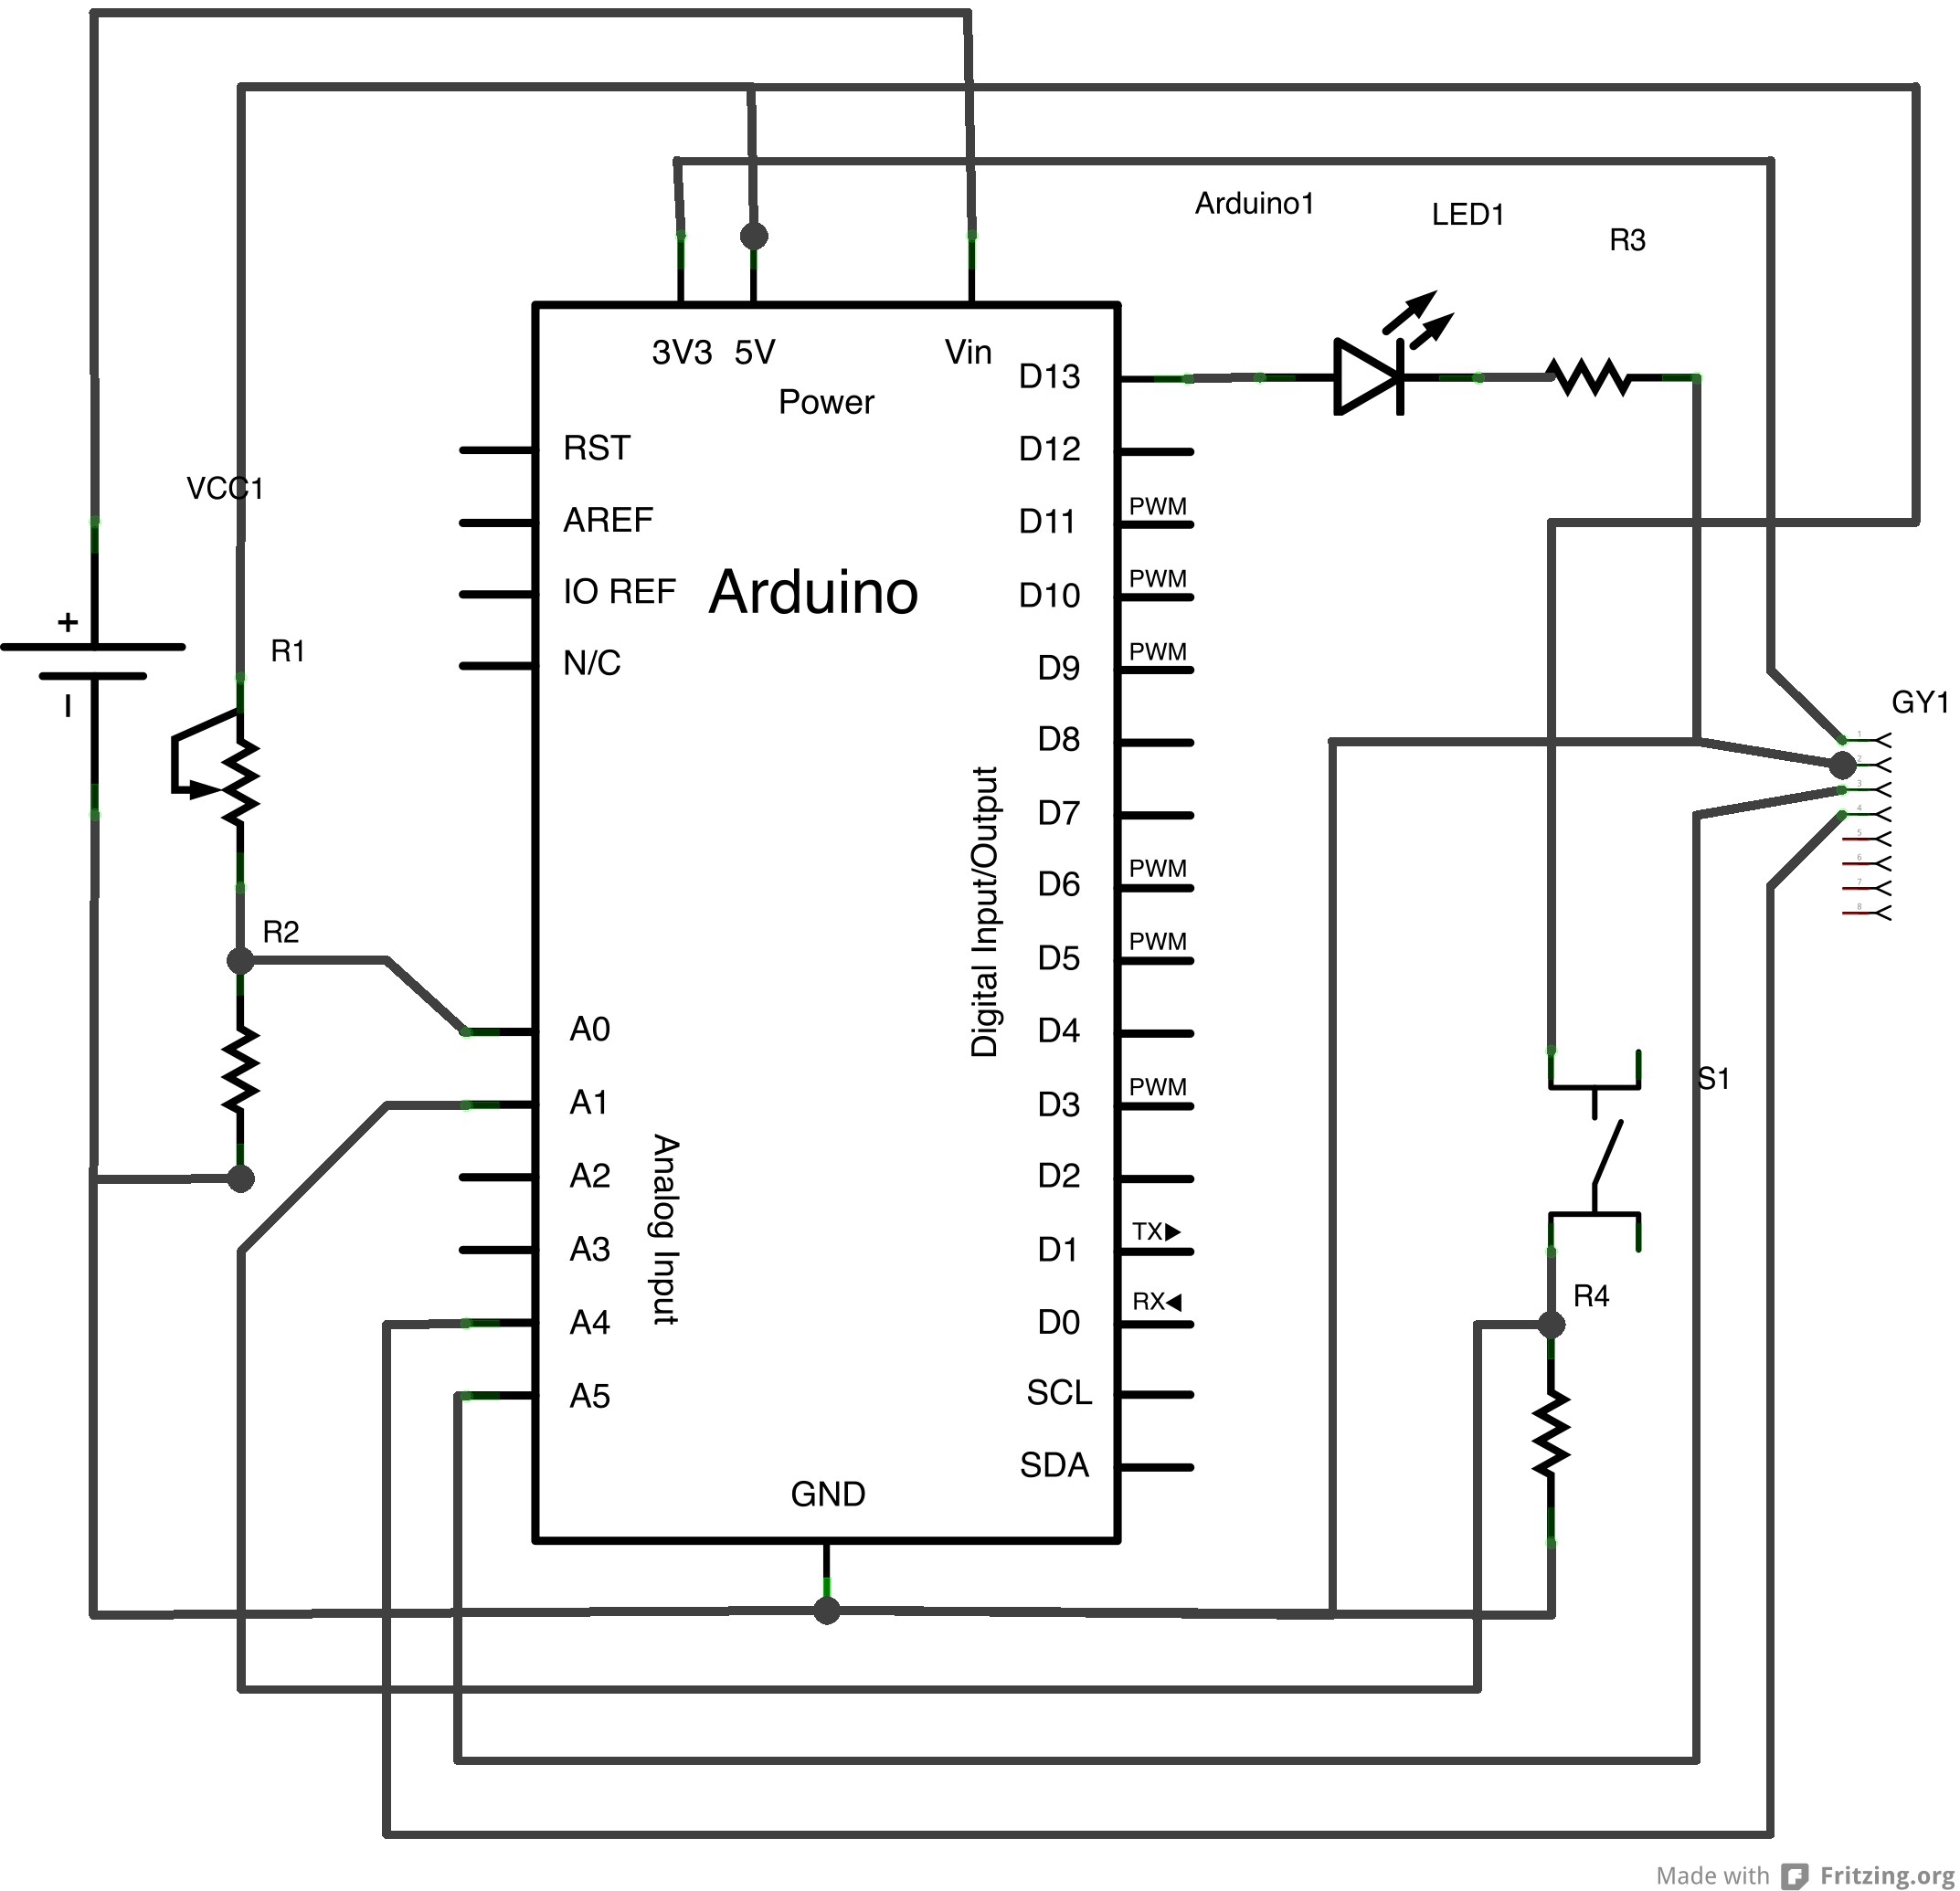
Schematic:
Discussions
Become a Hackaday.io Member
Create an account to leave a comment. Already have an account? Log In.