 Hugh Darrow
So today I've been working on the numberpad and screen orientation as before I had to work upside down, and the orientation of the number were flipped left to right and visa versa, so now all thats solved. It was actually a pretty simple fix, if you look at the reference for the RA8875 on page 19 you'll see you can change the vertical and horizontal scan directions by writing to register 0x20 and change the 3rd and 2nd bits, 3rd being horizontal and 2nd being vertical. So by add the code
void Adafruit_RA8875::scanV_flip(boolean V_scan)
{
if (V_scan)
writeReg(0x20, (1 << 2));
else
writeReg(0x20, 0);
}
void Adafruit_RA8875::scanH_flip(boolean H_scan)
{
if (H_scan)
writeReg(0x20, (1 << 3));
else
writeReg(0x20, 0);
to the .cpp file or the c++ file, which just says to add the function scanV_flip with boolean input and scanH_flip with boolean function. In each function we write a 1 binary bit to the correct bit in the 0x20 register while leaving it a 0 otherwise or its normal/default. Next we need to add the functions in the header by adding the lines
void scanV_flip(boolean V_scan);
void scanH_flip(boolean H_scan);
Now to call it up in the arduino IDE the function
tft.scanV_flip(true);
to flip the vertical scan, and
tft.scanH_flip(true);
to flip the horizontal scan, effectively giving us control over what the display looks like from all orientations and displayed text orientations. I can now see as I hope you see that c++ not only a fun, versatile language to learn but easy too, as I've completed this with no prior knowledge of c++.
All files have been added to the Github repo, with all files released under the same original license in hopes the code will be included in the adafruit libraries from default. Here is what the prototype and display looks like now with the screen reoriented and the number pad drawn. You'll see that in the previous arduino sketch I had the background white and numbers black but I decided to flip them to save on battery consumption in the future.
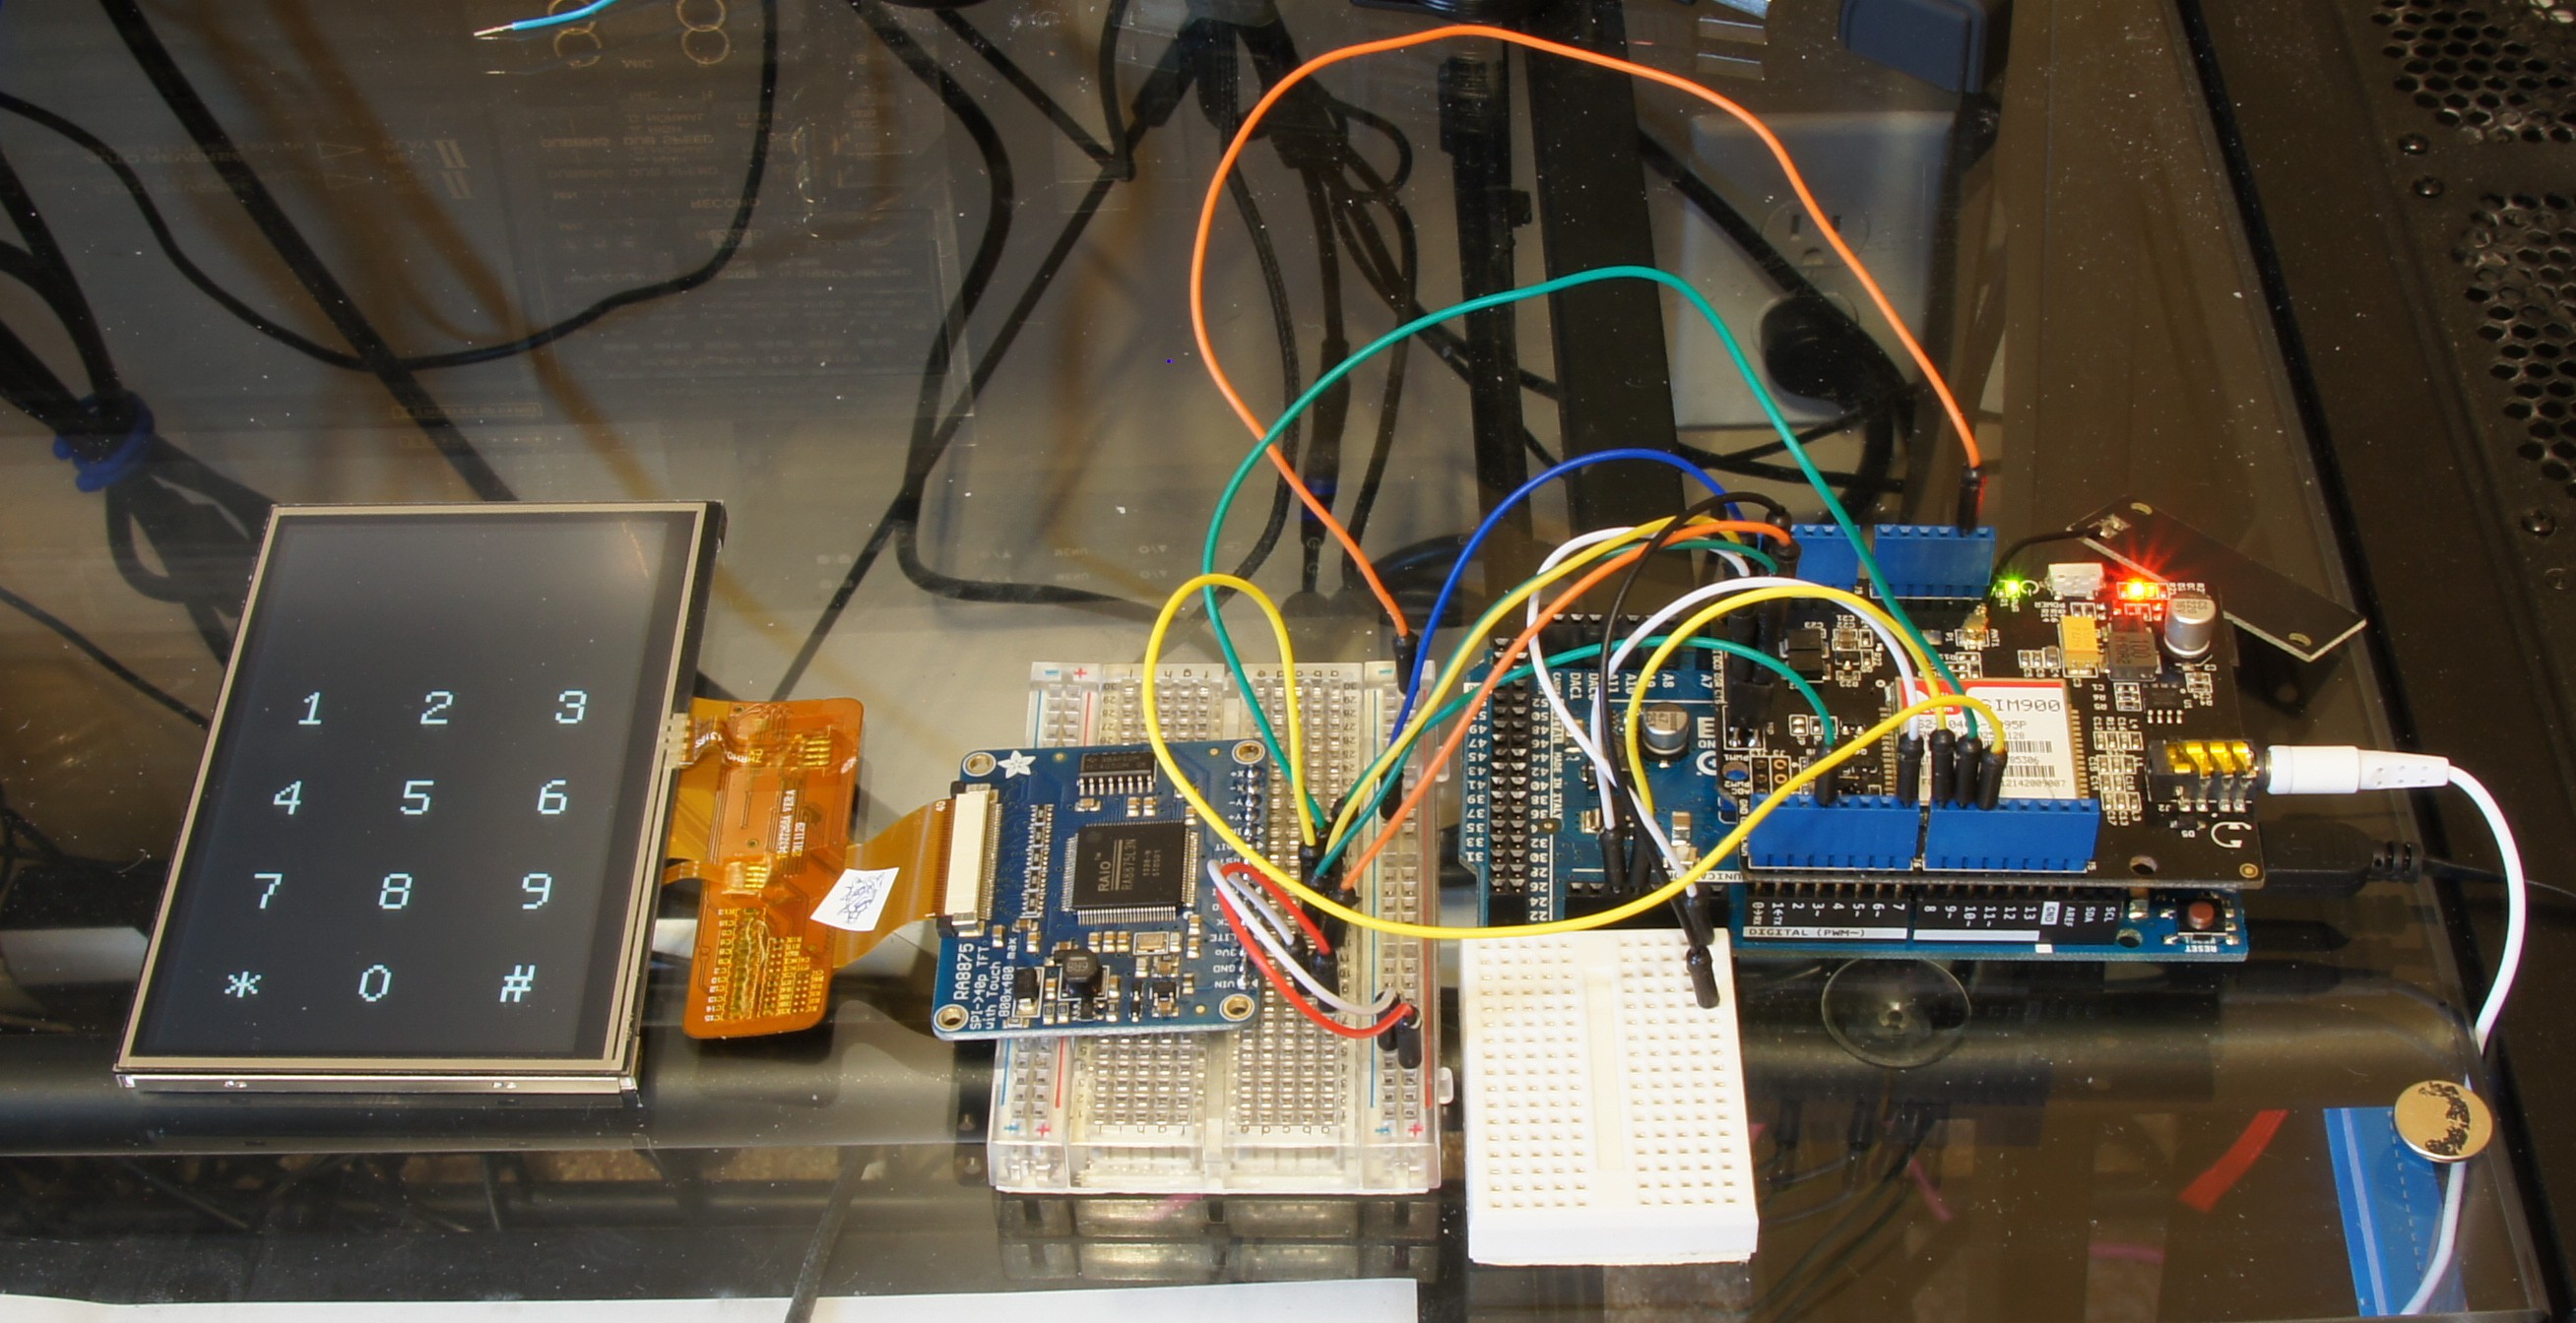
As you can see I've changed a few of the wires, the SPI reset and Vcc is held off to the side, while pin 9 and 10 are now reset and CS respectively, this was mainly done because the CS on the SPI or pin 52 didn't seem to be working everytime and sure enough if you look at the pinout for the Due on the repo in references you'll see its not recommended per se. And the RESET is easier to soft reset rather than reset the arduino to reset the screen.
Its my girlfriend's birthday today so I probably won't get any more work done, but I'll be back on tomorrow, enabling the first of the touchscreen and input. Until then happy hacking
Discussions
Become a Hackaday.io Member
Create an account to leave a comment. Already have an account? Log In.