Background
If you are interested in boat building, especially using “stitch and glue” plywood construction, then Carlson Design Hull Designer (http://carlsondesign.com/projects/hull-designer/) may be of interest to you. You will need to run this program in XP compatibility mode otherwise some of the options will not work.
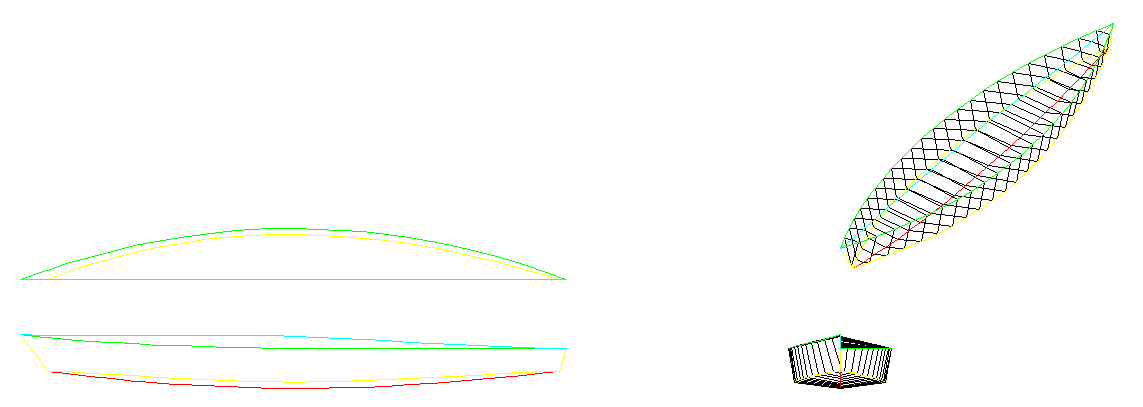
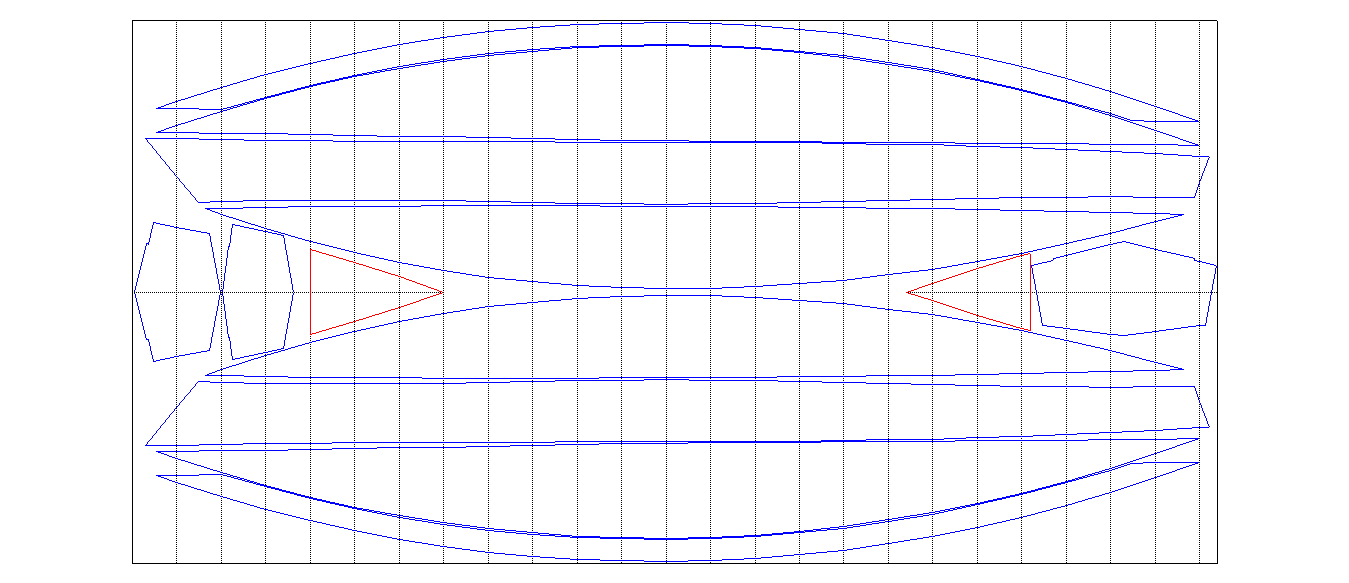
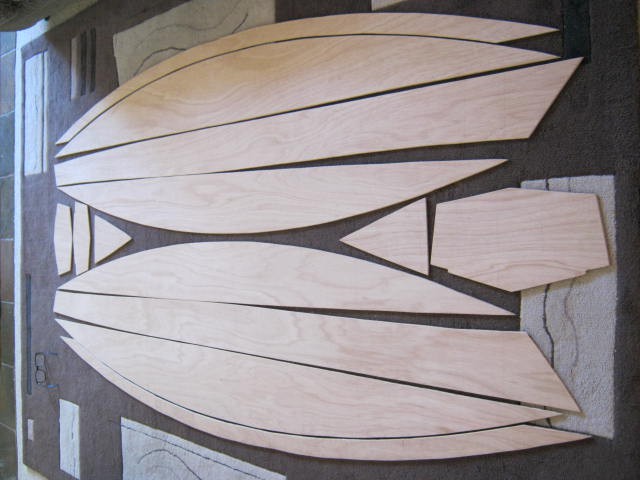
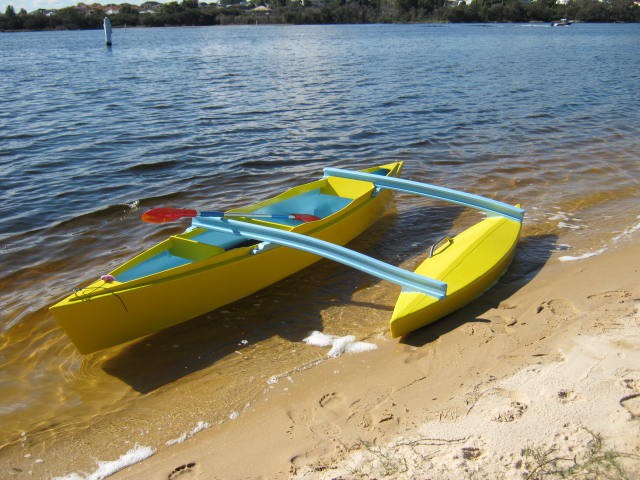
The main objective of these hull design programs is to create a 3D hull and then to “develop” or “unfold” the frames/bulkheads and planks/cut-outs for construction. Below is an example of a “stitch and glue" pontoon for my outrigger canoe.
The 3D design:
The unfolded (cutout) design:
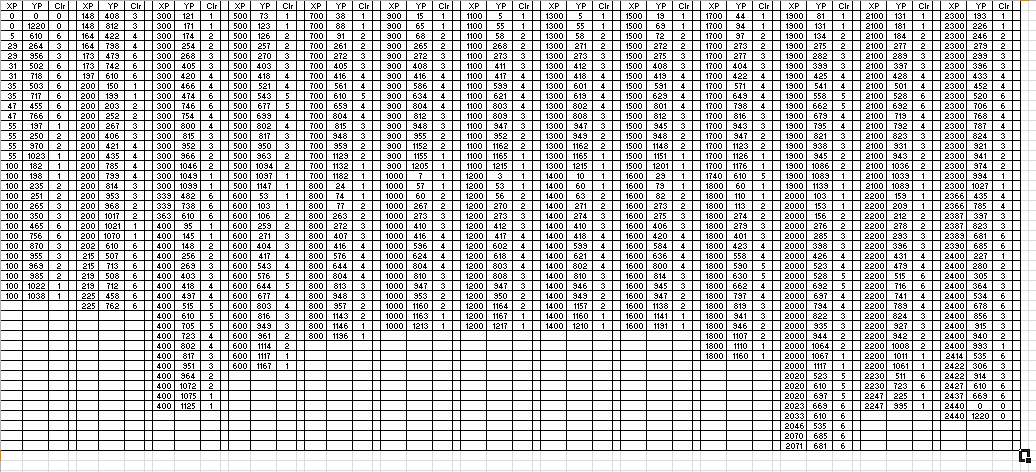
The cutout offset table:
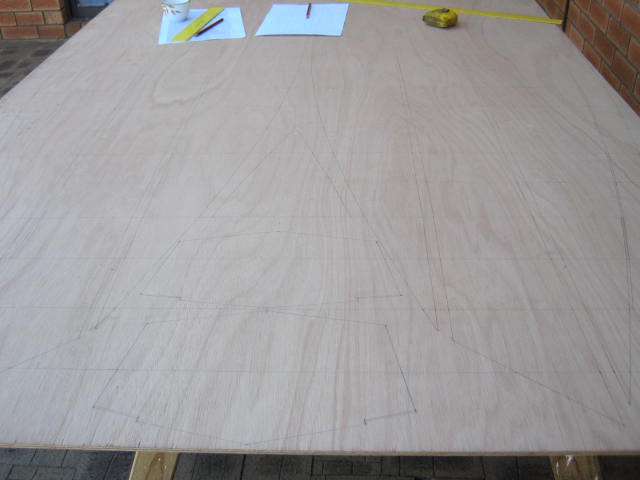
 The lofted design:
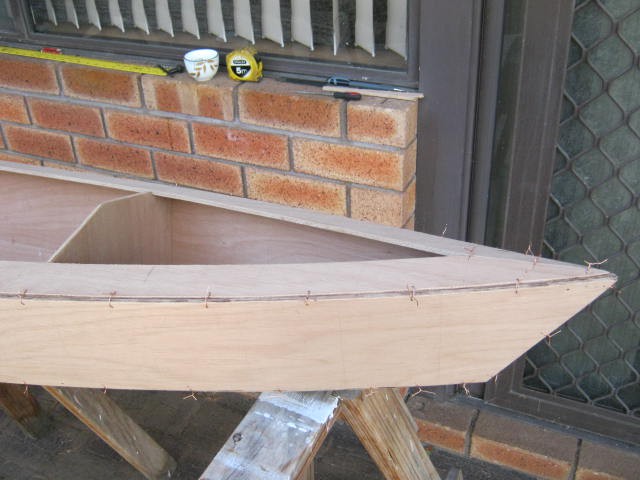
The wired up (stitched) panels:
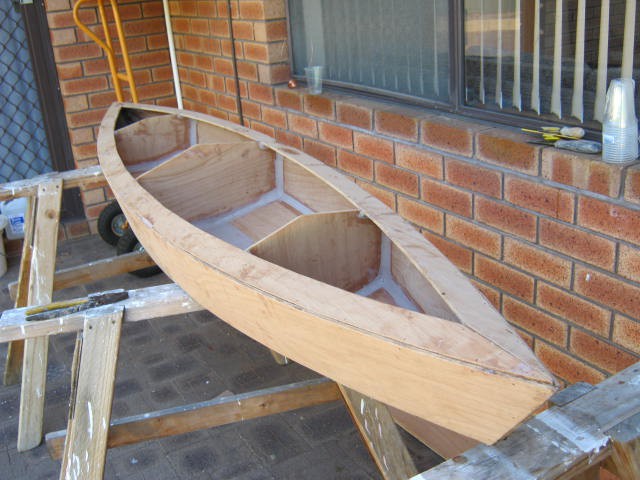
The glued (epoxy filleted) seams:
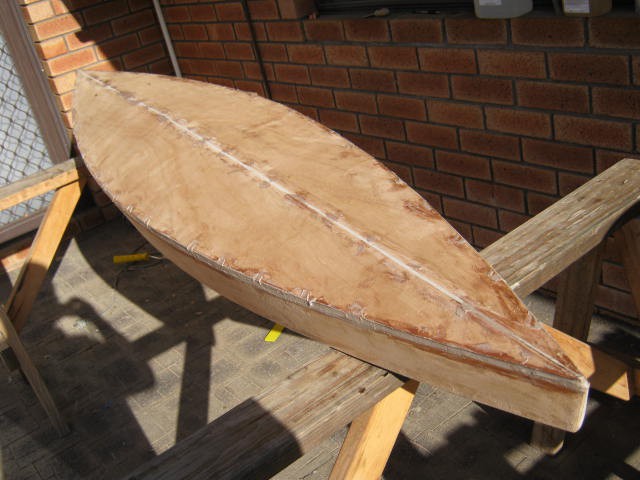
Top glued on, ready for sanding and Dynel (rather than fiberglass) tape:
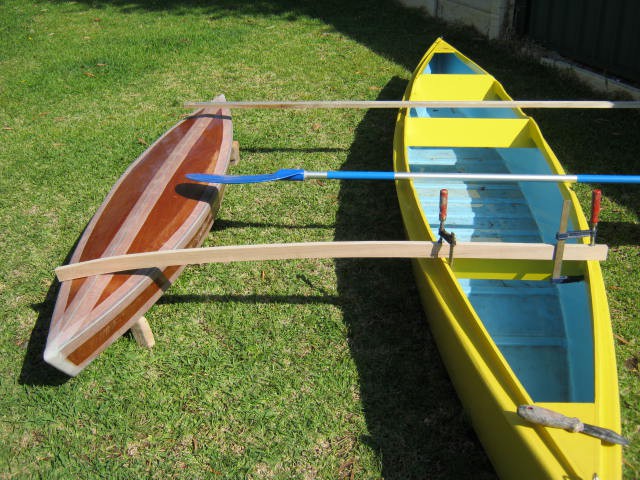
Coated with epoxy and trial fitted to the canoe:
Done, fitted and painted):
How did I do it?
The following describes the process and the two key programs I use.
BoatOffsetTable.xlsm
The Excel file and macro allow you to enter the offset table and then to export the design to a CSV file for DeltaCad. Blow is an example of an offset table for a kayak:
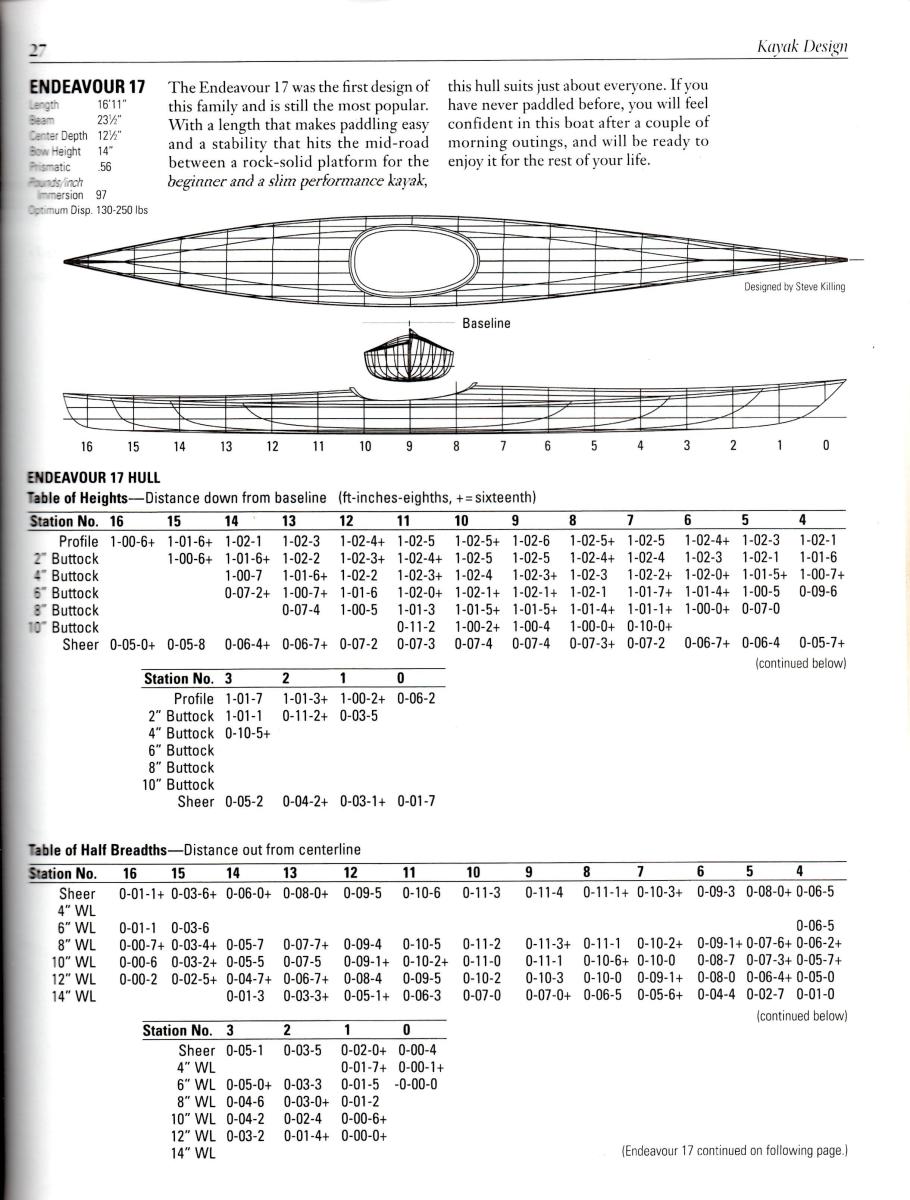 (source: https://hubpages.com/sports/Building-a-Cedar-Strip-Kayak-The-Basics)
BoatOffsetTable.bas
The DeltaCad macro imports the CSV, draws the design and unfolds (develops) the hull.
Note: DeltaCad can be purchased for US$40 from https://www.deltacad.com.
Workflow
DeltaCad does not have a suitable table entry process which is why Excel is used. Below is the Excel offset table for the “Mini-Kayak”.

“Mini-Kayak” is an adaptation of work by Bruce C. Anderson (http://buckwheat-anderson.com/bcanderson/Boatz/OSKayak/OSKbuild.html).
The actual design is too small to be of practical use as a Kayak (refer to Anderson’s webpage).
The above offset table has three additional features over an offset table:
- Chines have a colour for easy identification.
- Chines can be invisible (and ignored) if the colour is “0”.
- Chines can have a “break” or a sharp bend.
Notes:
- The design is in millimetres.
- The stations are rounded to the nearest millimetre.
- Any duplicate stations are deleted.
- Stations within 5 mm of each other will have “breaks” automatically added.
- Colour 0 is not processed.
- If an interpolated value appears wrong or wildly off then you will need to add “breaks” to the chine stations near the problem area.
- No curvature checks are made, the design may not be developable (i.e. the plywood may break).
The offset table is exported to DeltaCad as a CSV file. The name of the CSV file is the same as the Excel WorkSheet name. To execute the macro just click the blue “Make CSV” arrow as shown above.
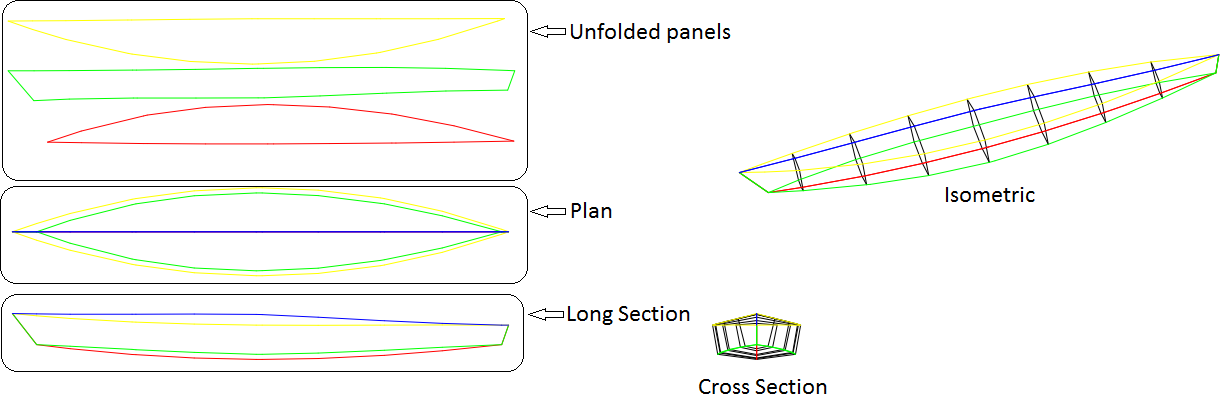
In DeltaCad the macro (“BoatOffsetTable.bas”) is run to import the CSV file and draw the design. For complex designs, the actual process is iterative (i.e. chine by chine). Below is the imported and unfolded “Mini-Kayak” showing the main drawing components.
Note: The unfolded panels are the cut-outs for the design and only one side is shown.
Macro Options
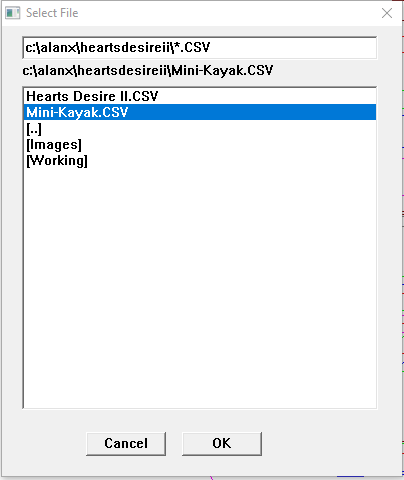
When you run the DeltaCad macro, it first presents a file manager window. It starts in the DeltaCad macro directory. You will need to navigate to your working directory (i.e. where the Excel file is located) and select and okay the CSV file. For the “Mini-Kayak” it is called “Mini-Kayak.CSV”, as shown below.
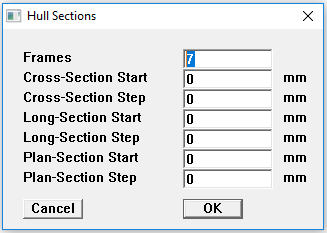
The macro then presents the “Hull Sections” options box. Set the number of frames to 7 and zero the remaining entries as shown below. This option adds additional frames to the hull model.
You should see the following design.

Other Options
If the “Frames” entry is set to zero then the offset table as entered in Excel will be drawn as below.

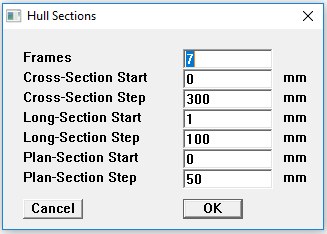
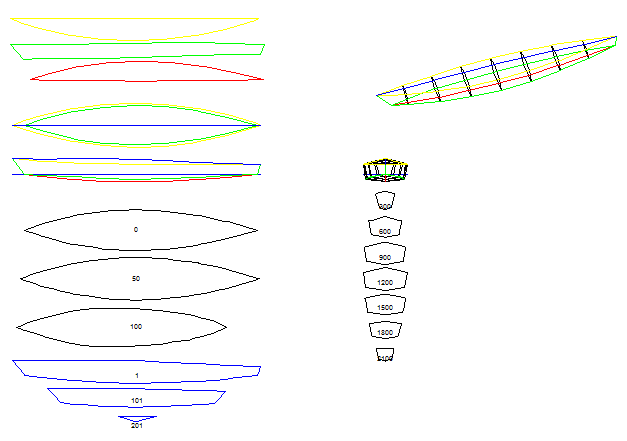
The other option entries, create different sections (cross, long and plan) through the model. For example the following options, shown below, also draw a series of cross-sections, long sections and plan slices.
More Complex Designs
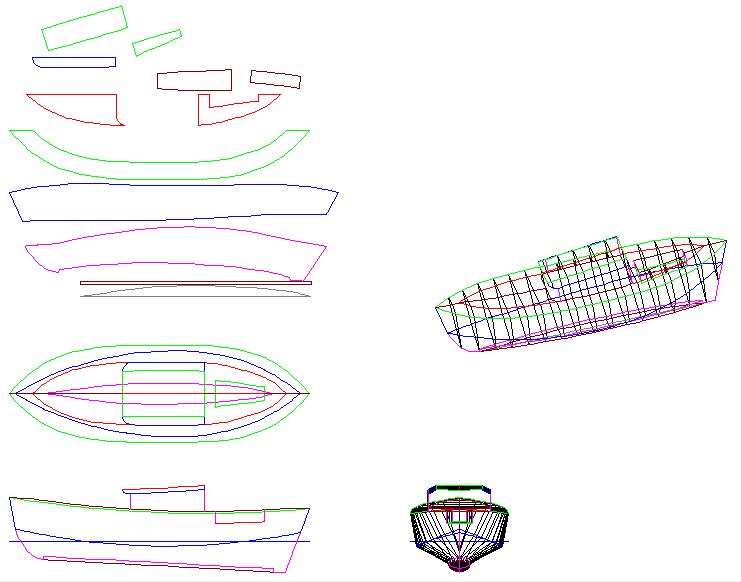
The program is capable of more complex designs but the offset table entry process is rather time consuming. Shown below is “Heart’s Desire II” a design by William Atkin.
 agp.cooper
Discussions
Become a Hackaday.io Member
Create an account to leave a comment. Already have an account? Log In.