 klinstifen
I heard about a local participatory budgeting vote wherein $1 million was allocated to several projects. Of those projects, bus countdown clocks were heavily favored - about a third of the voters picked the project.
But, I was surprised to learn that the intended clocks were approximately $25,000 a piece. That's quite the expense to convey updated bus route information - the affected community could only install 10 clocks with the appropriated funds.
So, I thought a low-cost Raspberry Pi Zero W powered solution could accomplish roughly the same thing at a fraction of the price.
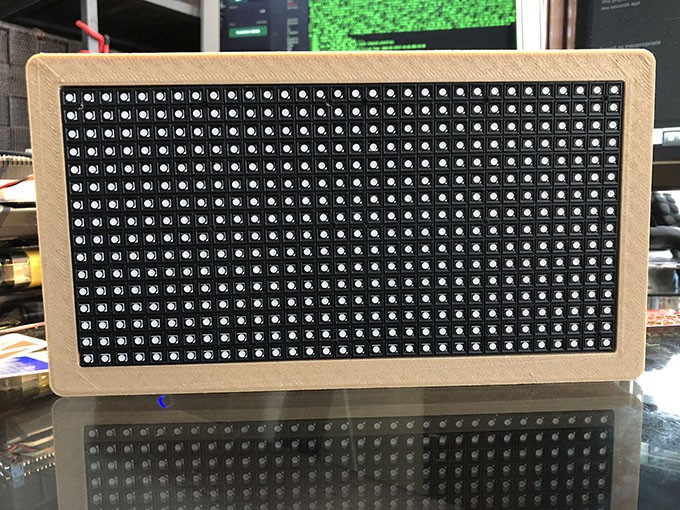
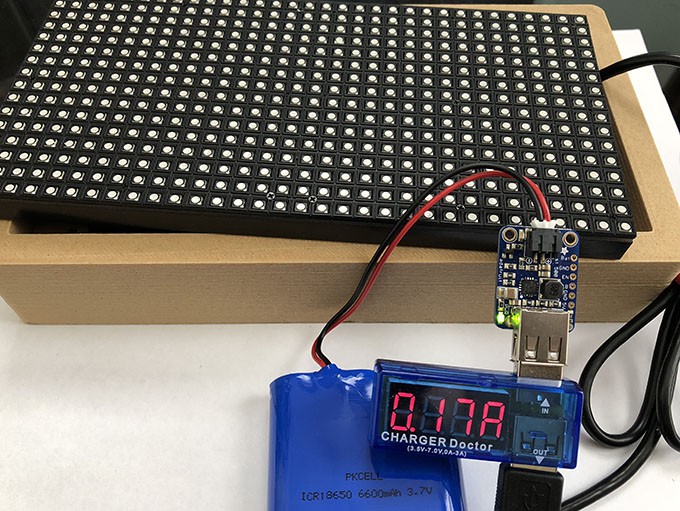
The project utilizes a custom designed 3D printed enclosure to house a 16x32 RGB matrix and costs approximately $100. (The price could be reduced if a smaller lipo was used, or omitted entirely.)
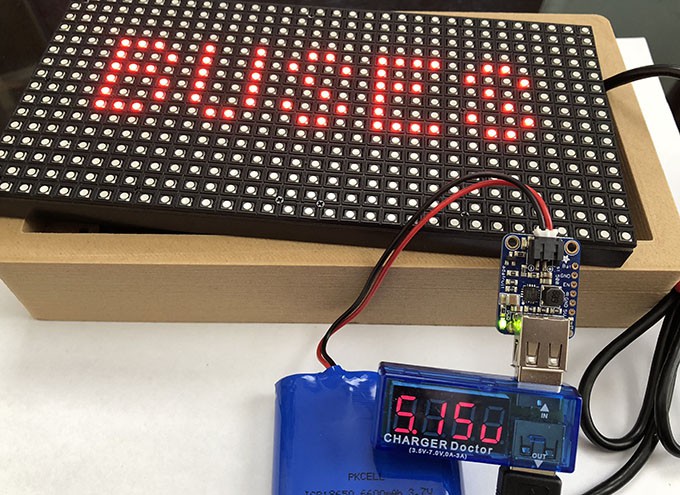
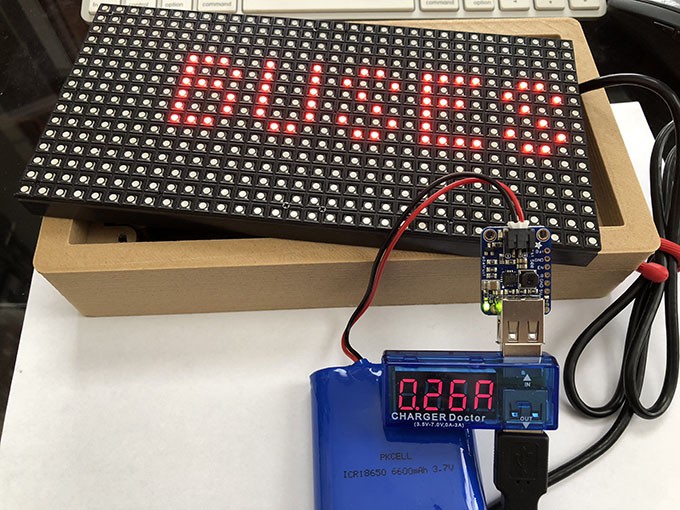
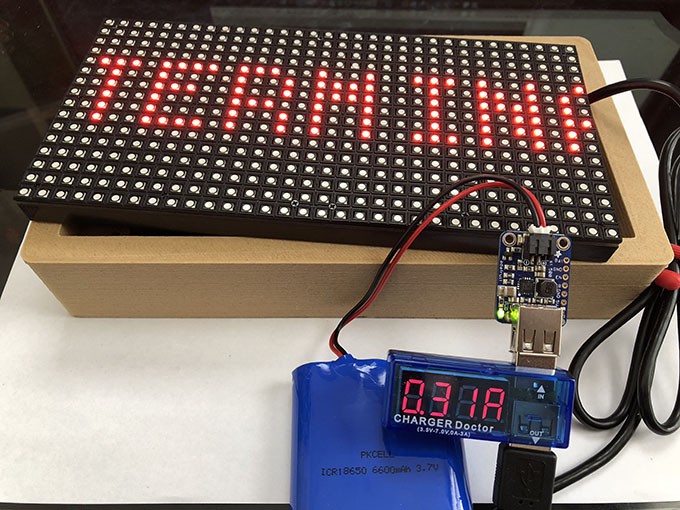
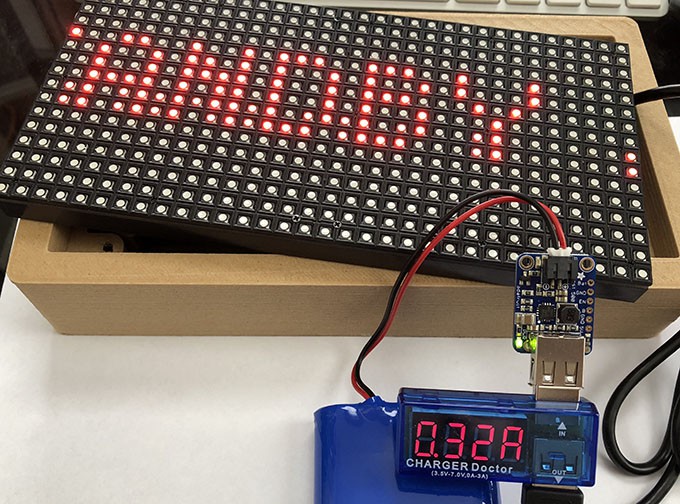
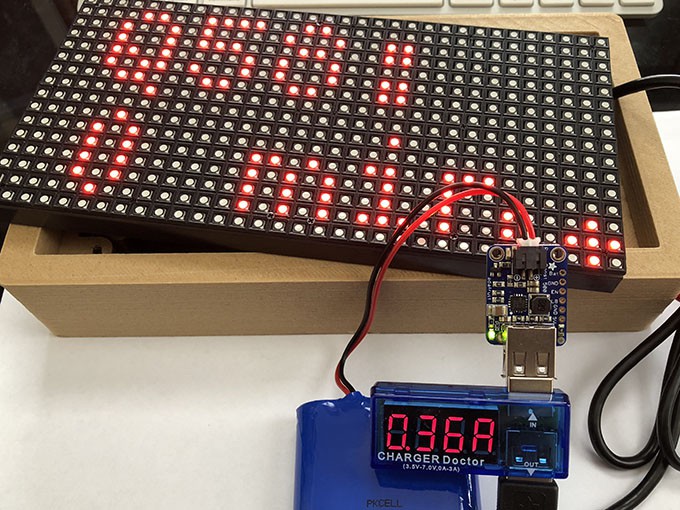
The Raspberry Pi Zero W connects to a local wifi network and pulls bus arrival time and route details from the MTA Bus Time API. The 16x32 matrix displays the "next" bus' arrival time, for a selected bus stop.
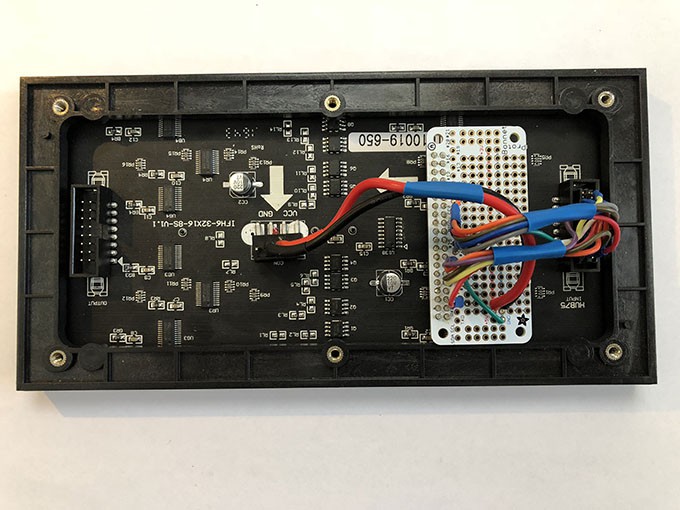
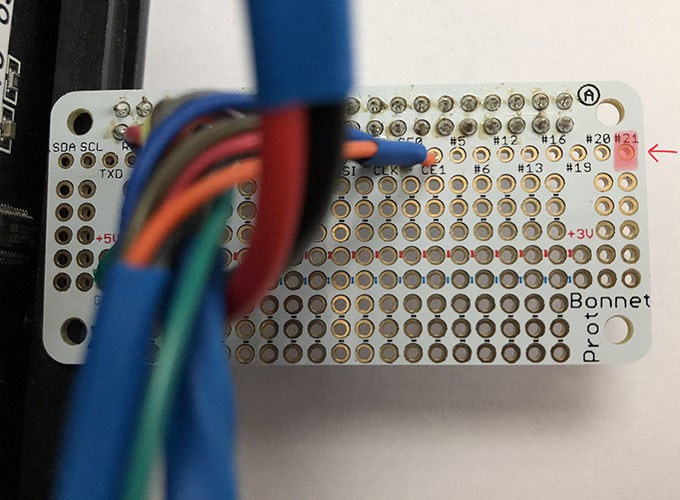
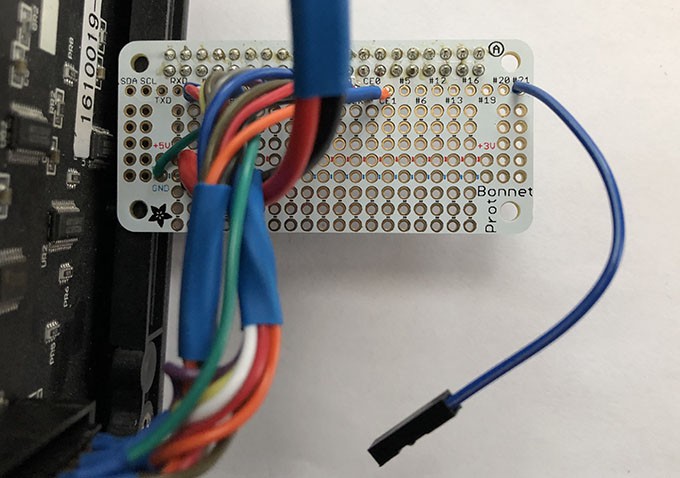
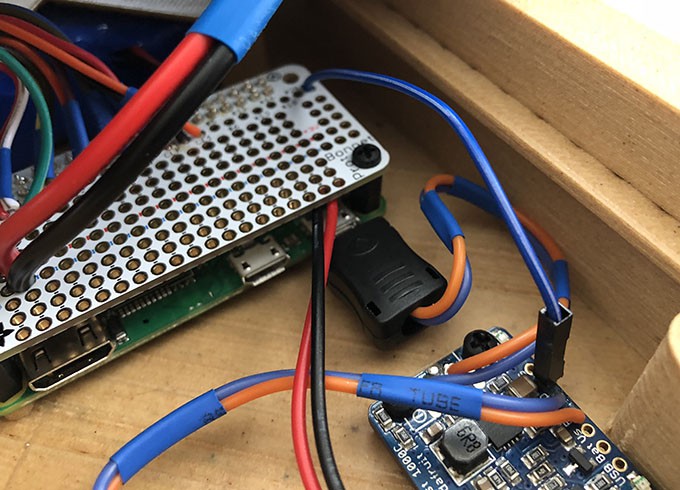
The display is controlled with hzeller's great rpi-rgp-led-matrix project. The wiring.md was especially helpful in creating a Pi HAT, utilizing the Adafruit Perma Proto Bonnet.
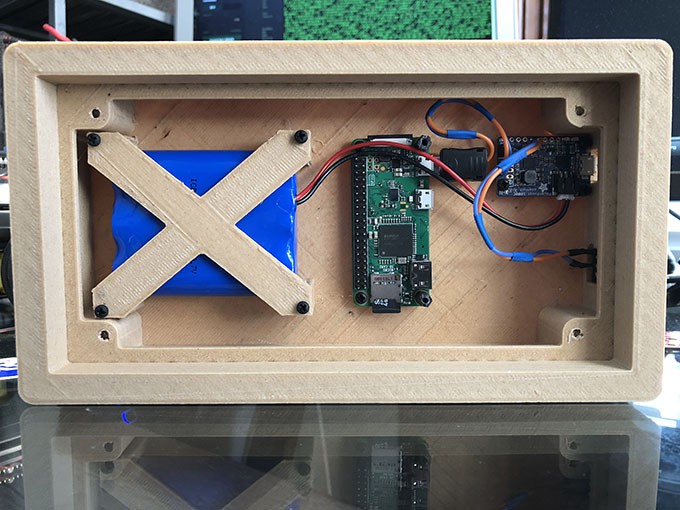
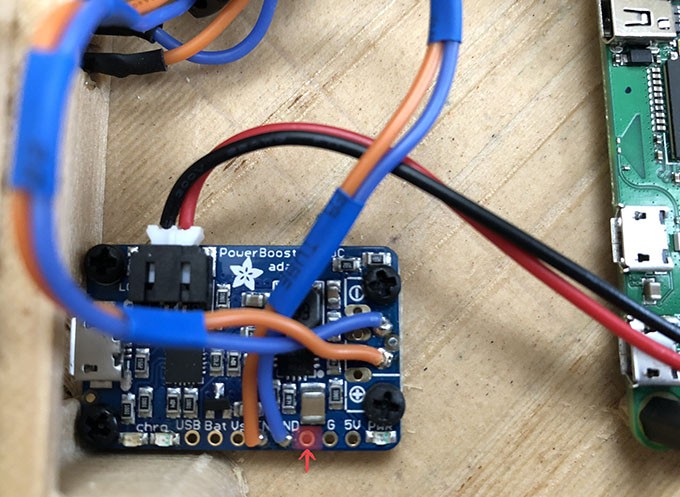
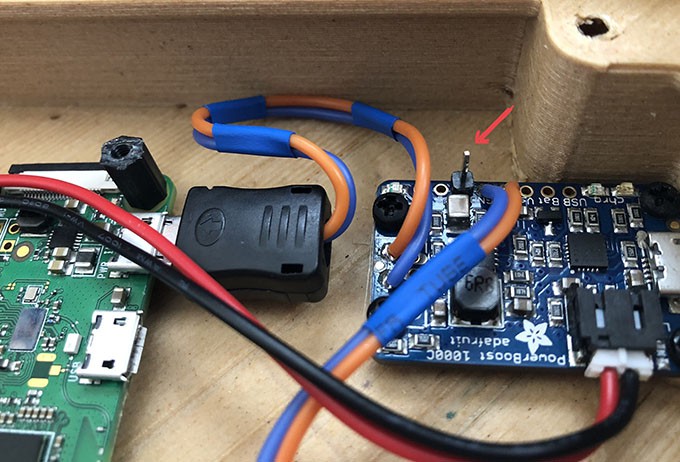
 Inside the enclosure the Raspberry Pi Zero W is powered by a Adafruit Power Boost 1000C which enables simultaneous charging capability for the LiPo, by way of a micro USB cable.
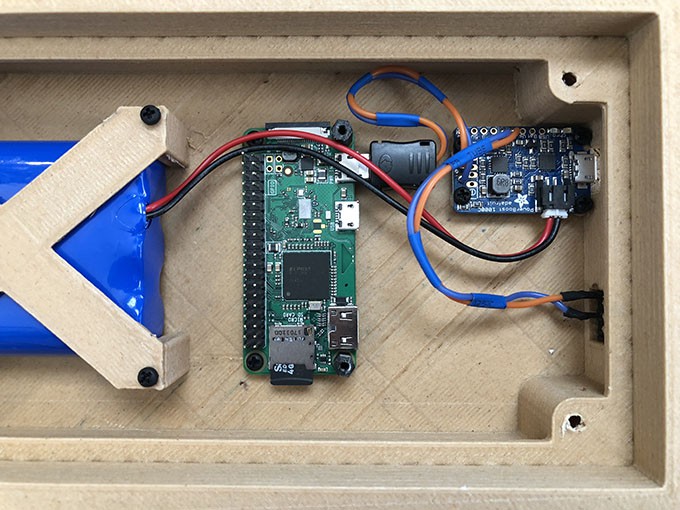
The project was written in Python and the code can be found on GitHub.


 Filip Mulier
 Paul Crouch
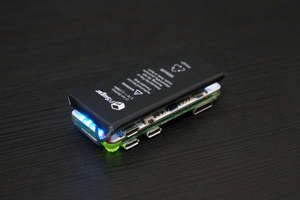
 Jdaie
Jdaie
 Nick Sayer
I was just looking for this, excellent job! How can I replace the MTA API key for a spreadsheet I have with the times of the bus?