 Juan Sandubete
The goal of this project is to design an unusual kind of unmanned vehicle with several interesting features. Inspection and surveillance are some of its possible applications.
For a better driving experience, we are trying to add different types of control: totally manual (control direct on motors voltage), assisted control (implementing PID control with an IMU to close the control loop) controlling speed and direction, and automatic control (following a designed trajectory, for example, with Pure Pursuit control).
Streaming system have been done, for now, with an USB Cam (bought for 1€) using ffmpeg for broadcast. The quality of the video is very low, so many information seems to be lost by the way with the wireless connection; so that, the image acquires wrong pixels in many colors (green and pink). Moreover, if the cam spin too fast, the image saturates and do not record well the things, blurred record. It has to be improved.
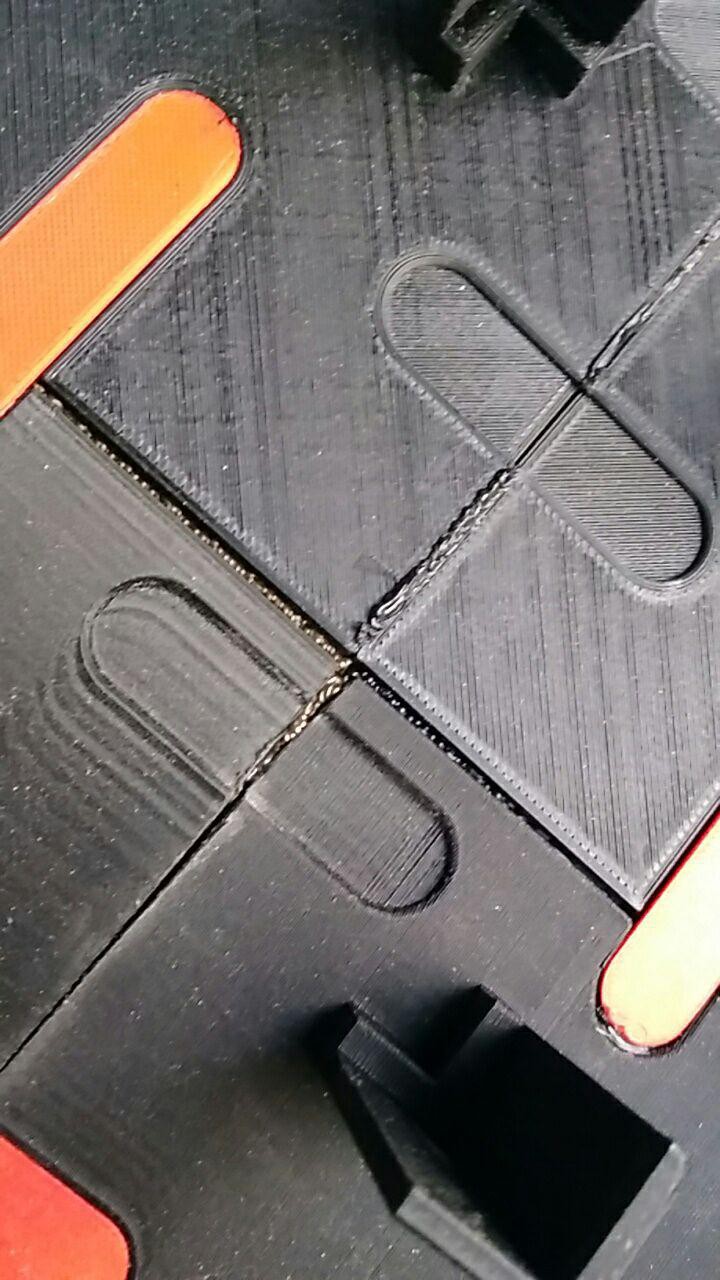
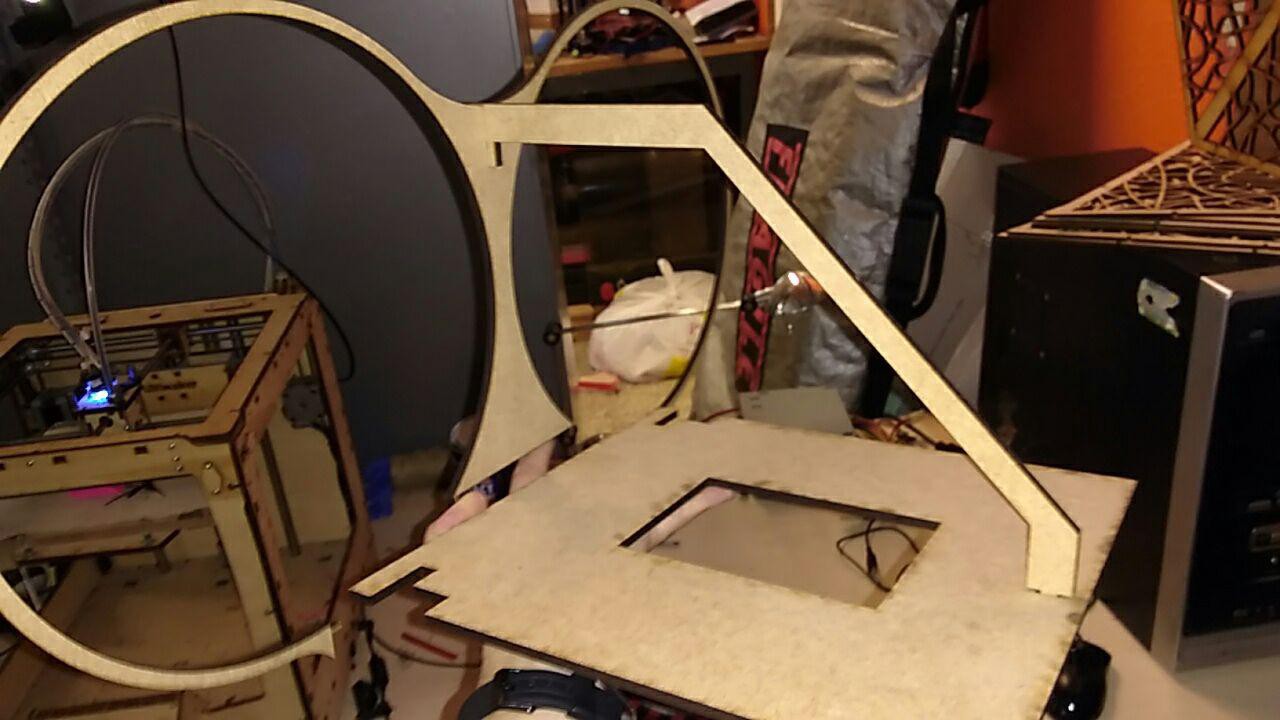
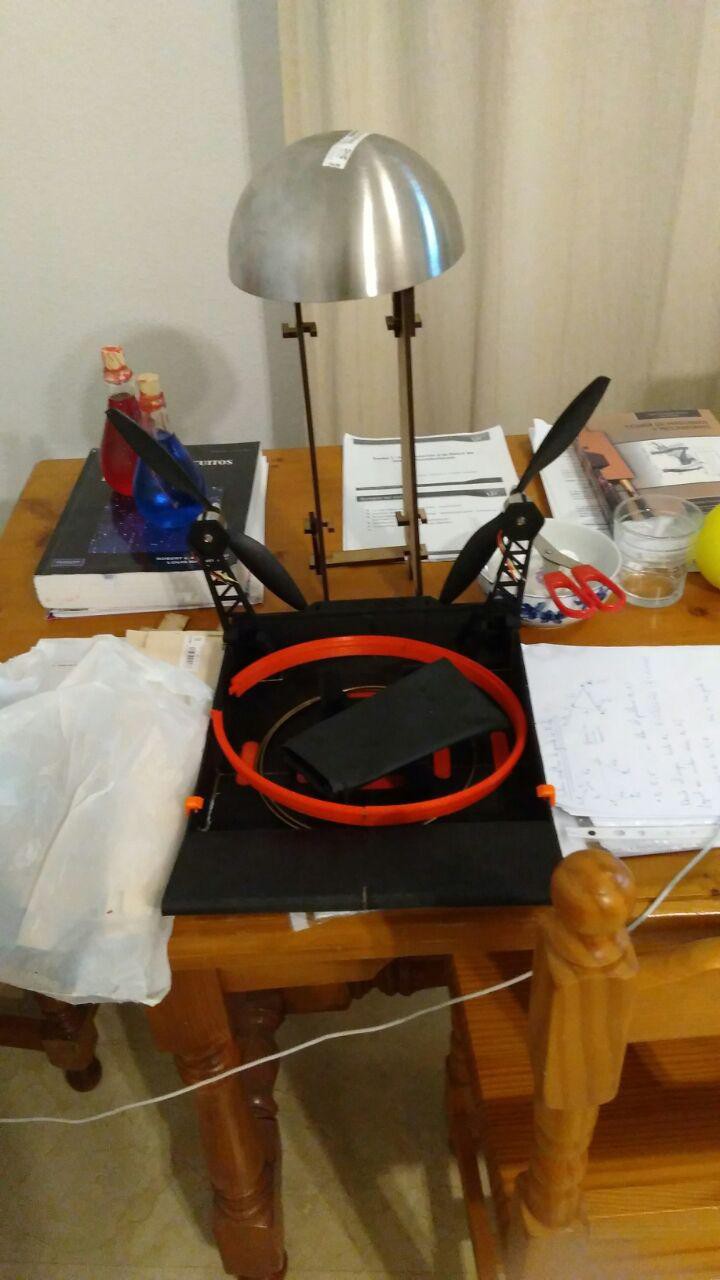
The structure has been all 3d printed except the top, which has been laser cut. It is, obviously, useless for claiming hermetic close, so that, we have to rebuild this part of the vehicle. It's a fact that the propellers protectors (wood circles) do not hold up the hits that the vehicle will have to carry. We will upload a video with them crashing. So fun.


 TK
TK
 Fin Mead
 Philip Zucker
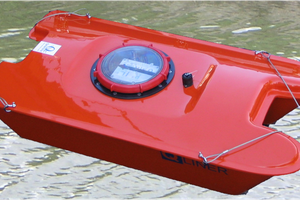
 Cees Meijer
Have you tried it with a rudder? It seems it would be easier to control with a rudder vs two props. Another alternative would be to mount both props onto a servo and use thrust vectoring.
Might be better to use two props if you were able to control the pitch of the prop blades. You need a spectrum of control between the lack of propulsion when the prop is turned off and the excessive propulsion when the prop is turned on. ESCs don't give enough low speed control. Seems to be an "all or nothing" situation with the steering in this setup.