When the controller and the housing are assembled the wheels can be placed. Therefore the gears with 8 teeth (6 pcs.) and 12 teeth (2 pcs.) need to get equipped with a brass axle. 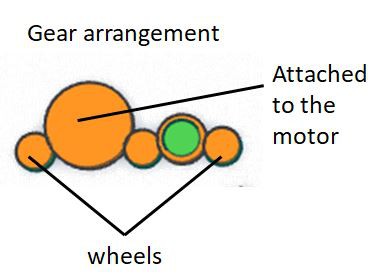 A 3mm brass rod can be used for this and will stick well in to the gears. The axle length for the 12 teeth and 2 of the 8 teeth gears is about 10mm while other 4 axles (were the wheels are placed) needs to be about 18mm in length.
  As mentioned the dimensions allows just pressing them into the gears and wheels without any further fixations. But as it’s possible to press them under an angle into the wheels a simple gauge should be used.
Then the ball bearings can be pressed into the housing which sticks pretty tide without any further fixation as well. But they needs to be placed with the gears and axes in place! This is important as the fishbone structure holds the gears in place. On the other hand this prevents to place one gear after the other once the bearings are in place.

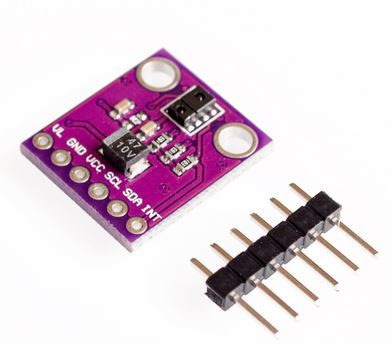
Then connectors for the front proxy and the bottom proxies (female pin headers with epoxy putty) need to be connected to the ESP32 board. As they needs be feed through the housing respective screws are underneath it requires some longer wires for the capability to move them. This excess wires are winded up on top of the ESP32 board when finally assembled (feed them under the AUX connector). The platform is designed to incorporate an APDS 9930 I2C sensor as front proxy.
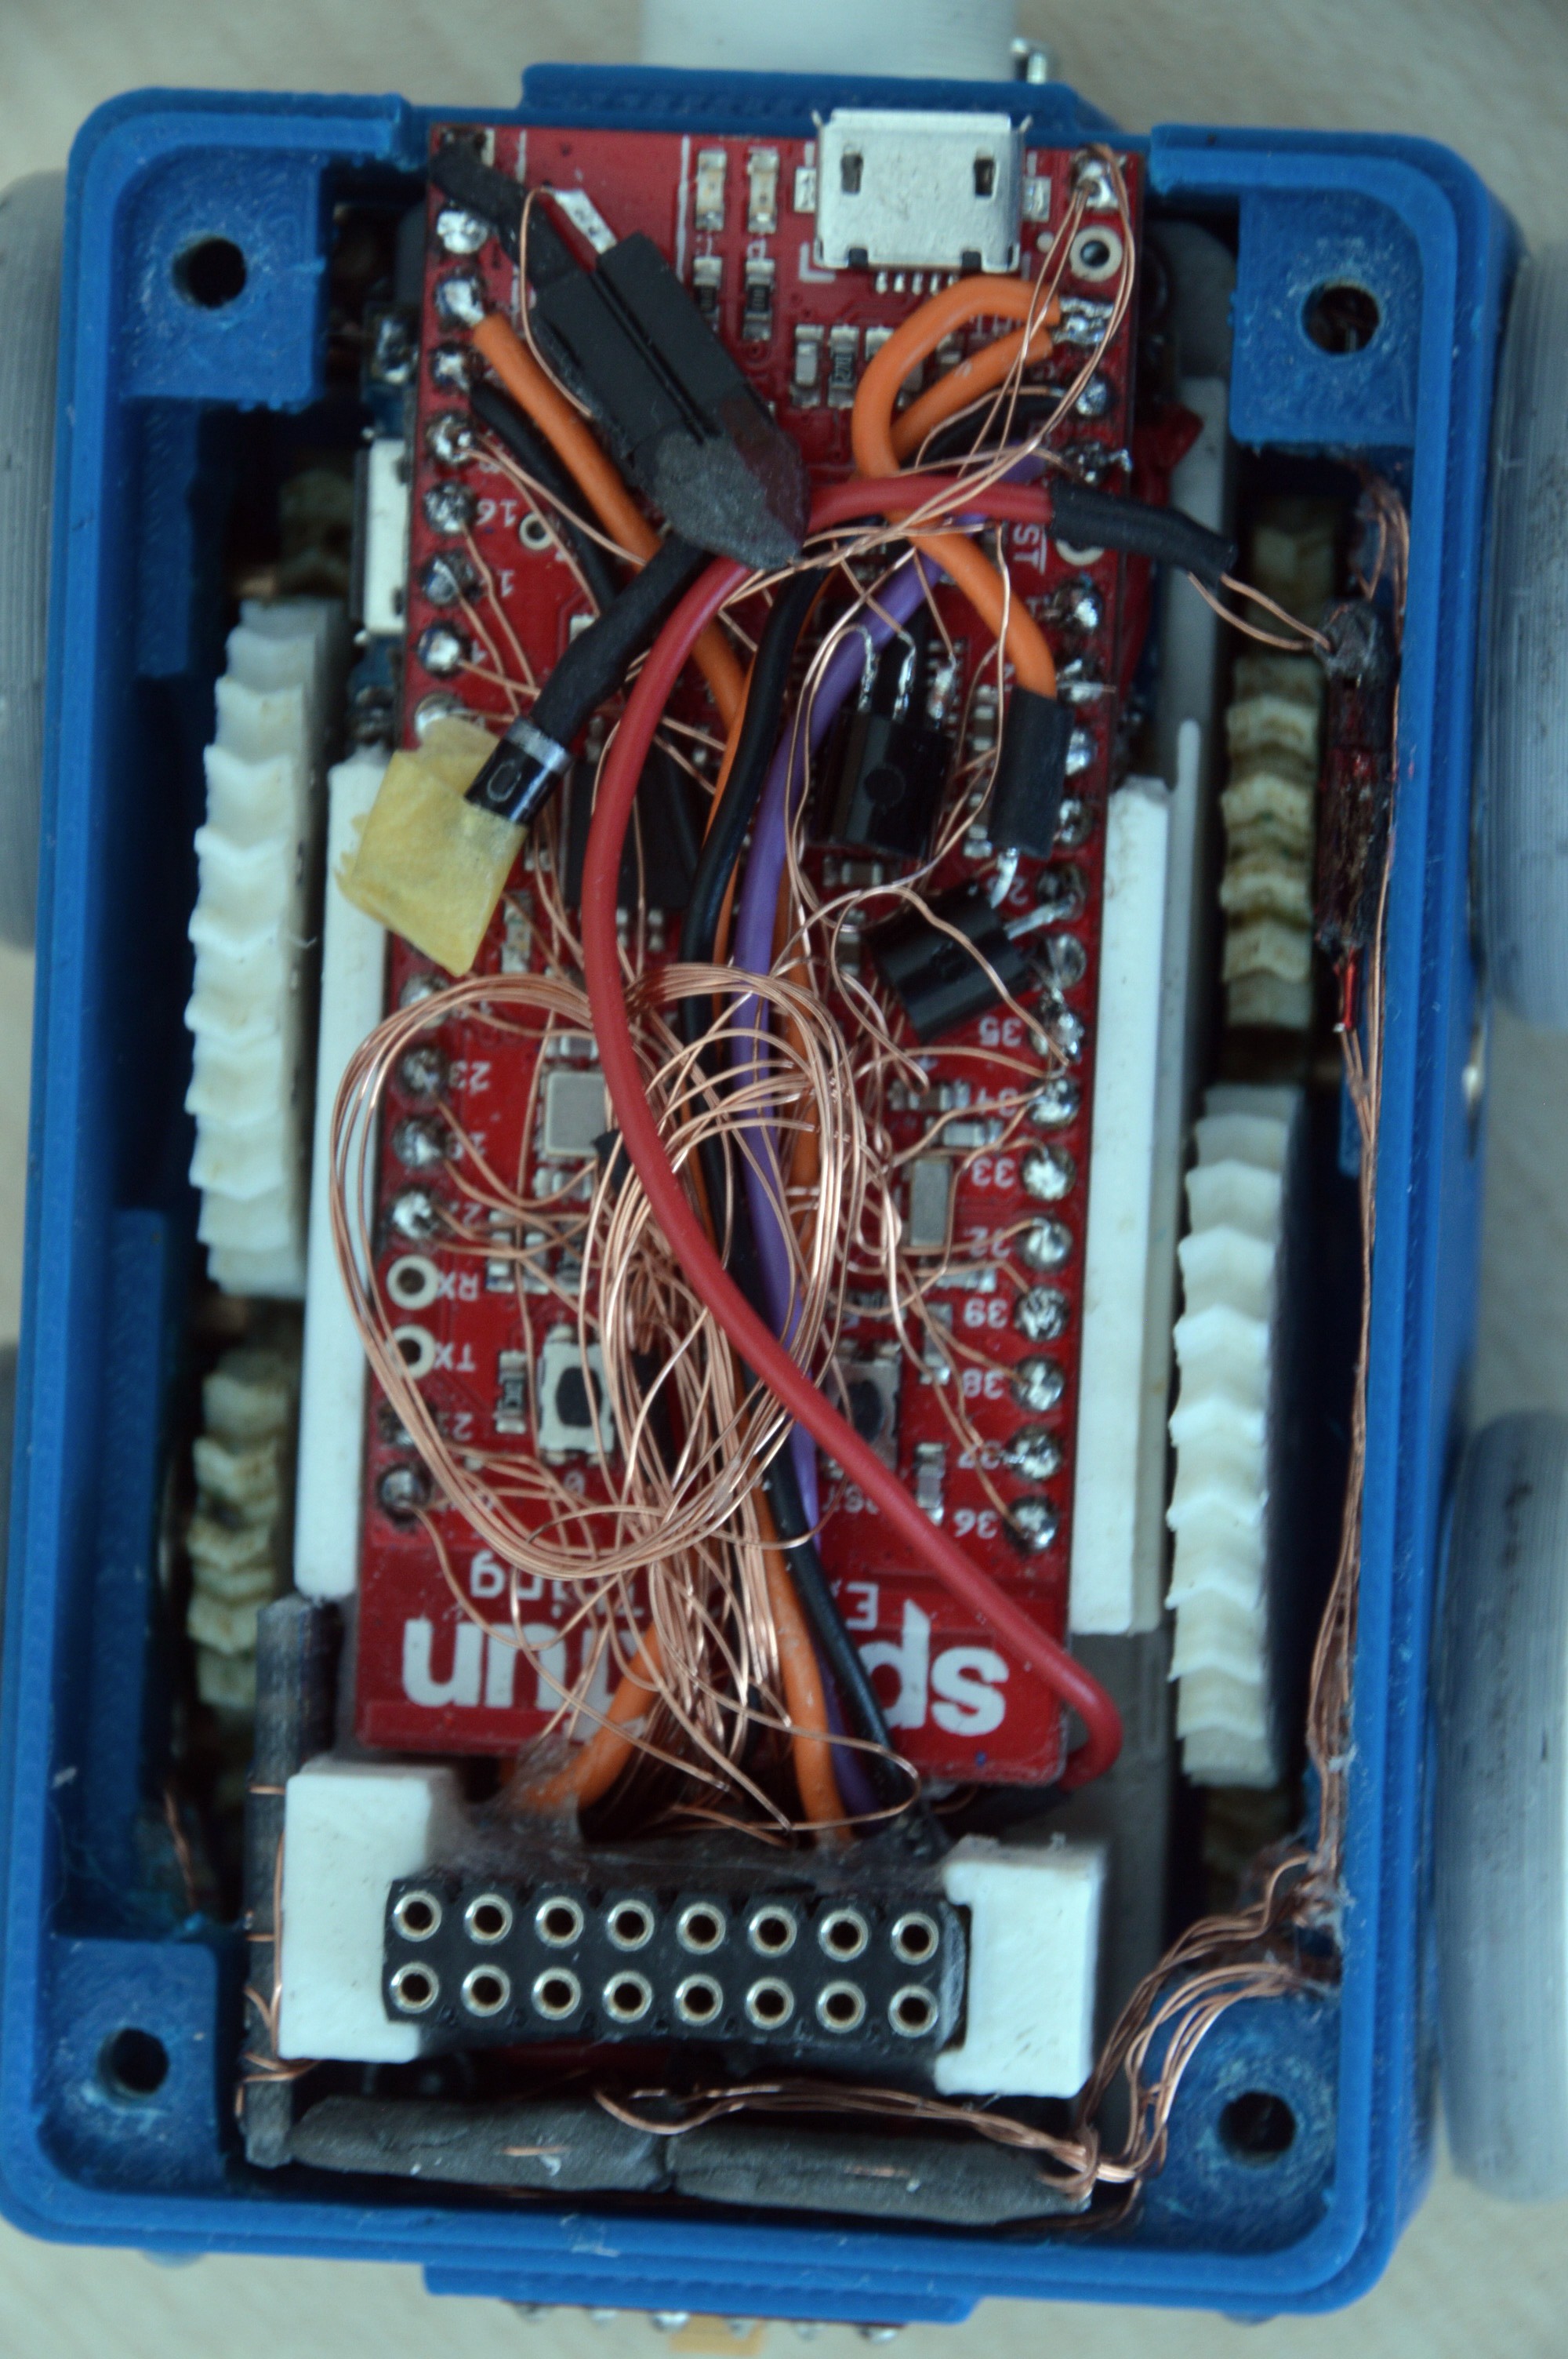
The controller can be placed with 4 screws into the housing (not to forget to connect the connector for the LiPo in the correct polarity!). As there is only a little space I dragged the heads of the M3 x 8 down to 4.5mm. But those screws shouldn’t tighten too much as the gears get friction otherwise.
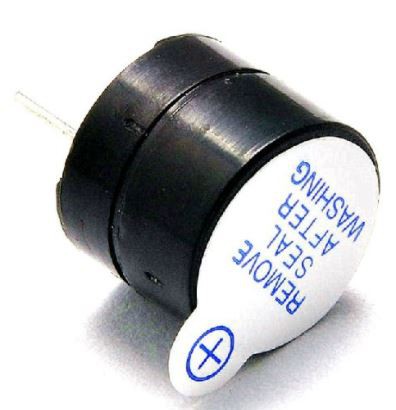
On the back end a buzzer can be placed.
Finally the top is screwed on.
Discussions
Become a Hackaday.io Member
Create an account to leave a comment. Already have an account? Log In.