Close
0%
0%

Over Engineered Jack-In-The-Box

What if a Jack-in-the-box was an IoT smart device?
This project is an example of how to use Pico device shadows to solve IoT problems.

Similar projects worth following
By turning a trivial kids toy into a working IoT device, this project demonstrates how to produce dynamic, informative, and scalable solutions to more complex IoT problems. My over-engineered jack-in-the-box replaces the mechanical innards of a real children’s toy with a rotational encoder for the crank and a servo to open the jack’s door. The programming is done using the pico engine running on a Raspberry Pi. The solution uses events from the encoder and plays realistic notes from a flexible MIDI-like notation. My presentation will show a basic IoT solution and the “why” and “how” of the configuration I chose for the Raspberry Pi, which acts as a router and MIDI synthesizer. The project demonstrates the utility of event-driven programming in IoT products and the applicability of a rule-based programming system for layering on functionality to arrive at a complete solution.

I was watching my kid play with a jack-in-the-box when I asked myself, "what if the jack-in-the-box were a smart device"? This question produced many other questions. "Could the pico engine handle as many events as a rotating crank could produce in a second?" "Could the engine be extended to directly handle hardware, specifically GPIO pins of a Raspberry Pi"?

The goals of this project are:

  • Test the limits of Pico Labs' business rules engine.
  • Build a working example of a pico engine IoT solution.
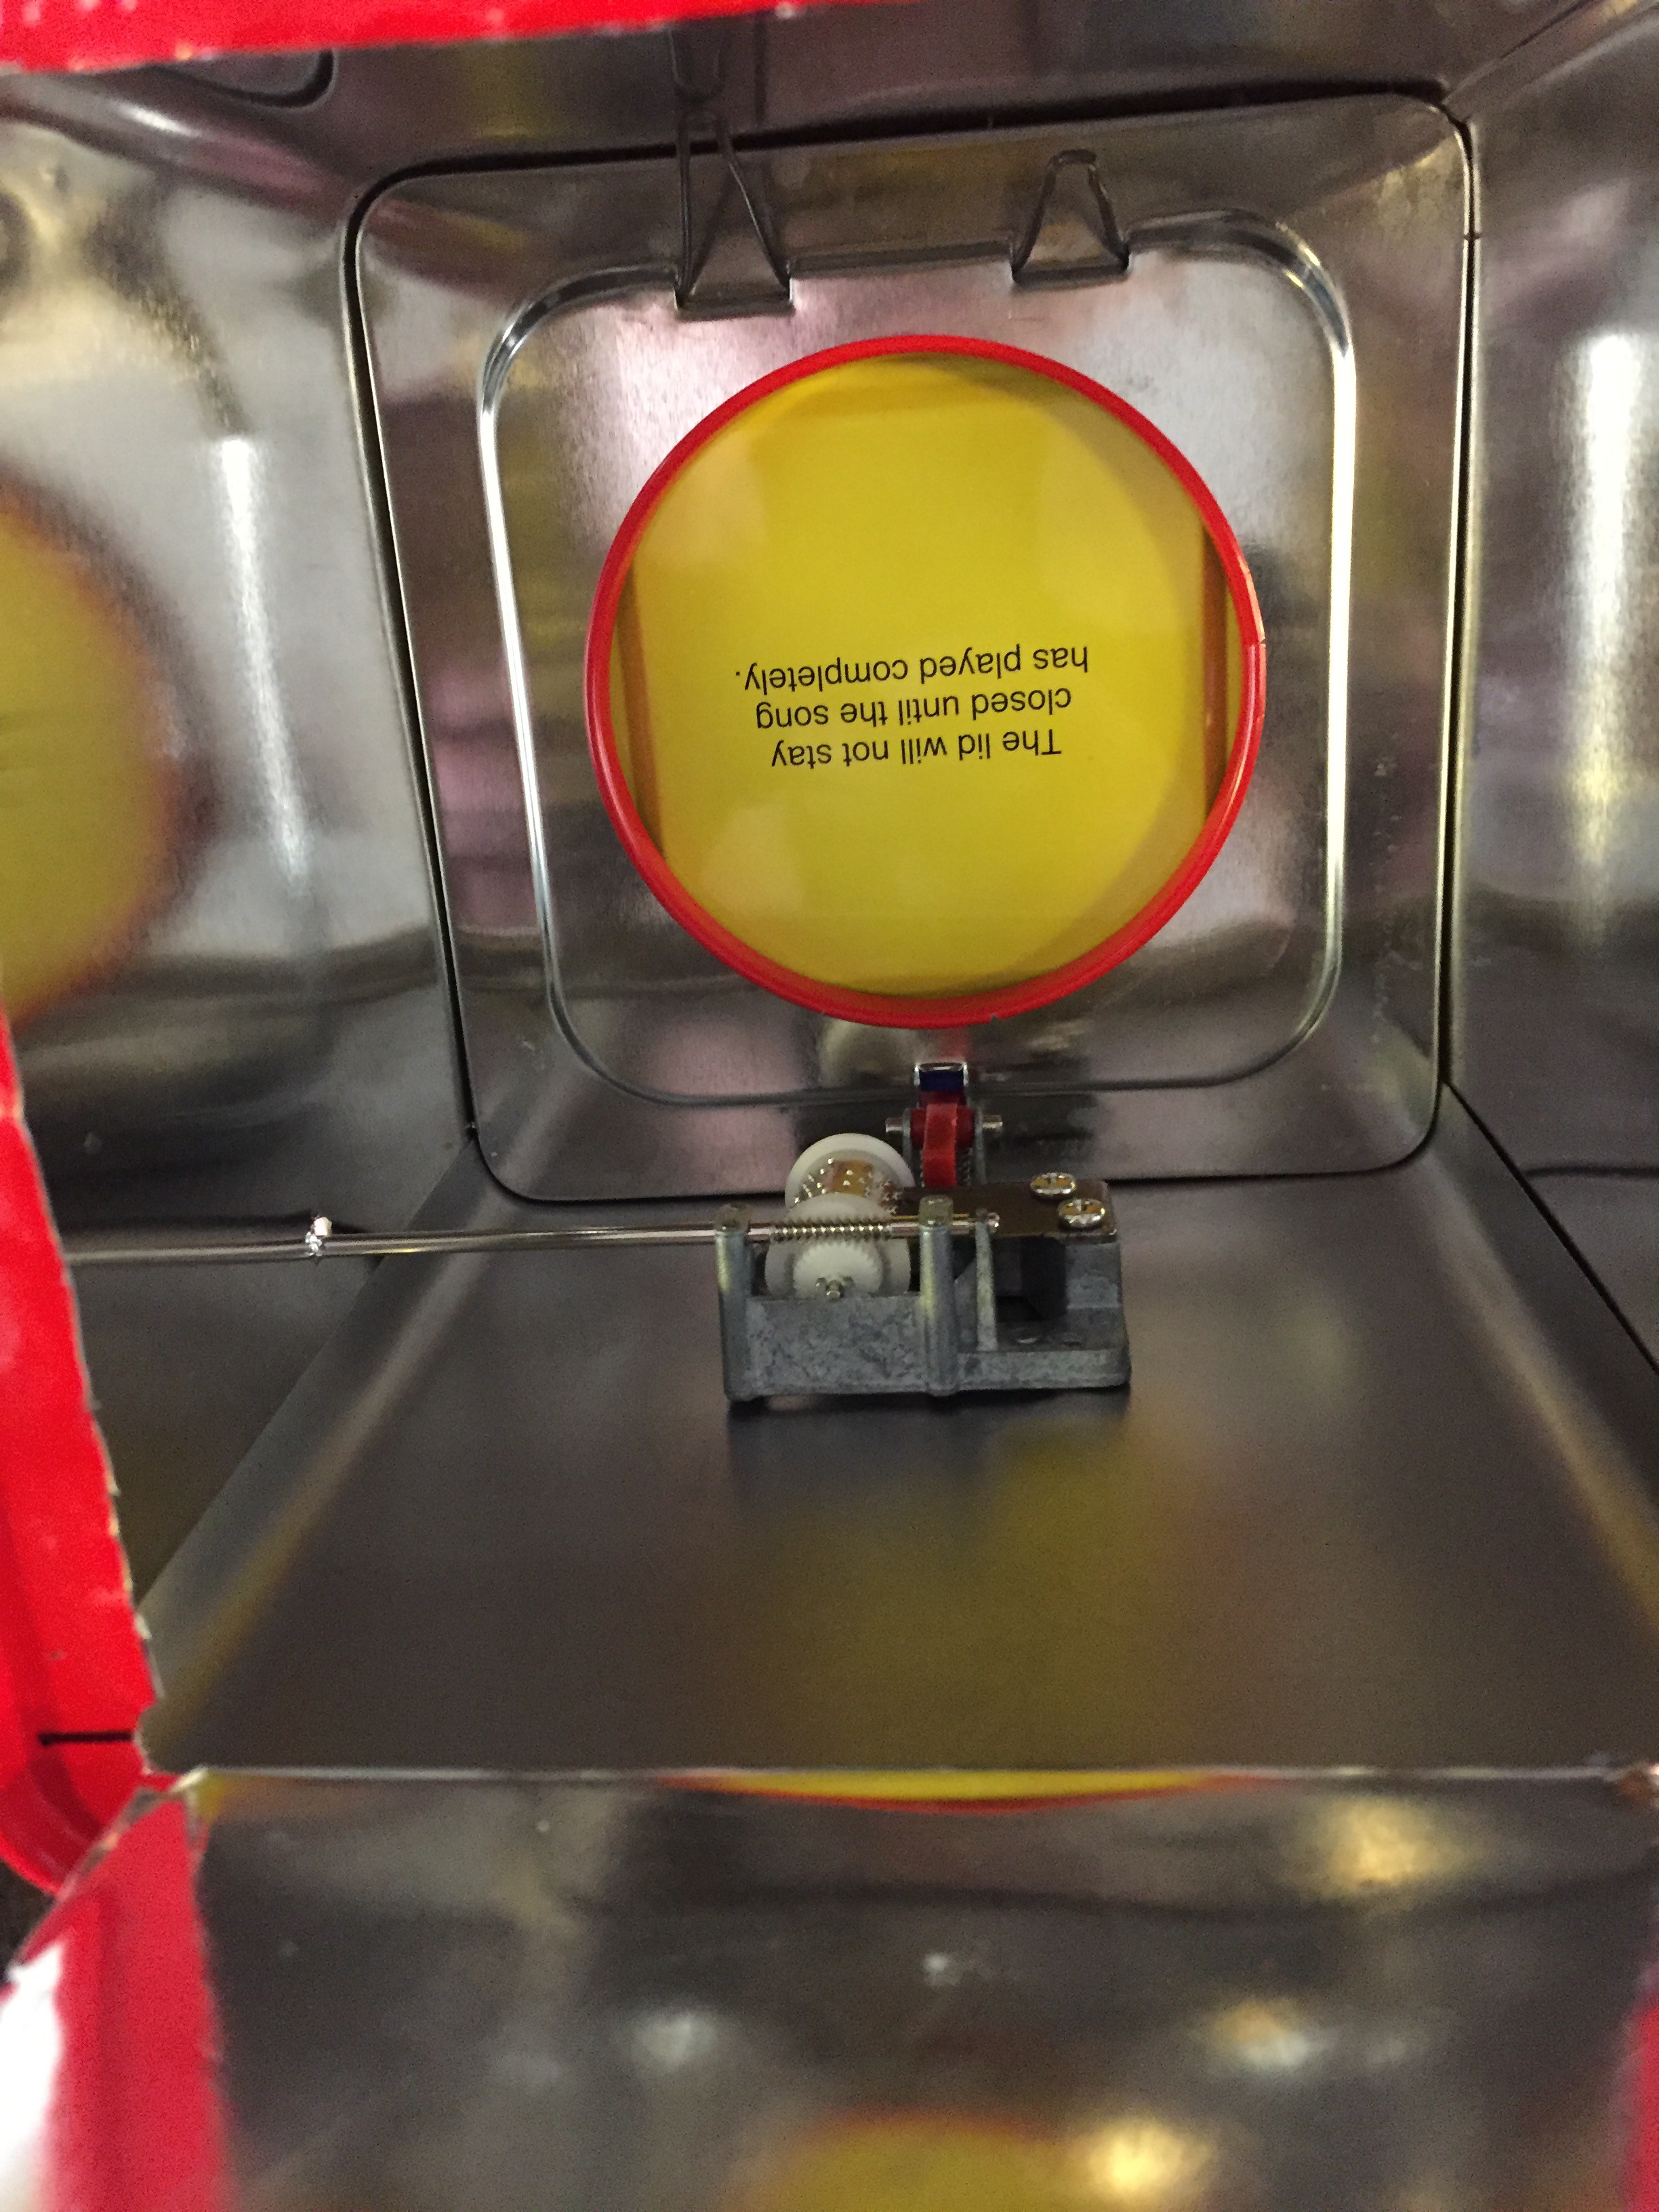
  • Simulate an analog jack-in-the-box with software.
  • Ability to play any music box song.

My hope is that when the jack-in-the-box is in the hands of a user they will have a difficult time at first telling that it is a smart device.

Why use Pico Labs' rules engine?

  • The choice to use a rules engine comes from wanting a very dynamic device: being able to upload songs and modify source code without a lot of overhead. The choice to use Pico Labs' new business engine is partially bias. I am a developer for Pico Labs, so it's familiar and a fun project to test what I help develop.

What is a pico?

  • Persistent Compute Objects, or picos, are like device trees in Linux. They are data and logic structures that describe a physical "thing". A pico keeps track of all data pertaining to a device, as well as the rules that are evaluated during device state changes. The pico engine enforces all rules on a pico and updates a pico's data.

  • 1 × Raspberry Pi 3 Small linux computer used to run a pico engine.
  • 1 × Rotary encoder Rotation encoder used to queue events in the pico engine.
  • 1 × 9g servo Actuator used to open Jack's door.
  • 1 × Speaker Small battery powered speaker, used to play synthesized MIDI notes.
  • 1 × Lithium battery expansion board Battery pack used to power Raspberry Pi 3.

View all 7 components

  • Demo Video

    adam burdett07/07/2017 at 18:01 0 comments

    A simple demonstration of the Over Engineered Jack-In-The-Box.

    Melodies played during demo.
    • Pop goes the weasel
    • Twinkle twinkle little star
    • Mario 64 , dire dire docks
    • Game of Thrones theme
    • Specaterrible (before missing rest corrections)

  • Music Box Rule

    adam burdett06/28/2017 at 23:06 0 comments

    Music Box Magic

    So how does a music box work?

    A music box has notes of a song encoded on a cylinder or strip of paper. Each pin on a cylinder, or hole in a paper strip, triggers a tooth of the comb to chime. This is how music box's make their music. I was inspired by Wintergatan video demonstrating his knowledge of the technology.

    Music Box Rule

    To simulate a music box in a rules, I decided( with the help of my coworkers ) to store a song as a list of notes. The crank raises events. Crank events are handled by getting a list of notes for the current beat and sending those midi notes to fluidsynth. The rule to do this is below.

    rule playSong {
        select when testing playSong 
        foreach getNotes().append(null) setting (n)
            pre { 
                check = ent:event_count == 0 
            }
            if ( check && not n.isnull() ) then
                playSound:play(n)
            always{
                ent:current_beat := ( not check) => ent:current_beat | 
                    ((ent:current_beat < ent:songs[ent:playlist[ent:current_song]]{"song"}.length() - 1) => ent:current_beat + 1 | 0) on final;
                ent:event_count := (ent:event_count < ent:events_per_beat - 1) => ent:event_count + 1 | 0 on final;
                raise explicit event "openDoor"
                    if (n == "O" && check)
            }
    }

    This rules name is "playSong". playSong selects on "testing playSong" event, which means this rules logic will only be evaluated when a "testing playSong" event is raised to the engine. Foreach is a way to loop a rule on a data set for a single event. This rule gets a list of notes to be played with getNotes function. getNotes function uses current beat variable to return a list of notes. So for every note that needs to be played this rule will fire. I append(null) to every list for the case that a list is empty, which would result in the rule not firing if null was not appended. "event_count" is used to gear down events. Some songs play faster than others, to handle this I discard some events with event_count. event_count is updatable per song. playSound:play(n) is the midi module I created that sends notes to fluidsynth.

    Always is the postlude of this rule. I update current_beat and event_count here. With the use of a guard statement I check for a made up midi note "O". O is added to a song to signify when the latch on the door should be triggered open. When the latch should be open an event is raised where a different rule can catch and handle that event.

  • Setting up the Environment

    adam burdett06/28/2017 at 23:04 0 comments

    Overview

    This entry covers what software and configurations I used to set up the Raspberry Pi environment which includes Pico Engine and midi synthesis along with others.

    Raspbian Jessie

    The Over Engineered Jack-In-The-Box Pico Engine is hosted on a Raspberry Pi 3 running Raspbian Jessie. Jessie can be found here, along with instructions on installing.

    Node.Js

    Once Jessie is up and running the next step for installing Pico Engine is updating node to version 4 or greater.

    Pico Enigne

    While Pico Engine can be installed globally by npm, I installed it locally since I will be changing the source code of the engine. To do this I cloned Pico Engine GitHub project. Pico Engine is a node.js project, so all packages are managed with npm . To install Pico Engine you just call npm install when in the projects directory. This will fail on the Raspberry Pi. Pico Engine uses level down database. Level down has pre-built version for different processors. The last pre-built version that worked for me was 1.5.0. I ran

    npm install leveldown@1.5.0
    then I was able to run npm install. npm start will start the engine.

    FluidSynth

    - configure speaker


    Midi melodies

    HotSpot

    Once the Raspberry Pi is running in side the Jesters box how will I control it?
    The answer to this question is, "turn the Jack-in-the-box into a hotspot". I was able to do this by following this guide provided by Adafruit. Now the Raspberry Pi is running as a hotspot. I can connect to it, hit the routers/Raspberry Pi ip address fallowed by the port number used by the Pico Engine, in my case, 192.168.42.1:8080/.

  • Remodeling The Jester's Box

    adam burdett06/26/2017 at 20:01 0 comments

    The first thing I did was figure out what is inside jesters box.

    To do this I marked out a possible door on the bottom of the box. Then I drilled 4 holes on each corner.

    With a pocket knife I cut out the door, like opening a tuna can. (WARNING: The sides of this box will cut you very easily. ) I eventually abandoned the trap door idea and cut along the rolled edges of the bottom and used the decorative package for the bottom. The pictures don't reflect that decision.

    The first thing I noticed is the cardboard tube with a cone like spring to the Jester.
    The Jester in this box is only held in by a press fit of the cardboard tube around a small circular lip at the top of the box.

    The second thing I noticed is how small the music box is.

    This is what the box looked like after pulling the jester out.

    A closer look at the mechanics.

    Here is the magic of the Jack-In-The-Box. The crank has threads that match a gear on the cylinder. The cylinder has little pins which correspond to notes of a song. During rotation each pin picks a tooth of the comb to produce a chime. On the other side of the cylinder is a small white lever arm that is strategically placed to catch the red spring loaded latch during a certain note of the song. This latch opens the door for the Jester to pop out.


    The rivets holding the body of this music box had been spot welded into place, so completely removing it is very difficult. I removed the crank, cylinder, comb and left the body in.


    To simulate the latch functionality I used a 9g servo with 3 peaces of music wire heat shrink to the servo arm. With 3M double sided tape, I secured the servo in place so that the end of the arm is just under the end of the red door latch.


    To simulate the crank I drilled a slightly bigger hole in the box and placed a rotary encoder where the crank used to enter the box.

    I also cut off the old crank and JB-welded it to a knob.

    To make room for the Raspberry Pi and other components I had to cut most of the card board tube off.

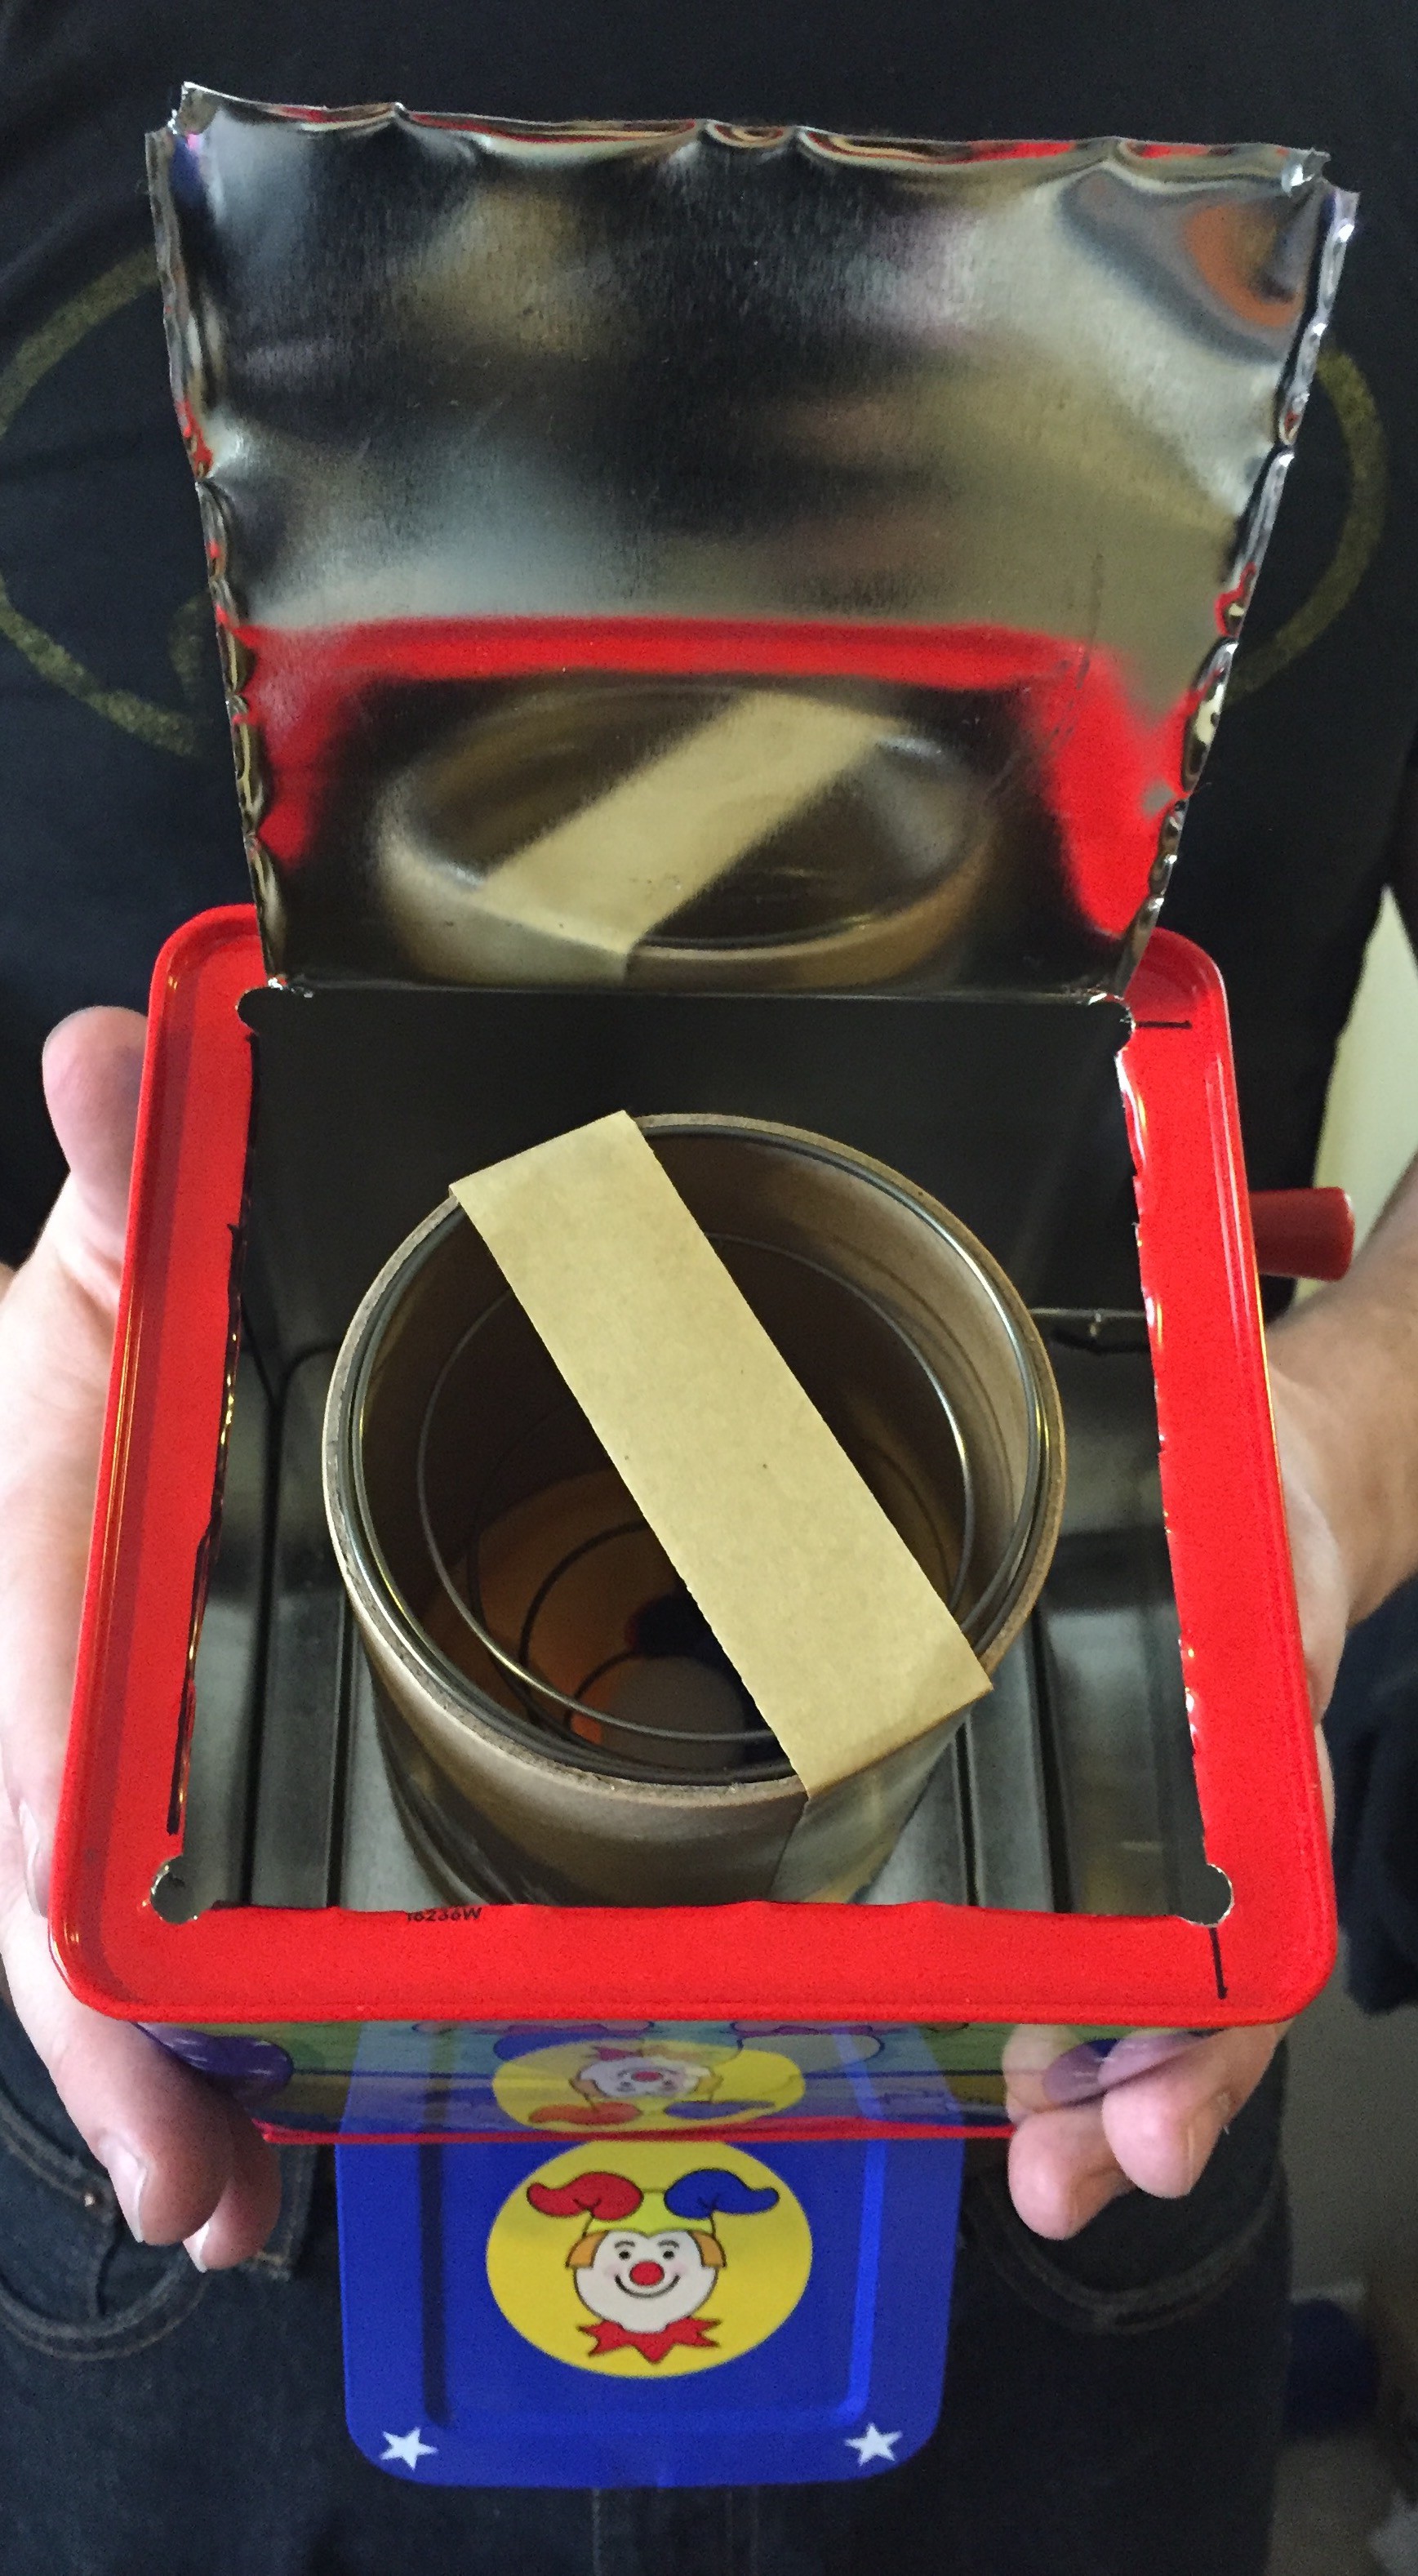
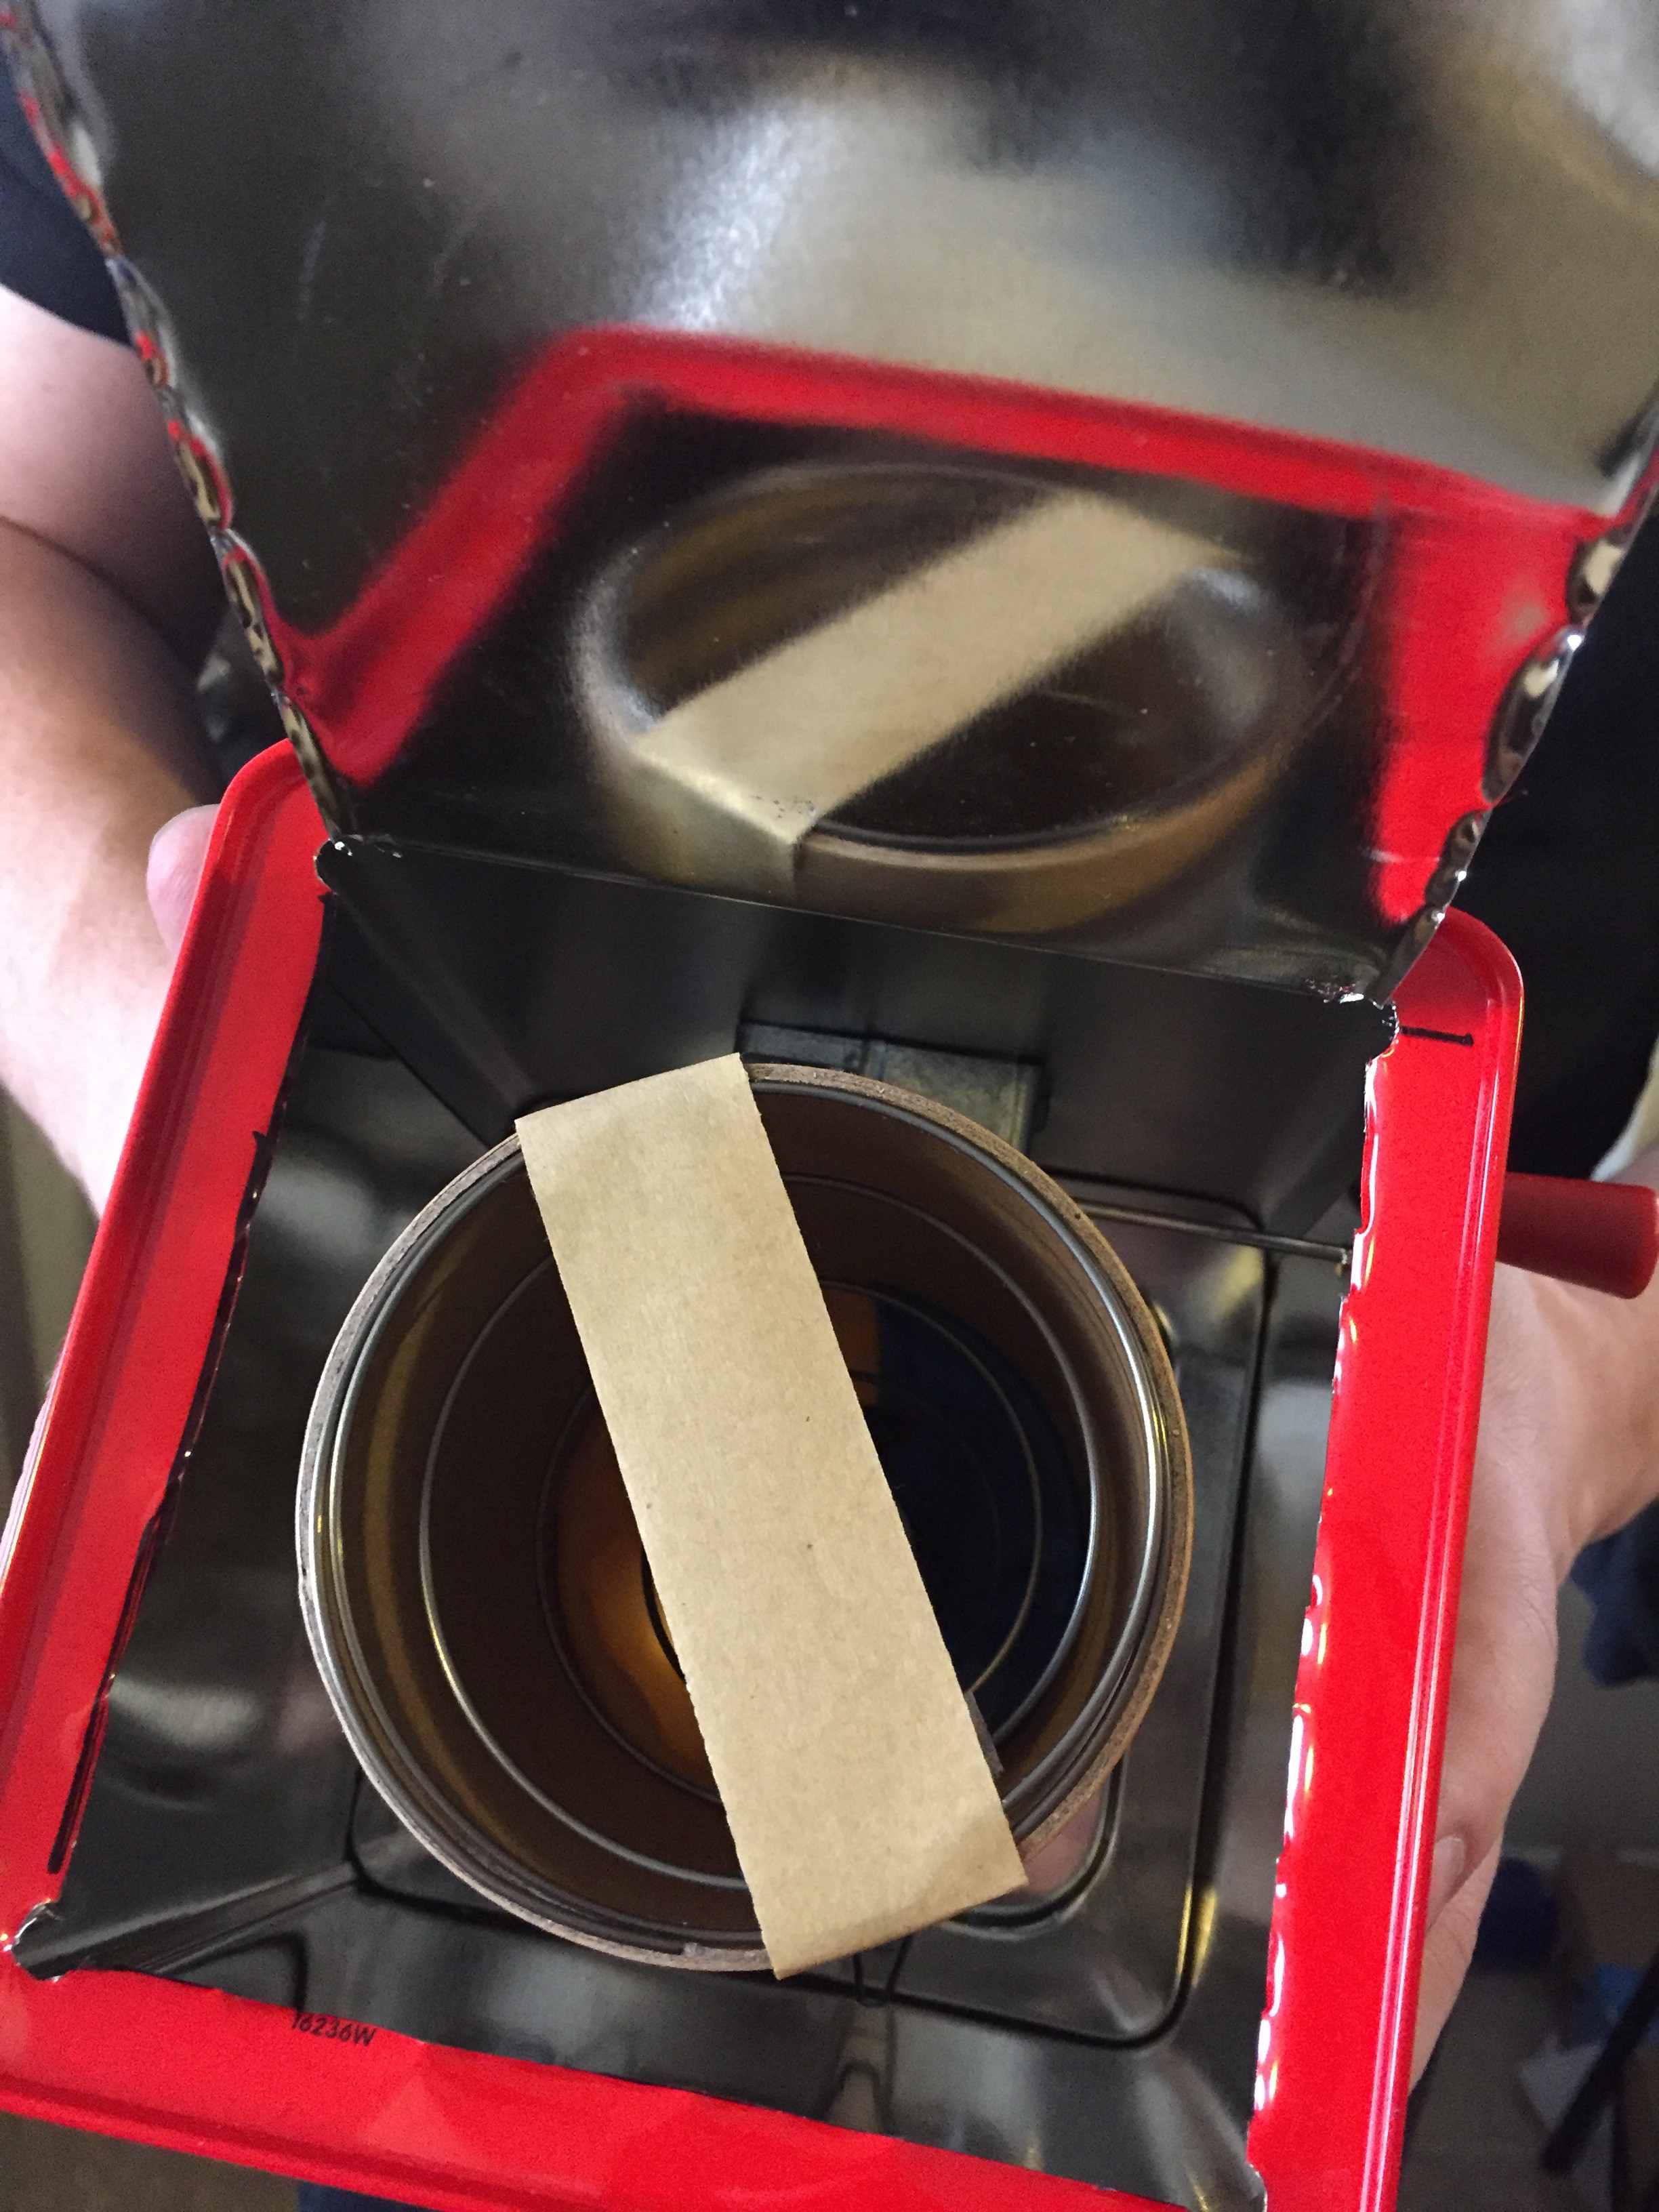
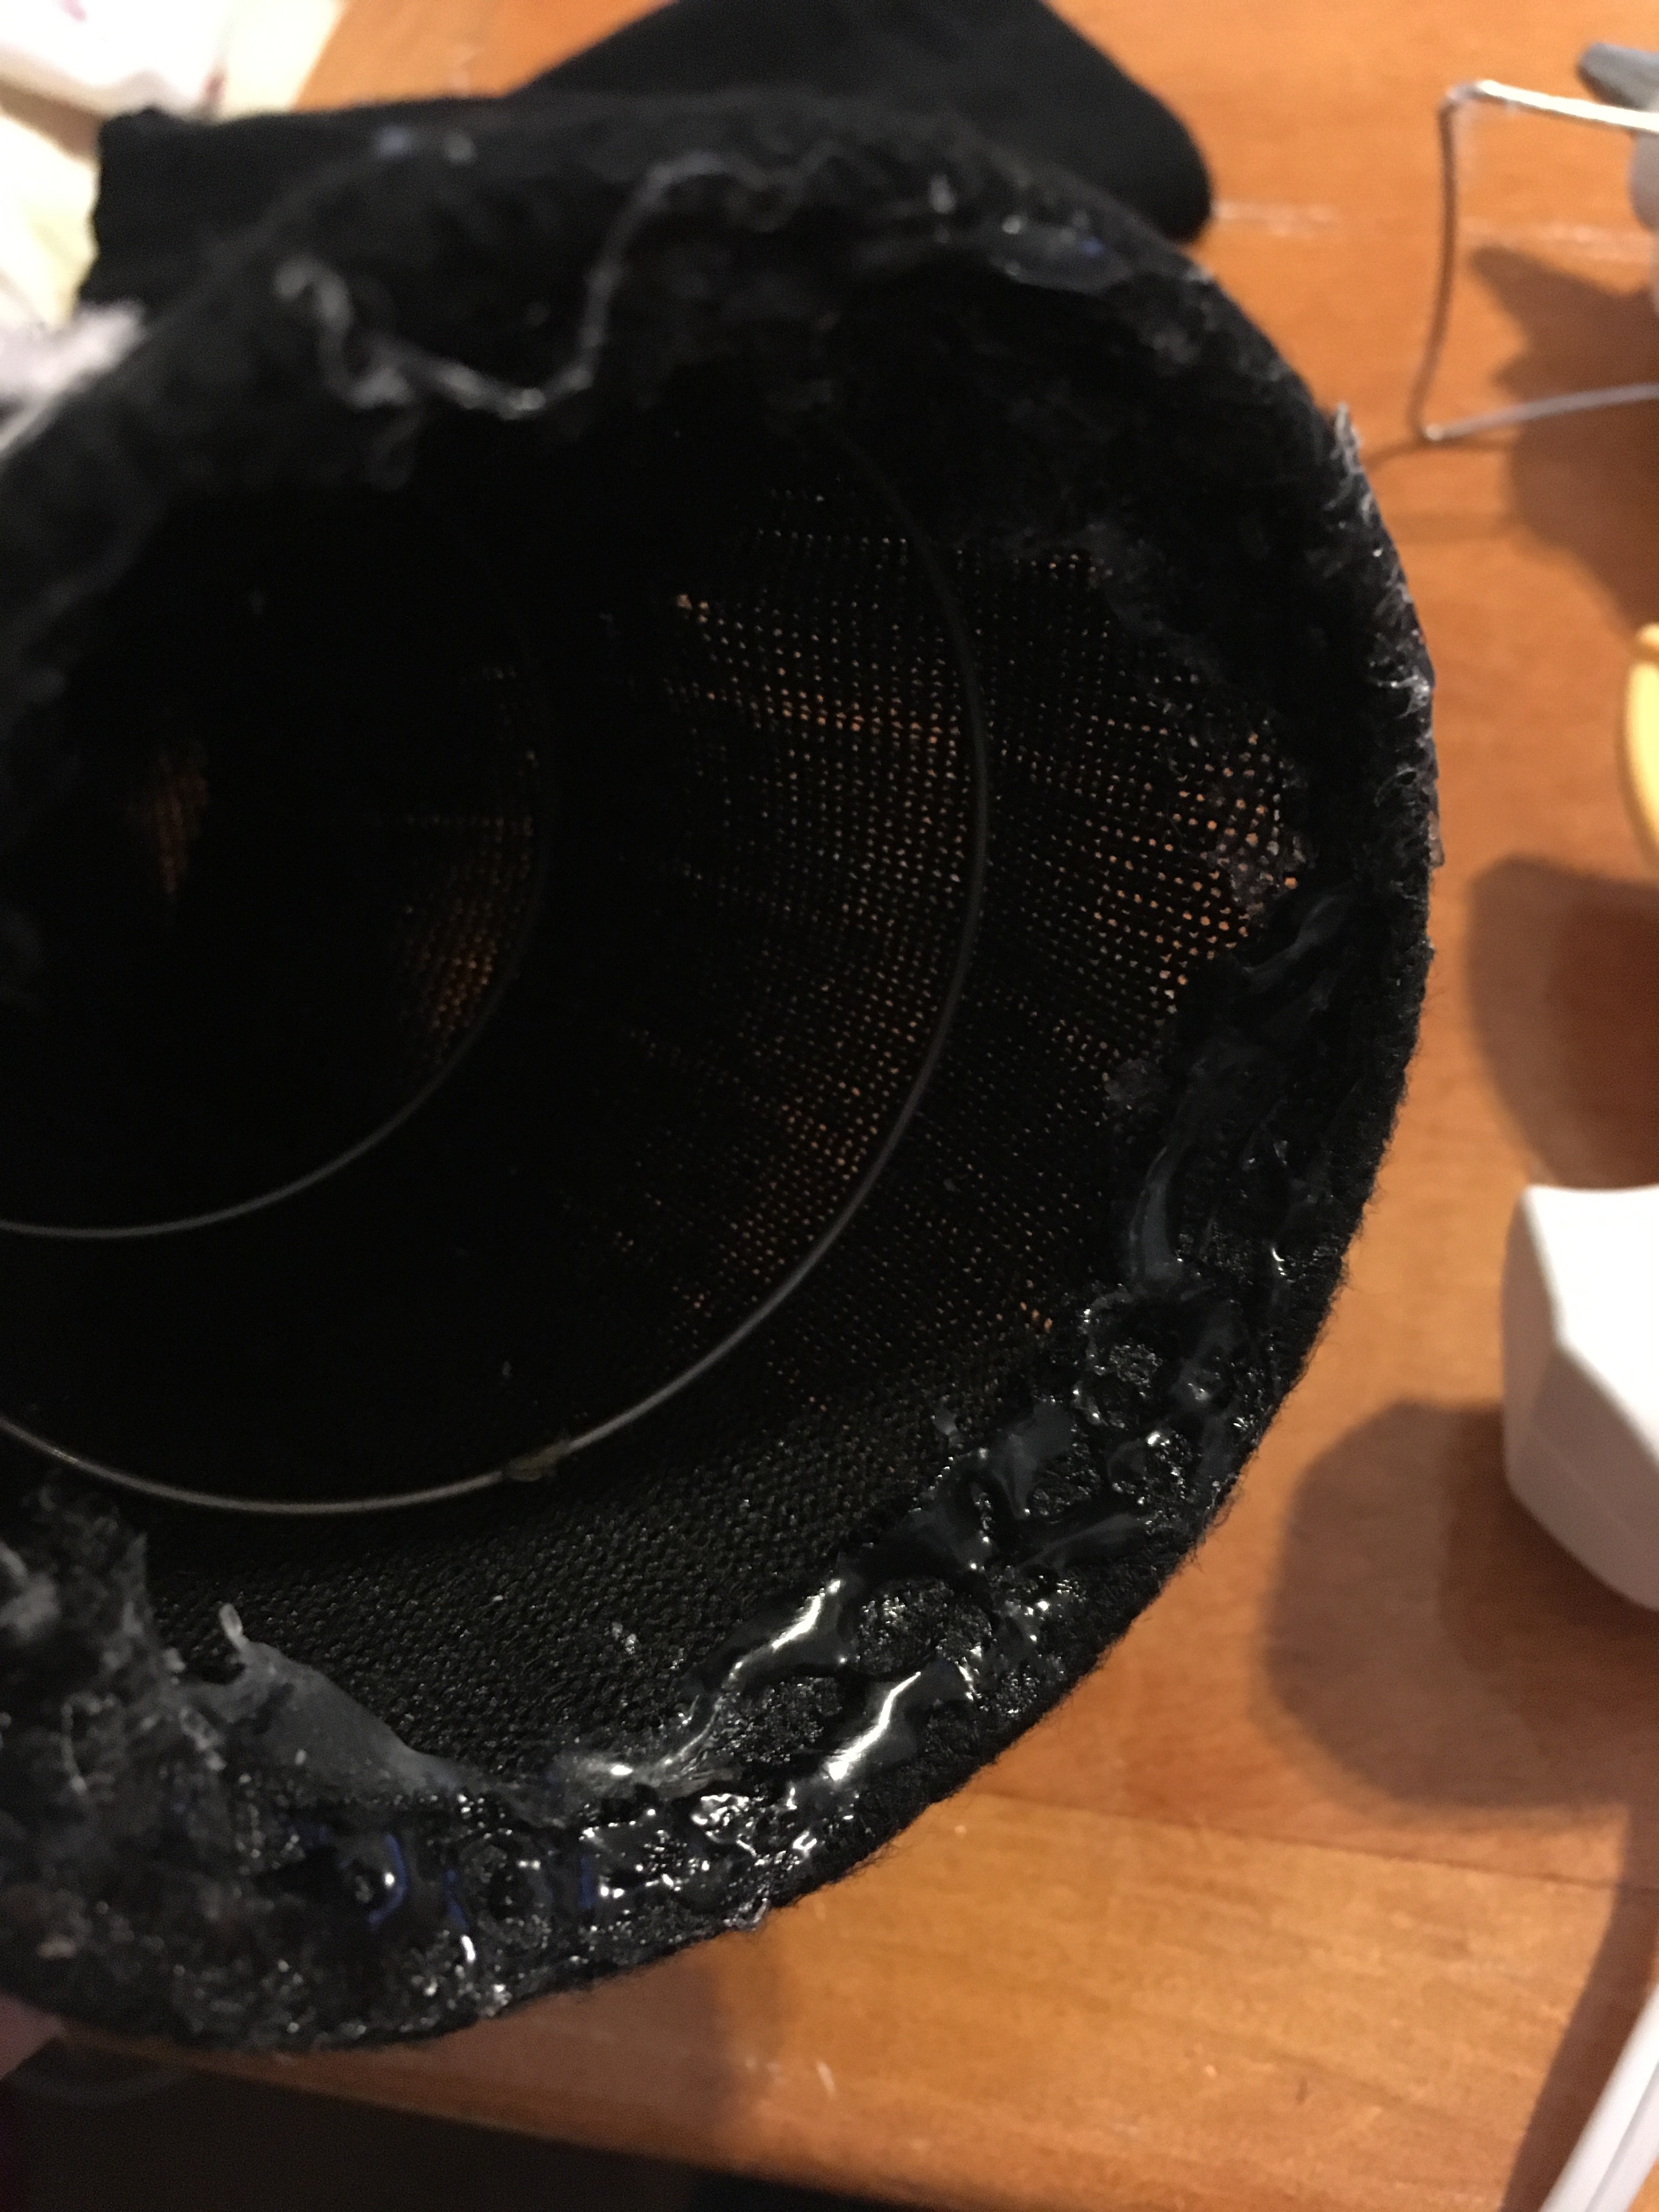
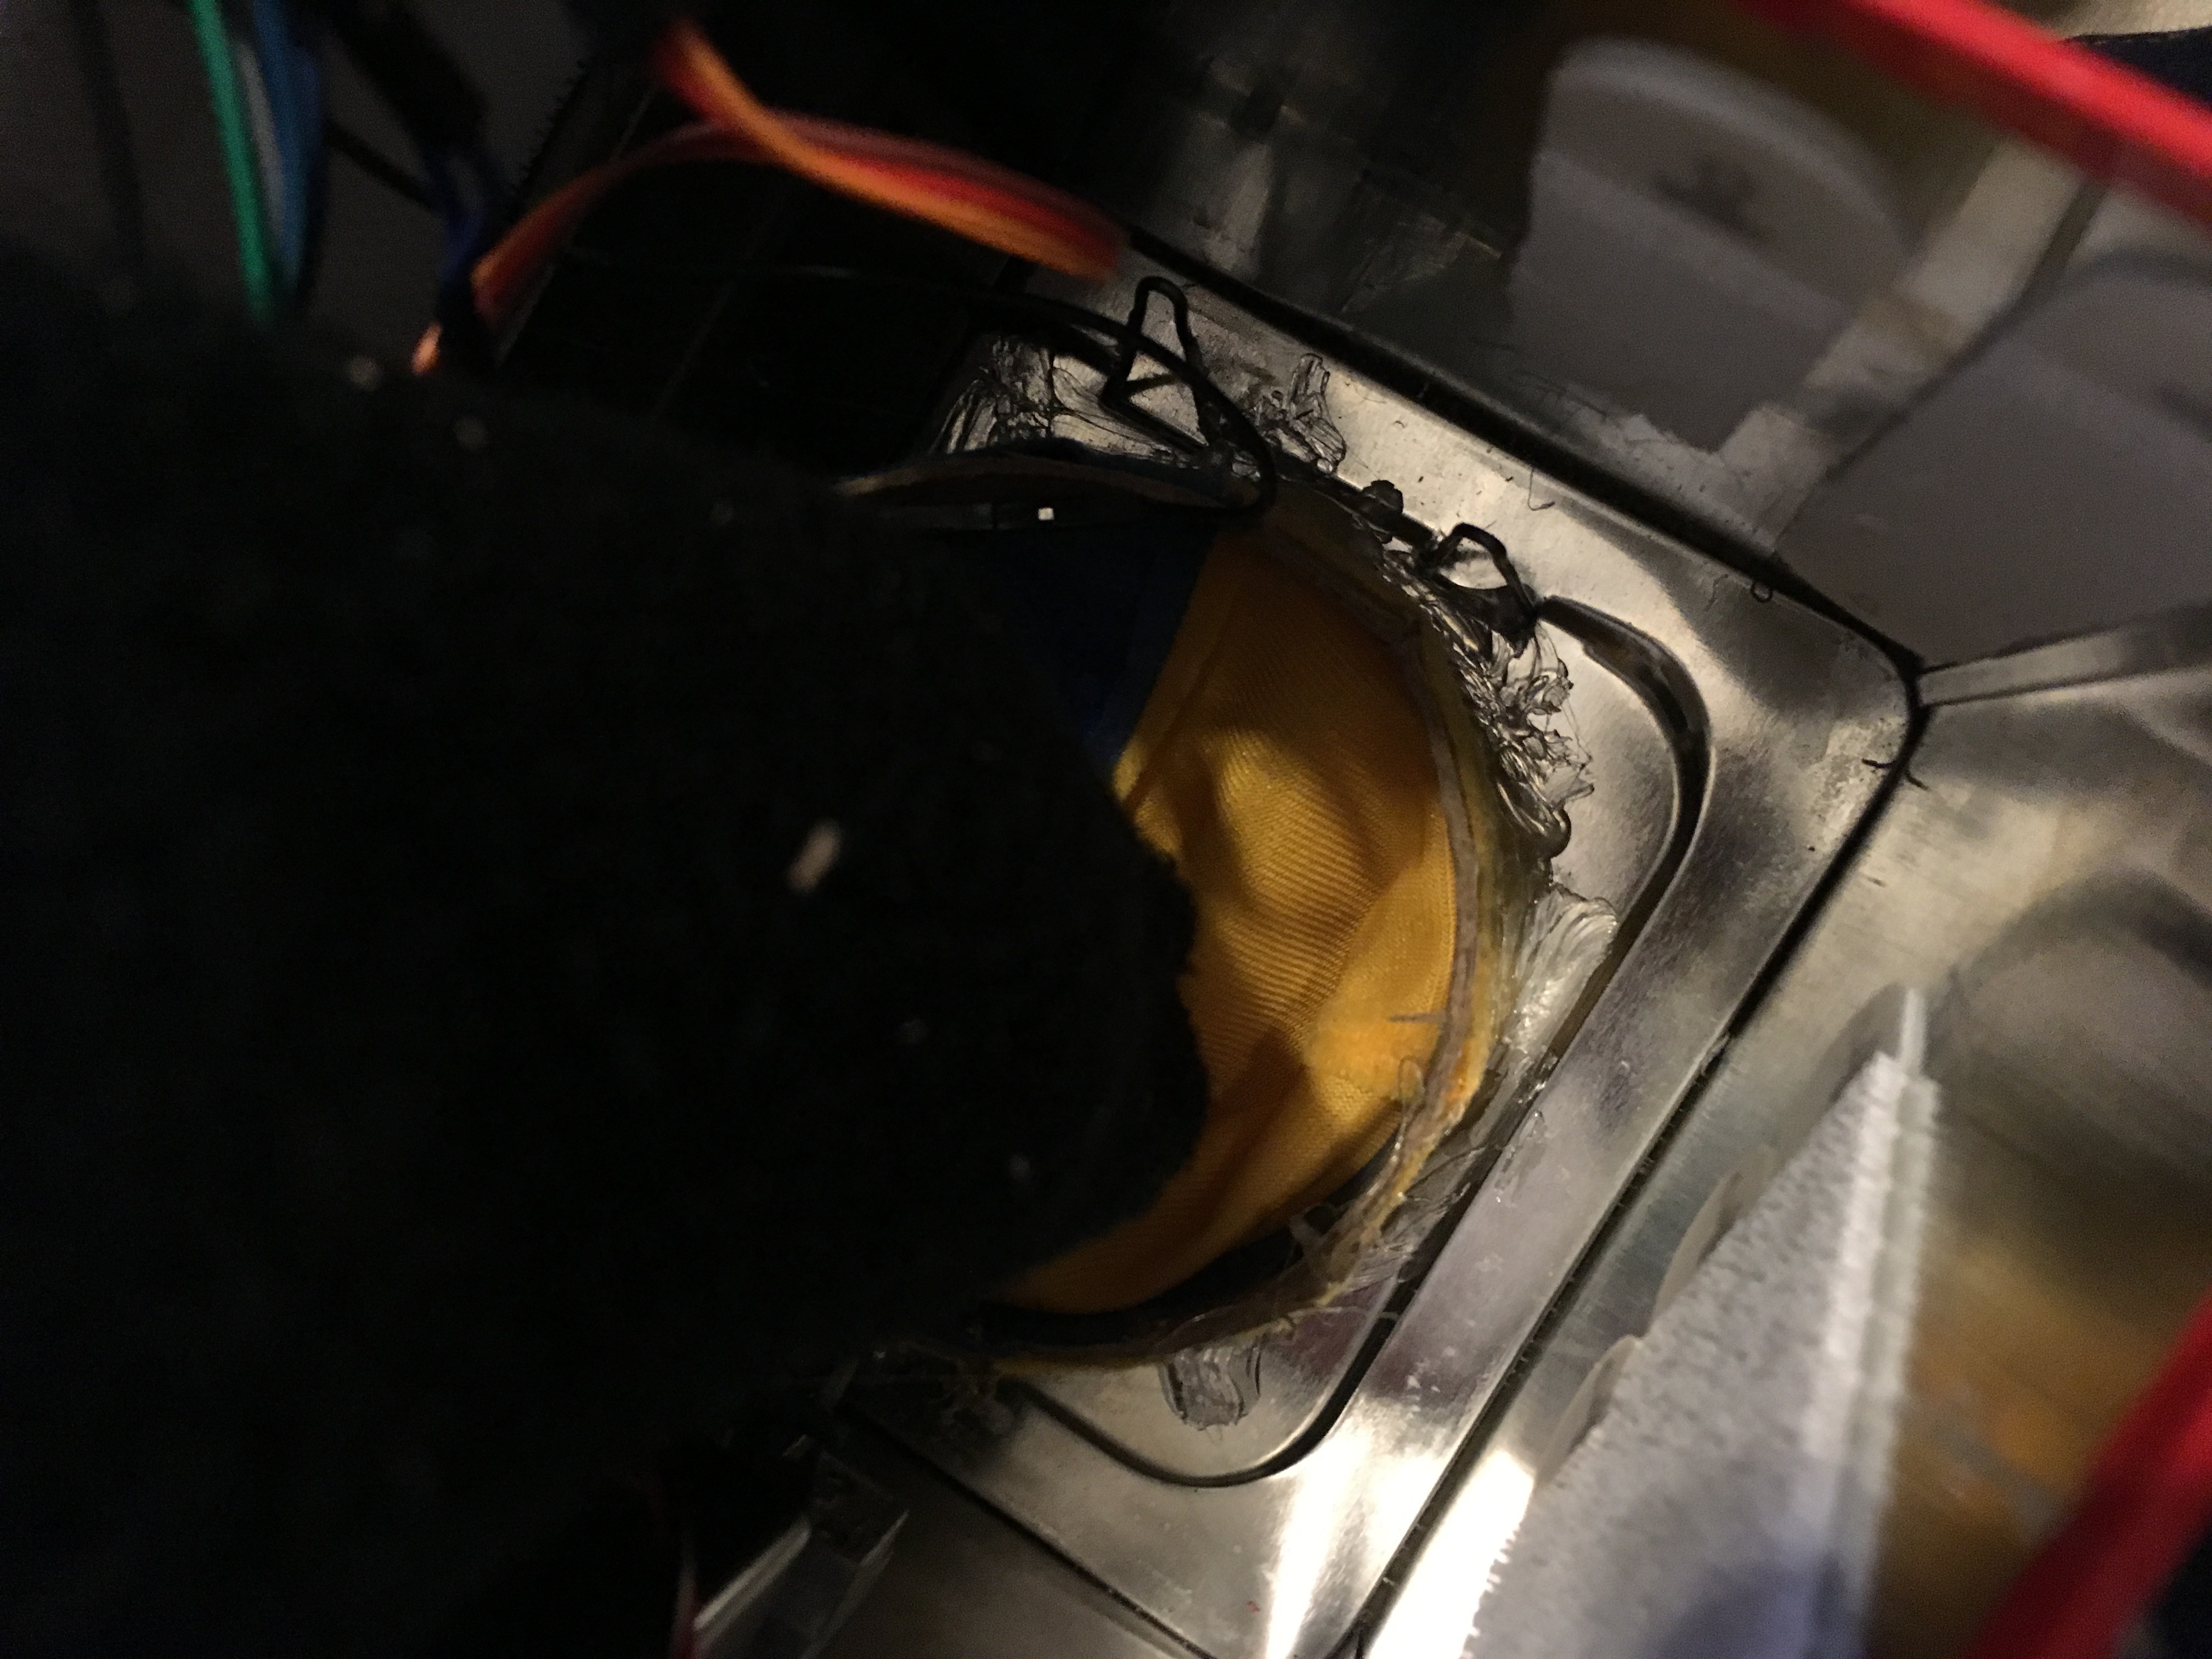
    I replace the the tape holding Jester Jack to the tube with hot glue.

    I housed Jester Jacks spring in an old sock to protect all wiring and component. (This good Idea ( and sock ) came from a friend and co-worker of mine.)

    I trimmed the sock to a good length and hot glued it into place.

    Jester Jacks cylinder was pressed fit into place between the bottom and top. This was no longer the case since I cut the cylinder short. To secure Jester Jack I used a long stick to transfer hot glue around the press fit cylinder on the top lip of the box. This hot glue made up for the lost pressure from the bottom that held the cylinder in place.

    With the servo and rotary encoder in place, the Raspberry Pi can be wired up so I could start coding.

  • Gathering Supplies!

    adam burdett06/23/2017 at 22:15 0 comments


View all 5 project logs

Enjoy this project?

Share

Discussions

Similar Projects

Does this project spark your interest?

Become a member to follow this project and never miss any updates