 Muhammed Azhar
Watch the video of it's working.
Watch the video that came in a news channel (Malayalam language)
Novelty of the project
This is the first wearable technology for blinds which resolves all the problems of existing technologies. Now a days there are so many instruments and smart devices for visually impaired peoples for navigation but most of them have certain problems for carrying and the major drawbacks is those need a lot of training to use. The one of the main peculiarity of this innovation is, it is affordable for everyone, the total cost being less than $25 (~1500INR). There are no such devices available in the market that can be worn like a cloth and having such a low cost and simplicity. When used on a large scale, with improvements in the prototype, it will drastically benefit the community.
Existing Systems
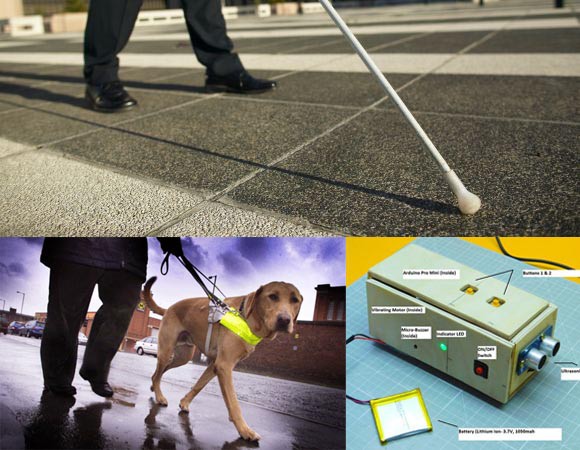
1.White cane
2.Pet dog
3.Smart devices (eg : Vision a torch for blinds)
Problem of the Existing Systems:
* White cane - May easily crack/break,The stick may get stuck at pavement cracks of different objects.
* Pet dog - Huge cost. (~$42,000 / 280000Rs )
* Common Disadvantages (Including the the smart devices) Cannot be carried easily, needs a lot of training to use…
The features of Third eye for blinds:
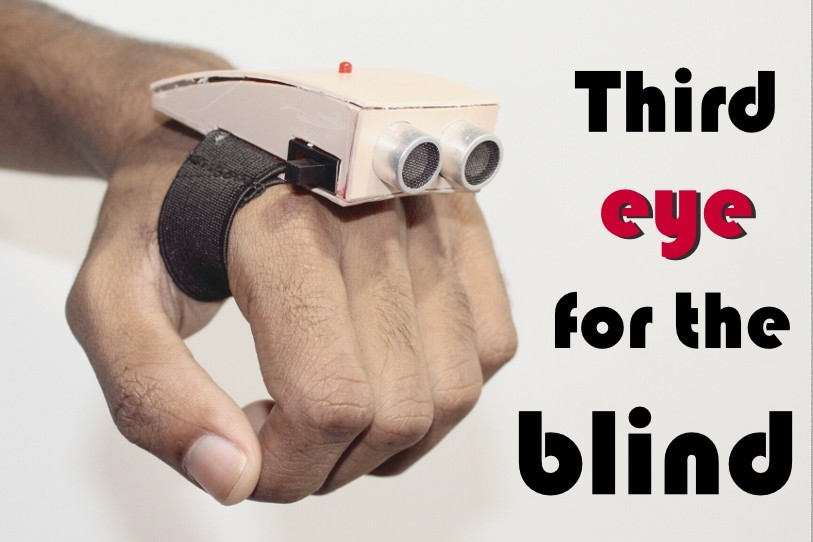
By wearing this device they can fully avoid the use of white cane and such other devices. This device will help the blind to navigate without holding a stick which is a bit annoying for them. They can simply wear it as a band or cloth and it can function very accurately and they only need a very little training to use it.
Full Description of the Project
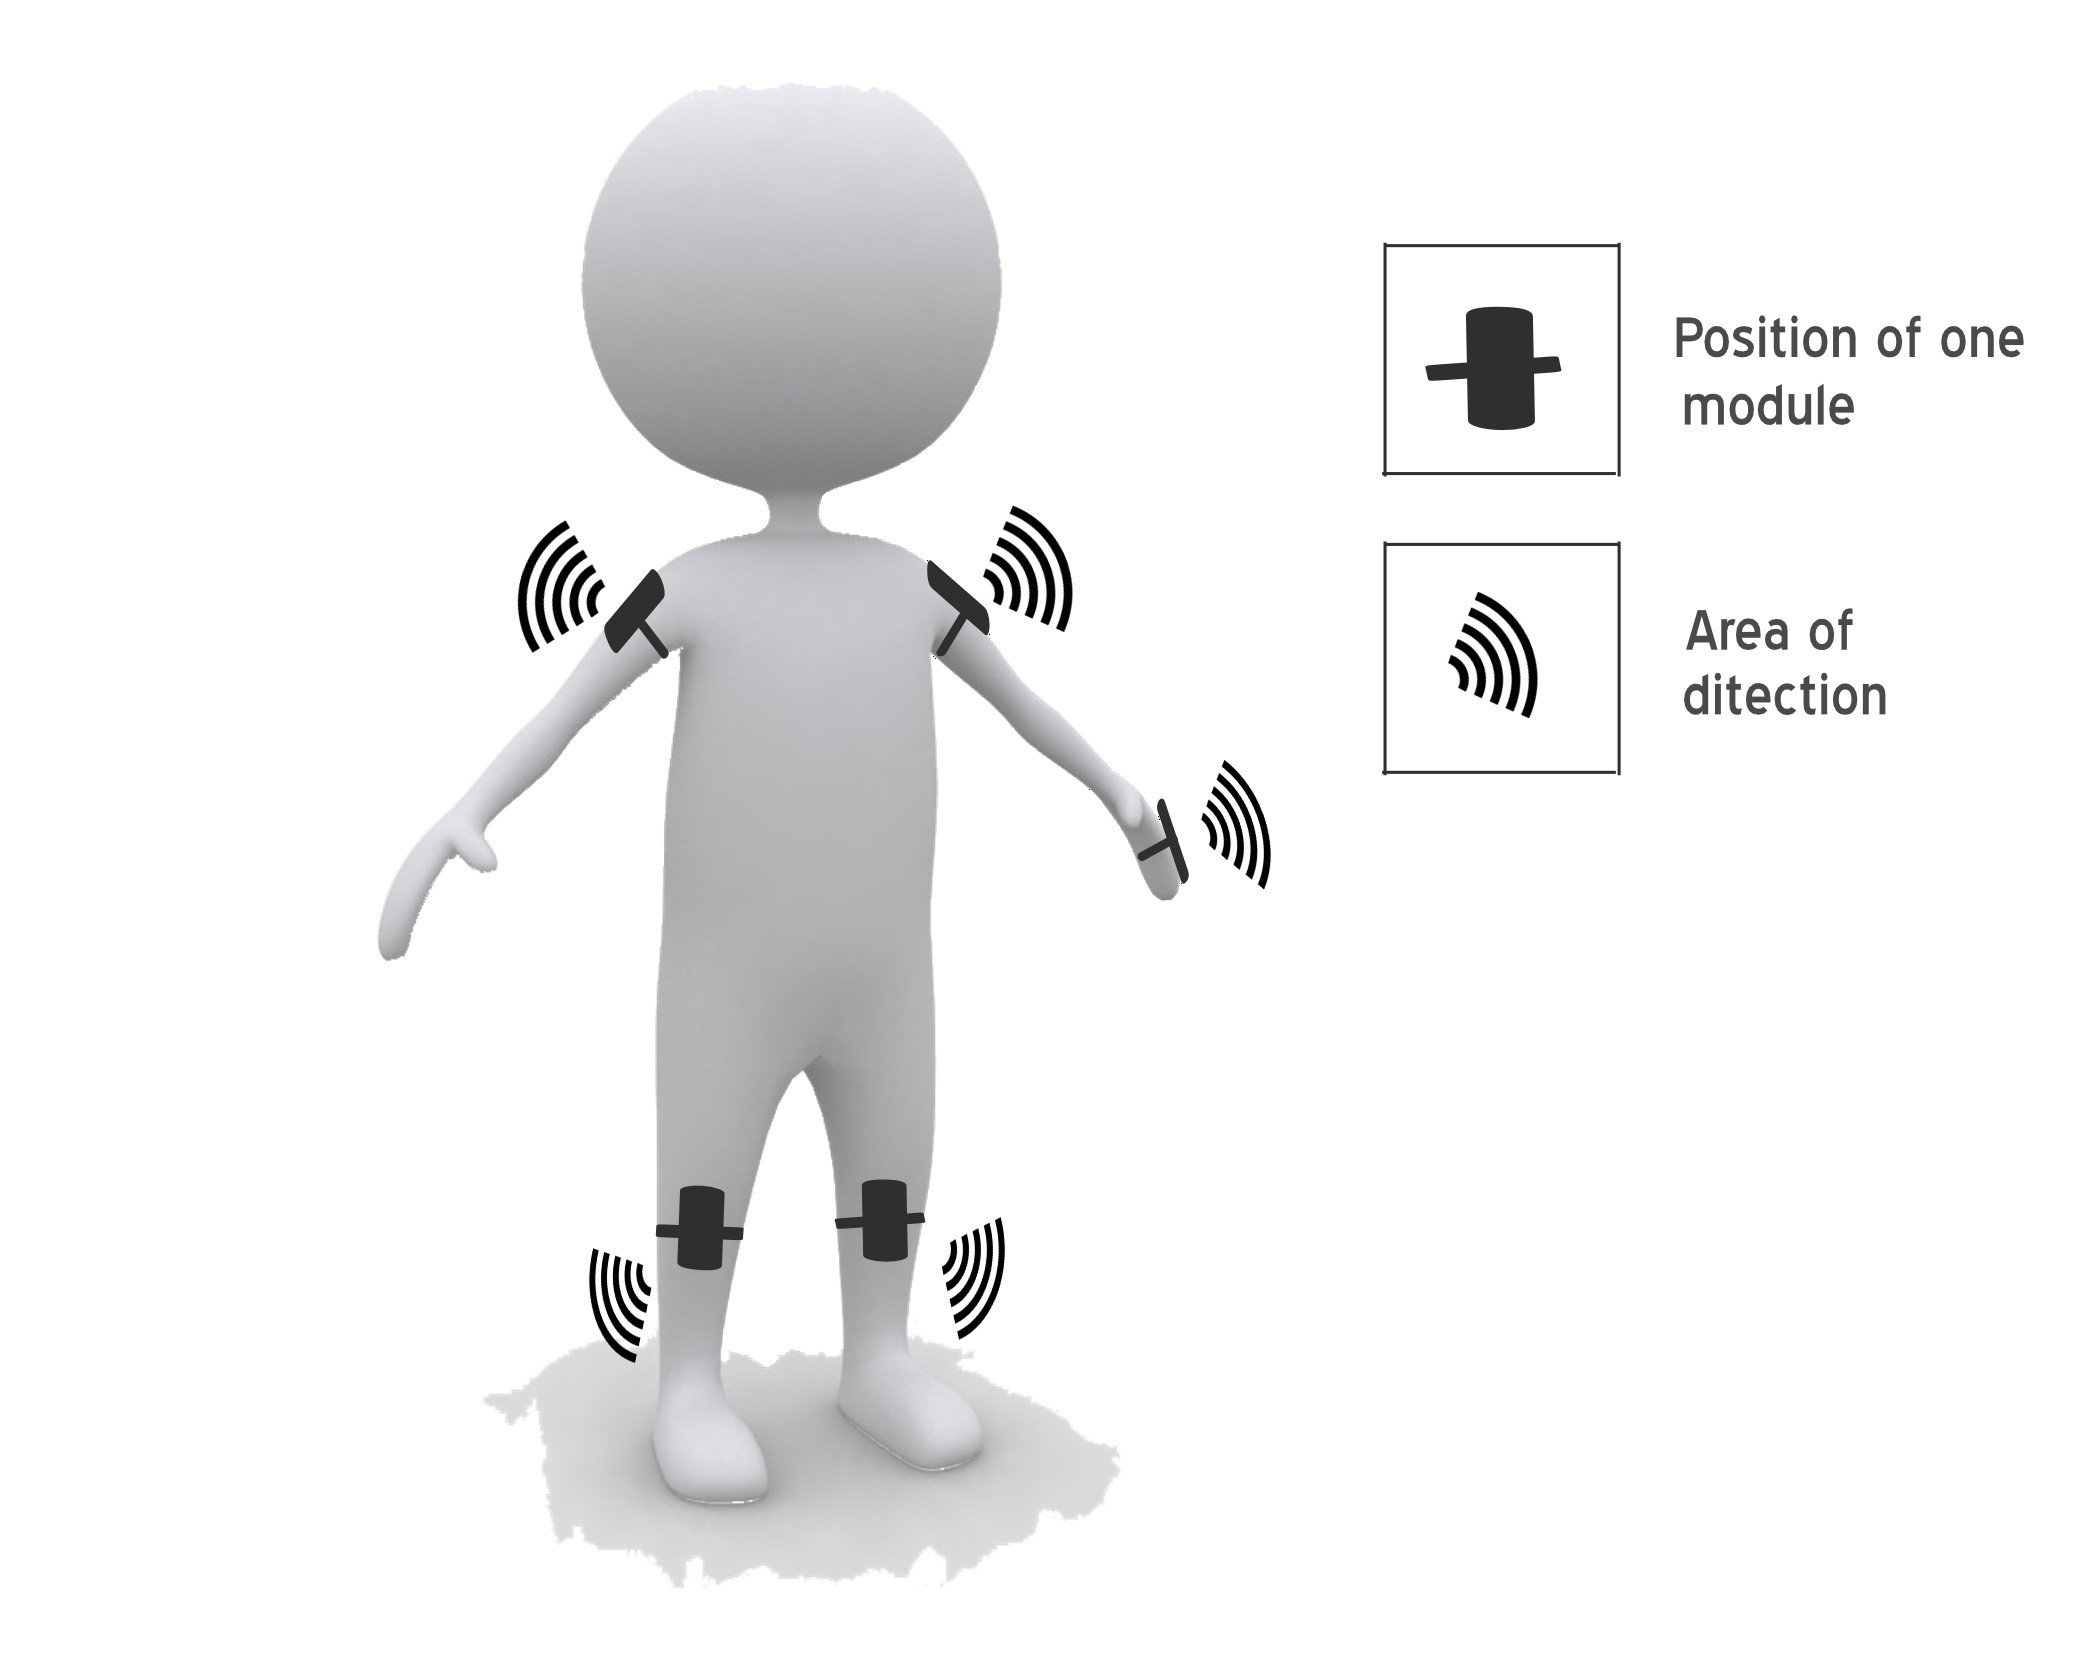
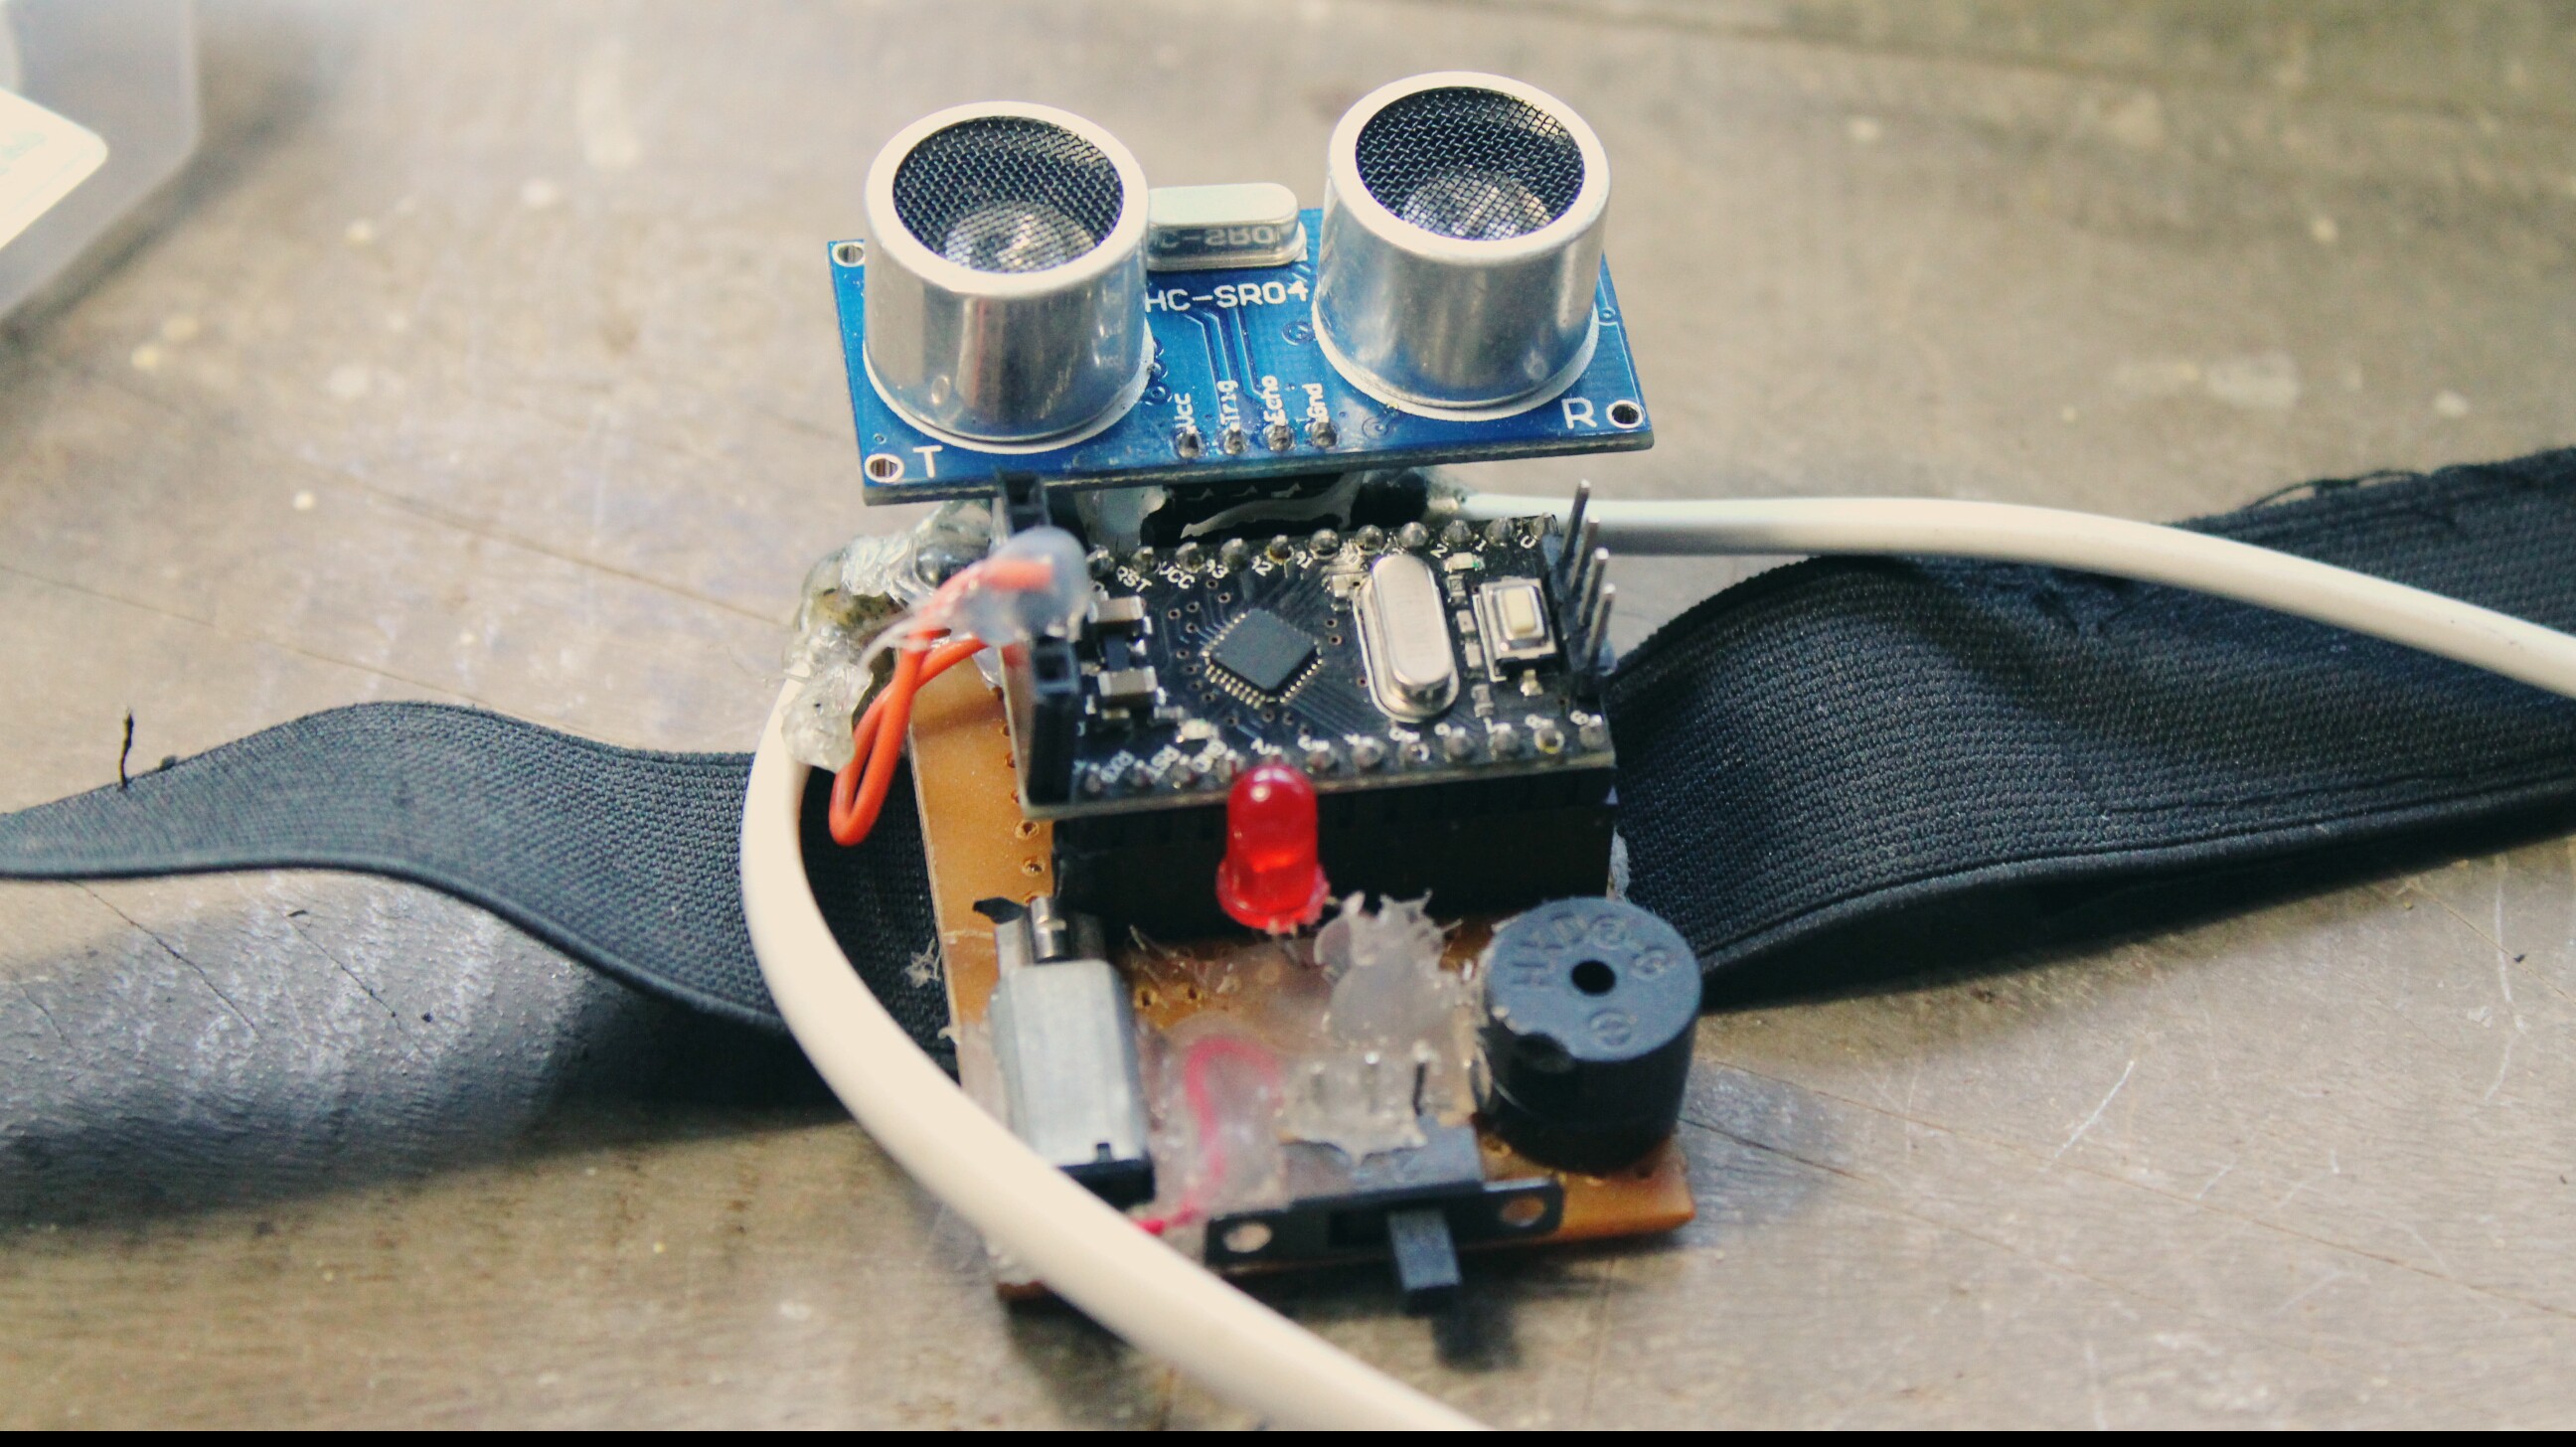
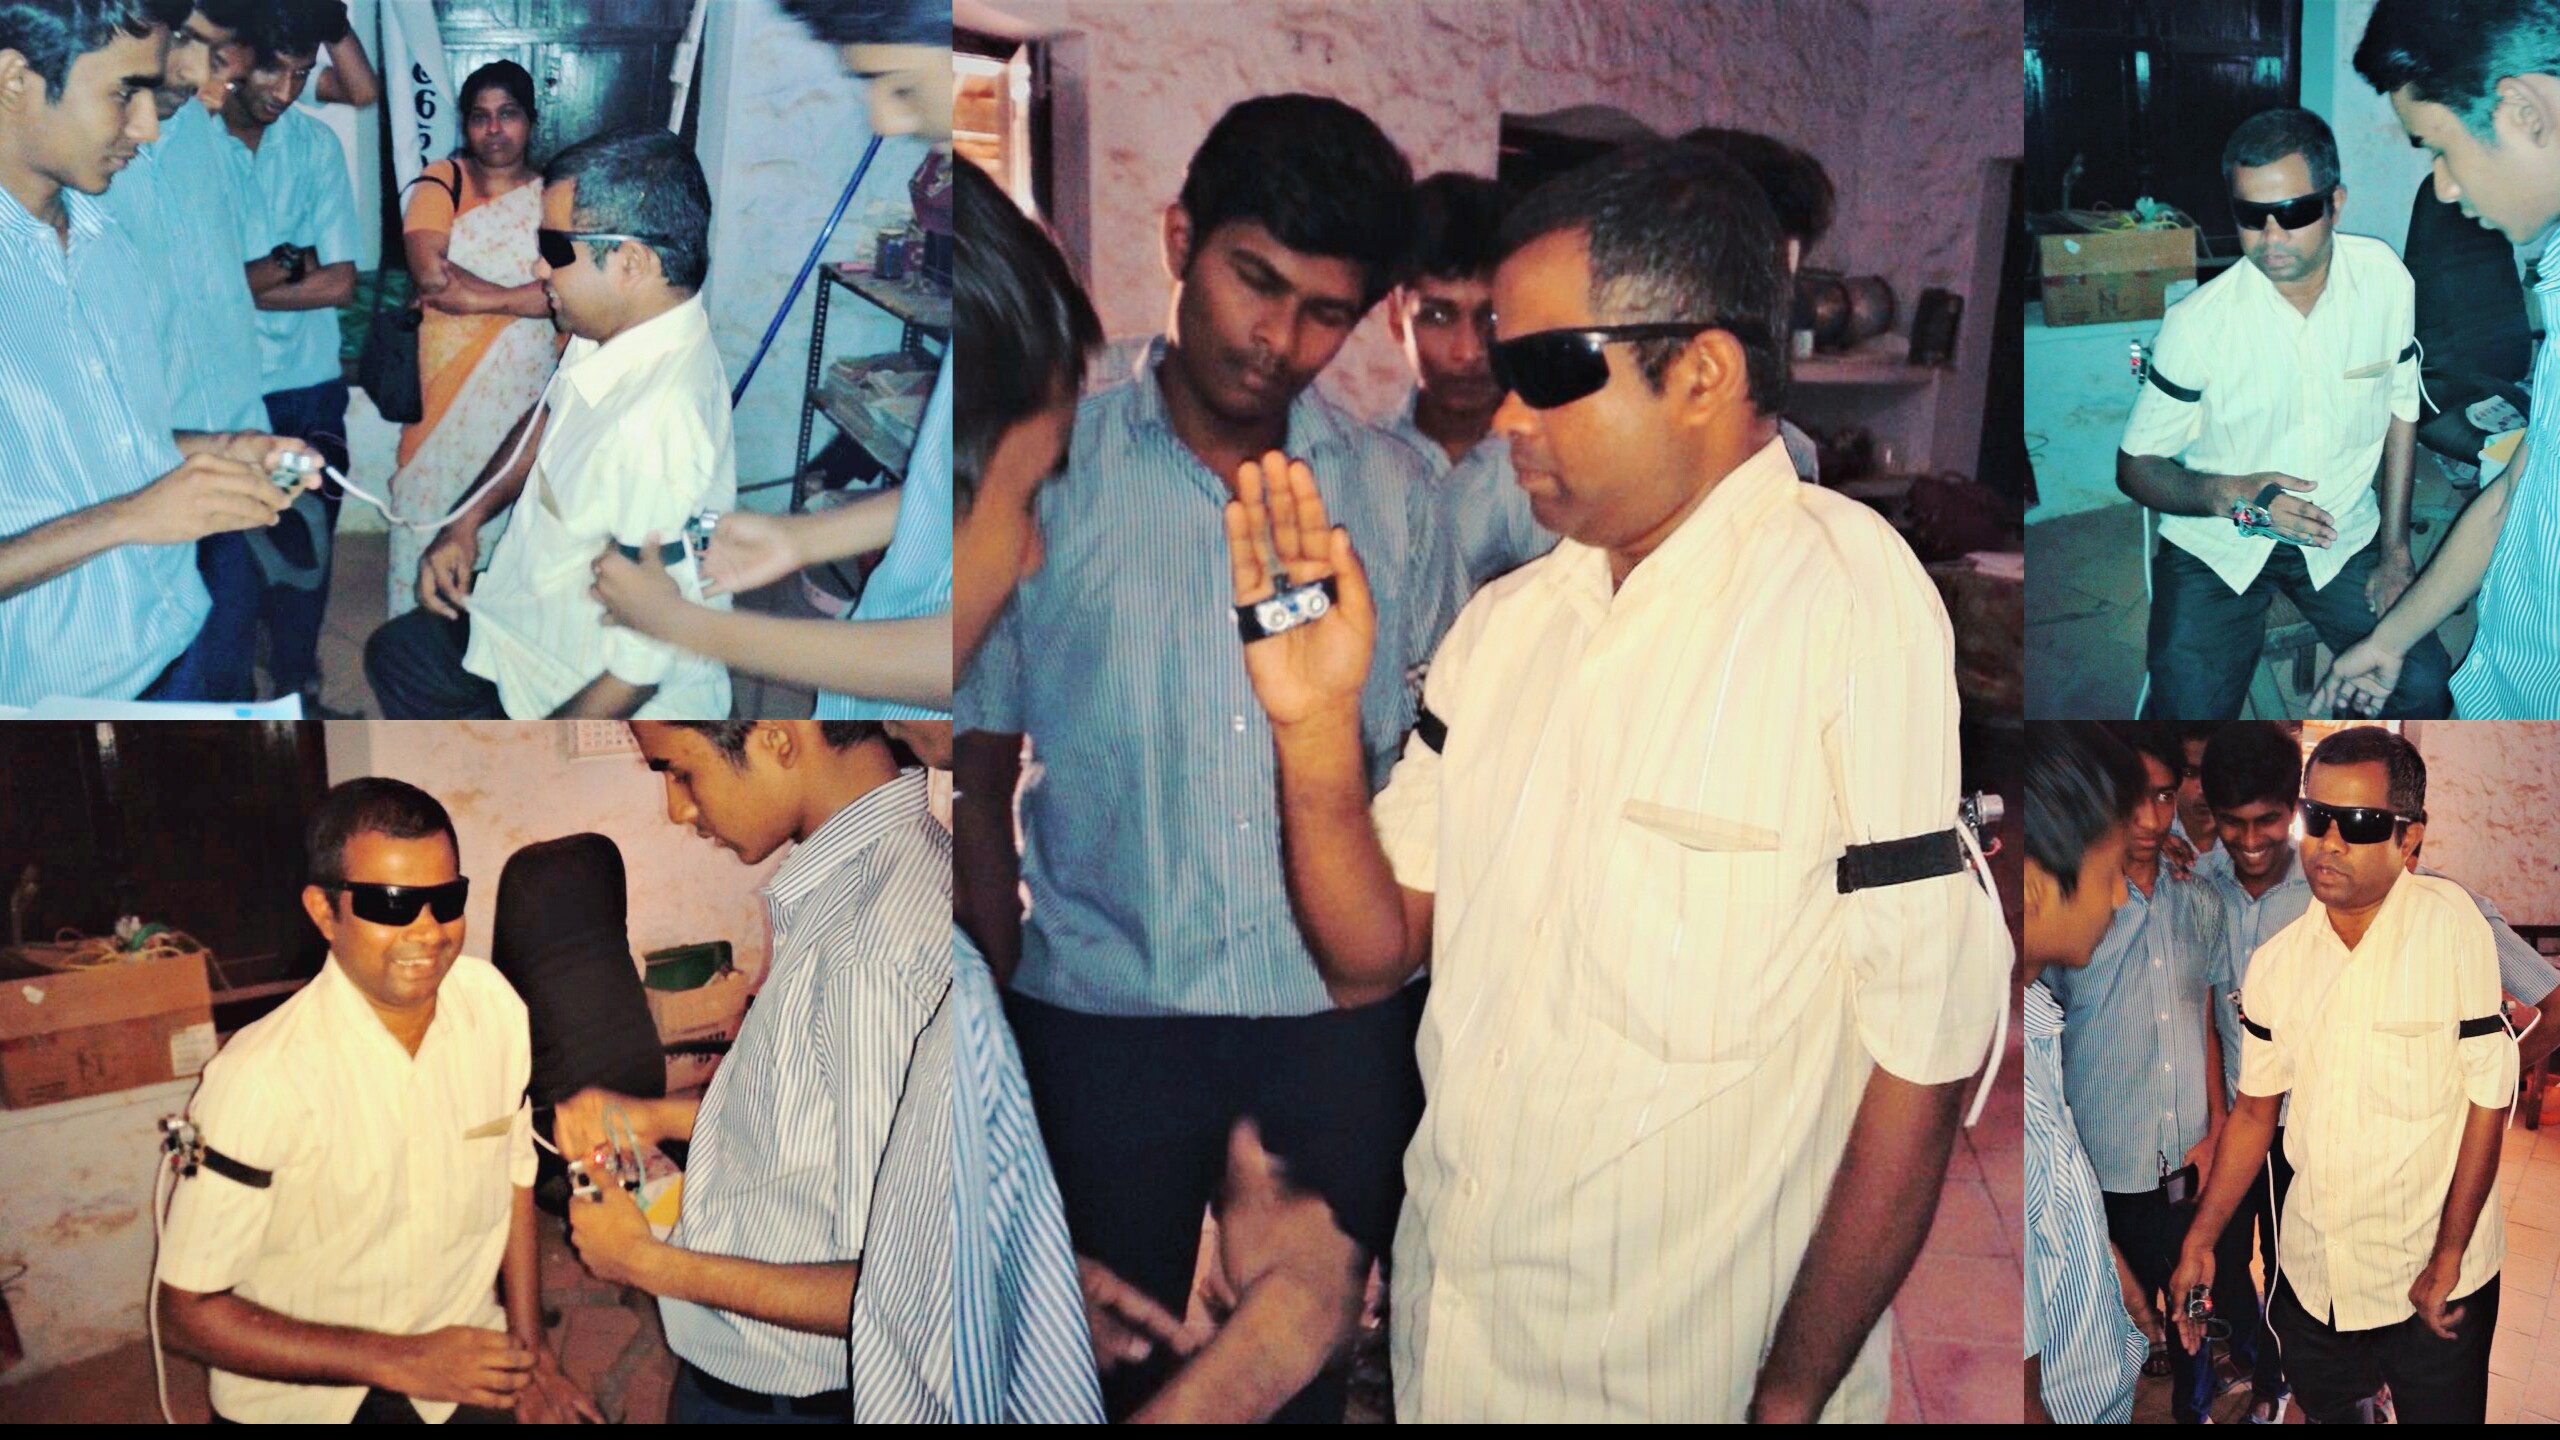
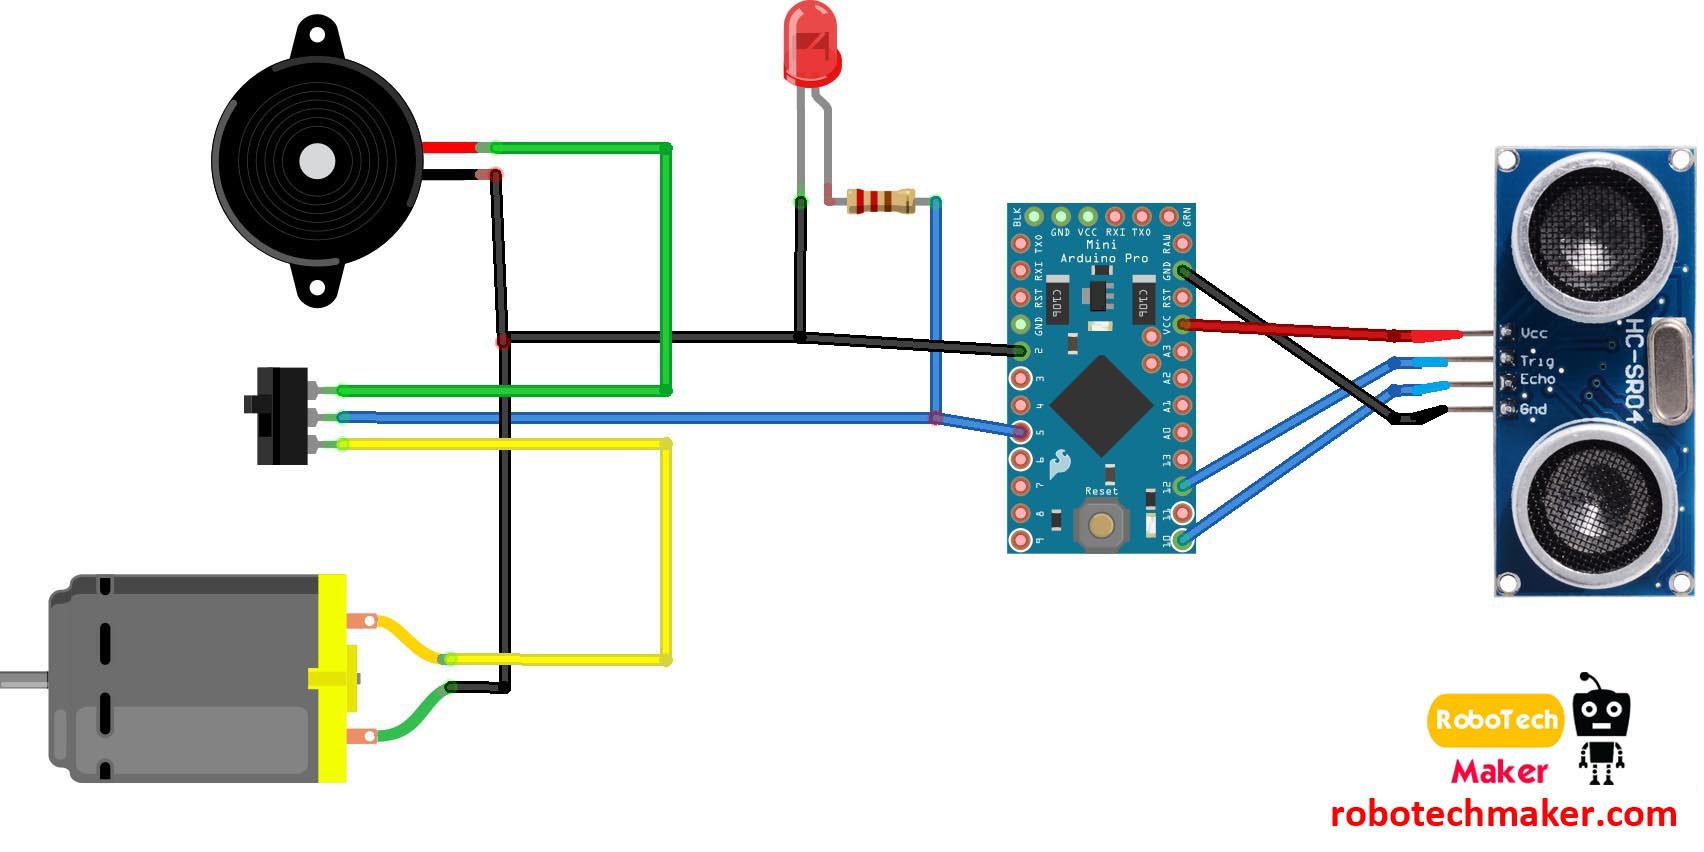
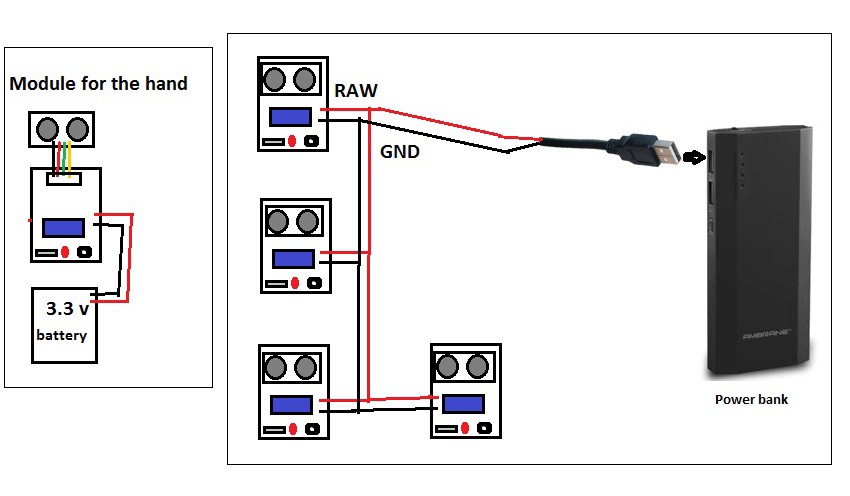
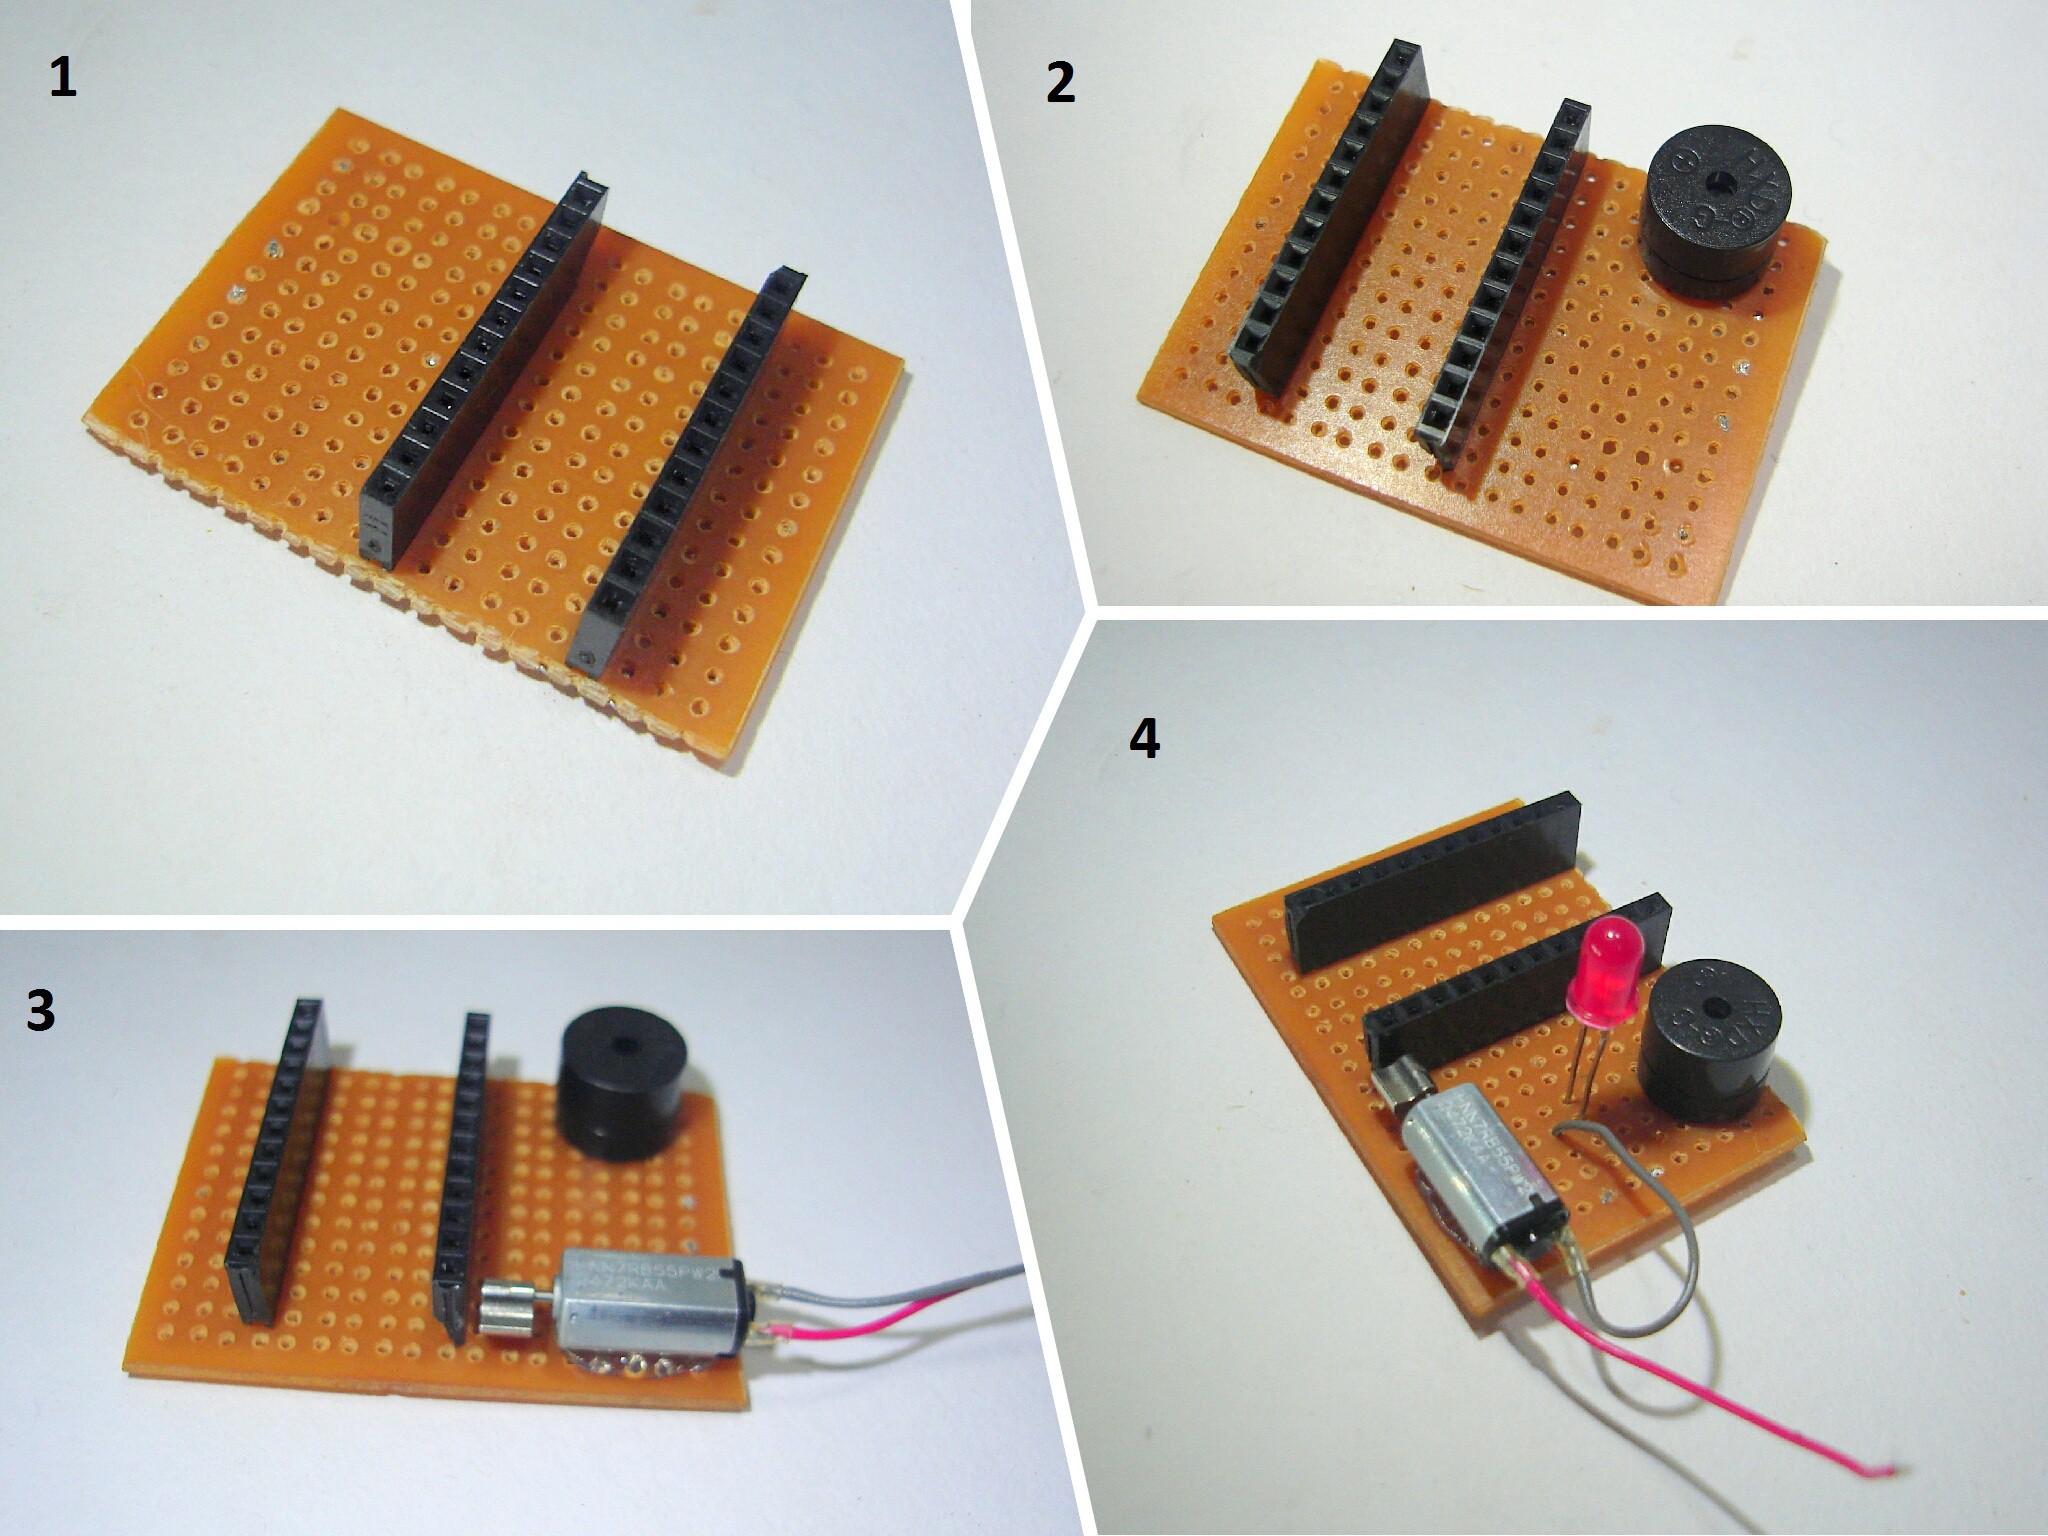
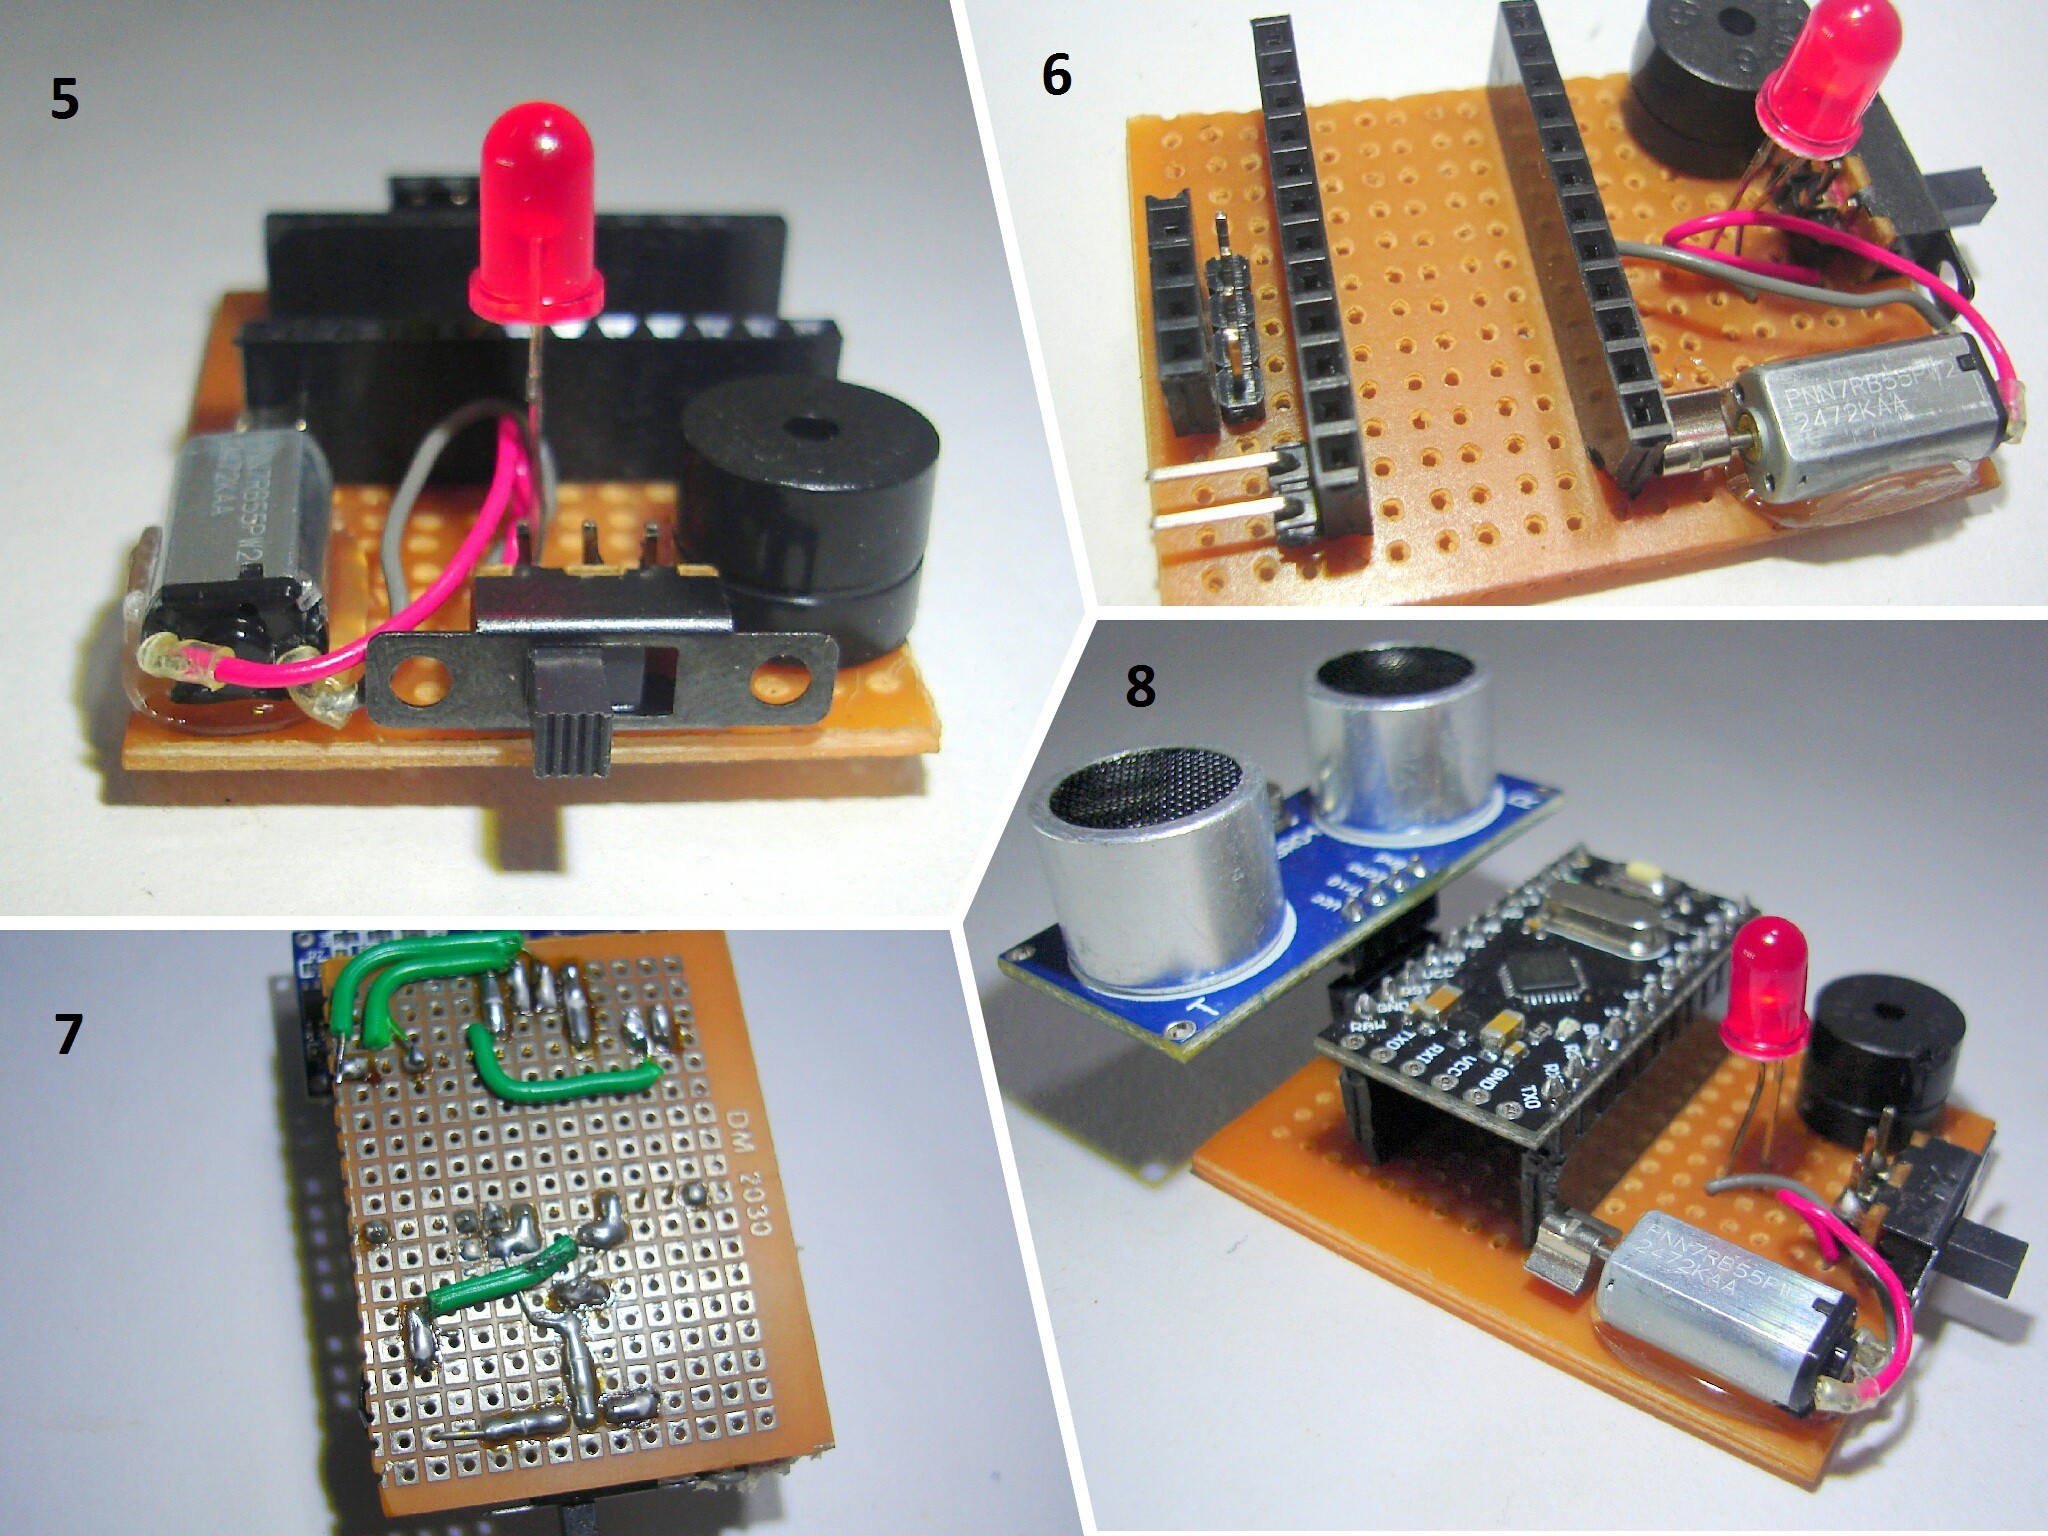
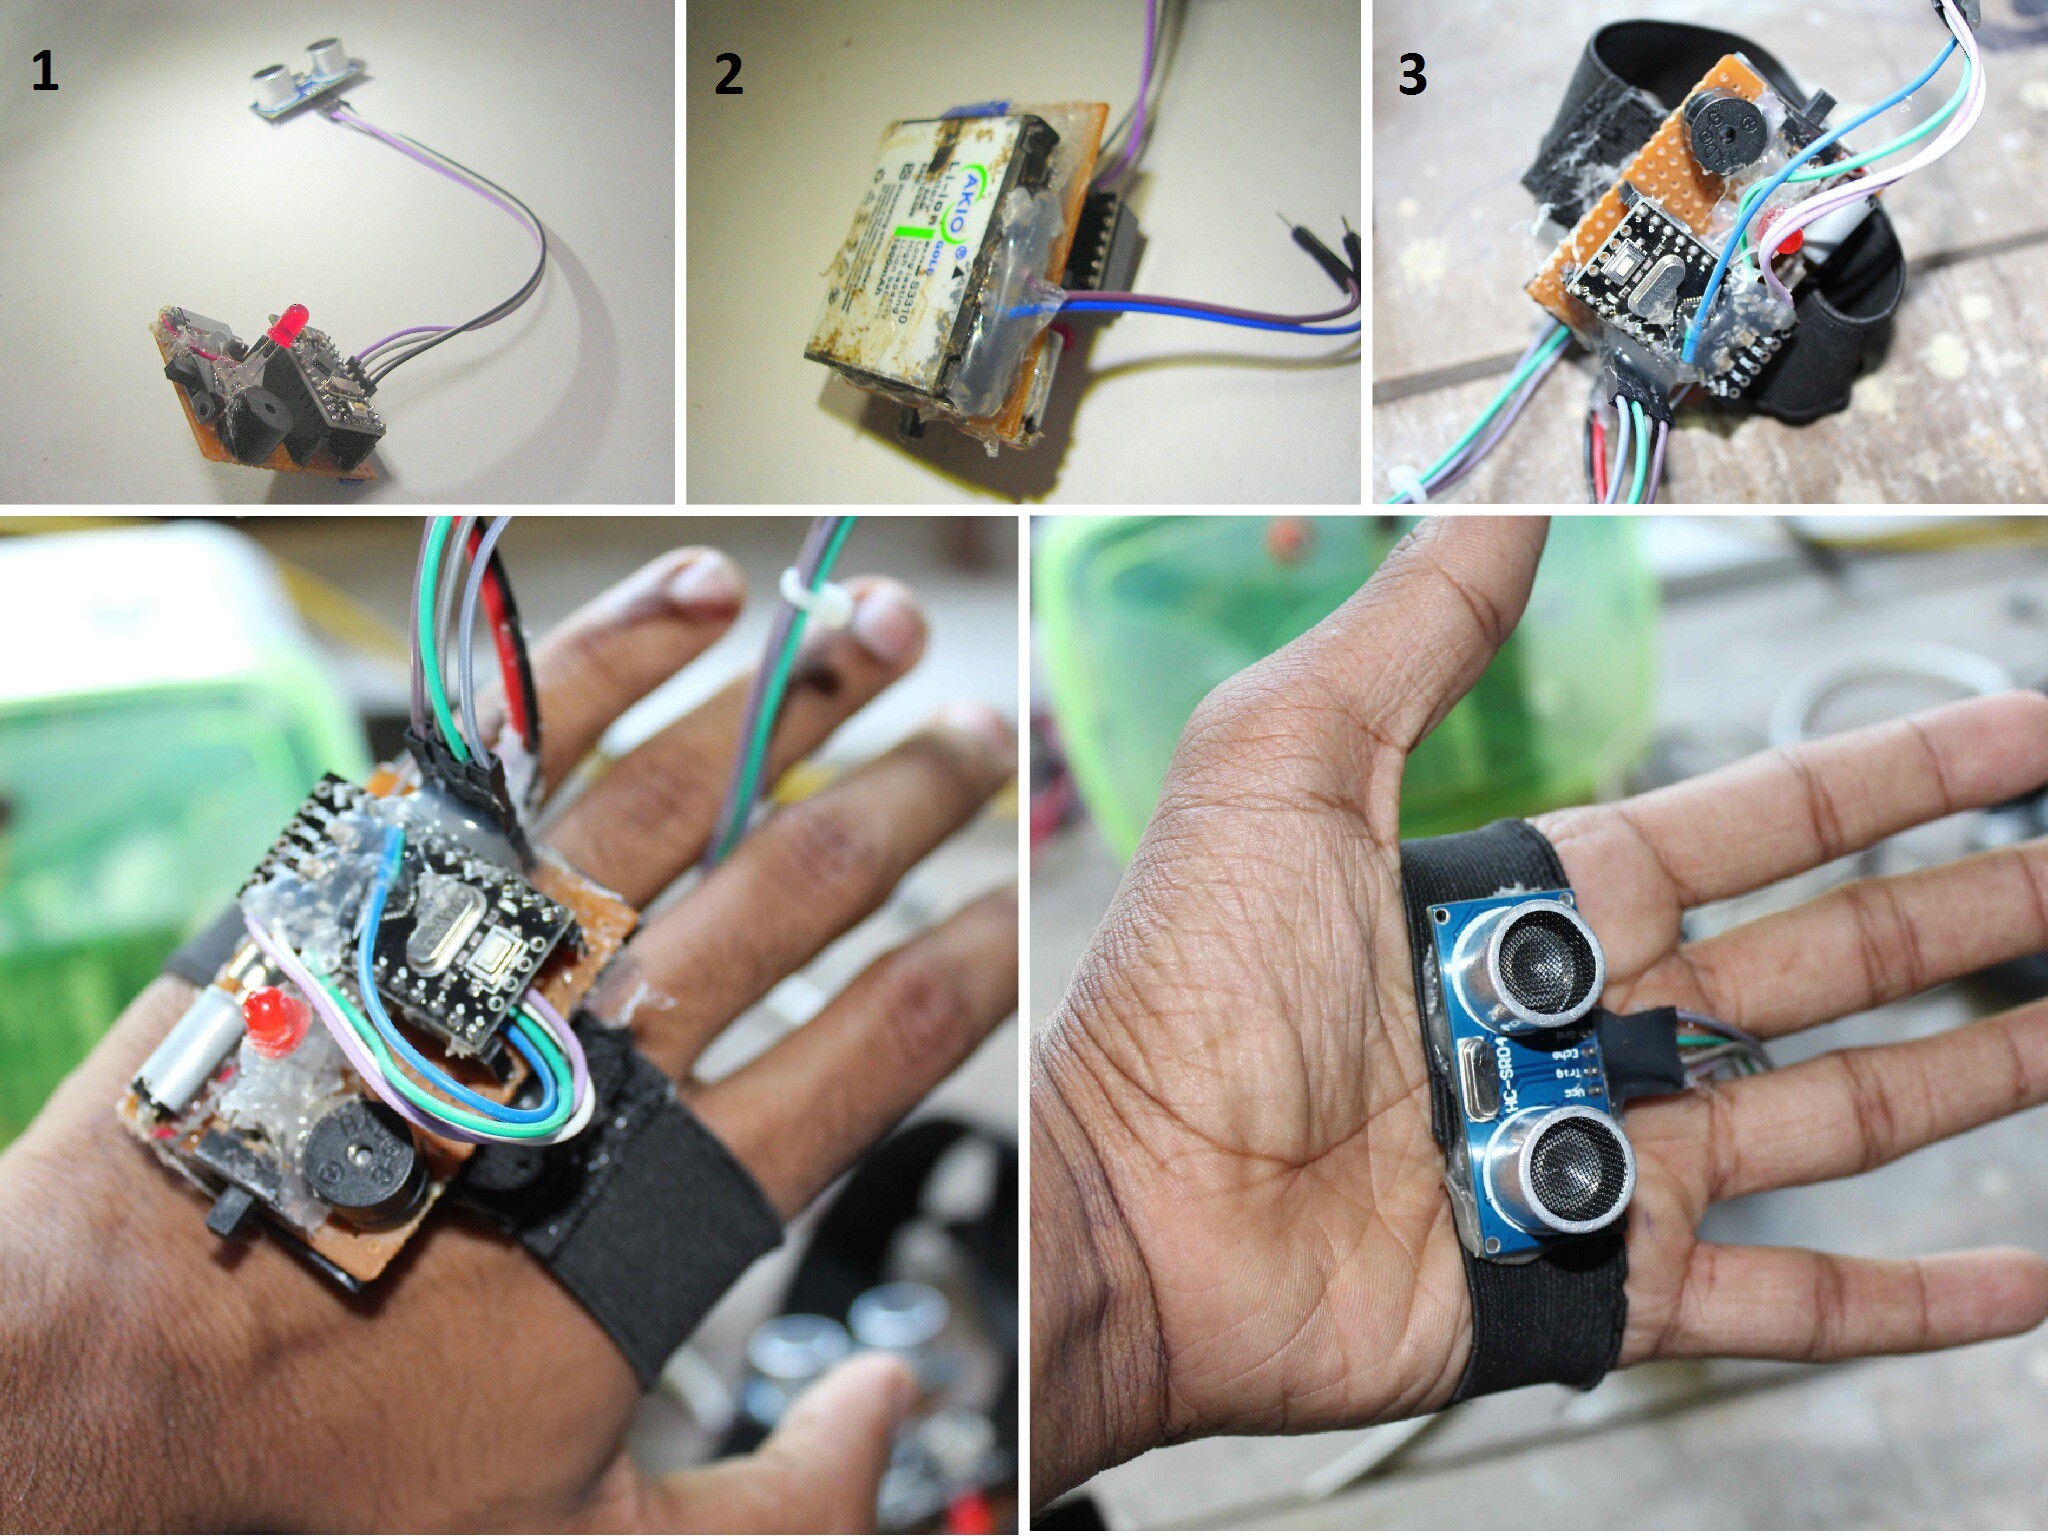
I have designed a special wearable device based on the arduino board which can be worn like a cloth for blinds. This device is equipped with five ultrasonic sensors, consisting of five modules which are connected to the different parts of the body. Among them, two for both shoulder, another two for both knees and one for the hand. Using the five ultrasonic sensors, blind can detect the objects in a five dimensional view around them and can easily travel anywhere. When the ultrasonic sensor detects obstacle the device will notify the user through vibrations and sound beeps. The intensity of vibration and rate of beeping increases with decrease in distance and this is a fully automated device.
Feature improvements
The entire project can be made in the form of jacket, so that the device doesn't need to be wear one by one. Use of specially designed boards instead of arduino and high quality ultrasonic sensors makes faster response which make the device capable of working in crowded.

 bsutton
 Ben Simms
congrats, this is a simple device and so affordable, yet with considerable potential to help those in need.