 CAVEDU
This topic is going to show you how to setup Microsoft Azure IoT environment on DFRobot Lattepanda Windows SBC, including:
- Download related files
- Install Visual Studio 2015
- Configure Azure portal and Storage account
STEP 0: parts list
STEP 1: Download related files
Please download files below from Github: https://github.com/Azure/azure-iot-sdk-node. You can download the .zip file directly or operate by git client. Git operation is as below.
Next, we are going to configure Microsoft Azure IoT SDK for Node.js (of course you can use C# to develop Azure applications, we’ll discover it in later topics). Please follow the steps below:

Install Node.js from here: http://nodejs.org/. Please check Node.js version in Windows cmd (window+ r,then input cmd). We need at least 0.12.x here:
node --version
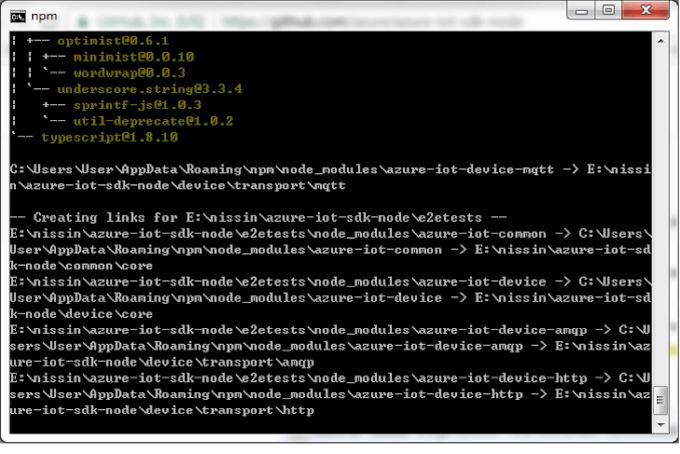
Type node under cmd to enter into Node.js command prompt, switch to the unzipped file folder, azure-iot-sdks/node, from github. Please type build\dev-setup.cmd to start setup. Or double-click the dev-setup.cmd, like below:

STEP 2: Configure Microsoft Azure IoT Hub
Next you will know how to create an IoT hub in your Azure account. Your device can communicate with Azure IoT hub after all the configurations’ done.
Create an IoT hub
Please create an IoT hub for your device (LattePanda or other connected device) under Azure Portal (you must have an account first).
1. Log in Azure Portal, please sign up one if you don’t have an account yet.
2. Click left-top [+ New] -> Internet of Things, find Azure IoT Hub on the right side.

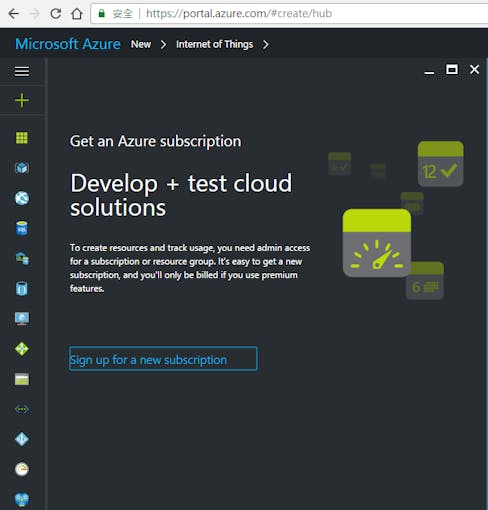
3. Next we need to add a new subscription, please click Free Trial for one-month free usage. You can of course upgrade to other paid tier. Notice: You still have to provide your phone number and credit card information to finish Free trial registration.

4. Please finish the related fields in New IoT Hub, * means required fields:
- Name: Give your IoT hub a name! System will tell you if your name is available by a green check sign.
- Pricing and scale tier: Here we use S1 - Standard as default.
- Resource group: you can establish new resource group or choose existed ones. More information please refer to Using resource groups to manage your Azure resources.
- Location: Choose where you are.
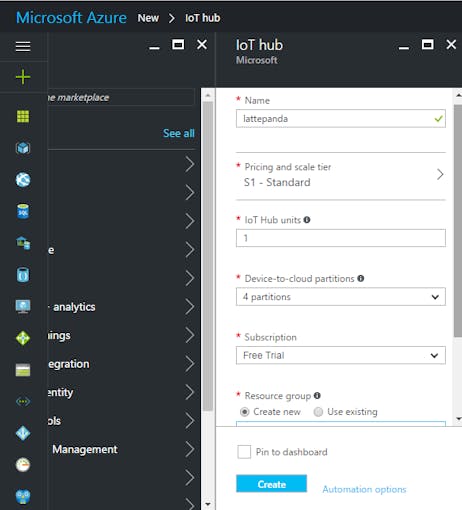
5. Click Create after all fields are filled out. Please wait a while for IoT hub completion. You can see this IoT hub at your Azure portal and feel free to modify position of the components.

6. Click IoT hub when it has created, note down the right-top hostname URL (lattepanda.azure-devices.net in the figure below). After, please click Shared access policies in the left menu.
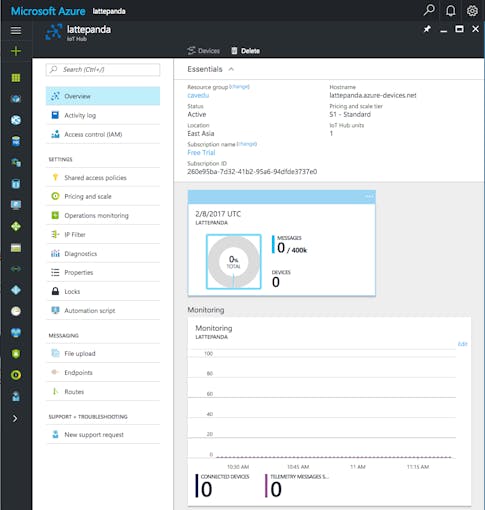
7. Choose iothubowner in Shared access policy (means we need privileges like registry write, service connect and device connect). And note the Connection string (HostName=lattepanda.azure-devices.net;SharedAccessKeyName=iothubowner;SharedAccessKey=OOOXXX ) on the right hand side for later use.
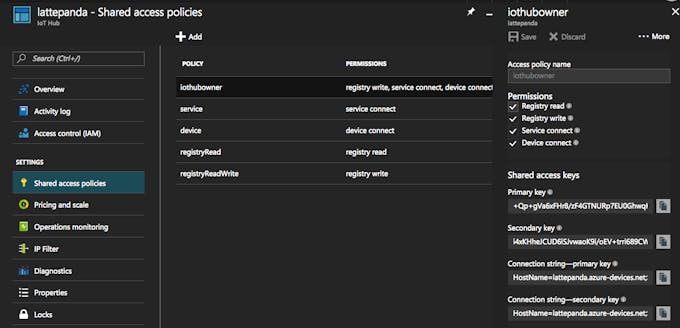
IoT hub is ready now. External applications like iothub-explorer or Device Explorer can take advantage of the connection string to do certain operation, such as create new device in IoT hub.
STEP 3: Install Visual Studio
Please install Visual Studio 2015 Community
STEP 4: Setup Azure Storage account
Please register an Azure Storage Account (https://azure.microsoft.com/en-us/documentation/articles/storage-create-storage-account/#create-a-storage-account, credit card registration needed, but you won’t be charged unless you upgrade your account).

Next topic will show you how to upload analog pin status of LattePanda to Azure IoT hub. You can attach passive analog unit like potentiometer, photoresistor or flex sensor.
 Sumit
Sumit
 tdicola
 agm777
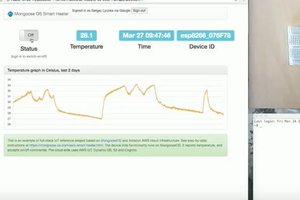
 MongooseOS