0%
0%
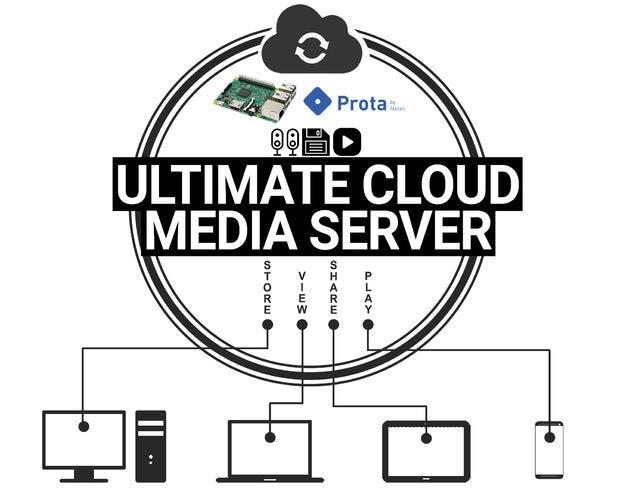
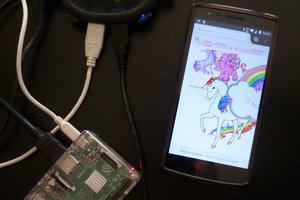
[NO CODE] Ultimate Cloud Media Server
Transform your external hard drive into a cloud server with your Raspberry Pi. Let your family share and upload files. Connect your speakers
 NaranInc
Become a Hackaday.io member
Already have an account? Log in.
Just one more thing
To make the experience fit your profile, pick a username and tell us what interests you.
Pick an awesome username
hackaday.io/
Your profile's URL: hackaday.io/username. Max 25 alphanumeric characters.
Pick a few interests
Projects that share your interests
People that share your interests


 kaltini
 Grégory Paul
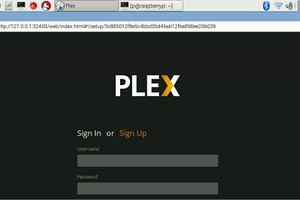
 Dmitry
With File Explorer, you can organize your files and folders in a way that suits your needs. You can create new folders, move or copy files between folders https://cxfileexplorerapk.net/, and rename files or folders to maintain a well-structured file system. This helps in finding and managing files more efficiently.