Morning.Star
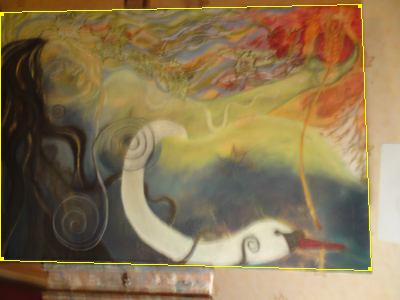
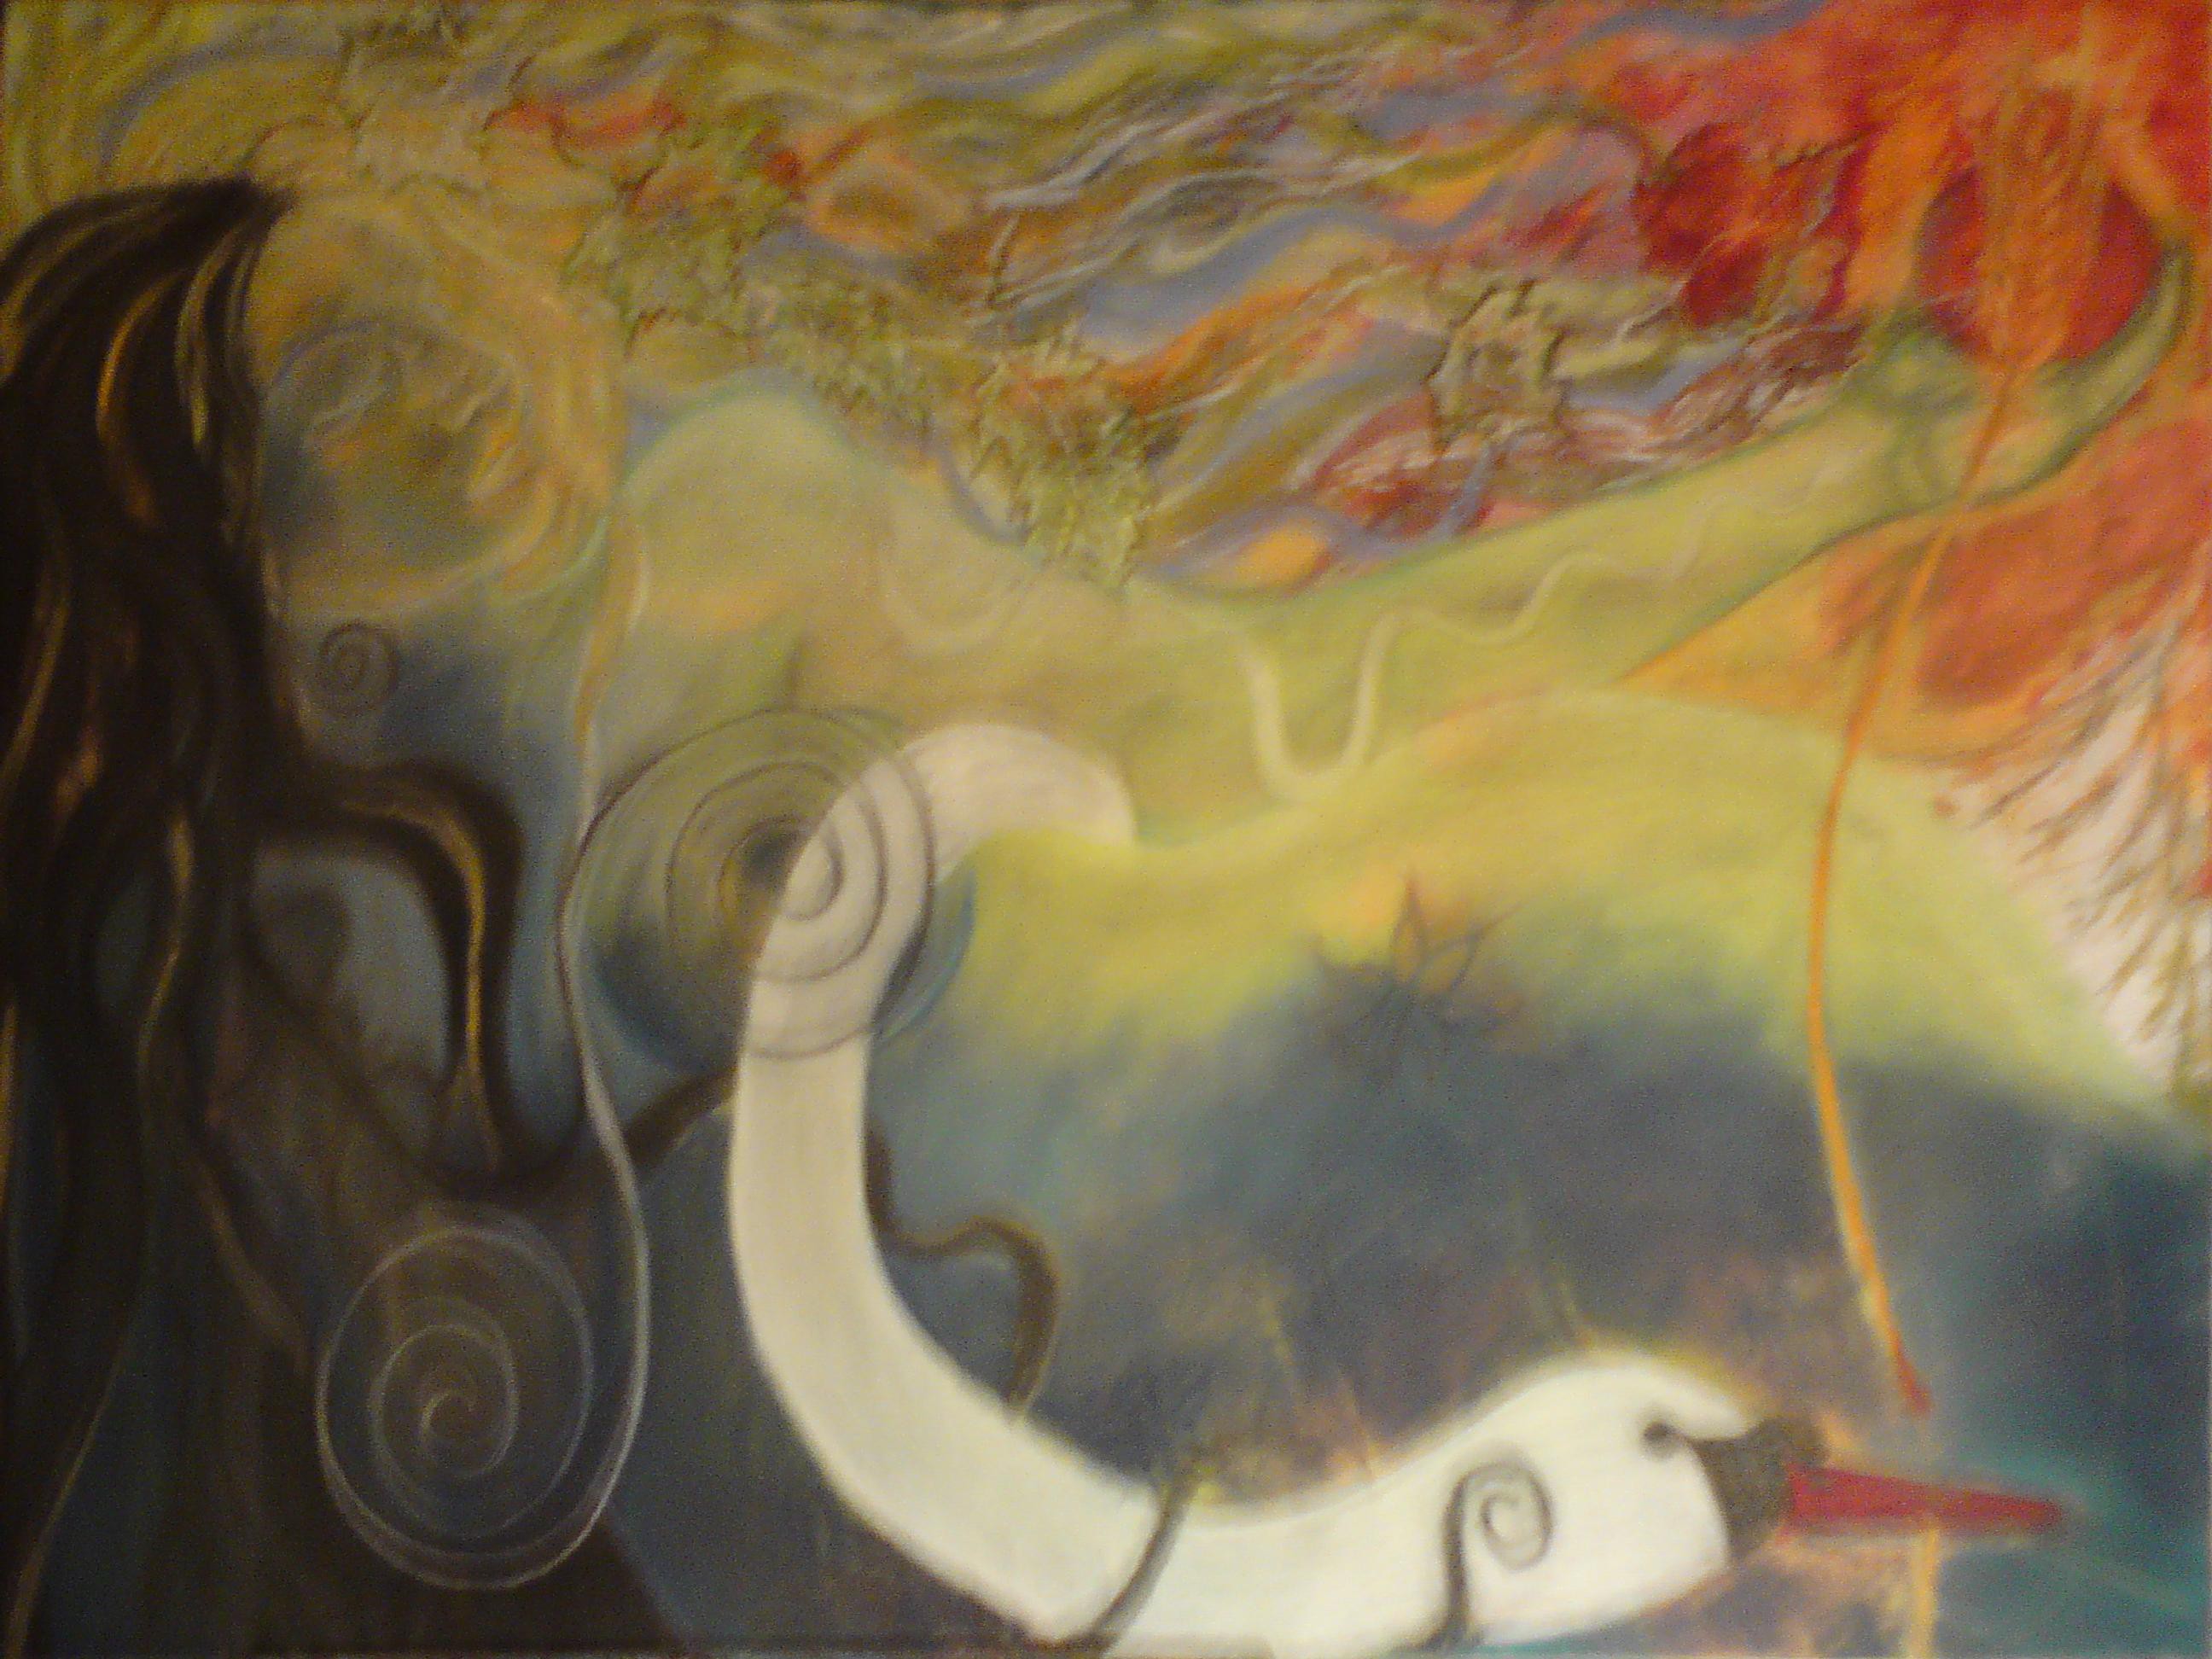
The sample images in the project are the work and copyright of Birdy...
When Tweety is run, it opens a dialog allowing you to to load an image. You can do this at any time with the Load Image button.
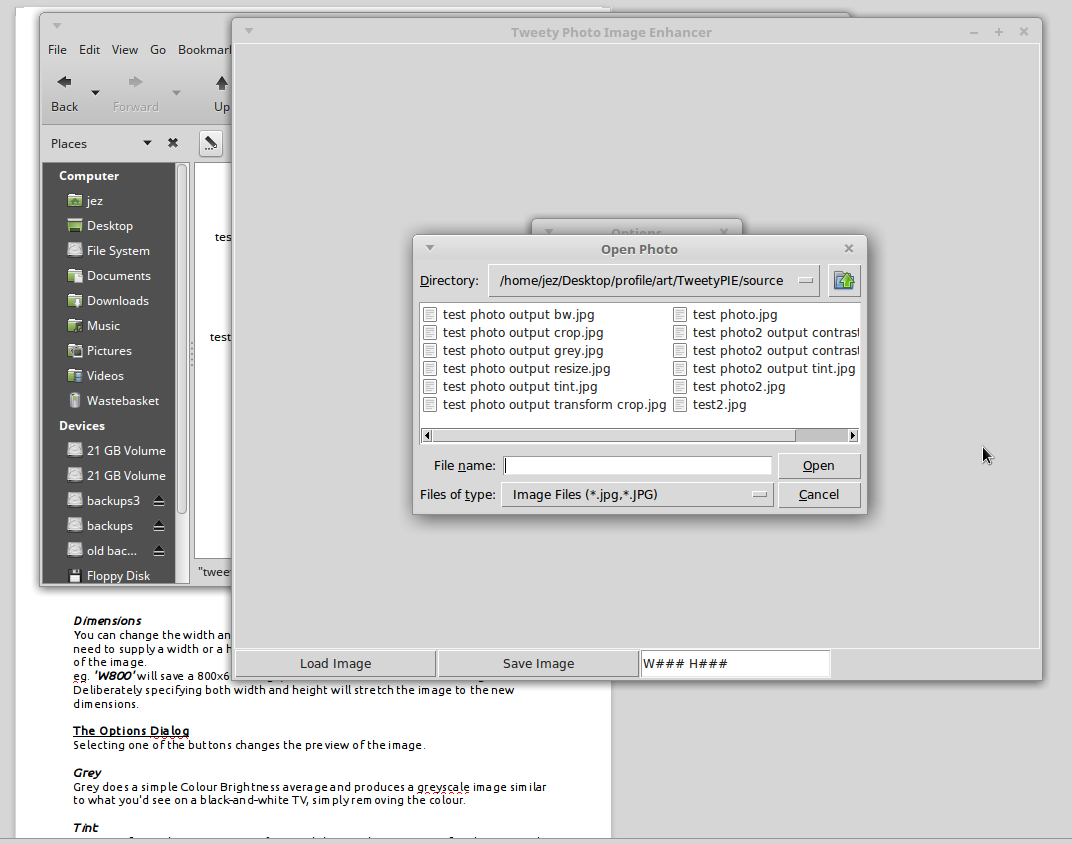
The display shows a preview of what Tweety will do when you click Save Image, and the Dimensions field shows its width and height in Pixels.
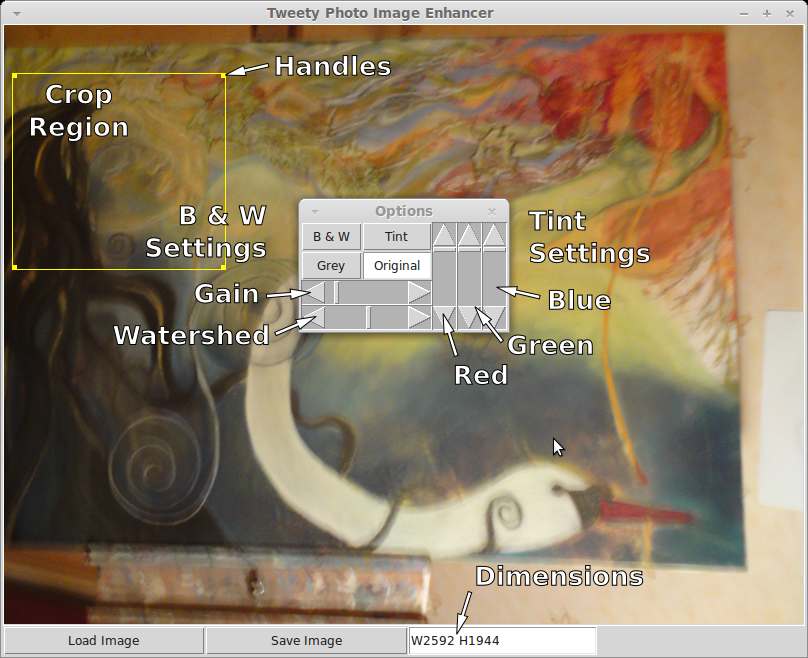
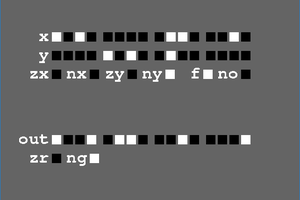
Tweety's main interface
Dimensions
You can change the width and/or height to save the image at the new size. You only need to supply a width or a height, as Tweety computes them to keep the Aspect Ratio of the image.
eg. 'W800' will save a 800x600 image, or 'H768' will save a 1024x768 image.
Deliberately specifying both width and height will stretch the image to the new dimensions.
The Options Dialog
Selecting one of the buttons changes the preview of the image.
Grey
Grey does a simple Colour Brightness average and produces a greyscale image similar to what you'd see on a black-and-white TV, simply removing the colour.
Tint
Tint transforms the image to Grey first, and then applies amounts of Red, Green and Blue from the sliders to apply a colour change like a coloured transparency over it. Bottoming out all the sliders will result in a black image.
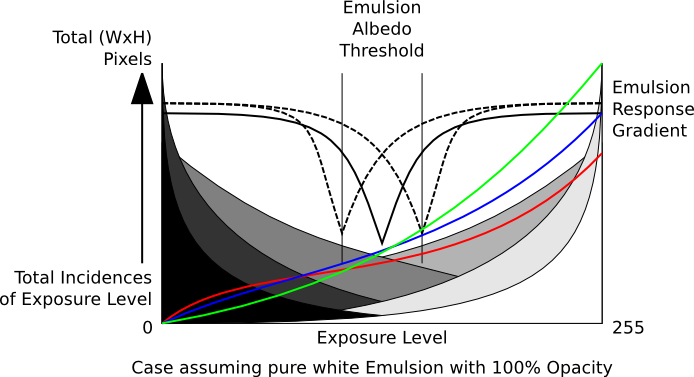
B & W
B & W uses a formula to calculate how much white light would fall on a theoretical monochromatic photo plate at any point. It compensates for the green-red bias and computes the exposure level controlled by the Gain slider.
A Gain of 1 provides an equivalent to a Grey image when the Watershed slider is in the middle.
Watershed is the point at which a part of the image will either expose the emulsion or not, in effect describing the darkest colour that would show up on the photo, and is set to 50% Black as standard.
Original
Simply shows the original unmodified image.
Crop Region
Crop Region saves just that part of the image to a picture with the dimensions specified.
The Crop Region can also be used to deform all or part of an image.
Holding the CTRL, Shift or Alt keys while dragging a handle allows that handle to move freely to make a polygon instead of a rectangle. If for example the image contains a plane surface that has been photographed from an angle, the Crop Region can correct the Parallax Distortion and produce a rectangular picture from the deformed image.
Before
and after processing.
To run Tweety you will need a folder containing at least 'tweety.py' and 'tweetypie', the interface and main code respectively. You will also need a working installation of Python 2.x with Tkinter and the Python Imaging Library. There is a zip file in the downloads with a pre-compiled version for Linux, however it should work on Windows or Mac with a little modification. It uses TKinter to handle the interface.
#!/usr/bin/env python

from PIL import Image as image
from Tkinter import *
import tkFileDialog
from subprocess import Popen,PIPE
from time import sleep
from os import remove

window=Tk()
window.title('Tweety Photo Image Enhancer')

#---------------------------------------------------------------------------------------------------------
# functions
#---------------------------------------------------------------------------------------------------------

def __clickitem(event,src):
  global drag,dragx,dragy
  if src[:6]=='handle':
    i=int(src[6:])
    canvas.itemconfigure(src,fill='#ff0000')
    drag=src; dragx=event.x; dragy=event.y
  if src=='screen':
    for i in range(4):
      canvas.itemconfigure('handle'+str(i),fill='#ffff00')

#---------------------------------------------------------------------------------------------------------

def __unclickitem(event,src):
  global drag,dragx,dragy,cropped,x1,y1,x2,y2,x3,y3,x4,y4
  if drag==src:
    cropped=True
    dx=event.x-dragx;dy=event.y-dragy
    canvas.move(src,dx,dy)
    cc=canvas.coords('cursor')
    x1=canvas.coords('handle0')[0]-3;y1=canvas.coords('handle0')[1]-3
    x2=canvas.coords('handle1')[2]-3;y2=canvas.coords('handle1')[1]-3
    x3=canvas.coords('handle2')[2]-3;y3=canvas.coords('handle2')[3]-3
    x4=canvas.coords('handle3')[0]-3;y4=canvas.coords(...
Read more »
 Hari Wiguna