 Andrew
Note: Original blog post here where you will find most of the code and another set of directions to do the following steps. Have fun!
Putting Rick Together - Day 1
With a couple clicks, Rick the clownfish was at my doorstep in about 24 hours which is fricken' amazing.
I unpacked him in a hurry and took him to the nearest balloon shop. I learned even though helium is the second most common element in the Universe, it's incredibly rare on Earth and is in fact mined underground!
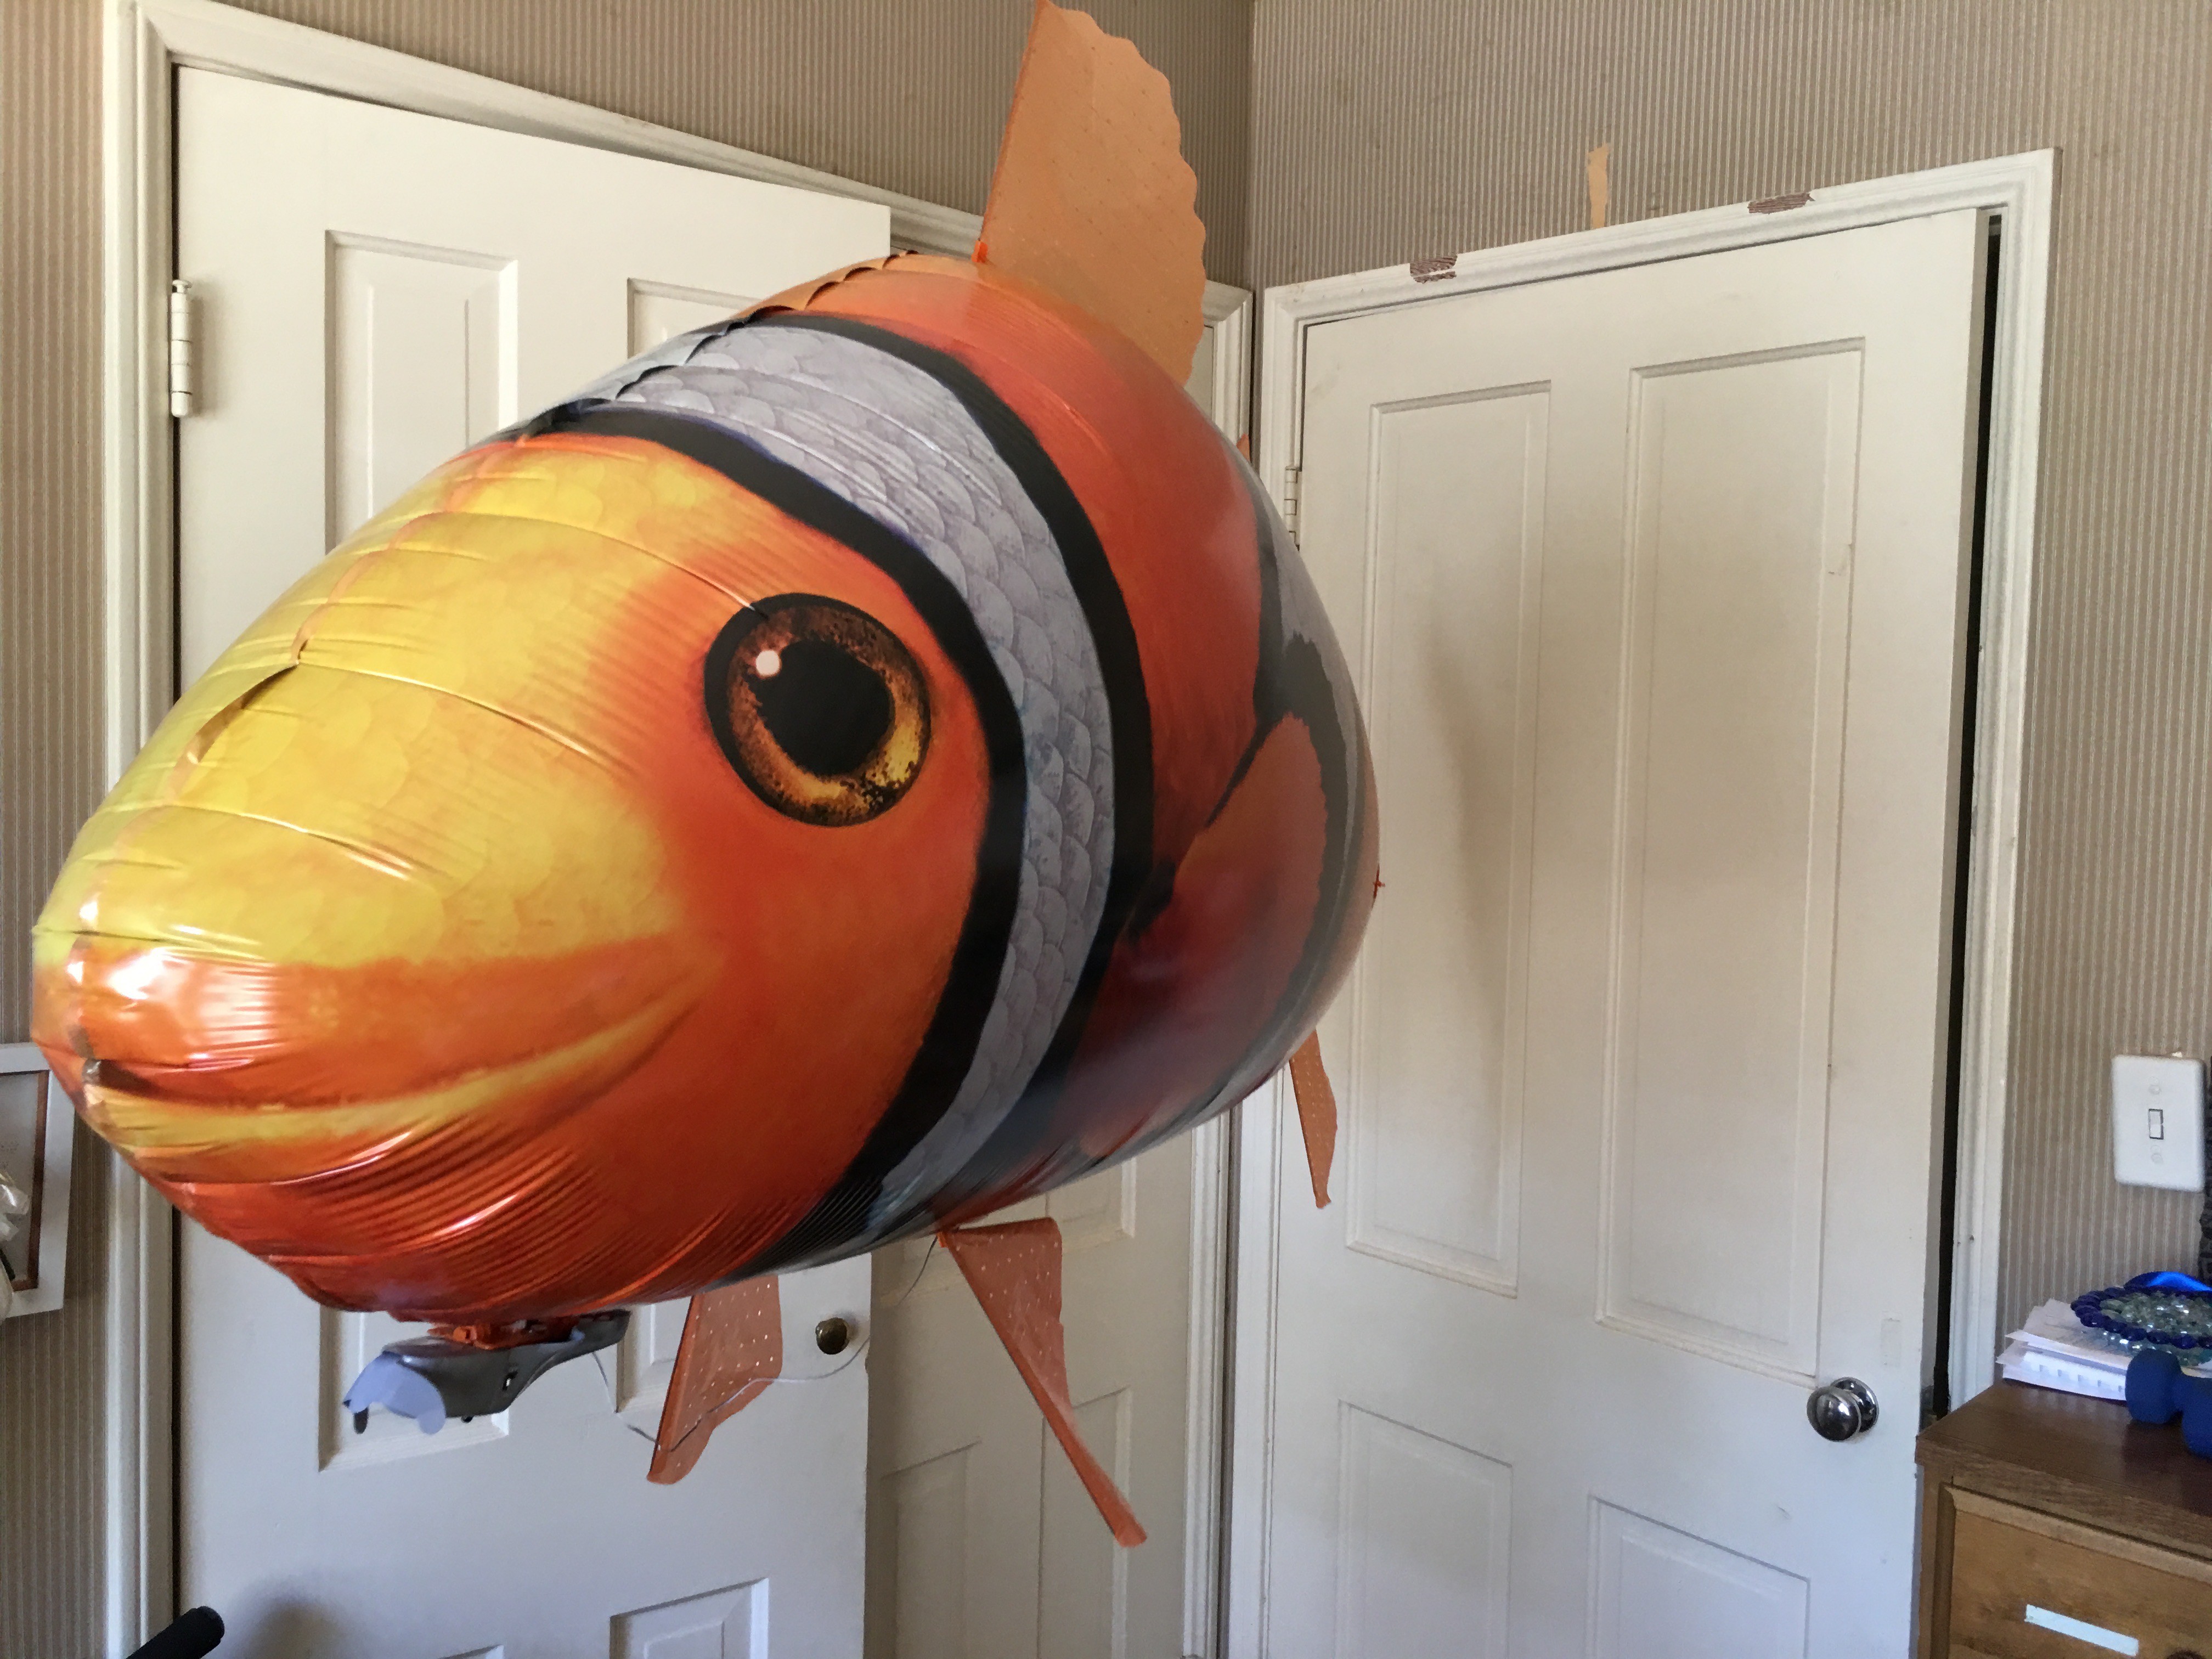
Anyways, somehow I ended up paying $2 dollars to fill a giant clownfish and this is how Rick became the largest clownfish ever to set foot in my room.
It took about 30 minutes to assemble Rick with fins and all. Truthfully, he's well thought out when it comes to left and right thrust, as well as upward and downward motion - definitely still impressed.
Ya gotta love that smile... Good looking clownfish I do say so myself.
Hacking Rick's Central Nervous System - Day 2
As much as I'd like to sit down and hammer out this project in a day, I had to break everything down into small steps.
Thus, welcome to day two where we will understand how Rick moves and then solder our way into controlling his every move.
Step one. Cracking into his nervous system. Rick wasn't too pleased with this step so I had to tie him to a shoe on the other side of the room.
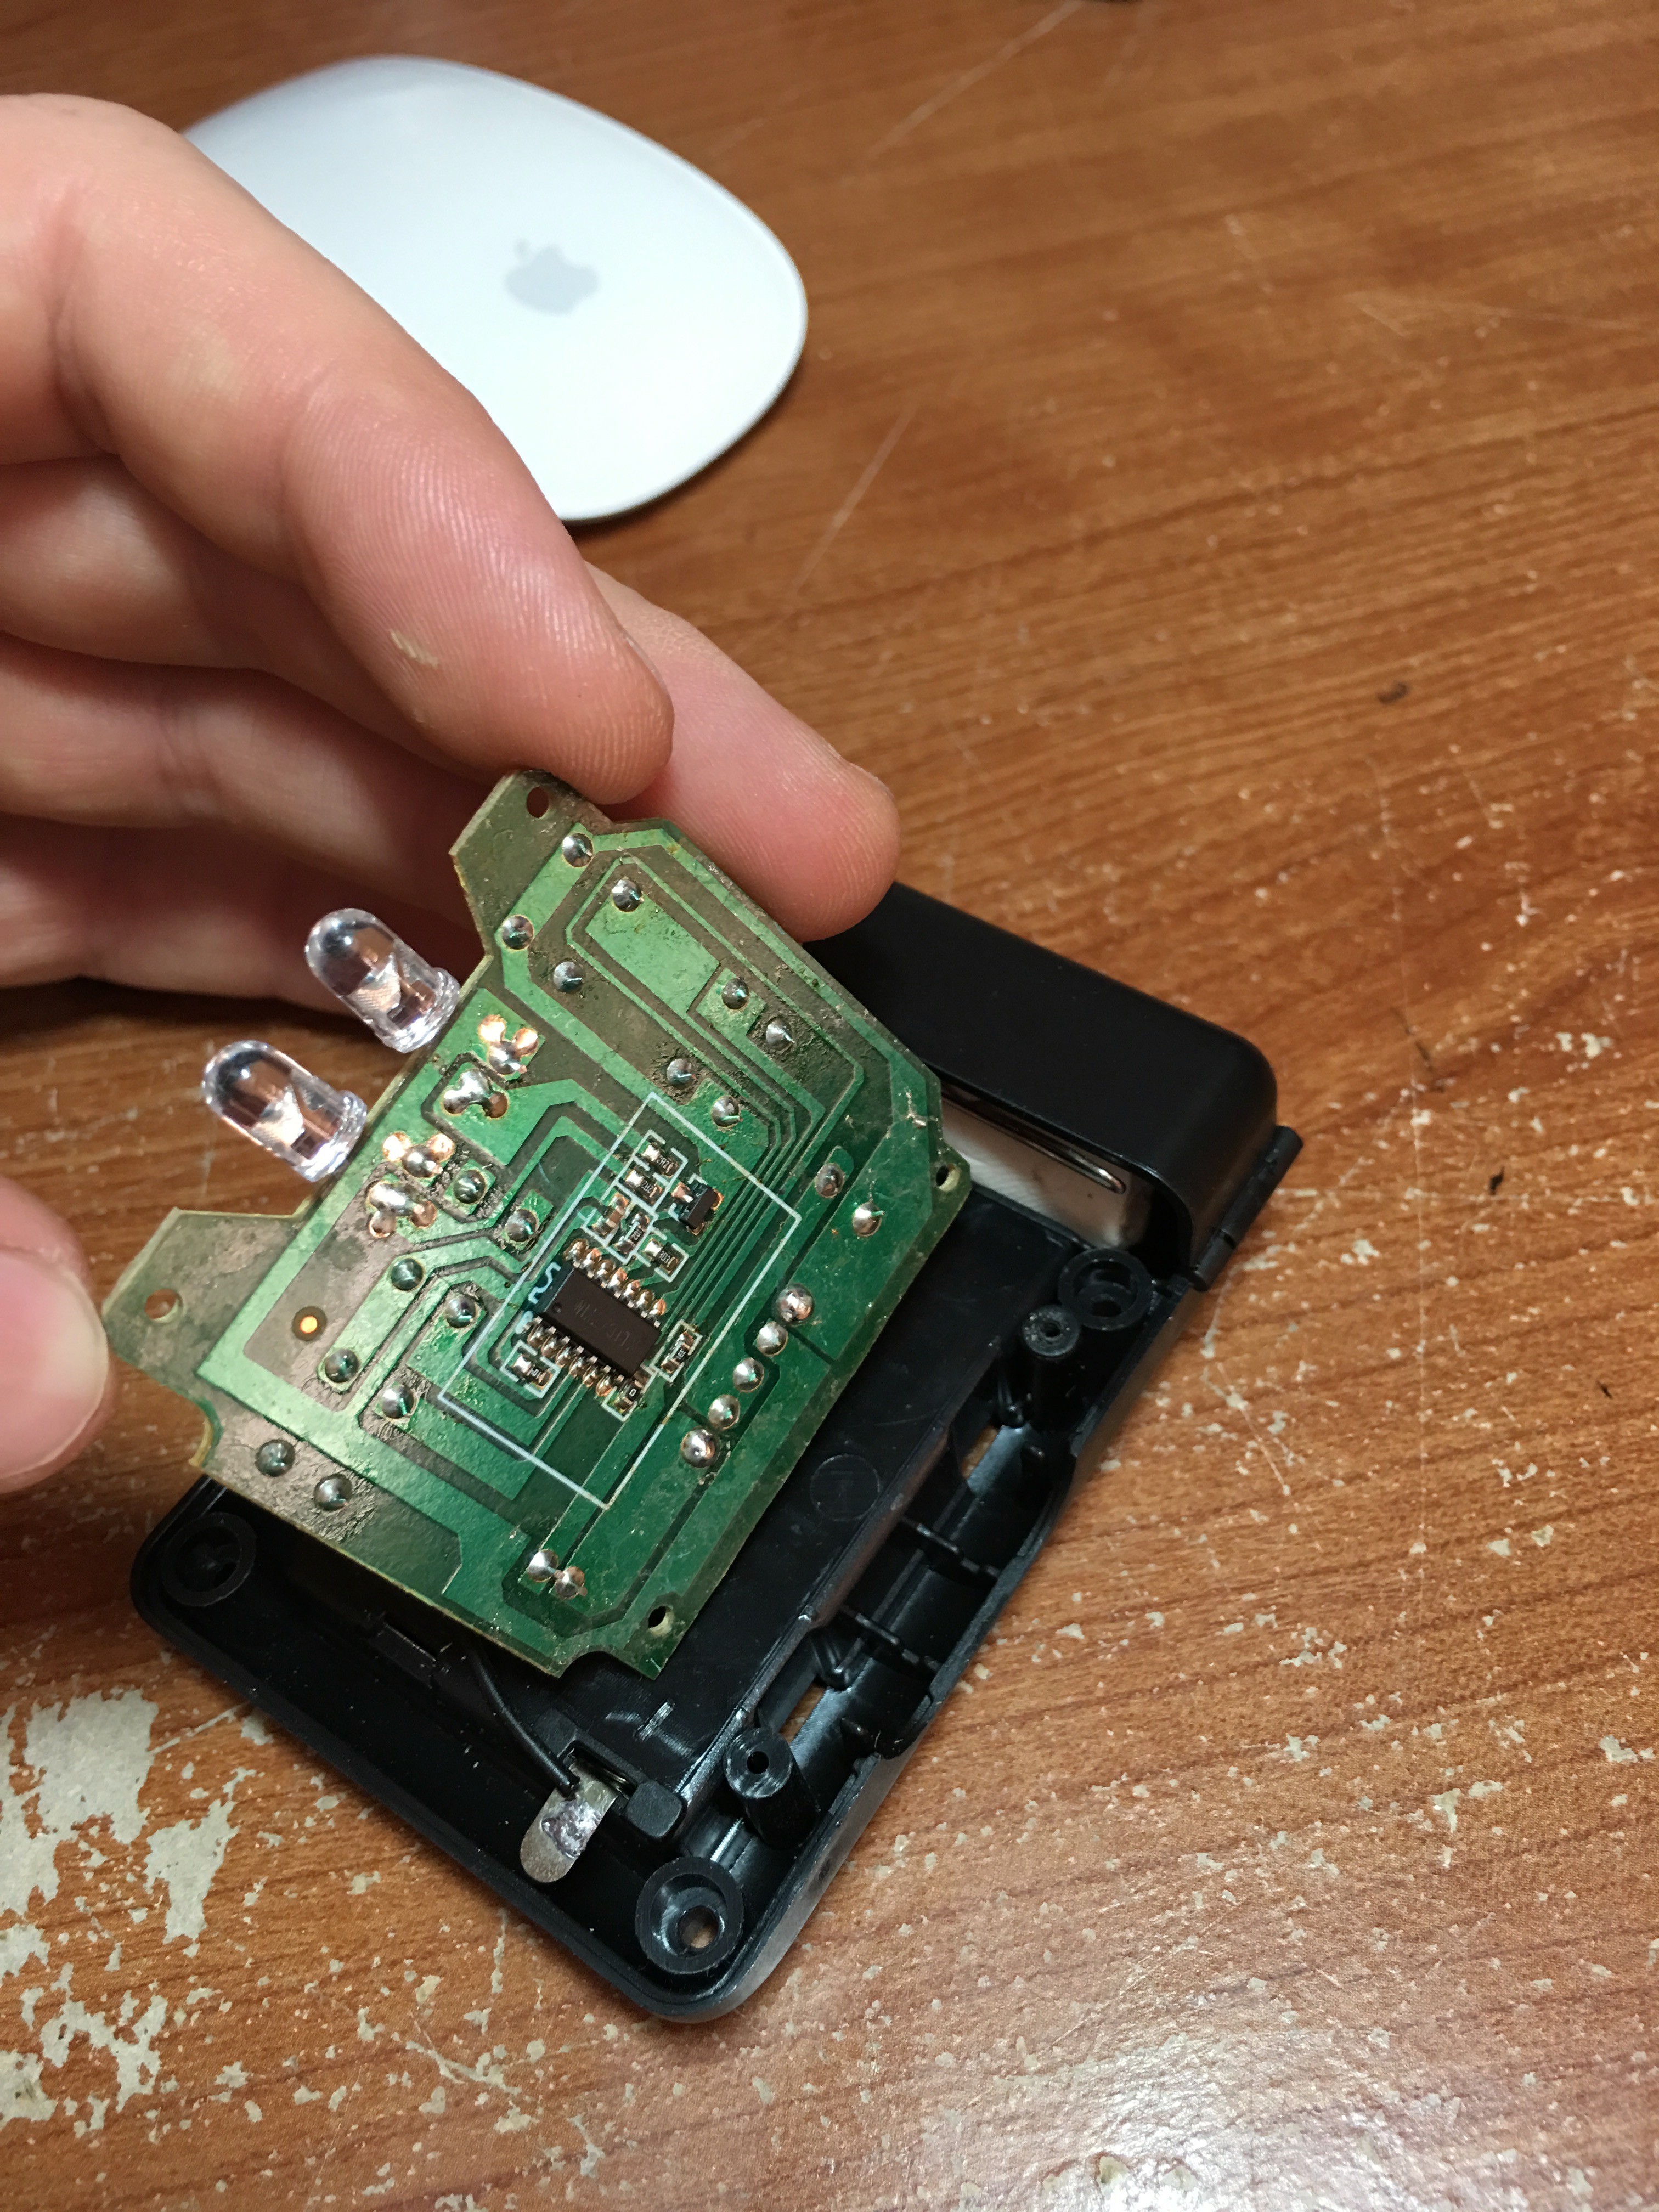
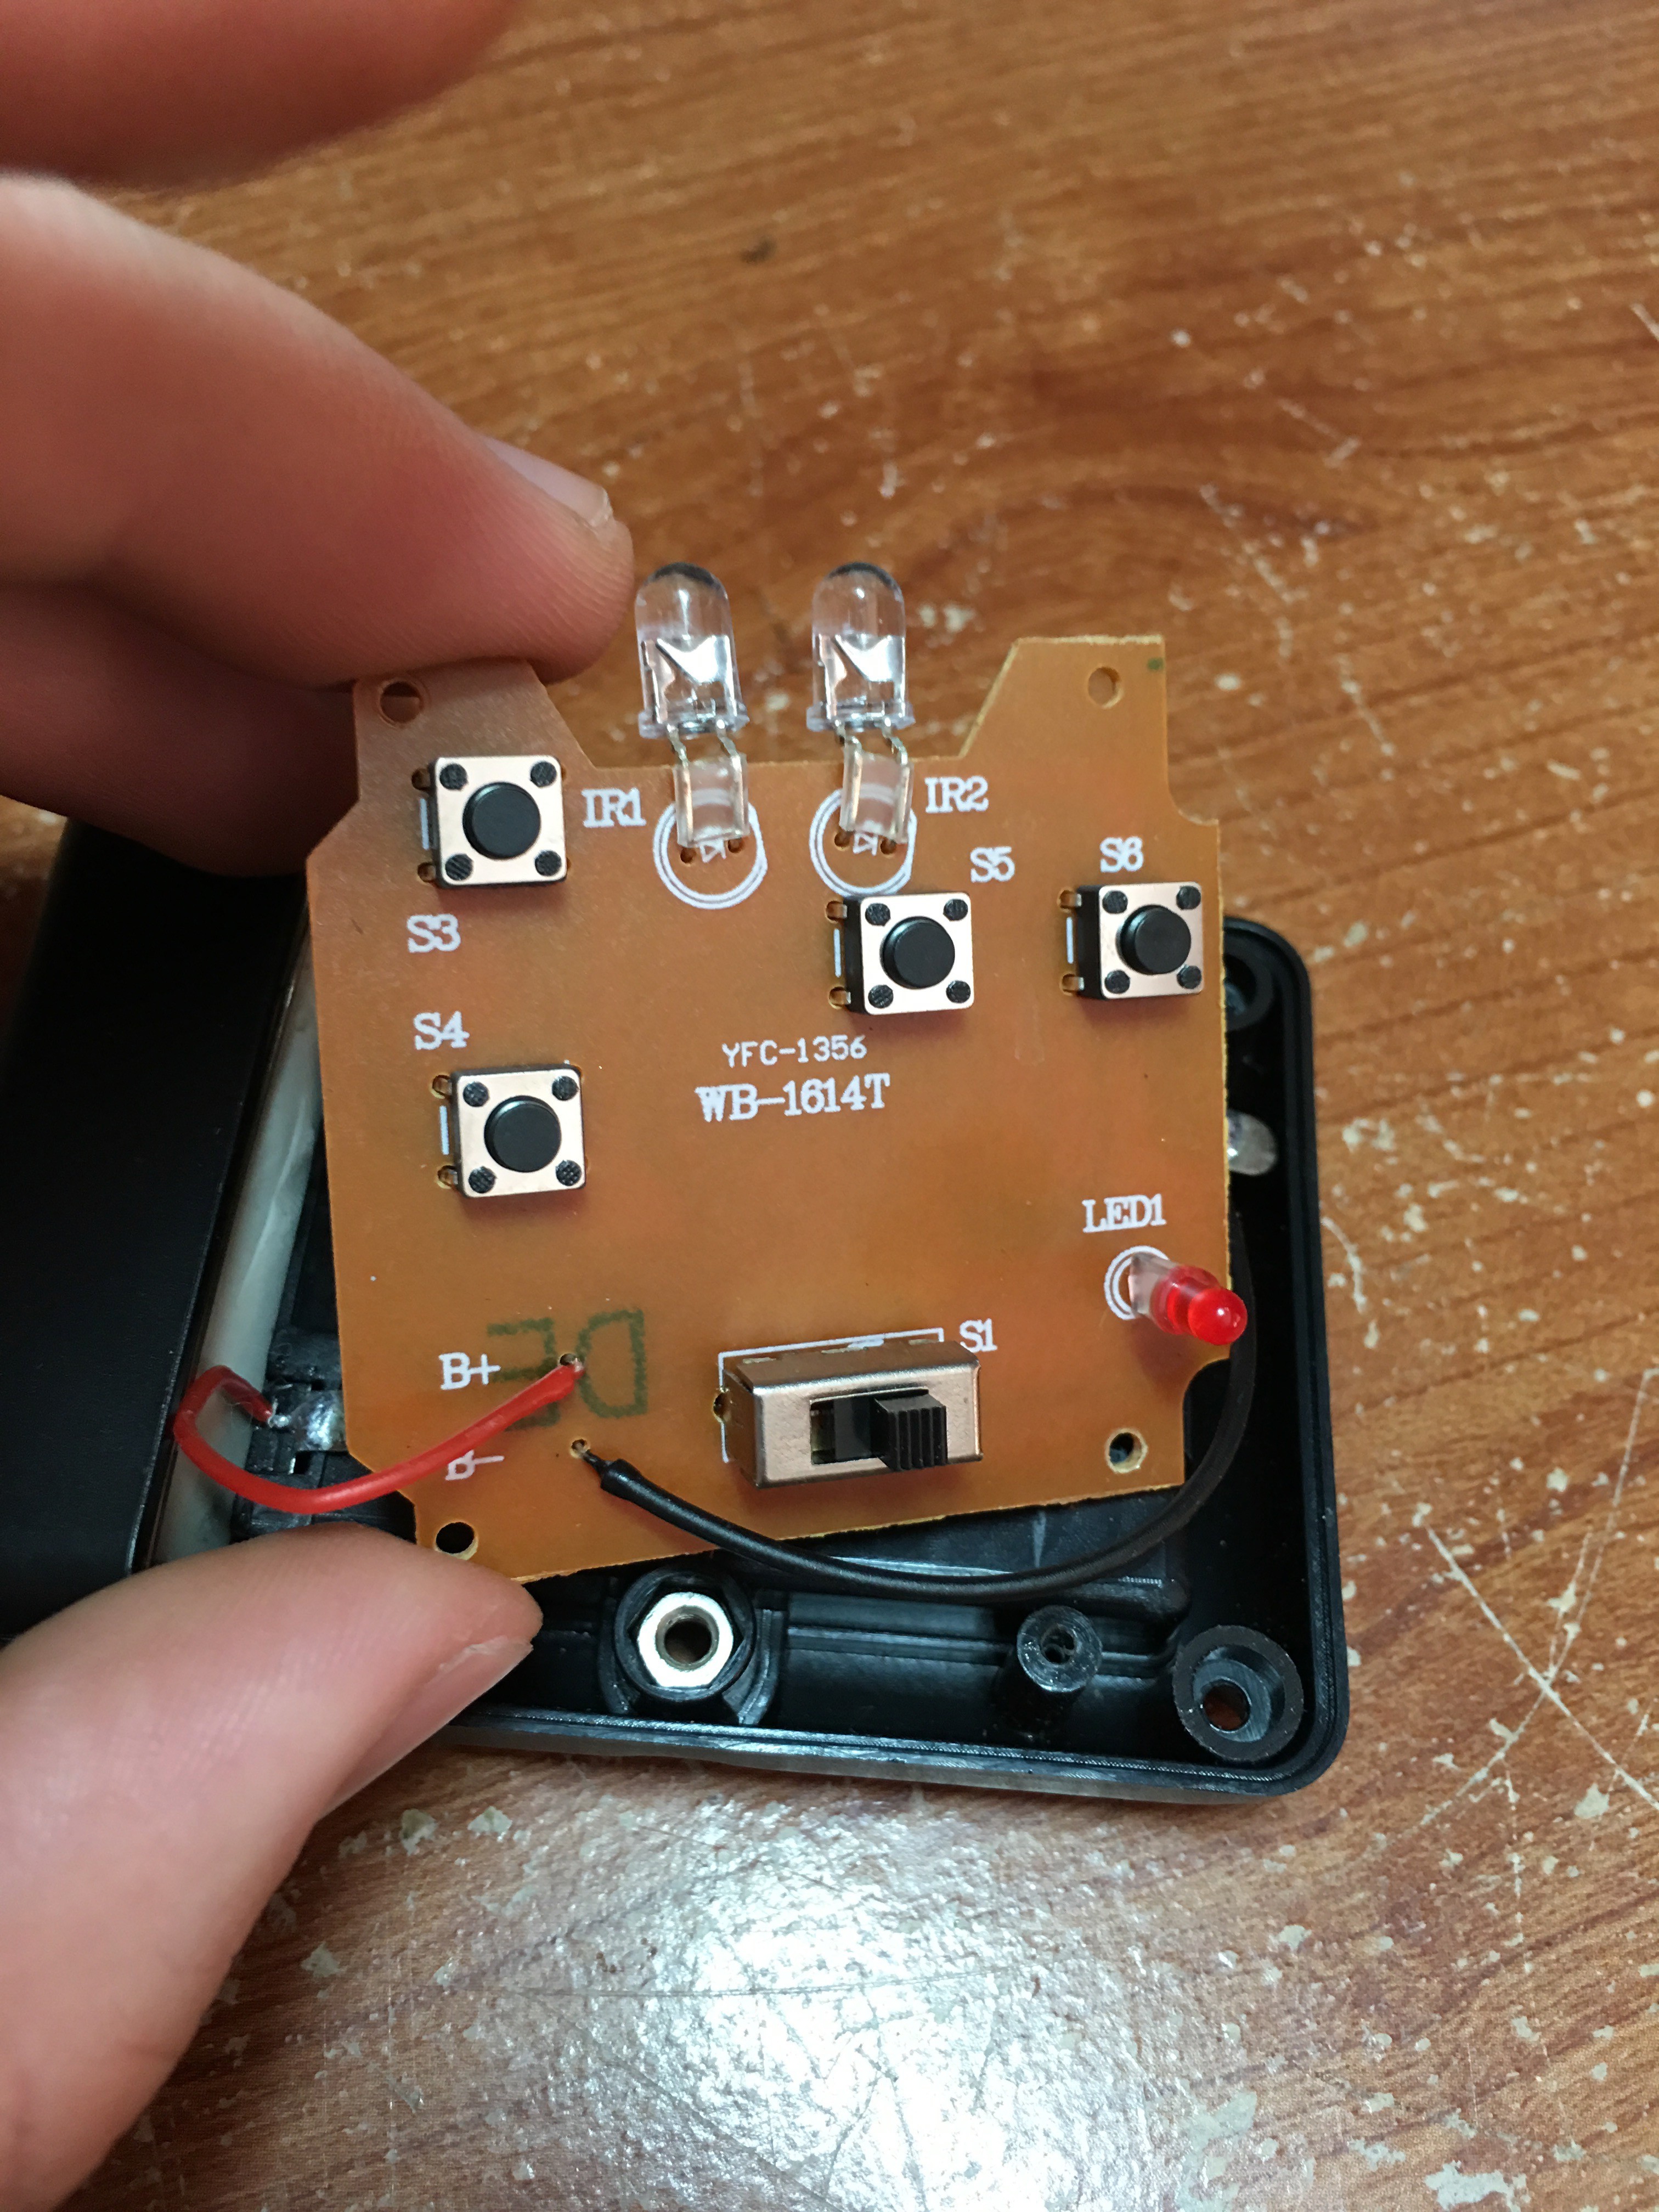
We have here a simple board with push buttons wired to pull one side of a switch down to ground whenever pushed.
Step two. Soldering time.
What we are going to do is solder wires from an Arduino kit to each switch (right, left, up and down).
This will allow our lovely Arduino board to act like a button and pull a switch to ground on command. As a result, we'll be able to send commands to Rick! Rick's still tied to a shoe - he hates it.
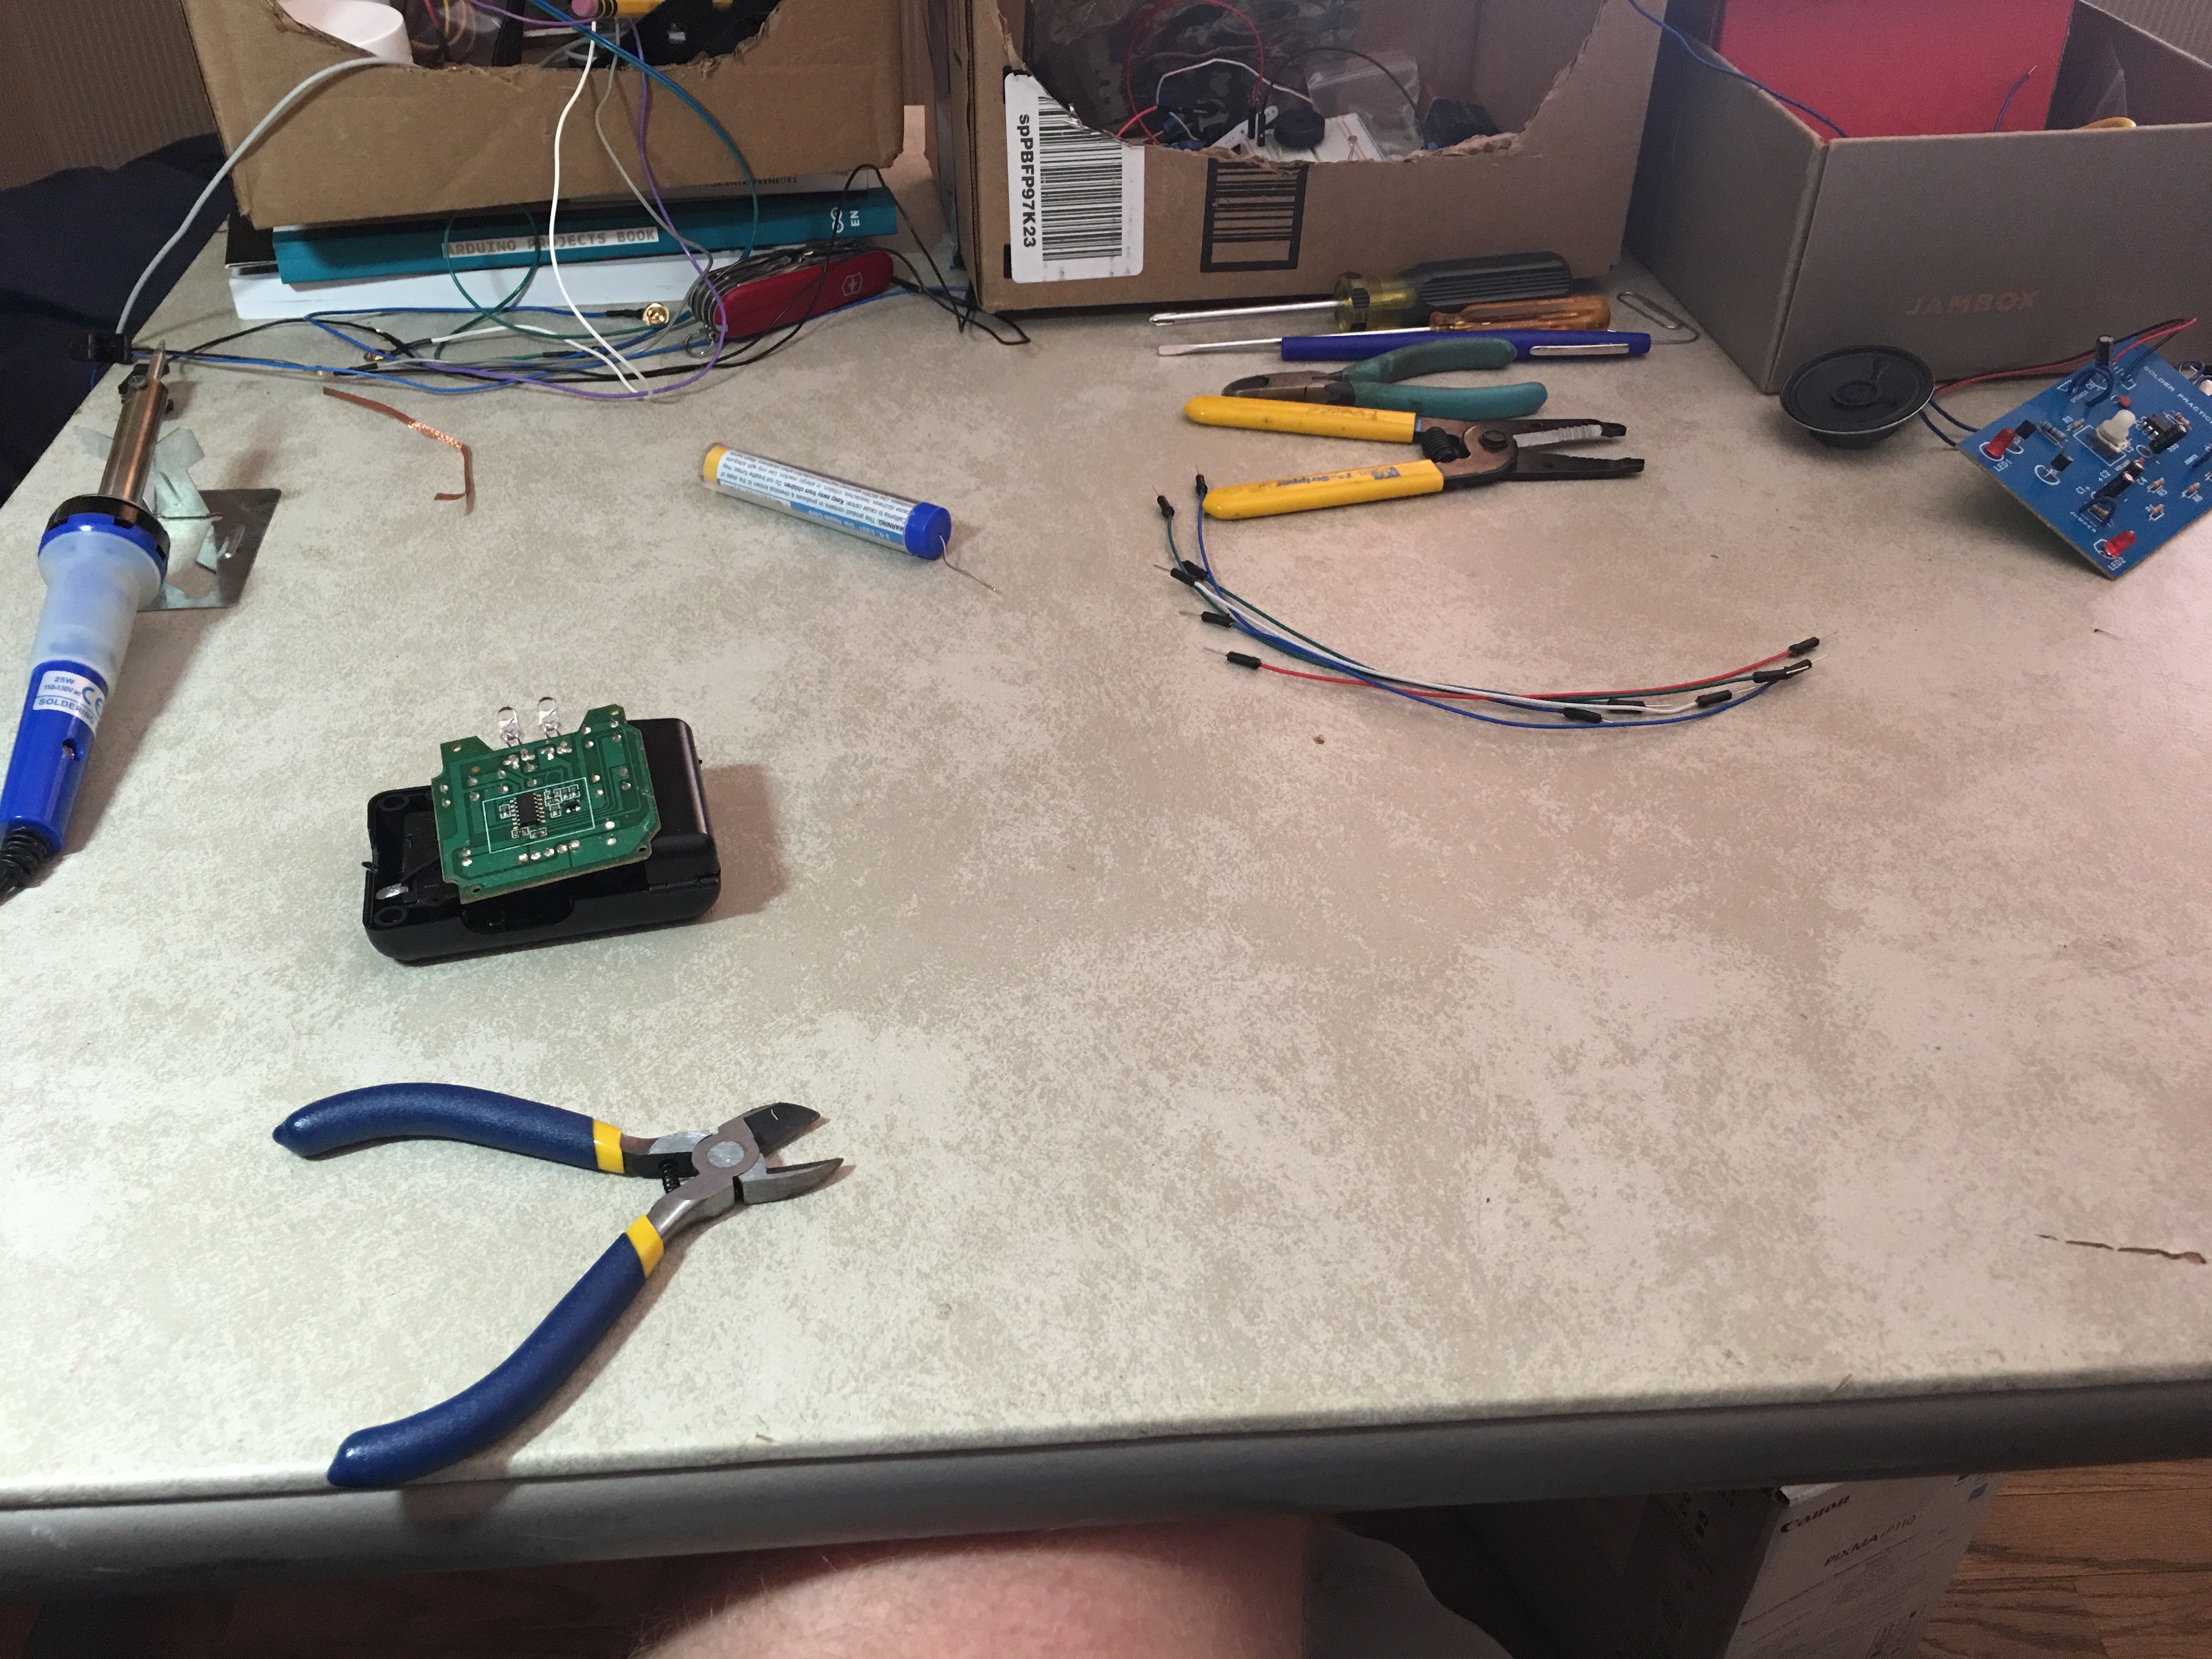
We're going to need some supplies: a soldering iron, solder wick for mistakes, lead free solder for more mistakes and I'm using some wires that came with my Arduino kit. I use a clip to hold the board too, not necessary.
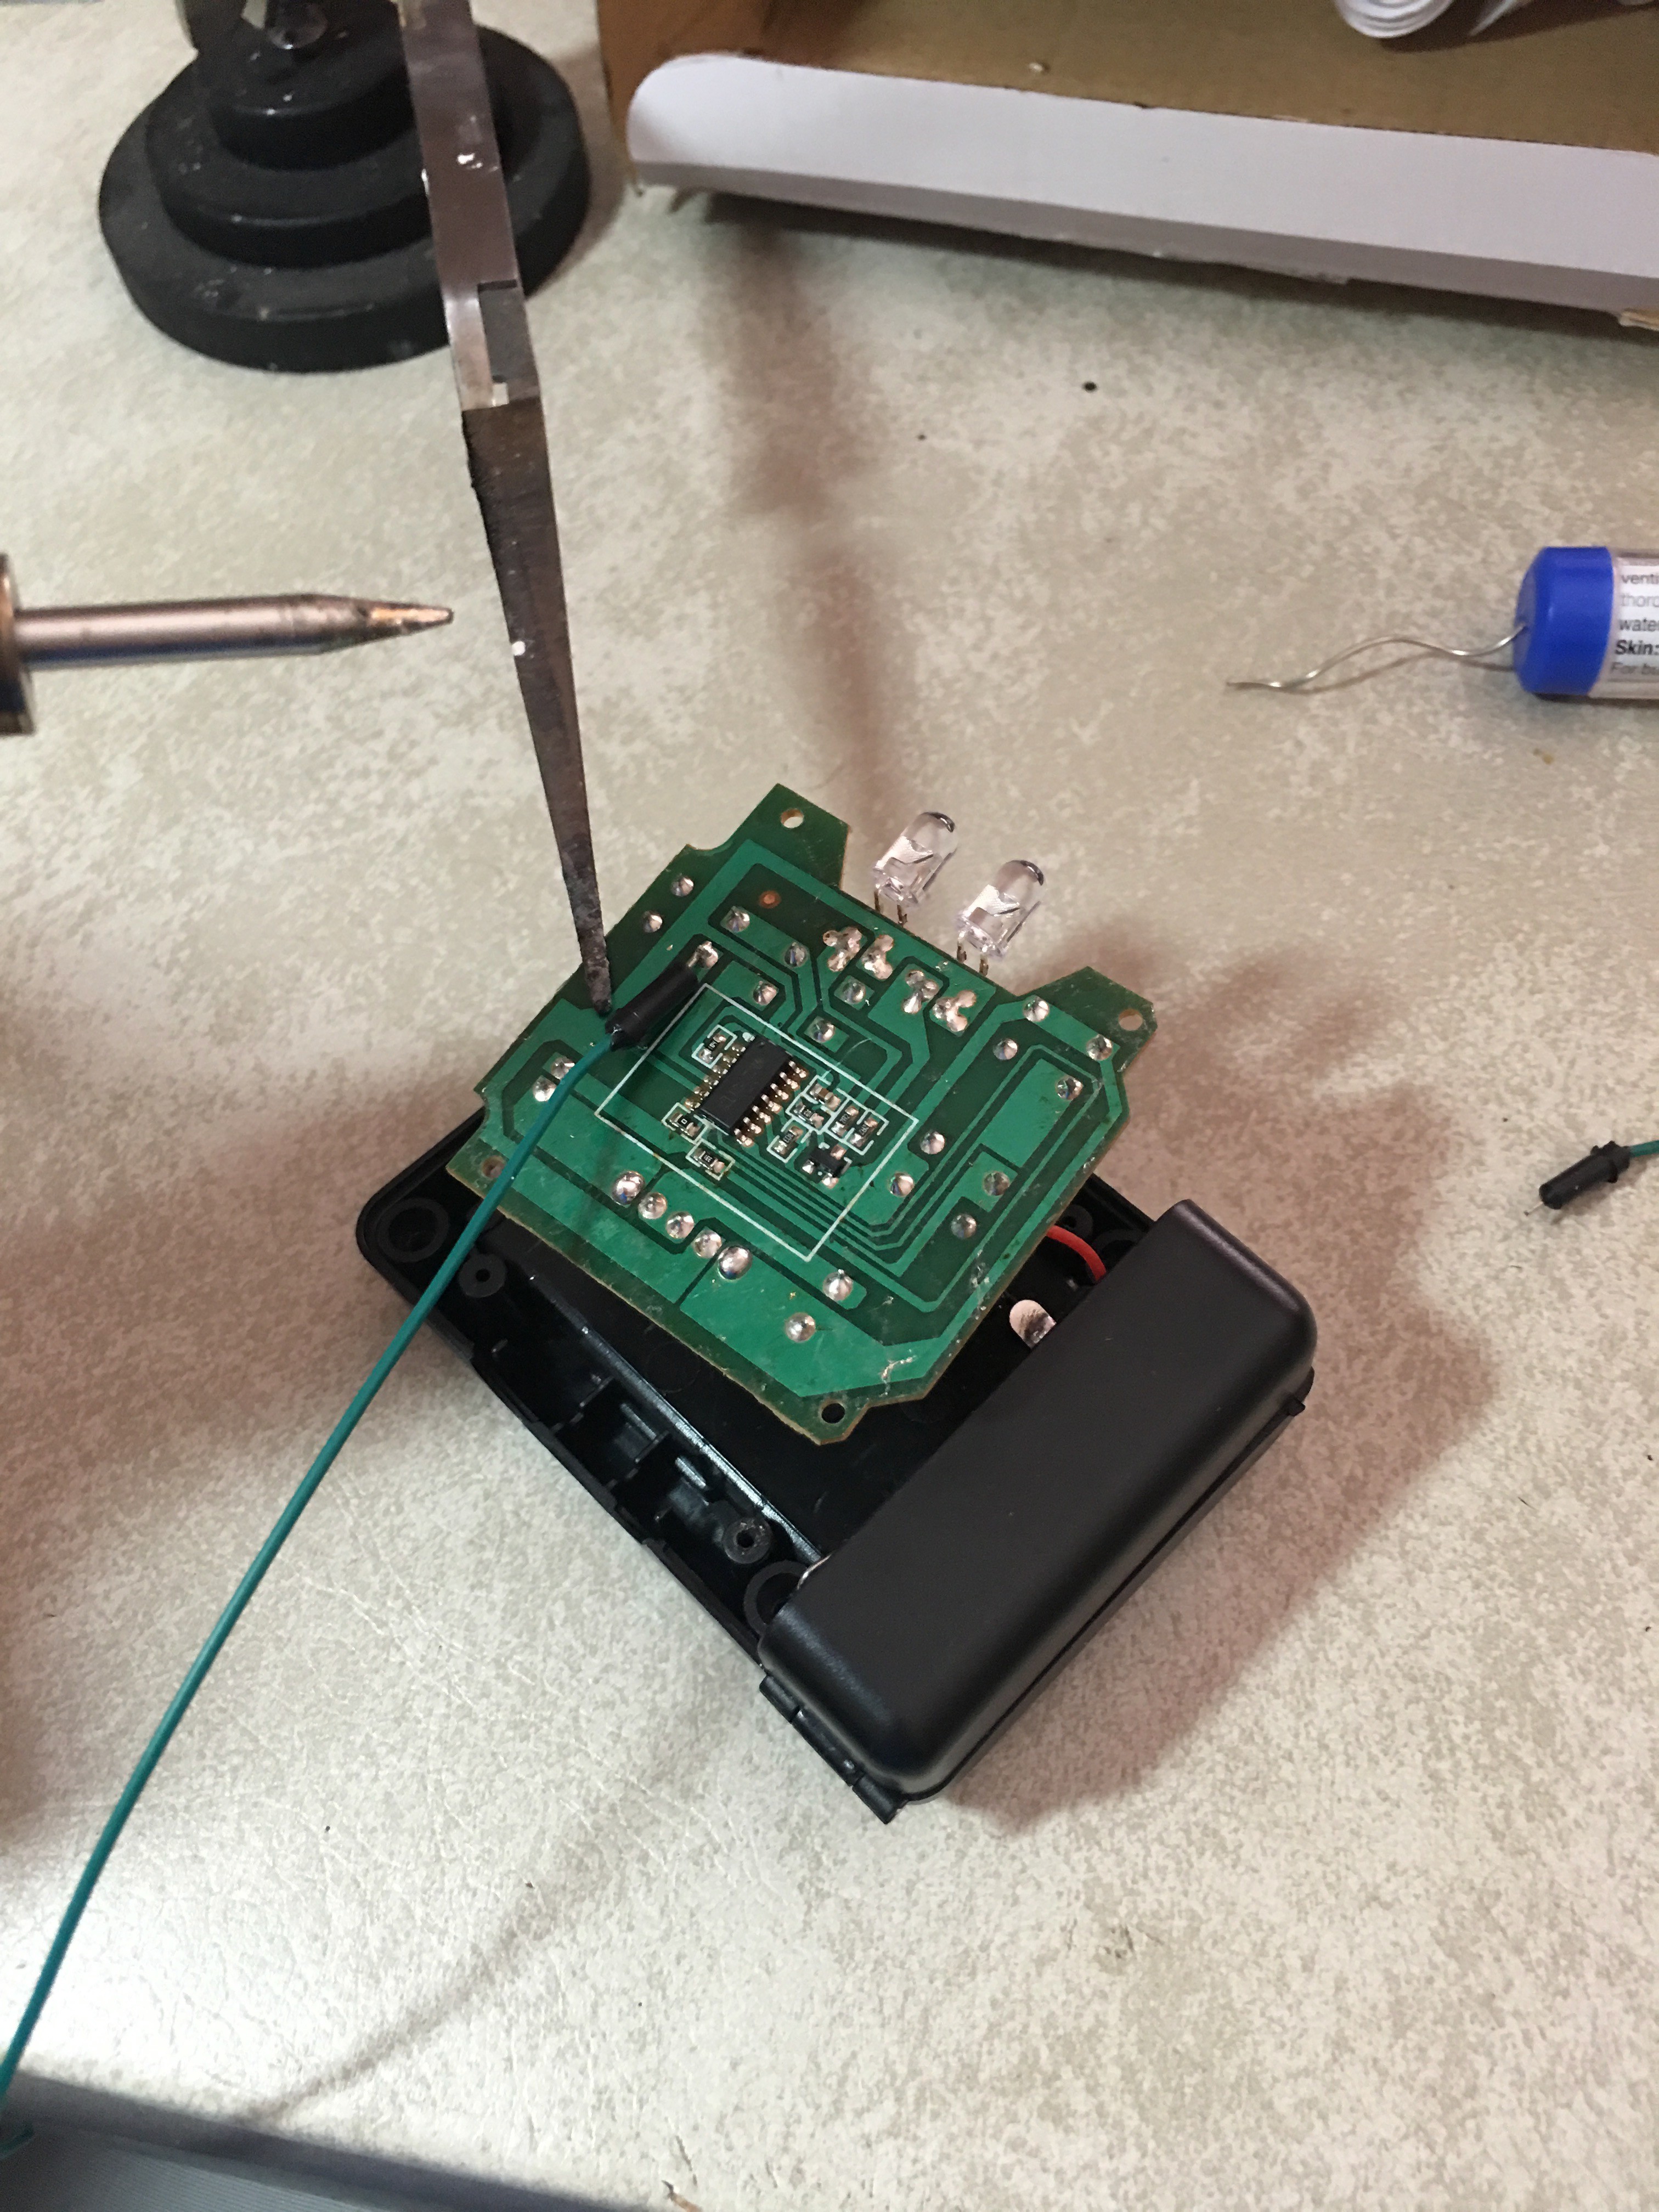
Looking good so far. We've successful avoided any burns and made a good solder to the "right" switch.
Oh, did you remove the batteries? Yeah... Let's go ahead and do that right now. Safety glasses? Yeah... Mmmk. Back to work.
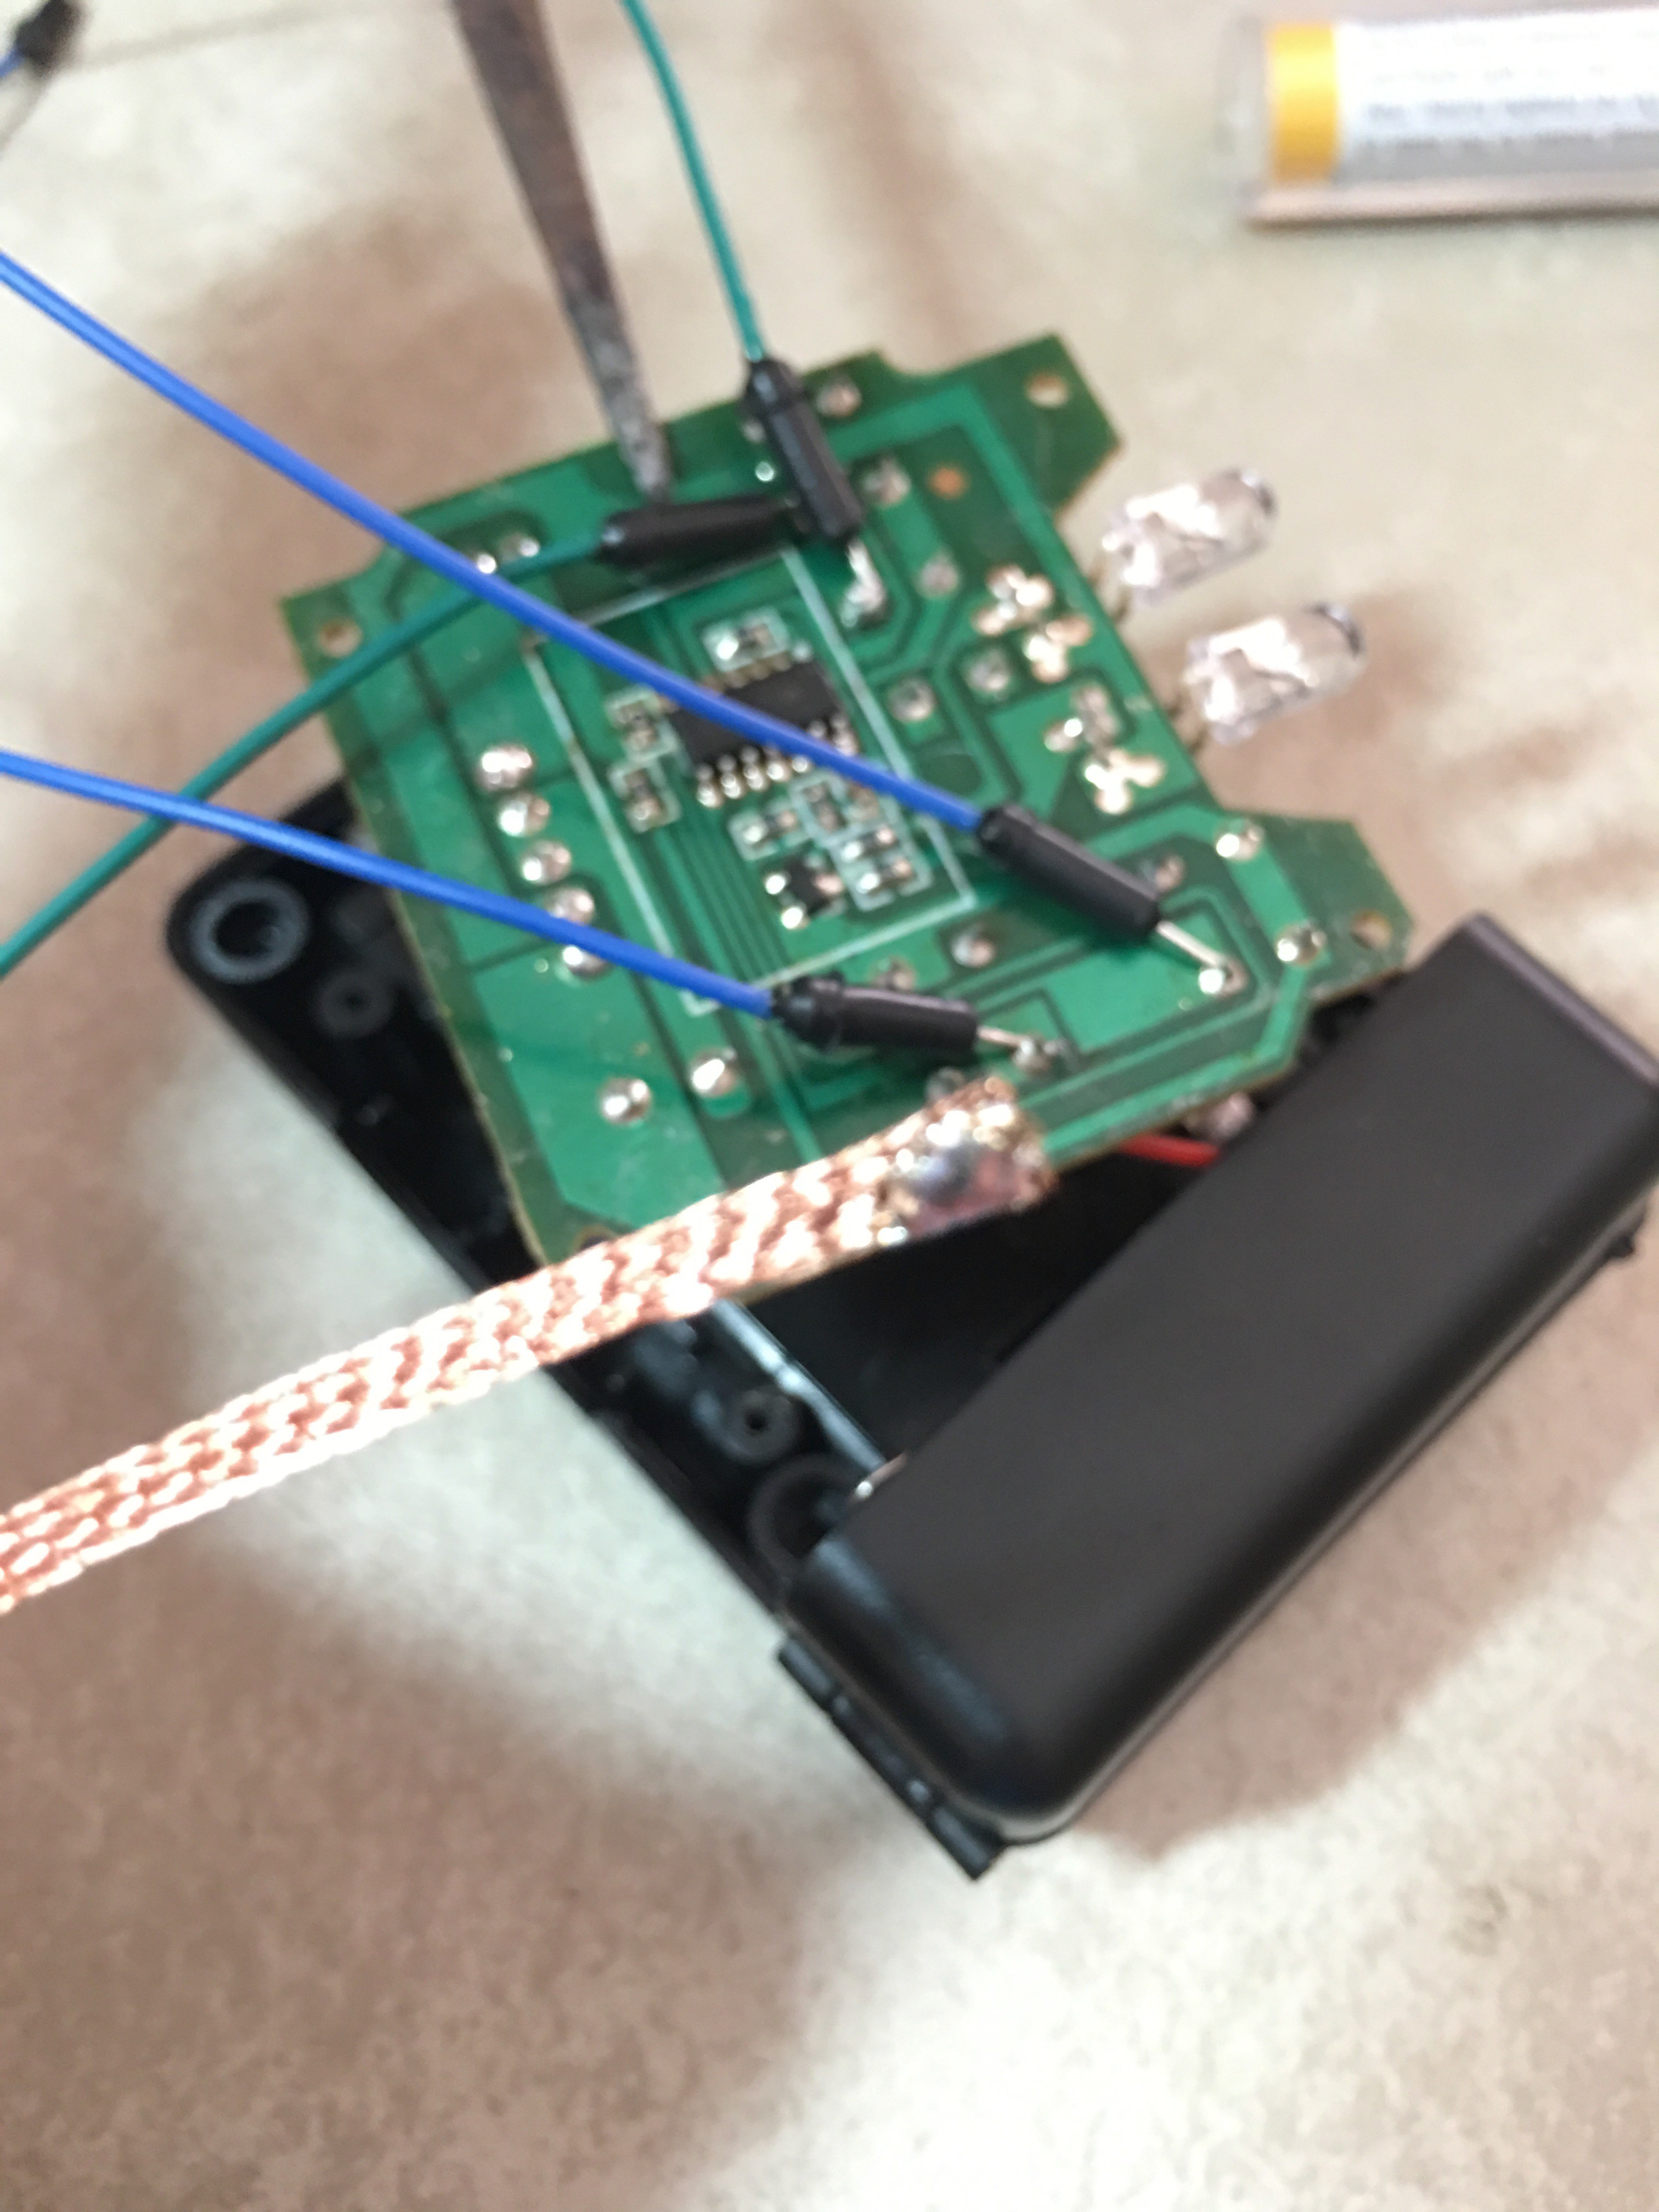
And.... that ladies and gentlemen is a mistake. This is why we have solder wick. Looking good so far though! I think... I'm not a soldering expert but I'm pleased.
Yah love to see it! Ignore that green wire that I may or may not have touched with the soldering iron..
Rick's also still tied to the shoe and he let one out as a joke when I was on the phone, not cool as that's rare element!
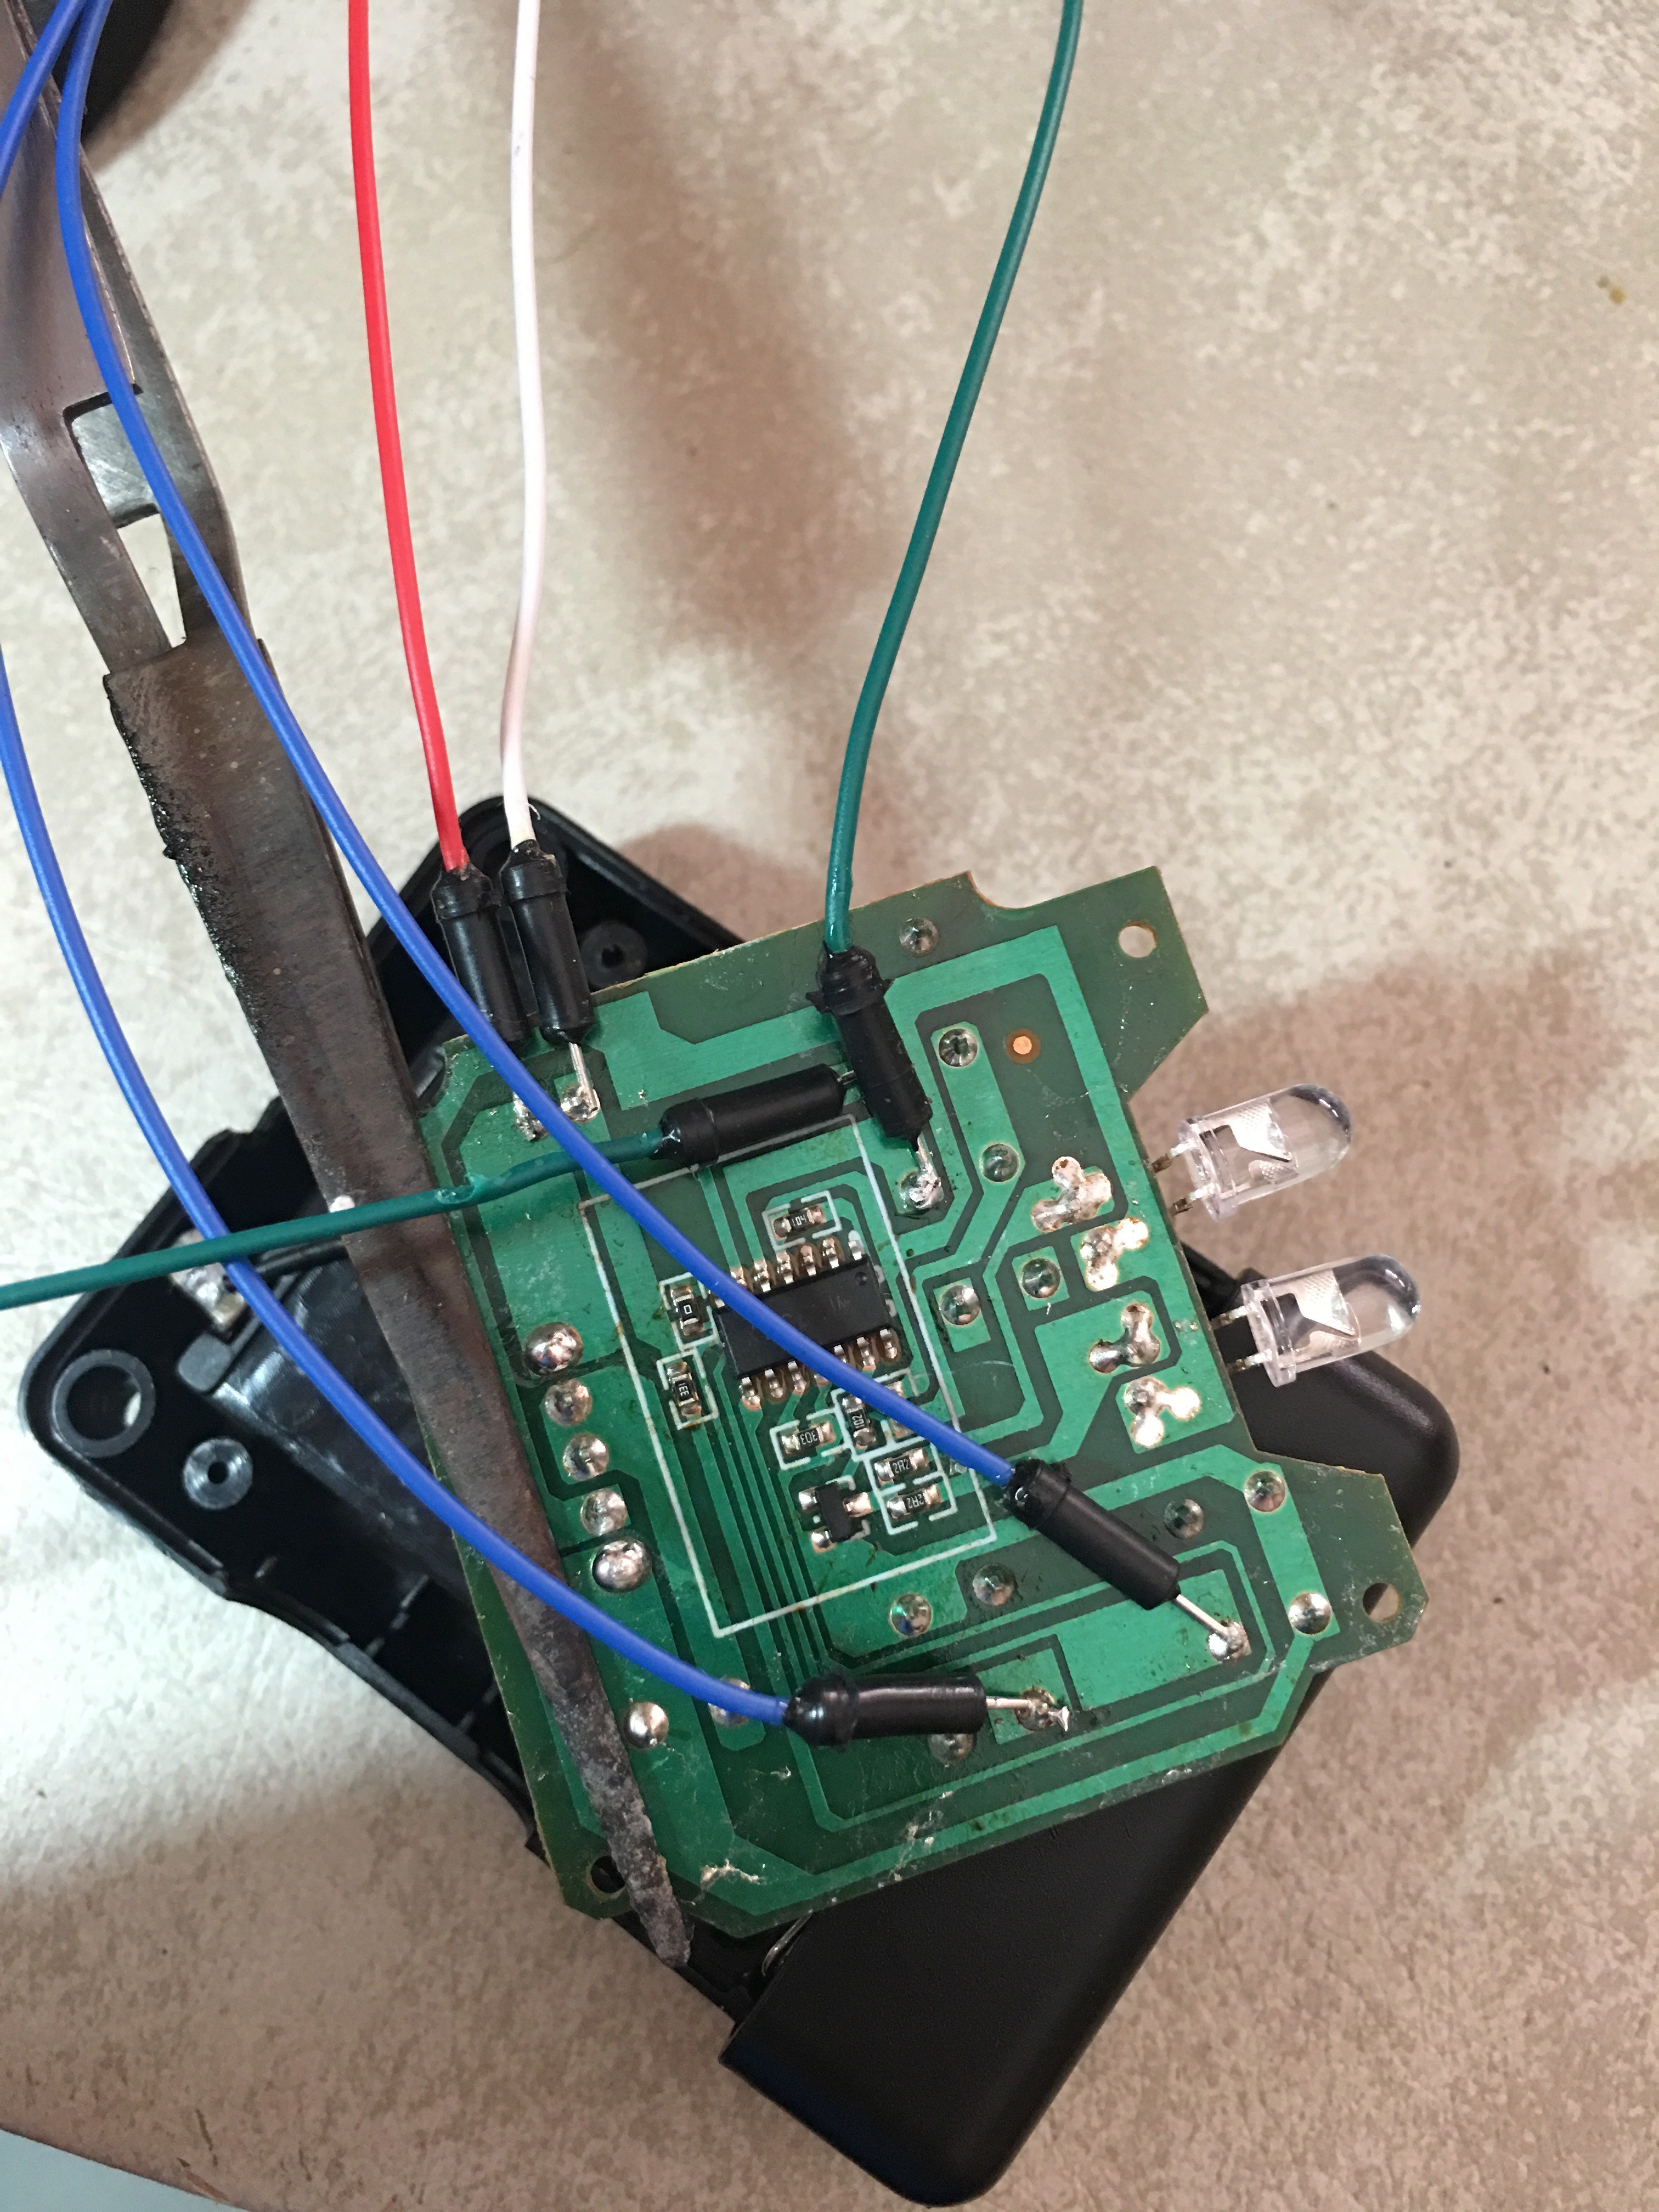
Let's hook 'er up!
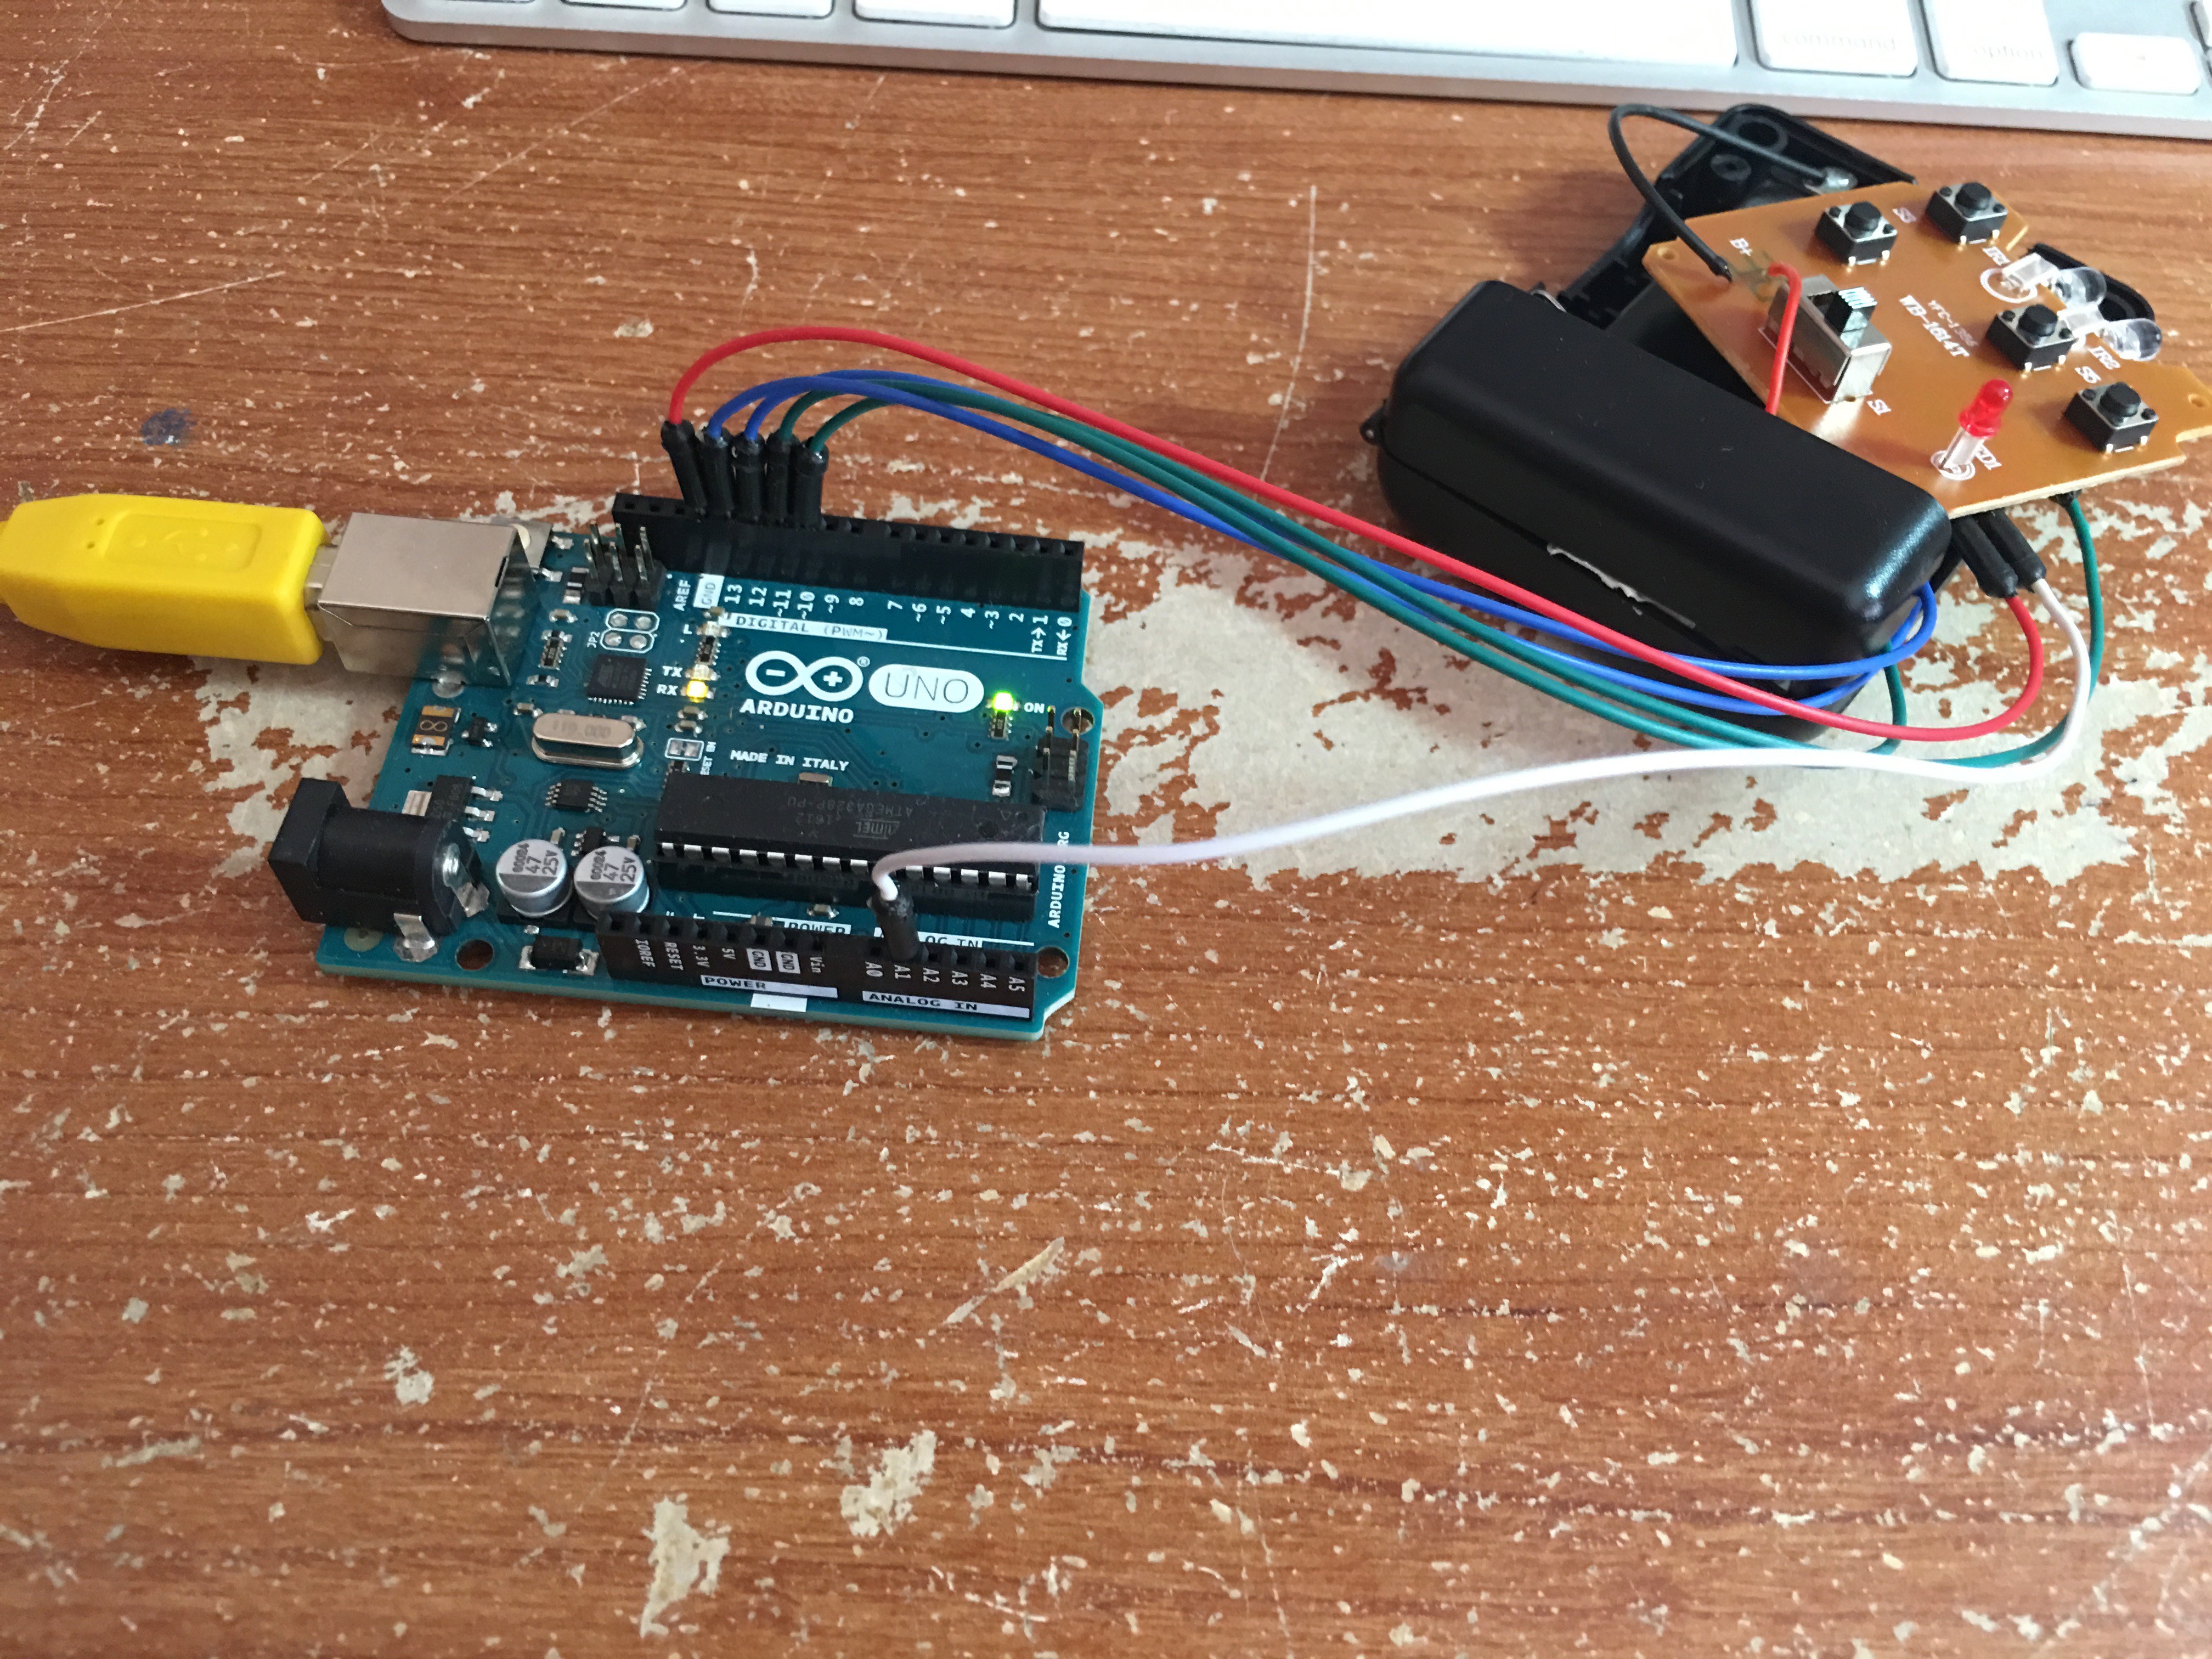
Here's Rick's entire nervous system hooked up to digital pins 13 through 10 on our Arduino to run fun things like digitalRead( ) and digitalWrite( ). Lastly, we have the ground hooked up to analog in A1 where we can run analogRead( ).
That's it for today!
Code Time, USA - Day 3
Okay, Rick's still tied to a shoe and we have successfully soldered his nervous system to some wires. Let's test this out, but first, let's go over the 10k overview here.
The goal is to first upload the Arduino code to our Arduino UNO, which will open a serial port so our OpenBCI code can communicate seamlessly with our Arduino. So in short, when a certain threshold happens on the EEG or EMG, we will send a command to our Arduino which will ground that command on our remote and in turn send the signal to Rick, hey Rick.
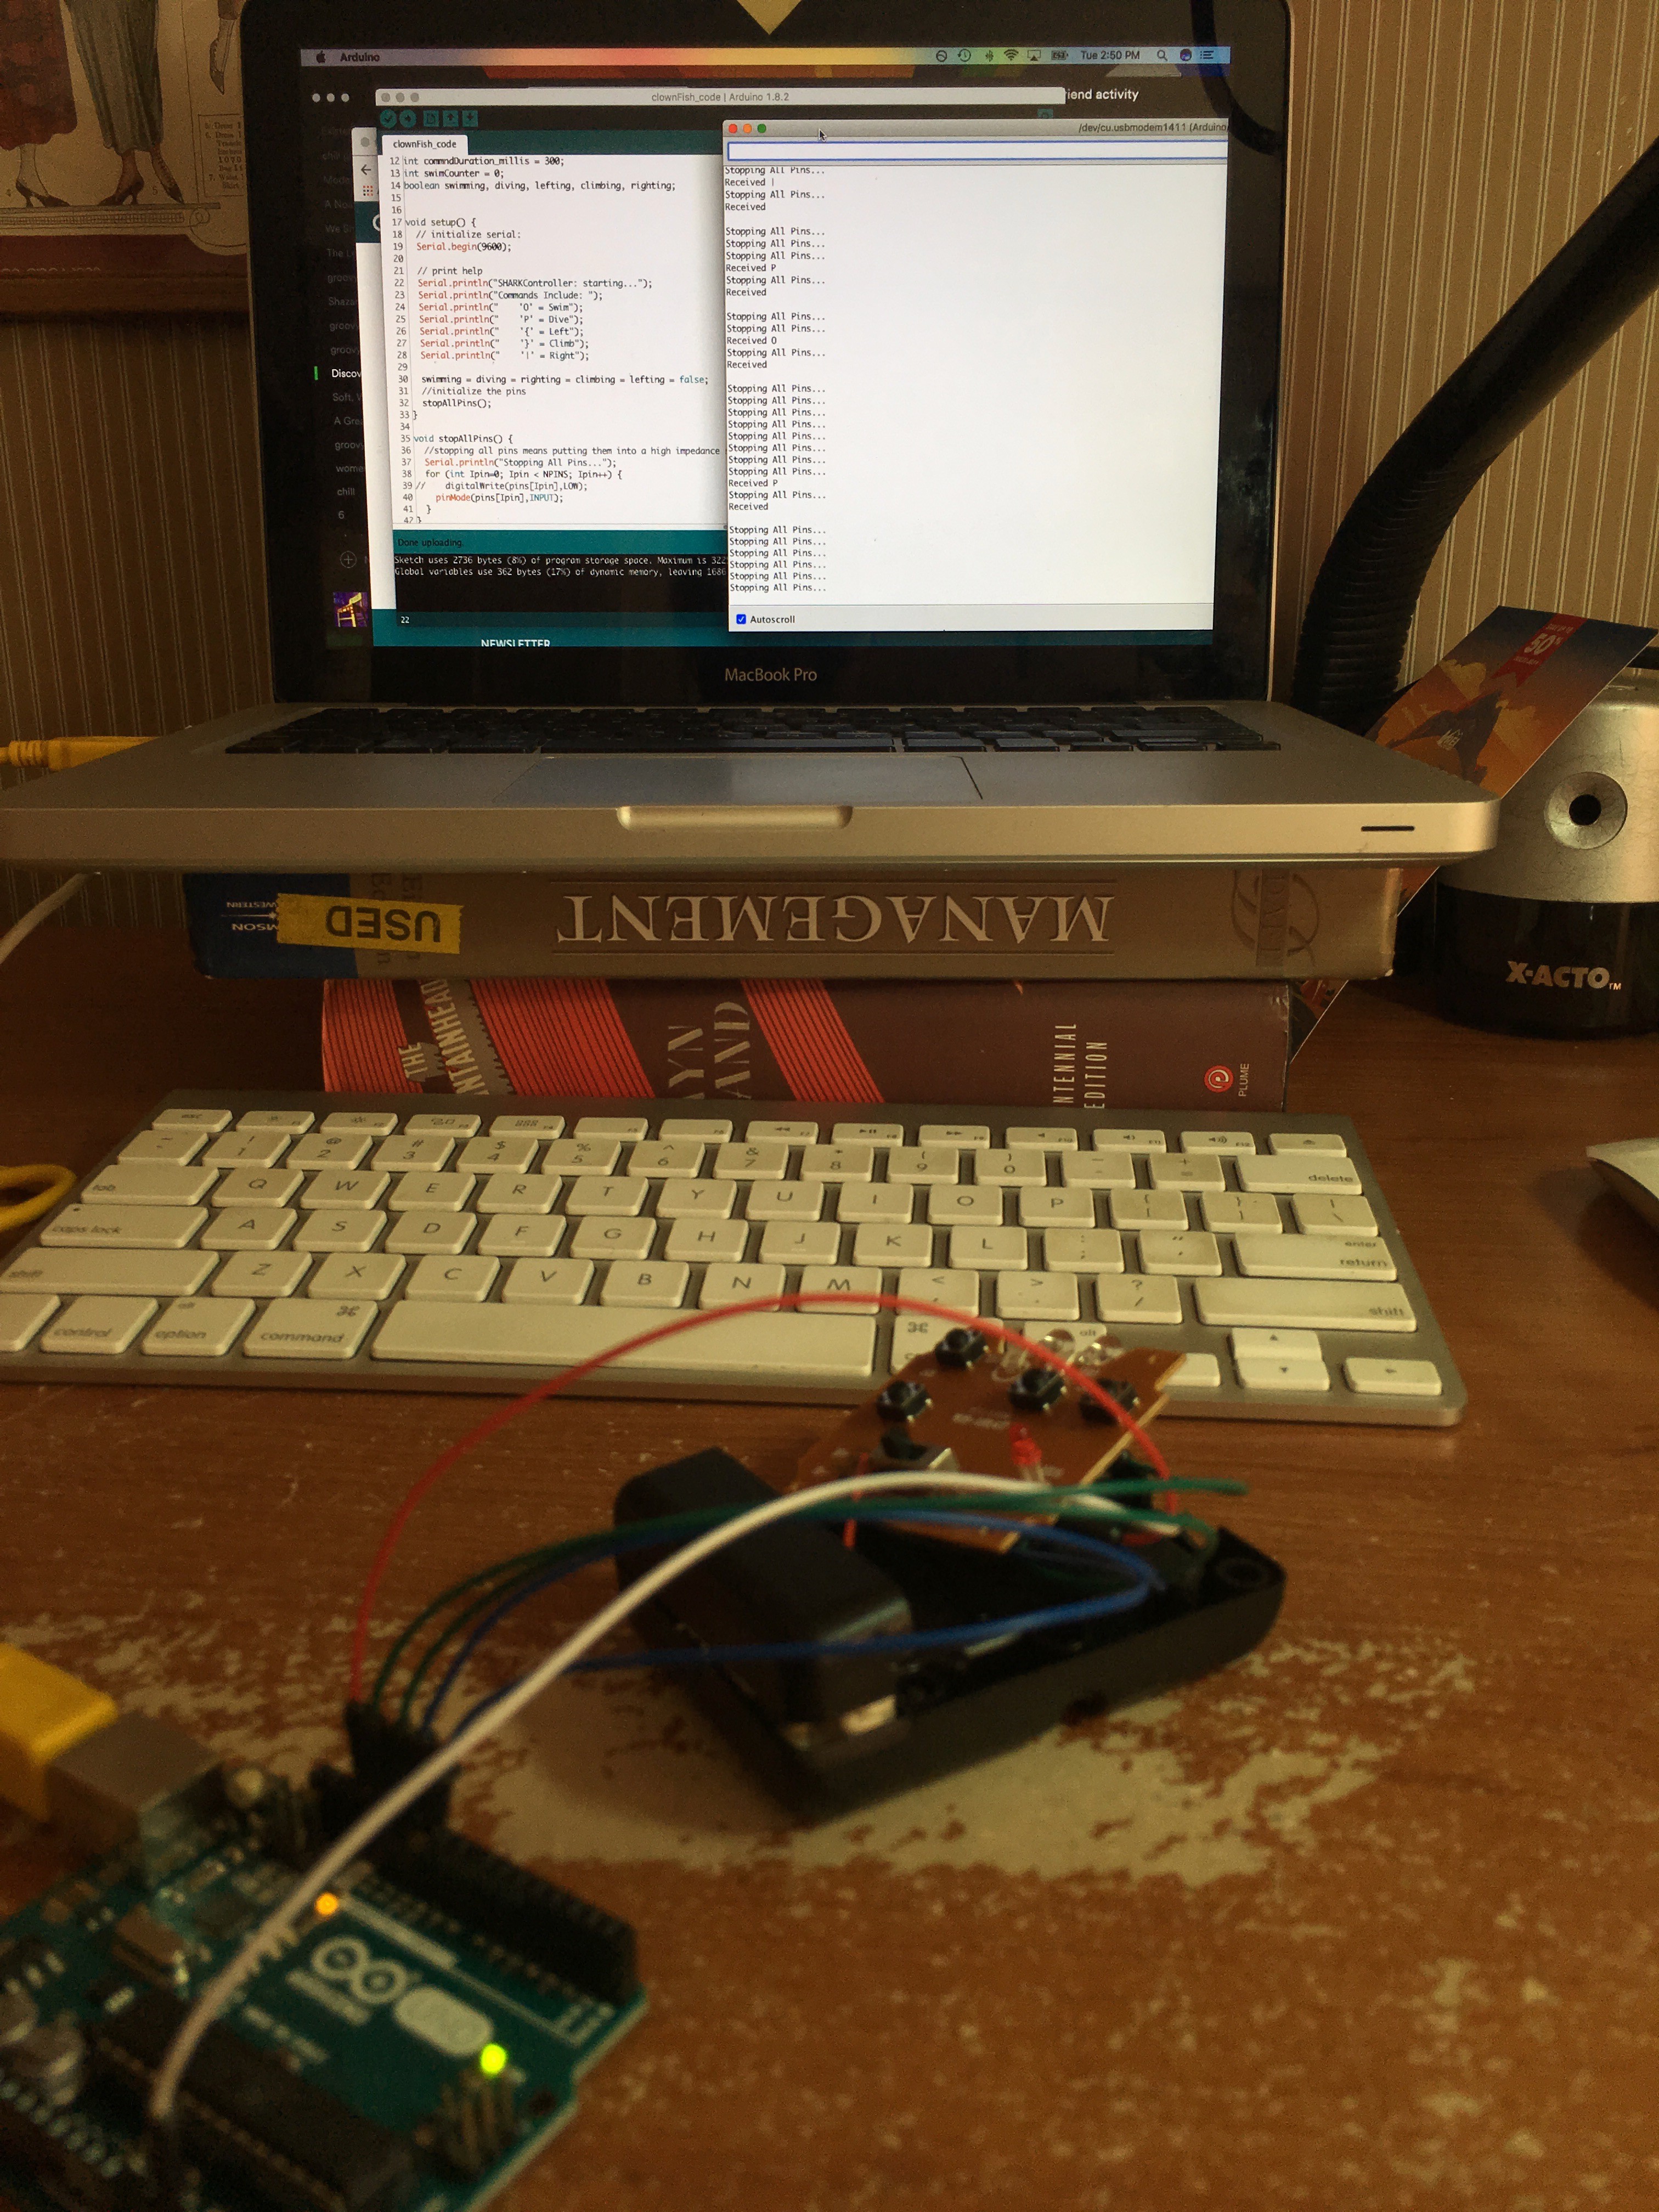
Shout out to my used Management book - what a waste of money. Okay. Let's test Rick!
Nice, we can send a command from the computer to the Arduino which sends the appropriate command to Rick, and all without Rick's consent! This is cool. See code here.
Next up is coding some OpenBCI GUI magic and seeing what we can hack together here.
OpenBCI Code Magic - Day 4
(a lot of hours pass and Rick is starting to grow fond of his shoe, I mean anchor)
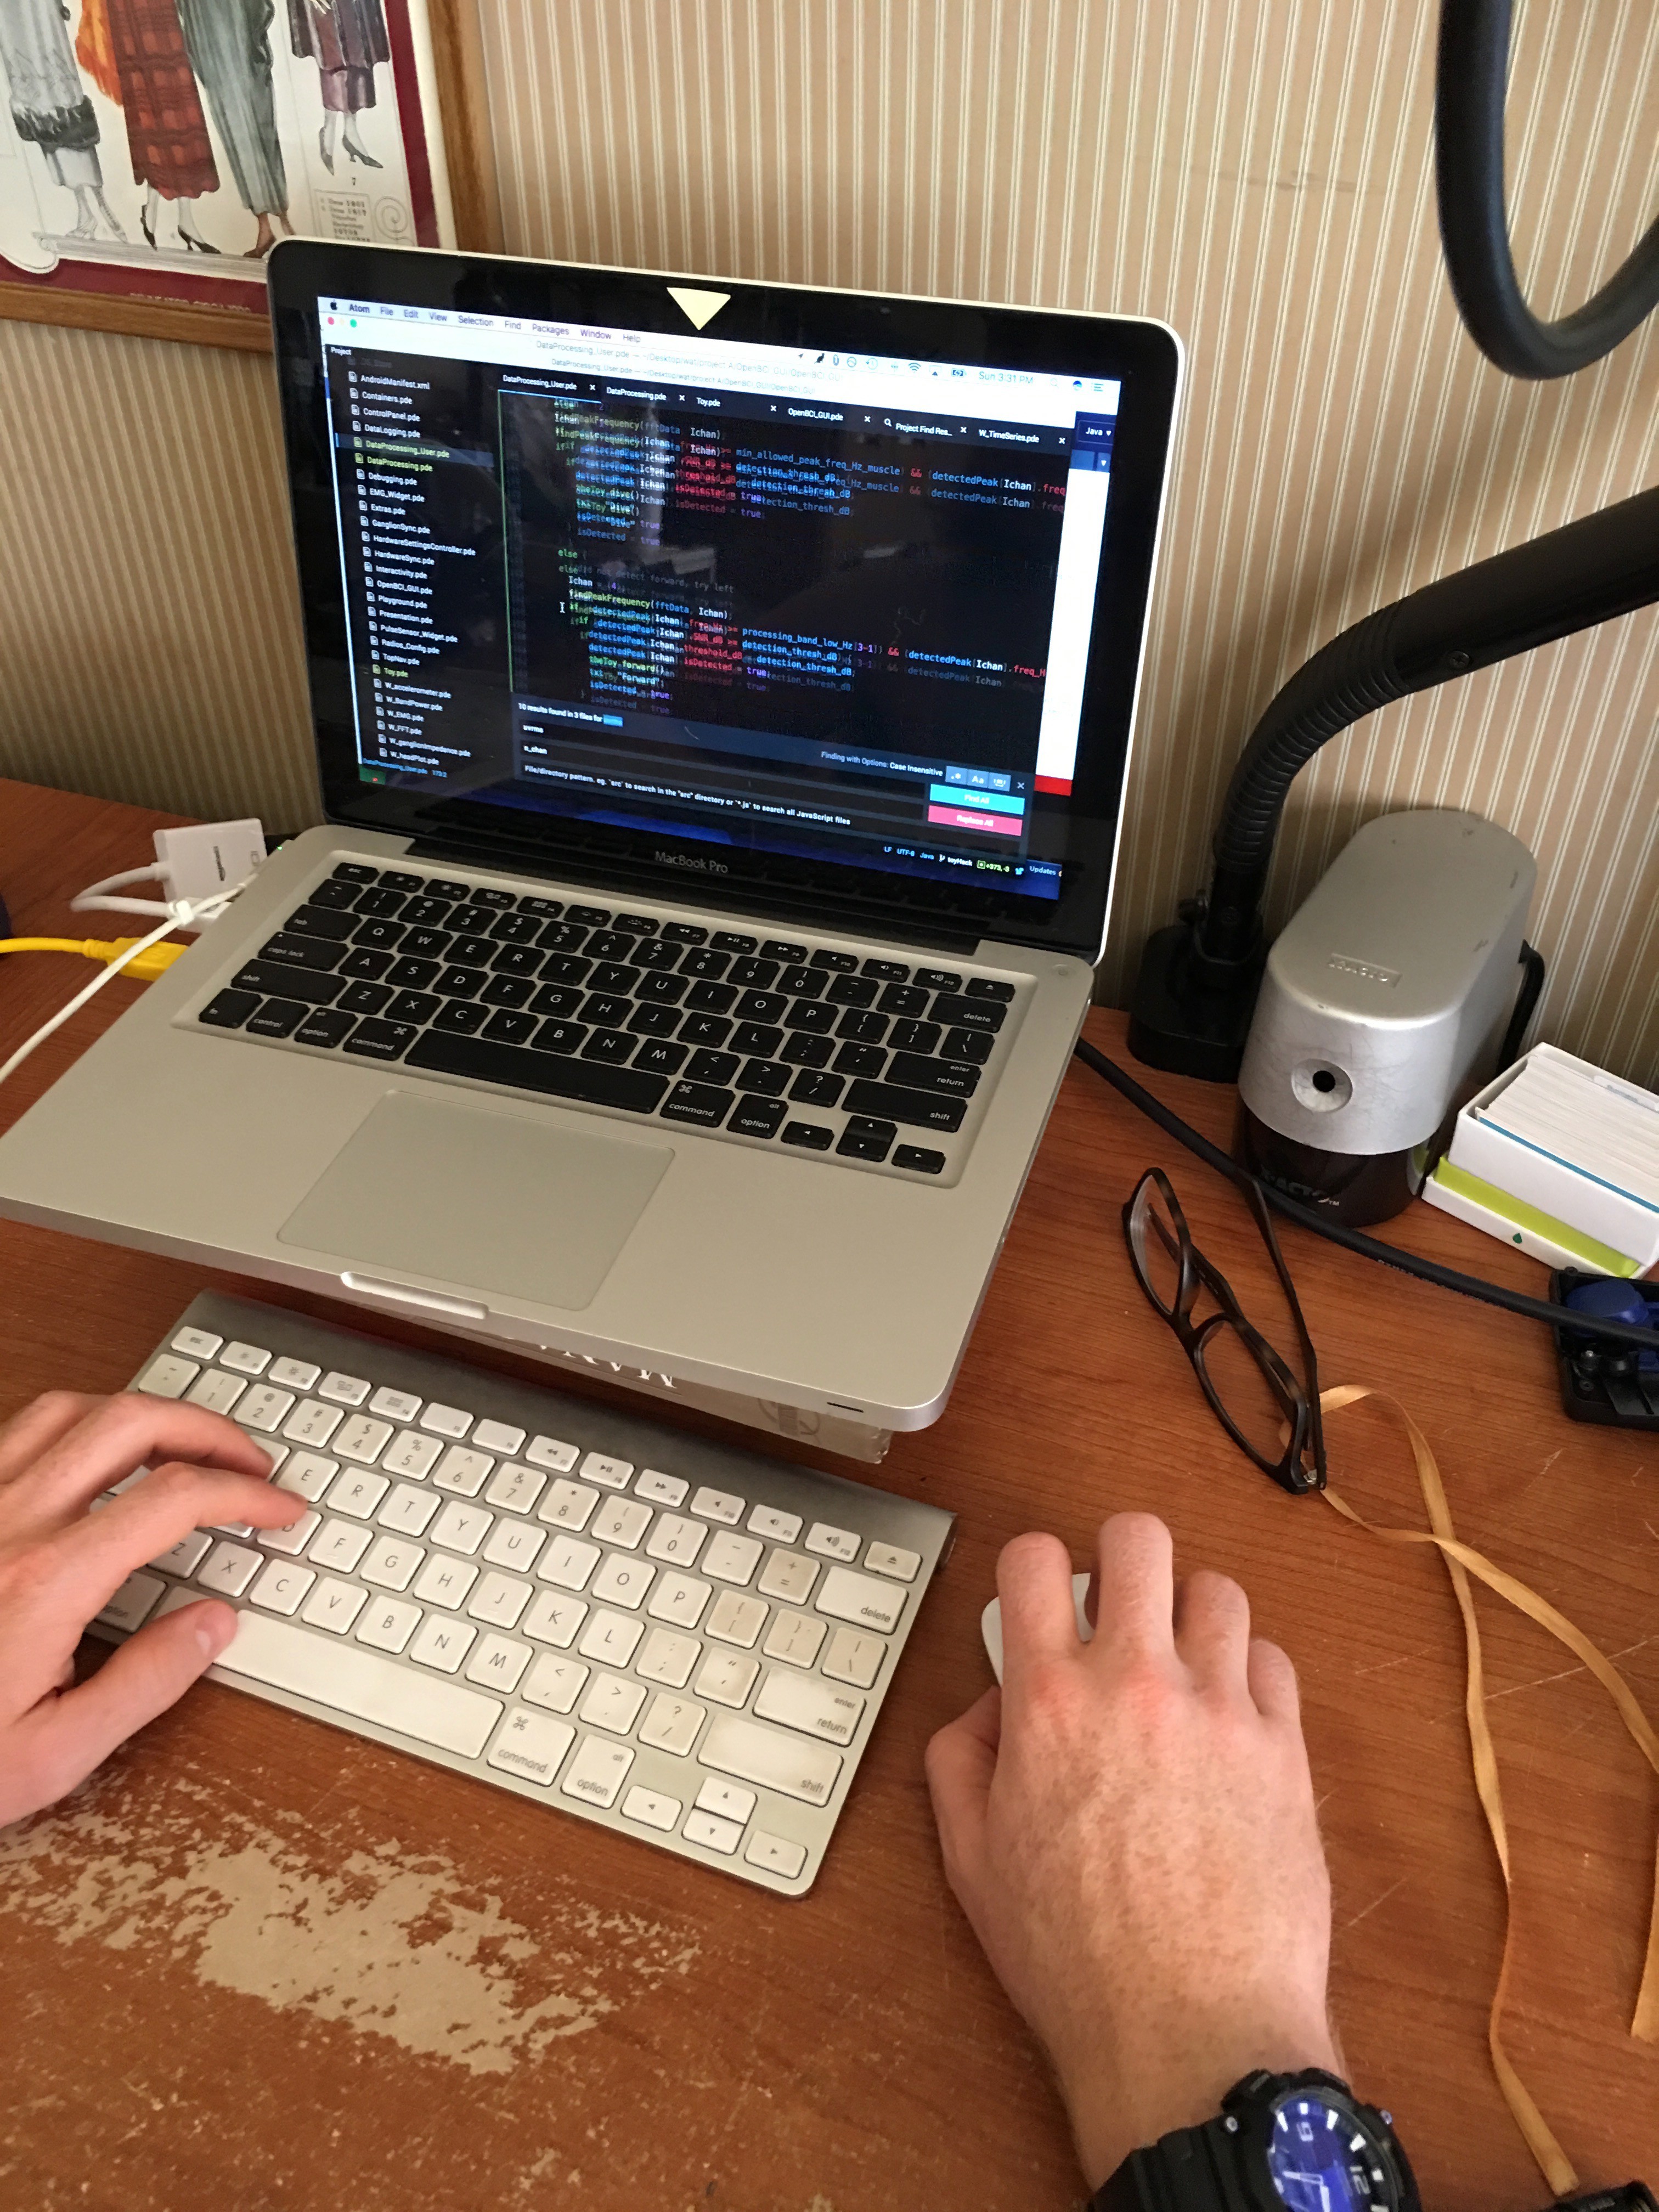
Okay, so this process ended up taking much longer than expected.
First, making Processing (the IDE we are using to process the EEG and EMG) talk to Arduino took me a minute, and by minute I mean a couple hours.
Once I was able to send commands from Processing to Arduino, I then downloaded the open sourced OpenBCI GUI onto my computer and started hacking away.
I ended up reading the entire code base and tried my best to understand the math behind how this is all working - this naturally took awhile. Turned out to be really interesting what's going on underneath the hood, I probably only understand a fraction of it, but it's fun to pretend.
Anyways, as previously stated this project is inspired by another projects code using OpenBCI so using that code and some time and energy I was finally able to make my bicep move Rick.
Game Time! - Day 5
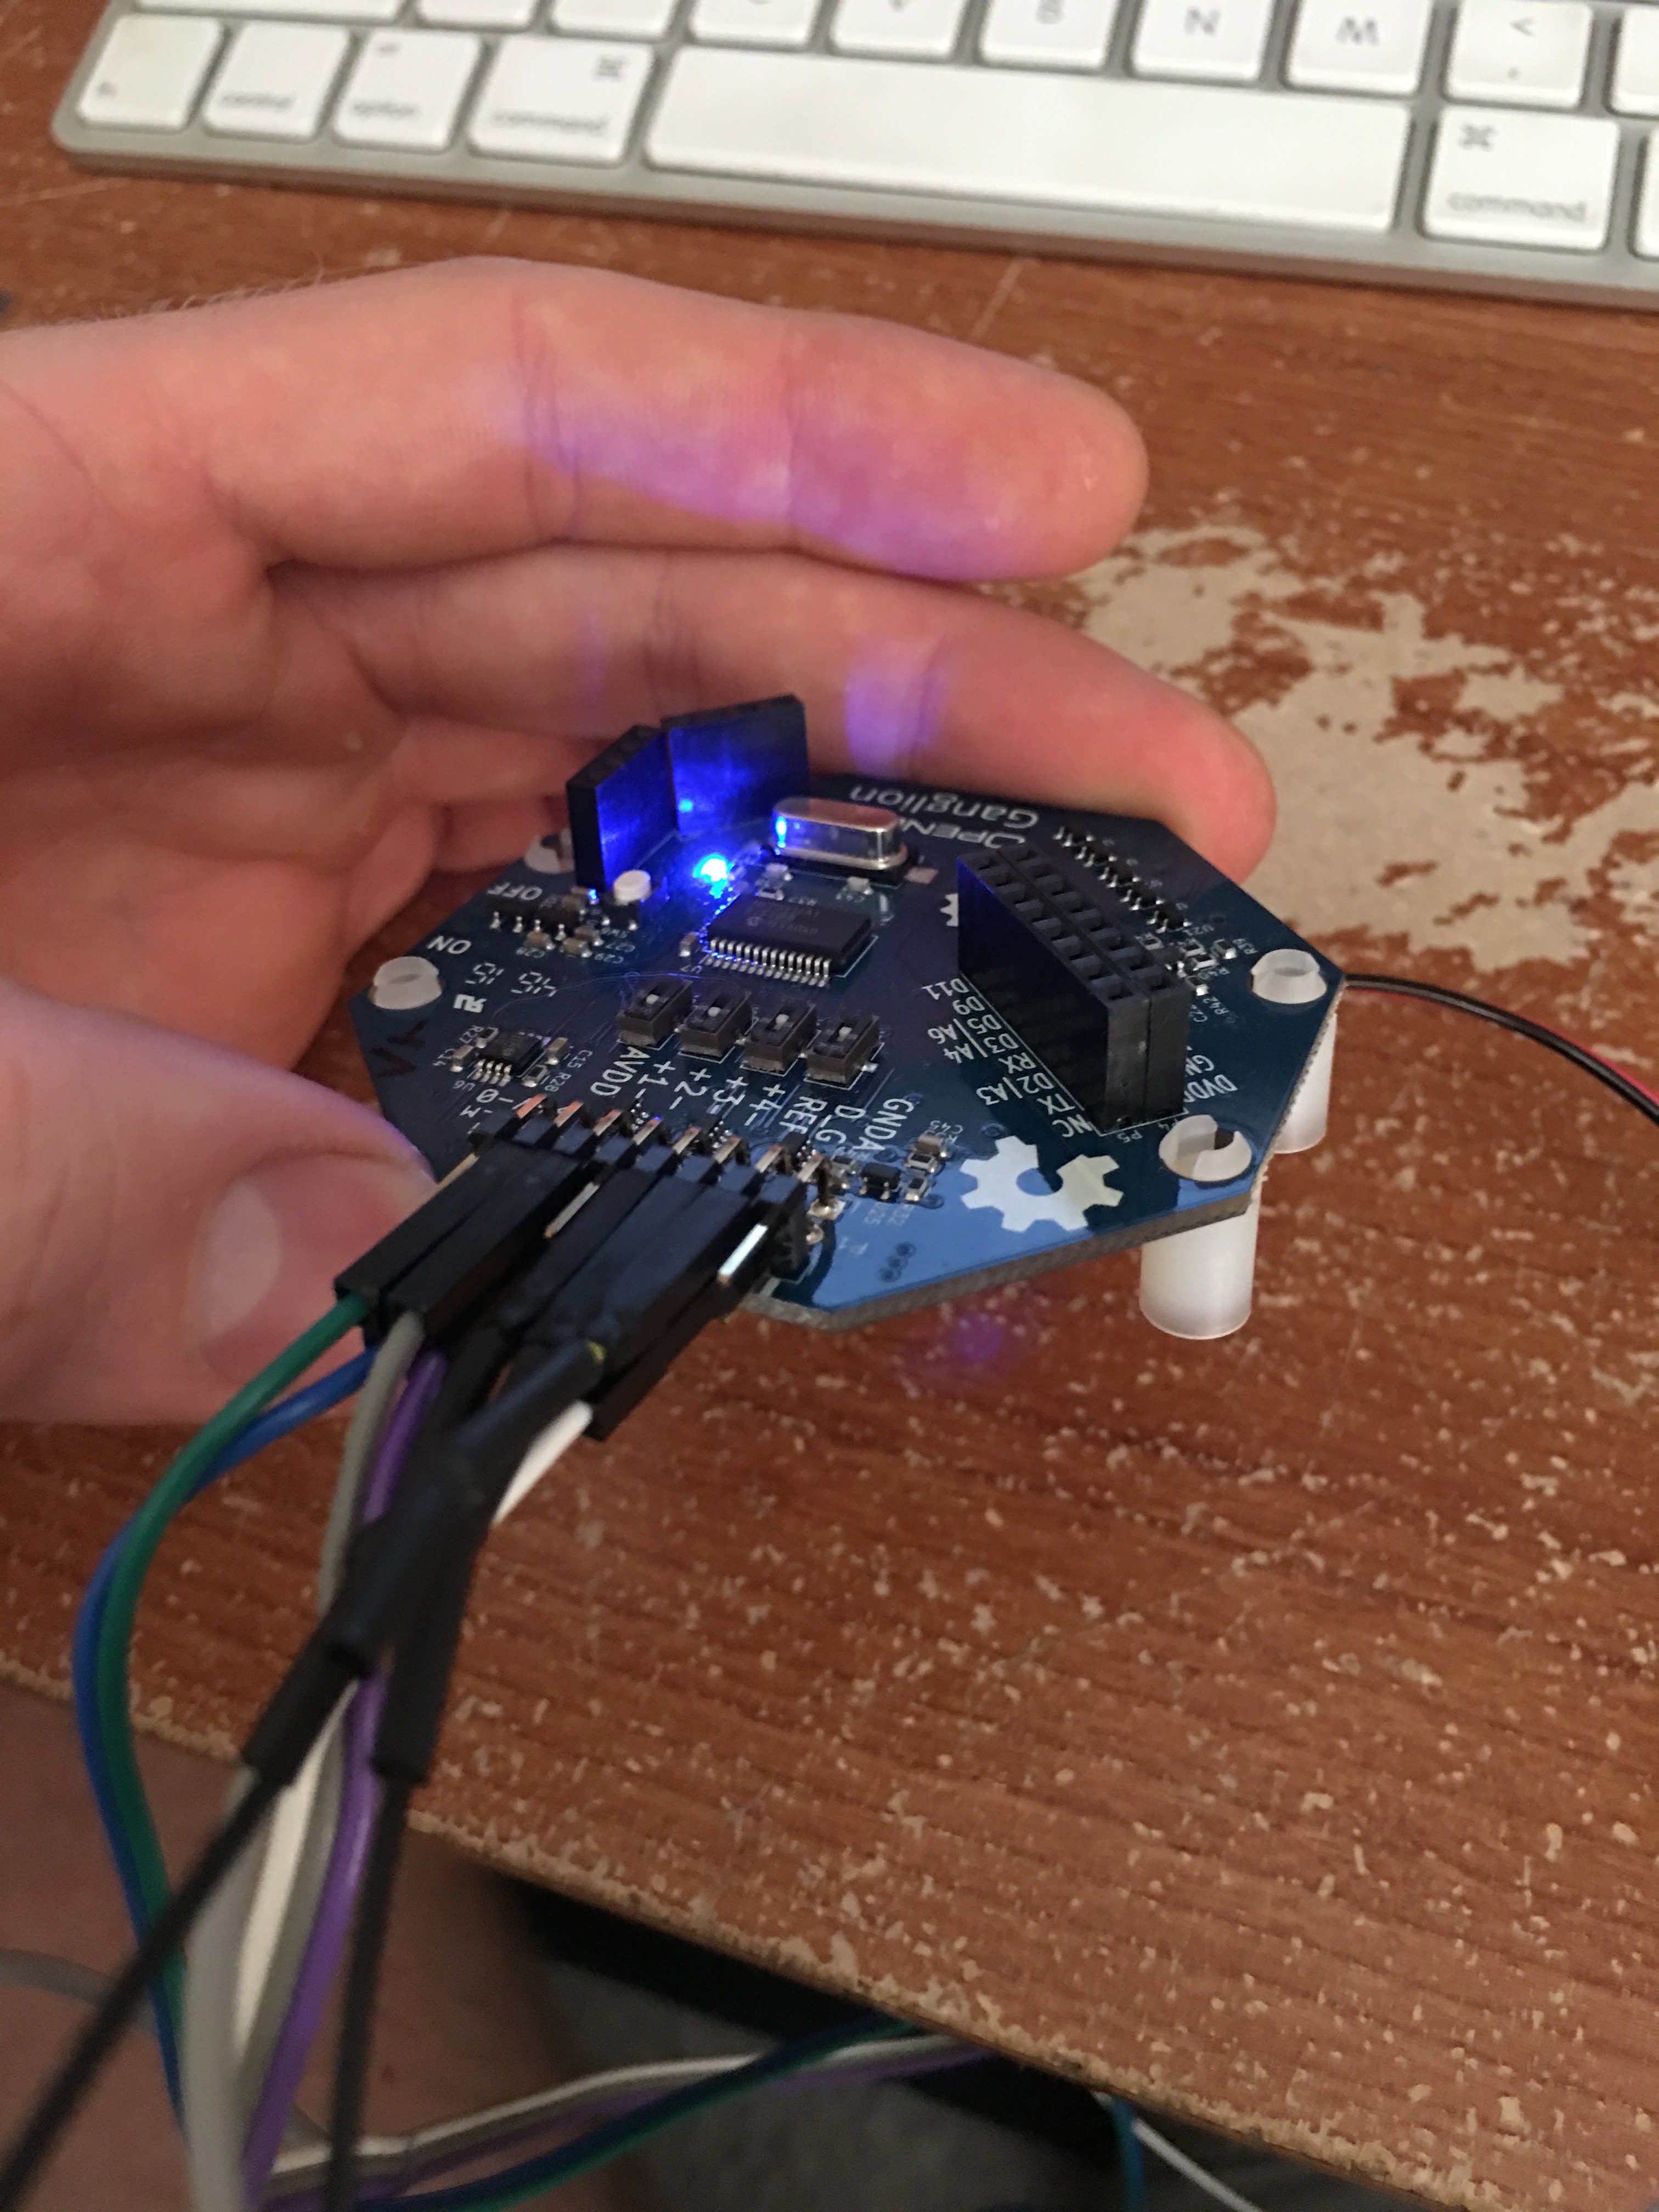
I hooked up all our references, grounds and wires to the OpenBCI Ganglion board which uses bluetooth low energy. Super cool. Gotta love that blue light.
Rare shot of Rick and I caught in a starring contest. He won.
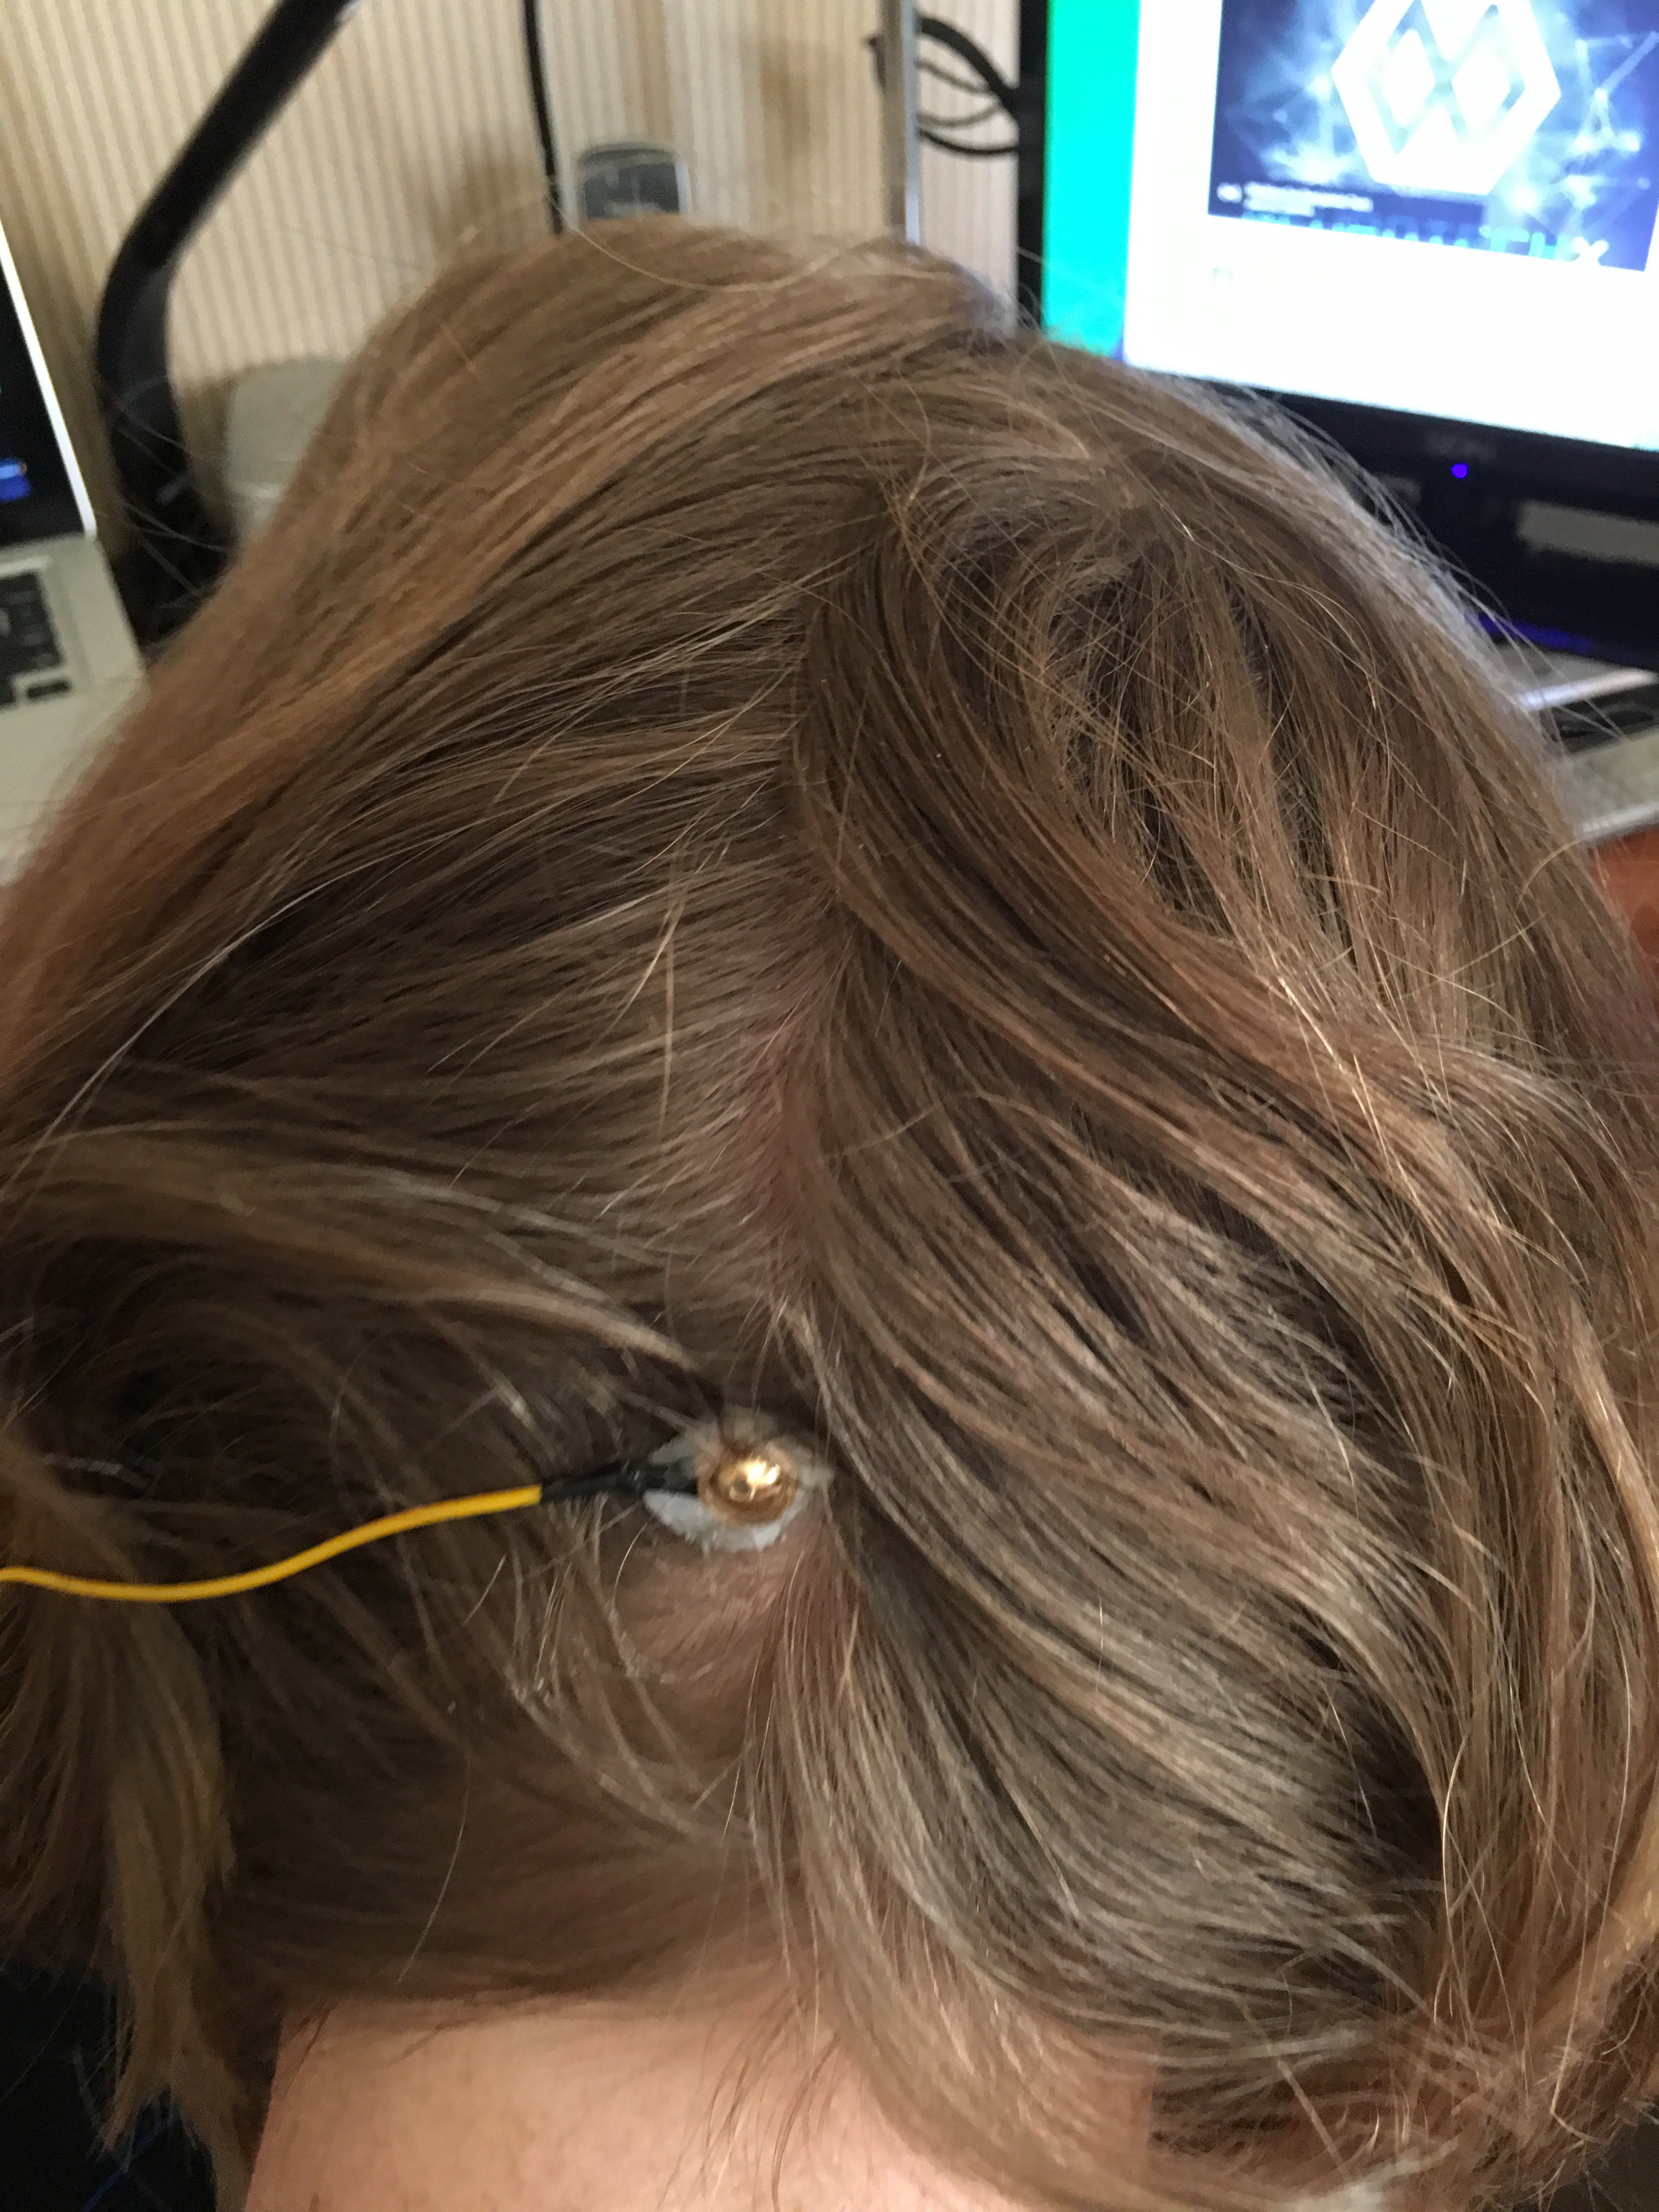
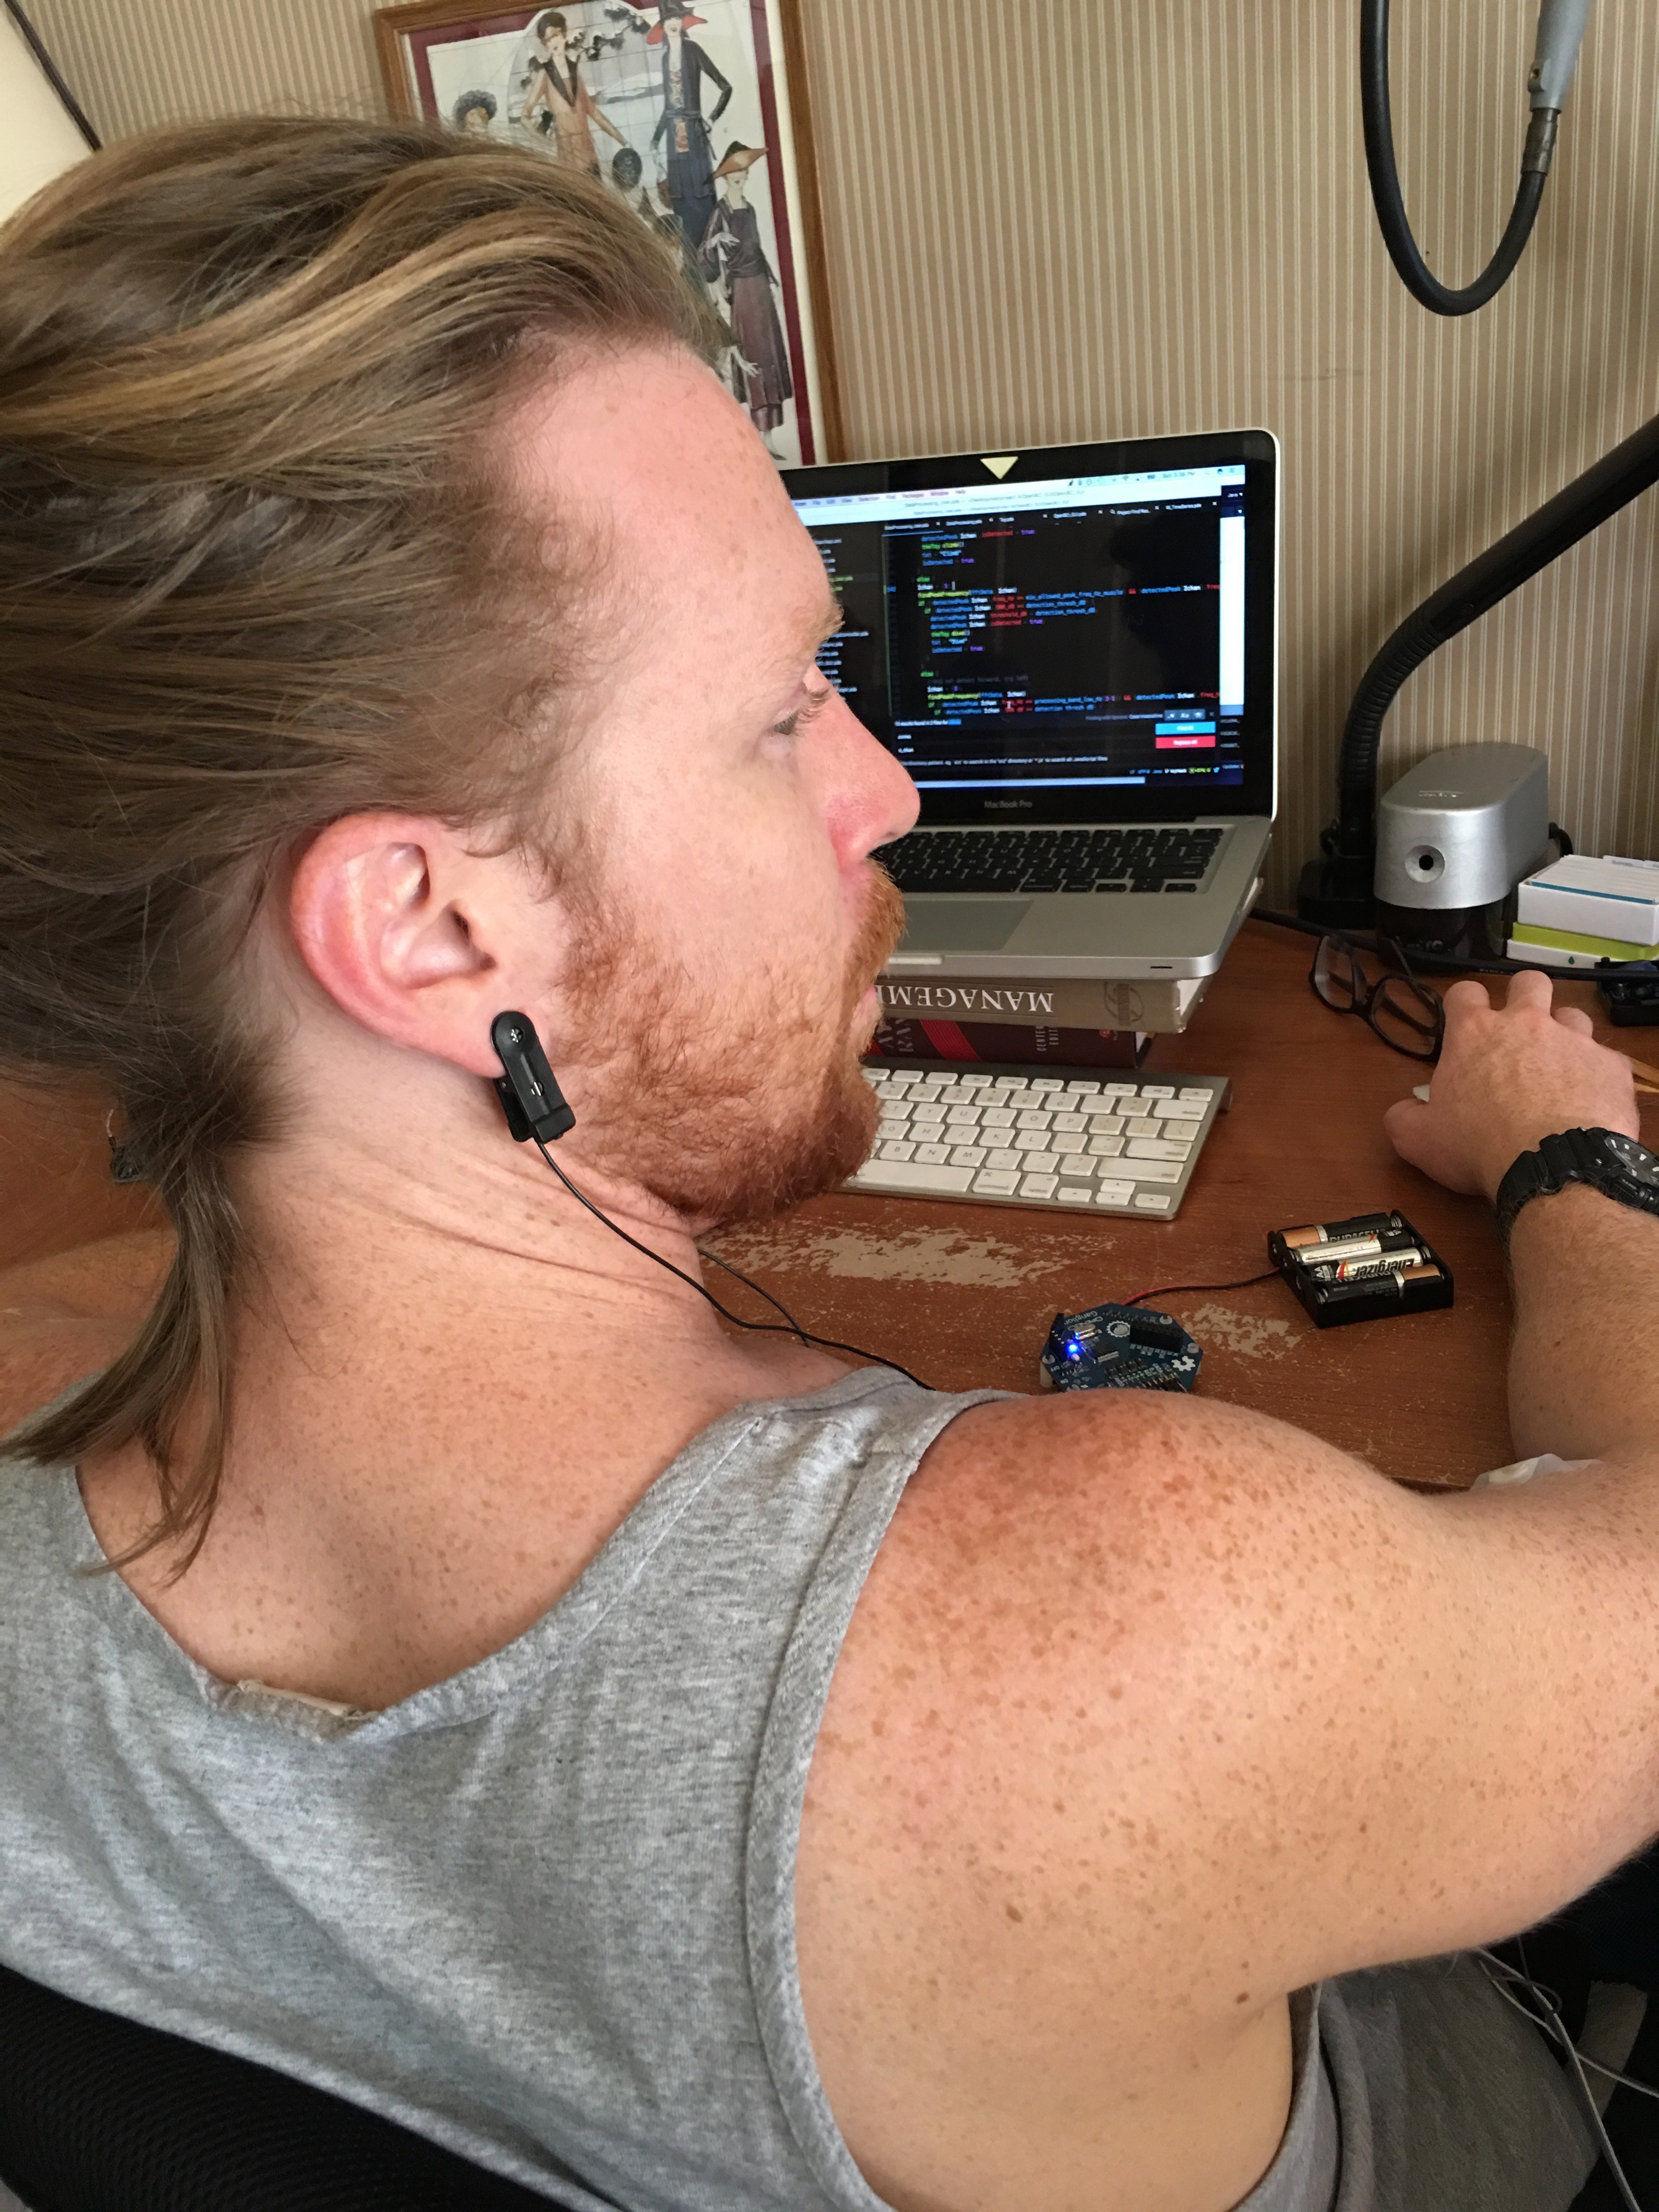
Okay. Here I hooked an electrode up to the occipital region of the skull where it's easier to record alpha waves when you close your eyes. This will control Rick's forward motion, or "swim" command where he'll make left, right, left, right movements. We are using a gold electrode with Ten20 conductive paste. Fun stuff.

Same electrodes and paste, but on the right bicep. This will control Rick's ability to "climb."
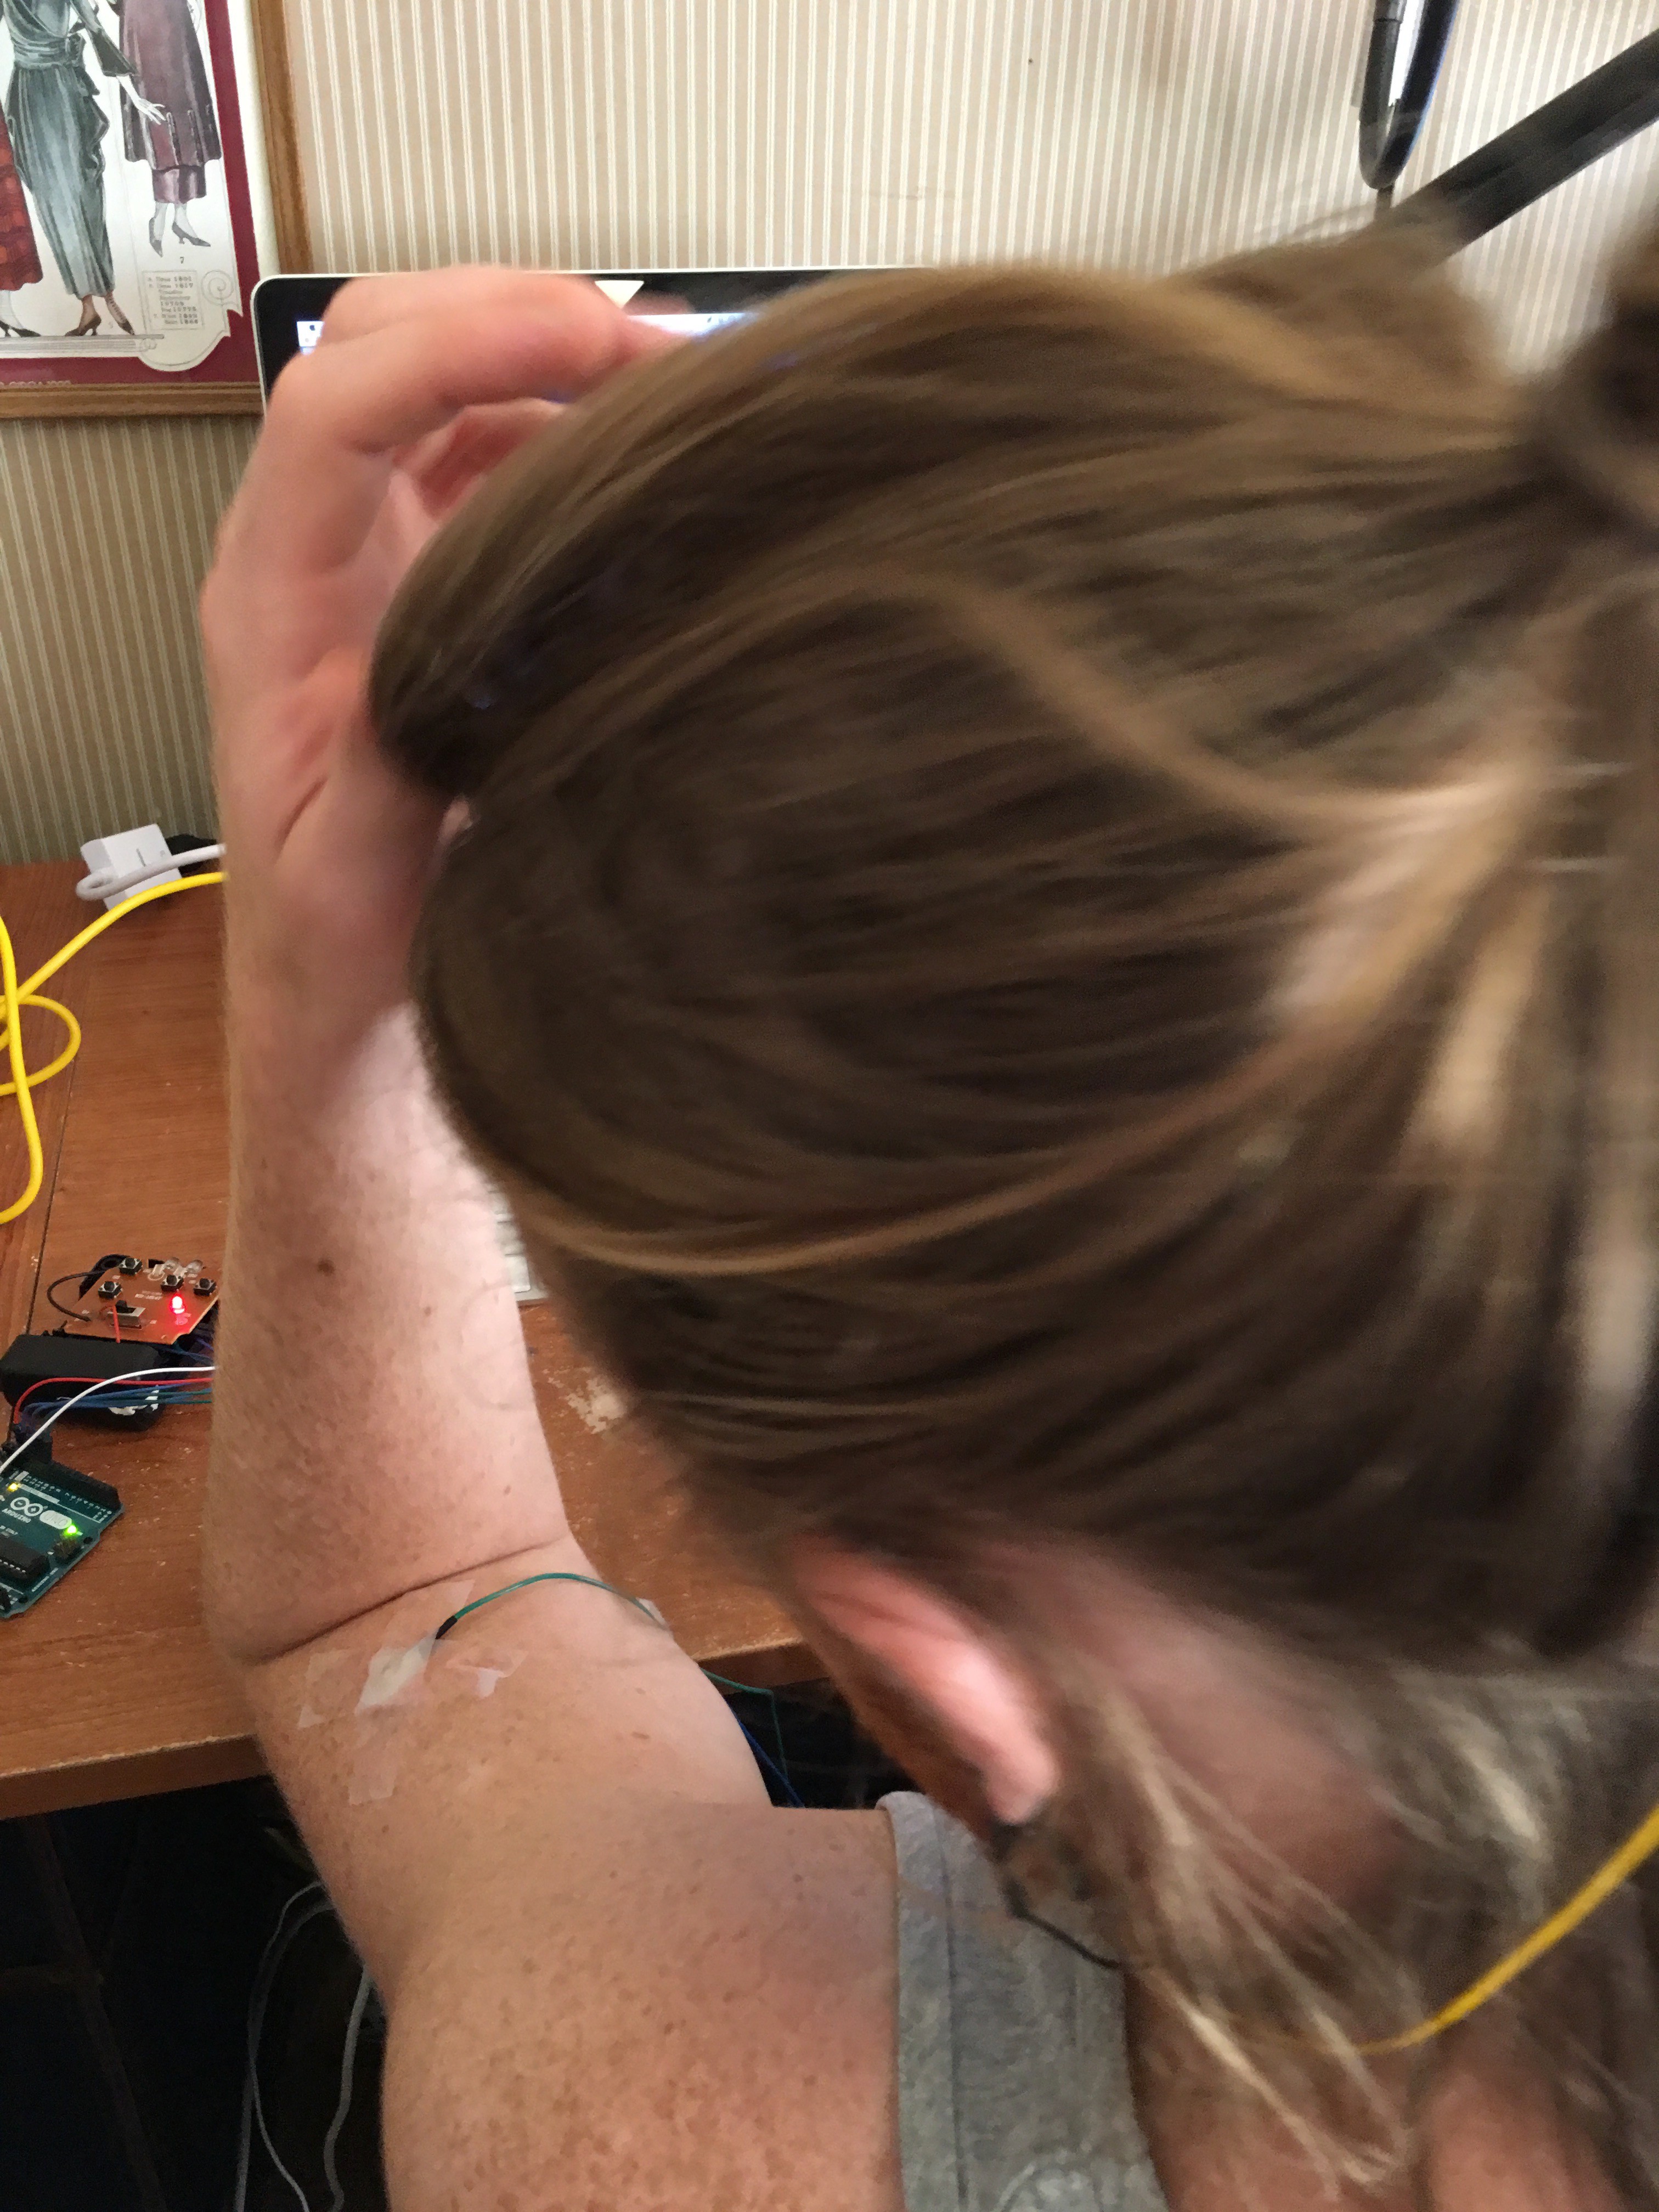
Left bicep now, same game, but this will control Rick's ability to "dive."
Now, Let's TEST!
Nice! Rick can dive. Now let's see if he can climb.
He's a climber!
This actually took a couple takes, but I was able to get it working. Whoop! And that's it.

We had a good time didn't we. "He's a cool guy. " - Rick