 WJCarpenter
"Thanks for your valuable service. You have made immense contributions. You are well on the way to creating something great. Unfortunately, due to ... mumble, mumble, mumble ... we are forced to make some hard decisions. We are re-prioritizing our efforts in different areas. To better serve our customers, re-align with our stakeholders, blah, blah blah...."
Chairman: Doctor, you are genius!
Dr. Poppover: Of course.
Chairman: You are national hero!
Dr. Poppover: Natch.
Chairman: You are under arrest!
Dr. Poppover: Eh, why?
Chairman: You know too much.
Dr. Poppover: Oh.
Well, I learned (or re-learned) a heck of a lot by working on this project over the course of several years. I've decided to break my pretty balloon and put all my toys away, at least for this project. Some things have changed over the 4+ years since I started it, and I'm not even talking about the crazy number of times I changed my mind about details of the project itself.
- After a few years of service, the inexpensive LED strips I bought have started to show small areas of blinkies and fade-out. I haven't had to replace any sections yet, but I've become skeptical about their lifetime.
- Due to the continued accumulation of detritus and the consequent narrowing of walking pathways in the garage, the need for good and automatic lighting is becoming more and more important to me every day. I'm afraid they might find me under a heap of non-automotive possessions before I can finish the project.
- Alternatives to LED strip lighting have become better, cheaper, all-around nicer in recent years. I bought dimmable LED tube replacements for some fluorescent bulbs probably more than 10 years ago, for an outrageous price, and their dimmability was pretty horrible. My local utility company now sells 4 foot dimmable LED tubes for US$5 (including a US$2 rebate per tube). They are "direct replacement" so can be used with or without ballast. I have some, and they are excellent.
- While wandering through my local home center, I saw a clearance item of some 4 foot tube fixtures. Each can hold a pair of tubes. They were normally around US$35 (comparable to others not on clearance), and the clearance price was under US$7. As a Hackaday reader, it is my sworn duty to scoop up such bargains whether I need them or not. I visited a couple other locations of the same home center and bought all I could find. (I put one of these up in my basement where there was just a bulb before. Now I can see all the spiders. Yikes.)
The most important thing that changed, however, is that I have switched my approach to home automation from being a series of one-offs, which are a combination of learning experience and disaster in the making, to a more organized approach. My weapon of choice now is Home Assistant, a widely used open source project. I got interested in this approach when I started to look into how I could keep historical records of things like temperature readings and then make cool visualizations of them. In theory, I could do all that from scratch and/or by cobbling together various off-the-shelf things, but who has that kind of time?
(An aside about Home Assistant. They have a sort of middle-ground problem. There are tons of things you can do by just following their recipes or click-this-click-that in the web UI. They also have a very sophisticated architecture that makes extremely complex things possible without requiring fundamental changes in the framework. The middle ground problem is that there is a hard road in getting from that first stage to the last stage. If you are a programmer and are willing to work at it, you can figure it out.)
I put the project to bed by implementing what I needed in a different way. This long posting describes what I did.
I installed the motion sensors as originally planned. I ran the wires a while back, and they have just been dangling in the air since. You need three wires to operate a PIR sensor (power, ground, signal), and I had originally planned to use a fourth wire for lighting an LED co-located with the sensor so I could see when each triggered. I got lazy and skipped that. The professional-looking mounting you see in the image below is good enough for something that lives in the garage.
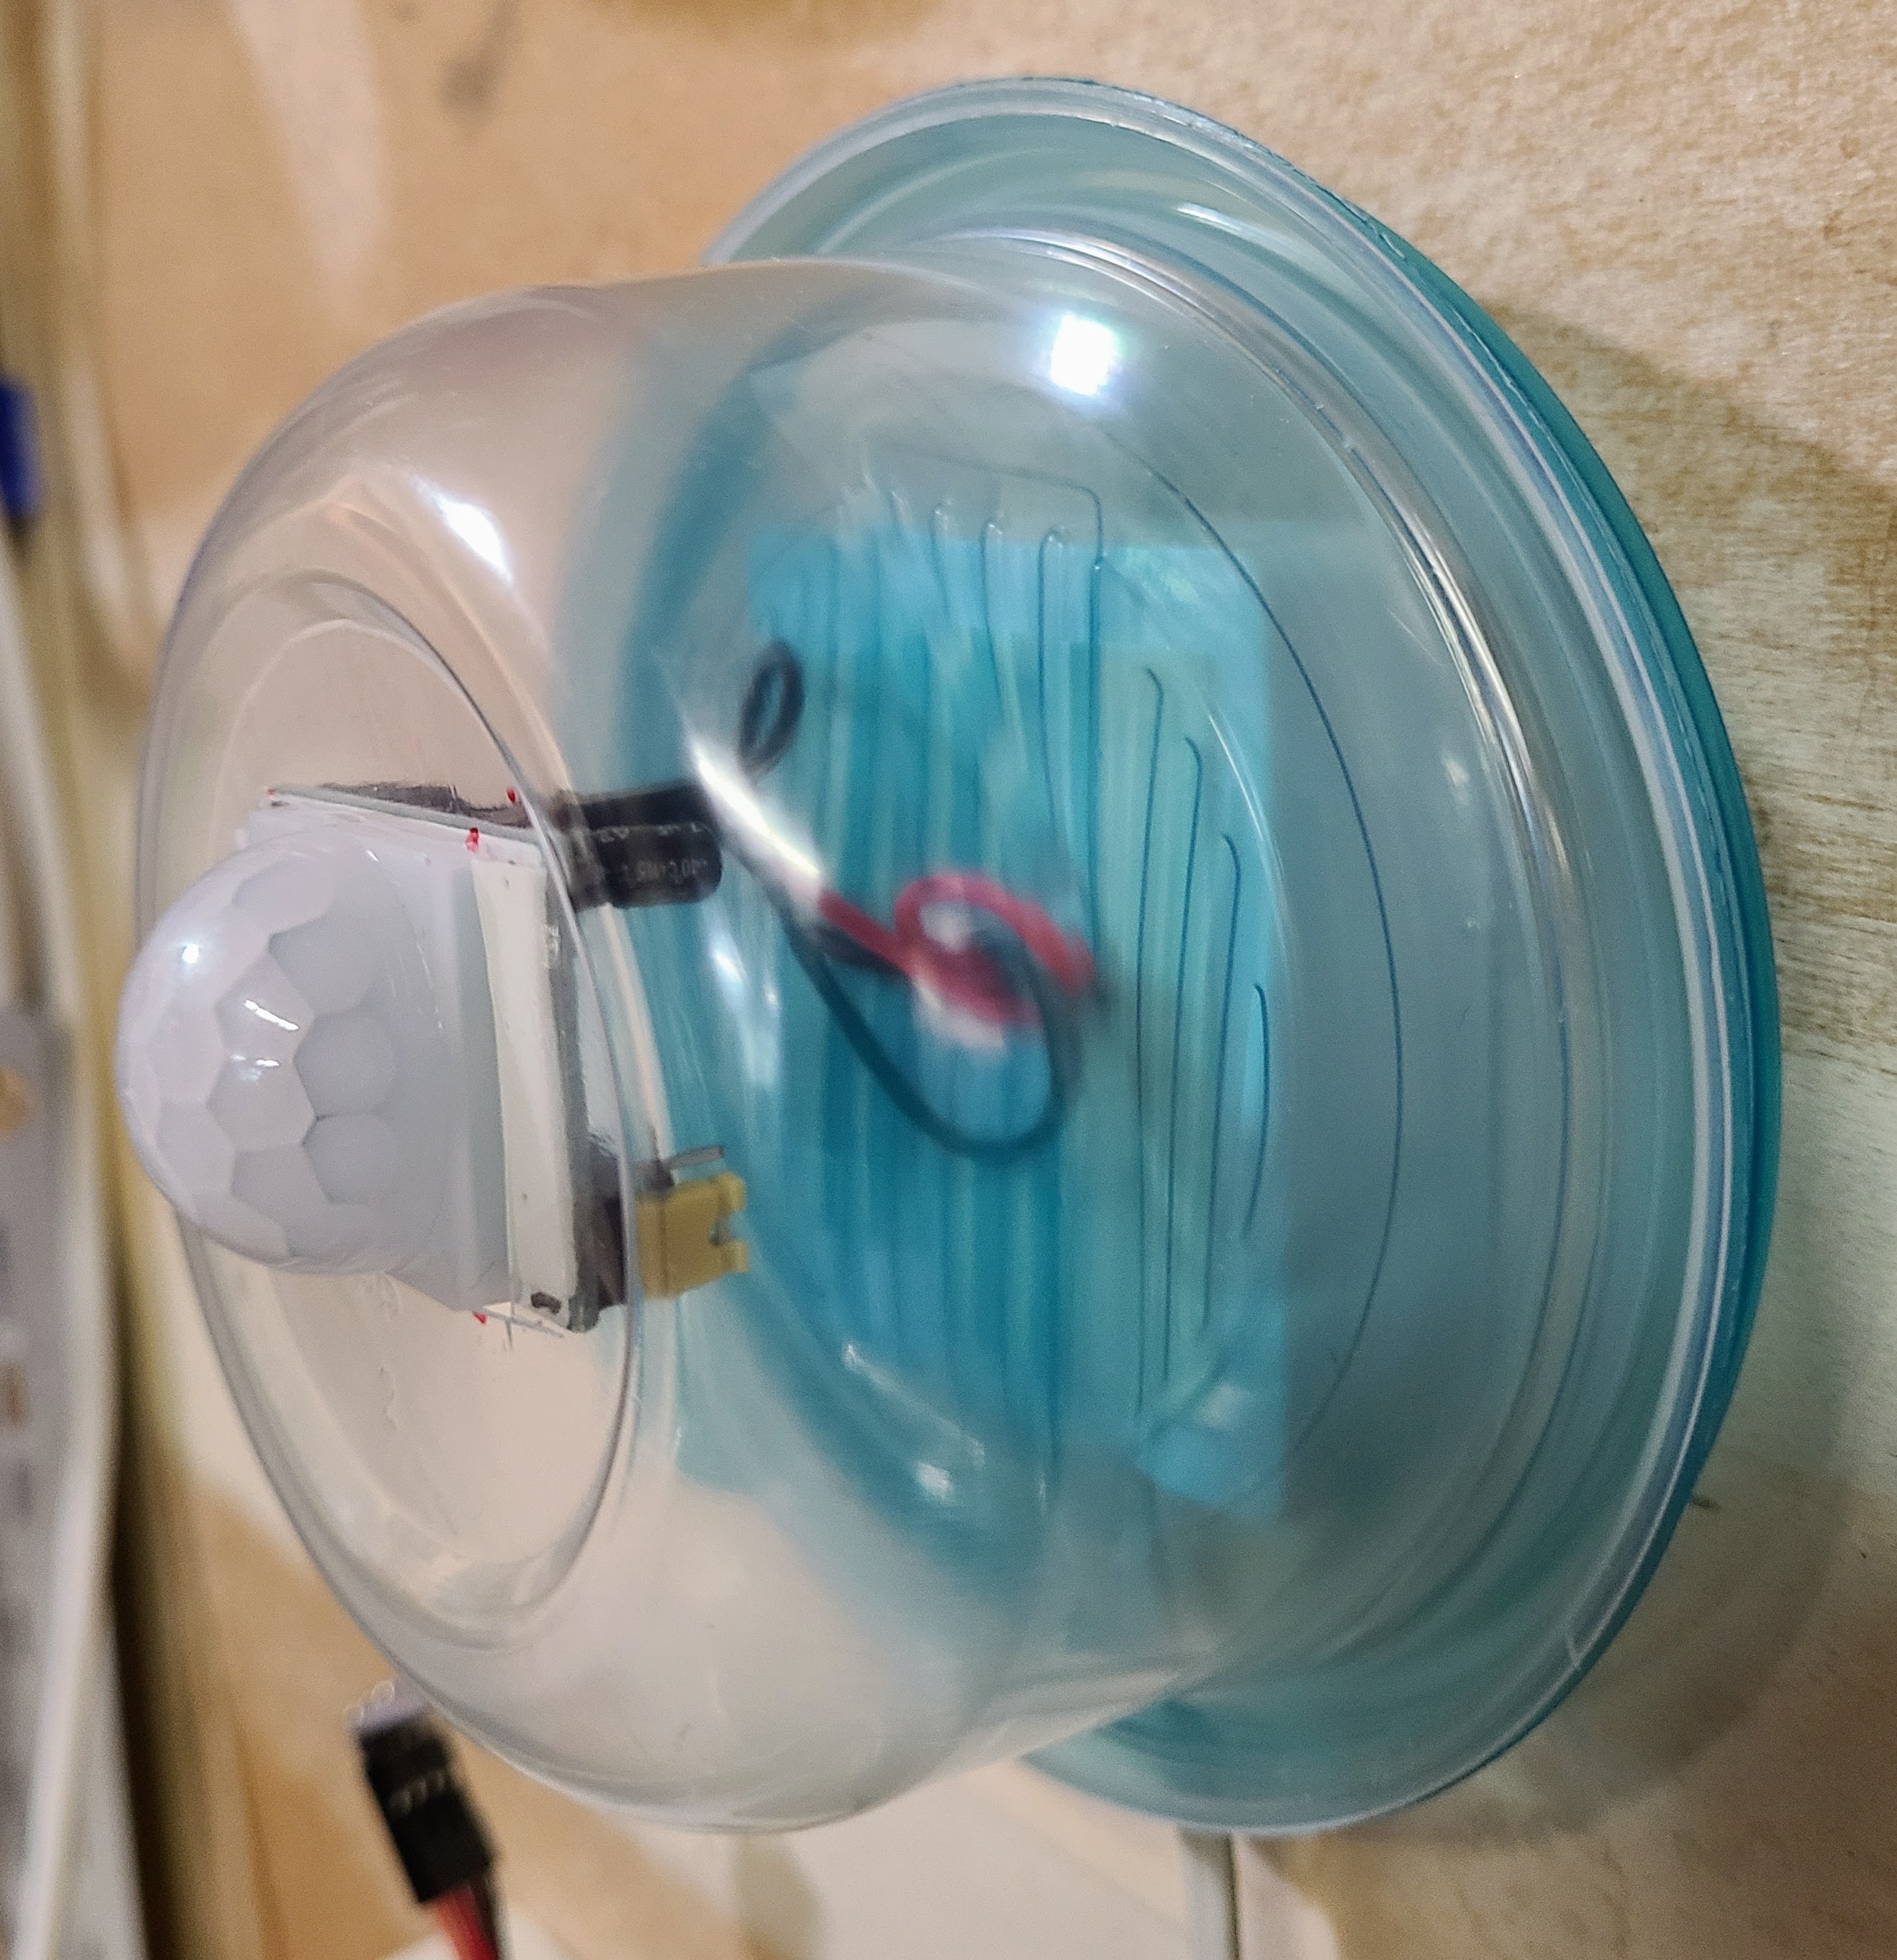
I installed a third motion sensor on the wall near the walk-in door and near the control box. That was so the lights would come on well before someone got into the detection area of the ceiling-mounted sensors. I don't think I really needed that. With the sensitivity of the PIRs turned to maximum, the ceiling-mounted sensors cover pretty much the whole garage and even significantly overlap each other.
I have a menagerie of different PIR types (including some really nice, but expensive, ones from Sparkfun), in the end I used the cheap ones that you see everywhere when you look around for PIR sensors (a rectangular board, a square white lens cover, two adjustment pots, and a 3-pin jumper). These are usually advertised with a maximum detection range of 5m-7m, which was correct for the ones I used. One of the pots controls a timing factor, which I found to be so unreliable and weird that I chose to set it to minimum and let the controller sort it out from the triggerings. Although these cheap PIR sensors from many sources look remarkably similar, they are prone to having reversed or wrong controls or markings, so direct experimentation is pretty much a necessity for getting them to work. Tutorials about them are likely to assume they work the same way as those the authors had on hand.
Instead of the gold-plated control box that I originally planned, I put an ESP8266 into a little box I had on hand. The box is intended to be used as some kind of surface-mounted junction box for things with keystone jacks. It has knock-outs for 6 ports, and I used 3 of them to plug in the wires from the motion sensors. Inside the box, I put the ESP8266 on a tiny bread-board. That gave me enough bread-board area to wire everything together with dupont jumpers. It's a bit of a rat's nest, so I'm hoping to never have to remove the cover ever again; if I do, I'm sure it will stop working.
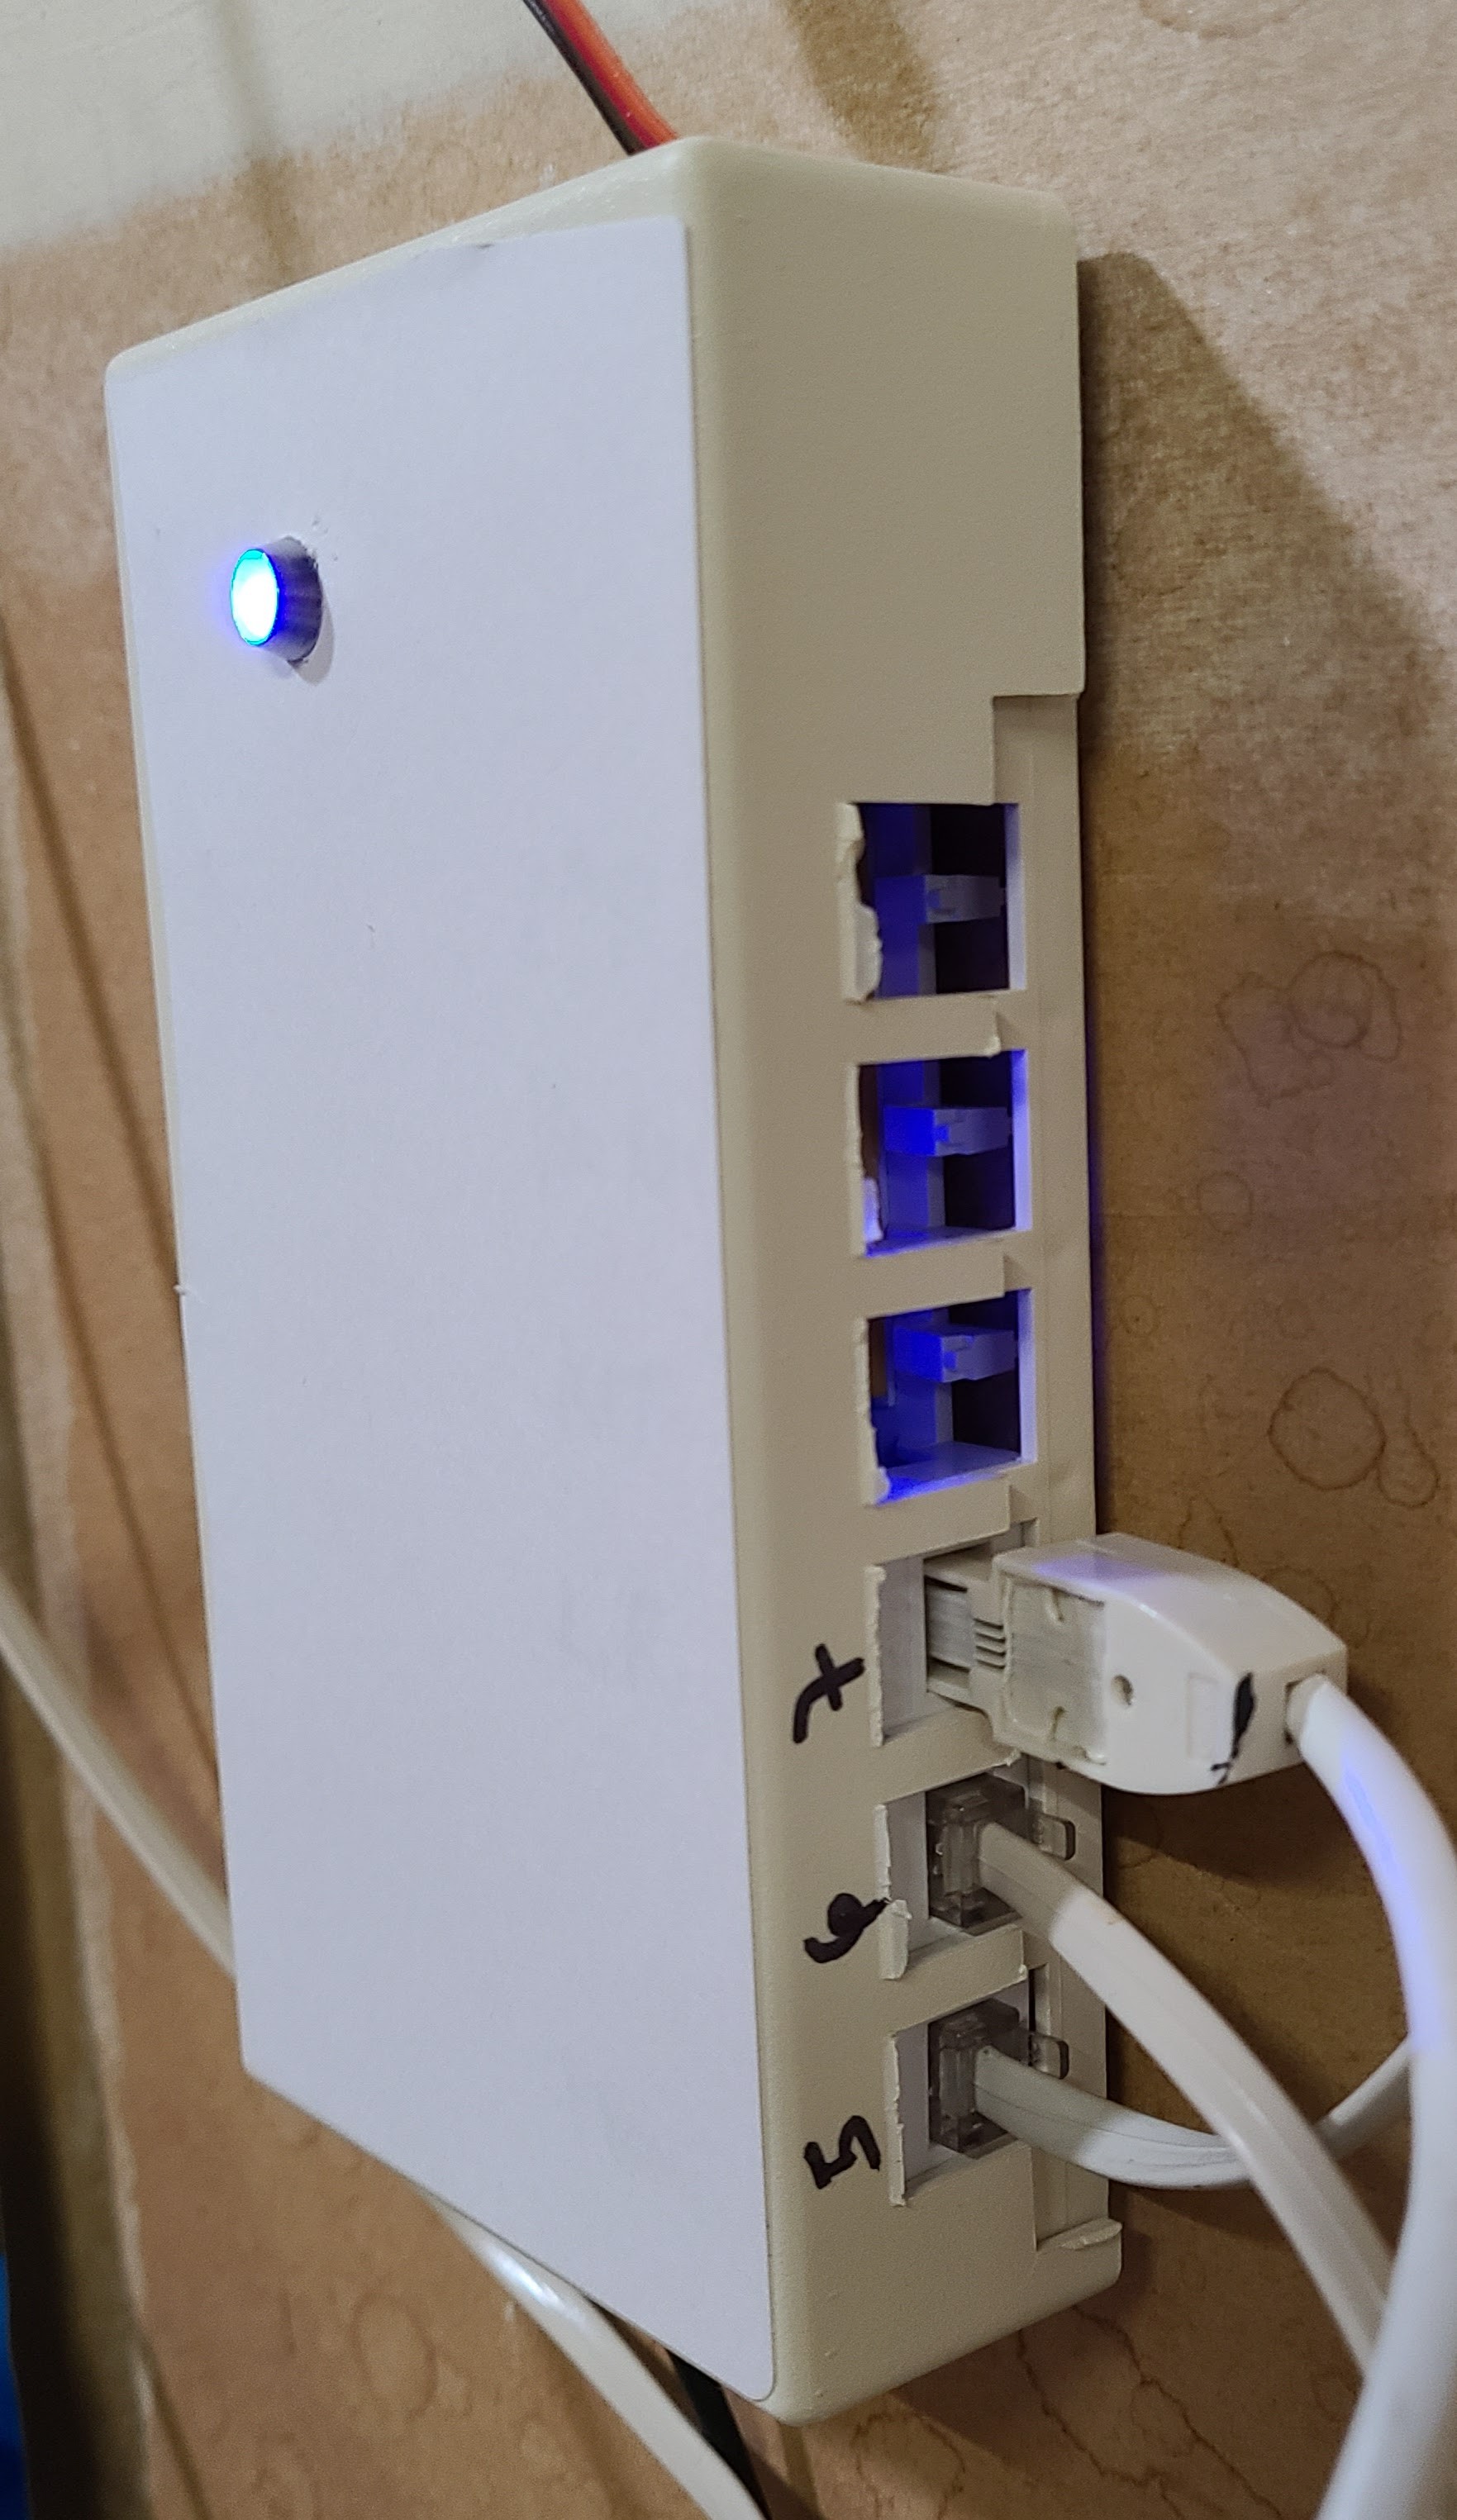
I also mounted an LED through the cover of the box and wired it to a spare GPIO pin on the ESP8266. The LED is lit when any of the PIR sensors raises a "detected" signal and turns off when that sensor withdraws its "detected" signal. Ditto for the on-board LED (because, why not?). This was extremely handy for determining the scope of the PIR sensors as I moved around the garage. It's not a perfect implementation because one sensor can turn the LED on and another sensor can turn it off while the first sensor is still "detecting", but I was too lazy to do anything about that. I thought about using separate LEDs for each PIR sensor, but, again, too lazy (and I didn't want to open the control box cover).
Last, but not least, I added a BME280 climate sensor (temperature, pressure, humidity) as part of my collection of having them sprinkled around the house. That was part of the original project plan. In the interim, I had a separate ESP32 reporting that info; that device is now harvested for other uses.
The logic for the ESP8266 is written as an ESPHome configuration. I've included that file, garmotion.yaml, in the files section of this project. It sends the "detected" signals over MQTT to my Home Assistant server. With 3 PIR sensors and the PIR hold times set to minimum, the "detection" signals are very chatty. That's not any kind of performance problem for this home-based system, but it felt inelegant to me. I did 2 things to tone it down. First, I implemented what ESPHome calls a "template sensor", which is a kind of fake sensor that can use whatever logic you'd care to stitch together. My "any PIR" sensor shows "detected" while any of the real PIRs is showing "detected" and withdraws that when none of the real PIRs is showing "detected". Second, I implemented what I call a "play dead" period, where the "any PIR" sensor will ignore things for a while after it has raised the "detected" signal. I have, in effect, implemented my own PIR sensor hold time, but now I am in complete control of it. The LED still reflects the "detected" signals of the individual PIR sensors.
Because of unmentionable problems with household members, the mains switch for the garage lights have been timer-controlled for several years. I replaced that switch with a smart WiFi switch. There are zillions of these on the market. The one I used was a Martin Jerry MJ-ST01. I chose this particular model because of positive forum comments about Martin Jerry from others, and because I liked its aesthetics. Our garage lighting uses a 3-way switch, and this smart switch can use a plain, old-school 3-way switch at the other location. It also gives me the option of someday upgrading the wiring to a 4-way switch arrangement.
Lucky for me, these switches came with "old" Tuya firmware that allowed me to do an OTA conversion to Tasmota firmware. Support for this kind of switch in Tasmota is solid and gives me very low latency local control.
My original plan for the project was to use dimming for all kinds of clever things. One hazy plan was to have the lights come on at partial brightness when automatically triggered but full brightness when turned with a switch. I also had ideas for a quick fade-up and fade-down to reduce the startle effect of the lights coming on and off. This change to a simple on/off switch means no dimming effects. For some reason, current smart dimmer switches can handle 400w of incandescent load but almost universally limit LED load to 150w. (I don't know the electrical reasoning for that difference.) The dimmable LED tubes I am using are 14w each. They are so bright that I only need 6 of them, which is only 84w. However, the fixtures have space for up to 12 tubes, which would be 168w. I don't want some future homeowner to unknowingly exceed the rated capacity of the switch. The simple on/off switches have an equally simple 15A rating.
With all of those things in place, I used Home Assistant automation to control the lights. There are a bajillion examples of this (sort of the "Hello world!" of smart home automation), so I won't bother with any implementation details. When the ESP8266 "any PIR" sensor triggers, the automation turns on the smart switch. The light stays on for 10 minutes after the "detection" signal goes away.
One enhancement that I plan to make is to have the lights blink a couple of times before they go out for good. If someone is doing something without much movement, they'll have a chance to wave their arm or something before being plunged into darkness. That blinking was part of the grand design at the start of the original project, but it's now less interesting due to the sensitivity of the PIR sensors. It's hard to stay still enough to avoid triggering the PIR sensors.
Moving on from the original project frees up my massive brain power and minimal attention span to work on other things. But, there are some losses:
- I am aware that I am now "settling" for an implementation that is somewhat similar to off-the-shelf possibilities that I was complaining about at the beginning of the project. Most of this just adds up to a simple motion-controlled light. A key difference (in terms of rationalizing things to myself) is that I was able to place the multiple PIR sensors in useful locations. A PIR sensor built into a light switch would not have helped since the light switch is not inside the garage.
- A future homeowner will not have the benefit of my home automation hub or even my WiFi network. The motion sensors will continue to trigger, but the ESP8266 will not be able to send its MQTT messages. The device will reboot once in a while to try to fix its network connection, but to no avail. The new homeowners will still have the WiFi smart switch. If I remember and am able, I'll convert them back to standard Tuya firmware so that they can still use the proprietary, cloud-based smarts.
- There's no display built into the control box now. If you want to know the time or the temperature or how long is left before the lights turn off, well, you have to figure it out some other way.
- I've accumulated a lot of various kinds of parts and components that were tentatively going to go into this project at some point, and now those never will. Oh, wait, that's a "pro", not a "con". Junk box, here we come.
- I may have to return the Nobel Prize in Light Switches that my son awarded to me a couple of years ago.
Discussions
Become a Hackaday.io Member
Create an account to leave a comment. Already have an account? Log In.