STEM Sussex Big Bang Fair requires loud, bright attractions to engage with the visiting students.
ST3Mbot meets those needs. He started life as an old flip top bin, that had a nice Chrome lid (or head). I chopped the bin in half with a dremel, and welded a square frame of 20x40 ERW steel on which to mount the legs.
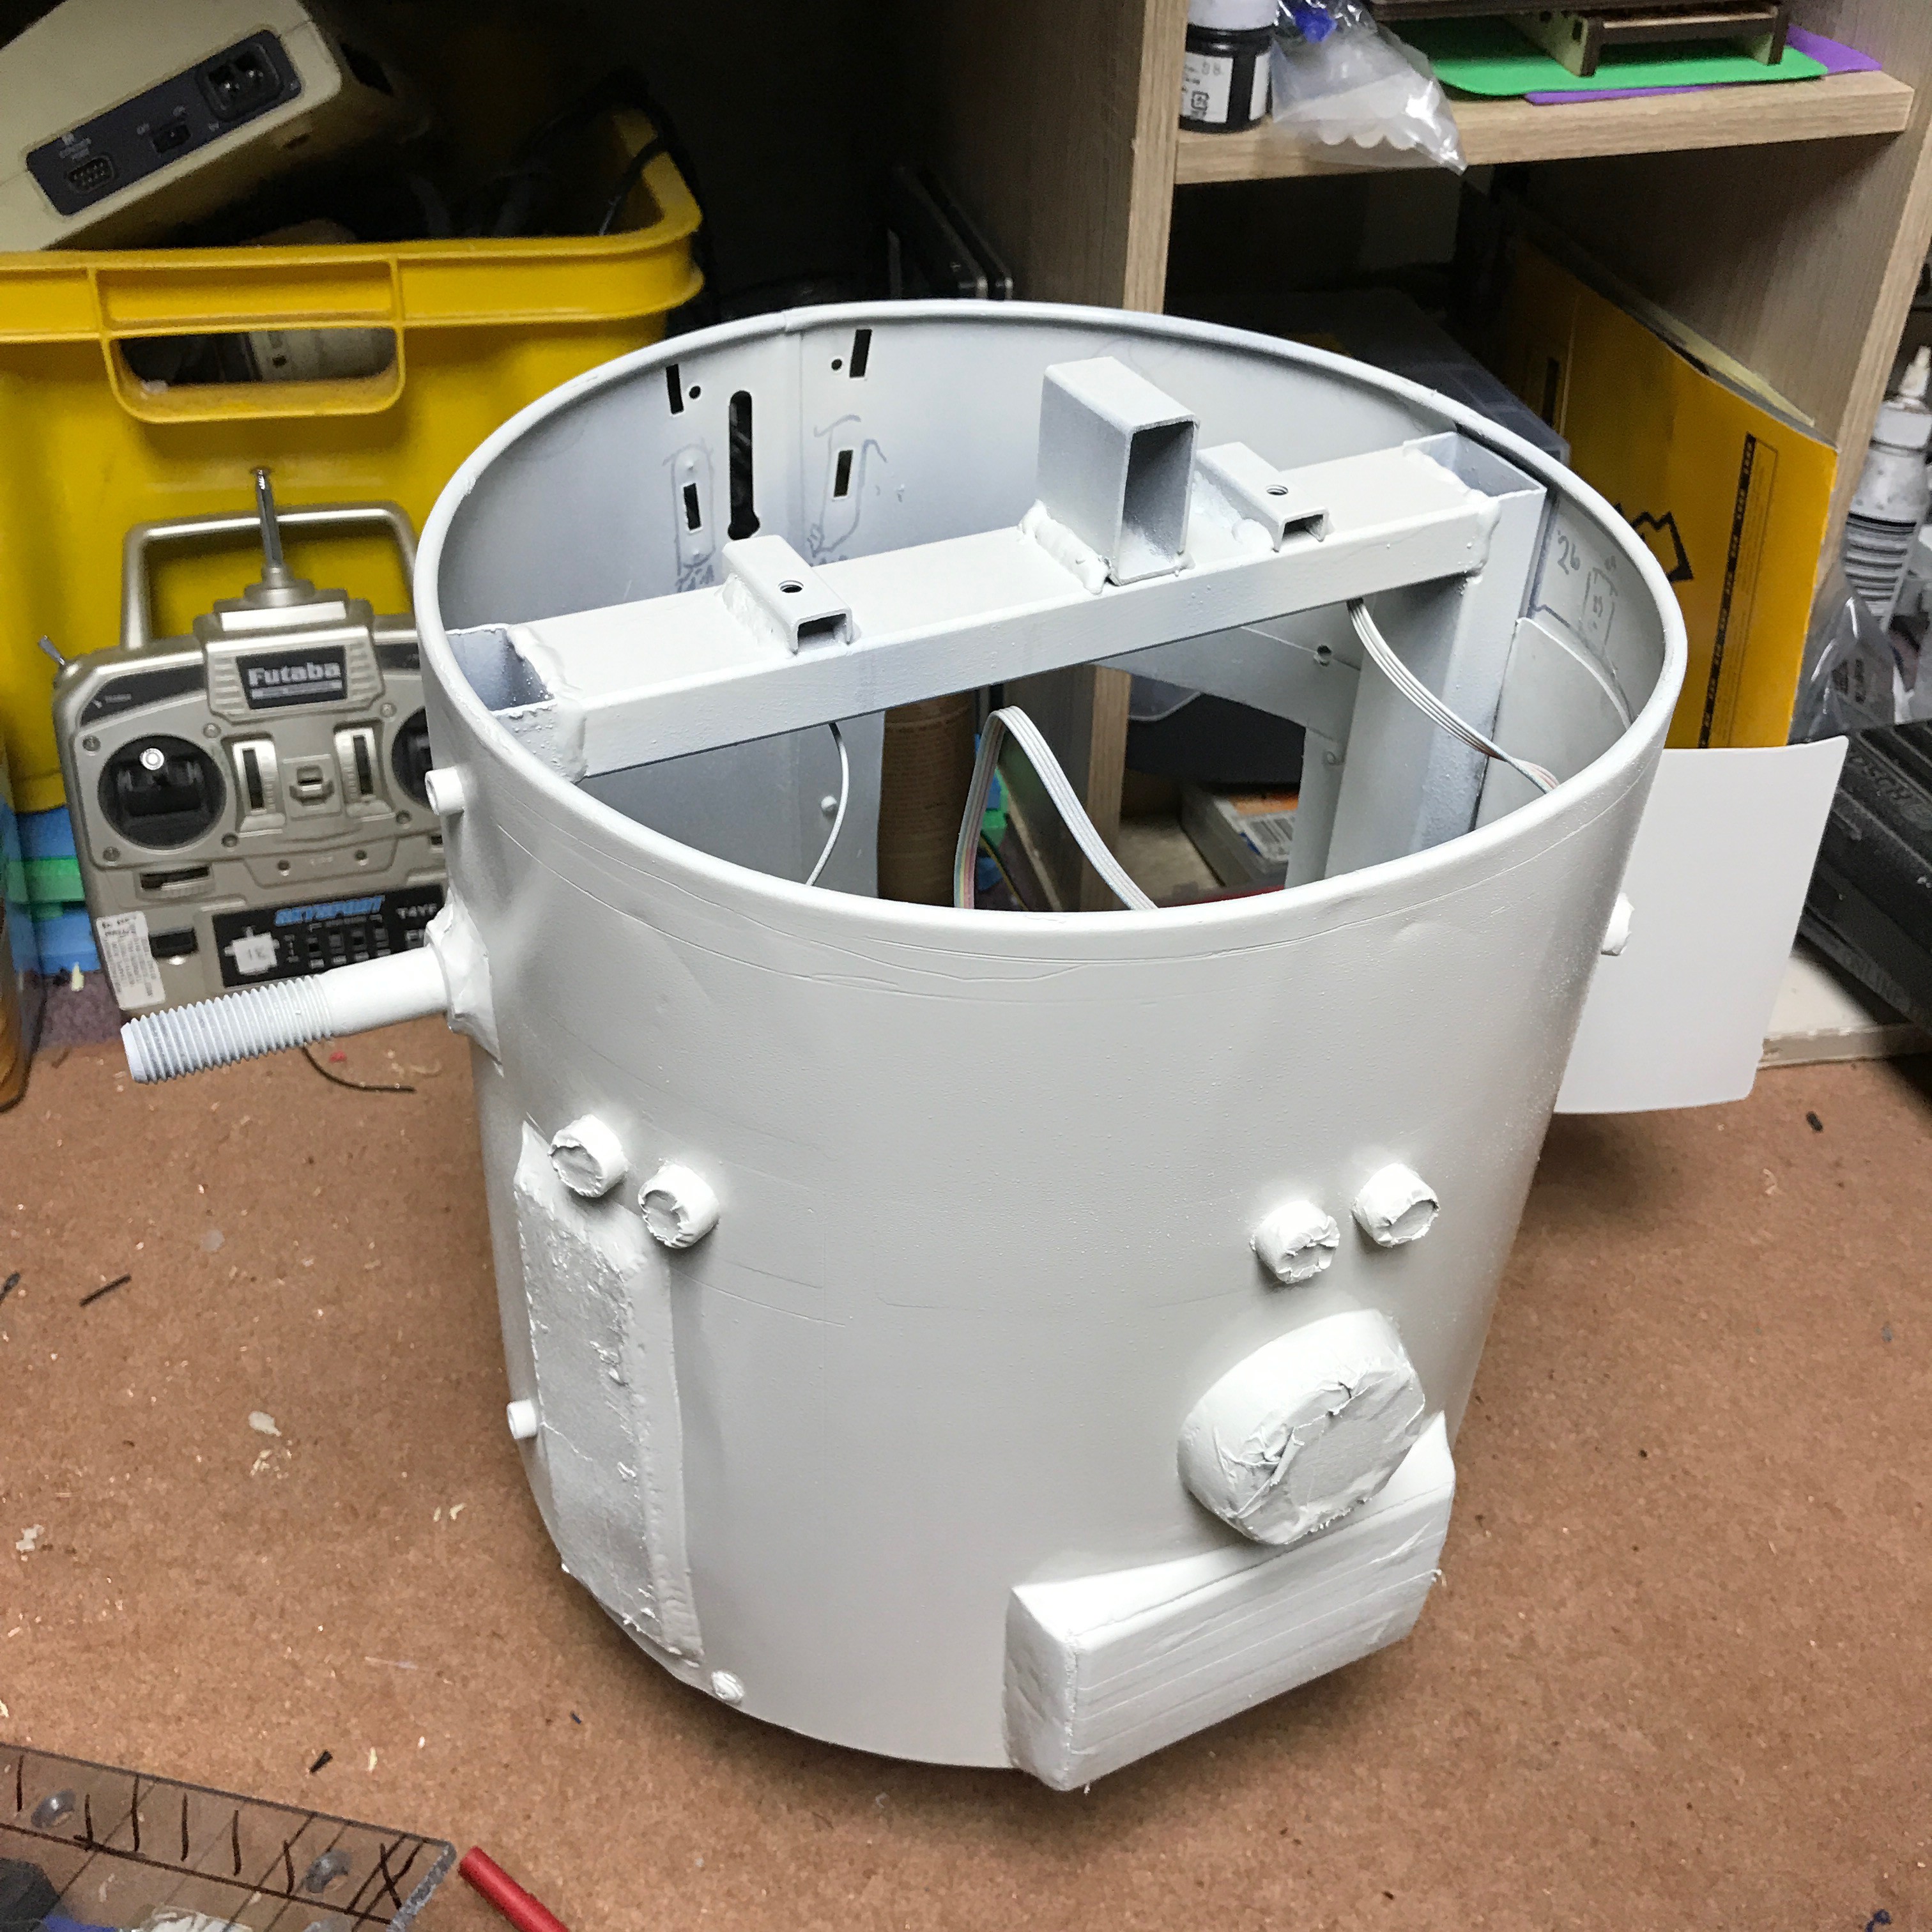
I cut holes to mount 3 sr04 ultrasonic units, a thermal printer and a grill for the speaker. I welded on a couple of M16 bolts to the sides to hold the legs. The legs were made of old library shelving, 50x50 box steel. Welded into a T to hold the drive wheels. For the neck I reinforced the plastic bin base with MDF, and welded a couple of bolt brackets to the steel frame to hold it in place. Originally I was going to have one R2 style "eye", but sketches looked good with a couple of Neopixel eyes so that's what I did.
// NeoPixel Ring simple sketch (c) 2013 Shae Erisson
// released under the GPLv3 license to match the rest of the AdaFruit NeoPixel library
// Set as Leonardo 5V 16Mhz - Device is 5V 16MHz Pro micro clone

#include <Adafruit_NeoPixel.h>
#ifdef __AVR__
  #include <avr/power.h>
#endif

// set pin out and LED no
#define PIN            2
#define NUMPIXELS      12
Adafruit_NeoPixel pixels = Adafruit_NeoPixel(NUMPIXELS, PIN, NEO_GRB + NEO_KHZ800);
//set delay in microseconds
int delayval = 100;

void setup() {
  pixels.begin(); // This initializes the NeoPixel library.
}

void loop() {
  // first NeoPixel is 0, second is 1
  for(int i=0;i<NUMPIXELS;i++){
    // pixels.Color takes RGB values, from 0,0,0 up to 255,255,255
    pixels.setPixelColor(i, pixels.Color(25,0,0));
    pixels.show();
    delay(delayval);
  }
}
I checked the R2 builders form for the best way to rotate the head, and it seems that a "lazy susan" easily bought from eBay is what most folk use. I fitted an MDF base mounted a couple of L brackets to bolt to the chrome head.
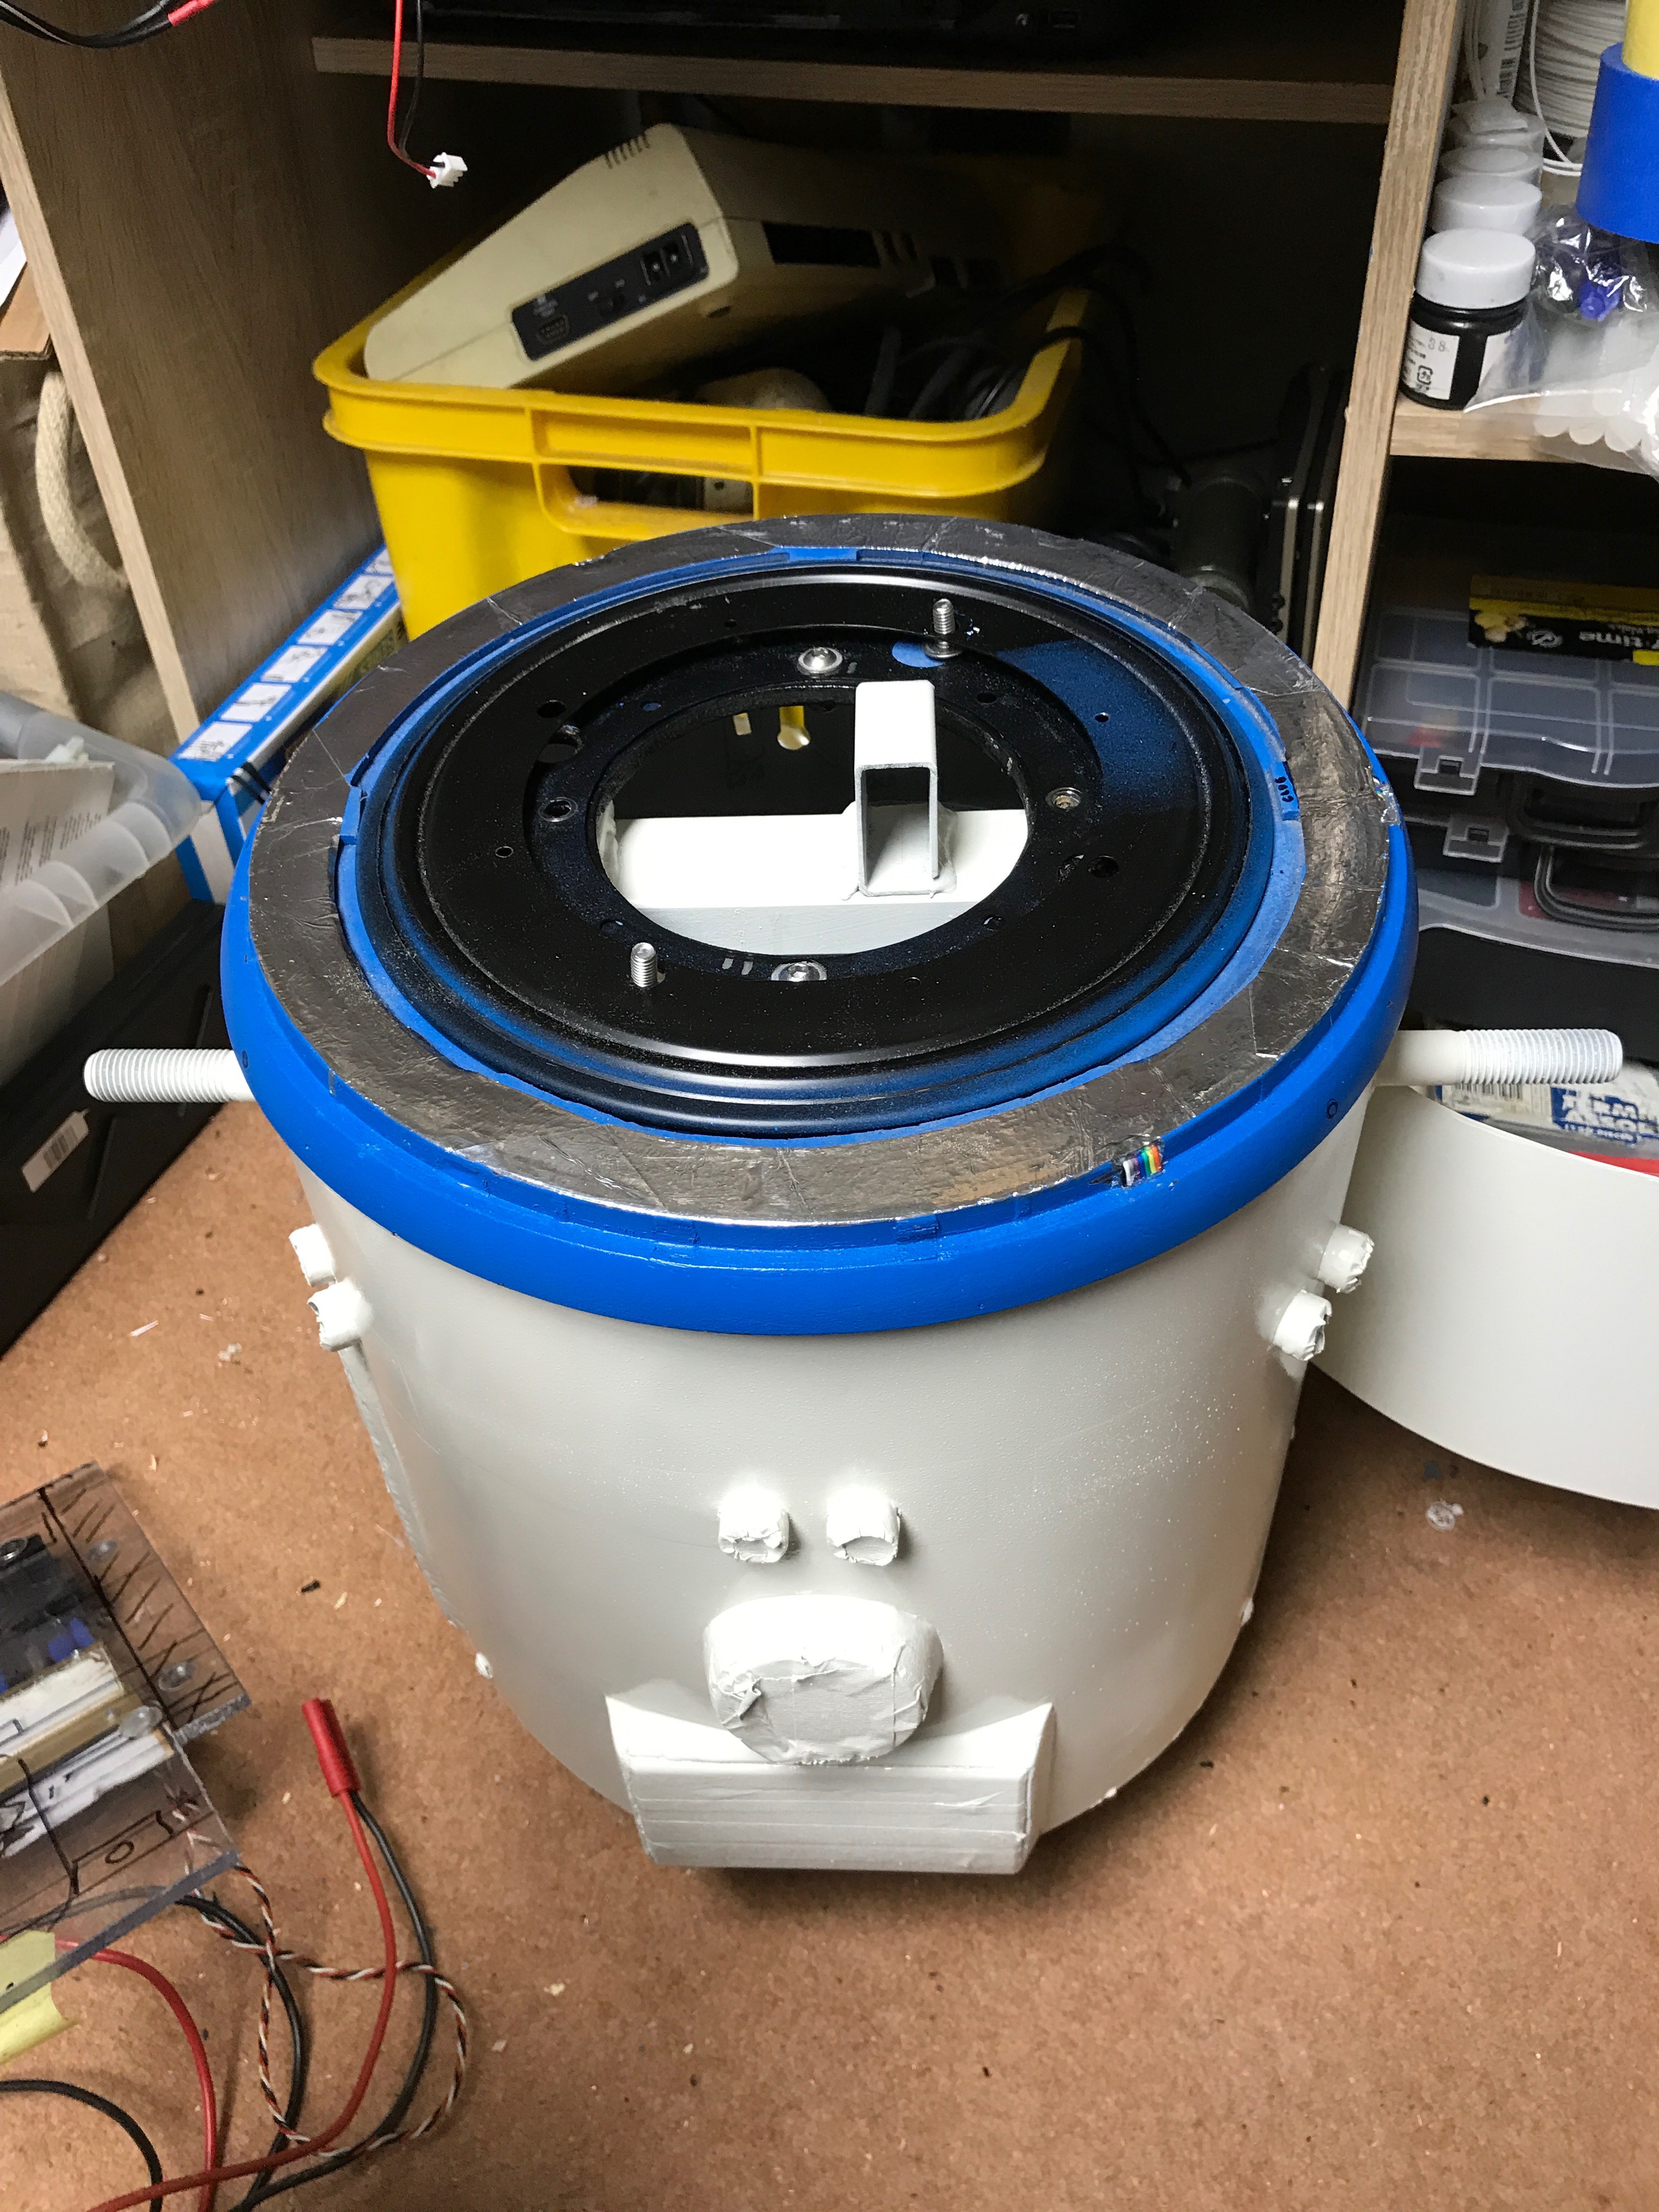
In the centre of the lazy susan I mounted an old servo I've had laying around since Technogames in 2000, the photo shows the original set- up, with a rigid mecano bar fixing the servo to the neck. Testing showed this was a problem, and I later rigged up a bungee cord to give a bit of slack in the system, as the original bar had no slack, and the servo was getting a bit hot.
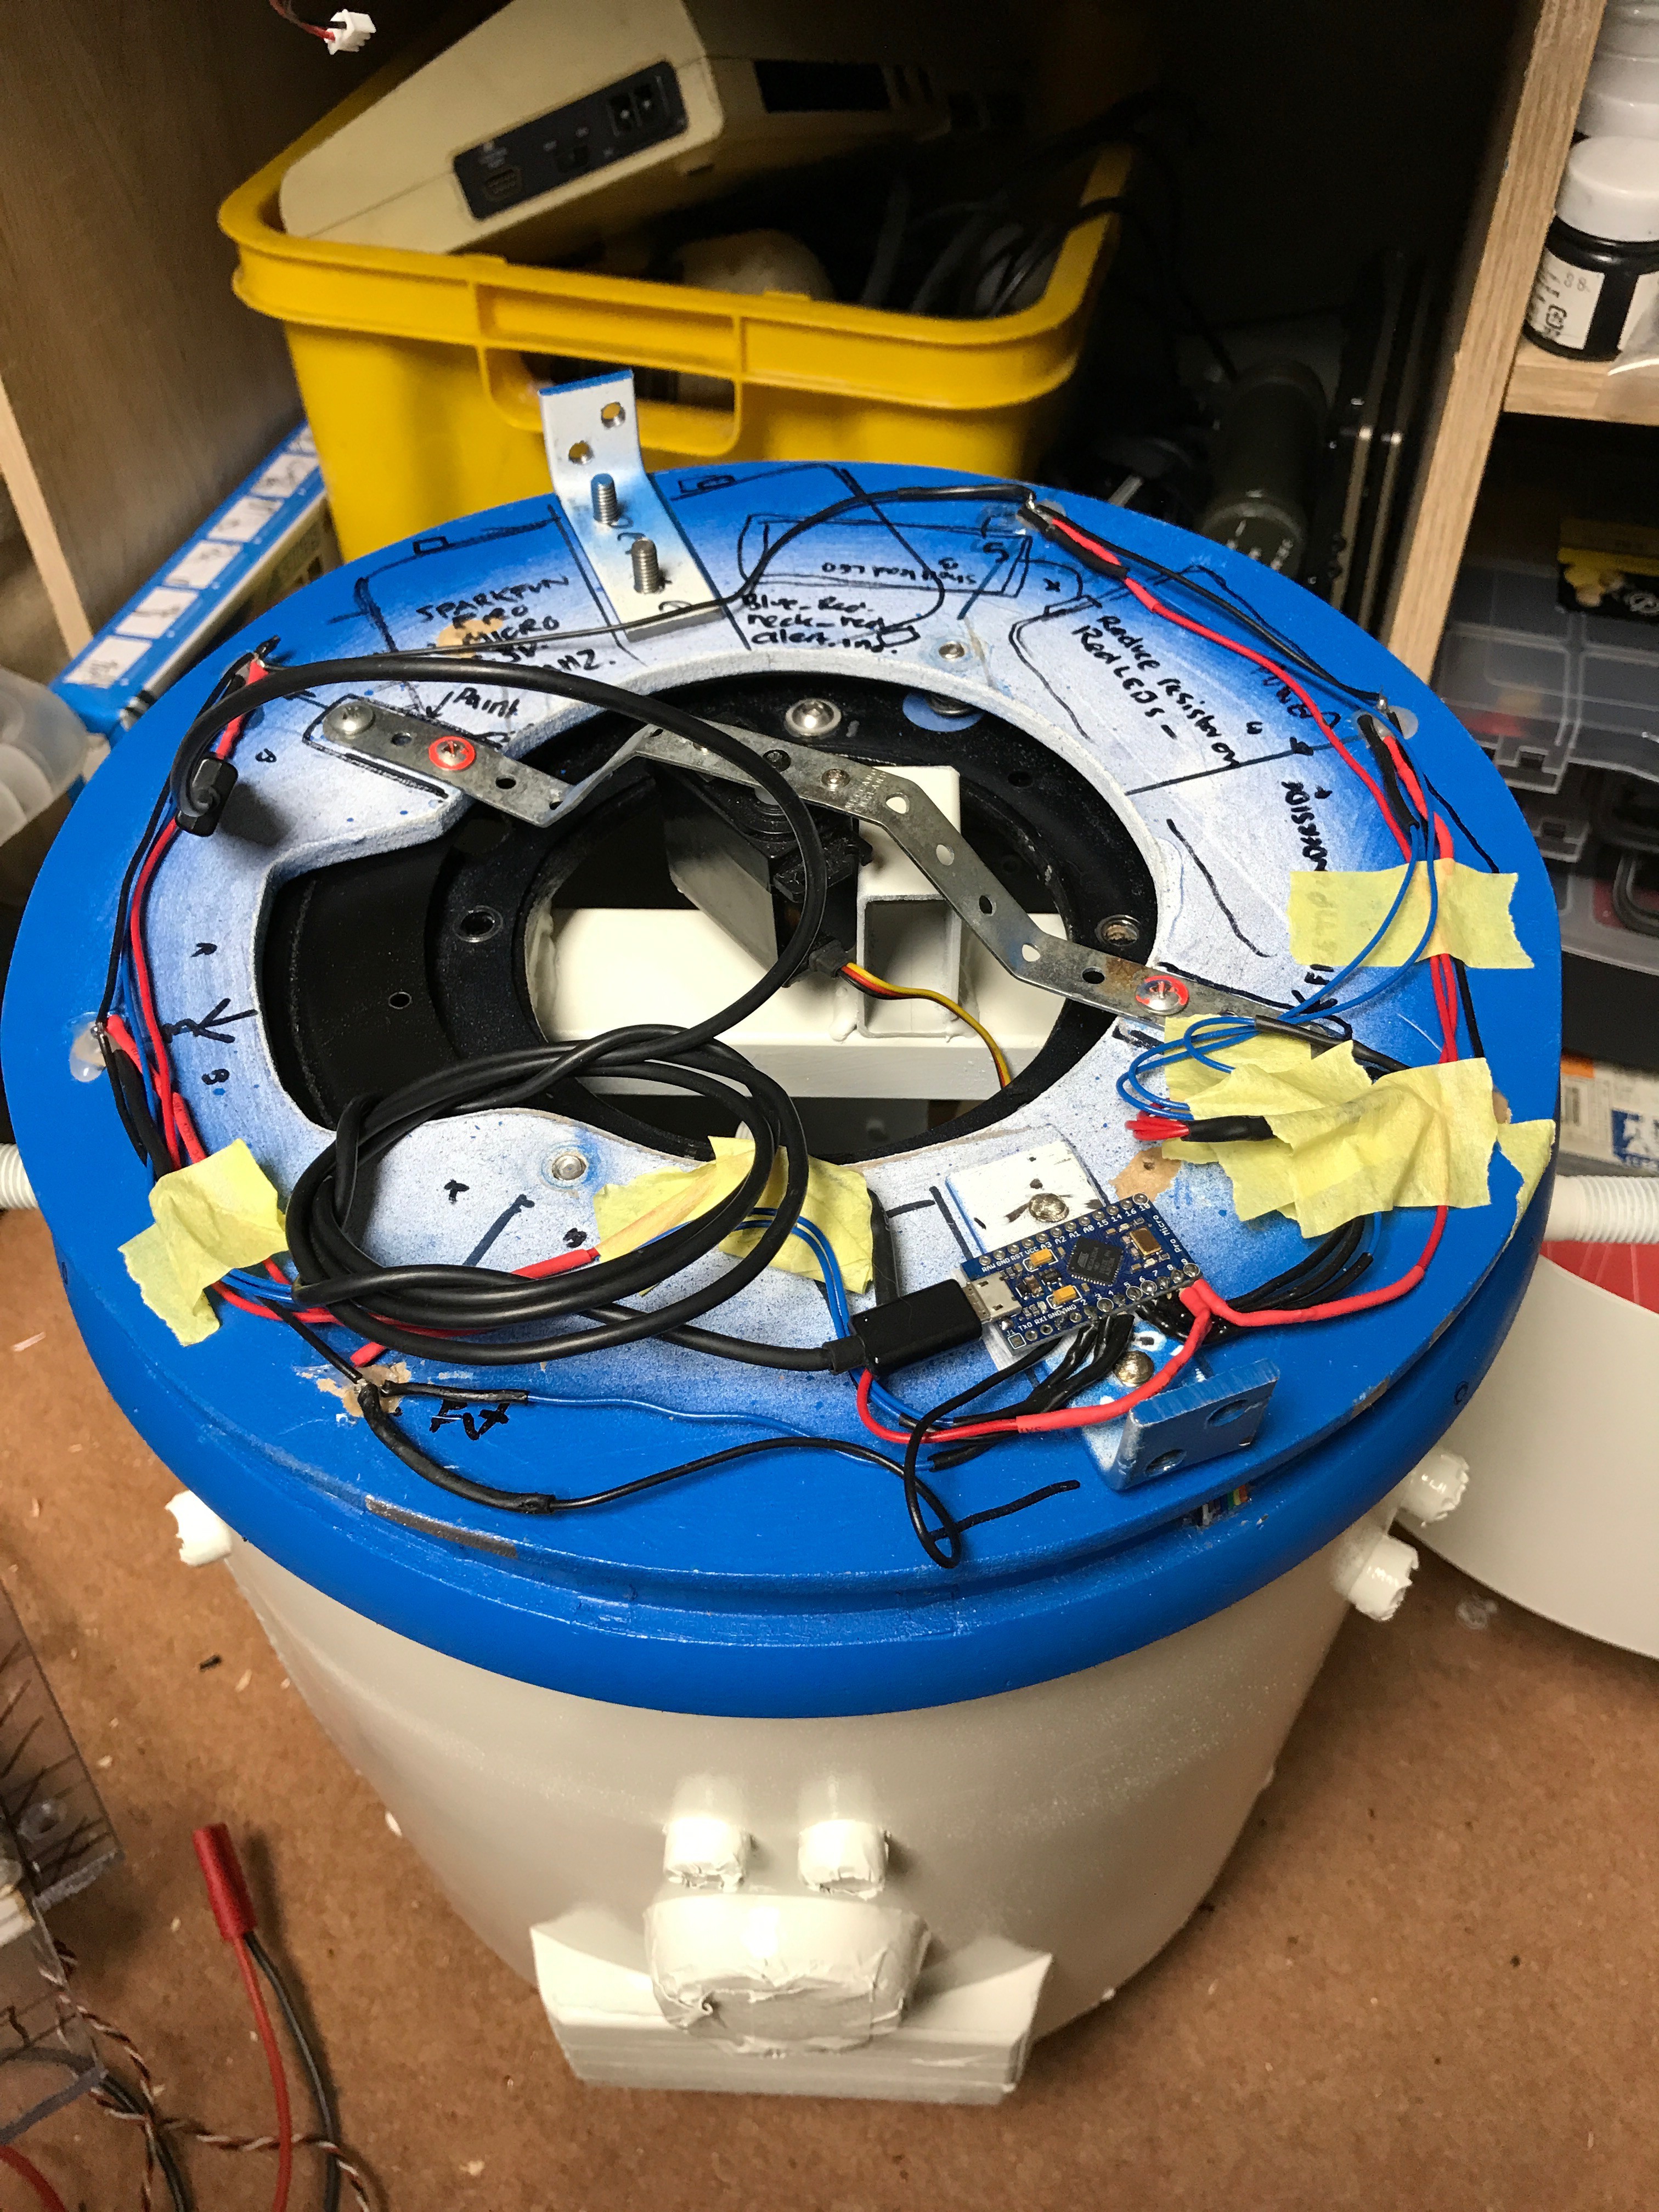
I used a trinket pro arduino for the servo which has enough power output to run the servo directly.
#include <Arduino.h>

/*
 HC-SR04 Ping distance sensor:
 VCC to arduino 5v
 GND to arduino GND
 sr04#01
 Echo to Arduino pin 7
 Trig to Arduino pin 8
 sr04#02
 Echo to Arduino pin 9
 Trig to Arduino pin 10
 sr04#03
  Echo to Arduino pin 11
 Trig to Arduino pin 12

 This sketch originates from Virtualmix: http://goo.gl/kJ8Gl
 Has been modified by Winkle ink here: http://winkleink.blogspot.com.au/2012/05/arduino-hc-sr04-ultrasonic-distance.html
 And modified further by ScottC here: http://arduinobasics.blogspot.com.au/2012/11/arduinobasics-hc-sr04-ultrasonic-sensor.html
 on 10 Nov 2012.
 Modified to turn head of ST3M droid using servo
 */

#include <Servo.h>

#define echoPin1 7 // Echo Pin
#define trigPin1 8 // Trigger Pin
#define echoPin2 9 // Echo Pin
#define trigPin2 10 // Trigger Pin
#define echoPin3 11 // Echo Pin
#define trigPin3 12 // Trigger Pin

Servo myservo;  // create servo object to control a servo
int maximumRange = 200; // Maximum range needed
int minimumRange = 0; // Minimum range needed
long duration1, duration2, duration3, distance;// Duration used to calculate distance
int servoposition = 0;//initialise servo


void setup() {
 Serial.begin (9600);
 pinMode(trigPin1, OUTPUT);
 pinMode(echoPin1, INPUT);
 pinMode(trigPin2, OUTPUT);
 pinMode(echoPin2, INPUT);
 pinMode(trigPin3, OUTPUT);
 pinMode(echoPin3, INPUT);
 myservo.attach(6);  // attaches the servo on pin 6 to the servo object

}

void loop() {

/* The following trigPin/echoPin cycle is used to determine the
 distance of the nearest object by bouncing soundwaves off of it.

 Add a loop to get closest object


 */

 digitalWrite(trigPin1, LOW);
 digitalWrite(trigPin2, LOW);
...
Read more »
 Rob Englebright
 Lee Sampson
 electronicsworkshops
 adamc
adamc
 Guillermo Perez Guillen