 rolmie
Required parts
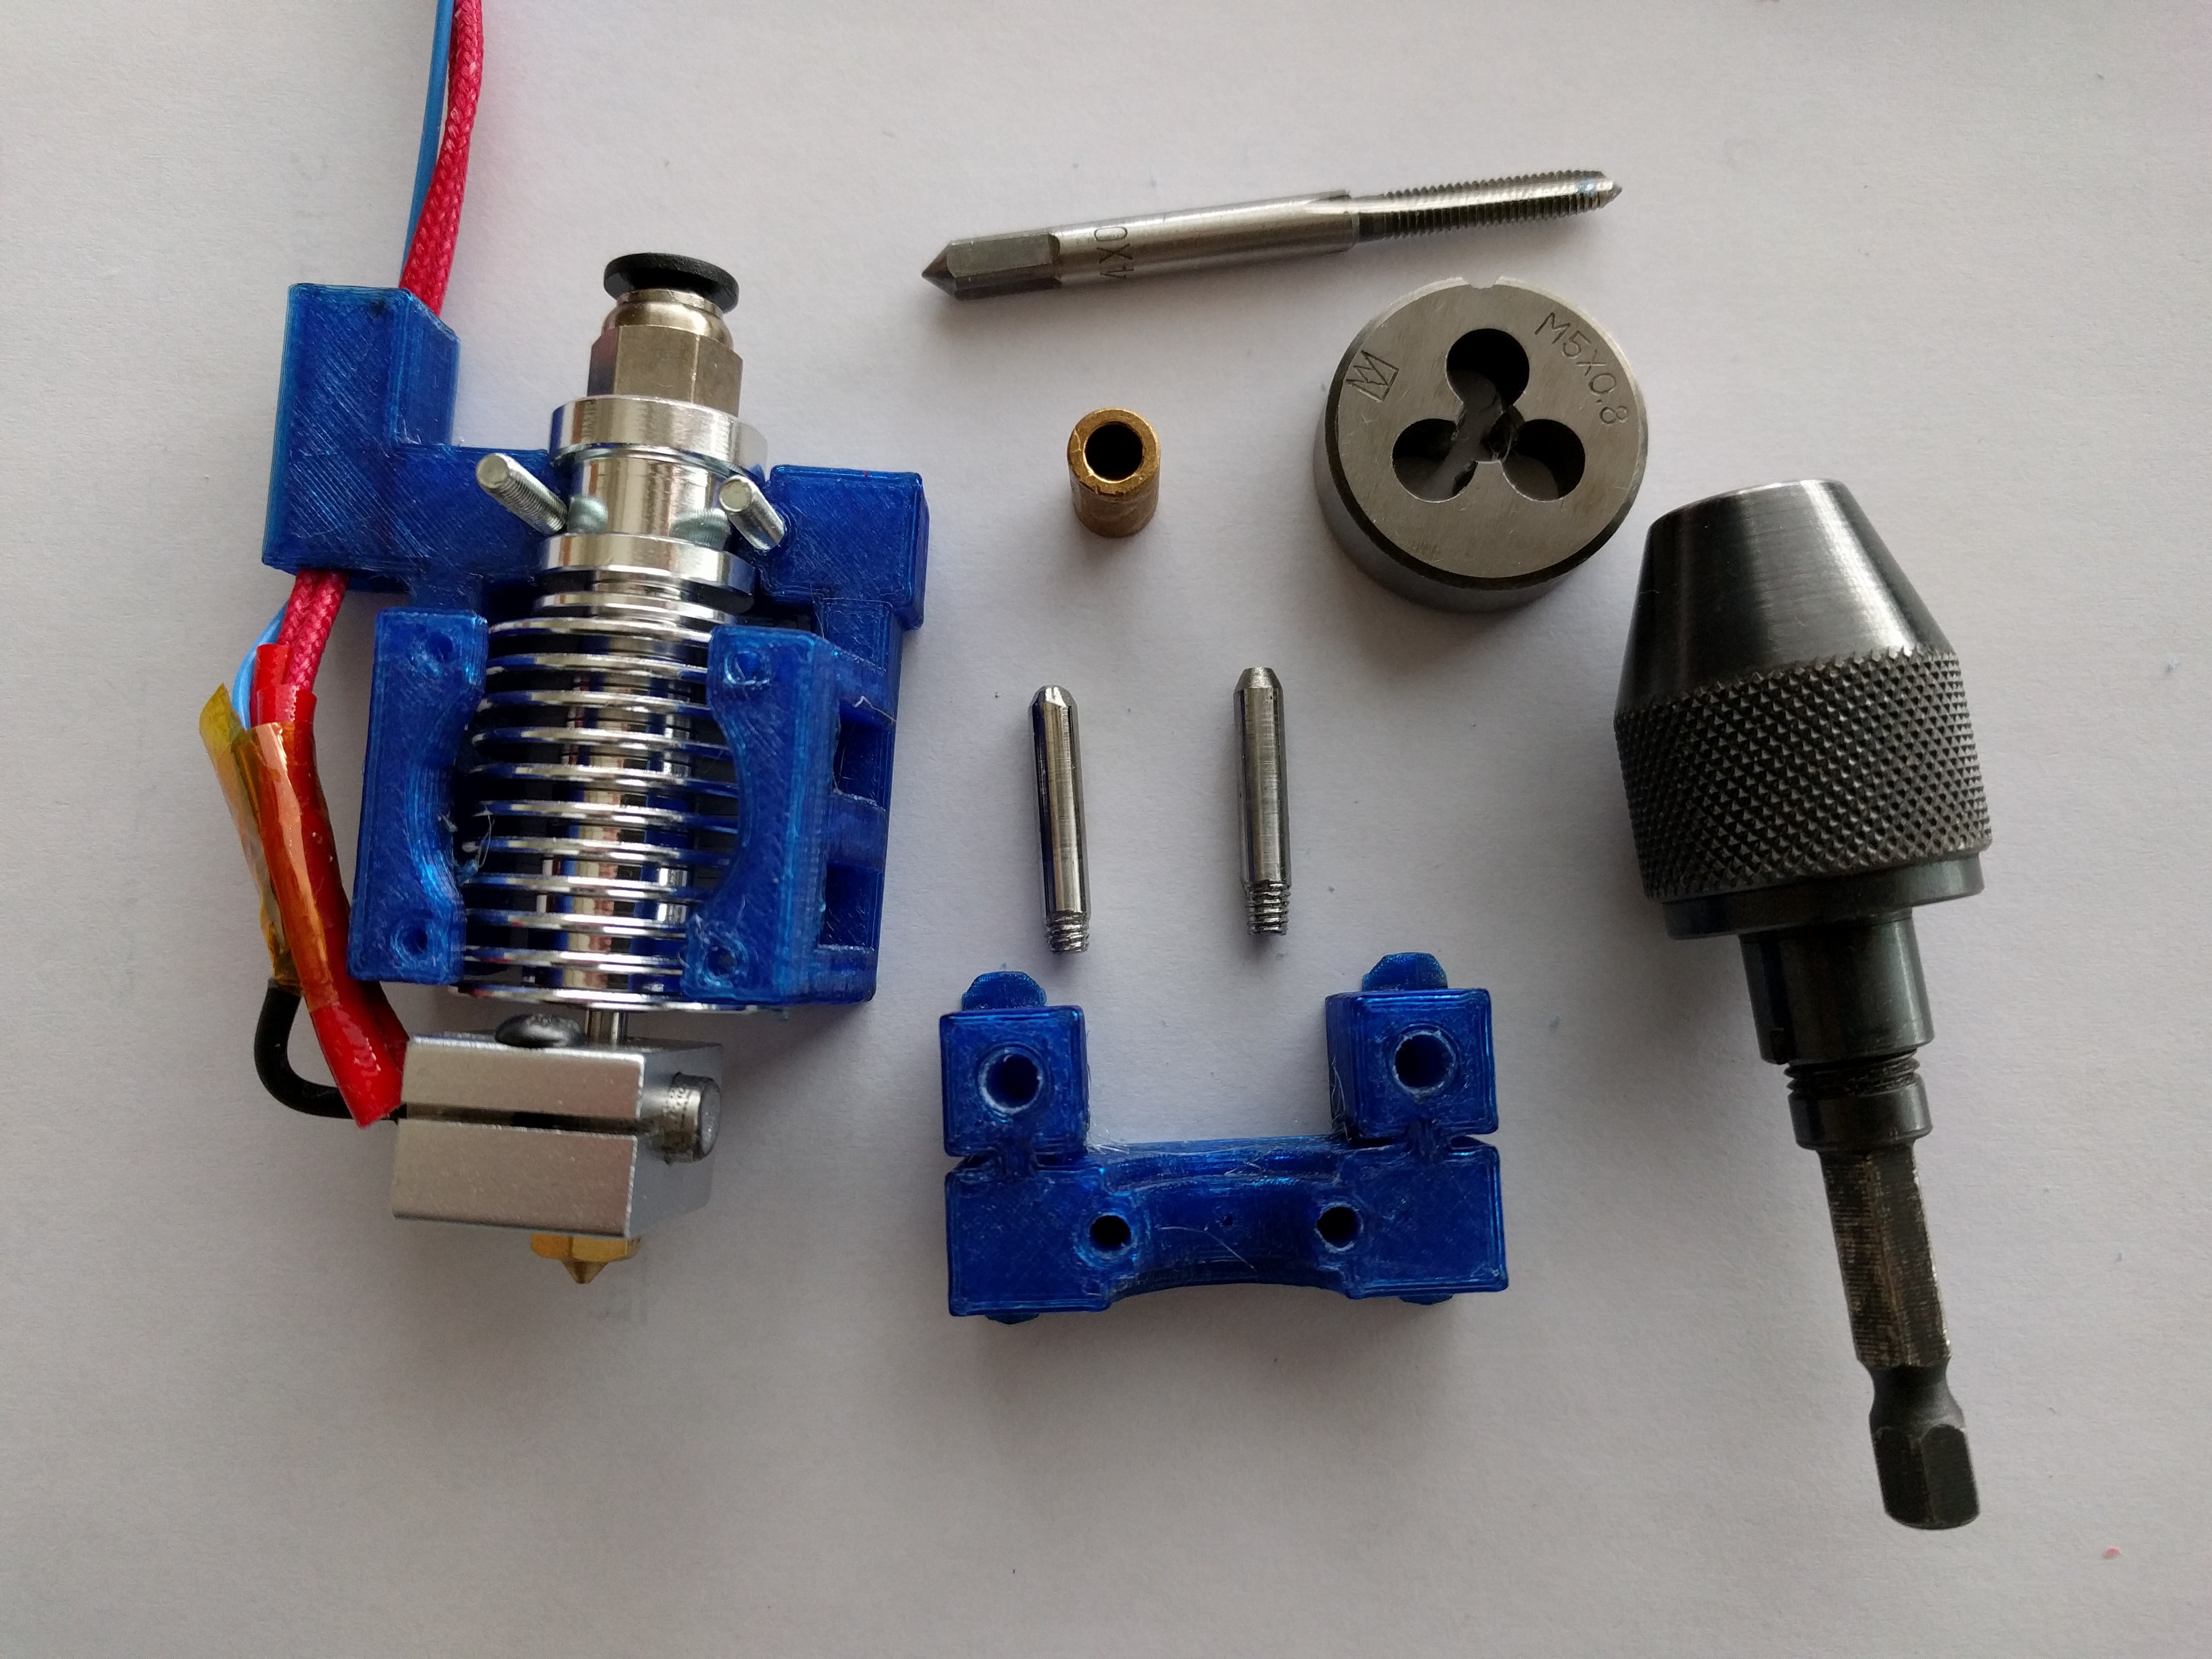
- both parts contained in hotend-mount.stl. PET-G is the recommended material
- two 4x20mm pins
- one J-HEAD long range hotend
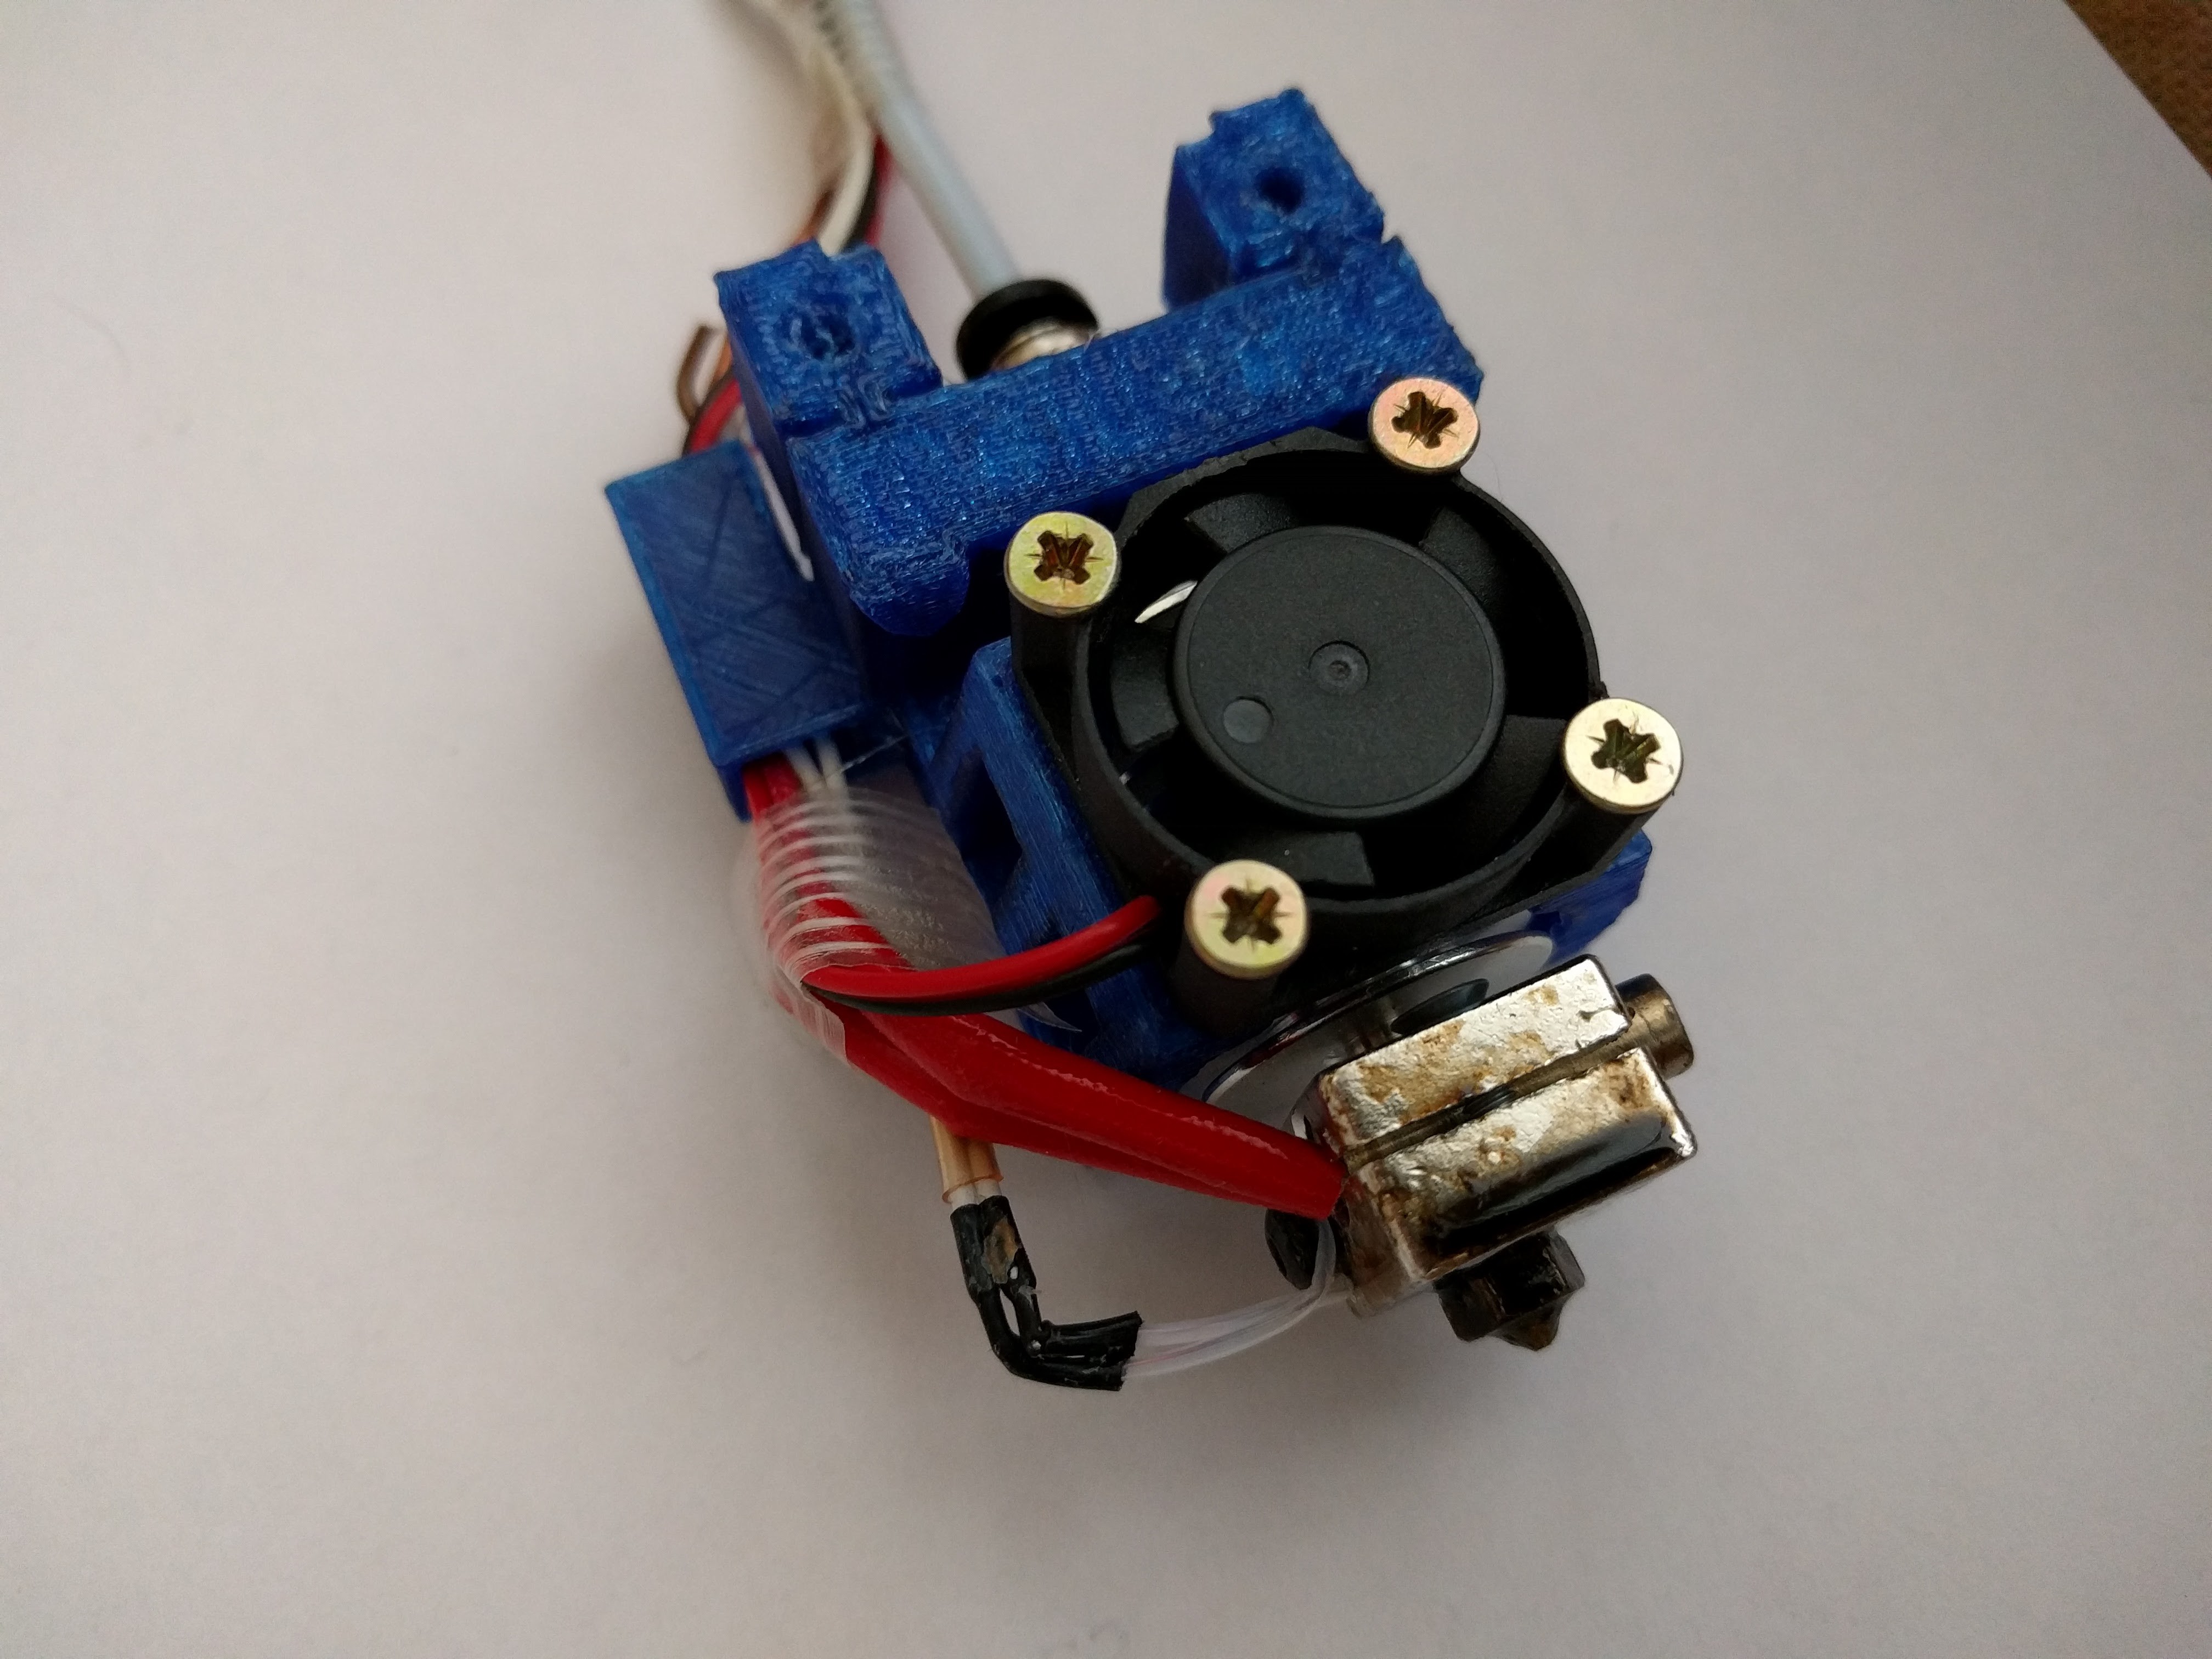
- one 25x25mm fan
- two M3 hex nuts and 20mm round head bolts
- four wooden screws 2.5 x 15 mm
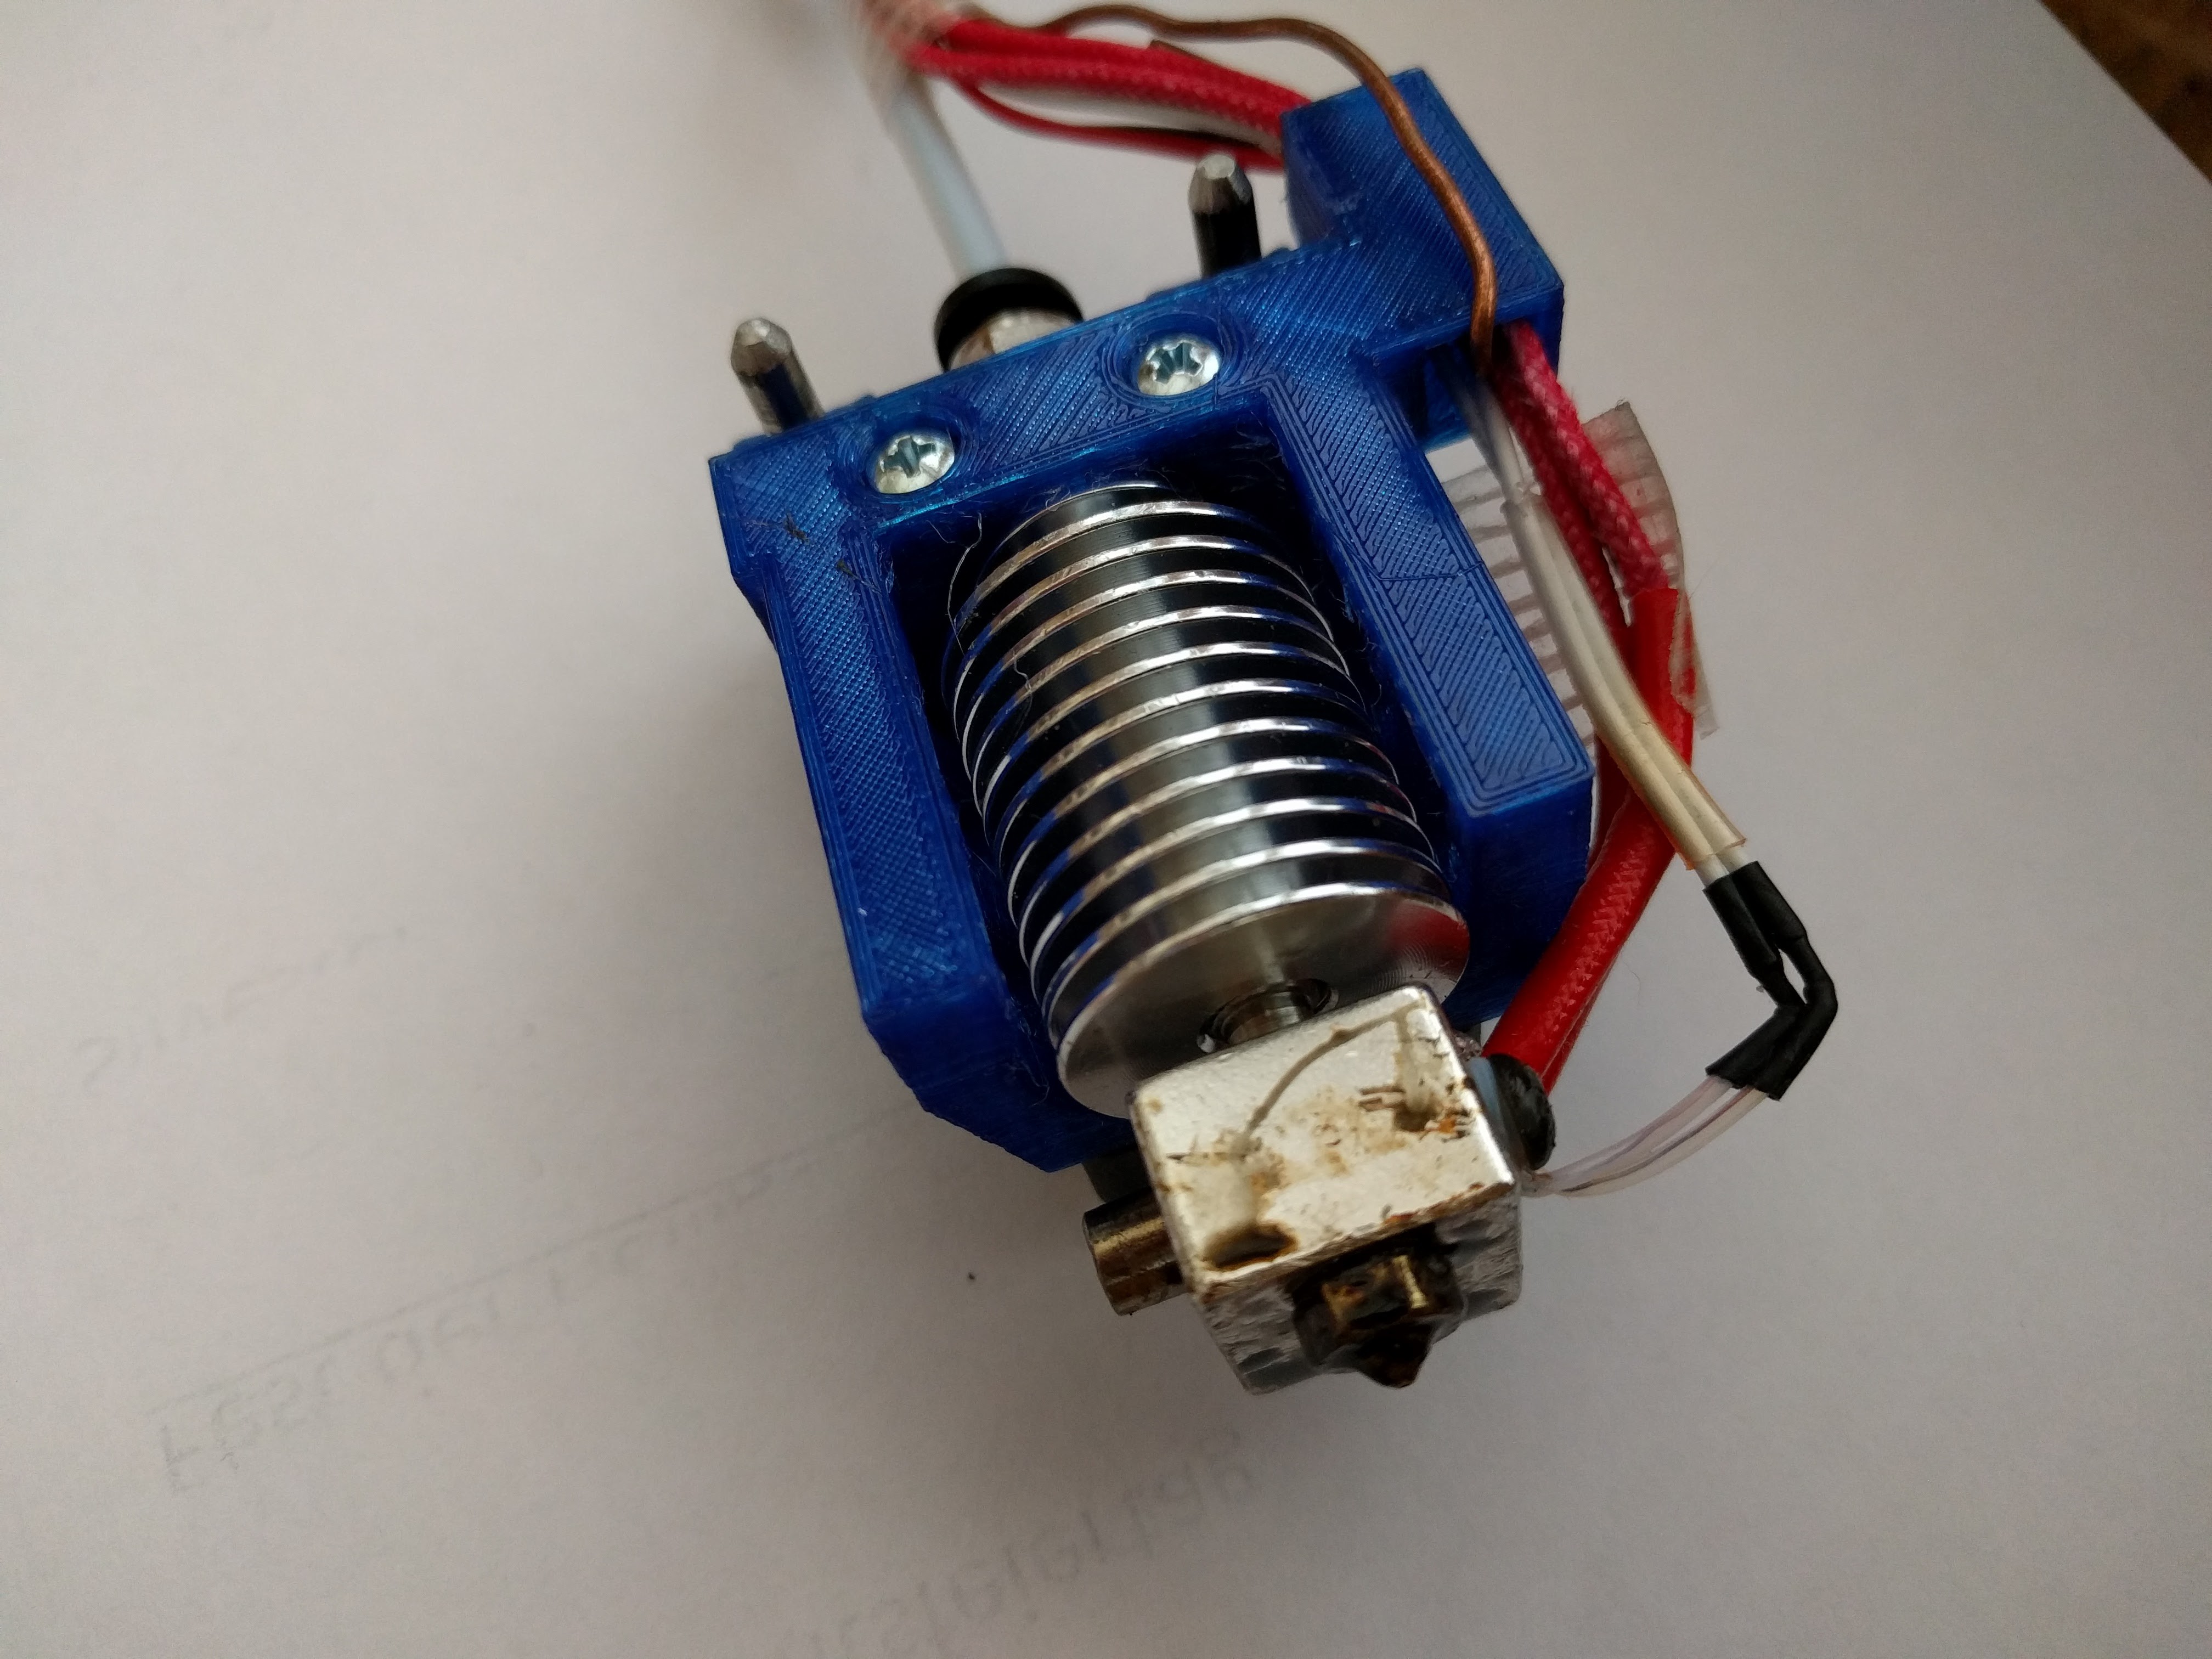
Note that the heater block is mounted with the heater cartridge screw facing to the top. I did this to get more clearance for the inspection microscope.
Start with preparing the two 4mm pins. First check if the fit smoothly without play into the bushings of the carriage. If needed, reduce the diameter with either a lathe or by clamping them in a power drill and sandpaper (100, 240 and polish). Grind or file a 2mm long, 30° taper on one, and about 4mm M4 thread on the other end, use the chuck to get a safe grip on the pin without damaging the surface.
Next tap a M4 thread into the two holes for the pins. There is no need to get the thread all the way through only about 8mm deep is good enough. Squeeze the two hex nuts into the cutout of the same part.
Place the hotend as shown in the other printed part and screw them together, a vice or similar could be needed to get both parts together for the first time. Finally attach the fan and you are done.
Discussions
Become a Hackaday.io Member
Create an account to leave a comment. Already have an account? Log In.