 endevor100
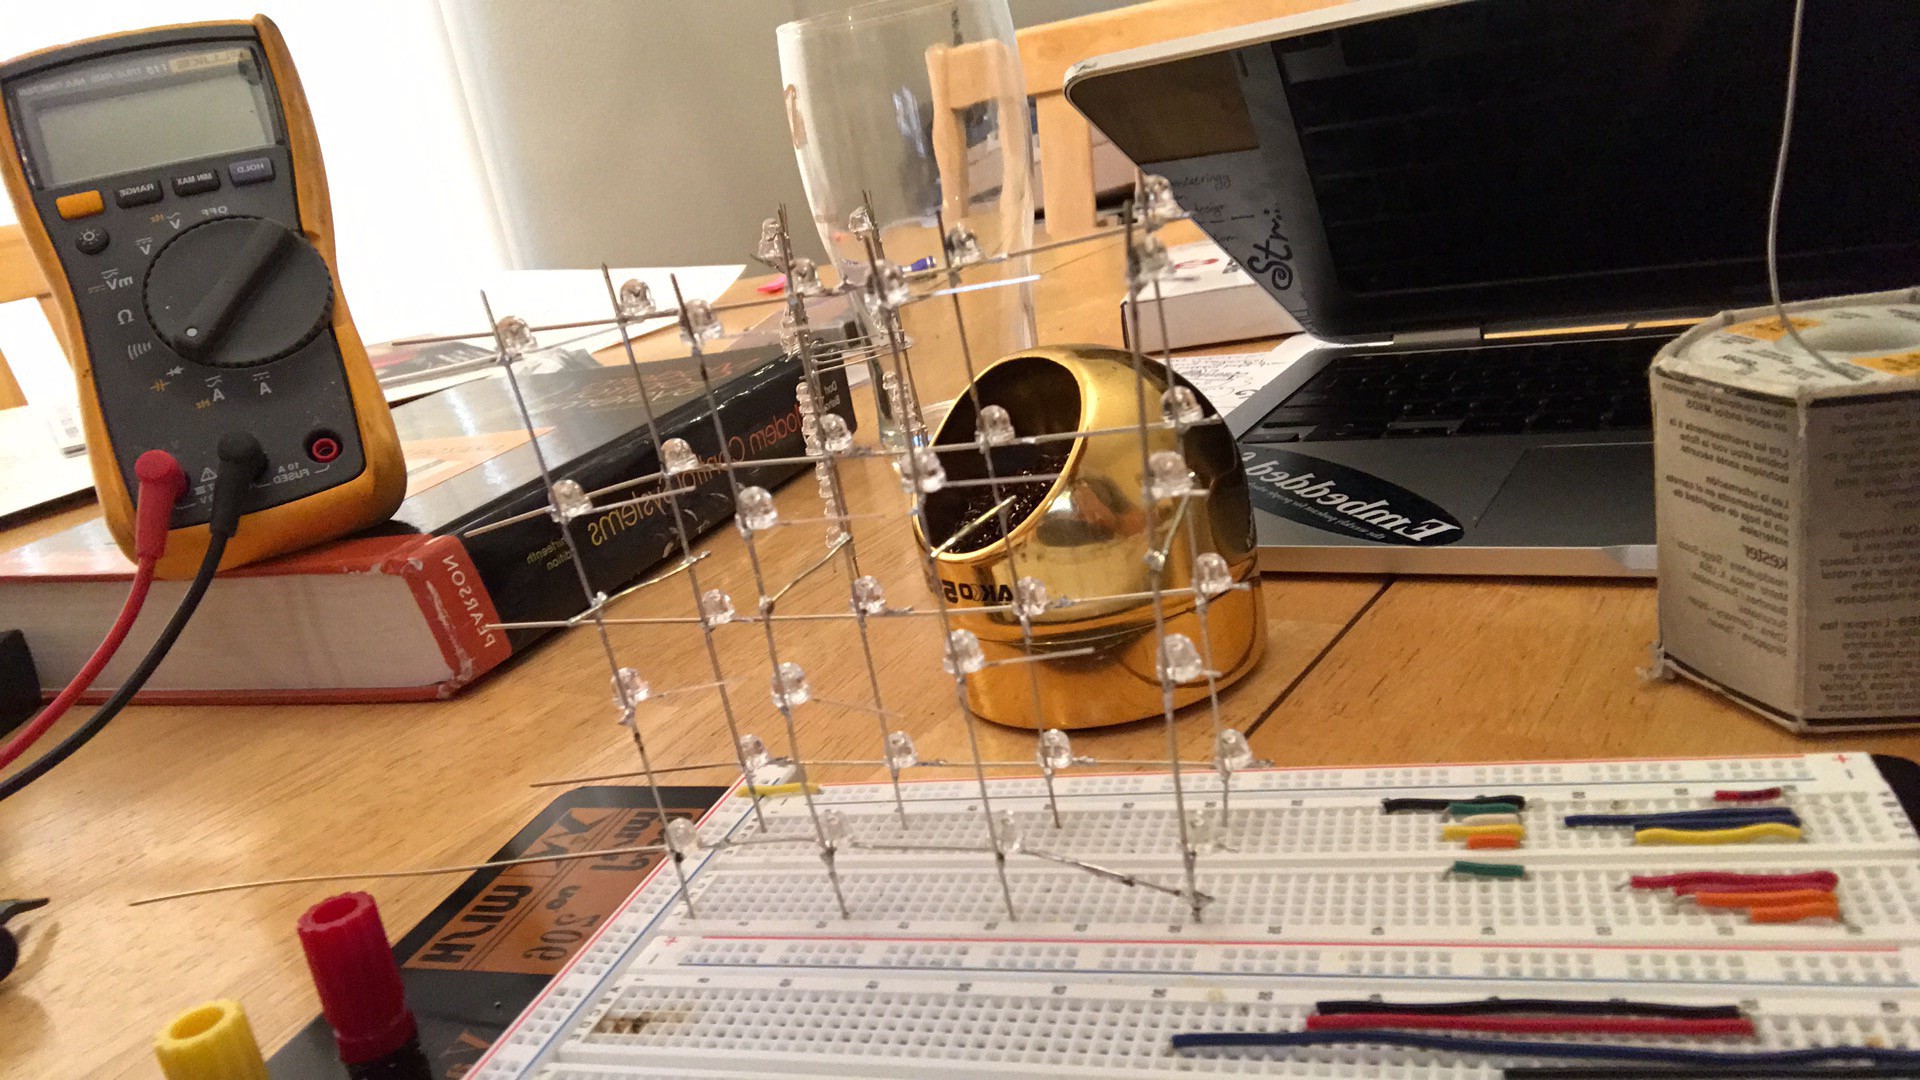
In a perfect world I would have done the assembly with some kind of jig. I will probably have to look into that if/when I build another one. As it is I just bent the LED leads flat to the bottom of the LED and at a 90 degree angle to each by hand in what looked like an almost consistent process. I then made sharpie marks on the verticals every inch and tried to solder the cathode onto the vertical as close to the mark as possible. The tinned wire gets too hot to touch pretty rapidly but tweezers prevent that from being much of an issue. The horizontal runs are more of a free form art project than an exact science, but I just tried to bend them in a way that got them to where I wanted them to go without putting excess strain on the solder joints.
This picture is of one half of the cube complete. The other was finished soon after. I wish I had drawn out the images of the individual layers in the description before I did this. I had a reasonably good mental image of what I was doing, but it still would have saved a lot of mistakes.
After the two pairs of layers were assembled I connected the signals internally with wires. I'm not convinced that this is the most efficient layout in terms of not blocking internal LEDs, but as long as I develop the code to be flexible to pin out changes that shouldn't be a problem.
I went through the LEDs and each one seems to be turning on when expected. The wiring of the cube itself seems to be complete. I would try to do a lot of cleanup to make the cube more aesthetically pleasing if this was the final product, but since it's just a proof of concept this is plenty good for now. Now on to the challenge of actually driving this from a microcontroller!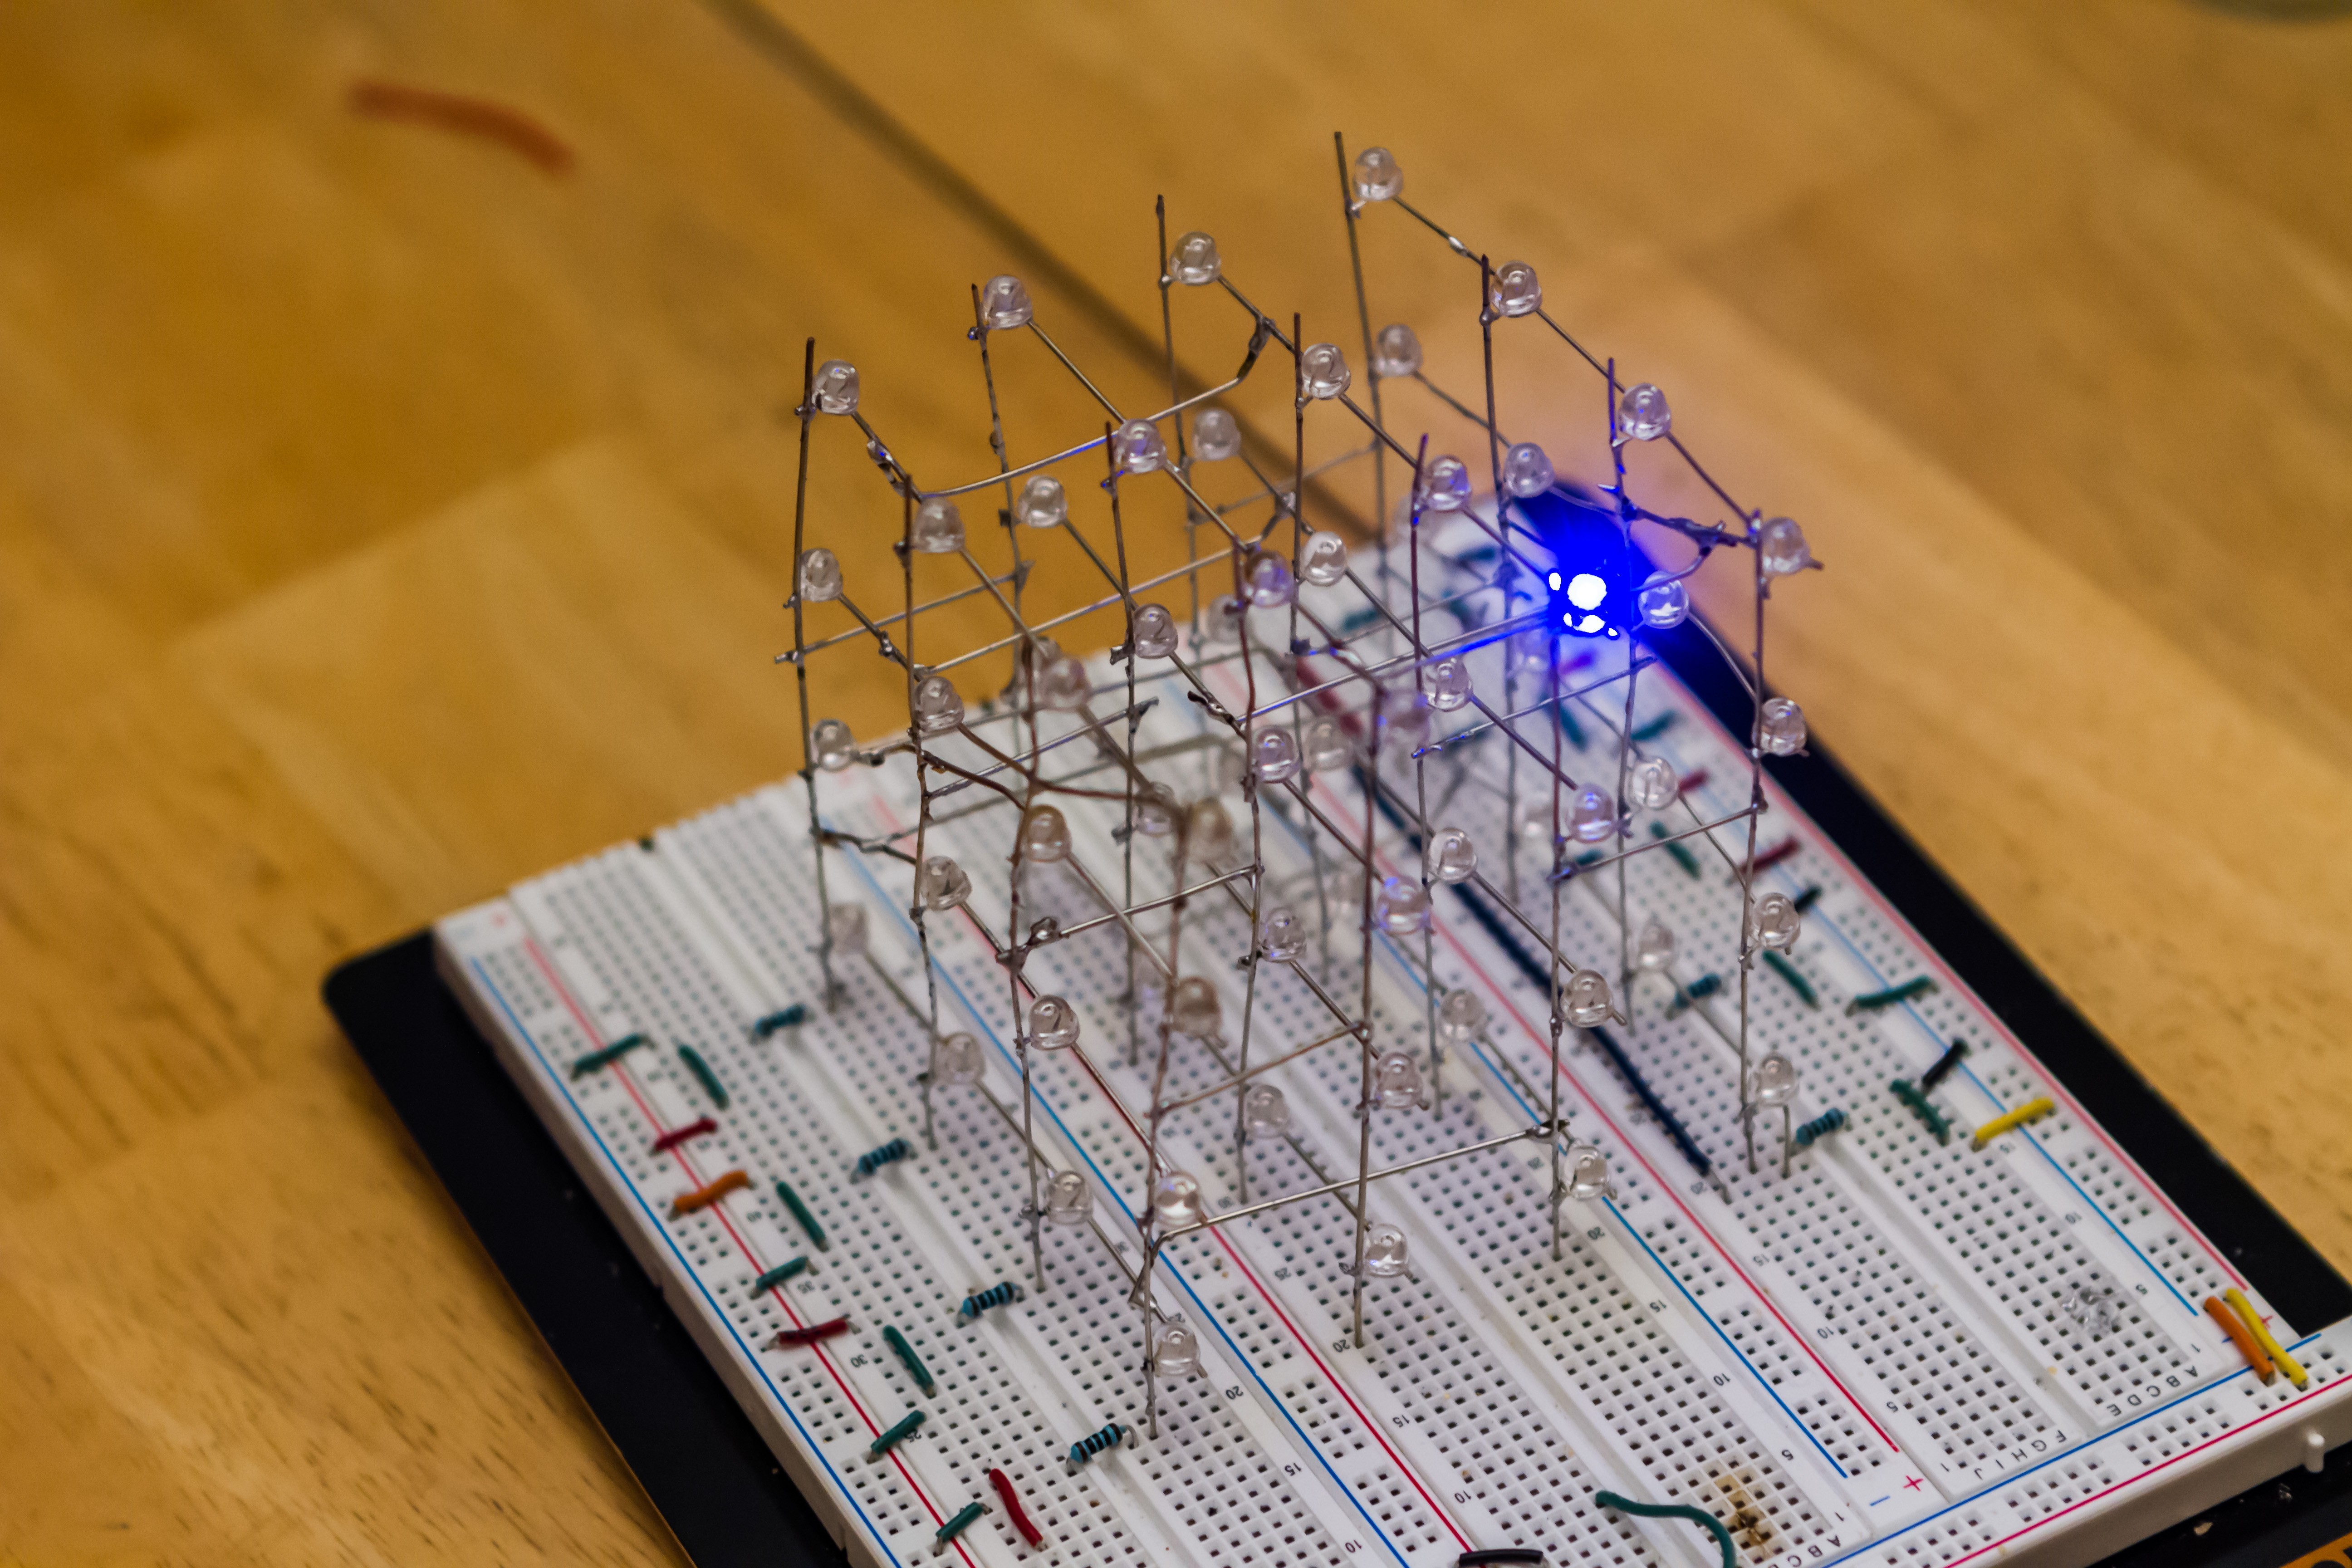
Discussions
Become a Hackaday.io Member
Create an account to leave a comment. Already have an account? Log In.