The boards actually arrived 2 weeks ago. I just couln't gather the willpower to write a log entry. Especially seeing as I already got dropped from any competition. But let's see this through anyway. I don't want to end up as a part of the statistics on projects abandoned here after not being selected.
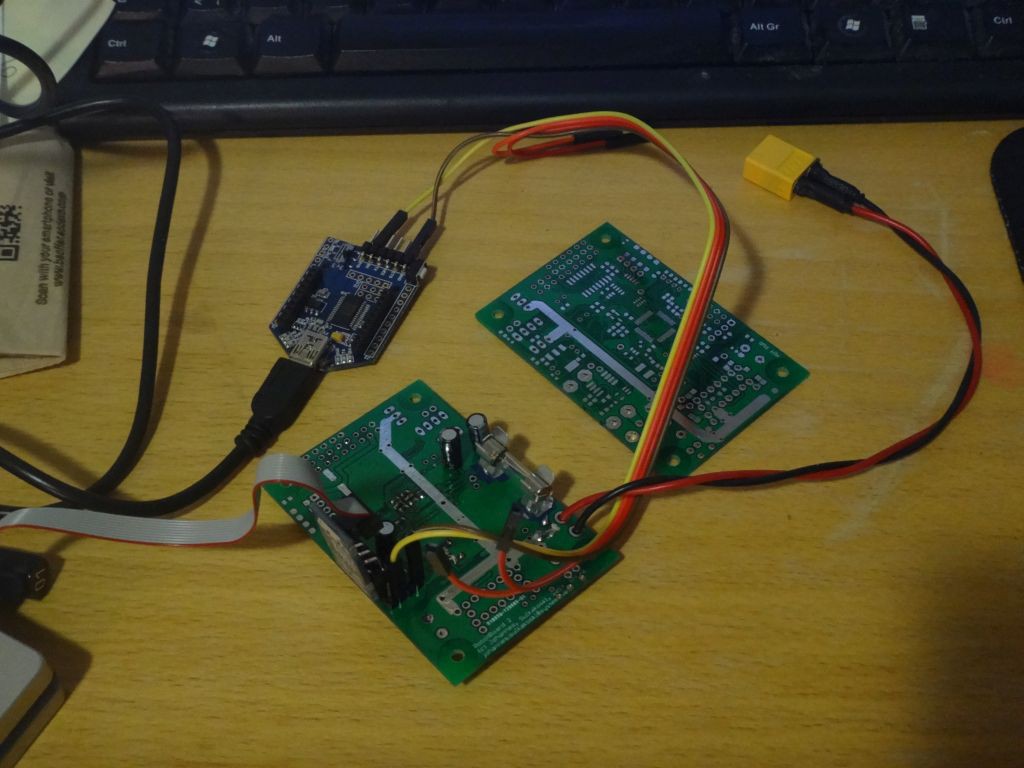
As you can see unless you're blind or browsing ascii-only, I've already started assembly. I like to do the build process in phases, with testing in between.
1. Power input and CPU regulation. Because if I screw it up, I end up with burned components. Burnt components is bad, so testing power input and regulation before assembling further is recommended. Funny fact: I always thought that I should put a 100nF ceramic also on the output of a 1117 regulator. Turns out that I shouldn't, but it still hasn't burned anything, for which I shall say a prayer of thanks to my god.
2. CPU and bypass caps. It has a lot of pins in a small space, so it's the easiest component to destroy with a solder bridge. Can also be destroyed by badly chosen capacitors due to the internal 3.3V->1.8V regulator that will get unstable with low-ESR bypass caps. Tested after soldering by connecting to JTAG and reading ID and voltage.
3. Xtal and caps. Tested by programming CPU to use Xtal and sending out strings

through UART to see that the frequency is as expected.
4. Voltage and temperature measurement, and power cutoff FET and led. This stage is here really to test the cut-off functionality. OK, and allowing you to program your MCU to cut the power if the rest of your board sports an otherwise smoke-producing error.
And that's about how far I've gotten by now. More when I get more soldering done. I solder slow and careful, so don't hold your breath.
Lessons learned this time:
Atmel Studio does not have an easy way to switch to a more lightweight C-library for C++ AVR32 projects. Using sprintf causes the full library to get linked, which takes about 20k of space and is way too much on the 32k of FLASH the AT32UC3L032 sports.
If such a library even exists for AVR32, of which I'm not so certain either. If anyone knows one way or another, leave me a comment. And instructions, please.
In the meanwhile, time to roll my own integer-to-string functions.
Discussions
Become a Hackaday.io Member
Create an account to leave a comment. Already have an account? Log In.